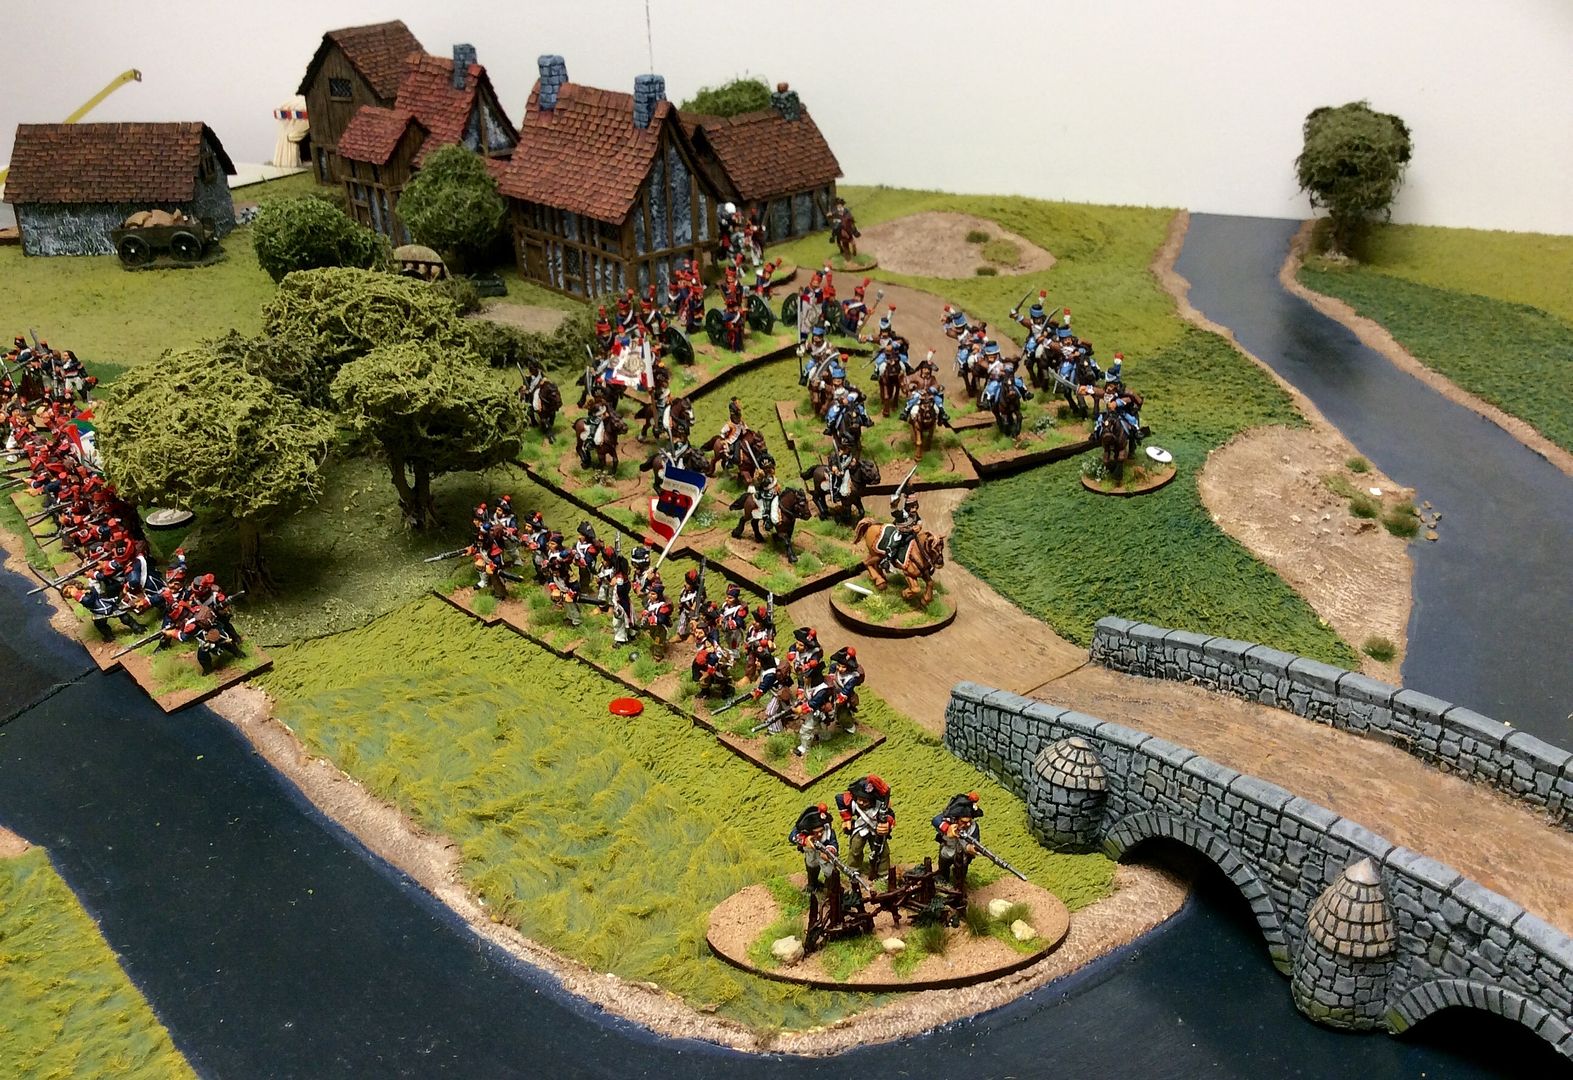
At first the Austrian plan seems to be going well. The enemy infantry is all drawn to defend the crossing point while the Austrians superior fire helps to whittle down the French infantry, weakening them for the attack with the bayonet!
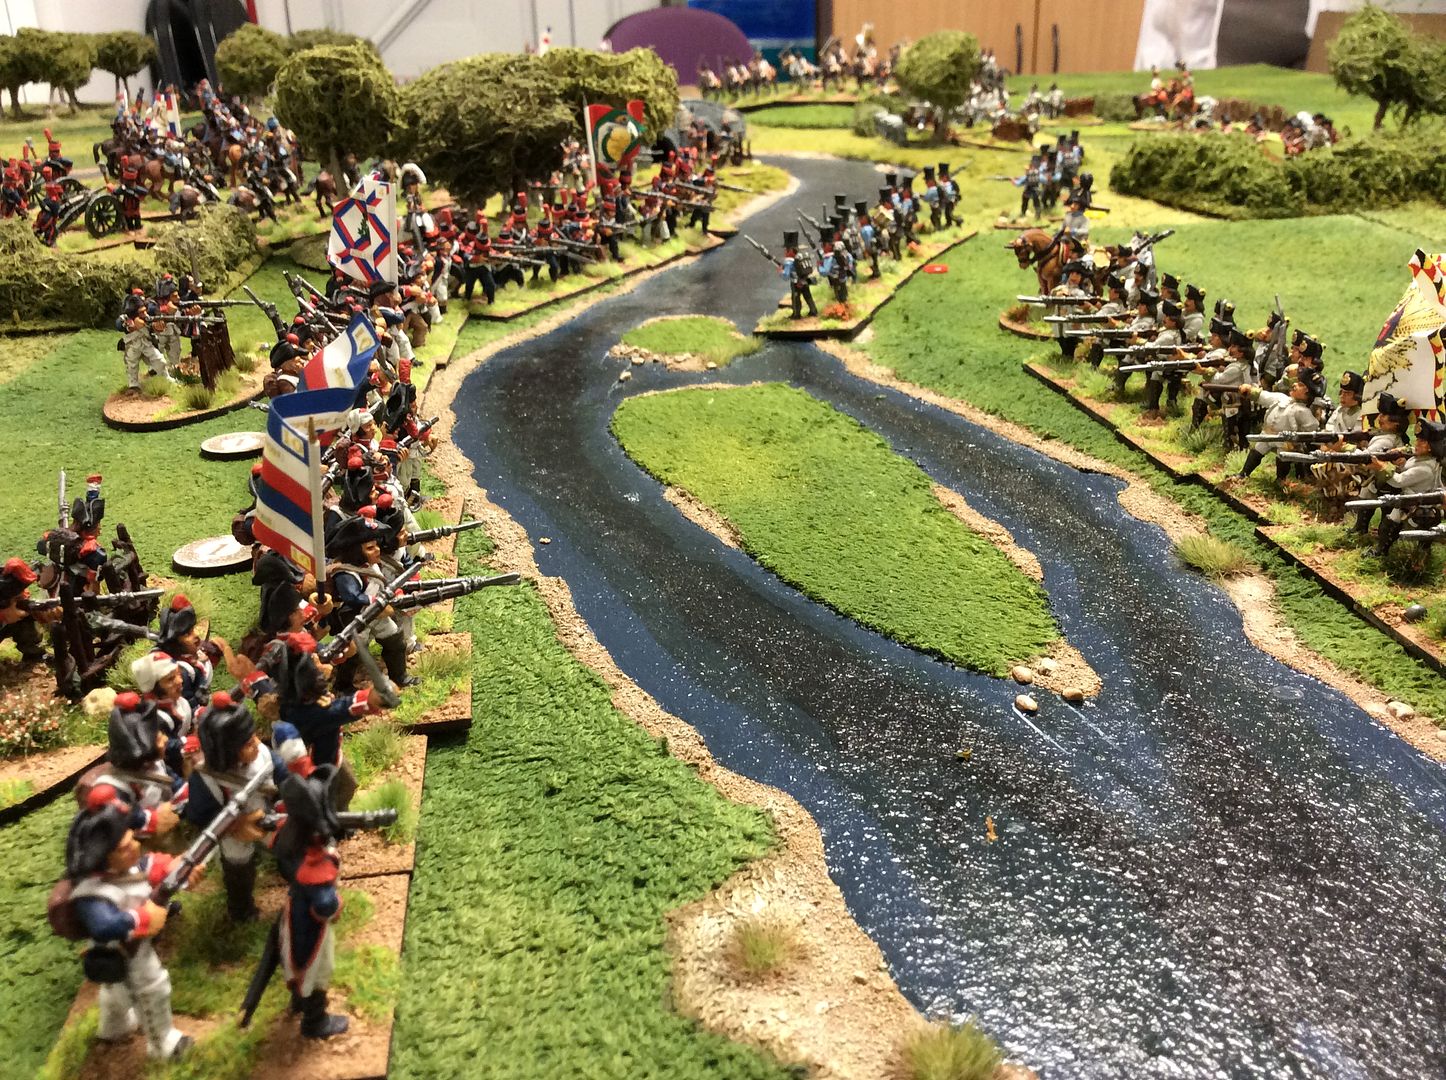
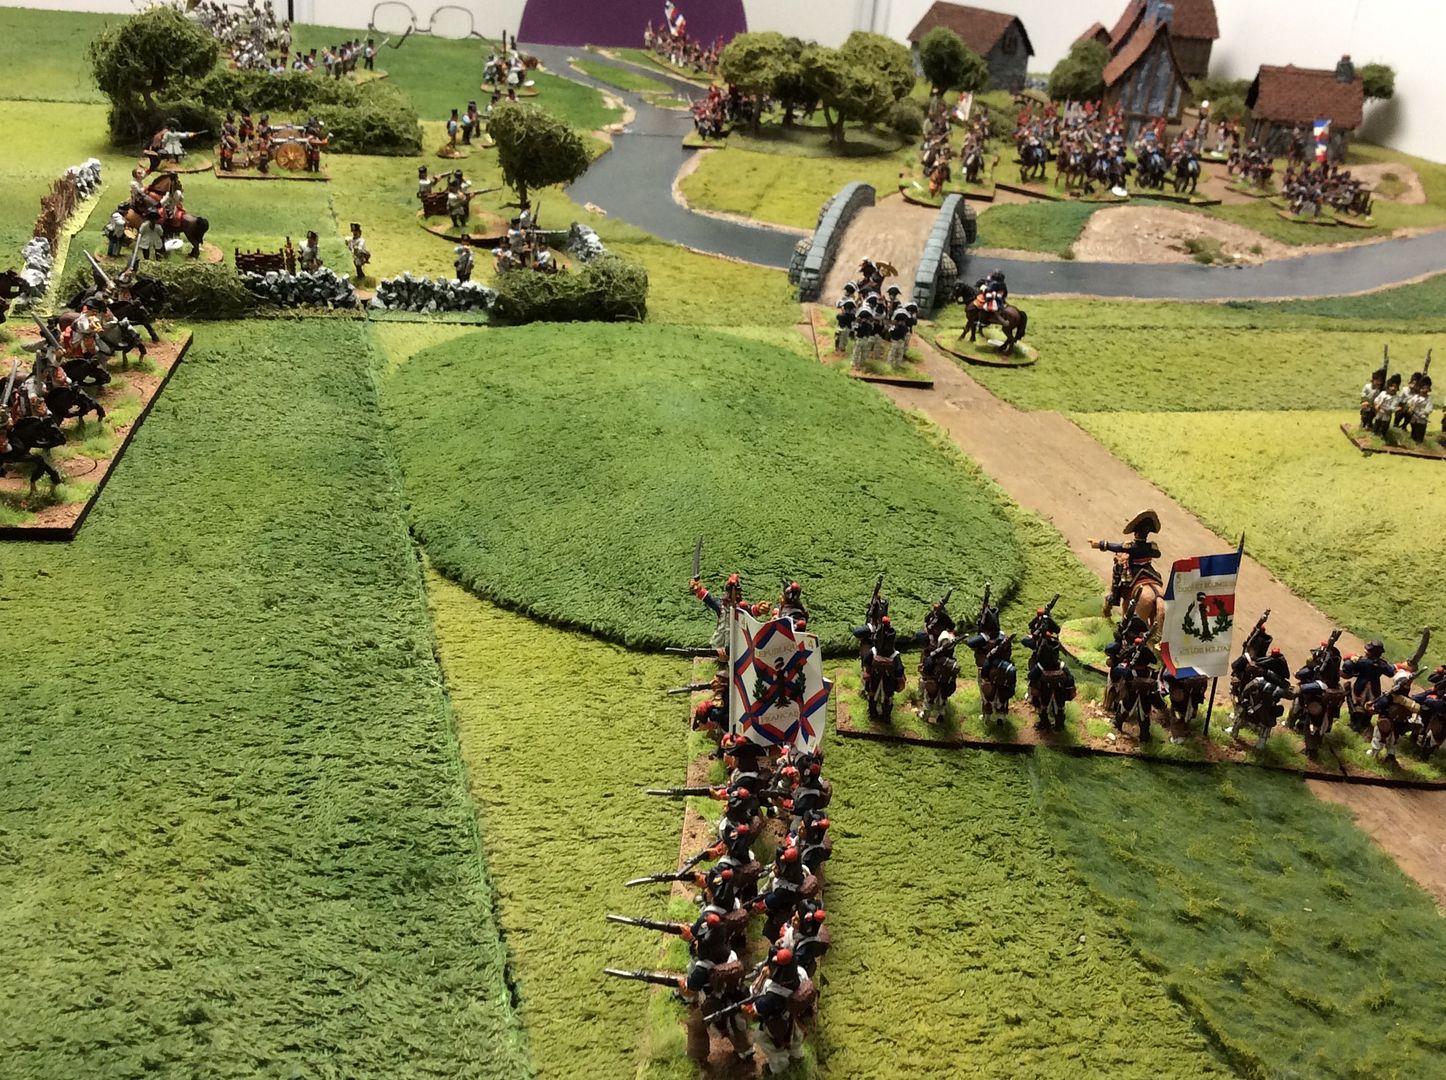
The French commander is forced to sacrifice his Light Cavalry Brigade in a charge to halt the Austrian Cuirassiers who are moving to seize the bridge. In fierce hand to hand fighting both sides become 'Shaken' and have to test their morale. The cuirassiers withdraw 'Disordered' but the French are hurled back two moves and are also 'Disordered'. Austrian Grenadiers march forward to deny the bridge to the French reinforcements as they eventually arrive!
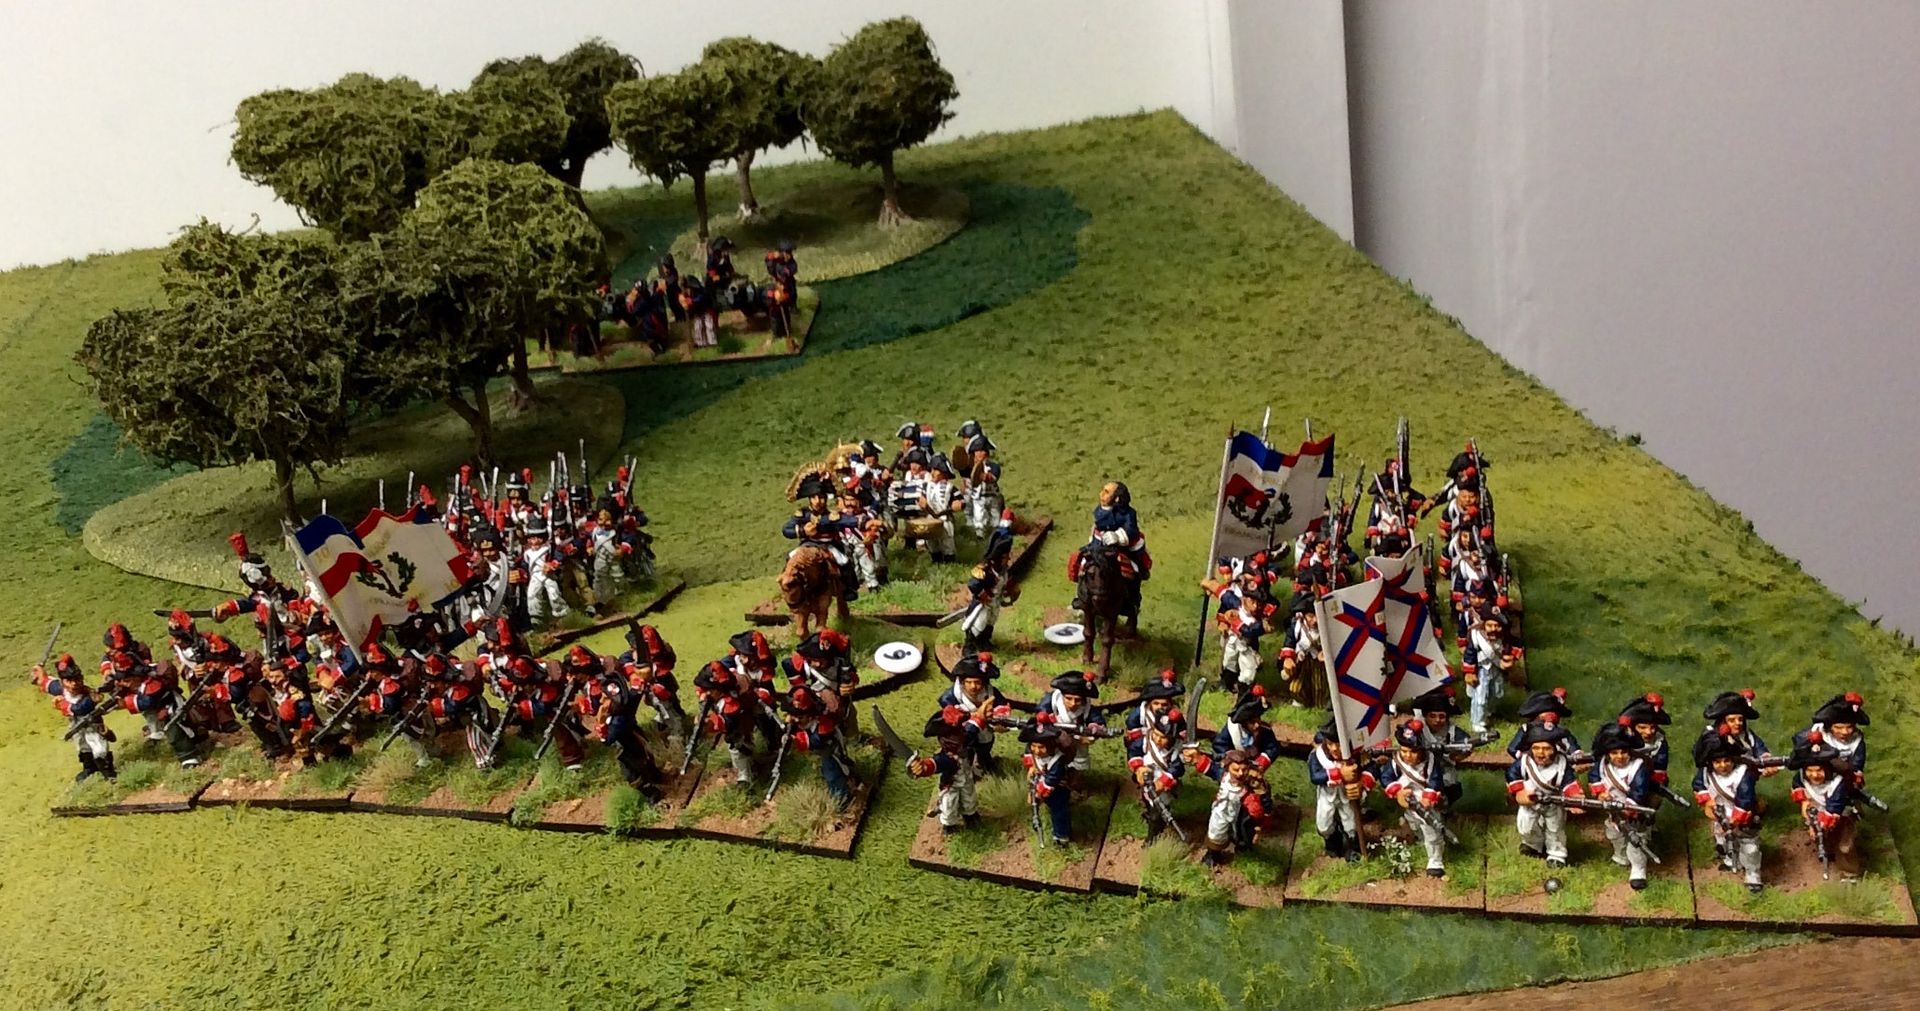
Le Blanc finally arrives on the battlefield and hastily deploys his brigade to meet the Austrian threat. Sadly his artillery are nowhere to be seen and the Austrian Dragoons are threatening a charge on his left hand Battalion!
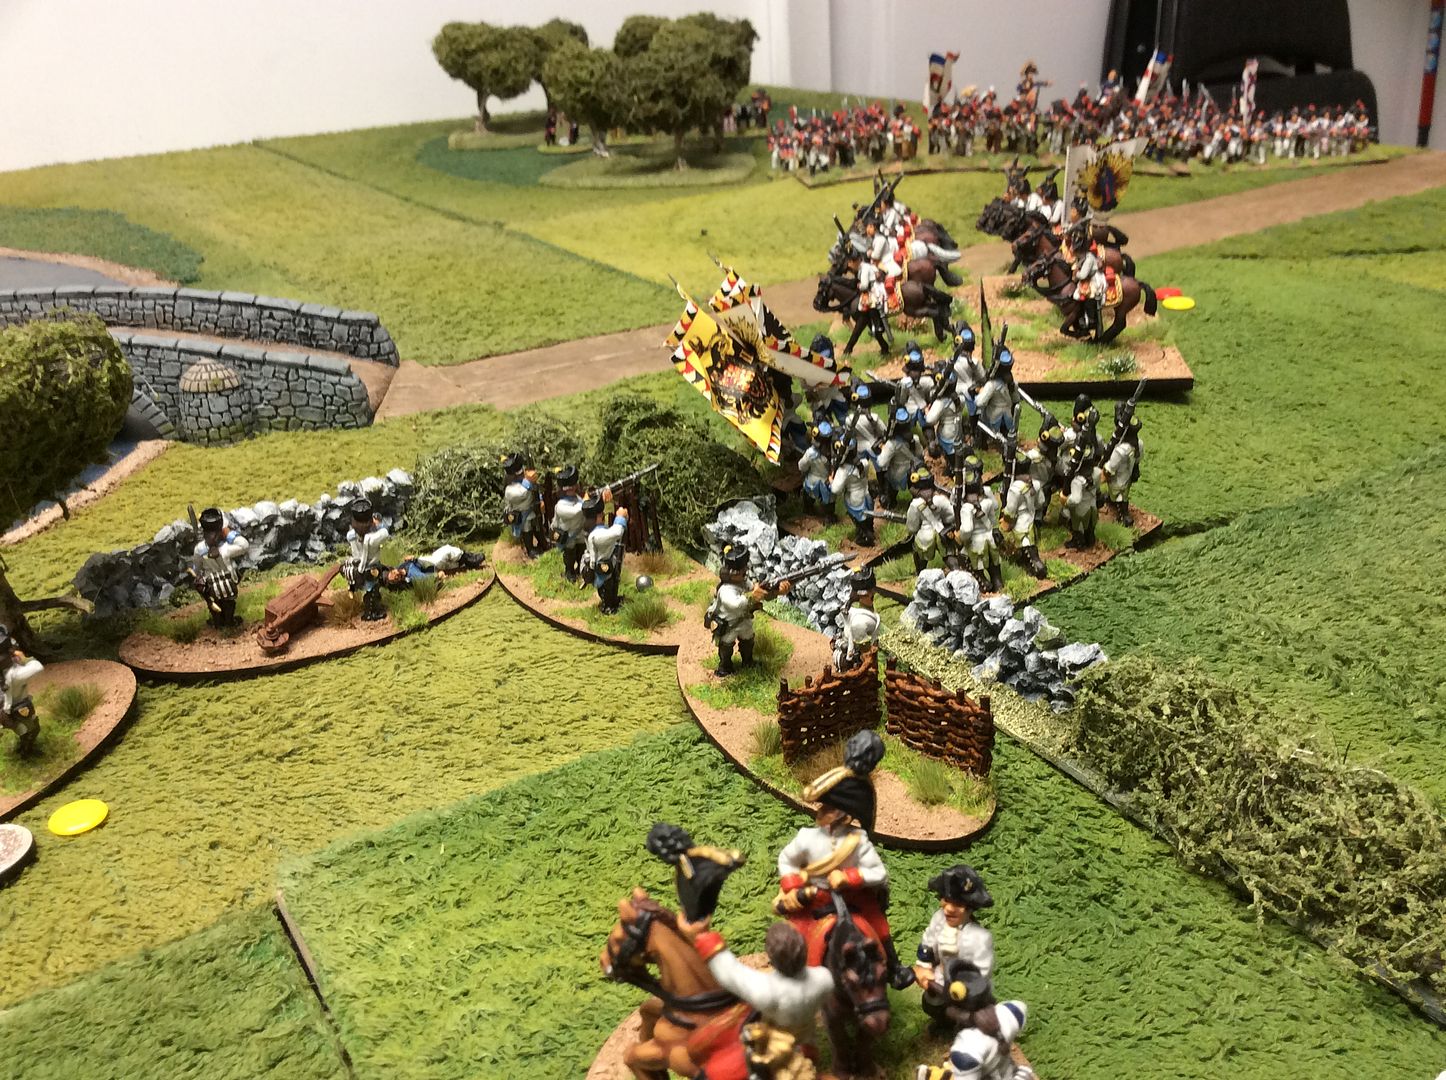
The Dragoons spur their mounts forward, the ground reverberates under the weight of their charge and, despite heavy French fire, they crash into the mass of French infantry! The Austrians sense blood and set to with gusto to cut the French down!
Just when it was all going well and victory was within their grasp, the Austrians seemed to loose heart! The line infantry were driven back over the river by a wild French charge; the Chassuers rallied and moved to attack the Cuirassiers once more; while the Dragoons were inexplicably beaten off by the French masses! {That is to say, my dice luck finally deserted me and Jon's came good with a vengeance!}
Despite a courageous manoeuvre by the Austrian Grenadiers, taking the French massed infantry in their flank, it was to prove too little too late. The Austrian army collapsed and fled the field leaving the French victorious!
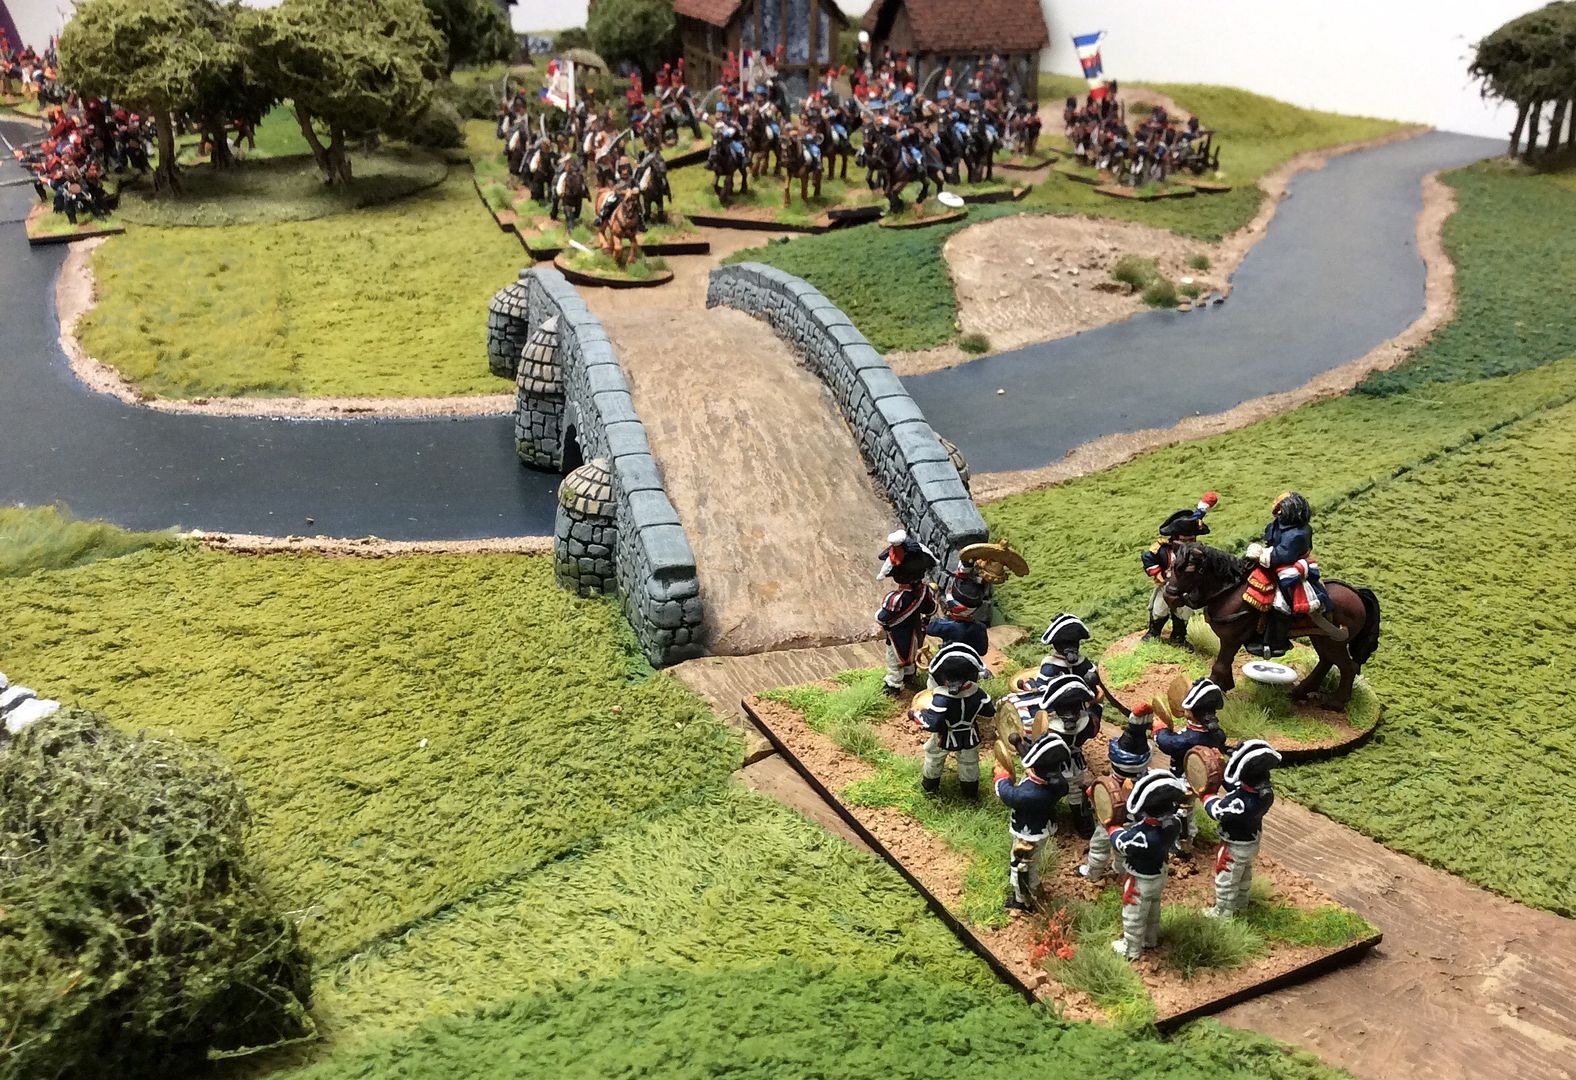
To the stiring tune of Le Marseillaise, Le Blanc crosses the bridge to greet the commander of the bridgehead force and offer his congratulations for a job well done. The Austrians withdraw to regroup and refit ready for the coming decisive encounter when, with their ally, the Grand Old Duke of York himself, they will finally drive the French from the field! Or not...
The battle should be fought out next Monday when Phil will inherit the French command here in GHQ and I will take the Allies and seek to reverse my recent defeats!
Great pics and narrative, as we have come to expect. Look forward to commanding the French to fresh glory.
ReplyDeleteLooking forward to our next clash tomorrow, when you've dug your way out of the snow that is!
DeleteLooks great David. I keep thinking about doing Subarov in Switzerland, but then sanity takes hold once again......
ReplyDeleteSanity? What's that got to do with anything Colin? Glad you liked the game though!
DeleteWonderful looking game!
ReplyDeleteThanks, Roger, we do our best!
DeleteWhat a great looking set up David!
ReplyDeleteChristopher
Thanks Christopher!
DeleteGreat game. The pics don't really do the figures justice - they looked splendid enough for me to make comment on them (praise usually saved for Phil's work). In the end it all hinged on an initial tactical error by the Austrians and some fortuitous saving throws on my part and a lack of those for Mr.B.
ReplyDeleteThat's very generous,Jon, thanks! I'll try to better though next time.
DeleteFantastic looking game - great to see the early wars on display.
ReplyDeleteCheers
Stu
Glad you liked it Stuart! The early period is more fun I think.
DeleteThat was great. I'm working on Austrians myself. Can't wait to get in a game.
ReplyDelete