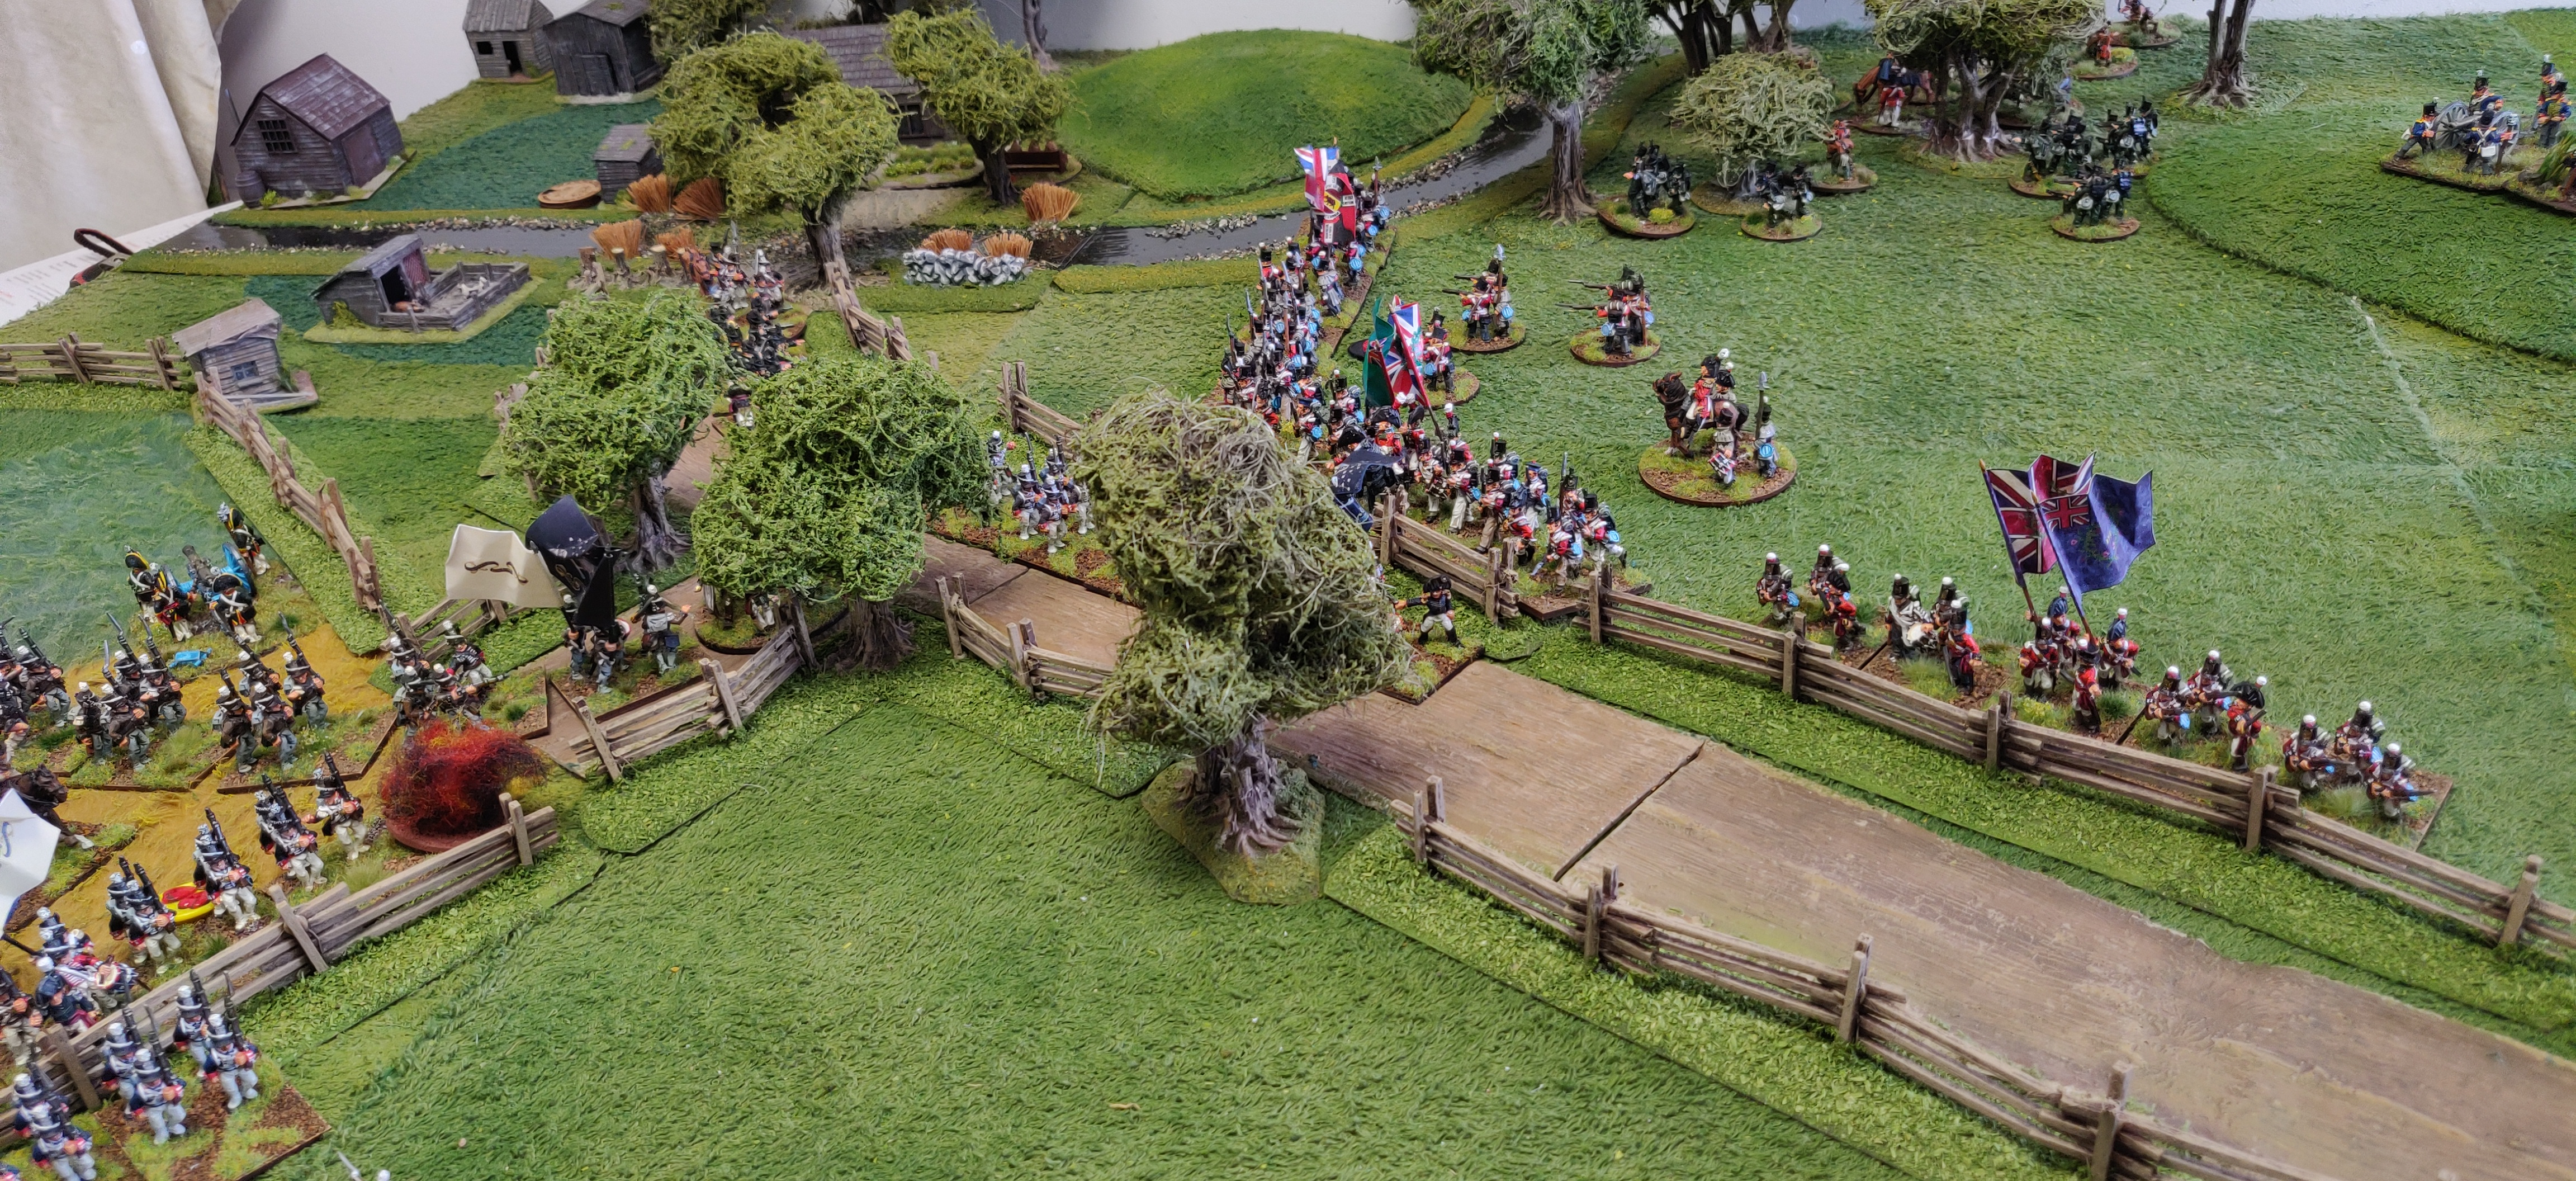
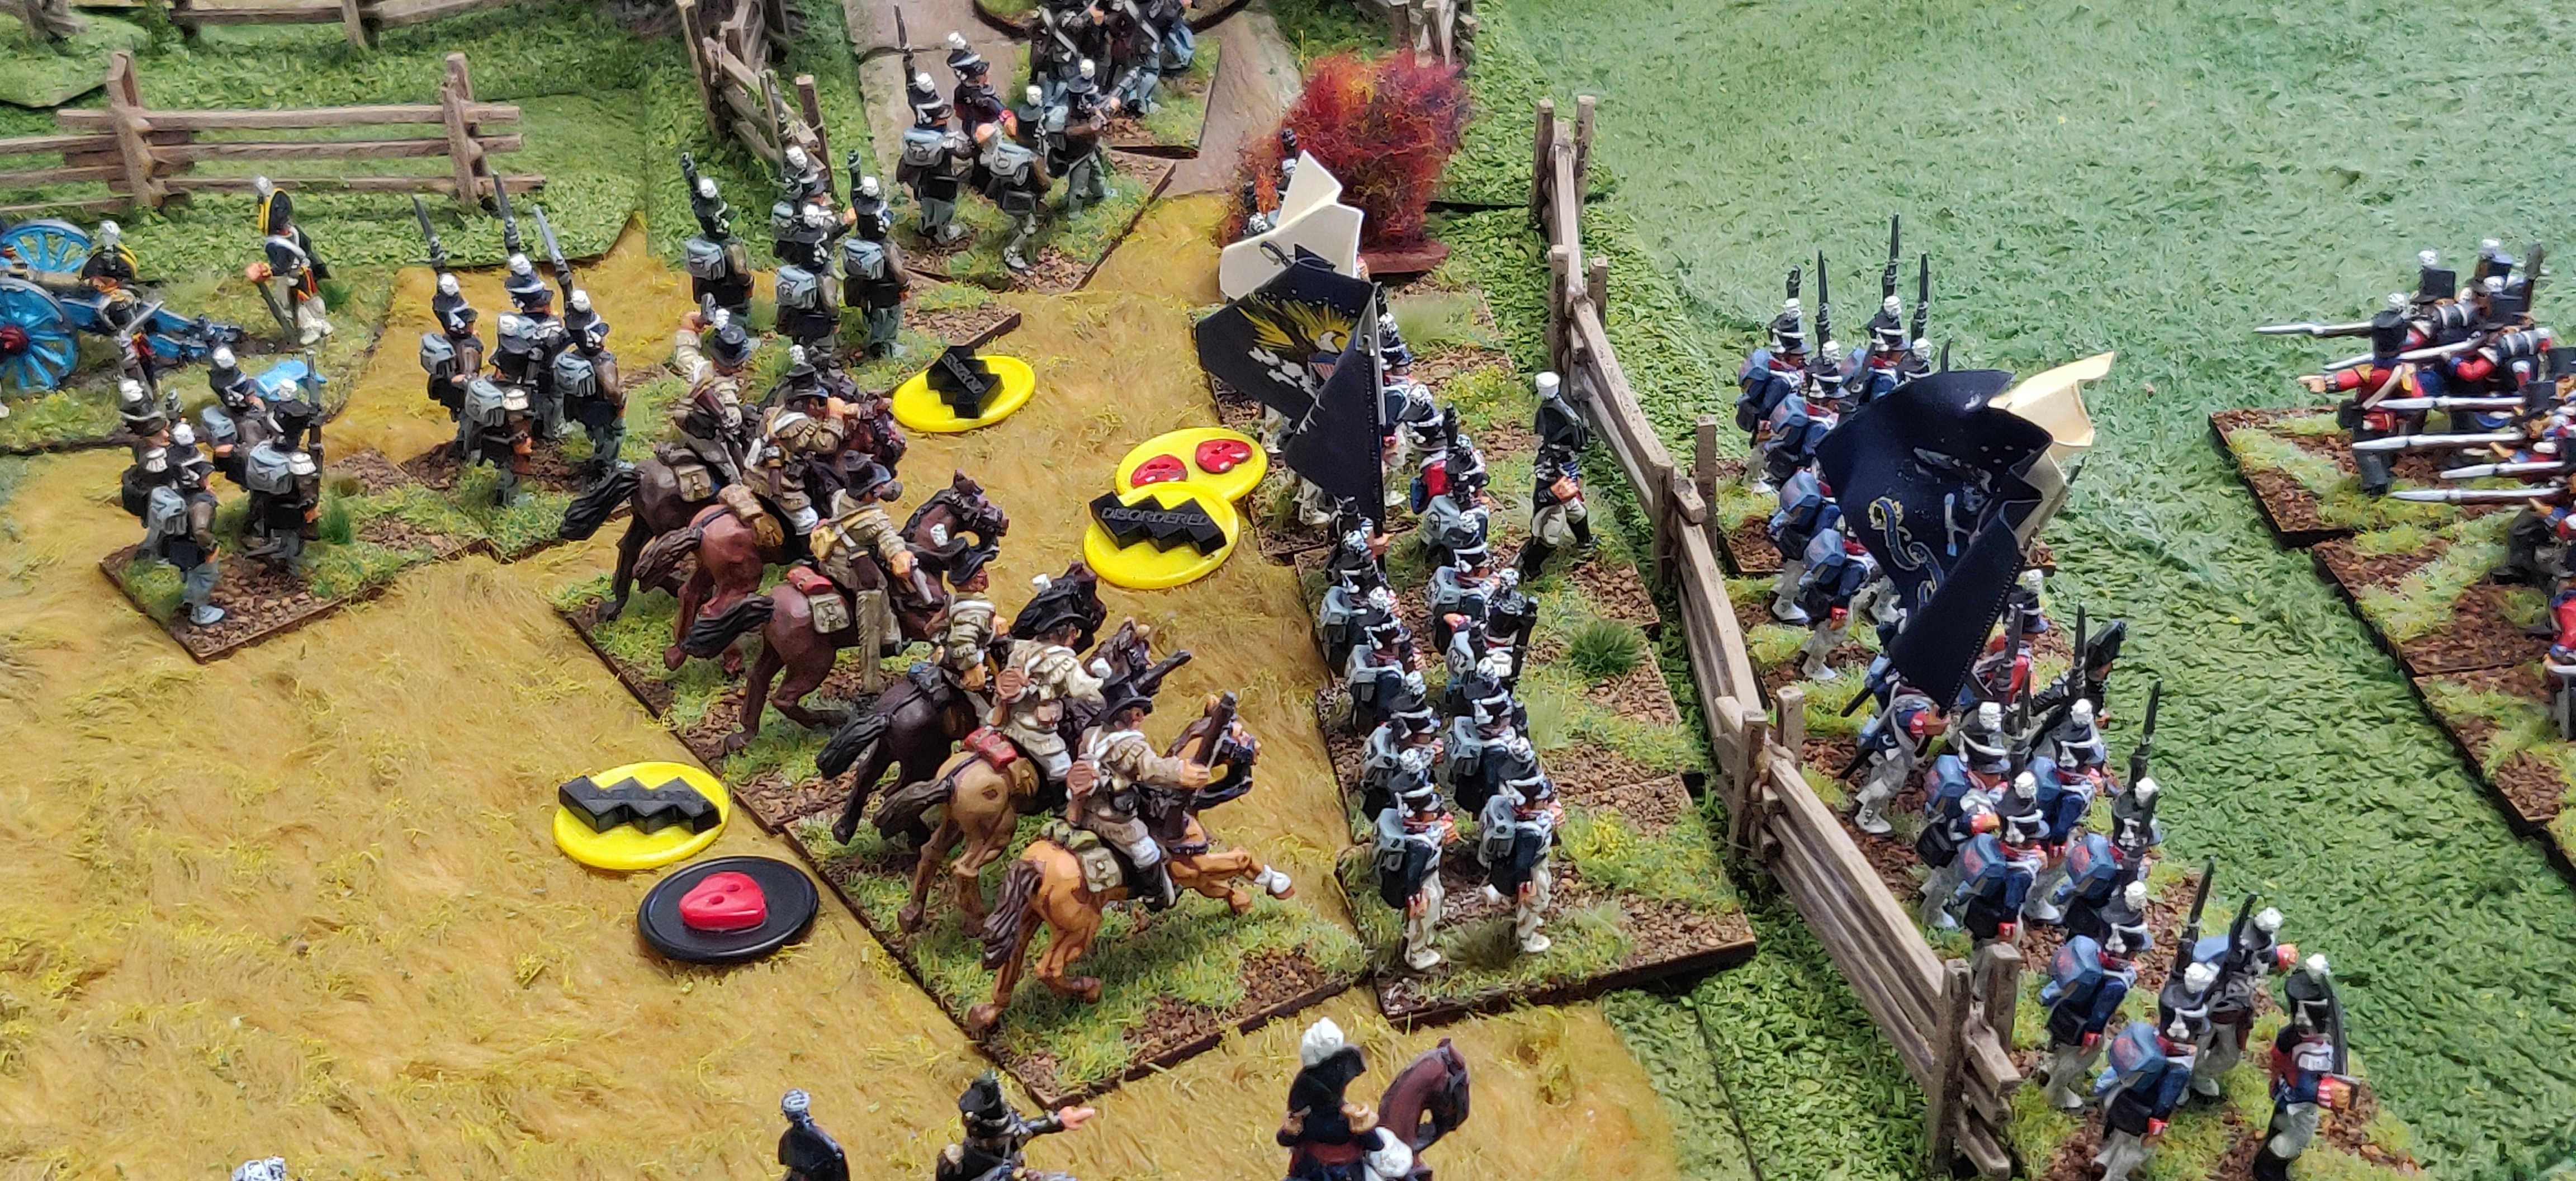
Having played out the scenario with Phil on Tuesday and re-run it with Paul on Thursday I can now share with any interested readers the bones of how it played out in the first iteration. The pictures in the annotated photomontage following are from the first run through with Phil, it would be too confusing to us all if I tried to intermix pictures from both games! Paul's pictures and any necessary explanatory notes can be seen in a separate entry next week. On to the action ~
Starting with a reminder of the starting pre-dawn pictures featured in the first post. Firstly the view from the Anglo-Canadian viewpoint, secondly from the American side where only the sentinels are awake at the games outset.
The Americans loose the initiative in Turn One and largely fail to rouse from their slumber. The sentinels on Battery Heights are not at their most alert it seems!
Fortunately there is much confusion of orders amongst the Anglo-Canadian forces as little movement is in evidence on their side of the river. The Royal Marine rocker battery though prepares to open fire.
The sentinels on Battery Heights up their game and raise the alarm! The first of the Militia hurry to form up and move towards the heights.
Whooosh! The rocket's red glare lights up the dawn's early light! The aim though is wayward and the warhead explodes harmlessly amongst the rock face of Battery Heights!
Not deterred the Royal Marines fire off a second salvo of rockets. Whooosh! The rocket's soar towards the American positions on the heights.
Boom! A direct hit on the battery! The bleary-eyed crewmen are disordered by the blast and Shaken by a second casualty from the harassing Light Infantry on the far bank of the river.
Lord Rawnsley's leading infantry battalion have boarded their waiting boats and begun the hazardous crossing under fire from a New York Militia unit and the second American artillery redoubt on Battery Heights. The hits cause such losses as the boats' crews and passengers become Shaken and Disordered!
Meanwhile on the far left of the American position the sudden appearance and ragged volley from the emerging Paddoquoi War Party Disorders the Militia just taking up a position along the fence line. Their ragged return volley has no effect on these wild warriors!
A second New York Militia unit takes up it's defensive position along the fence lining the track from Fort Trumper to Battery Heights. To their right a second hit by the next rocket salvo proves too much for the already Shaken artillery crew and they abandon their position!
At last Lord Rawnsley sees his leading battalion of the Second Brigade embarking on the boats at the second crossing point. They will land unopposed on American soil in preparation for attacking Fort Trumper and burning the supplies in the surrounding buildings
As more infantry make their way to support the crossing under the screen of Militia Light Infantry the second American artillery battery finds it's range and scores a direct hit on the Royal Marine Rocket troop.
Moving forward to support the Militia's position on the fence line the 5th Maryland misunderstand their orders in their haste - a Blunder!
They pass by the Militia and hurl themselves on the British infantry forming up after crossing the river - a wild forward charge being their Blunder outcome!
Thrown into confusion by the unexpected turn of events the British Regular infantry are dispersed by the charge! In their turn the 5th Maryland fall back on the supporting Militia to reform, their flank threatened by the Paddoquoi War Party in the woods. More of Rawnsley's infantry though are already embarking on the boats to make their crossing.
Back on the American side more Militia make their way to Battery Heights to oppose the attempted crossings by Canadian Militias. Although Confusion amongst the boats' crews and passengers is cleared briefly they cannot disembark. The leading New York Militia opposing their landing below Battery Heights sustains losses becoming Shaken and Disordered as enemy fire increases. If they falter the Canadian Militias will be ashore! Reinforcements arrive in the nick of time in the form of a further Militia battalion!
On the American left meanwhile the British regular infantry battalions make good progress aided by the harassing fire of the Paddoquoi War Party on the increasingly nervous Militia holding the left of the line. The garrison and supporting Militias nervously await their fate!
The Canadian Militias still cannot force a crossing under fire from the Militia rifles and the US Regular Artillery on Battery Heights. On their flank though Rawnsley sees his Regular infantry forming under desultory fire from the Militias as they ready themselves to attack the units lining the fences. More American Militia occupy the abandoned artillery redoubt ready to threaten the flank of either crossing but come immediately under fire from the Rocket troop.
The 104th and De Watteville's regiments advance briskly despite ineffectual volleys from the Americans and give the defending Militias a close range volley!
Shaken and Disordered by the violent storm of lead and fearing the cold steel the morale of the New York Militia crumbles and they flee leaving the 5th Maryland's flank dangerously exposed to attack from De Watteville's regiment!
In front of Battery Heights though the Canadian Militias still cannot effect a crossing, confusion reigns amongst both crews and passengers as they are constantly Disordered in their attempts by ragged but effective American volleys!
On the far American left the menace of the Paddoquoi War Party in the woods persuades the Militia to withdraw behind a second fence line. This exposed the other flank of the 5th Maryland to more fire as the British attack builds on Fort Trumper. A sudden explosion from a wayward rocket salvo does little for their confidence!
It proves the final straw for the Americans. The 5th Maryland fall back as their Brigade is Broken. The way is open now for the supporting Militia Brigade to cross over the river on the American left. Reluctantly the American commander must order a withdrawal and watch as Fort Trumper and his much needed supply depot is torched by the enemy!
The game ended in Turn 10 when the morale of the American army was Broken. The Anglo-Canadian army never did force a crossing at the second point below Battery Heights, spending 7 Turns with the leading infantry battalion being Disordered by fire from the defenders on Battery Heights causing only one casualty at a time. I have never thrown such poor firing dice for so many turns yet caused such Disorder. But still, another defeat to add to this year's dismal total... All being well on the dental front Paul's pictures of the second run through of the Attack on Fort Trumper will appear in Part 3 sometime next week.