David Bickley's Wargames Blog

The occasional ramblings of an average gamer, journeyman painter, indifferent modeller, games designer, sometime writer for Wargames Illustrated and host of games in GHQ.


Showing posts with label The Great War. Show all posts

Tuesday, 30 September 2025

The Dawn Patrol!

As you might recall Sue and I have been away enjoying some R&R in the South Lakes area with Phil and Di. Showing more forethought than yours truly Phil brought along his Wings of War game complete with two splendid models, after all we had to have something to while away the hours while the ladies took in Strictly Come Dancing. Cue Saturday evening and the first encounter on The Dawn Patrol, a duel between the dastardly Hun Ace Baron von Röbensahn in his Focker triplane and that clean cut hero Flying Officer Bicclesworth of the RFC in his trusty Sopwith Camel! We settled on a best of three games to determine the Ace of Aces!

Baron von Röbensahn takes to the early morning skies somewhere over the front line. He is confident he will make short work of his upstart opponent.
Our clean cut hero in his trusty Sopwith Camel is up for the challenge ahead! Dakka Dakka Dakka...
After much pointless manoeuvre on both sides and some passing damage to both planes a lucky shot sees von Röbensahn's Focker explode in a ball of flame! 1-0 to the good guys!
On to Monday evening and the second iteration of The Dawn Patrol. Somehow von Röbensahn has survived the explosion at altitude and claiming a new plane has sworn revenge on the upstart Biccles!
Sadly from the off Biccles has the drop on the Hun! Despite the Baron's twisting and turning he cannot shake off our hero. Dakka Dakka Dakka...the guns roar out shredding wood, fabric and flesh alike!
It's all up for the gallant Hun as he breathes his last in a wreck of a plane plunging inexorably towards an abrupt encounter with No Man'sLand! Its 2-0 to the clean cut hero of the RFC! Biccles triumphs once again!
Wings of War really is a cracking little game to fill the odd hour. If you don't know it [ Wings of Glory in its more recent variation] I'd recommend giving it a go!

Thursday, 28 July 2022

History? It's All Around Us!

 I have spent the morning in Hornsea 's museum of local history, located in several historic buildings right on the High Street ~

The buildings include an C18th farm house, on the left, and buildings related to Hornsea Pottery. As you'd expect there's a great deal about domestic and agricultural life, which my peasant genes connected with joyously ~

Above, the kitchen range. Below, the farm's Dairy. As both might have appeared in the C19th.
Of course, every community large or more modest in size, has its own connections with Britain's wars at home and overseas, with Hornsea being no exception to the rule. The museum has many exhibits dealing with the contribution the local population made to our country's war efforts in many conflicts. I'd like to share just a few with you if you don't mind ~
A direct link to the Burn family, tennants on the farm for over 300 years.
Serving in the 9th Lancers in the Boer War and in the Great War too.
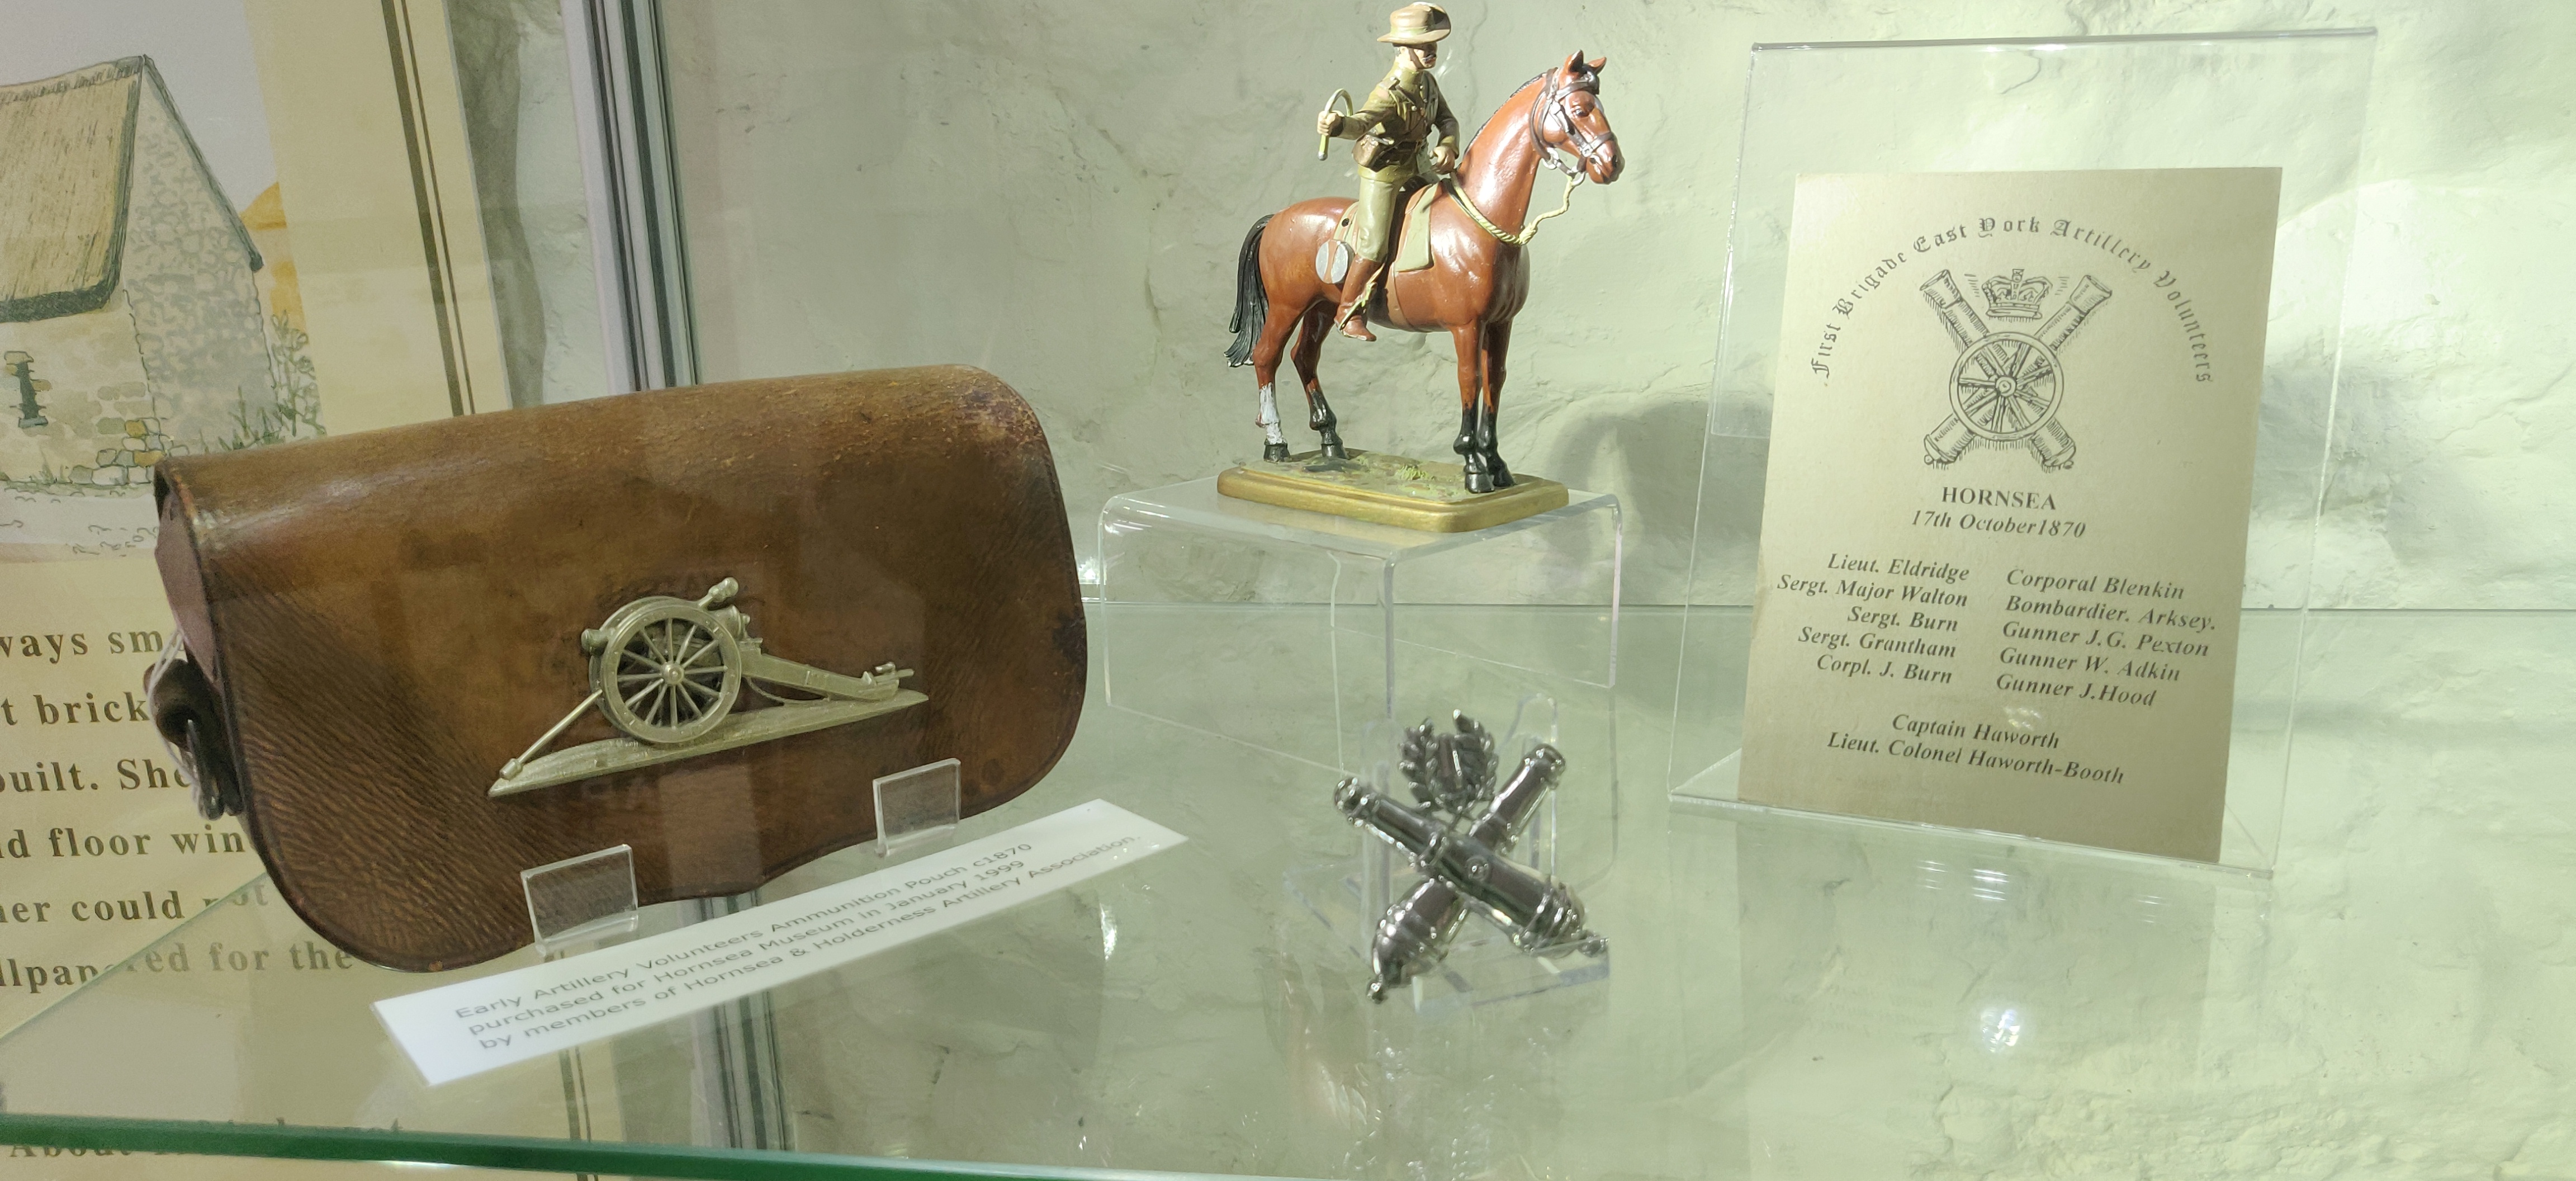
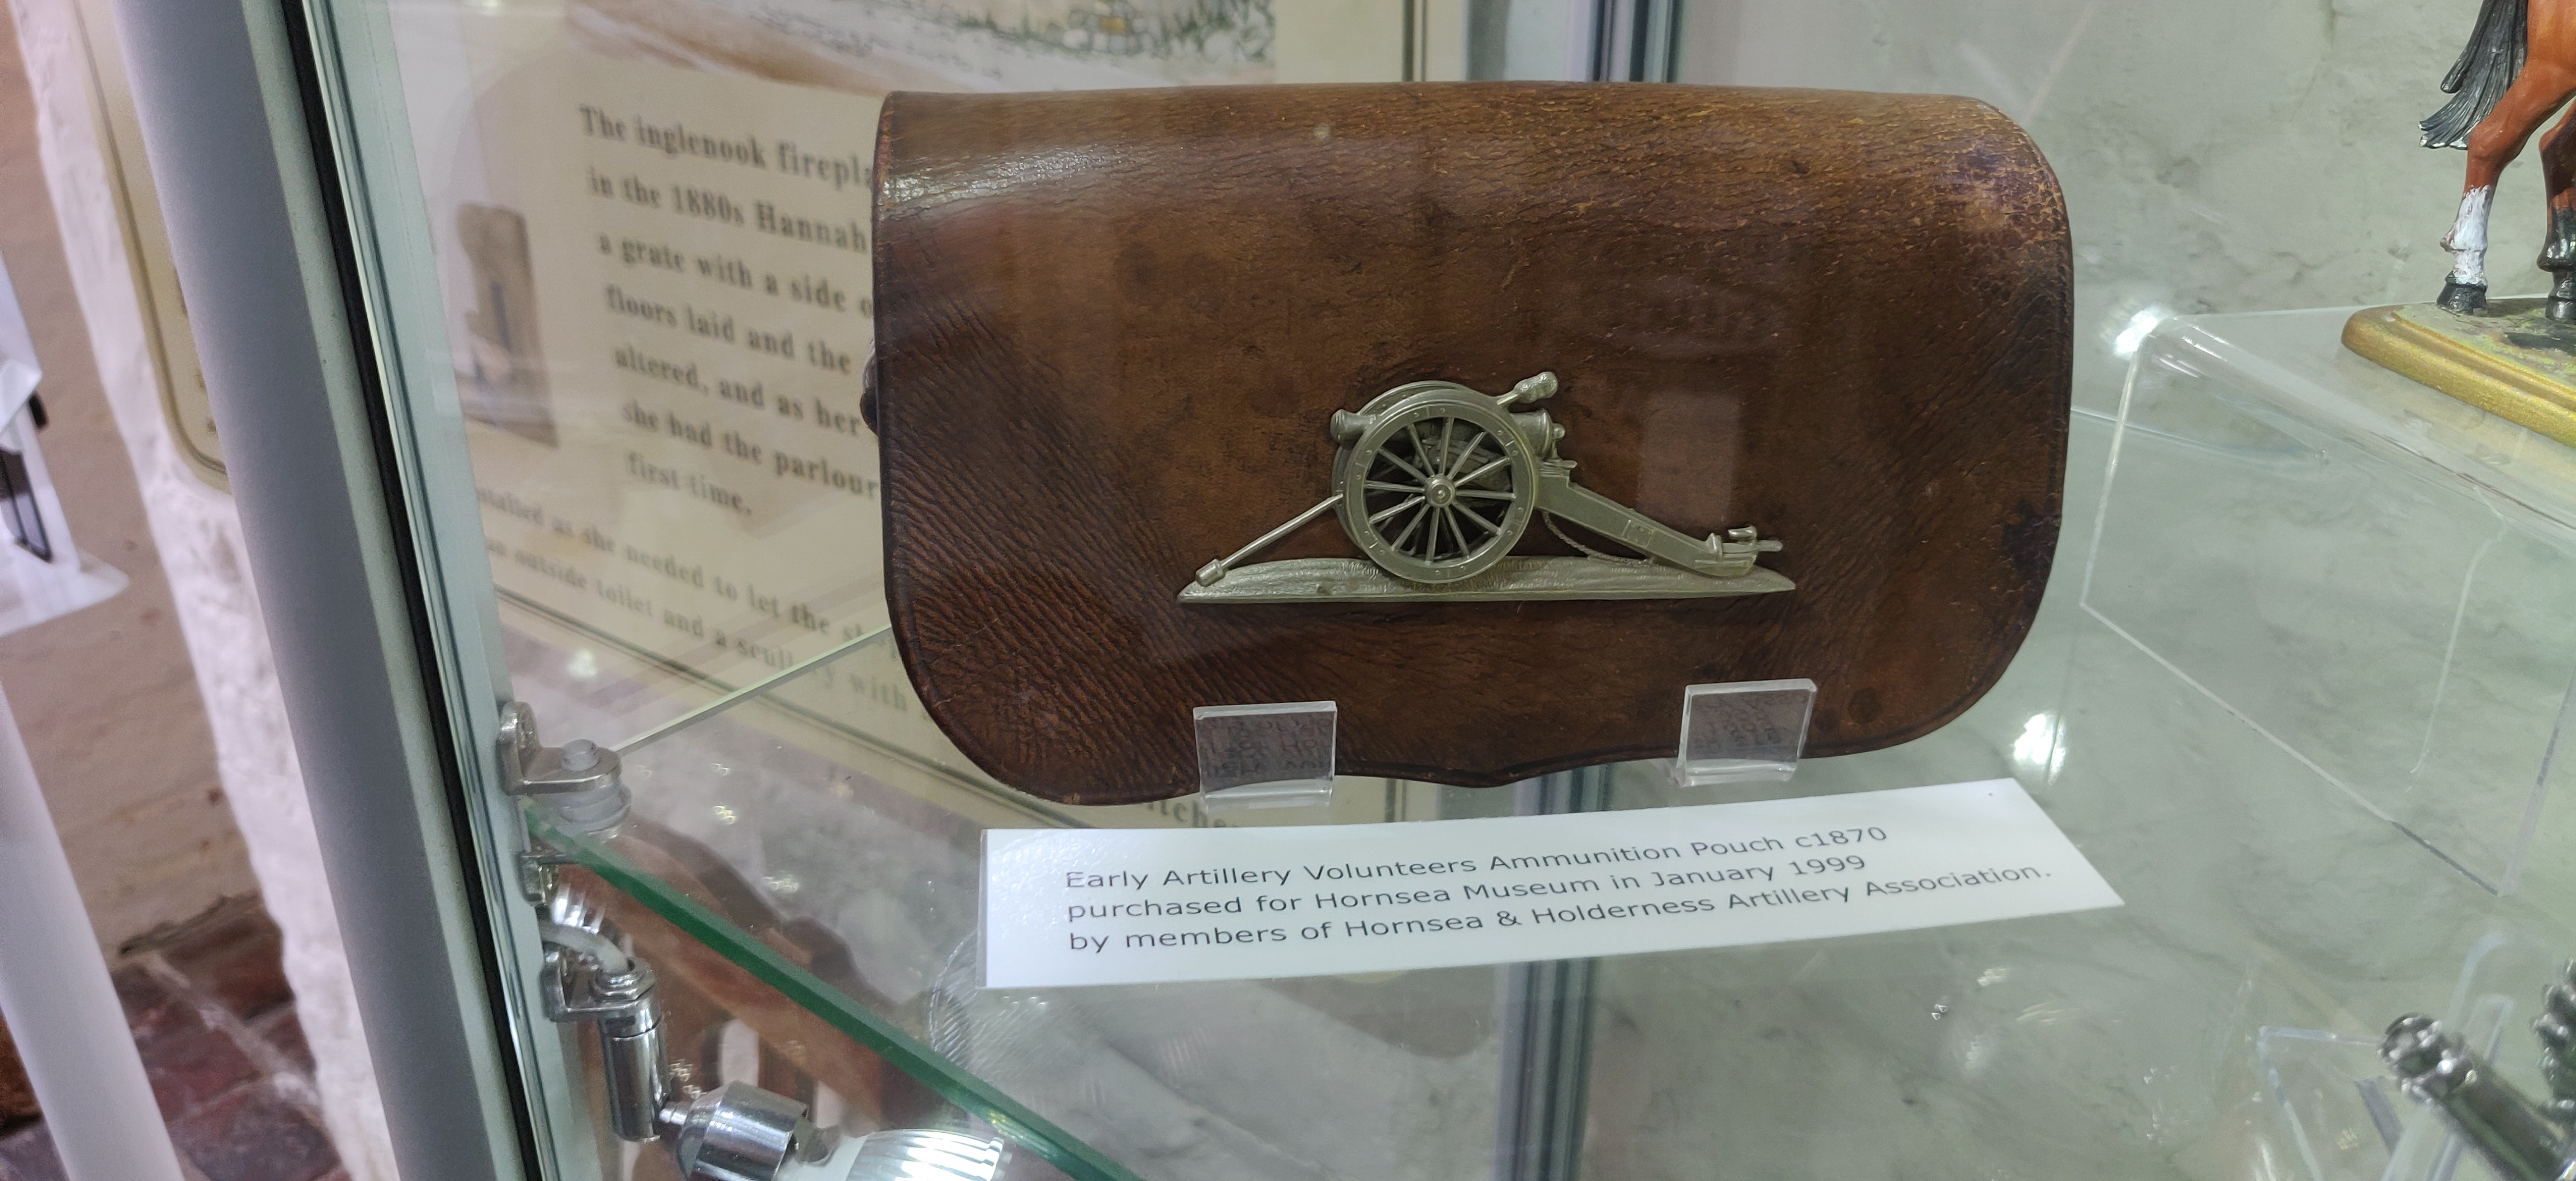
Of course the Victorian period was the great age of the Volunteer Company. Several items in one display showcase the East Riding Yeomanry Artillery.
The unit's ammunition case c1870.
Cap badge and model of a member of the unit.
The typical Tommy went off to war in 1914 in this uniform.
I have never seen the Imperial Camel Corps commemorated in any local history museum, so a first for me!
Service for many men and women spanned both the Great War and WWII of course. More than any previous conflict, WWII was a total war involving every citizen in the country's war effort. So, the Home Front beyond Dad's Army should be commemorated too ~
The air raid shelter saved many a life I'm sure...
...though the 'home comforts' might be a bit on the basic side.
A few signs appropriate to my theme...
...this one in particular emphasising the danger posed even after a raid.
One feature of Hornsea is it's mere, a large body of fresh water, the largest in Yorkshire. The mere played it's part in the Great War as a base for the Royal Naval Air Service and their fight against the German's U Boat menace ~
The RNAS's seaplane, the Sopwith Baby operated on anti submarine patrols from the mere.
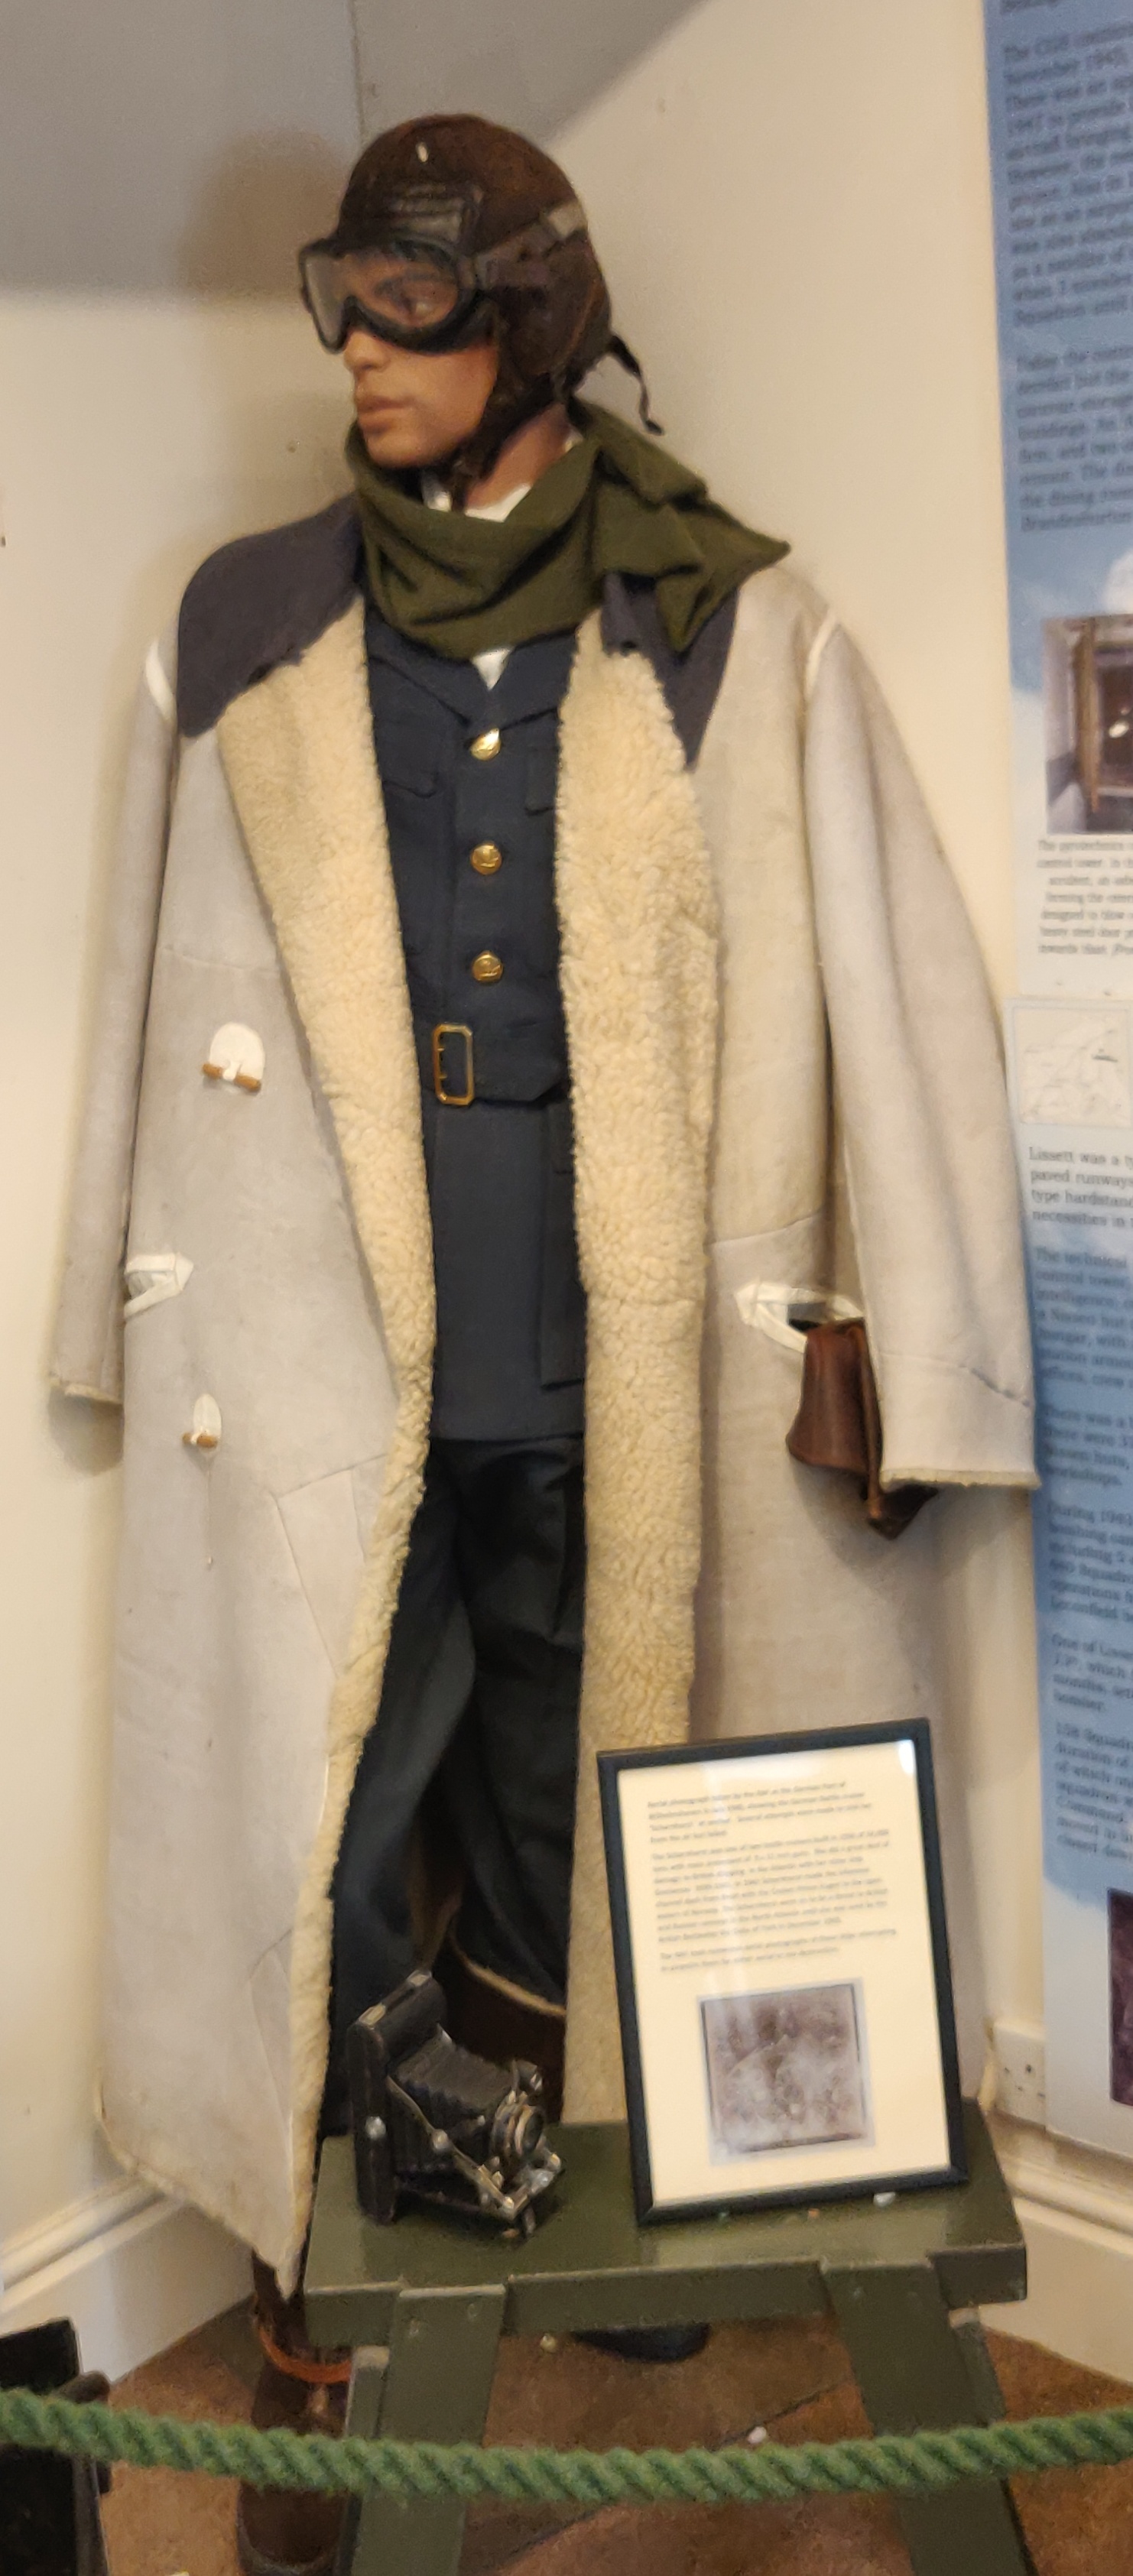
Flying an early biplane was far from a comfortable experience...
...with pilots and observers needing ample protection from the cold at altitude.
The RNAS had its own adapted buttons on its uniforms featuring not the anchor of the RN but the albatross!
Late in the war the RNAS and the RFC were merged to form the newest arm of service, the RAF.
Uniform of a sergeant in the RFC. The army's khaki would give way to the RAF's blue-grey.
The new service would have its own distinctive gallantry awards too. Though like much else they would be tarnished by pointless class divisions!
Of course as wargamers we should never forget that, unlike our games, war has an all too human cost ~
Separation from loved ones was a temporary trauma for many...
...but a permanent grief for all too many.

Our family has been spared that trauma gratefully but we can all take a moment to remember those who have not.
If you are ever in the area I'd really recommend a visit. At £5 it's a snip!


Monday, 10 February 2020

Canal crossing defence 1914

For our regular Monday game, despite the best efforts of storm Ciara - who dreamt up this daft idea of naming storms - Phil and I met up in GHQ for a game set in 1914. The game sees a small British force defending vital road and railway crossings over a canal. If the enemy can cross here in strength then two Corps will be split from each other and the retreat towards Mons placed in jeopardy. As usual Phil took command of the Germans and I took the British. As is usual, a photomontage to show the game unfolding ~
A general view of the situation facing the British defenders strung out thinly along the canal side. Two battalions of infantry supported by some dismounted cavalry and artillery.
To the East of the road bridge crossing the canal the South Stafford's are supported on their right by the dismounted cavalry and to their tear by s battery of 4.5" howitzers.
On the left of the British line the Derbys are making use of the cover offered by a ruined farm and the orchard to its west. The British infantry get the First Fire rule and the Sharpshooter rule to reflect the 'mad 5 minutes' of their shooting training.
On the German right a battalion of Jaeger's have made slow progress along a wooded ridge overlooking the British right. Their fire will prove a major problem for the British trying to respond to pressure elsewhere along their front.
On the German right flank progress is slow die to confusion over orders (poor Command dice) and the effects of the terrain.
Casualties begin to make their way to the Field Dressing Station past the British commanders poring over their maps.
The 4.5" howitzer battery scores a bit on the German 77mm. The batteries would indulge in a counter battery duel more or less all game with little damage to either battery!
Fire from the Jaeger battalion causes Disorder to two companies to the east of the road bridge. They were Disordered for most of the games turns, pretty much reducing their own fire effectiveness to zero in many cases.
A German battalion on the right advances on the railway bridge over the canal. The British defenders can be seen in the distance over the wheat field.
The battalion machine gun has deployed near a ruined house. It's fire will help to support the attack in the coming turns.
Casualties are beginning to mount for the South Staffords but they are doggedly holding on.
The Germans begin to cross the railway bridge despite the concentrated fire of the defenders.
The Jaegers do not need to advance, they have pinned the thinly spread British right with their rifle fire alone, making use of their Sharpshooter rule. The battalion machine gun is in the rear having been driven back by the British sharpshooting!
Casualties are becoming more noticeable for the British around the two bridges. The Germans are concentrating for an assault on both sites.
Despite the overgrown nature of the orchard the Derbys move two companies out on their left to try to fire into the flank of the attackers. A good idea undermined by slow movement (or poor Command rolls!)
Fire from one of the RHA batteries has damaged one German 77mm battery and an infantry company has received heavy casualties from machine gun fire. The attack across the railway bridge has been blunted.
"Charge!" The German battalion sends two companies over the bridge in an attempt to break through and support the attack across the railway bridge. Closing fire fails to stop the attack and vicious hand to hand fighting ensues over the barricades.
The Uhlans canter across in support of the infantry attack hoping to break through into the rear of the British defenders and wreak havoc.
Despite being Shaken by mounting losses the defenders drive off the first wave of attackers with heavy losses.
In Turn 10, the final turn, the German army morale breaks and the attack on the bridges has failed. In the end this was due to one failed melee on the British left where a Shaken company defeated a German charge lead by the battalion commander in person. Despite the odds British steel, backed by British pluck, saw off the Hun in short order!
We used Black Powder 2 with our own in-house developments for 1914. They were featured in a WI article back, I think, in 2018 sometime. They produced a close game which might at the death have swung either way.