David Bickley's Wargames Blog

The occasional ramblings of an average gamer, journeyman painter, indifferent modeller, games designer, sometime writer for Wargames Illustrated and host of games in GHQ.


Showing posts with label Vietnam. Show all posts

Monday, 2 November 2015

Double Header

After a period of life when games seemed almost as rare as hen's teeth, along came today with not one, but two games played! Phil was over for the day today, rather than the usual afternoon game we tend to have, due to a change in personal transport options! The result was that we were able to play one game before lunch and a second after. The morning game was another Late Roman Civil War game, which I'll return to in a dedicated post later in the week, while the afternoon session saw us returning to the Vietnam War for the first time this year I think!


My 20mm collection is quite small really and I can't see me adding to it, unless I light on some cheap painted fugues on eBay or on a Bring and Buy somewhere. I have a number of tanks and helicopters, mostly in 15mm scale as prepainted Die Casts, but they do for us. One such figures in today's scenario, requiring the American player, one Lt Robinson, to rescue the crew of a downed helicopter before the local VC, lead by the cunning Major Ho Bic Li can carry off the drew for interrogation! The table is laid out with a village on the edge of the table. A road crosses the river and exits the table through the village. The American convoy enters from table left, while the Vietcong are distributed randomly by markers {50% of which are dummy blanks} as you can see in the following picture ~
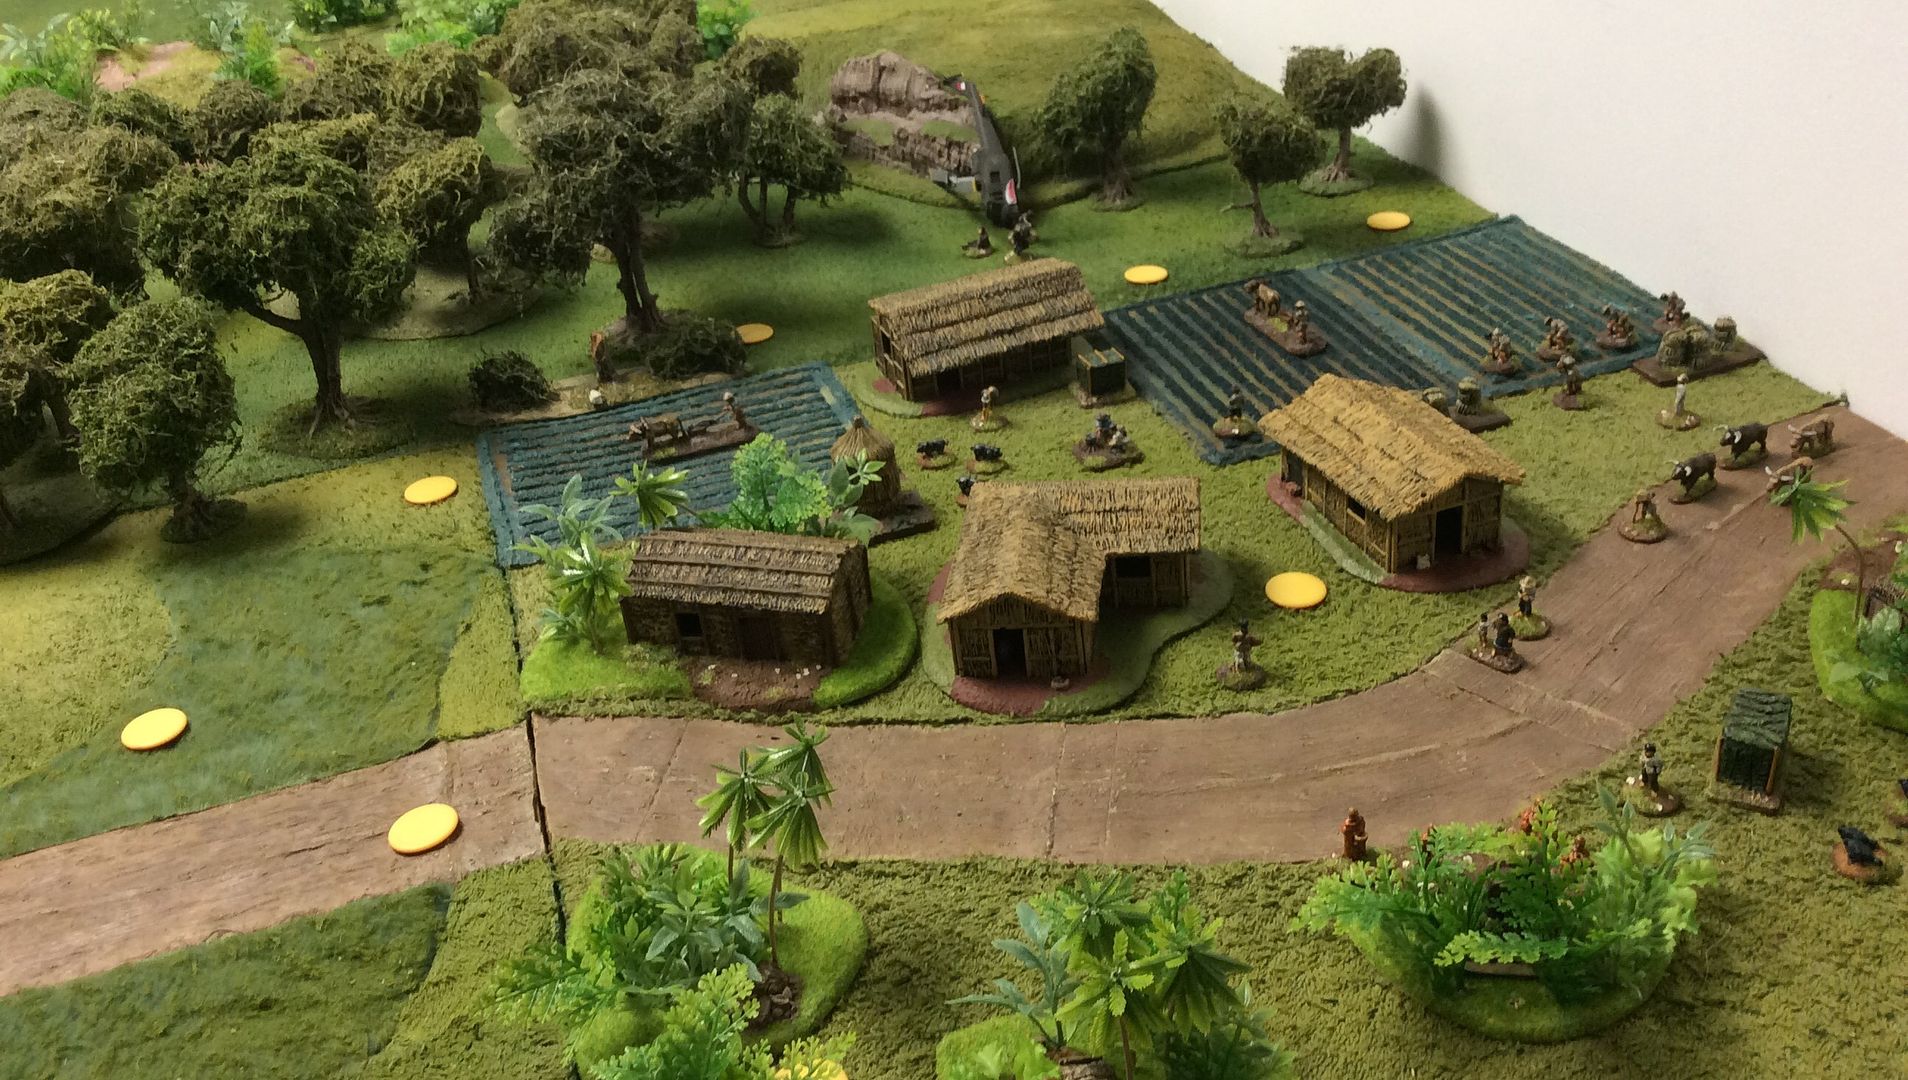


The villagers of Pah-Doc are strictly neutral and can move 1x D6 when their movement card is drawn, their movement chosen by the player whose card was drawn immediately previously. A close up of the village shows the main distribution of these extras ~
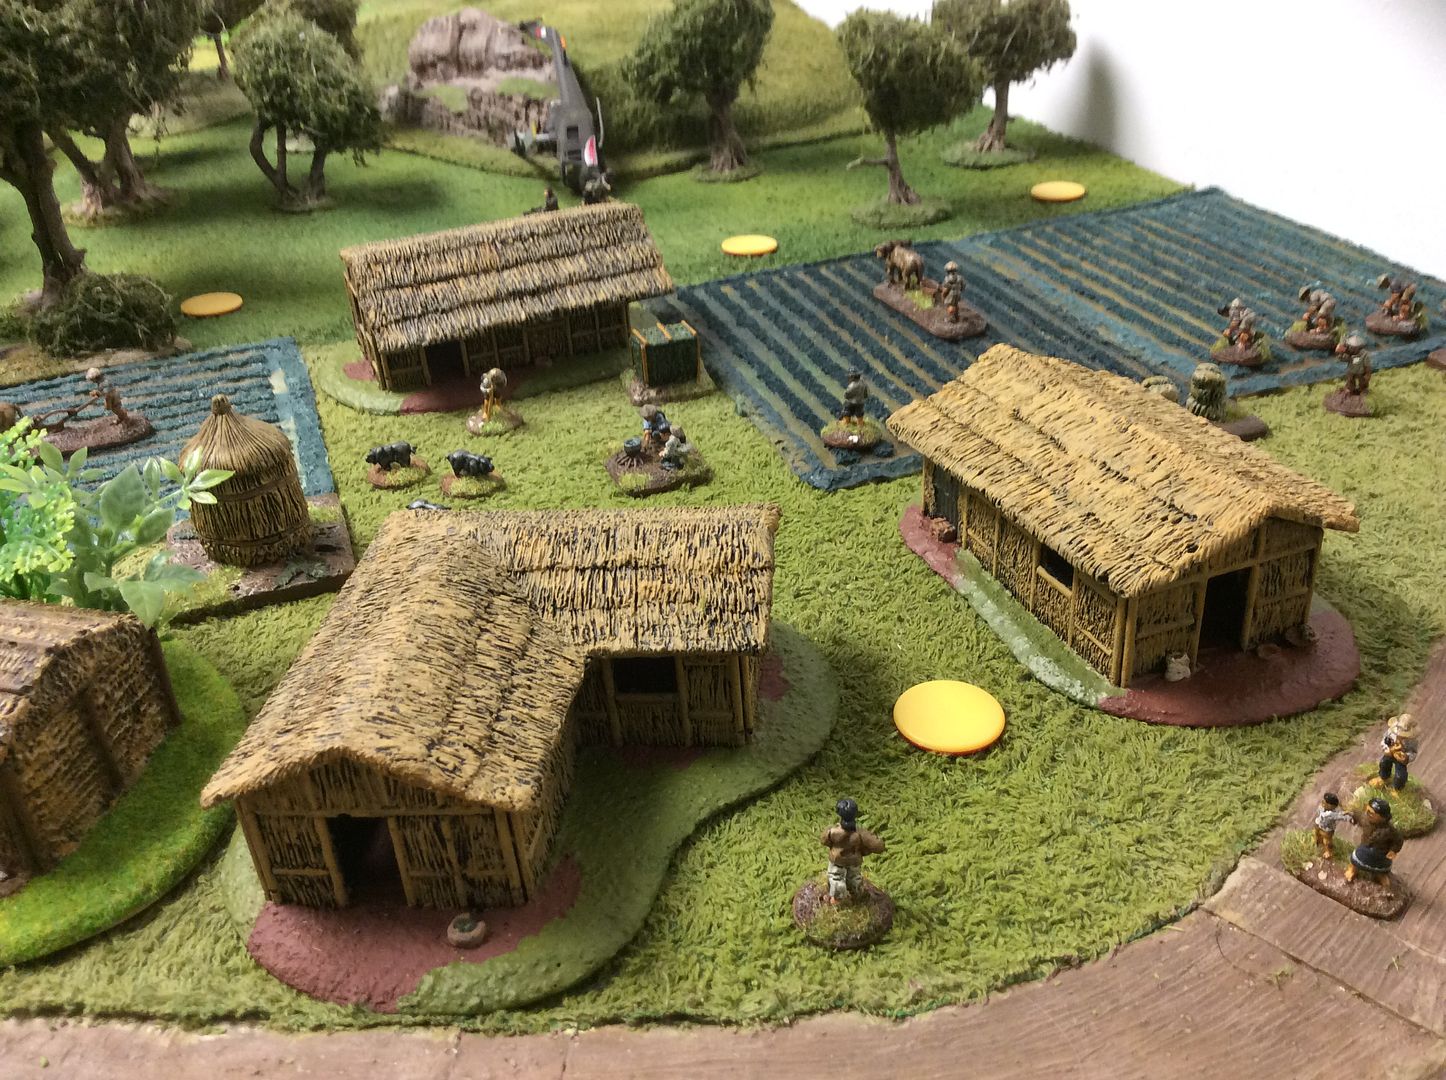


The Americans enter from table left in a motorized convoy and must locate and rescue the crew of the downed helicopter. Each element moves individually on its card being drawn each turn while the Vietcong are activated by any American element passing within 6" of a marker, the net drawn Vietcong card determining which element is deployed. {Note: there are fewer Vietcong markers than elements, so the Vietcong player does not know the composition or distribution of his rapidly assembled force.}
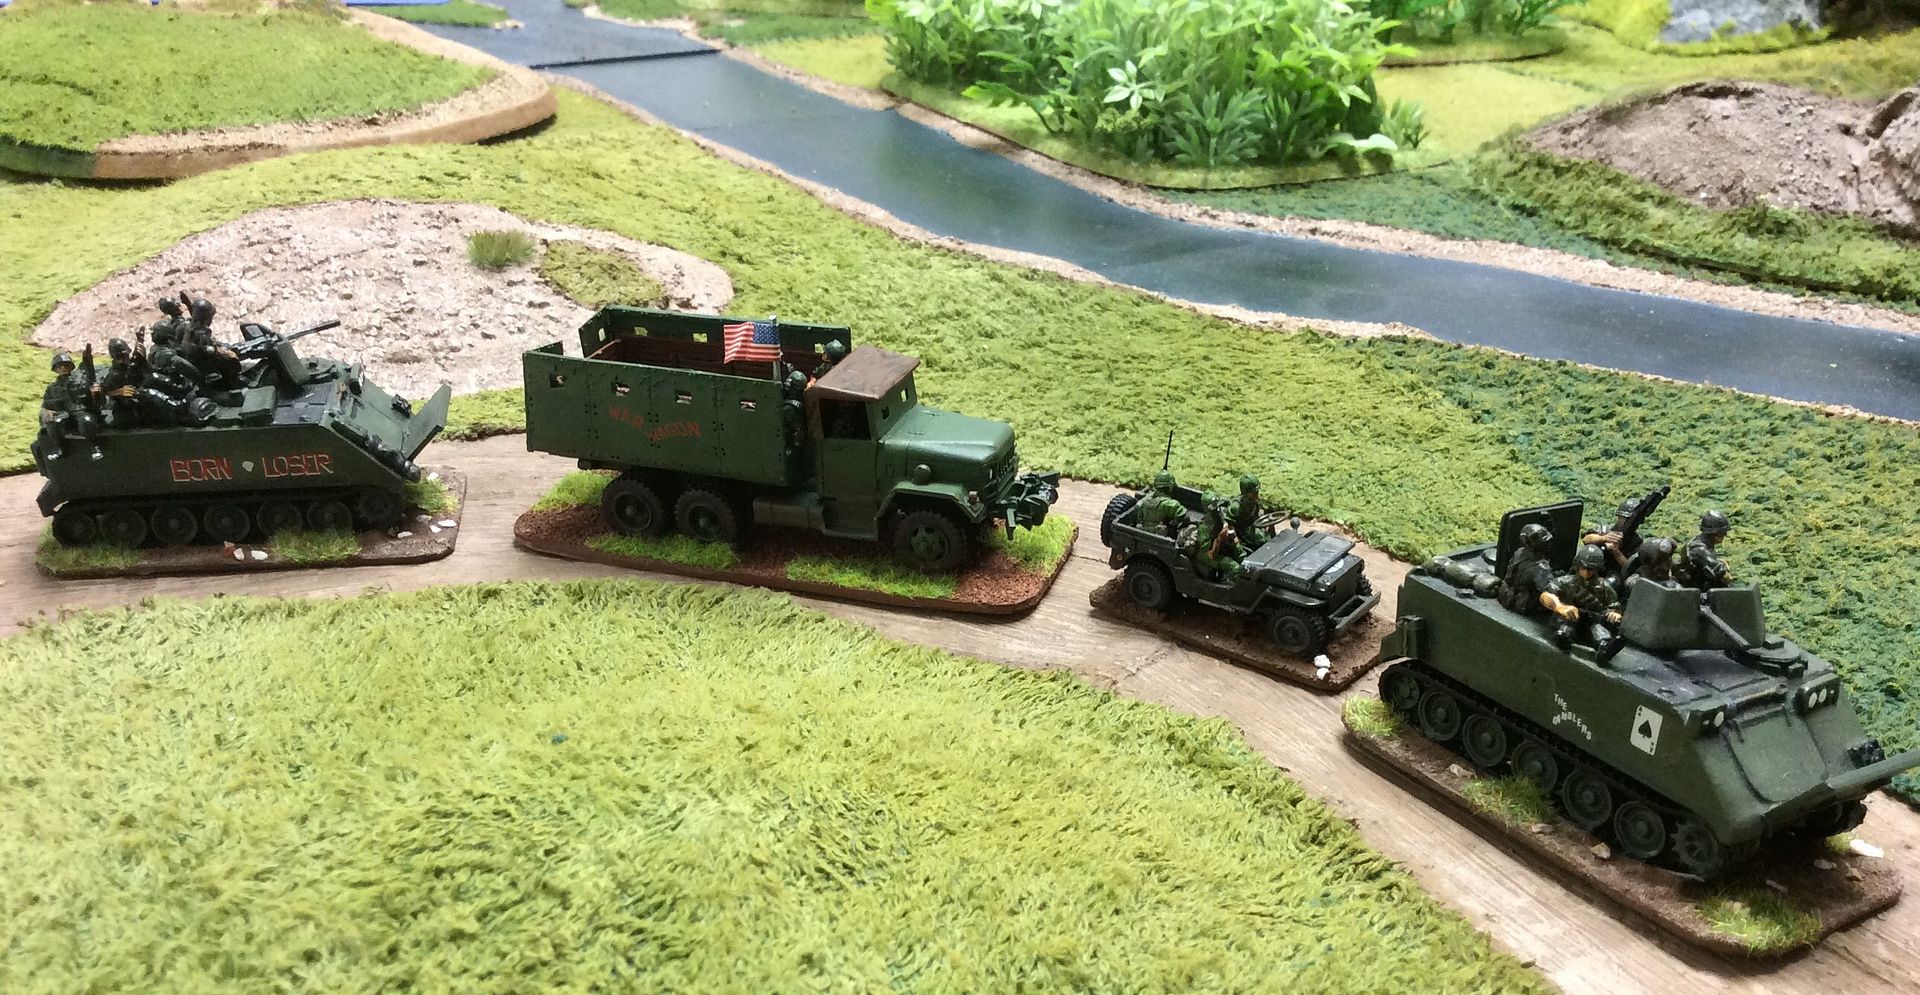


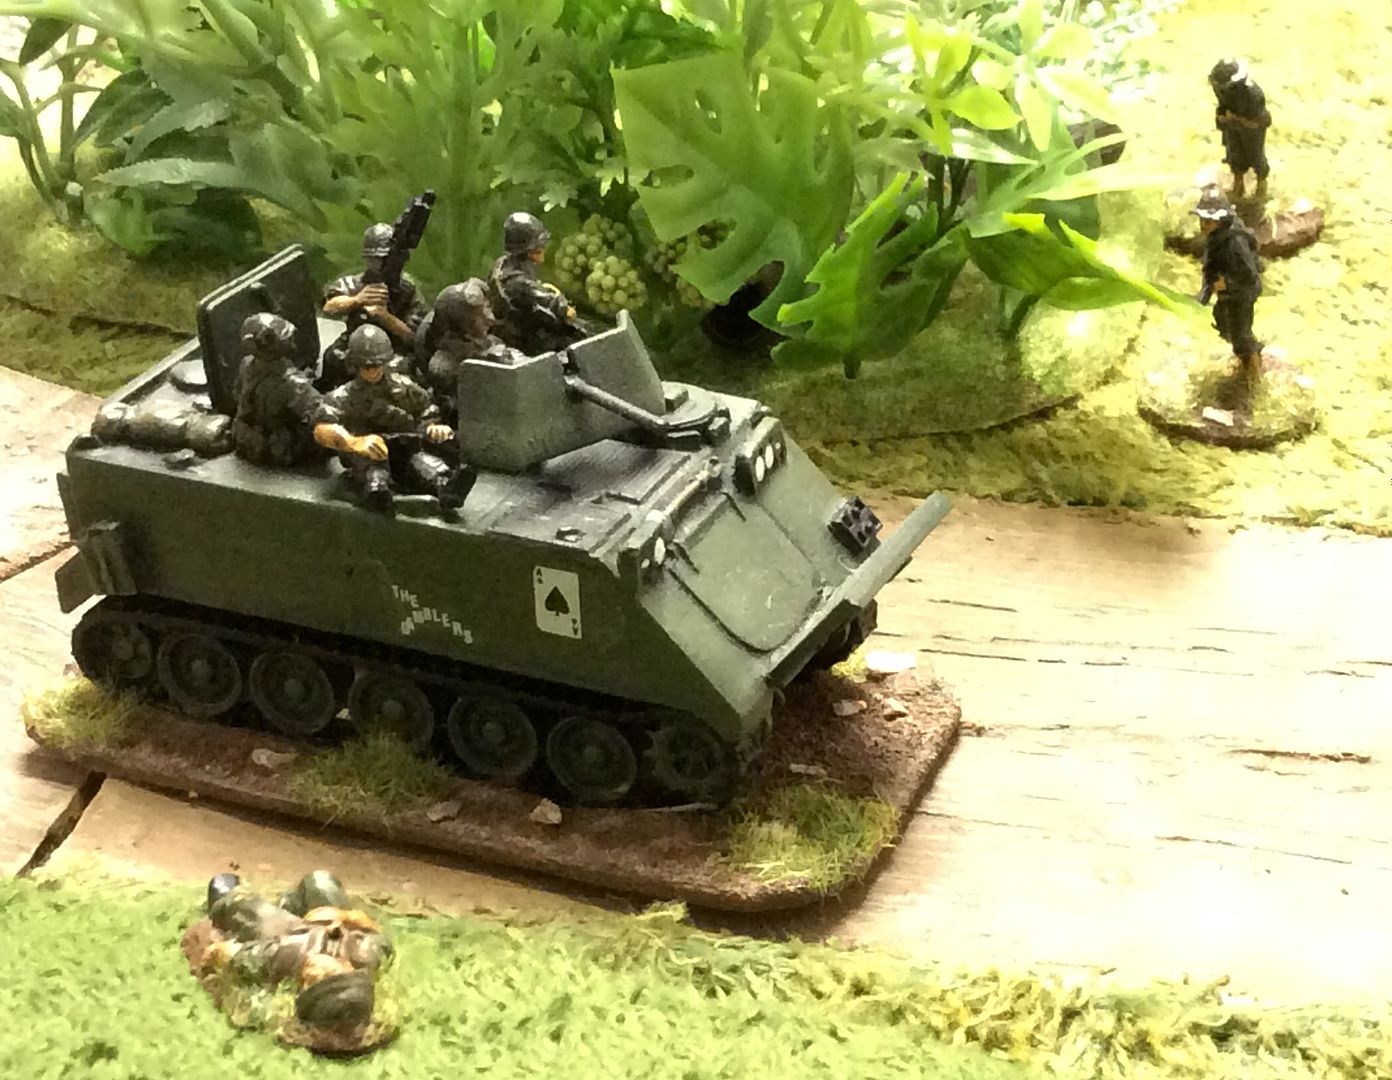
Obviously, the American player will get a number of moves before any Vietcong can be activated when he has crossed the river and met the first of the encounter markers. First up was an encounter between the Vietcong HQ of Major Ho Bic Li and one of the M113's. One American is killed by enemy fire from the ambush, but in return two VC are killed and one suppressed!


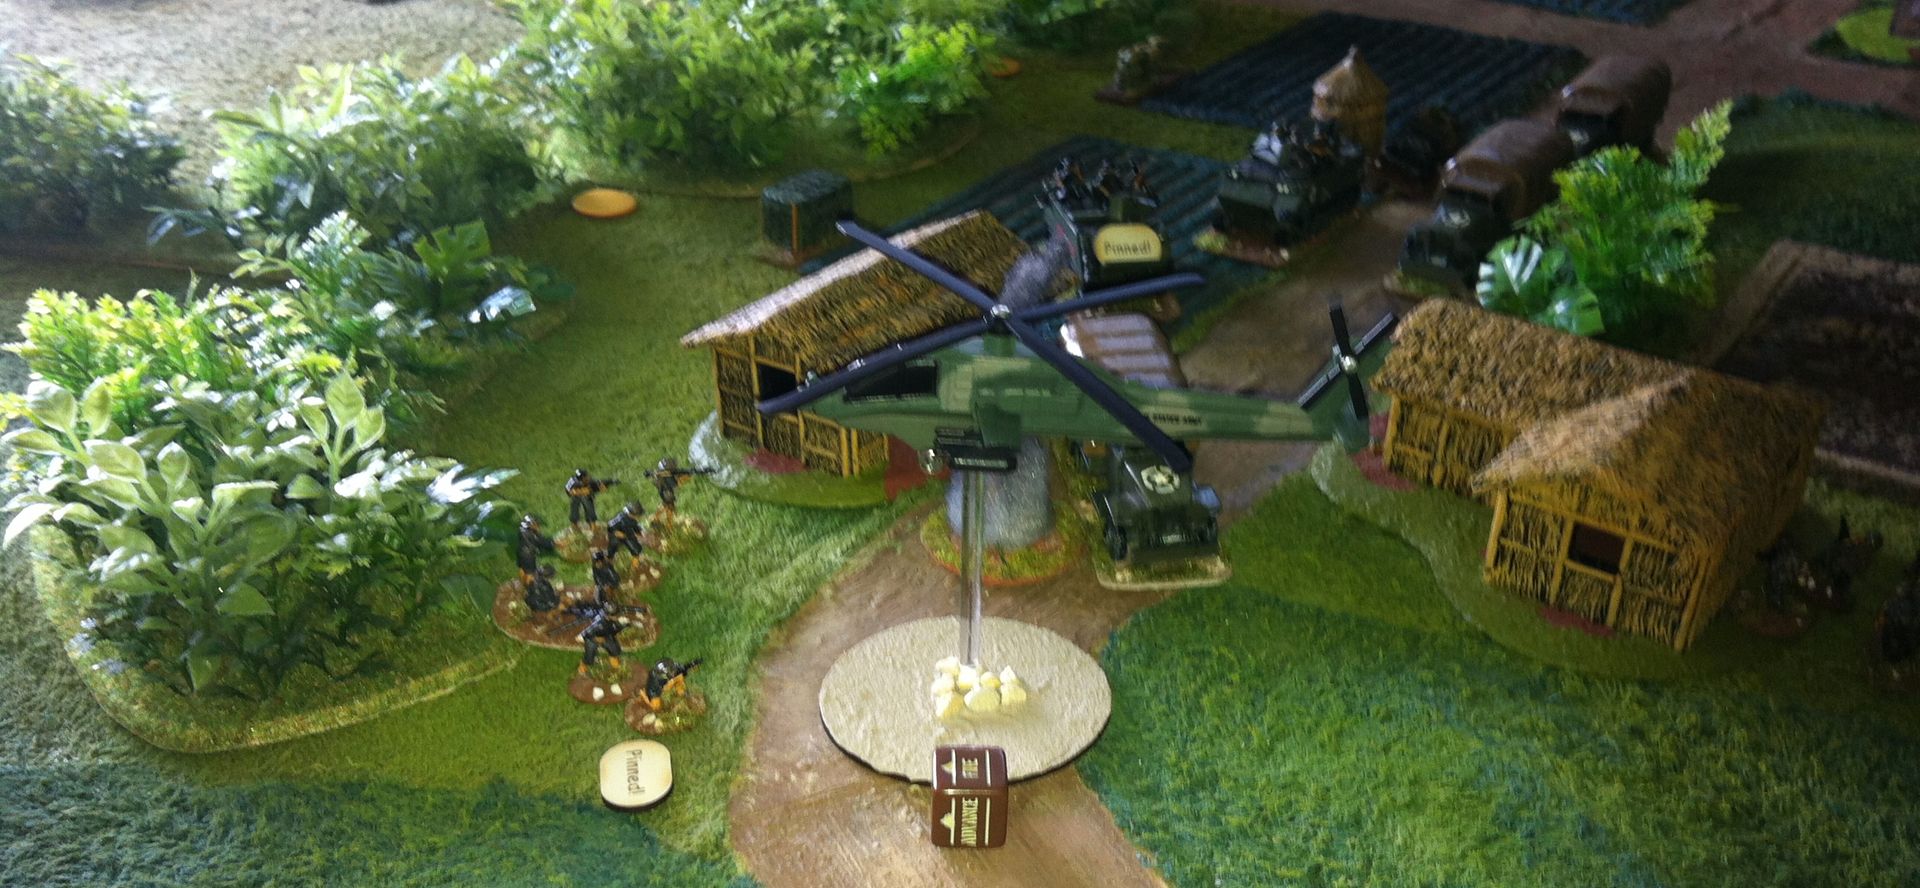
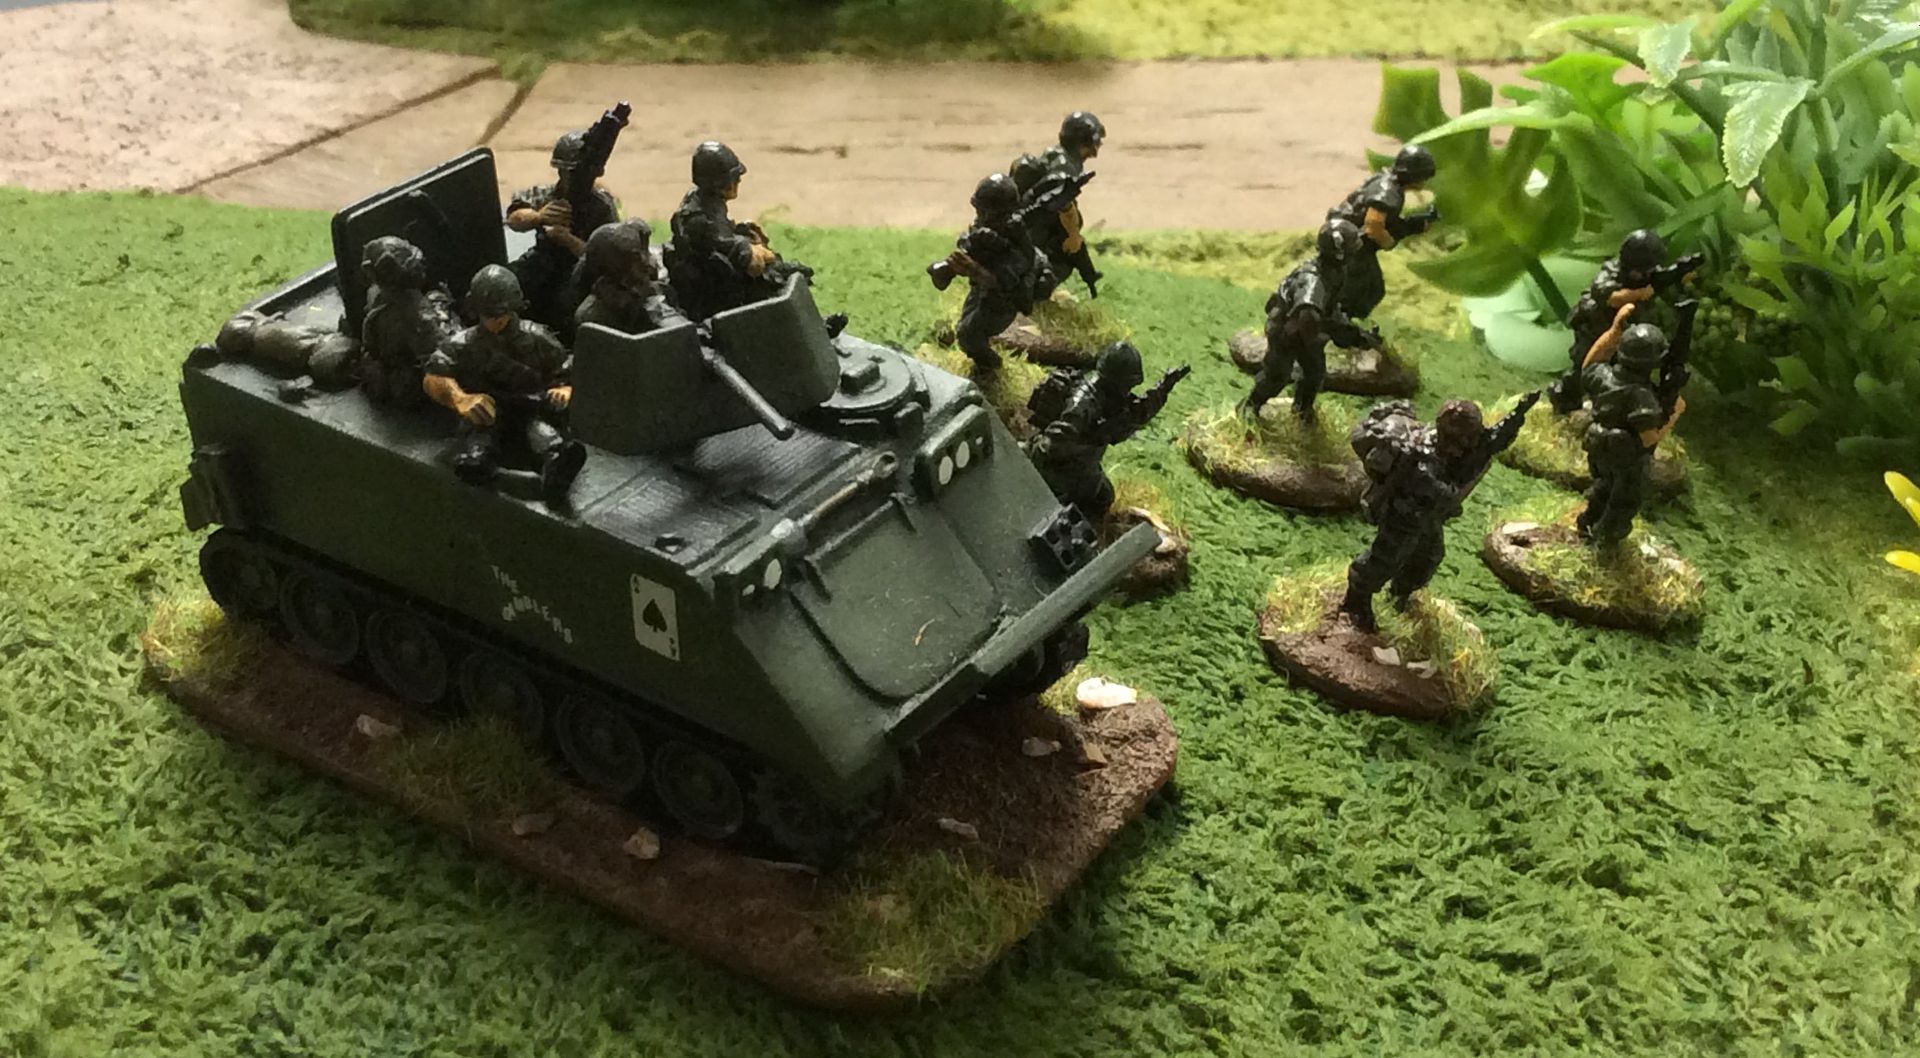
Sergeant Paddock's squad debuses quickly from their M113 to deal with a second VC squad barring their advance on the village. These heroes were to absorb a tremendous amount of enemy fire from two VC squads as well as devastating mortar fire as the game progressed, but lets not get too far ahead of ourselves just yet ~


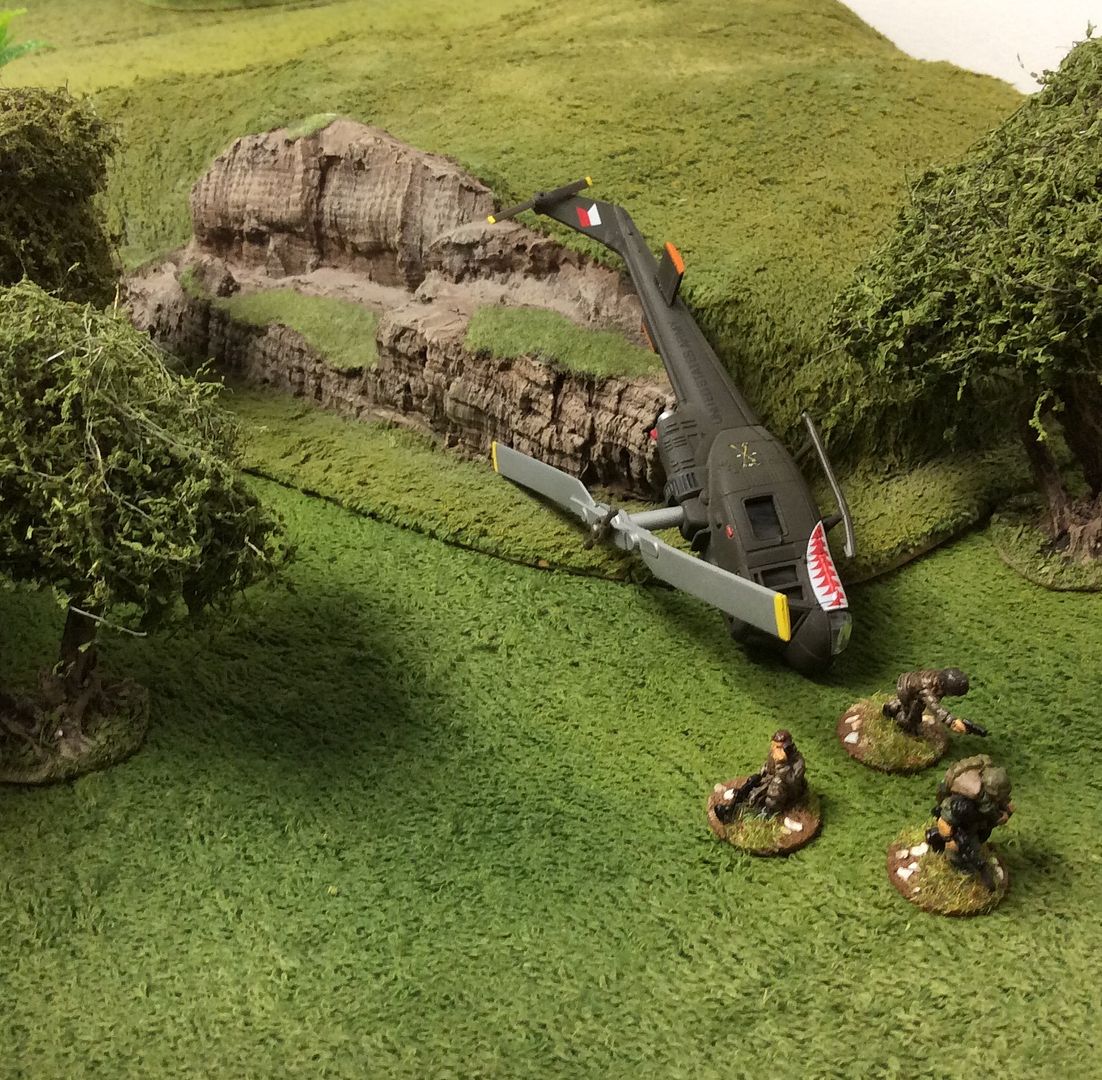
Despite there being three encounter markers just beyond their crash site, the downed chopper crew decide to try to move towards their rescuers. The markers are subsequently activated: one is a blank but two are the real thing. The card draw produces two VC rifle armed squads! In a melee one crewman is taken prisoner by one enemy squad and two escape the VC's clutches! The VC who capture the crewman must now try to get him into the village an off the table. They move at 1 x D6 each turn, while he can escape on a 20% chance each turn. The second VC squad is free to pursue the escaping crewmen in the next round of the game. Meanwhile, another VC rifle squad is engaging Paddock's men and holding up the rescue attempt ~
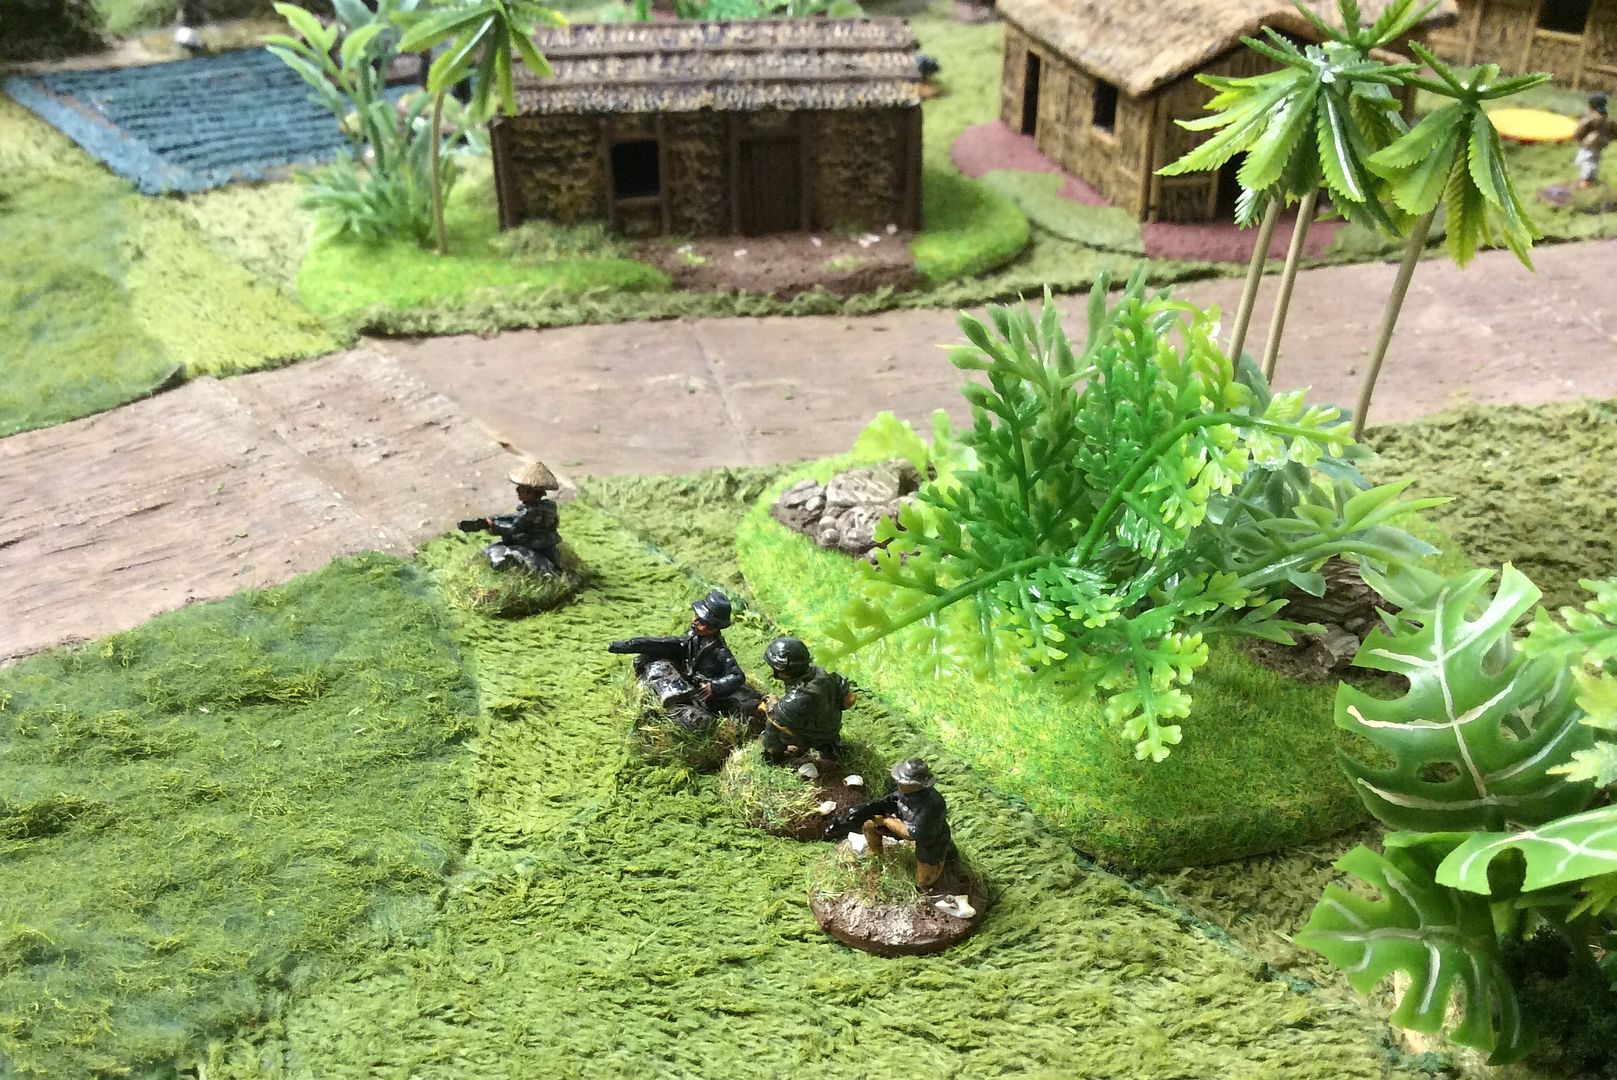


Casualties are steadily mounting for the Americans on the hill overlooking the village from a combination of VC rifle squads and the mortar fire from beyond the village. The Medic is the busiest man in the HQ squad at this stage!
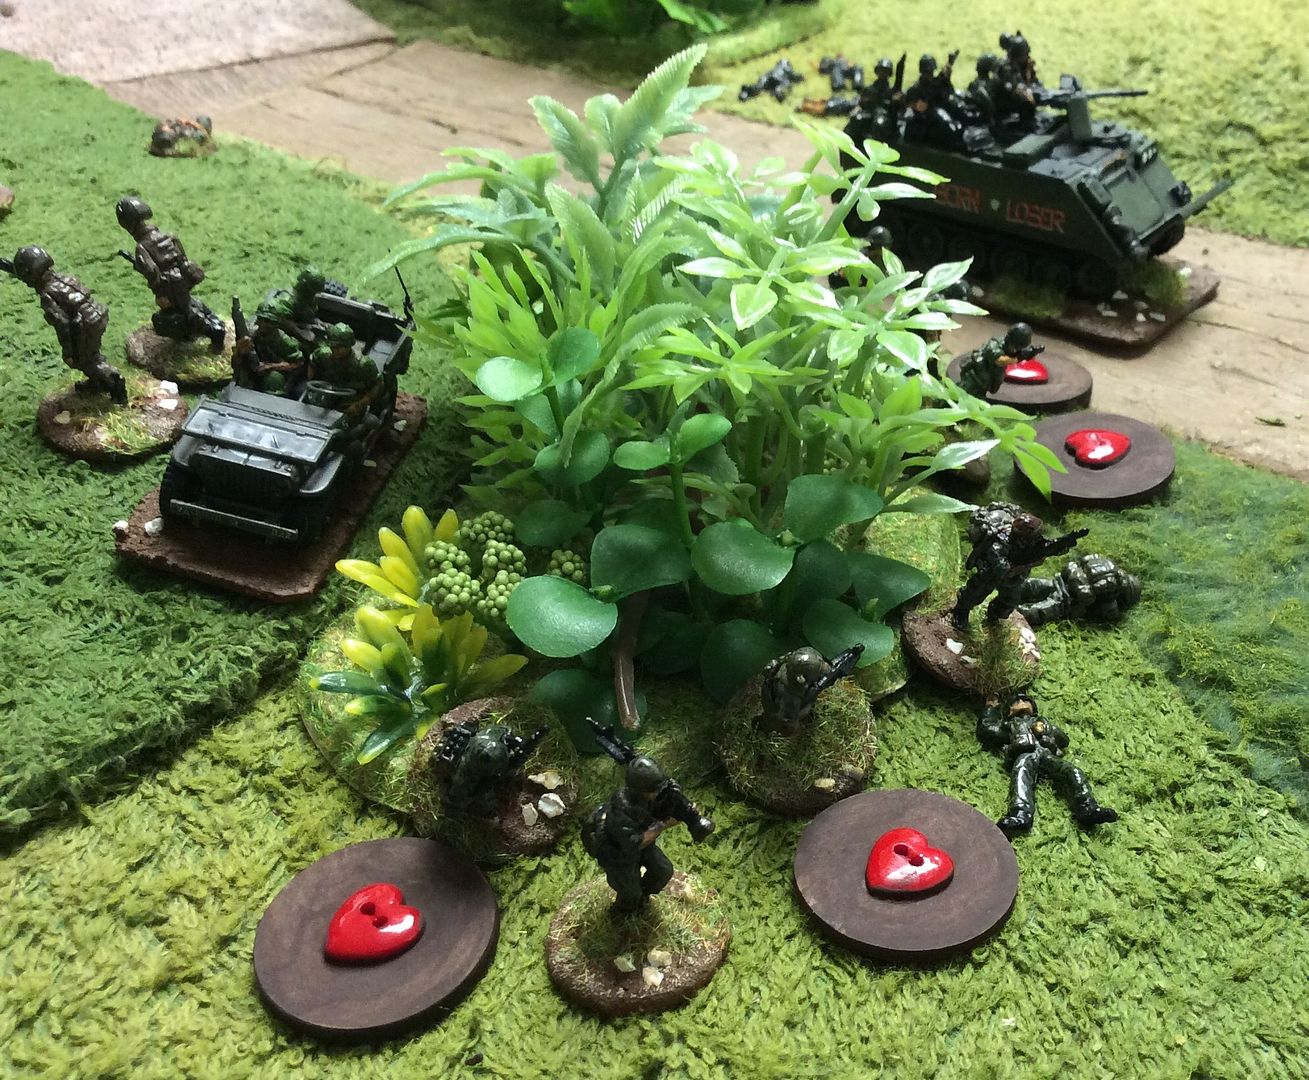


As you can see in the picture above two crew men have made it to safety, their escape covered by the heroes of the hill! The third crewman is loose in the village, being hunted by another VC squad, while the captured crewman is being very slowly escorted from the area ~
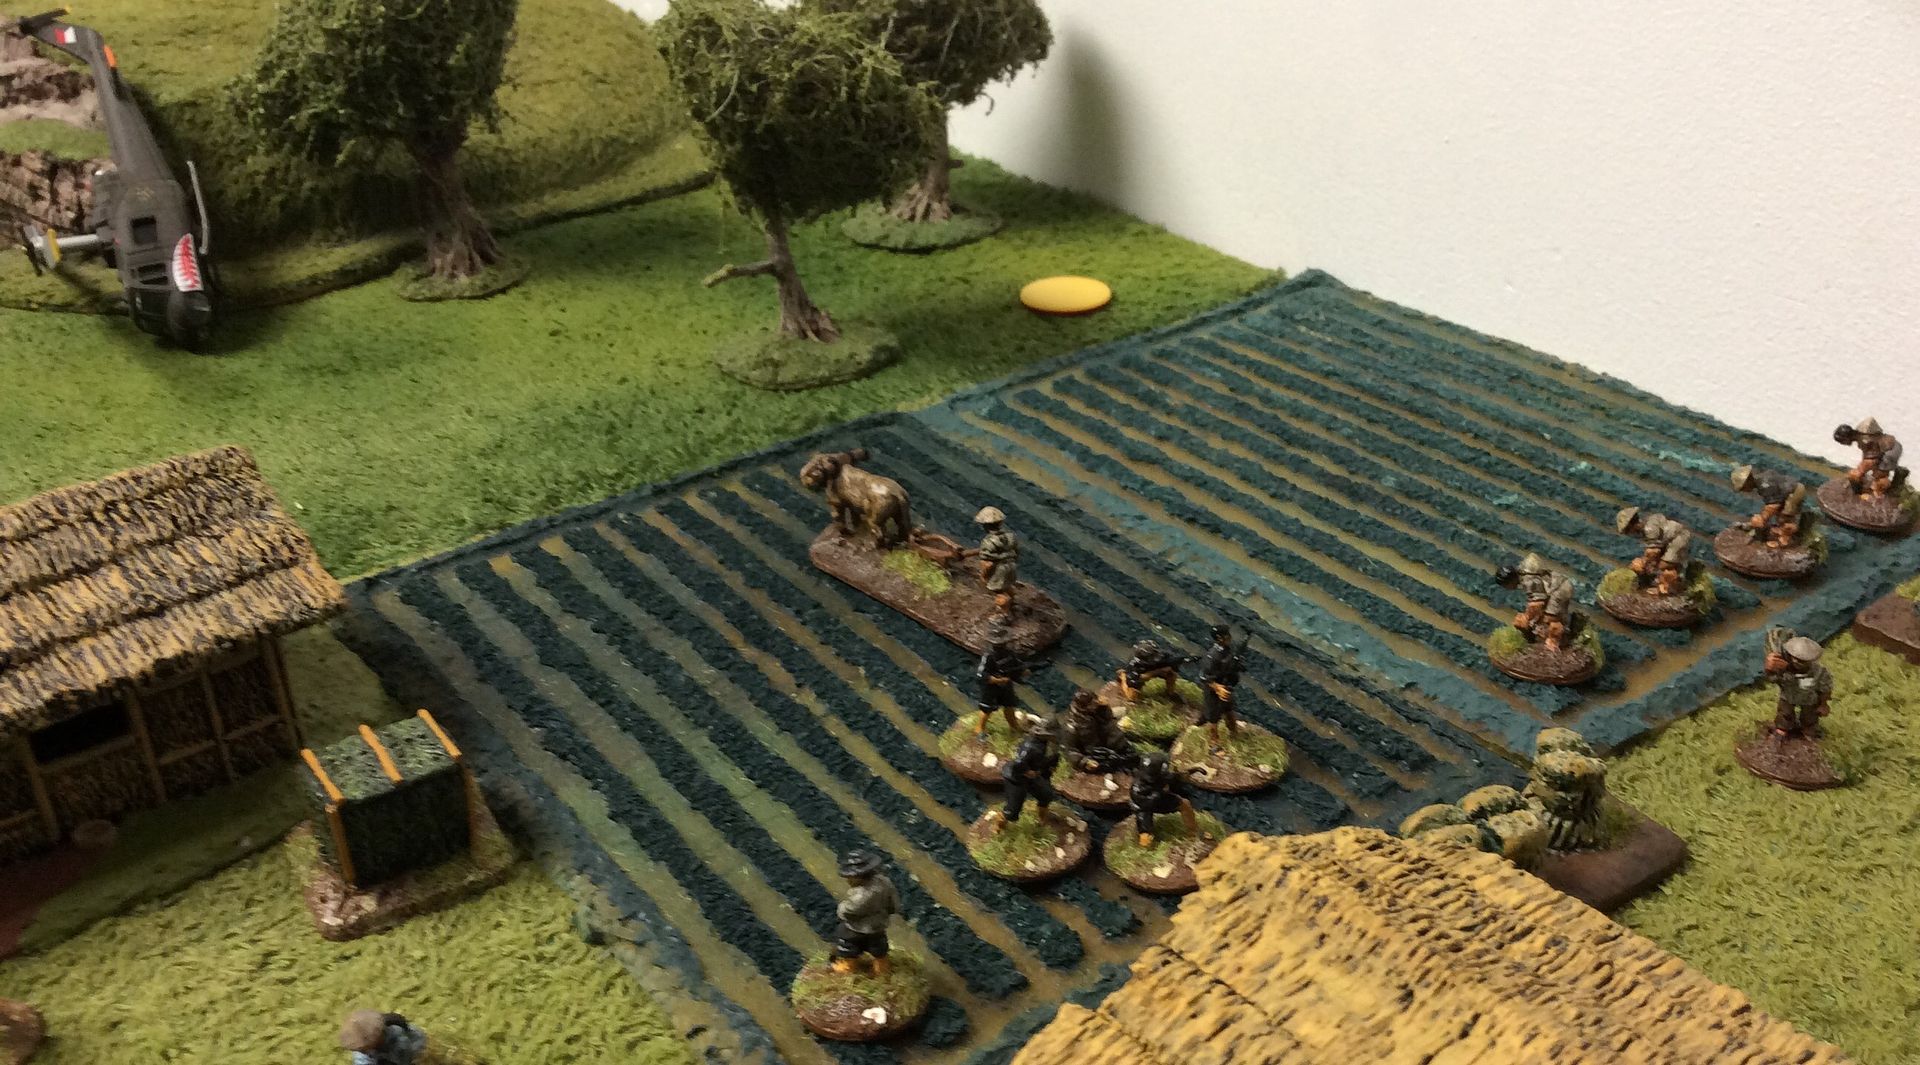


The second US squad, under Sergeant Moore, have rapidly advanced up the road and risked activating other VC markers, which all turn out to be blanks! Where are the VC RPG squads I am wondering at this stage? Under the cover of US fire, the captured crewman rolls 19% and escapes the clutches of his VC captors! He makes a dash for the friendly faces of the US grunts, despite picking up two wounds in the fire fight with his captors!


Its all up for major Ho Bic Li as his forces are scattered and the four crewmen are rescued! He is left to rue the draw of the cards and the random distribution of his forces.


The final body count shows five Americans killed and several wounded, but most patched up by the Medic in the course of several turns under heavy enemy fire! The VC suffered twelve dead and fifteen suppressed, so a comfortable US victory in the end to add to the rescue of the four crewmen. I was mainly undone by the failure of my two RPG squads to materialize on the table, but that was the chance element built into the game. Neither player knows what or where the VC will appear, so its a case of throwing caution to the winds to rescue the men or of a steady and coordinated attack to determine the disposition and strength of the enemy. Phil began with the latter option, then absorbed casualties until his second squad were in position to make a dash for the village and effect the last rescue. My VC put up a stiff fight but were out gunned when no machine-gun or RPG squads turned up in my force. But still, the game lasted about 12 turns and was very tense for both of us right up to the end. If only my prisoner escort squad had not found the rice paddy such heavy going I might have claimed a minor victory point!
For those who like to know such things, the figures are mainly SHQ and Britannia, with others from several sources including one long gone company whose name I just can't recall but who I wish I had bought more from years ago at a SELWG show I attended while staying with Matt in London! The buildings I've no idea who made, but I know I bought them from Shaun of The Bunker fame at one Partizan show! The wound counters I made up from a £1.00 bag of novelty buttons bought in Hobbycraft! The helicopter is a Corgi die cast pre-paint job while the vegetation is a mixture of The Last Valley and home made stuff using aquarium plants! Make sure to pop back later in the week to see how the Ancient game in the morning session panned out!

Thursday, 5 June 2014

The Pah'Doc Patrols makes a rare return to GHQ!

I have a small 20mm Vietnam War collection which I started on impulse many moons ago when attending a small show, I've forgotten which one, near Manchester. They had a Bring and Buy, with all sorts of stuff laid out in any old order I recall. Amongst this was a large plastic bag full of unopened SHQ Vietnam War infantry packs and a small A5 rule set, 'Bodycount' I think. It was priced at £5.00 so I snapped it up, as many gamers would I think, and only when I got home did I wonder why! Beyond TV coverage as I was growing into adulthood I knew next to nothing about the war, after all our Government carefully avoided any involvement. The packs stayed in the cupboard a long time I remember that! But, eventually, I decided to take the plunge and paint the little chaps up. Of course, being a wargamer I then decided I needed a few more figures; and some buildings; and a few civilians and livestock; and some vehicles; and finally a helicopter or six! I needed some rules, having rejected three different sets for various reasons, and I lighted on a free card driven set on the net somewhere, I've long since forgotten where before anyone asks. We used those for our occasional games for a number of years before interest waned and they collection was boxed up and put away. Enter Bolt Action rules, followed by an interesting set of suggested amendments in an issue of Wargames, Soldiers and Strategy. Jon and I decided to give it a whirl in our latest game here in GHQ recently and what follows is a photo montage of the game. A 12 turn cliff hanger as it turned out!
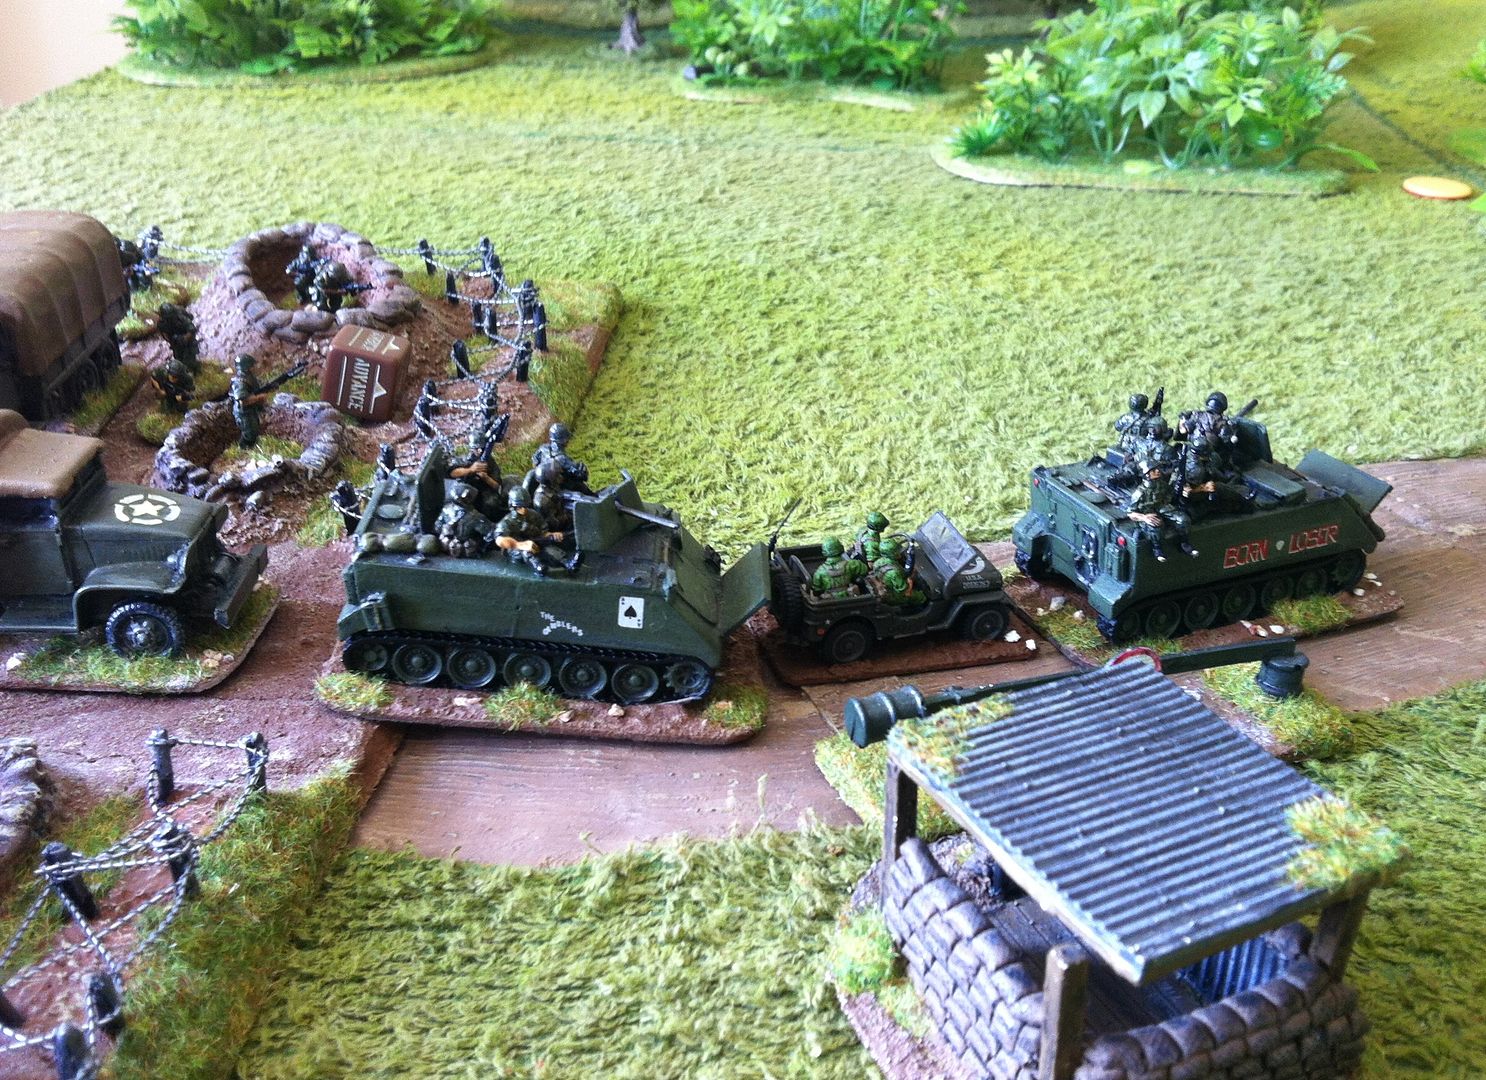
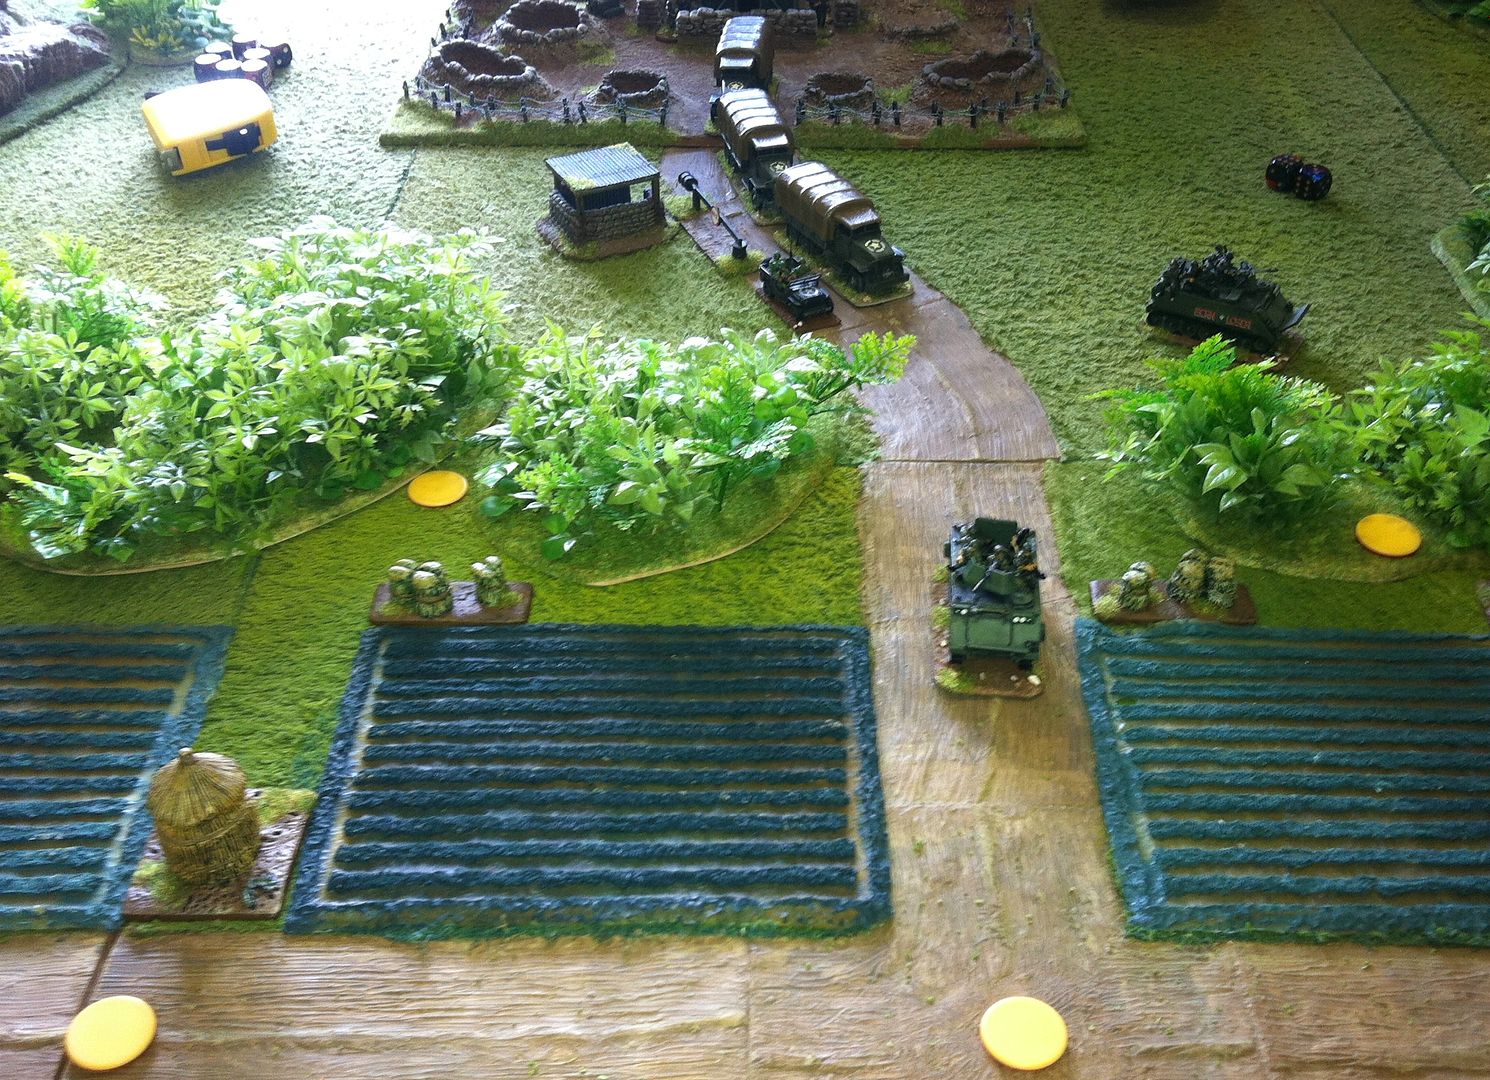
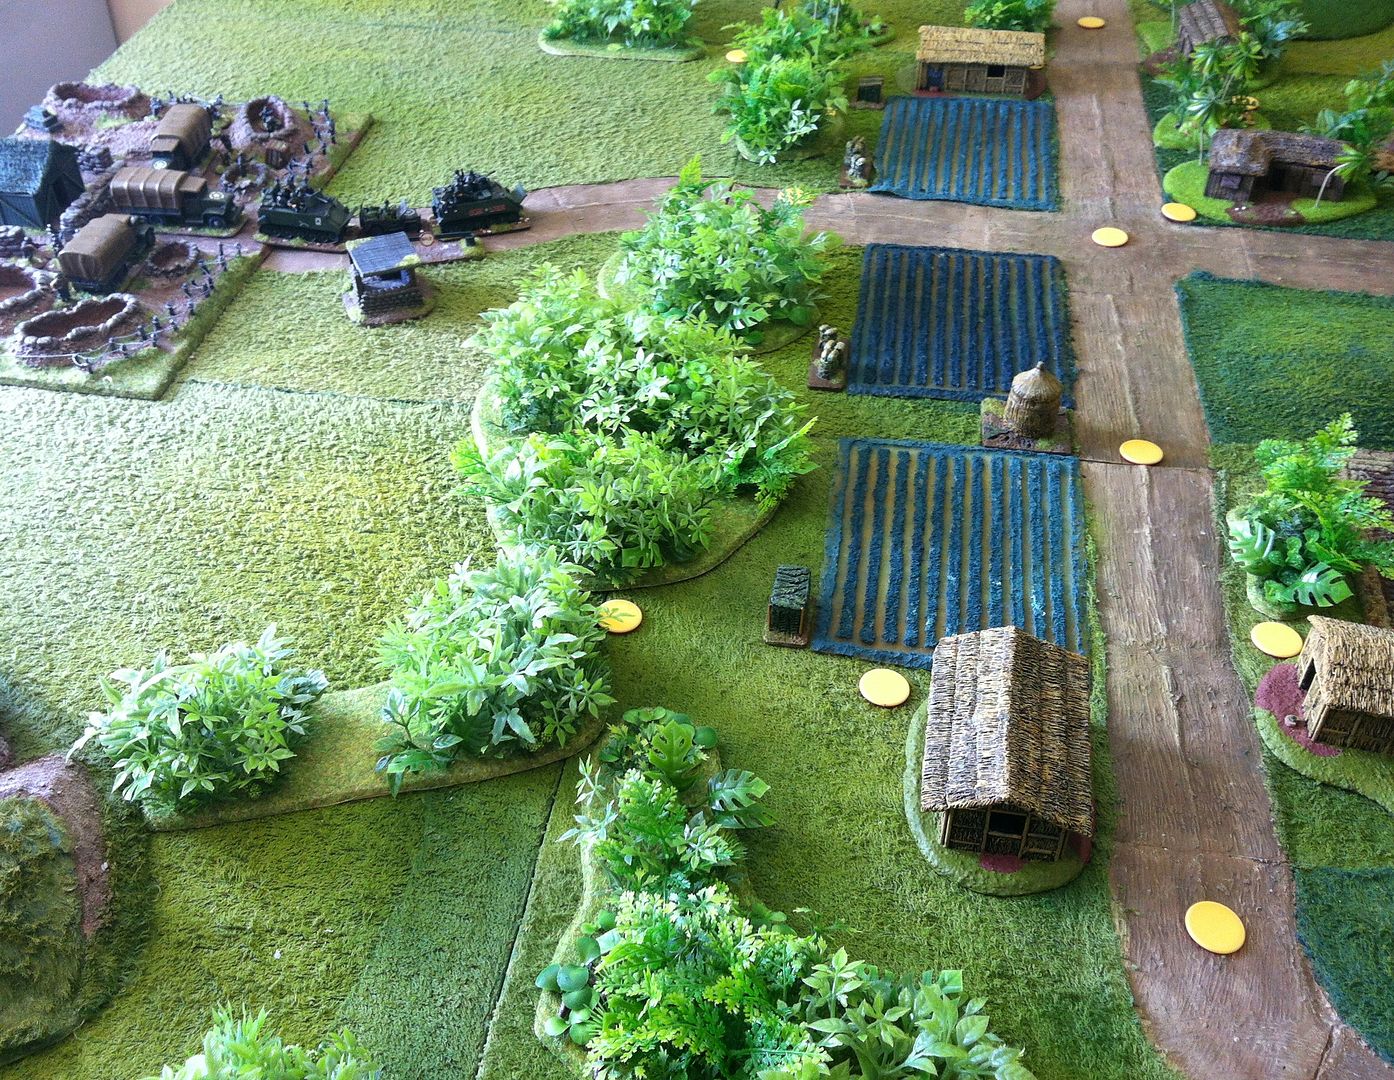
The first picture shows the table in the opening turn. Lt Weissmann has to safely escort his convoy from an up country base, exiting the table either at the top or bottom road point as you look into the picture. Each vehicle carries a squad of 5 men and a driver while the jeep carries the HQ and Medics. The VC under the command of the veteran Ho Bic Li are represented at this stage by the yellow encounter markers - 5 blanks, 5 Infantry Squads, two of ten with heavy weapon support and three of five with an RPG and a LMG team, and 5 Booby Traps. They are placed randomly so the VC player does not know where each type is exactly ~


Lt Weissmann organised his convoy in the first two turns, not straightforward as he has one fewer dice in the bag than he has units. The VC or the Booby traps will be activated when a vehicle of squad passes their location. Only the M113s and the jeep can operate off road, where they may only move at 'walk' speed. Lorries may only stay on the roadway but can move there at 'Run' speed if they wish. The road will only take single file traffic, so a destroyed vehicle blocks the road!


With one of the M113s taking the point, the Free World Forces encounter their first enemy. It turns out to be a booby trap. Counting as Regulars, the crew must pass a Morale Check or the trap explodes. It would automatically wreck any soft skin vehicle and the driver and squad on board would dice as if they were casualties. The M113s would need to be penetrated at 8+, with a basic 4 for the trap. I needed n't have bothered, Lt Weissman's men sailed through the test and the trap proved to be a dud!


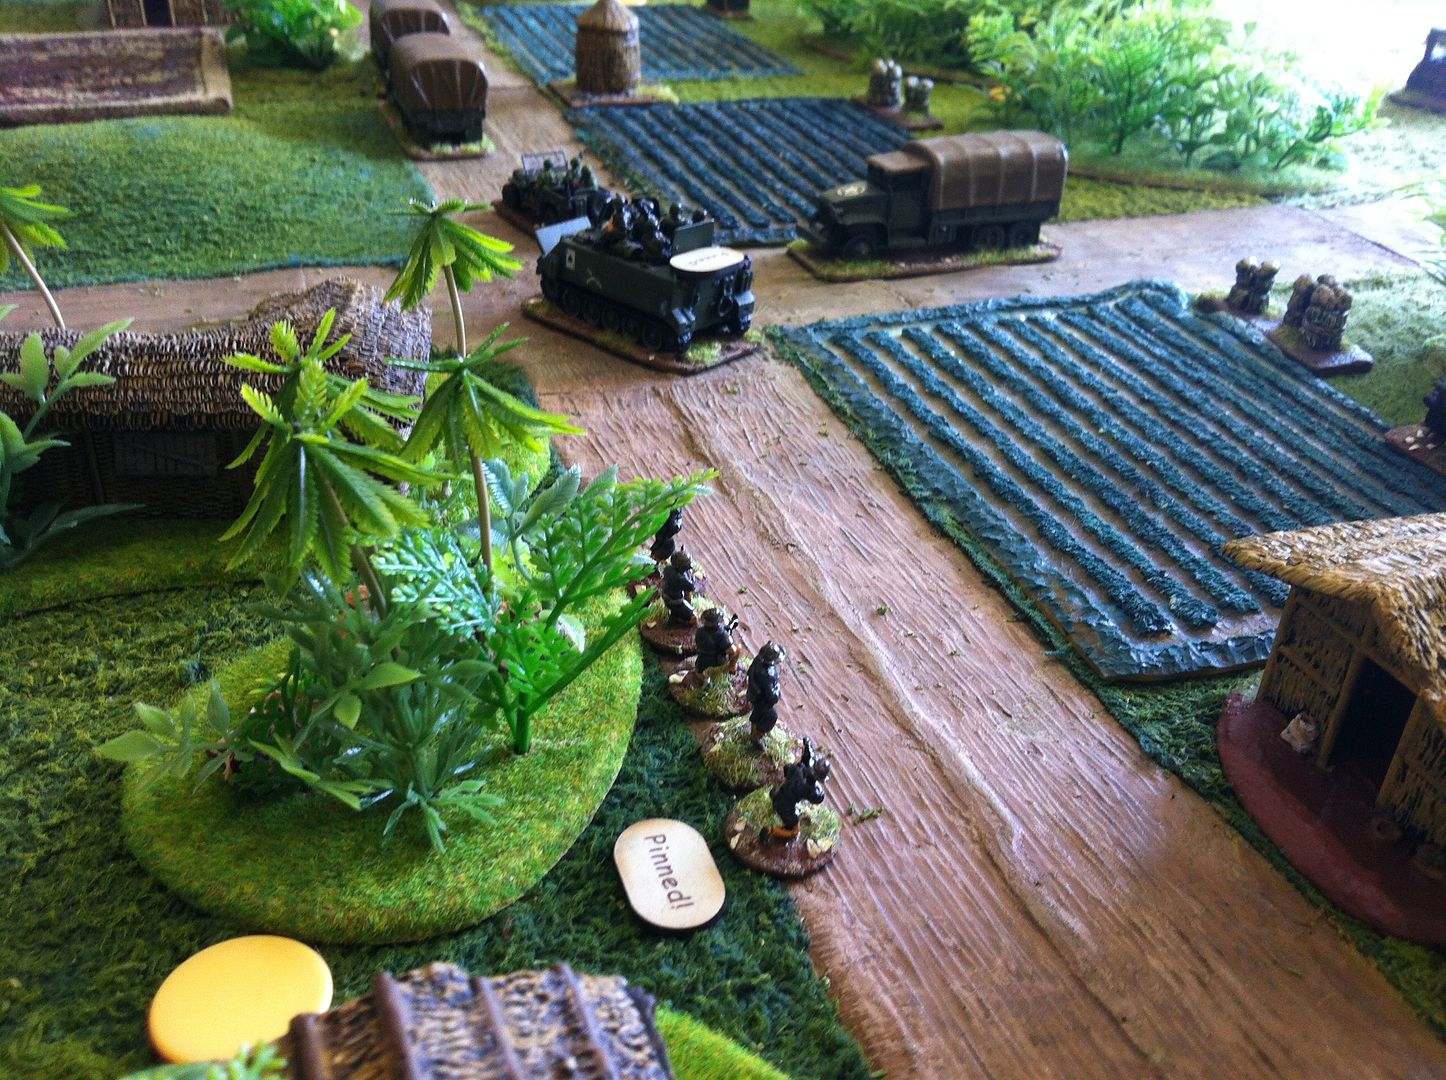
Moving forward a turn or two another encounter proved to be a second Booby Trap; one which was a dud too just like the first! However, a squad of VC were also activated, position at 2 x D6 inches from the marker in a random direction. The VC were in RPG range and opened fire on the convoy with all they had. Result? A paltry Pin Marker! While they in turn were pinned by the M113's HMG.


The second M113 engaged the VC squad before the RPG could do any damage. Firing across the rice paddy they saw the enemy take casualties - and another Pin Marker!


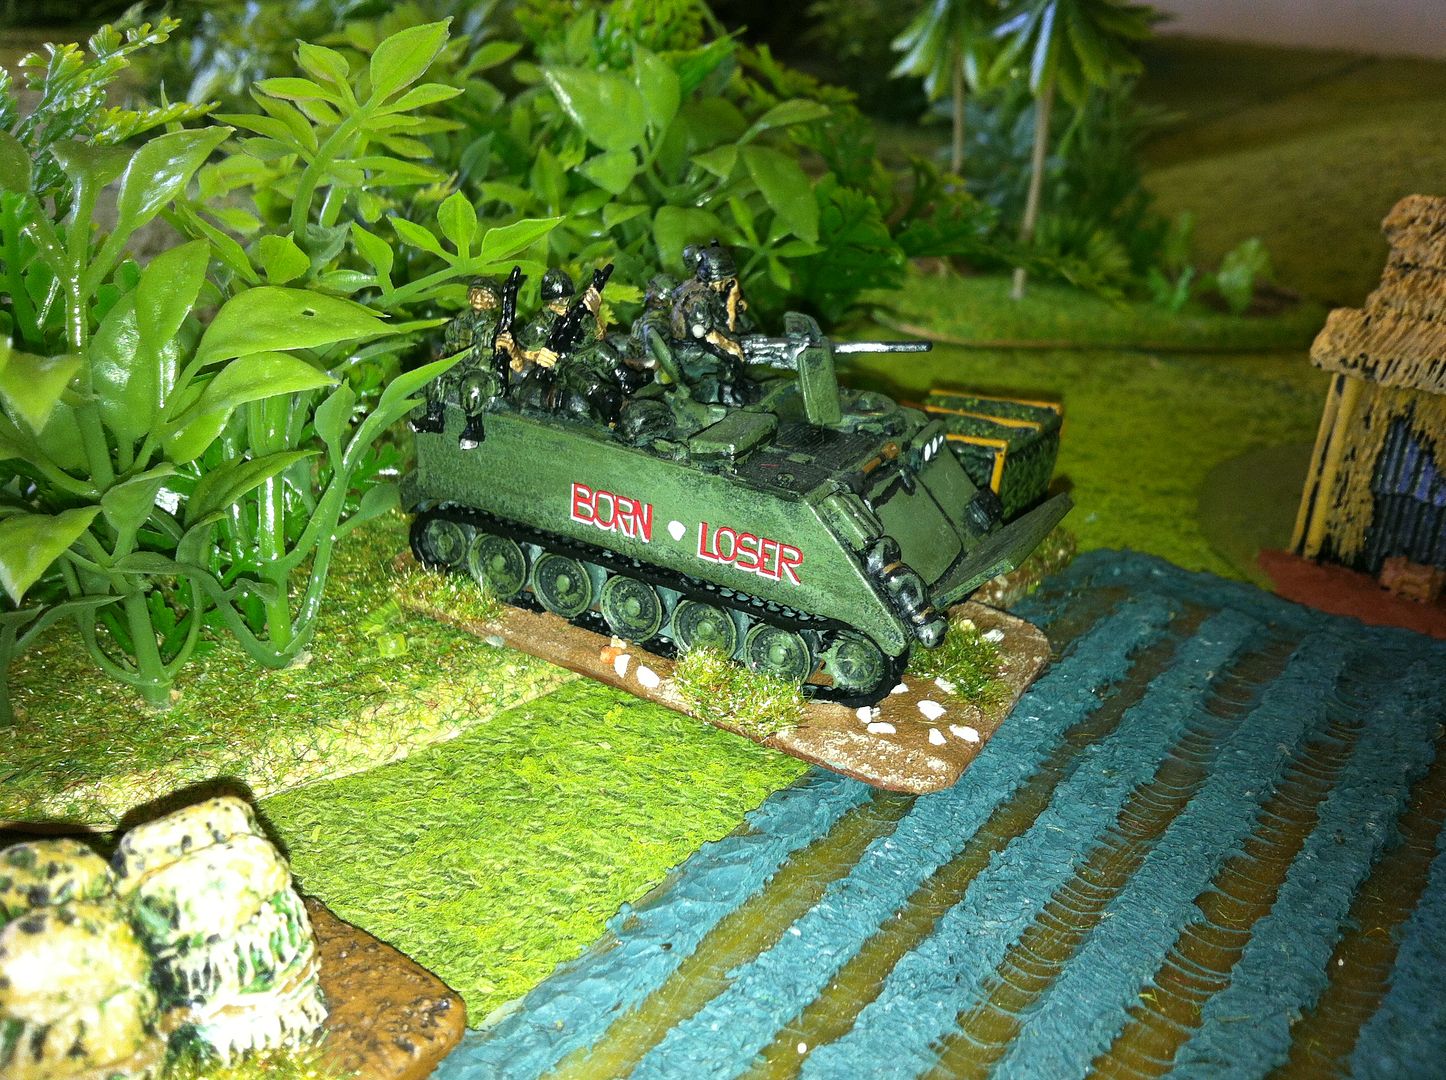
Blazing away at the enemy, 'Born Loser' advances into the rice paddy: a risky business as every turn could see it bogged down for D x 6 turns on a throw of a 6! Again, Lt Weissmann's men pressed forward regardless!


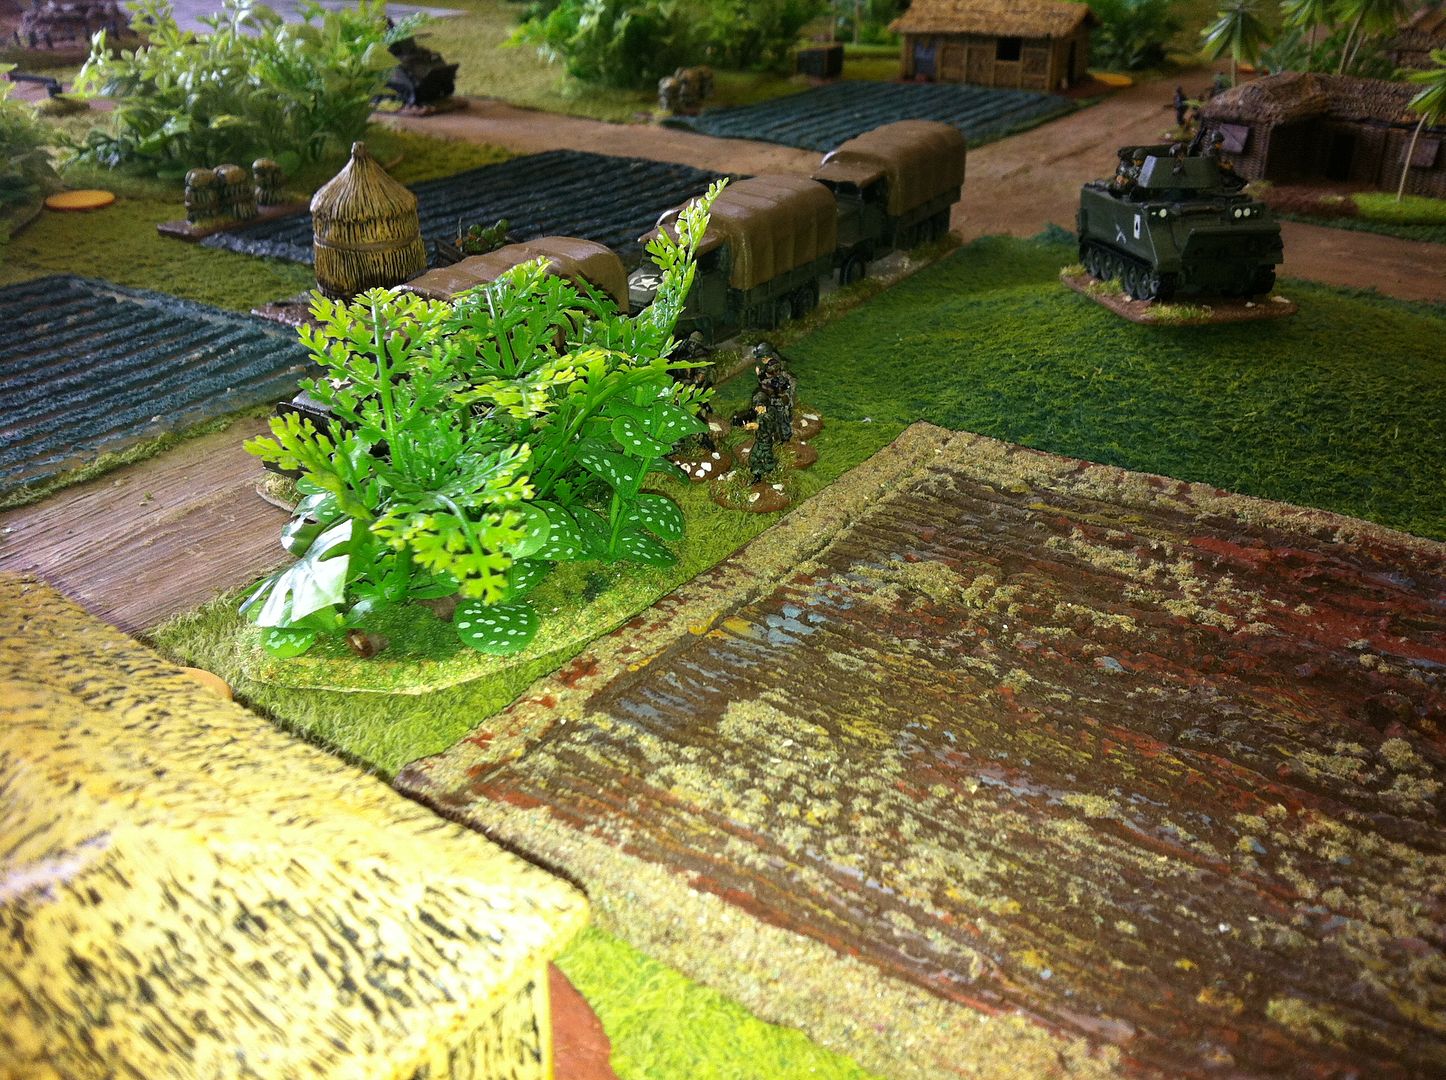
Taking advantage of the confusion caused by the fire fight, the lorries in the convoy make towards their exit point. They activate a third Booby Trap which proves to be a further dud! Re-education for some poor soul I would think! They also activate a second 5 man VC squad, again of RPG*, LMG*  and three riflemen { *Only one man teams in this game}. The RPG fires and again the VC fail to register a hit!


Held up by a VC assault, some US troops debus and flank the enemy.


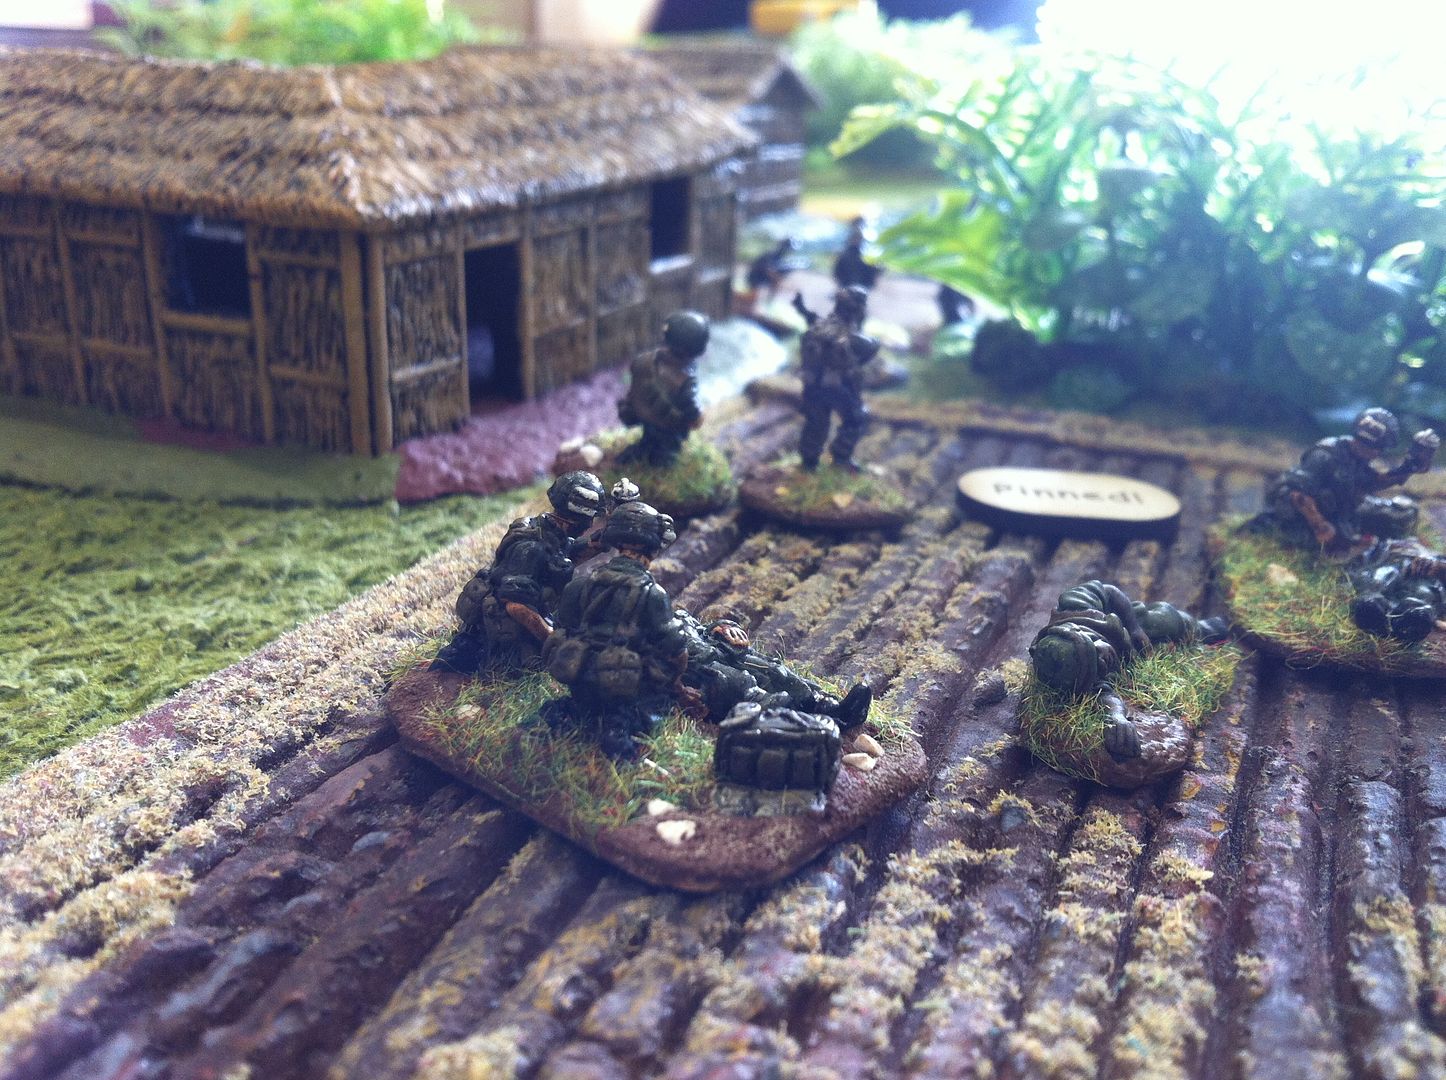
A bitterly contested fire fight ensues as both sides take casualties and Pin Markers. "Medic!"


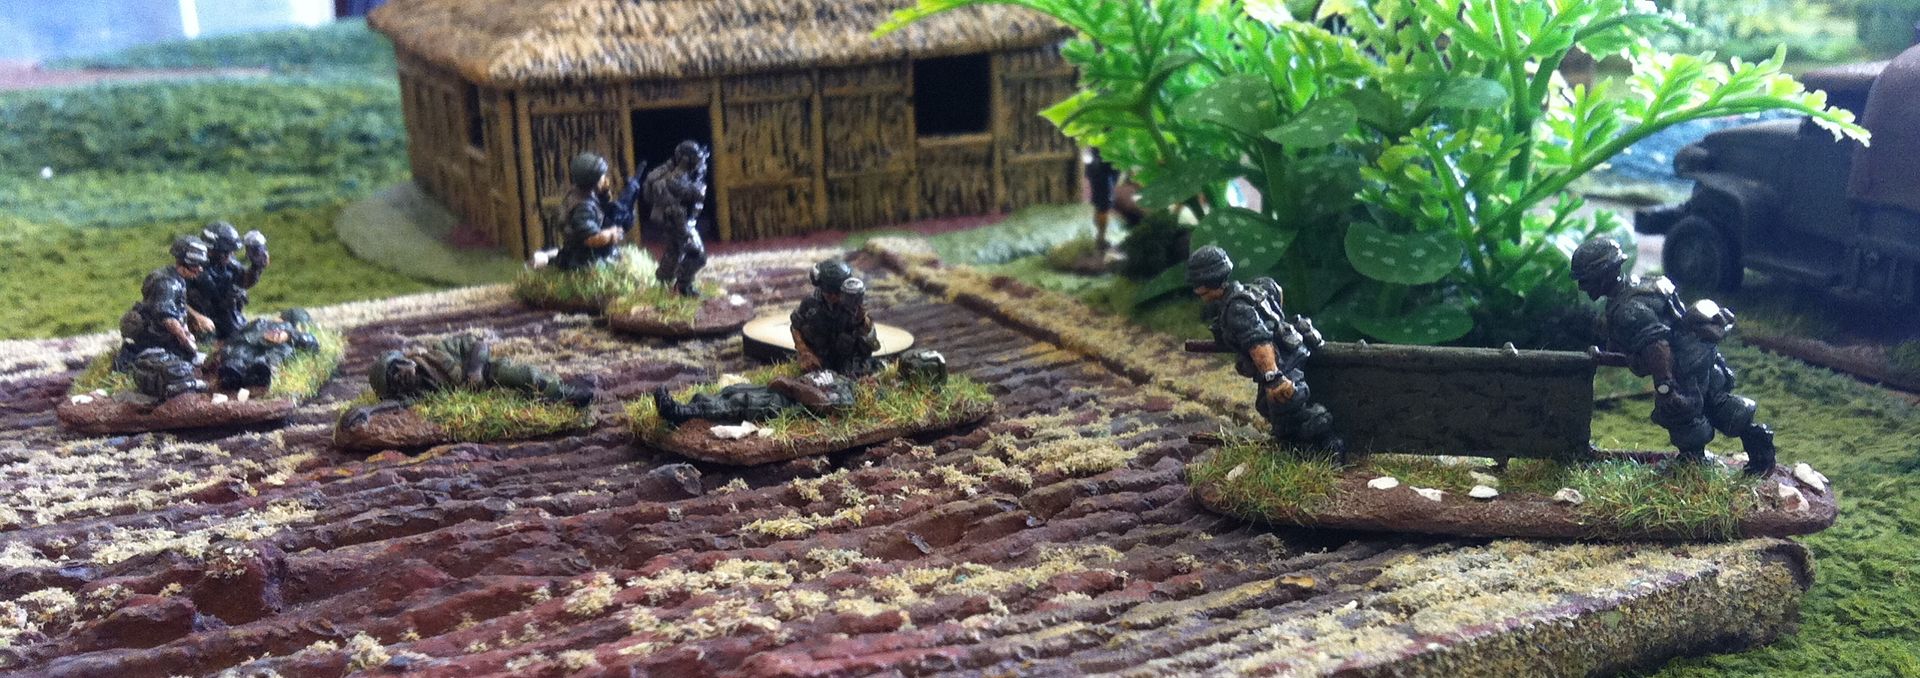
No one is left behind of course, so the stretcher bearers from the HQ rush into action even though under heavy fire!


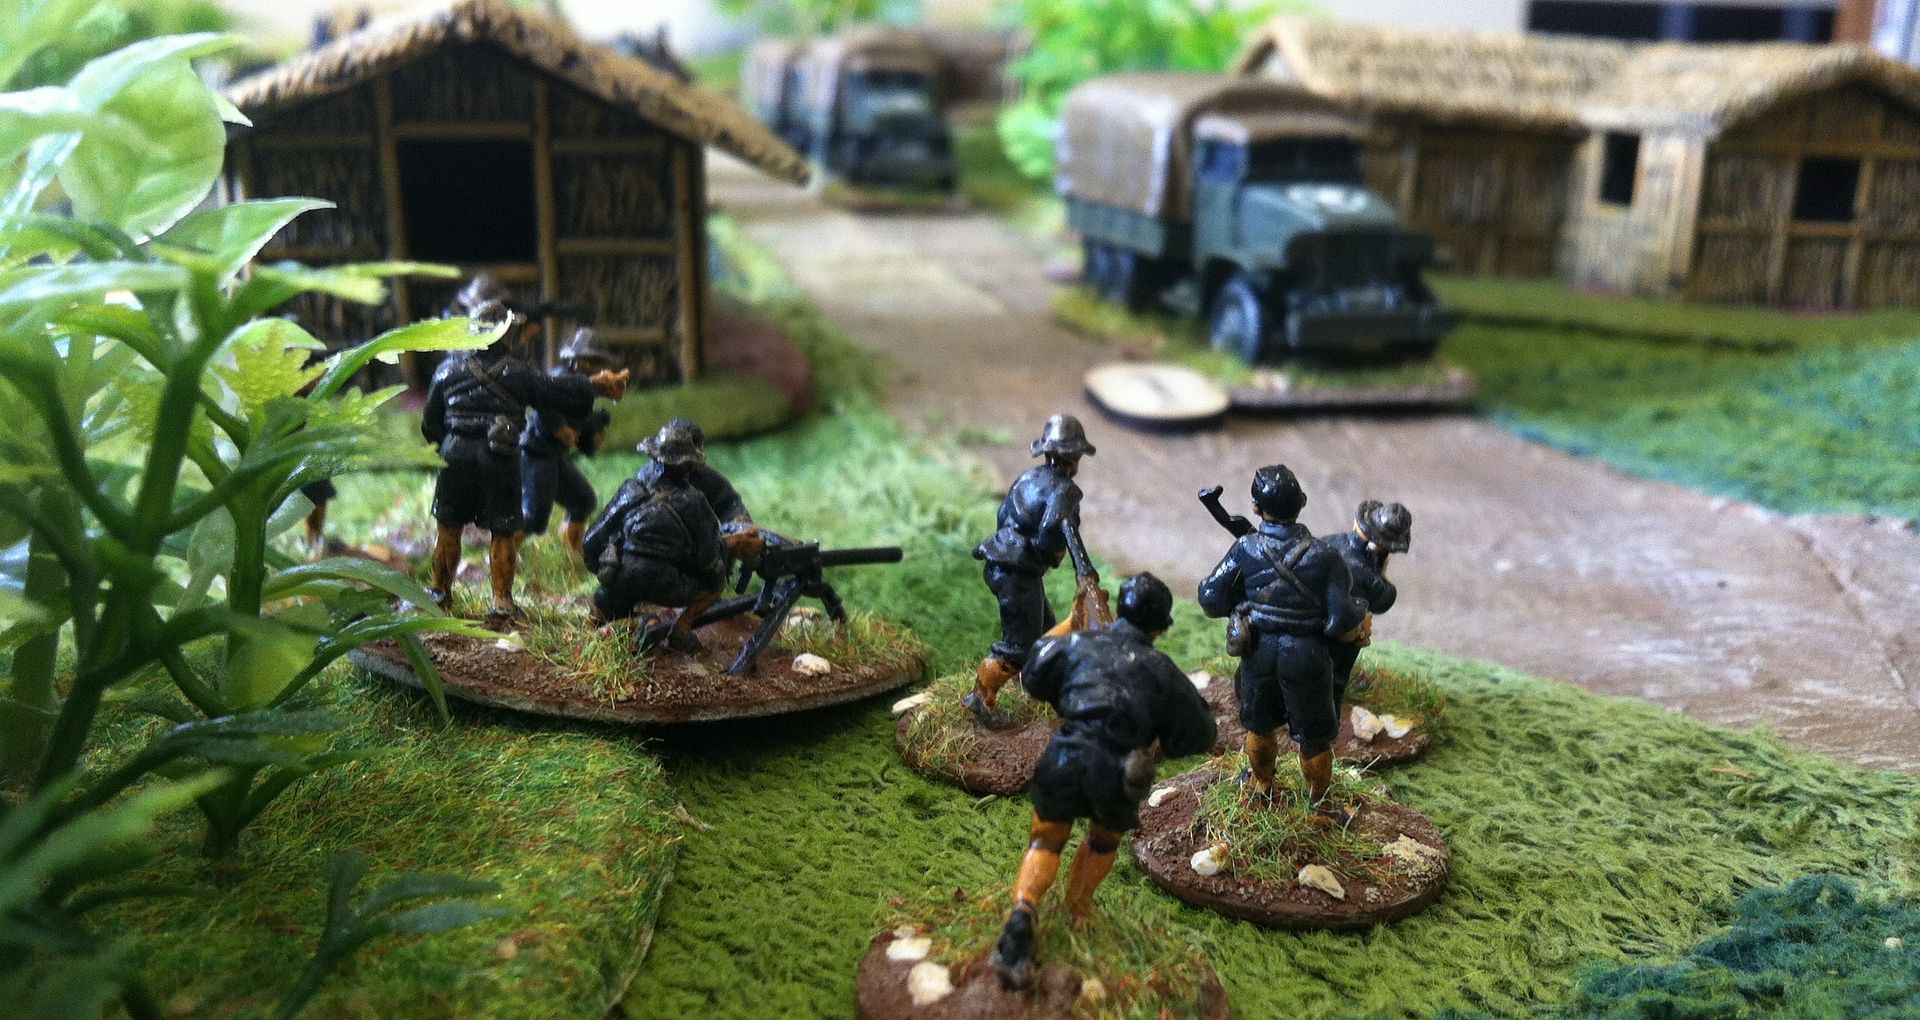
Finally one of the larger and more heavily equipped VC squads is activated. The column faces a real threat now, as a knocked out lorry will block the exit!


Sure enough, the VC dice at last behave themselves and a lorry is destroyed, blocking that exit. However, Lt Weissmann has succeeded in establishing radio contact and called in a helicopter gunship strike! The VC find themselves under heavy fire {12 D x6} in the next turn! Only one casualty, but another Pin Marker results and, with fire from the M113 and the remaining US infantry the squad accumulates markers for fun and finds itself pinned down, failing an order test in three successive Turns.


By then Lt Weissmann has decided it is too dangerous to try the alternate road exit, knowing there are two squads of VC and two Booby Traps still to be activated. He abandons the two lorries and with the jeep, the two M113s and the remaining infantry foot slogging their way off the table we called a halt in turn 12. Bolt Action together with the suggested WSS amendments and a house rule or three gave us a really good game. Then it was Chow Time here in GHQ!

Saturday, 16 March 2013

A Mixed Bag

One thing is certain about wargaming, it gets you out and about the world, even if only in miniature! In the past ten days we've been in up country Vietnam; the veld of South Africa; and the far west of the USA, and all without leaving the comfort of GHQ! A few pictures and accompanying thoughts on three very different games. First up, a return after a long absence to Vietnam, triggered by the new Bolt Action rules and an article in the latest WSS.
A typical table for our ventures in Vietnam, with an army base in the foreground and a village in the middle distance. But, 'Where is Charlie?'


Well, clearly not in the village.


In fact, making a surprise assault on the base's perimeter. All in vain though in the end, a the Free World Forces drove of the attacks.


While the patrol swept the village clear of more VC, although Medivac was busy...


Then off to the veld of South Africa, where a Boer Trek was the subject of unwelcome attentions from the local Zulu chief, Bykelezi M'Tubi. A Boer scout reports in...


Though by then the Boer column seems to have got the picture for themselves.


The odds looked bad for the Boers, but again they made it of the table leaving little plunder and many dead Zulus, again.


Back in the Old West, the good guys always wore a white hat in the Saturday Matinee!


The bad guys always seemed to lurk in dark corners...


Or down dark alleys where heroes walked tall.


Or fired from windows as the hero passed by.


But somehow, they always ended up dead...


The truth is I lost the Vietnam game to Jon; the AZW games to Jon and Phil on successive days; and managed to cling on in the Old West against Phil for a draw ~ four deputies and four of the Dusst gang gunned down, Jed Dusst escaping, though having two wounds, with one surviving gang member; Sheriff Twerp with four wounds being helped to safety by old Stumpy and one other deputy! All great fun though with great company and cake! Not much rates better than that I find in my hobby.