David Bickley's Wargames Blog

The occasional ramblings of an average gamer, journeyman painter, indifferent modeller, games designer, sometime writer for Wargames Illustrated and host of games in GHQ.


Thursday, 9 February 2023

The Battle of n'Gornali's Kraal

 After an hiatus beyond the control of either of us Paul was able to visit GHQ once more for our monthly game. He had requested an Anglo-Zulu wargame and even gamely volunteered to be the Zulu commander, despite everything I did to try and dissuade him from his reckless choice! So, the Battle of n'Gornali's Kraal, pitting the Zulus' of Chief Watzoni n'Gornali against the Imperial column commanded by our old chum Utterly -Barking, one of the least known and even less successful Victorian generals. We used Black Powder 2 rules to play out the game and set the maximum length at 12 Turns. As is my custom now an annotated photomontage to give any interested reader a sense of how the battle unfolded ~

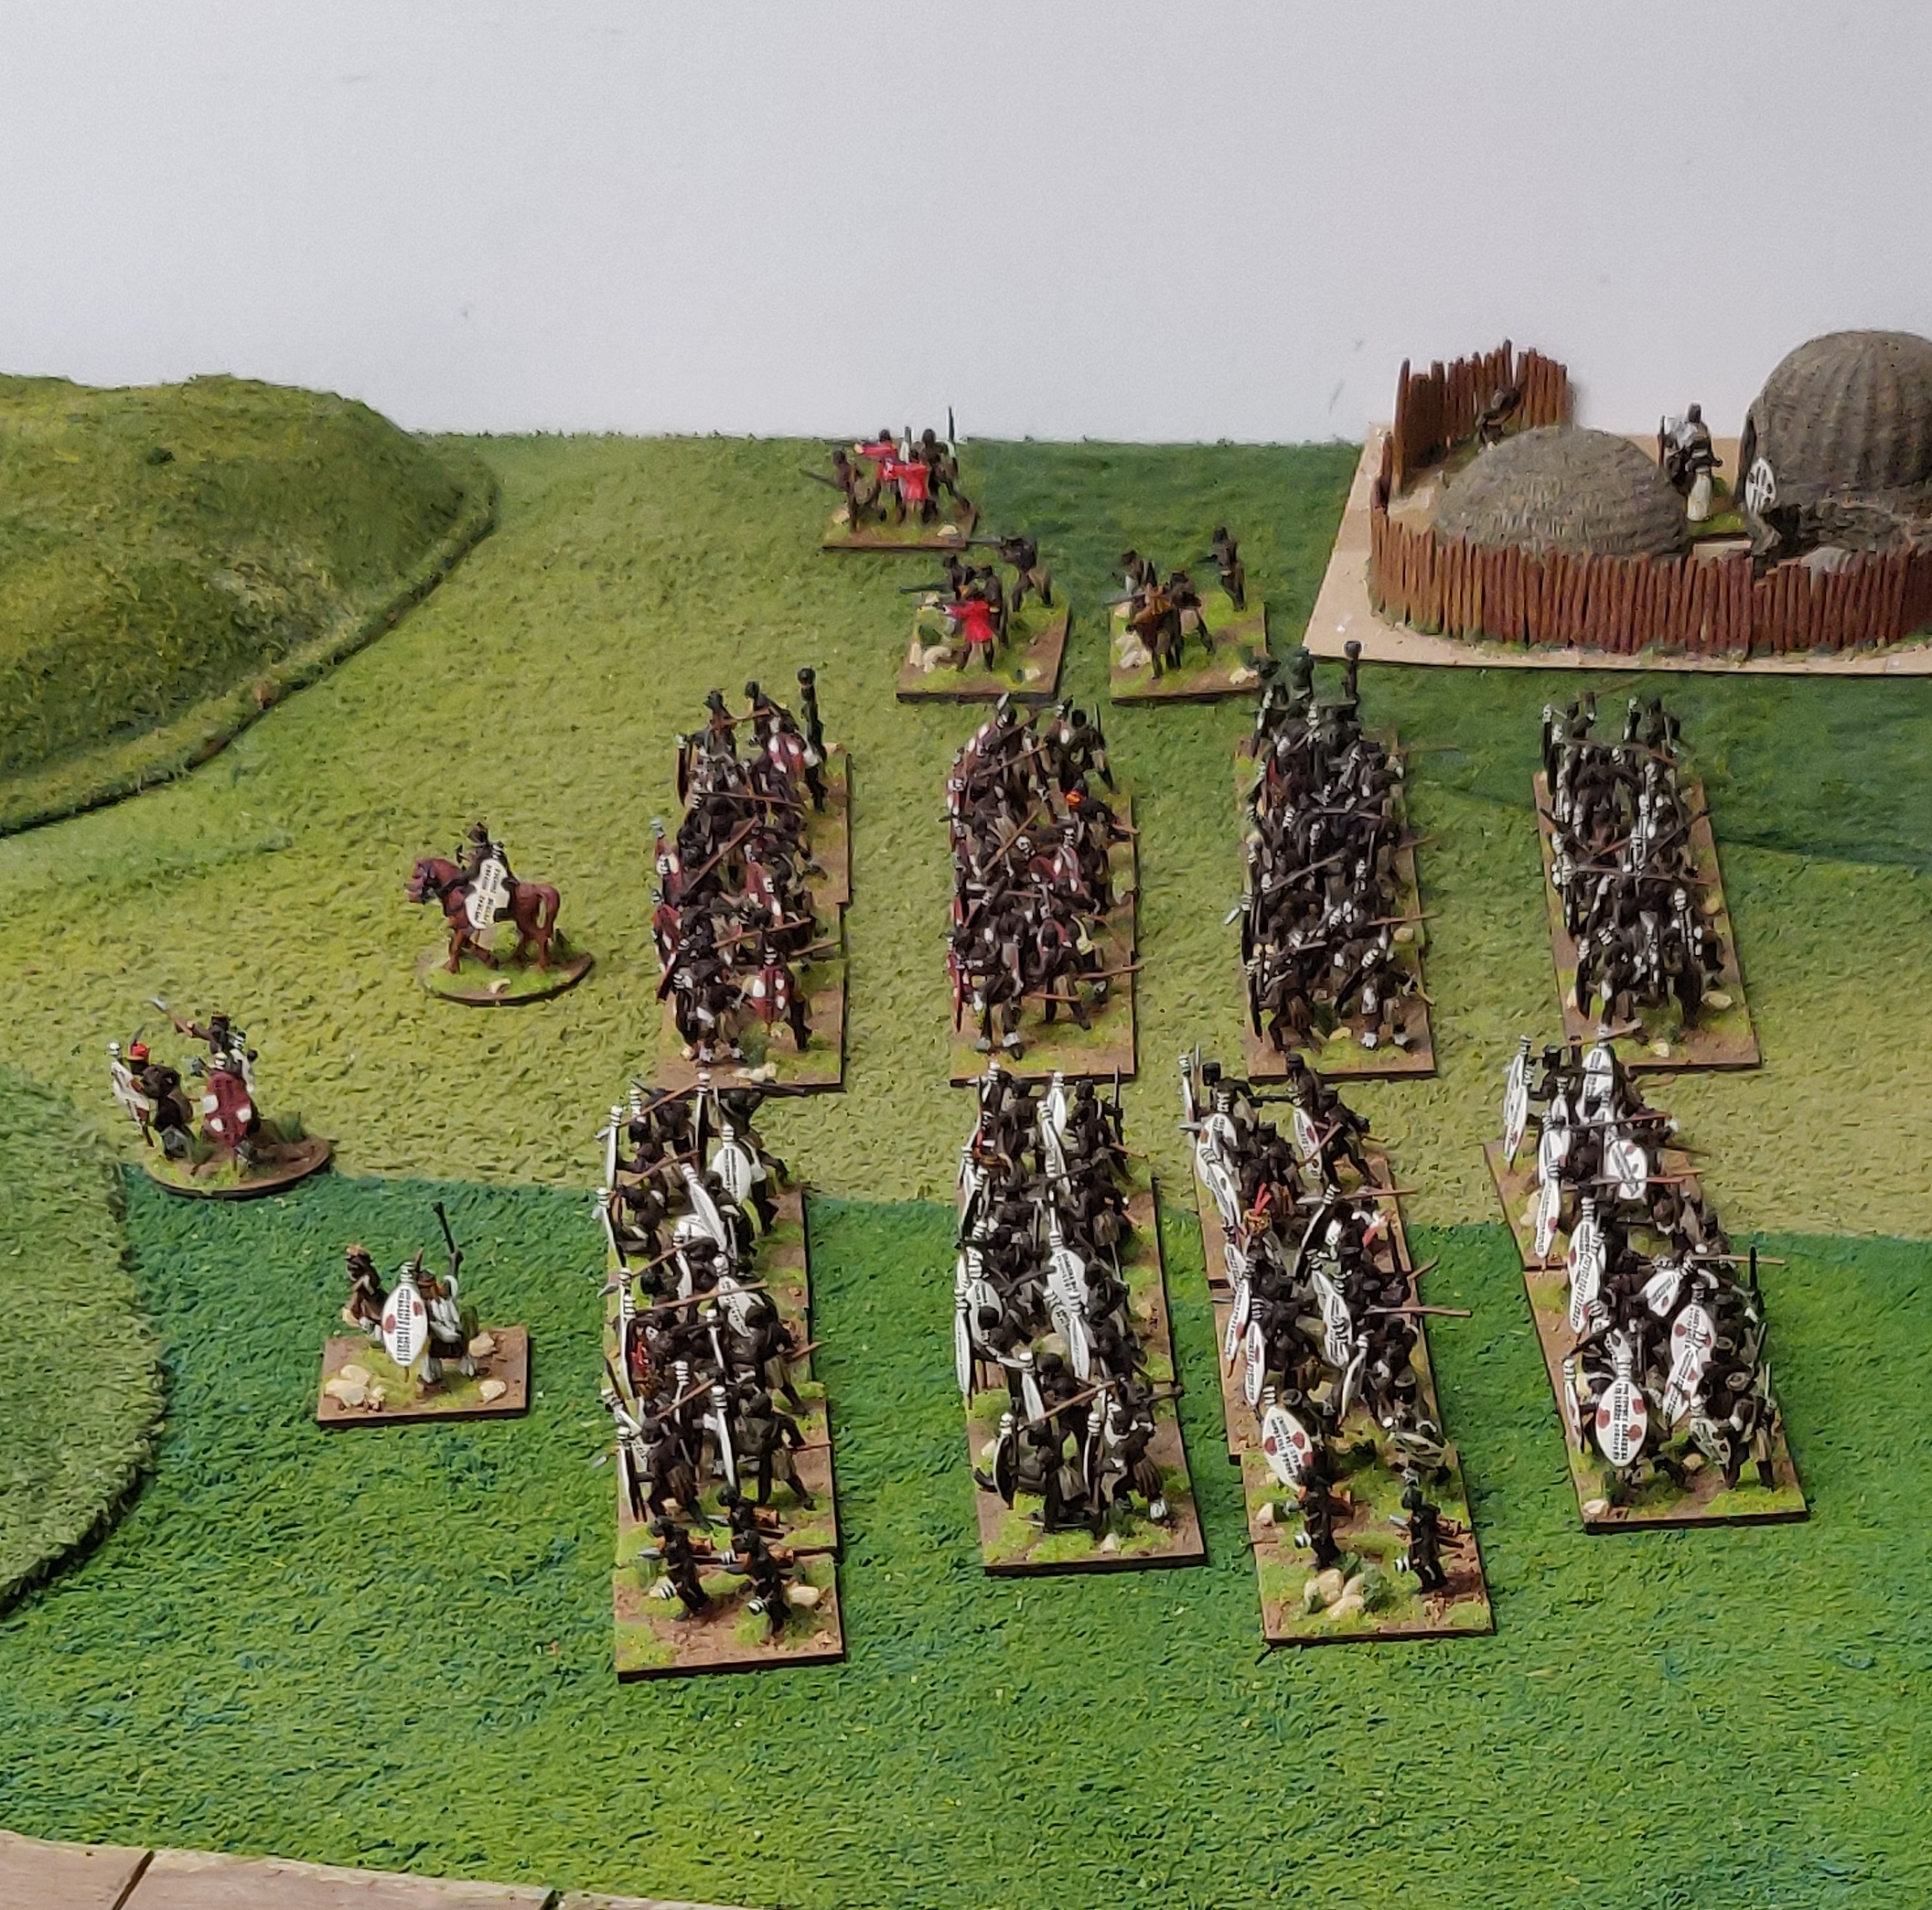
The Zulu impis parade outside the kraal of chief Watzoni n'Gornali.
Empress Miniatures Zulus make up almost all of my collection bar a handful of rifle arme skirmishing figures and some character figures from Casting Rooms Miniatures.
Utterly-Barking leads his column towards n'Gornali's Kraal at an unhurried pace.
"Zulus' Sah! Thaarsends of 'em!" Well, a slight exaggeration perhaps but still quite a sight.
Sighting the second Zulu impi making ground rapidly to his right Utterly-Barking orders the lancers to attack, supported by his small contingent of Mounted Infantry (who will do sterling service throughout the battle by the by.)
"Charge!" Lance points lowered the troops surge forward against the leading regiment of Zulus.

The 24th & 80th regiments make heavy weather of their advance while the Hales rocket troop is also tardy in it's deployment. It seems that Utterly-Barking is complacent about the Zulu threat.
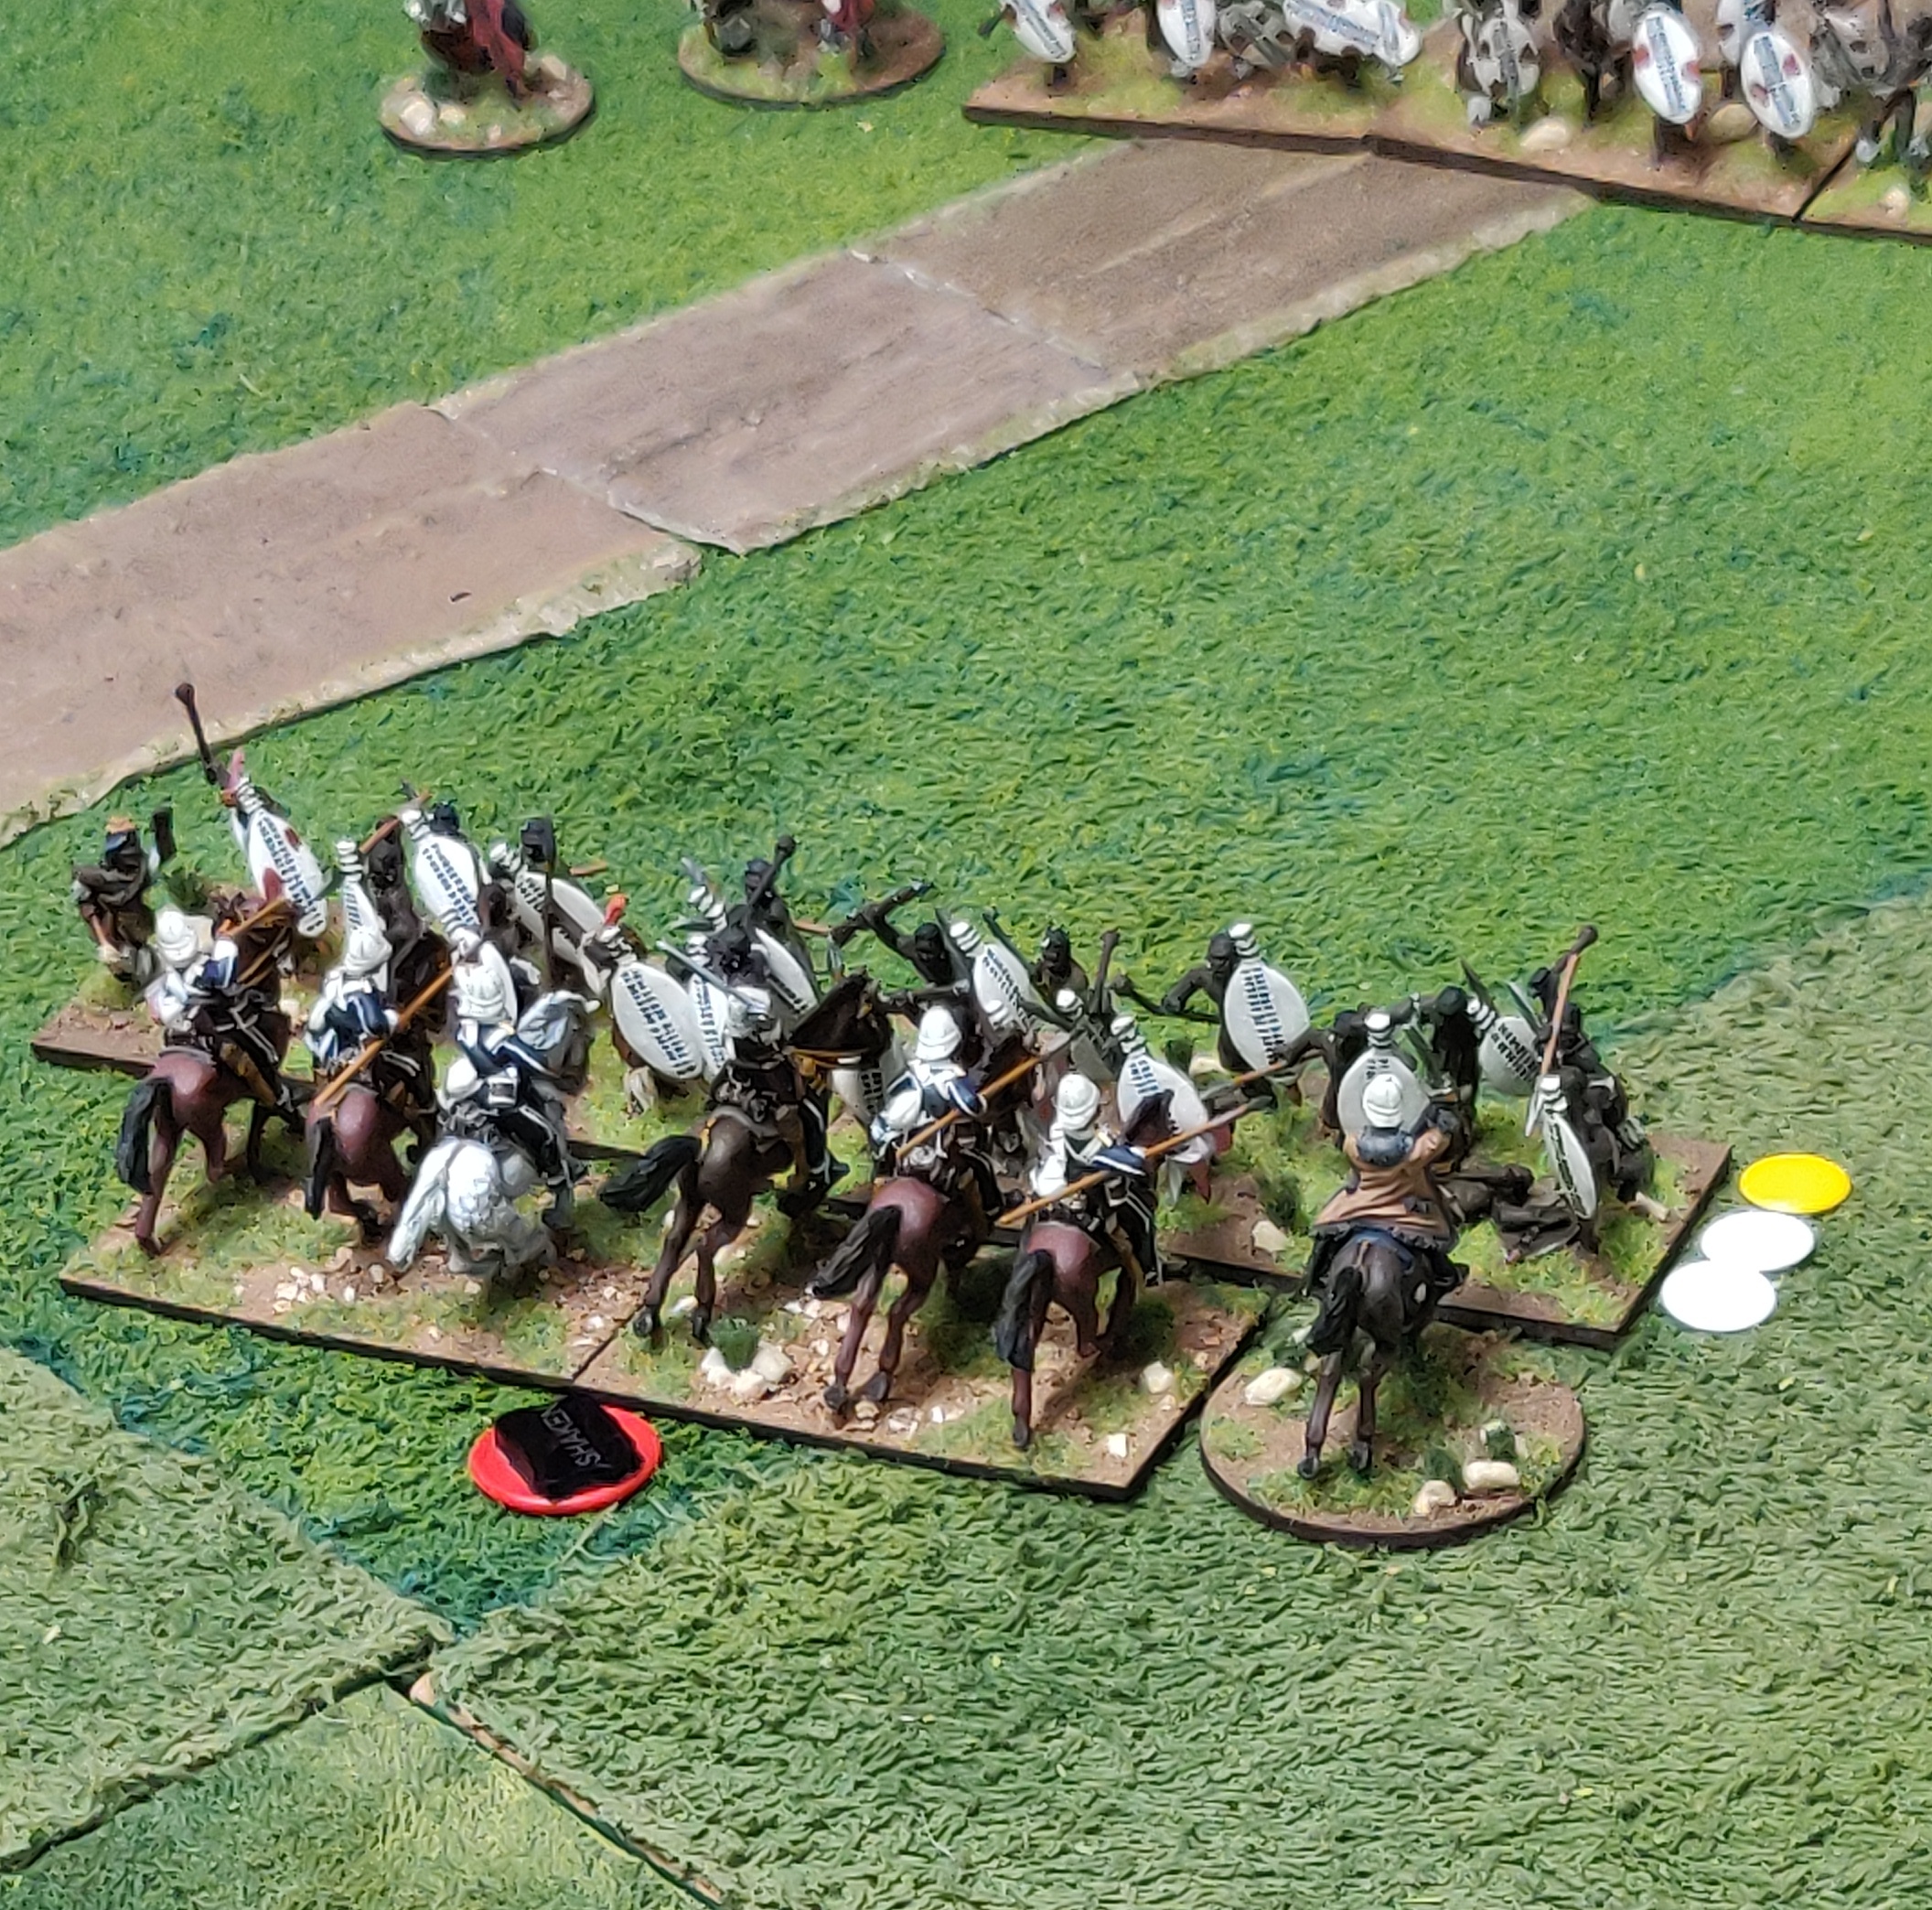
The lancers' charge smashes into the leading Zulu regiment and scatters them, continuing through to crash into the second, while the third is disordered by rifle fire from the supporting Mounted Infantry.
With the impi threatened with destruction the third regiment rallies in a fierce struggle with the tiring lancers whose casualties have mounted steadily over their exertions.
Finally the gallant lancers can take no more, their morale fails and they break for the rear and safety. Only disorder prevents the victors at this juncture from sweeping forward to overwhelm the Mounted Infantry.
Meanwhile, on Utterly-Barking's left front more Zulus' are seen surging forward towards his slowly deploying main column of infantry.
While the Frontier Light Horse deploy as skirmishers to harass the Zulu advance the Hales Rocket troop are ordered to open fire on the leading Zulu regiment.
Disaster, the rocket explodes in the tube and is destroyed along with the crew! Utterly-Barking's eyebrows are scorched by the blast!
The 24th and 80th have finally deployed into firing line and casualties begin to mount for the Zulu attackers.
Still, the Zulu regiments press forward undeterred by mounting losses!

The leading regiment crashes into the 24th. Fierce hand-to-hand fighting erupts all along the regiment's front.
Despite some losses it is the Zulu regiment who break and flee. It seems that, "They don't like it up 'em!" to coin a phrase?
There is no respite it seems for the gallant 24th as more Zulus' surge forward in the attack.
On the far right the lads of the Mounted Infantry are finally beaten and flee the field. Their job is done though as the Zulu impi is broken and cannot threaten Utterly-Barking's main column. 
The final push sees the Zulus' spirits finally broken and the impis melt away into the veld's safety to regroup and fight another day. Chief Watzoni n'Gornali is beaten, for now, but not bowed.
The small garrison at the mission station are saved! They have not faced the ultimate test of bravery in the face of overwhelming odds. Utterly-Barking, despite his lethargy in the field, has triumphed over Chief Watzoni n'Gornali and saved them.
A fine game in which it's fair to say neither side performed with vigour at times. Paul struggled to get his Zulus' moving and was frustrated at times by my uncharacteristically good Saving dice! The Mounted Infantry were particular recipients of this good fortune over three rounds of combat. In the end mounting losses and some poor Morale results broke the Zulus as an effective fighting force and handed the victory over by default. 

Tuesday, 7 February 2023

1066 & All That

 Edgar The Aetheling,  aged about 15, was proposed as king of England after the death of Harold II in the Battle of Hastings. He was a grandson of King Edmund II Ironside. Would he have been a 'Good Thing' I wonder? Anyway, our post Haestingas game is based on him being acclaimed king by the remnants of Anglo-Saxon nobility and hastily raising an army from the defeated remnants and the Great Fyrdd to block William's advance on London. The imagined action takes place near the village of Pending close by the Sûðeweard. Now, on to the action ~

Edgar draws up his hastily raised army around the village of Pending astride the old Roman road to Lundene.
Eorl Wulfric takes command of the right battle. A unit of Thegns supported by two units of Ceorls and a unit of skirmishing archers.
Edgar holds the centre of the line along with his three units of Huscarls.
Eorl Bicca holds the left battle, a unit of Thegns supported by two units of Ceorls and a unit of skirmishing archers.
The Anglo-Saxon army drawn up awaiting the Norman army's advance under Duke William following his crushing victory at Haestingas.
The Norman army reaches the waiting Anglo-Saxon army around Pending. Duke William commands his centre and left battle of knights, while Philip the Breton commands the infantry of the right battle.
Duke William (the Bastard) and Bishop Odo
Wulfric orders his men to seize the hills to their front but the going is difficult and they only reach the base of the hills.
William's men are still weary after the battle at Haestingas and the long march towards Lundene. They make only slow and disjointed progress towards the Anglo-Saxons.
Wulfric is dismayed when a host of Norman knights crest the hill he was confident of occupying.
Bishop Godfroth of Pending calls down Divine retribution on the Norman usurper and his hordes from Hades! Doesn't seem to impress the Huscarls.
On the left of the Anglo-Saxons' position Bicca cannot urge his men forward. They seem to fear what awaits them beyond the village boundary.
They may have a point as Philip the Breton finally gets his infantry moving forward with his units of archers screening the heavy infantry advancing with new found vigour. 
Anglo-Saxon archers draw first blood, showering the leading unit of knights with a cloud of arrows. Even with their Duke close at hand they falter and become disordered.
Wulfric hastens his men into close formation just in time as the Norman knights thunder down the slope and crash into the shieldwall.
Bloody fighting with no quarter asked or given sees the Anglo-Saxons' line buckle back with one unit of Ceorls breaking under the weight of the assault.
Wulfric urges his men to stand their ground and die hard!
Despite disorder and the odds Wulfric's Thegns hold their ground while the unit of Ceorls to their right drives back the knights in disarray.
Roused by the unexpected triumph of the Ceorls the Huscarls make a mighty effort and force back the rest of the Norman knights.
Both side pause to catch their breath, take a draught of water (or ale) and tend to their wounded and dead. In the rear more knights seem to be heading Wulfric's way...
As Philip the Breton leads his men forward his archers shower the waiting Anglo-Saxon warriors with lethal arrows.
Having rested and recovered their courage the Norman knights once more surge forward into Wulfric's anxiously waiting men.
Edgar orders his Huscarls forward seeking to break the Normans before they can fully deploy for the fight. It is a risk, but the prize of victory is great!
Once again Wulfric leads his Thegns to victory, driving back the Norman knights. Sadly the Ceorls to his right are routed by their opponents. Despite Wulfric's urging his men stream towards the rear. Although he cannot know it, Edgar's right battle is destroyed and his centre threatened now from the rear.
Luckily the victorious Norman knights are fatigued by the bitter fighting and in disarray show no signs of forming up to renew the fight!
Edgar's Huscarls smash into the light troops screening Philip the Breton's advance. Disastrously one unit is forced back, though the others carry the fight to the enemy! On their left the Ceorls are bravely fighting hand to hand with the Norman foe.
Anglo-Saxon losses are mounting as the weight of Duke William's attack begins to take a heavy toll. It seems Edgar's brave gamble may have failed to carry the day.
Despite a brave and determined fight, Edgar's army dissolves before his eyes as the Huscarls break and flee. The day is Duke William's and Anglo-Saxon England is all but lost...

If you got to the end, well done! We used Hail Caesar to play this game with each base representing a unit. Our approach to this organisation lies in early efforts with Basic Impetus. Although we didn't take to the rules the ideas on army organisation stayed with us down the years. You can see it in my Late Roman armies still as well as in our more recent early Italian Wars joint project. Hail Caesar worked just fine today with this framework for the two armies. So much so that I've put in a small order to Foundry for a few more packs of figures.

Sunday, 5 February 2023

Winter Quarters

It's a pleasant, sunny winter's day here in the Midlands and, what is more relevant, the humidity is relatively low too. When you add to that a lack of chores and stuff making unreasonable demands on my time then all the stars have aligned for me to tackle the two Really Useful Boxes full of figures painted over the winter so far and awaiting varnishing. 

My preferred matt varnish medium is the Humbrol Acrylic Matt spray varnish which I deploy over the winter in front of an electric hot air heater/blower in GHQ. The hot air blowing over the varnished figures helps the varnish to set quickly and fully matt. (In summer months when I varnish outside in the sun I occasionally get the odd satin finish when the humidity is marginal.

The 'Newly Varnished' figures hardening off in the sun. These are the figures I've worked on over the last three or four months I'd guess, all bar one unit of Hanoverian infantry regiment Hardenberg for my French SYW army. The Hanoverians are by Front Rank while the French are from Casting Rooms Miniatures at Foundry.

Later this month there is a photoshoot scheduled to take place for Wargames Illustrated to accompany a piece I've written about the SYW expansion project. I've almost completed the second Hanoverian infantry regiment, Jung Zastrow, and plan to try and complete a command base of two mounted general's and a battery of artillery for the Hanoverian section of the Allied army. To these I can add some Hessians from my AWI collection to stiffen the Allies as it will be a while until the other figures in the Lead Pimple can be tackled.

Sunday, 29 January 2023

Hanoverian Infantry regiment Hardenberg

Having completed the French part of my SYW expansion project and after due consideration I have made a start on the small Hanoverian contingent I planned to add to the collection. Just to recap at this juncture, the infantry, artillery and command will all be from Front Rank while the solitary cavalry regiment will be made up of Foundry SYW British figures gifted me by Jon last year. 

The first regiment I have completed, less the Grenadiers at this stage, are the Hardenberg Infantry regiment, 6A as they are coded for reference. I confess that I chose them, and their fellows yet to be painted, purely on interesting colour combinations in their uniforms. The flags are made from free downloads I sourced through internet searches, ever the cheapskate we wargamers! Anyway, no more gabbing on, see what you think ~

The Front Rank figures can truly be labelled 'veteran' I'd say but they have a charm of their own I find still. There are one or two issues with the officer and ensign figures being labelled British/Hanoverian in the list but lacking the  pompoms and oak leaves of the rank and file figures. I can live with that as in a game noone will noticed I'd say.

I mentioned the grenadiers' absence, largely due to my not yet having worked out an acceptable way of painting something approximating to the designs on the blank mitre front panels. I need to come up with a finish that is within my meagre talents yet will be acceptable on the tabletop battlefield. Don't hold your breath is all I can advise at this point...

Thursday, 26 January 2023

The Bear From The Air!

 If you are a subscriber to the hobby's Number 1 monthly magazine, in either e-format or traditional print, then you may already have seen my small contribution on incorporating the latest Battlefront Team Yankee release, Red Dawn, into more general Cold War Gone Hot gaming. Sadly space demands meant that most of the photos of in-game action could not be used on this occasion, so I thought some of you might be interested in seeing more of what Phil and I made of the boxed set we were sent ~

The boxed set headlines the release schedule for the new expansion of Team Yankee in the form of the imagined Soviet invasion of the USA.
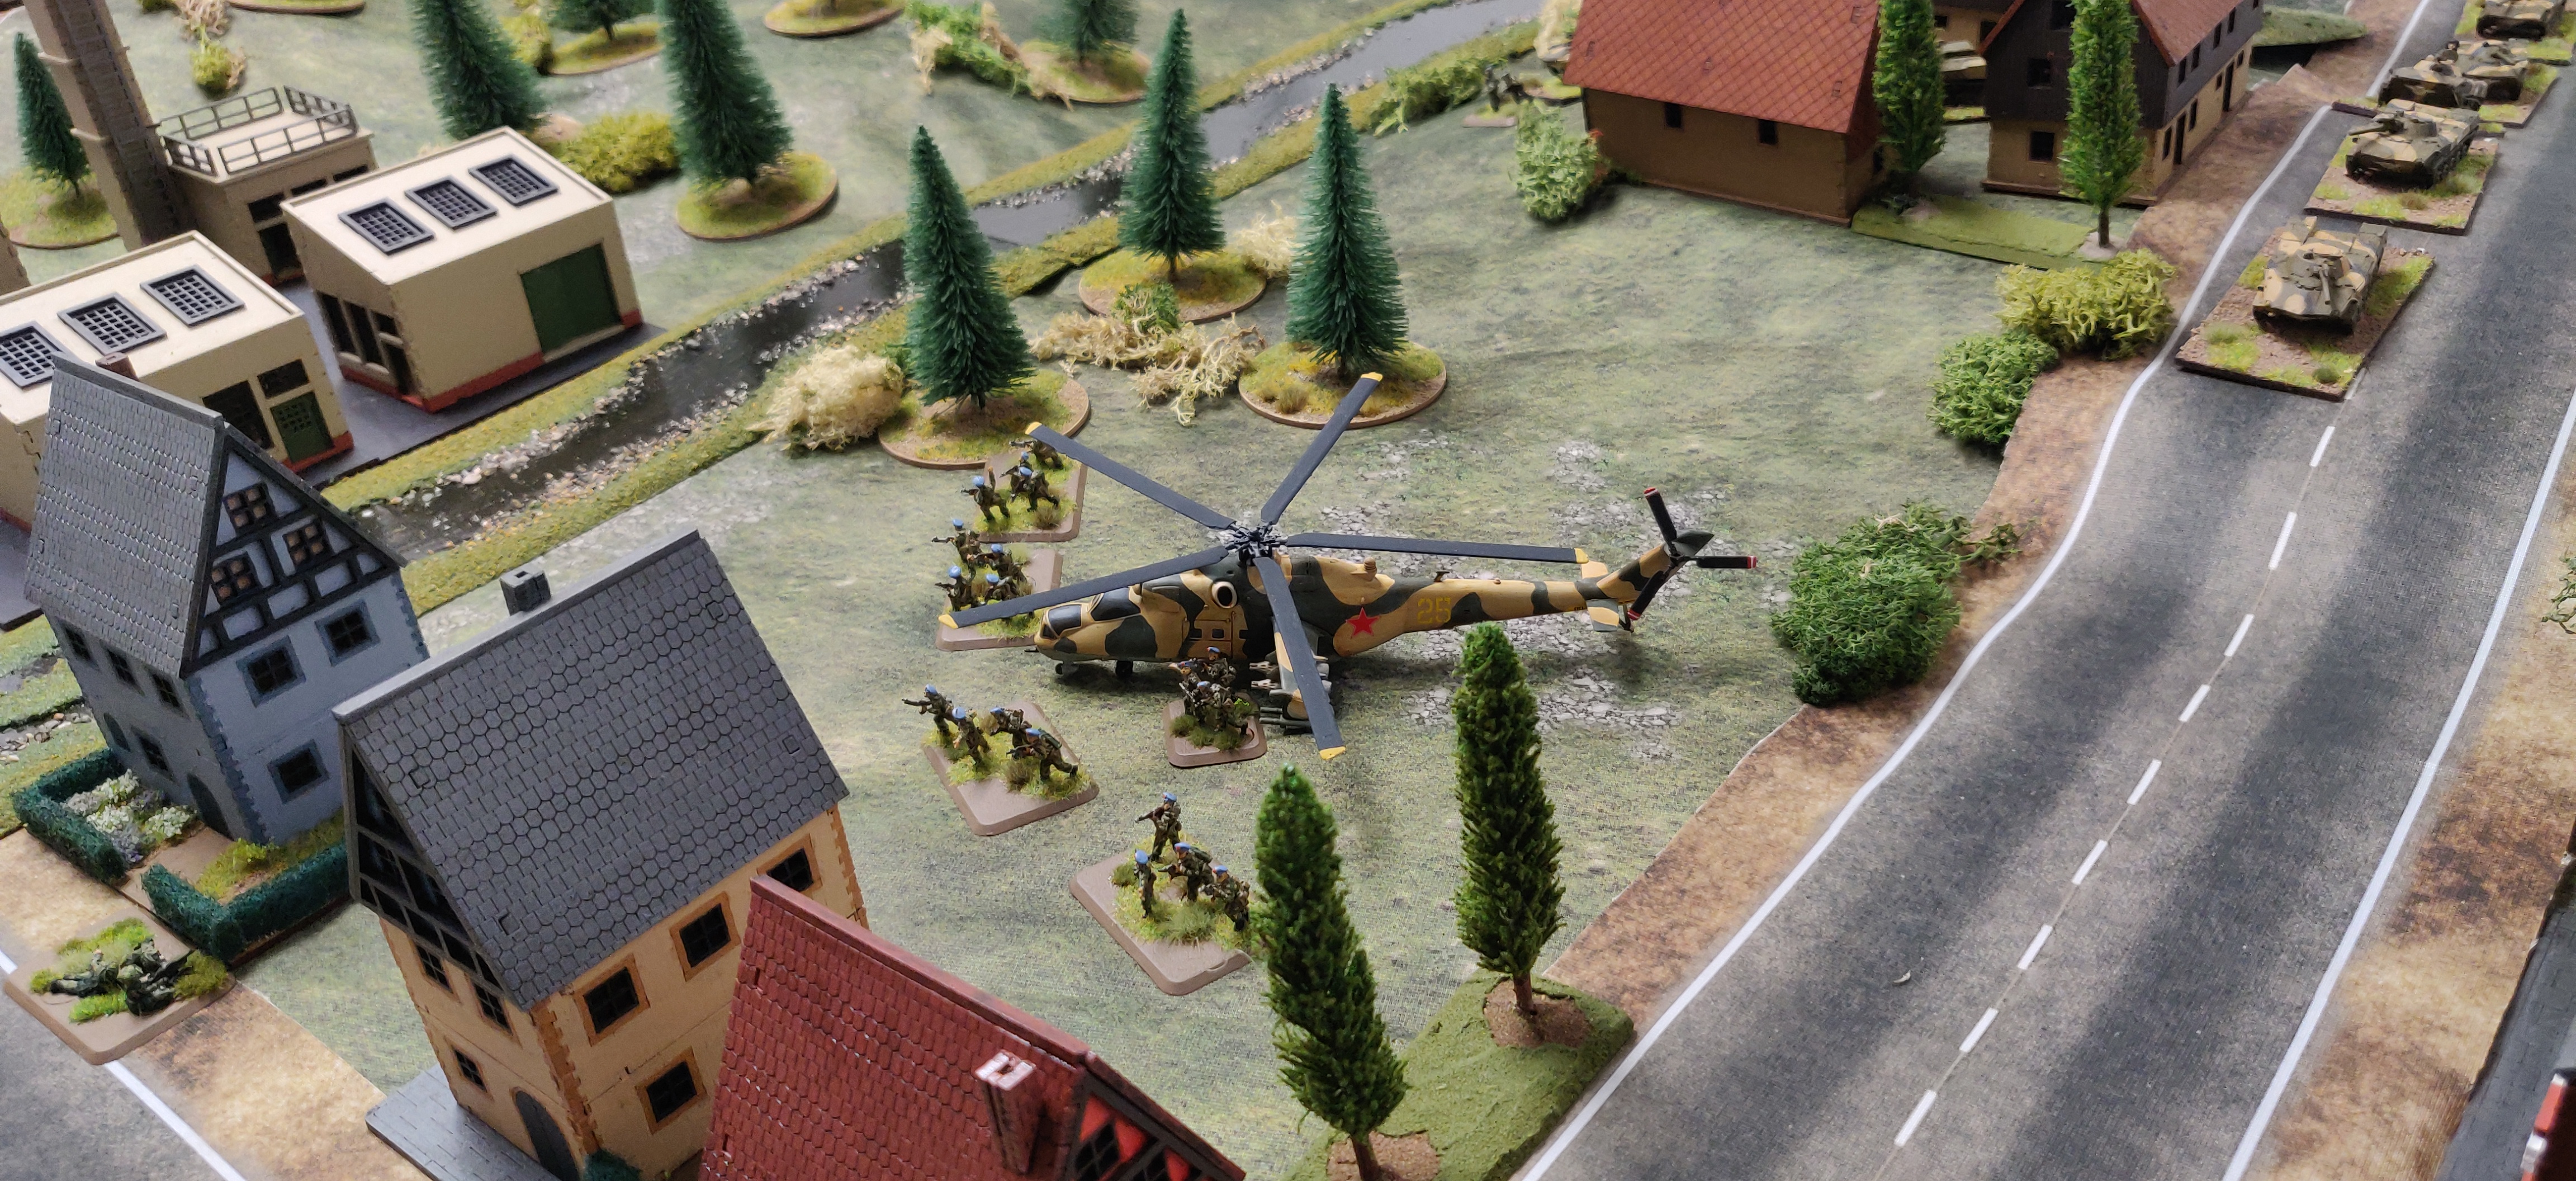
Utilizing the contents of the boxed set in our 1980's West German setting, the landing zone for the first wave. Most of the MDF houses seen here are from Lasercraftart.
The second wave arriving. This one made it into the magazine! The three farm buildings are from Warbases, the 15mm versions of their German Rural Buildings set.
This one showing the Airborne command groups made it in too! The slightly over scale tractor was in a children's toy set from back in the day and rescued from the back of a draw. 
Another view of the landing zone as the first wave troops disembark under fire. The factory buildings are from Sarissa Precision.
Leading elements of the Soviet Airborne force a crossing of the river under fire from the B.O.A.R. The river is The Last Valley's stream set.
A general view of the battlefield laid out for the photoshoot. The roads are from the Geek Villain modern roads mat.
It looks as if the landing has been at least an initial success for the Soviets! 
The wider release schedule for Red Dawn has some interesting items for 15mm modern players with armed civilians and technicals featuring amongst them. Soviets v Afghans anyone?