David Bickley's Wargames Blog

The occasional ramblings of an average gamer, journeyman painter, indifferent modeller, games designer, sometime writer for Wargames Illustrated and host of games in GHQ.


Tuesday, 12 April 2022

Action at Robinson's Rough

 Back to normal here in GHQ after a week's enforced hiatus, when Phil preferred shopping to gaming! I may forgive him, in time... Anyway, to today's game and a fictional encounter in the AWI between Lord Rawnsley's Crown forces and the rebellious and ungrateful colonials lead by that icon of military incompetence, old  "Independence or Death" Bykleigh. The rules used were Black Powder 2 as usual and the game was set at 12 Turns. As is my custom an annotated photomontage to give a sense of how the game played out ~

The colonials open the action with a rather disjointed advance on the enemy! The left is secured by two small brigades of Militia while the Continentals make up the centre. Their right flank is covered by cavalry to deter a turning movement by Rawnsley's forces.
The Crown's forces are slow to execute Rawnsley's orders. His Regulars make up his centre, supported on the right by Loyalist elements and a warband of the Paddoquoi, his left covered by a small cavalry brigade.
As both sides struggle to get into position the first action opens in the centre. Early fighting consists of an ineffectual firefight across the fenced lane leading to Robinson's Rough.
Old "Independence or Death" Bykleigh is not at the races yet, troops are proving slow or even reluctant to execute orders. Virginia Continental infantry are moving slowly to support the 2nd Maryland and elements of Lee's Legion who are trading lead with British light infantry.
The 45th are holding the centre flanked by the Royal Artillery 6lb gun on their left and the Lights on their right. The Loyalist units are on some confusion in the distance, though Butler's Rangers have secured the small farmstead.
A firefight all along the front of both armies has developed by Turn 4. The Rebel's cavalry are too advanced and take heavy casualties. Nevertheless, their presence is safeguarding the army's right flank.
Feeling confident that his position is a strong one, Rawnsley sends the 45th forward to probe a gap in the Rebel's line.
After some early success against Butler's Rangers, the Virginia Militia finds itself confronting the Paddoquoi! They prove stubborn opponents who surprised us by standing up to repeated volleys, refusing to give ground to their foe!
The 3rd New Jersey, the famed Blues, finally break under the sustained fire of the British regulars and the Royal Artillery! To plug the gap Bykleigh deploys his brigade of Continental Dragoons. Desperate times call for desperate measures!
The brigade if Militia cavalry on Bykleigh's right are finally routed and the Continental Dragoons are obliged to retire to prevent further losses. Strangely Rawnsley does not seem inclined to exploit this opportunity, his forces being very battered on his left it seems!
On his right Rawnsley's forces are stubbornly holding off all attacks on the farm, aided by ineffective fire from the Militia! In the centre the situation moves to favour the Rebels, though they fail to exploit their advantage!
It is the end! Twelve Turns have been played out and neither side has delivered the decisive blow to claim a victory for their cause! Though a draw, the Rebel position is judged the weaker with two Broken Brigades and two other brigades on the cusp of Breaking. Old "Independence or Death" concedes the field to Lord Rawnsley and withdraws his army to fight another day!

The forces involved:-
Crown forces
CinC Lord Rawnsley.
1st Brigade:- 23rd, 43rd, 45th
2nd Brigade:- King's Orange Rangers, Volunteers of Ireland, Loyalist Militia
17/18 Light Dragoons
Tarleton's Legion
NY Light Dragoons
Loyalist Militia Horse
Screening force:- Light Infantry detached from 1st Brigade, Butler's Rangers, Queens Rangers
Paddoquoi war party
RA 6LB & 3LB guns.

The Rebellious & Ungrateful Colonials 
CinC Old "Independence or Death" Bykleigh
1st Brigade:- 4th & 8th Virginia Continental infantry, 3lb Galloper Gun
2nd Brigade:- 2nd Maryland Continental infantry, 3rd New Jersey Continental infantry, Lee's Legion foot, 3lb Galloper Gun
2 Militia Brigades of 2 Militia infantry units
Brigade of 3 small mounted Militia units
2nd & 3rd Continental Light Dragoons
Grand Battery of 3 Heavy Guns.


Sunday, 10 April 2022

The 'Joys' of Rebasing!

 Most of the past week has been taken up with a rebasing of my small F&IW collection. Originally I based these mostly on 25mm round MDF bases for use in a skirmish sized game. Having tried and rejected both iterations of Sharp Practice, as well as the original Muskets & Tomahawks, we have tried using Black Powder with some in-house modifications more successfully. Having settled the rules issue, it seemed logical then to rebase the figures to fit in with those of my larger SYW collection.

The first French regular infantry, the 2nd battalion of the Royal Roussillon and light gun support.
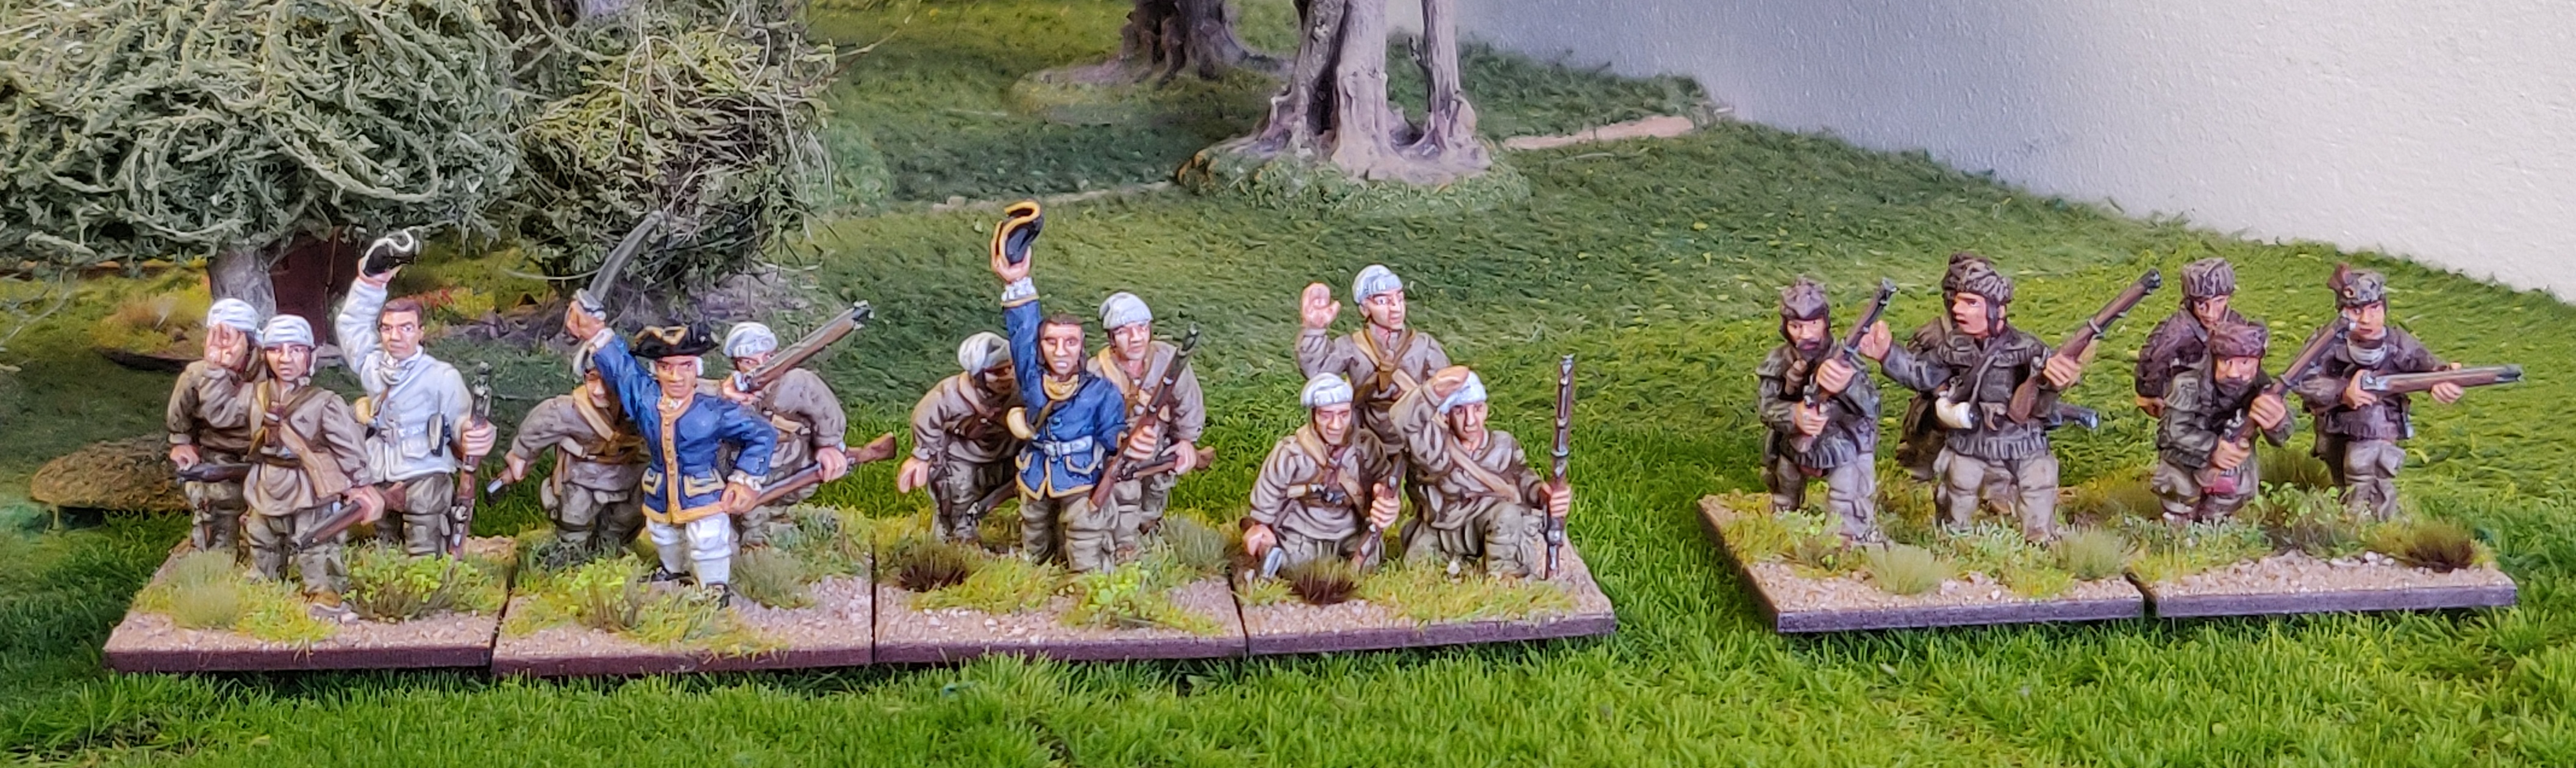
French Woodsmen: Coureurs du Bois and Frontier Militia.
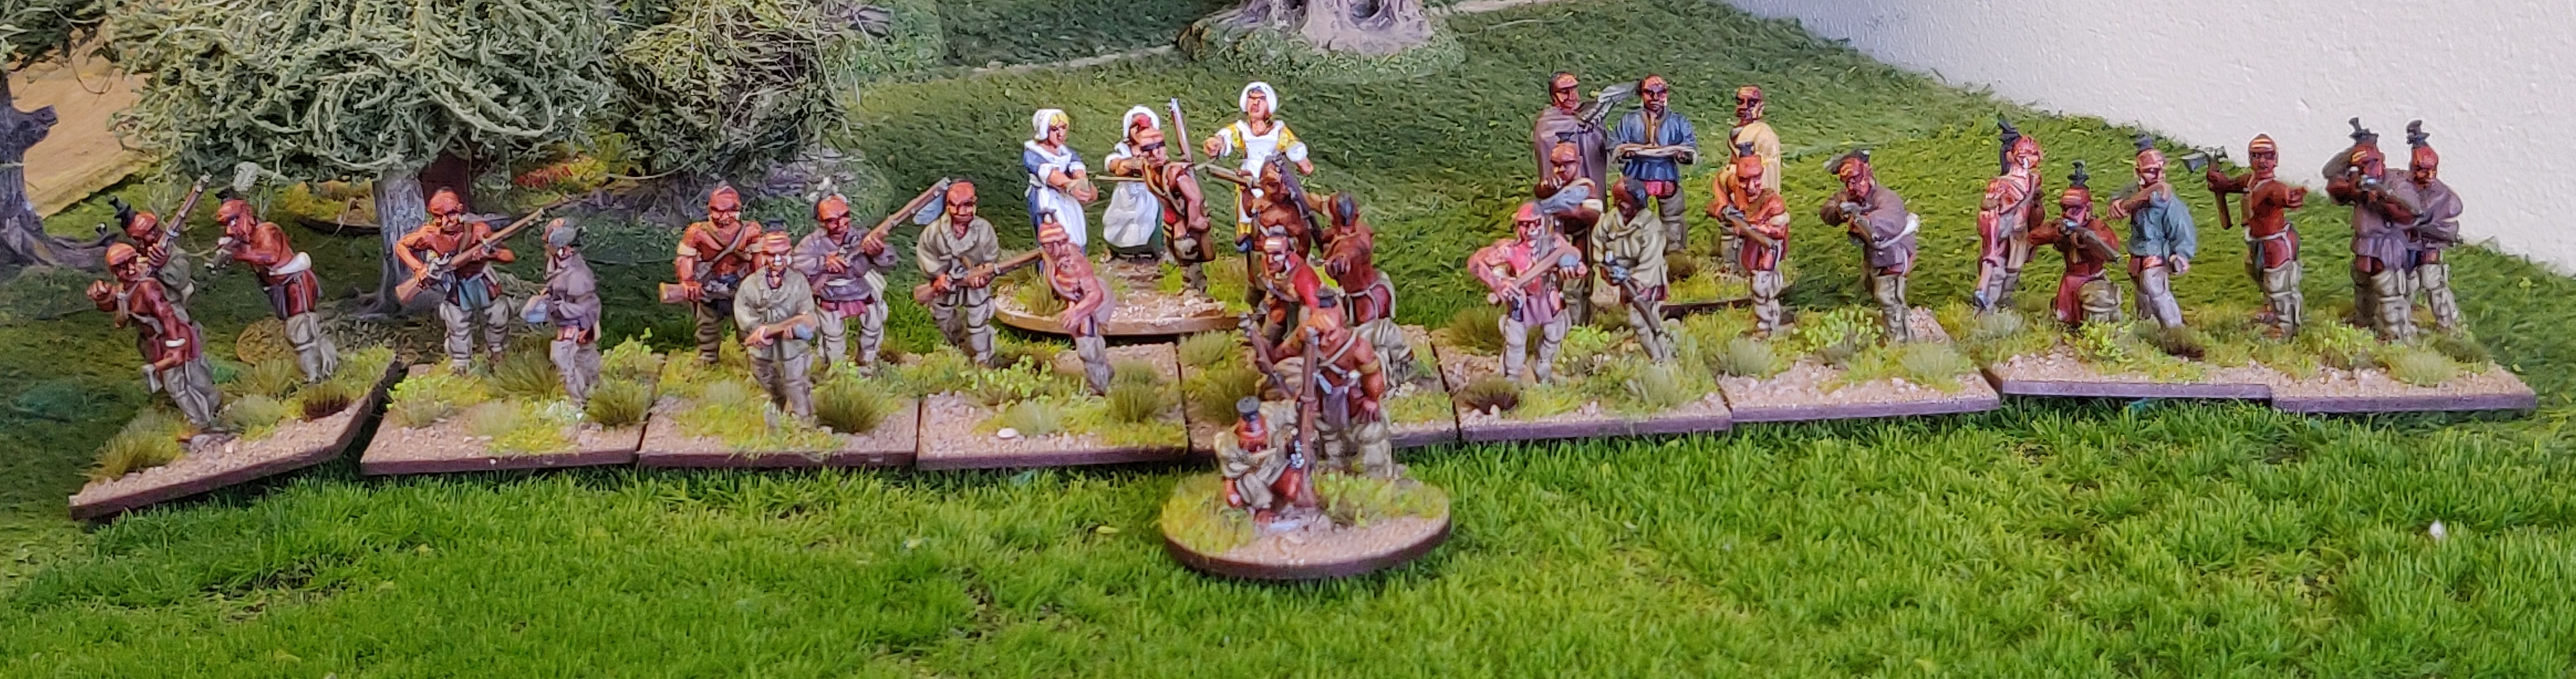
Huron allies, enough I hope for two War Party groups. The captive women vignette I bought at a Tabletop Sale in Penkridge several years ago.
The 28th Foot, supported by their Light Company and Grenadiers of the 78th, Fraser's Highlanders.
Robinson's (Roger's) Rangers, lead by a well known fictional group of figures!
Civilians/Militia and a Light gun with crew.
Transport for the Rangers  (useful markers in a game for Step Off points or Objectives.)

This reorganization has lead to a fair number of figures surplus to immediate redeployment. So I have ordered up the extra figures to make up the units. As most of the figures I have are from Redoubt Enterprises F&IW range I have placed an order, crossing my fingers they will arrive {as I've seen some worrying posts about the lack of service.} In addition I've made my first ever order from Galloping Major, a small War Party's worth of Stockbridge natives. I'm hoping that they will be compatible with the existing Redoubt Enterprises' range.

No doubt this will merely be the start of further future expansion of the collection, after all we are all wargamers and know how it more than often pans out! I also seem to have an empty 7L RUB in GHQ!


Wednesday, 6 April 2022

Command Stands #2

 The second installment on the theme of Command stands, as promised in the previous blog post. A special thank you to all who left a reply or comment, your encouragement is always welcome.

Dressing for Battle! SYW figures from Casting Rooms Miniatures, tent from Grand Manner.
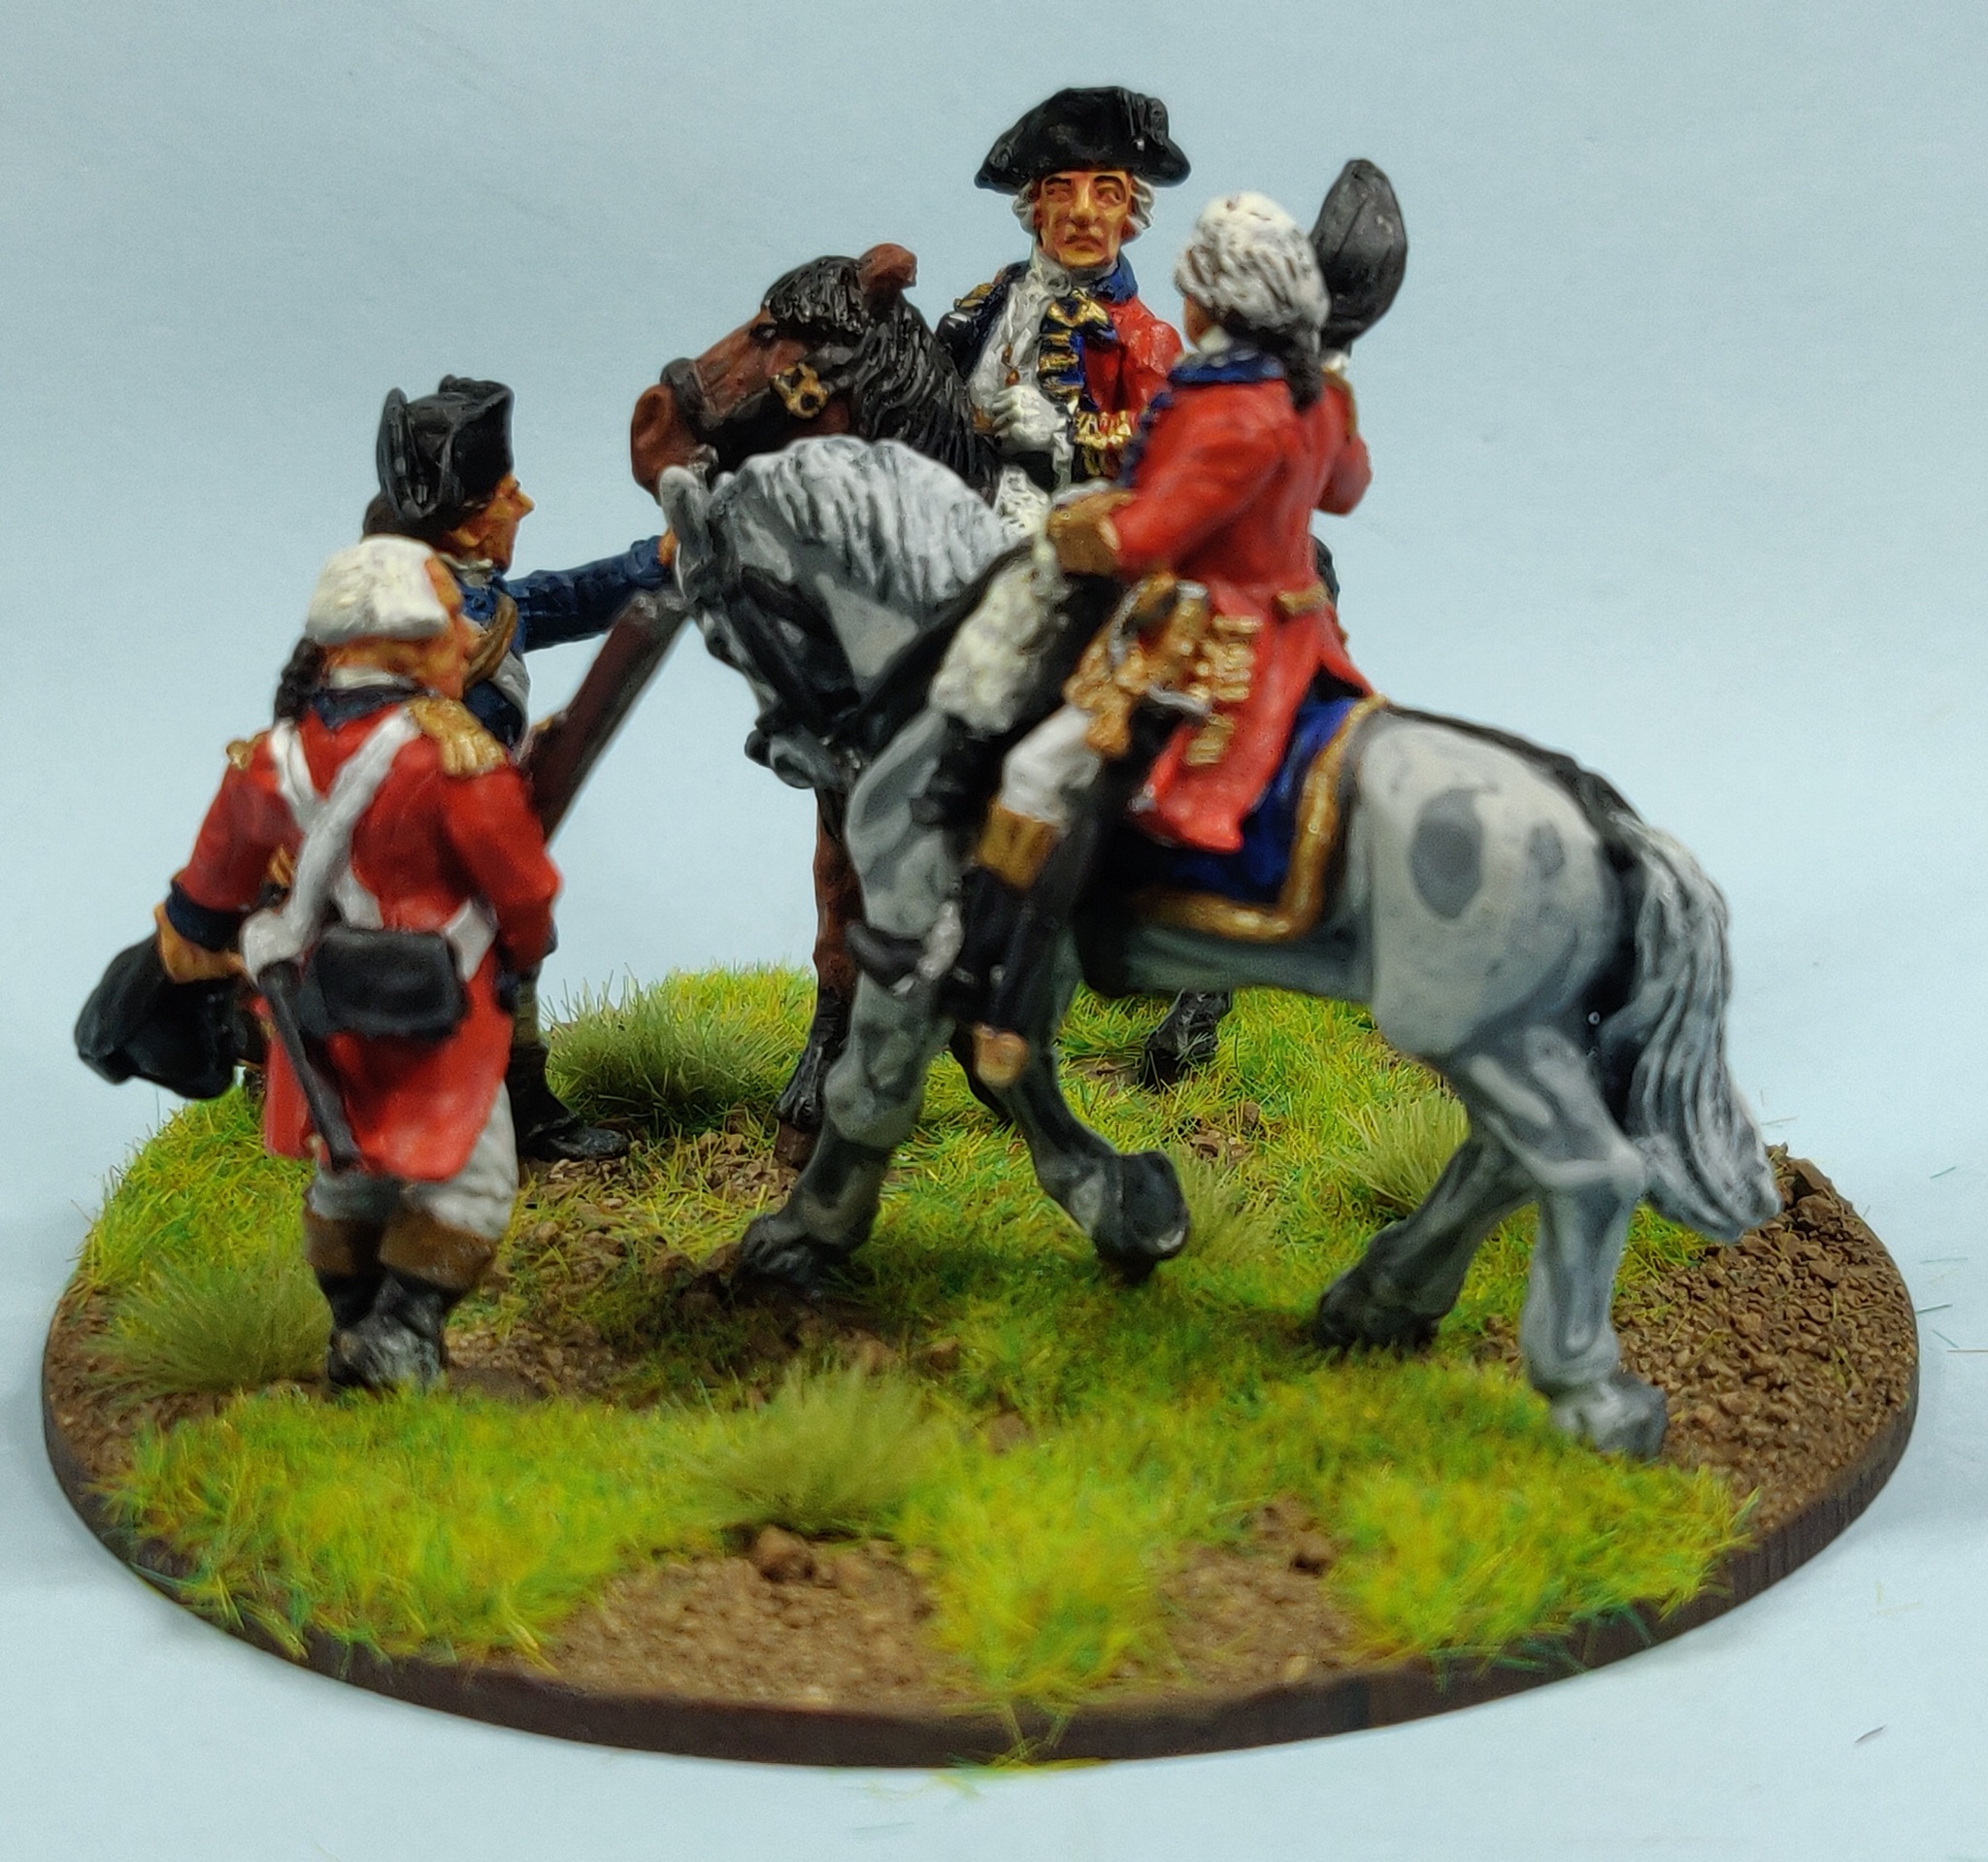
British Generals from the SYW, by Casting Rooms Miniatures
George Washington, a WI/Giants in Miniature sculpted by Matt. Other figures from Foundry, road sign and cardinal from Warbases.
Perry Miniatures AWI Militia officer.
AWI Command stand using Foundry British figures.
AWI British high command, once again using Foundry figures.
AWI 45th Foot command base again utilizing Foundry figures.


Wars of the French Revolution using figures from Boot Hill and Perry Miniatures. You may recognise the tent!
Wars of the French Revolution, Eureka Miniatures Austrian Light Cavalry command stand.
Wars of the French Revolution, Austrian brigade commander using figures from Trent Miniatures and Casting Rooms Miniatures.
Napoleon crossing the Alps, from Foundry and painted by Matt for a Christmas gift.
Wars of the French Revolution Austrian brigade commander using a Front Rank mounted officer with Trent Miniatures foot figures.
The Grand Old Duke of York! You may recognise one of his Staff! Figures from Trent Miniatures.
"Follow Me!" Lasalle leading the French Revolutionary cavalry charge. I picked up the figure in a box of odds and ends at a Penkridge Table Top sale preCovid.
British brigade commander for the Wars of the French Revolution.
Perry Miniatures Army Command base for my Pendawar Presidency army, 1801-1806.
Brigade commander for the same army. Again the figures are from Perry Miniatures.
The Raja of Rhanslistan from my Indian Mutiny collection. Figures from Foundry and Mutineer Miniatures.
Ol' Useless S Bykleigh in action in GHQ leading a Union Brigade into action. Dixon Miniatures figures of course!
Dixon Miniatures Confederate cavalry command base 
Converting Dixon Miniatures Confederate figures with 'my head' by Matt and an Empress Miniatures' head.
ACW Union General John Robinson, a Redoubt Enterprises figure on a Dixon Miniatures horse.
Useless S Bykleigh a Redoubt Enterprises figure with 'my head' by Matt mounted on a Dixon Miniatures horse.
Jubal E Bykleigh, another Redoubt Enterprises figure with a younger version of 'my head' and mounted on a Dixon Miniatures horse.
Great War Miniatures staff officers. You'll have seen these earlier I'm sure.
Captain Slack Bladder and chum, by Foundry.
General Robinski, leading the Red Russians in 1920's Rhanzlistan. Figures by Pulp Figures via North Star.
Sir Godfrey Godalming, Governor of Rhanzlistan with Brigadier 'Tubby' Bykleigh and Prince Kasim. Again, figures from Pulp Figures.
1944, somewhere in Normandy, officers gather for the O Group briefing. AB Figures of course.
Nearby the German staff gather round Rommel for their orders, with figures once more by AB Figures.
A German commander following the success of Operation Zeelowe, somewhere in Shropshire, 1940. Figures from Foundry with buildings from Oshiro. 
Well, you made it through to the end! Well Done! I hope you found something of interest and will let me know what you thought of my efforts. Meanwhile, it's back to rebasing my F&IW collection for use with Black Powder 2 rules.