David Bickley's Wargames Blog

The occasional ramblings of an average gamer, journeyman painter, indifferent modeller, games designer, sometime writer for Wargames Illustrated and host of games in GHQ.


Tuesday, 17 December 2013

Turning the Tide...

...or not! A brief photo montage report of a recent Rapid Fire!2 game here in GHQ between Jon and myself. As is usual by now, Jon took command of the British forces while I commanded the Germans. The game is set in July 1944 and sees a retreating German force attempting to stave off an overwhelming Allied assault as it covers the main body's retreat. The game was played down the length of the table and was set at ten moves. After Turn 3 the Allies' plane can arrive on the table, while after turn 5 the Germans can try to mobilise a counter attack ~ their initial force consisting of two Stugs, an 88mm Anti Aircraft gun in anti tank mode, and one Company of  Infantry with an 80mm mortar and MMG support. {The small delaying force faces overwhelming odds in its task but can call on off table artillery strikes on two predetermined coordinates at the German player's will, assuming he can make radio contact that is!}
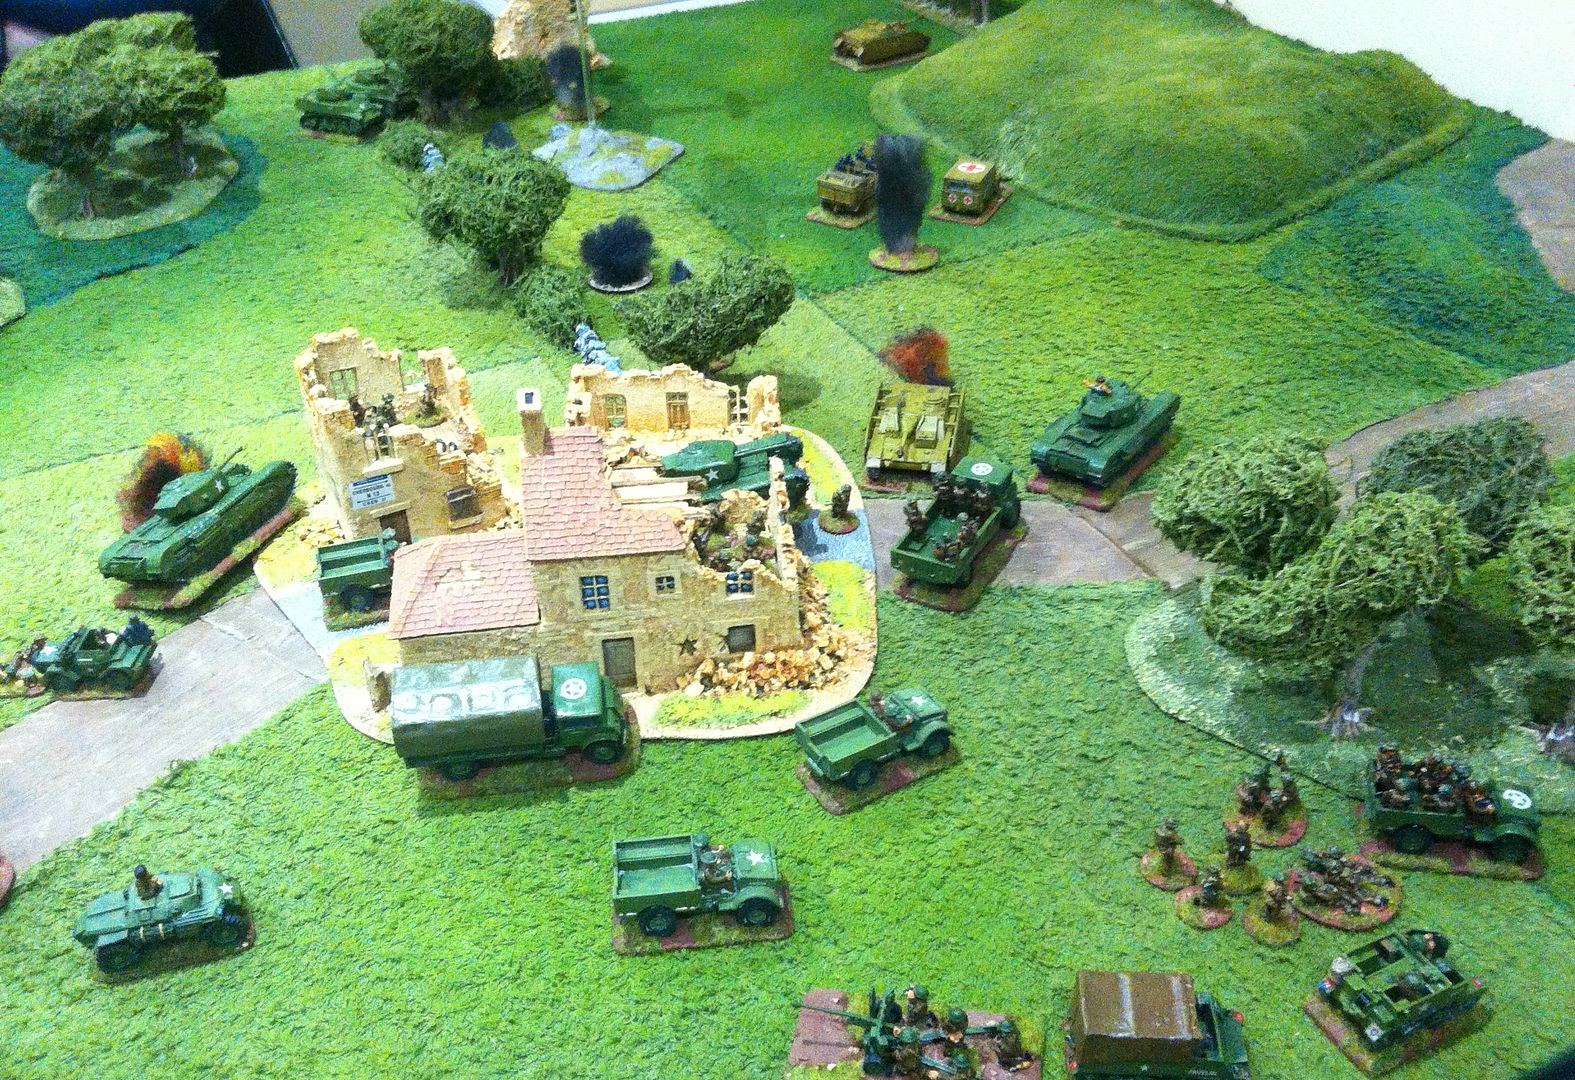
The table in Turn 3. The 88mm has knocked out one armoured car, while one of the Stugs has failed to hit its target. {The plane is not yet in action}
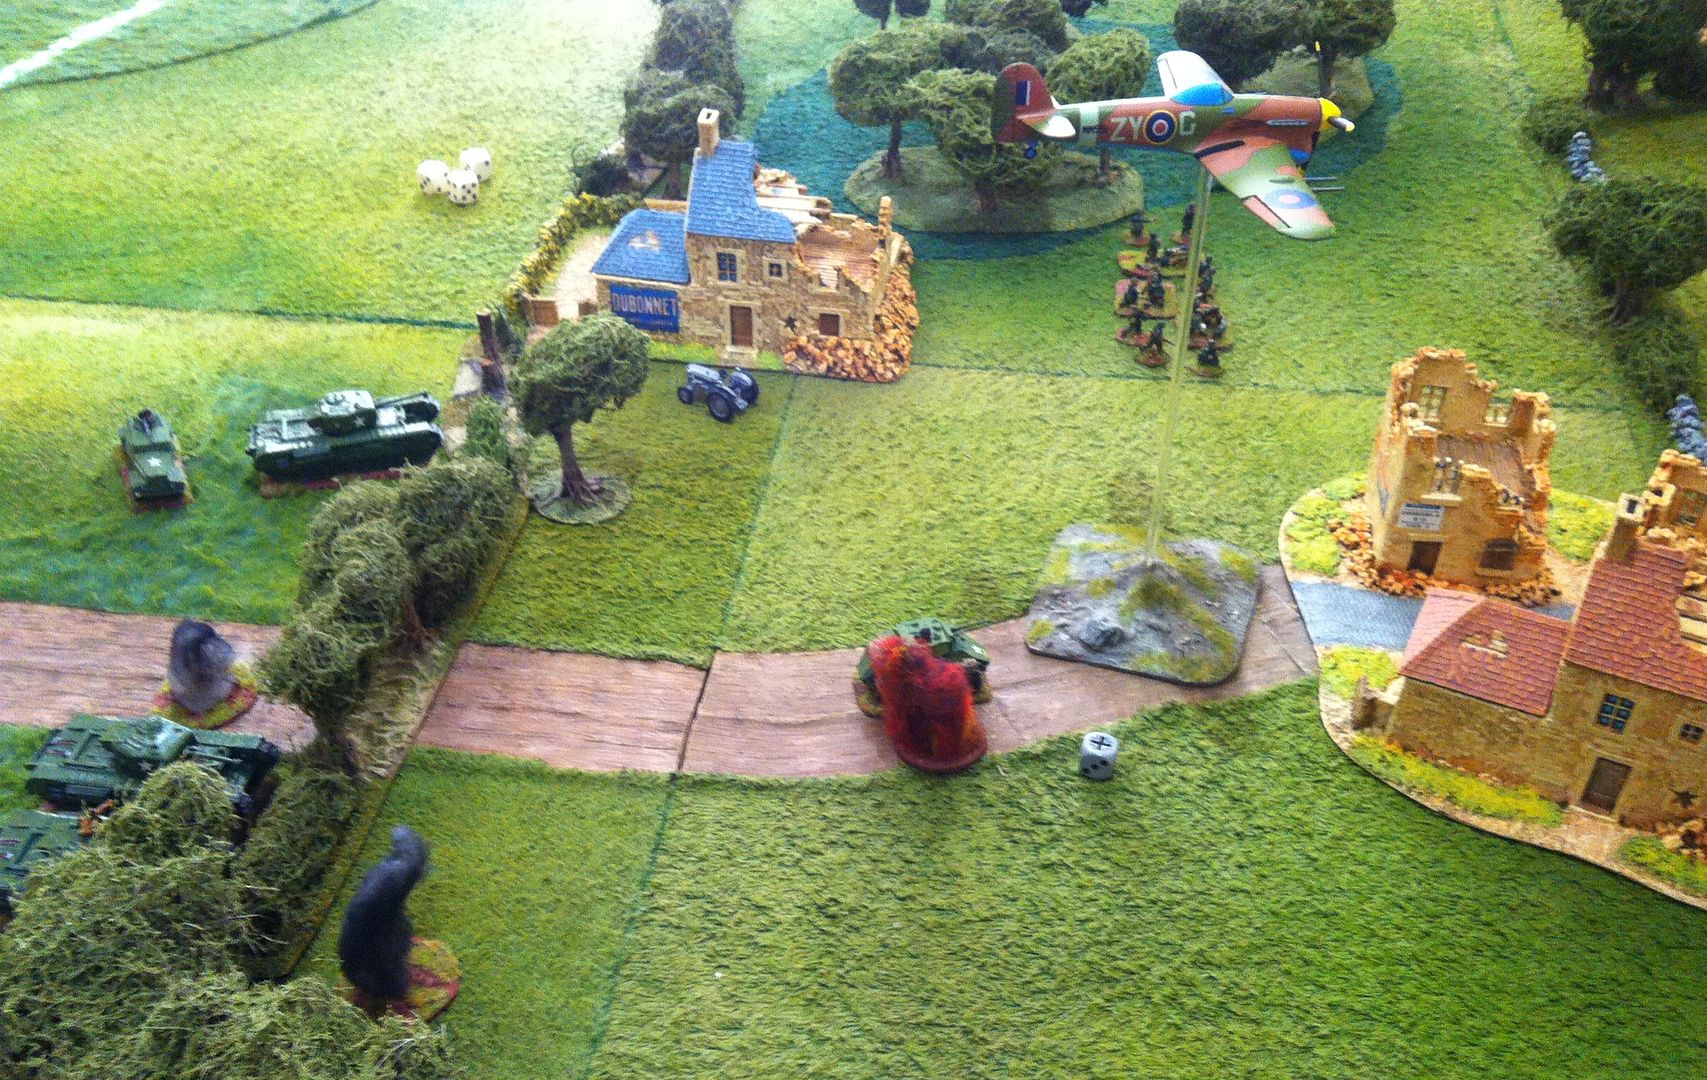


As you can see in the first picture, the Germans are withdrawing to the second defencive line in order to preserve their small forces integrity and effectiveness. As the Allied force does n't know that it enjoys overwhelming superiority on the table the lines of hedges and he ruined buildings in their mind can become strong defencive positions to be approached with caution.


The first Stug and the 88mm withdraw through the ruins of the town to avoid the oncoming barrage of fire and the predeclared aircraft attack.
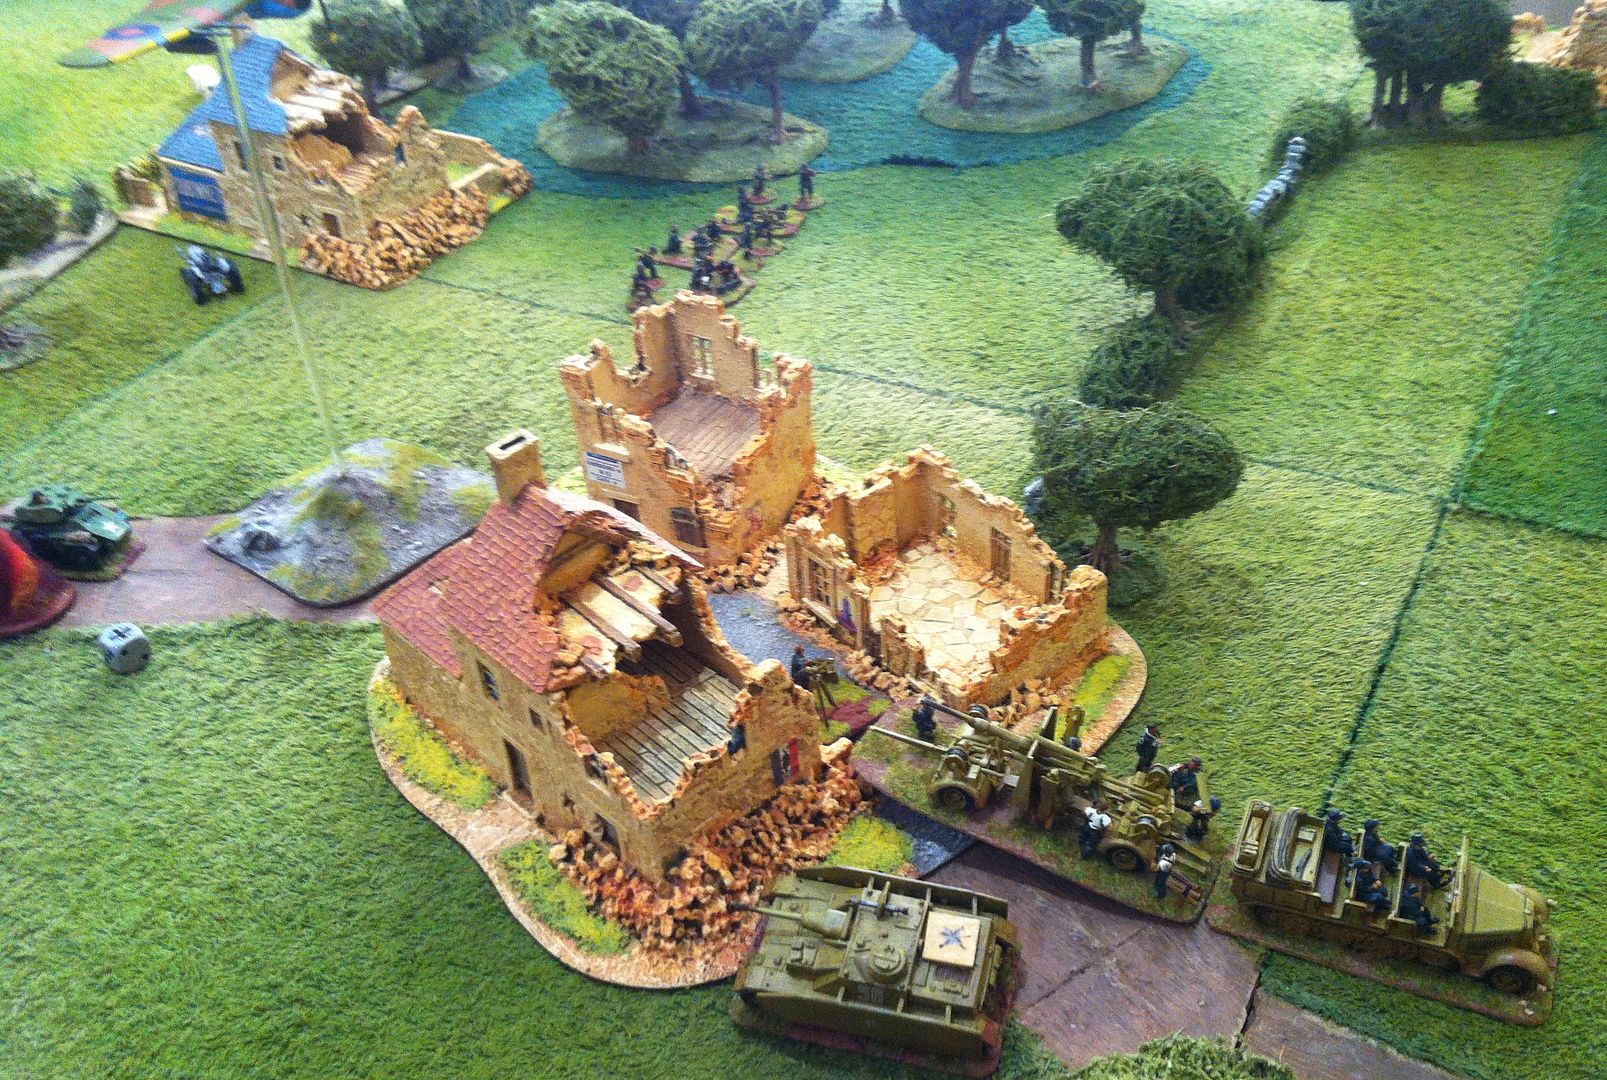
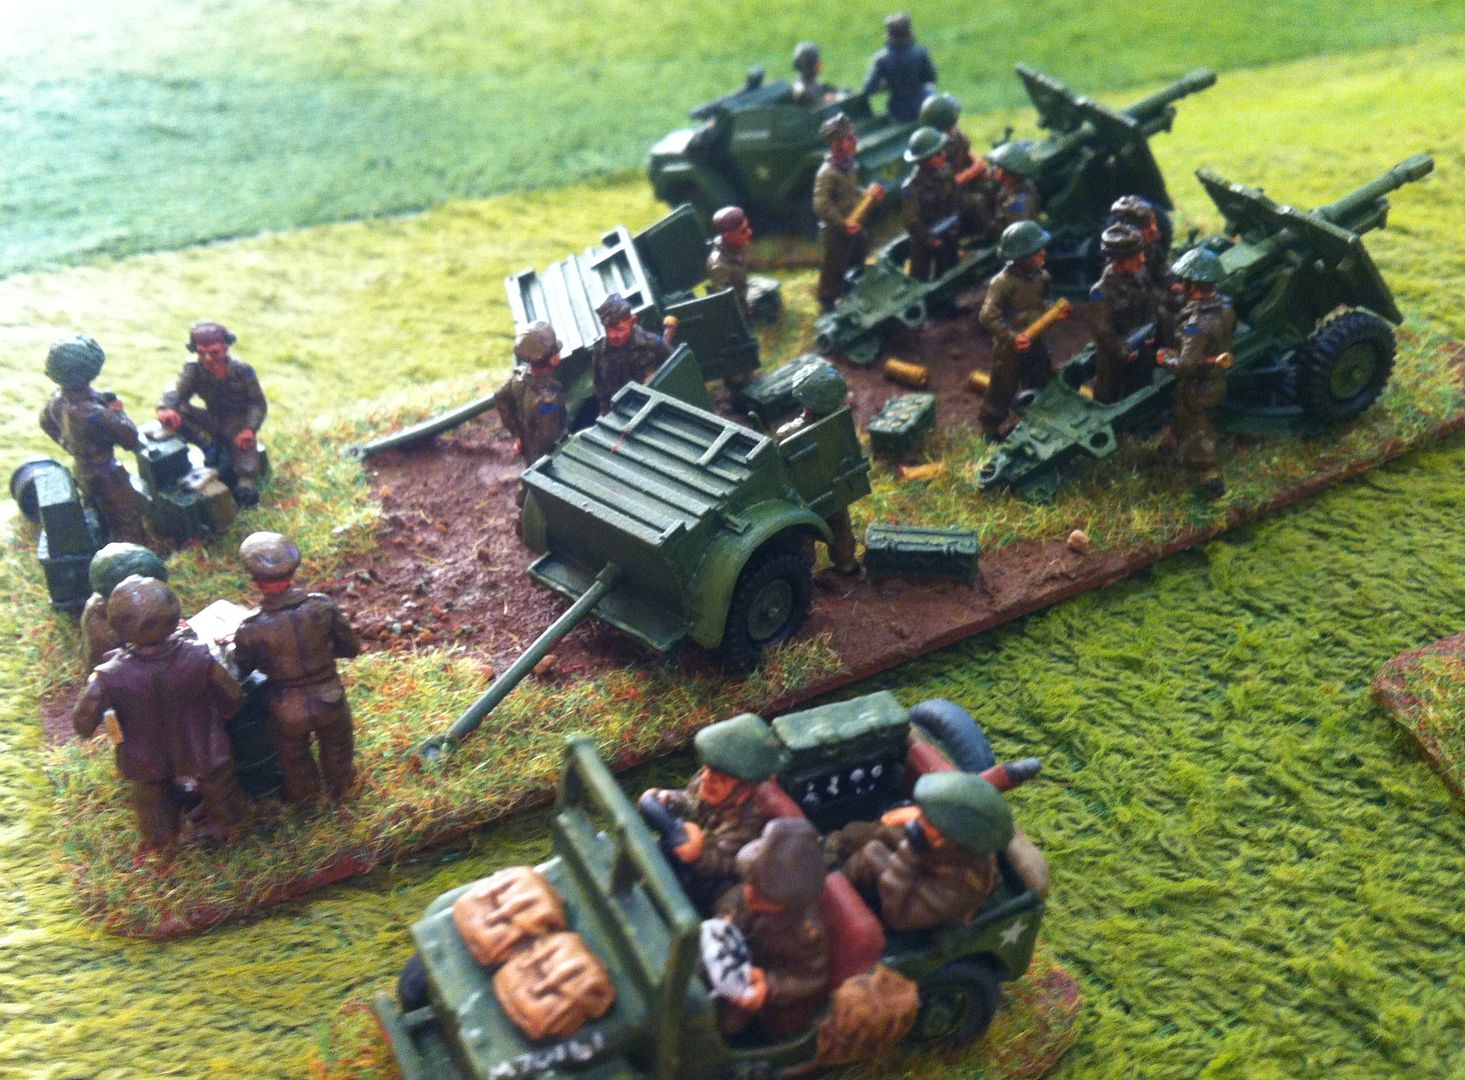
The Allies' 25ld battery lays down fire on the ruins, just after the Germans withdrew their force there!
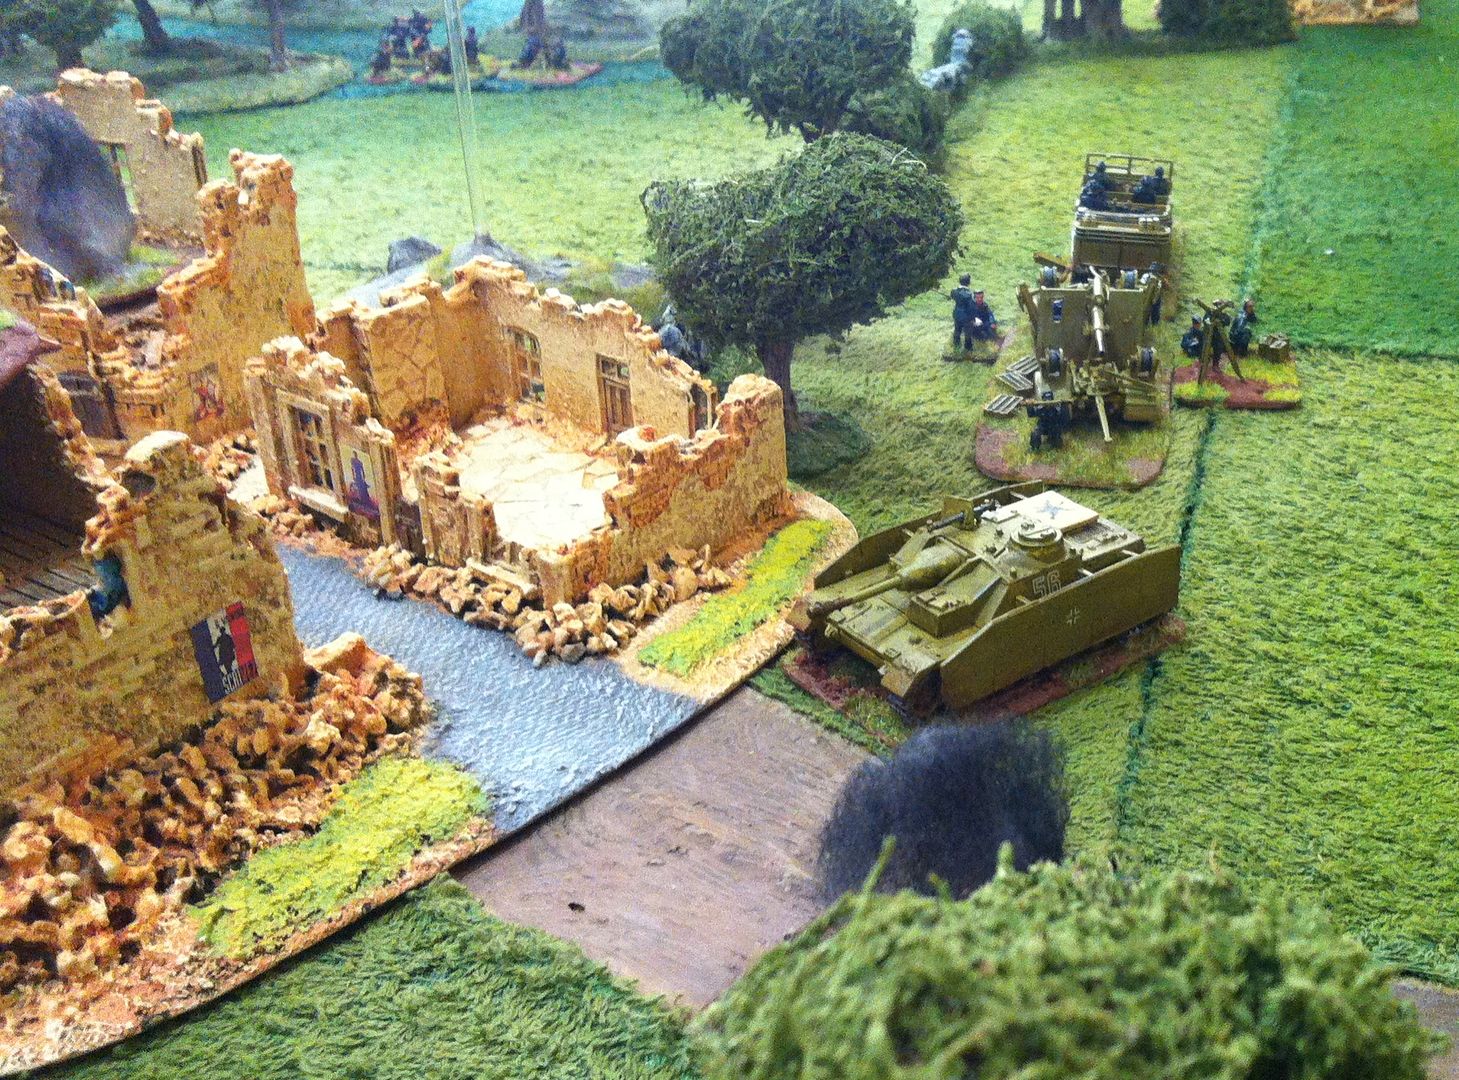
The Stug and the 88 struggle to move to their second position and are in danger of being caught in the open!
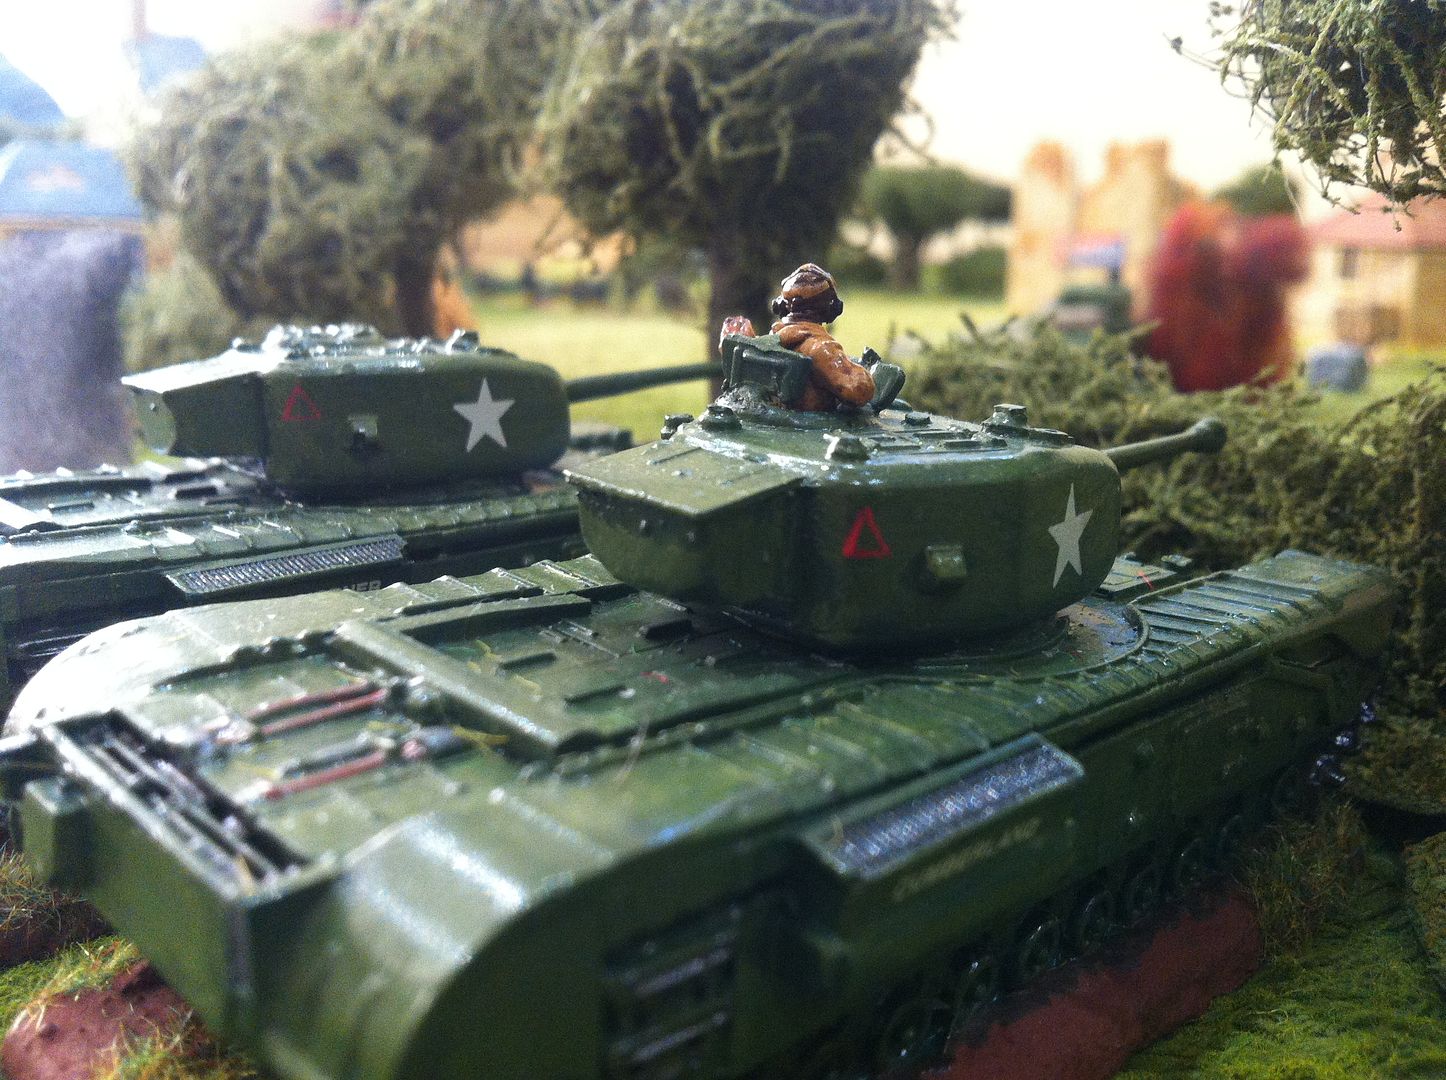
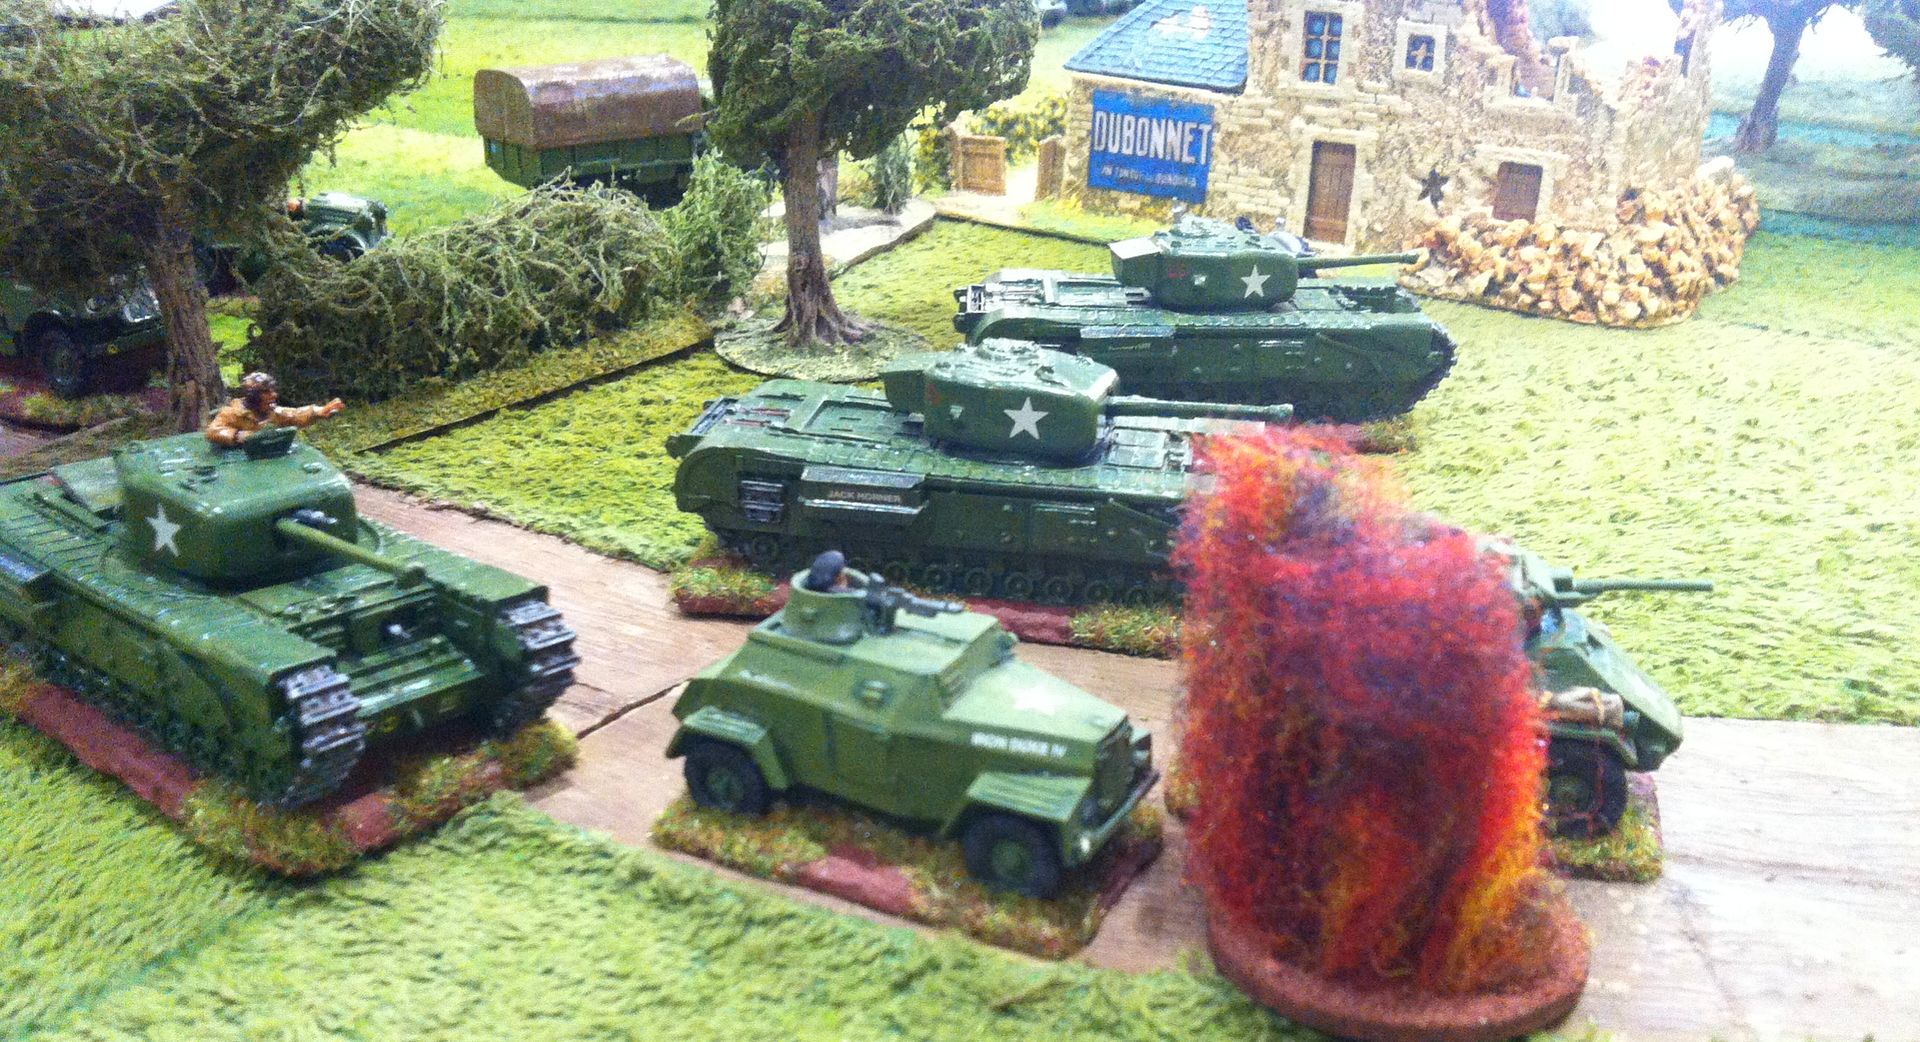
The Allies' Churchill tanks bear down on the lone Stug!
The Germans struggle to deploy the 88 to support the unequal struggle of the lone Stug and are bombed by the Allied aircraft!
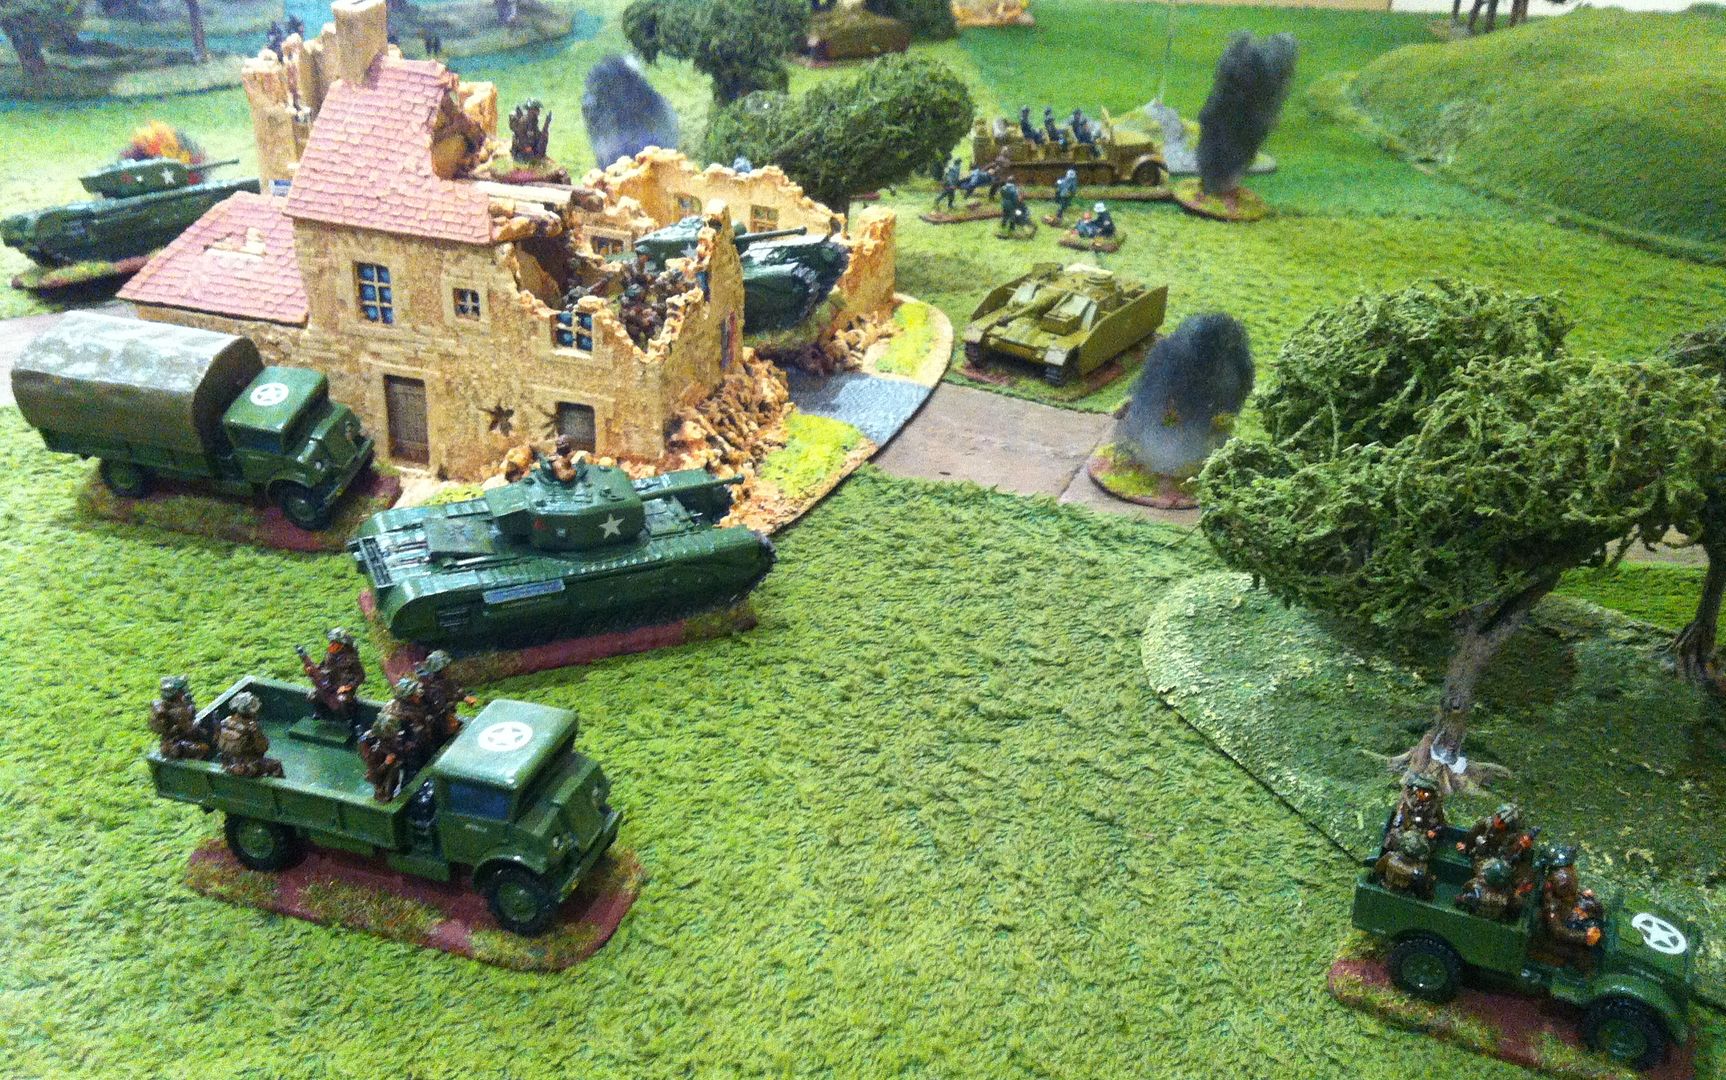
A second Stug, until now without a target, comes into action from the German right flank and takes out an Allied Churchill!
Finally, at the third attempt, the 88 is destroyed in a bombing run by Pilot Officer Whyte DFC & Bar!
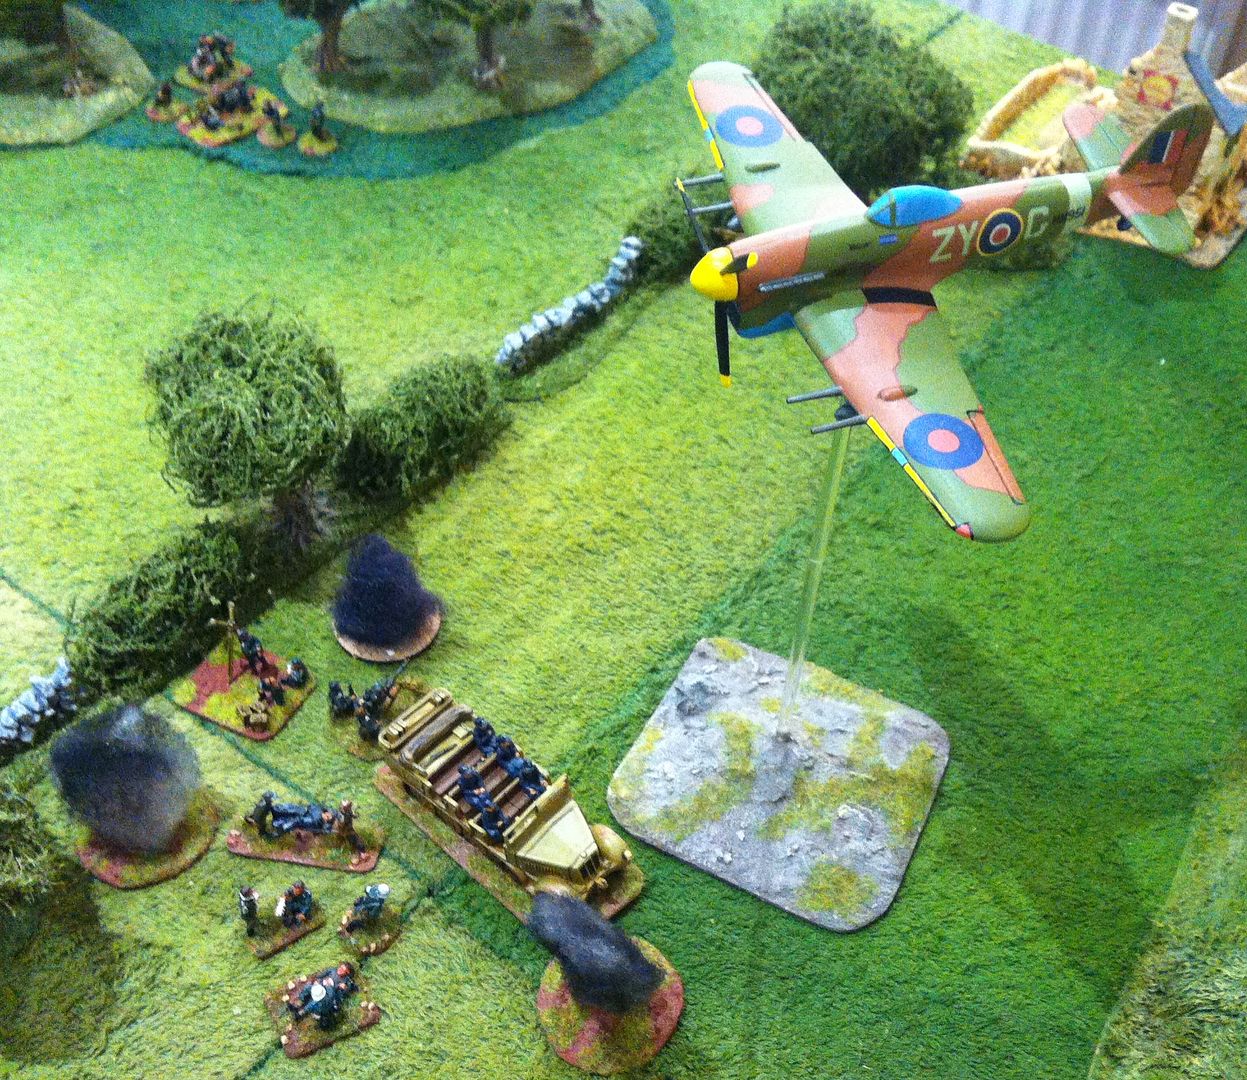
Now, at this point, you may be asking yourself what happened to the German's Counter Attack, as well you might. Three Panzer IVs were available to attack across the Allied line of advance from Turn 5 on a throw of 5 or 6 on a D6. My best effort in five turns was a 2! So, no Counter Attack materialised and when my force's Morale broke the force was in headlong retreat in Turn 9!
The game reminded us both of how much we enjoy Rapid Fire! as a wargame's system for fast and furious WWII games here in GHQ. While its true that I've enjoyed in recent months several games of Battlegroup Kursk with Phil and Jon on tables large and small, I do feel more comfortable here in GHQ with Rapid Fire! for my games. I've bought a copy of Battlegroup Overlord and I expect we'll try it out here in 2014 in due course, but I think it will struggle in my mind to supplant the system I've grown so used to over the years.
It only remains now to wish my loyal reader, where ever he or she may be
A VERY HAPPY CHRISTMAS AND A PROSPEROUS NEW YEAR!
 

Saturday, 14 December 2013

"The British are coming!"

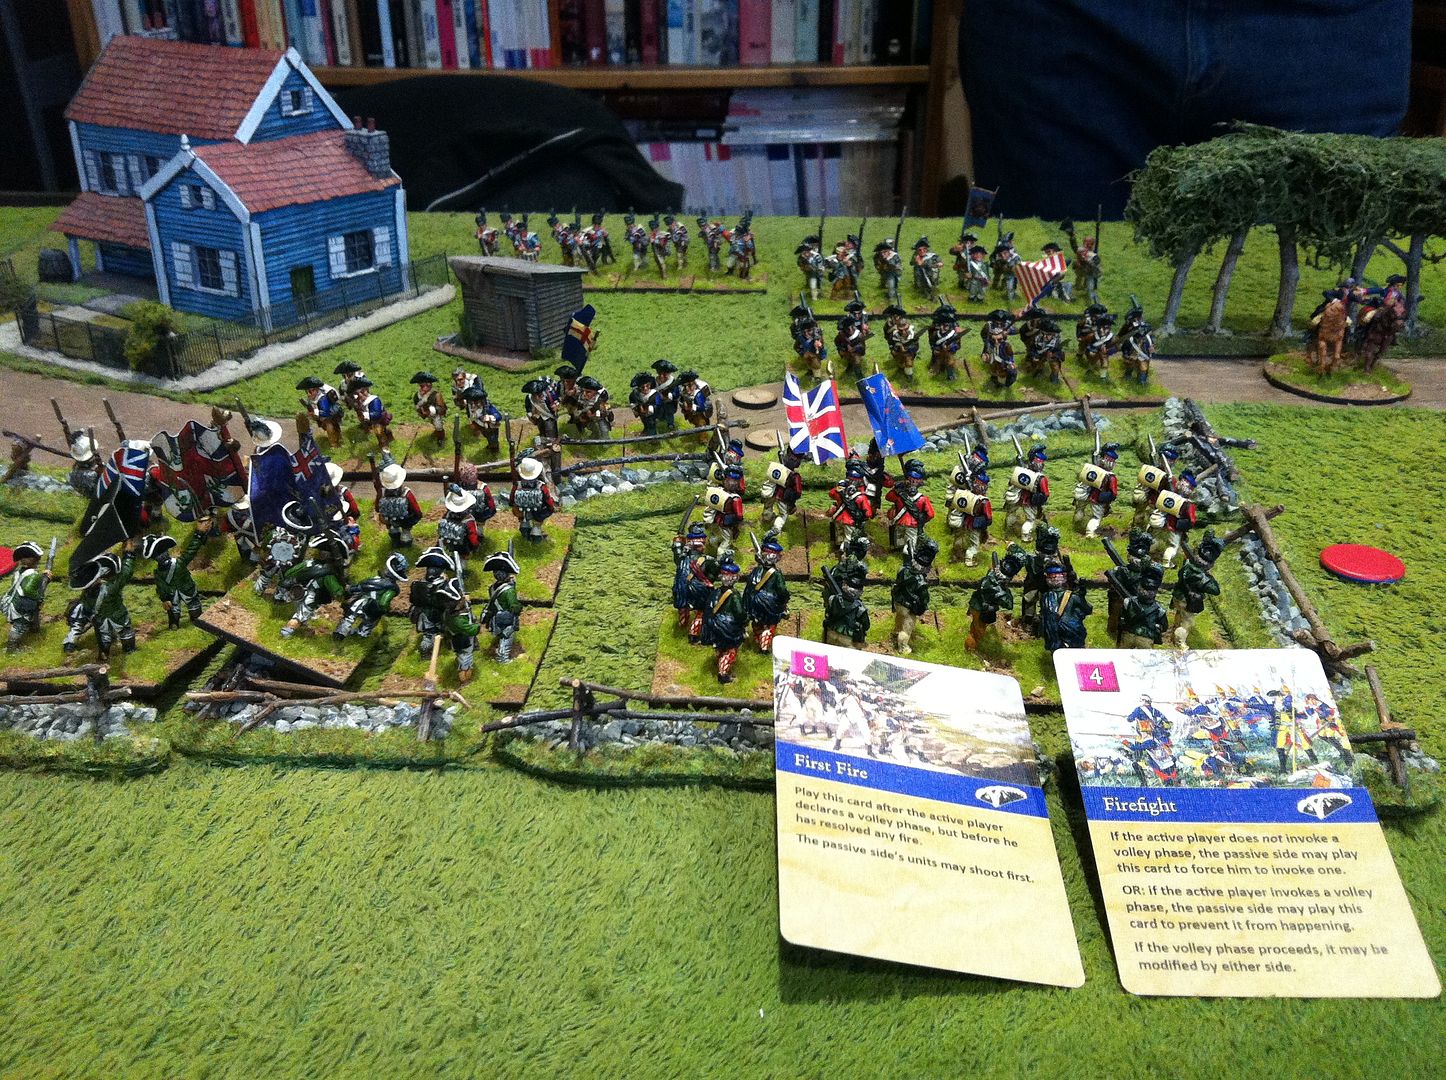
Earlier this week Phil and I managed to arrange for a day's gaming here in GHQ. We decided to give the 'Maurice' rule set by Sam Mustafa another tryout, as our first effort had been somewhat confusing as we only had the 'lite' rules at the time, and set the game in the AWI. I had n't really warmed to the rules myself, but Phil was keen to give them a go so who was I to refuse?
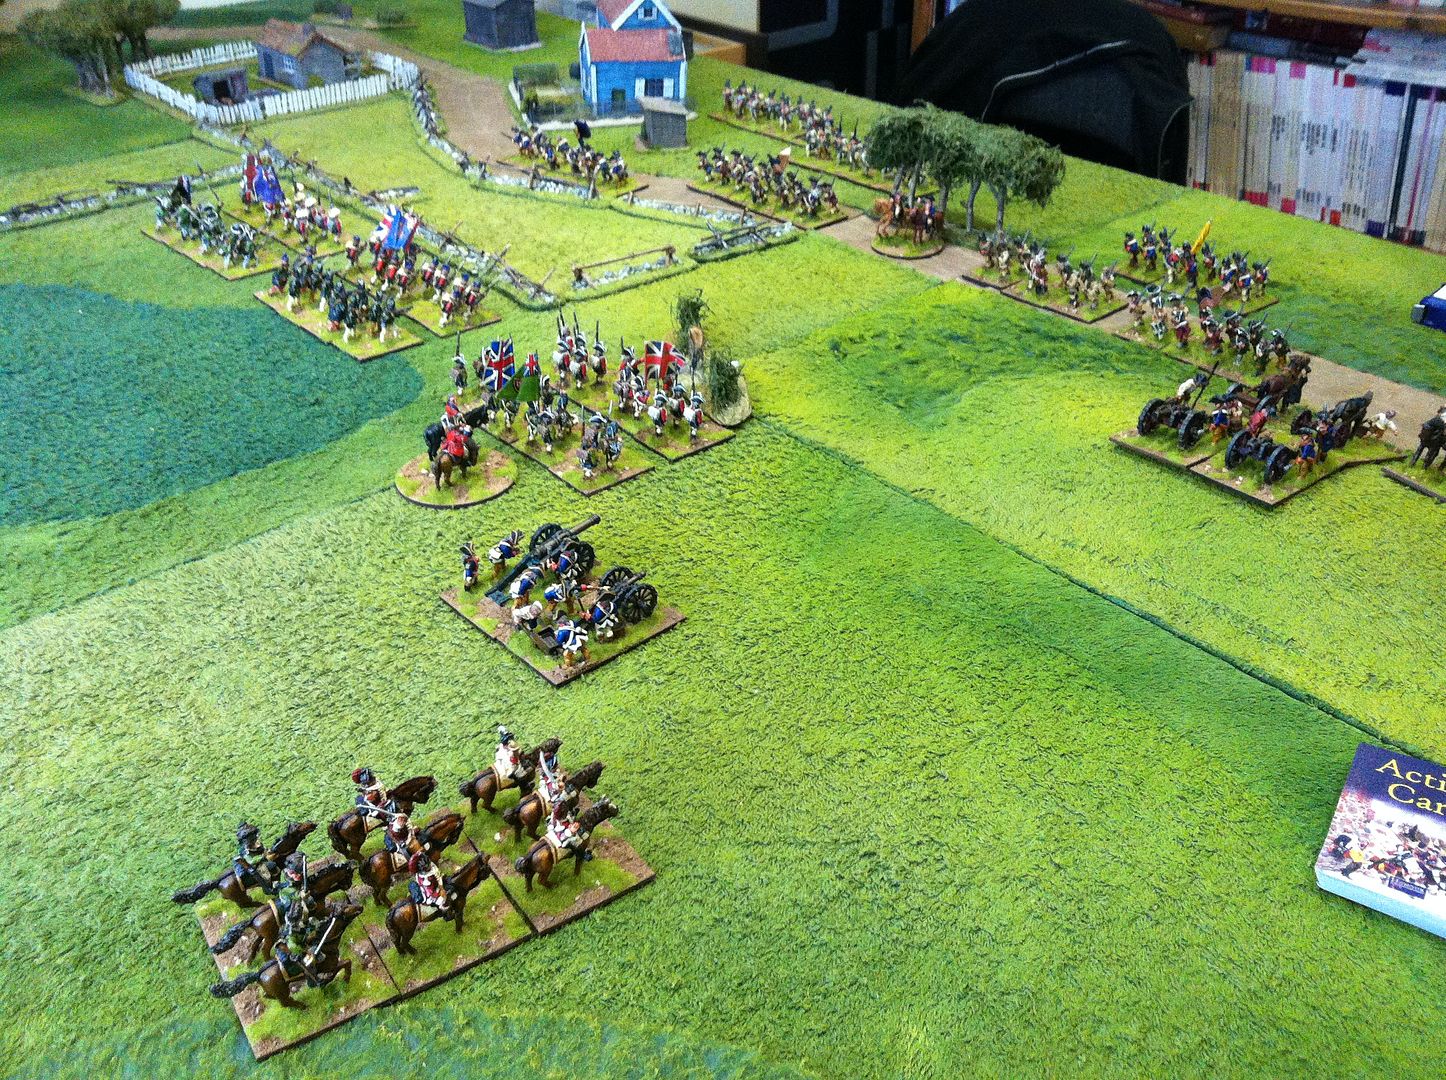
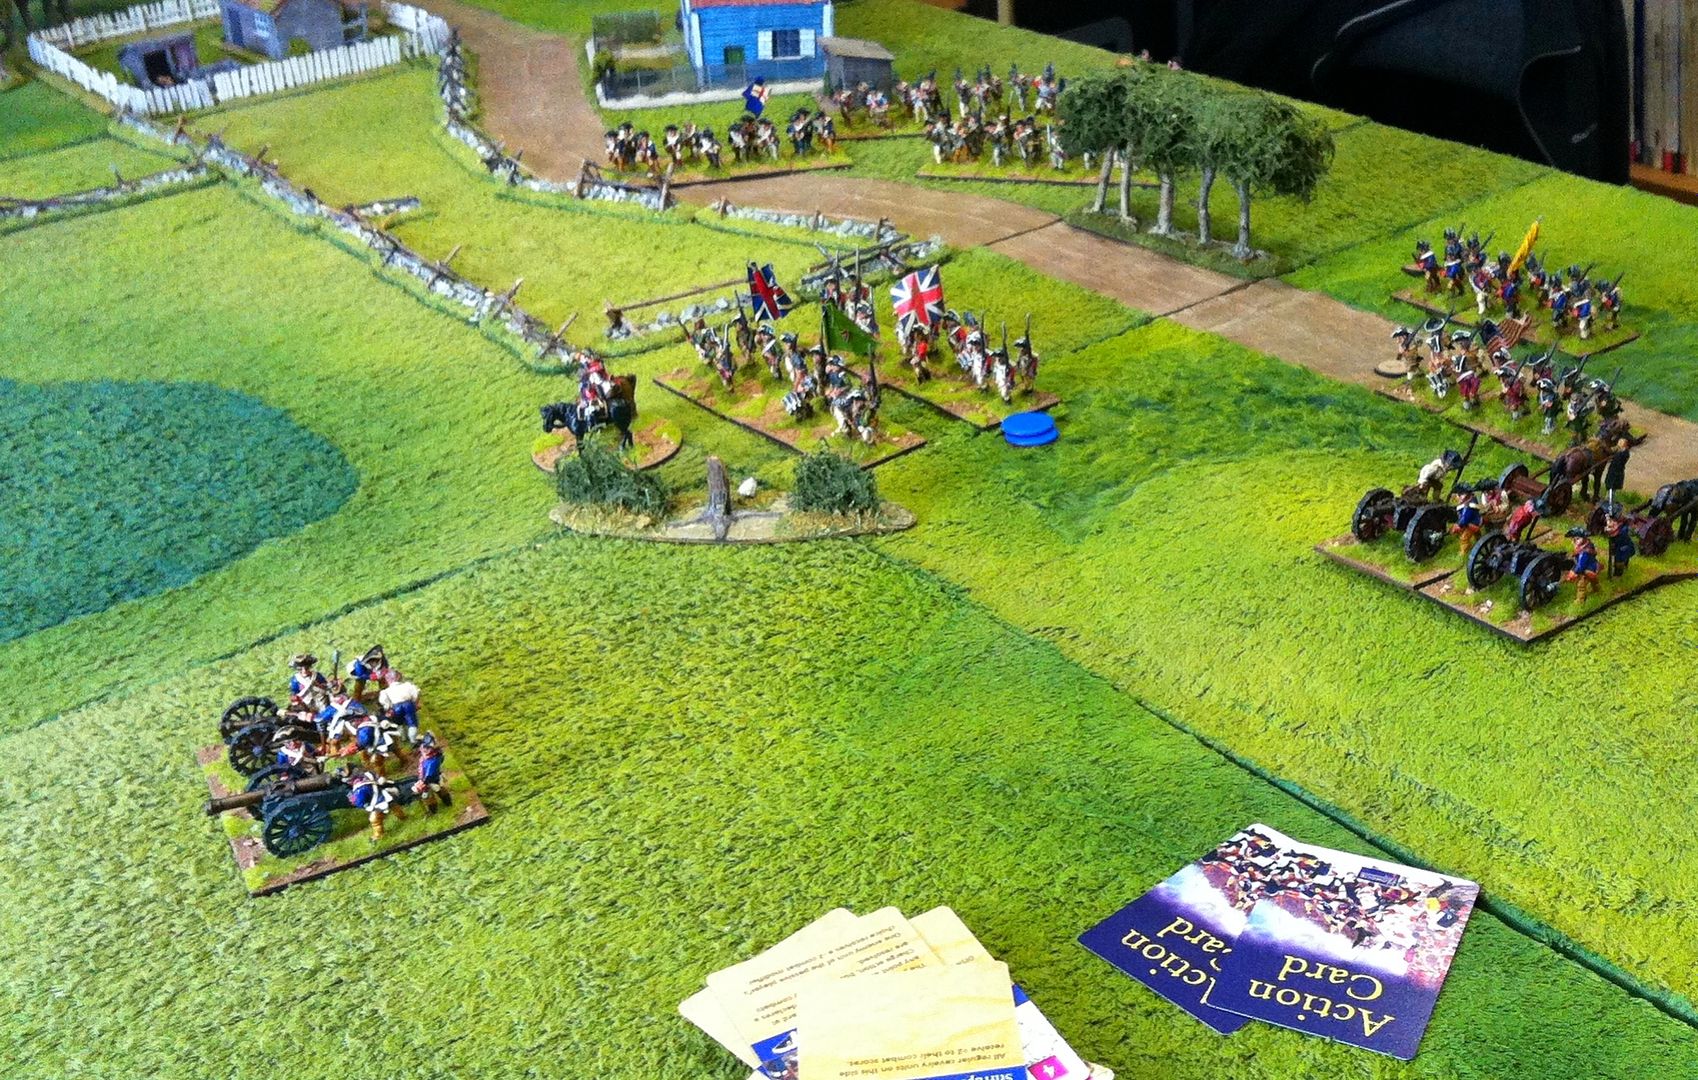
The table layout for the game. Phil chose to defend as the Rebels and I was to attack as the British and Loyalist force. My objective was marked by the 'outdoor facility' gracing the main farmstead!
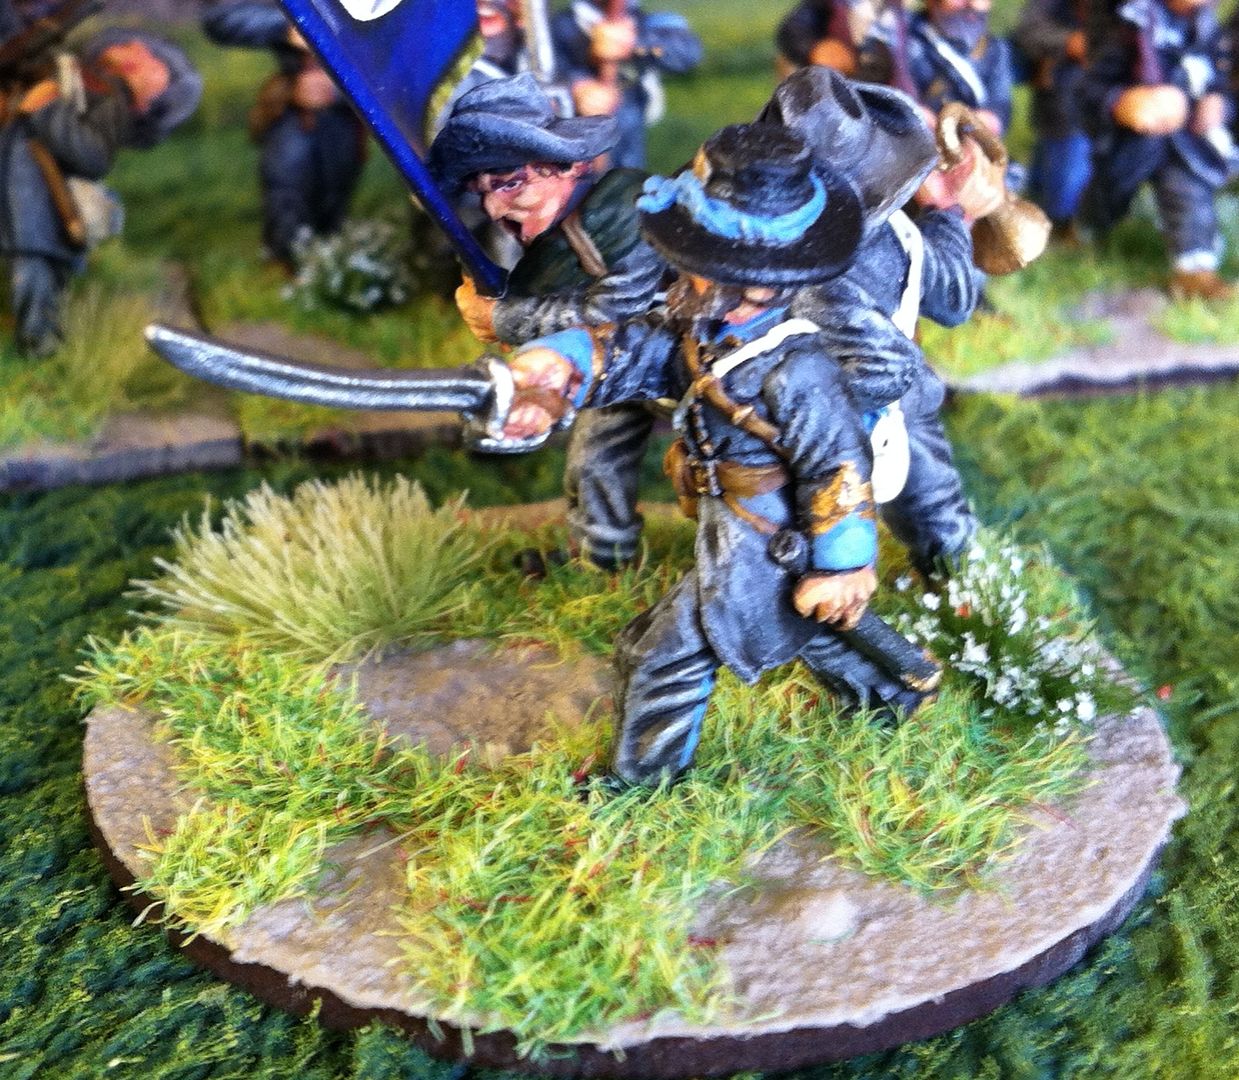


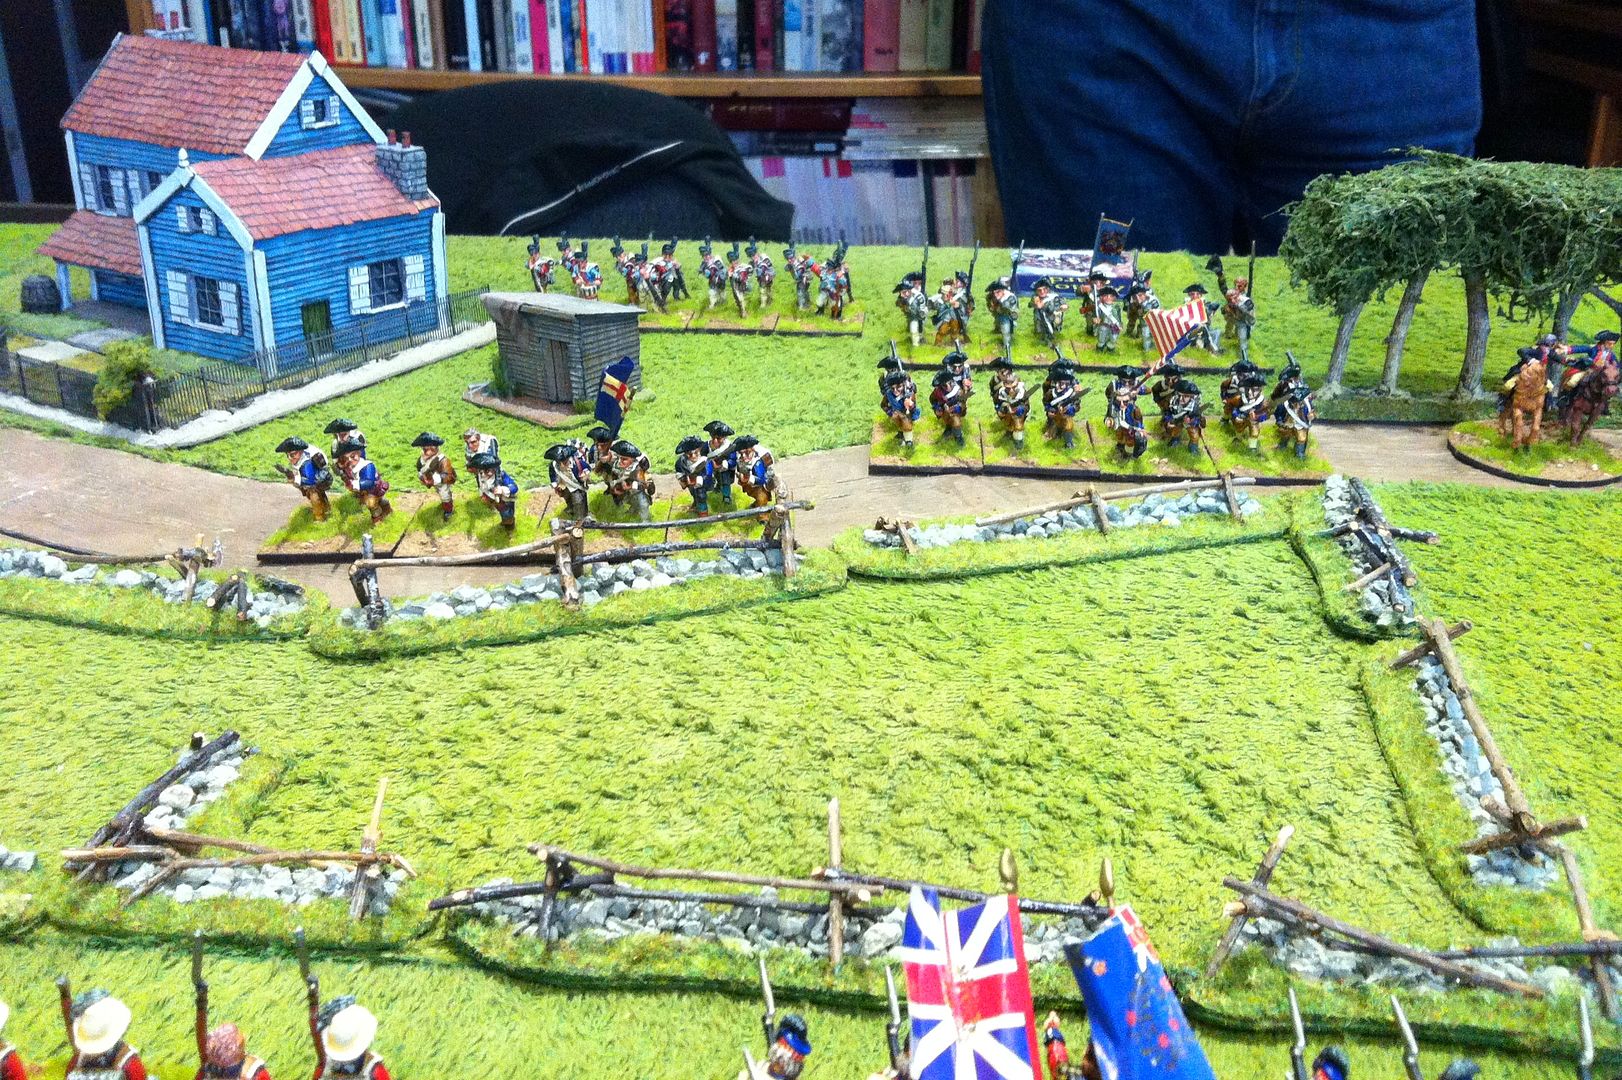
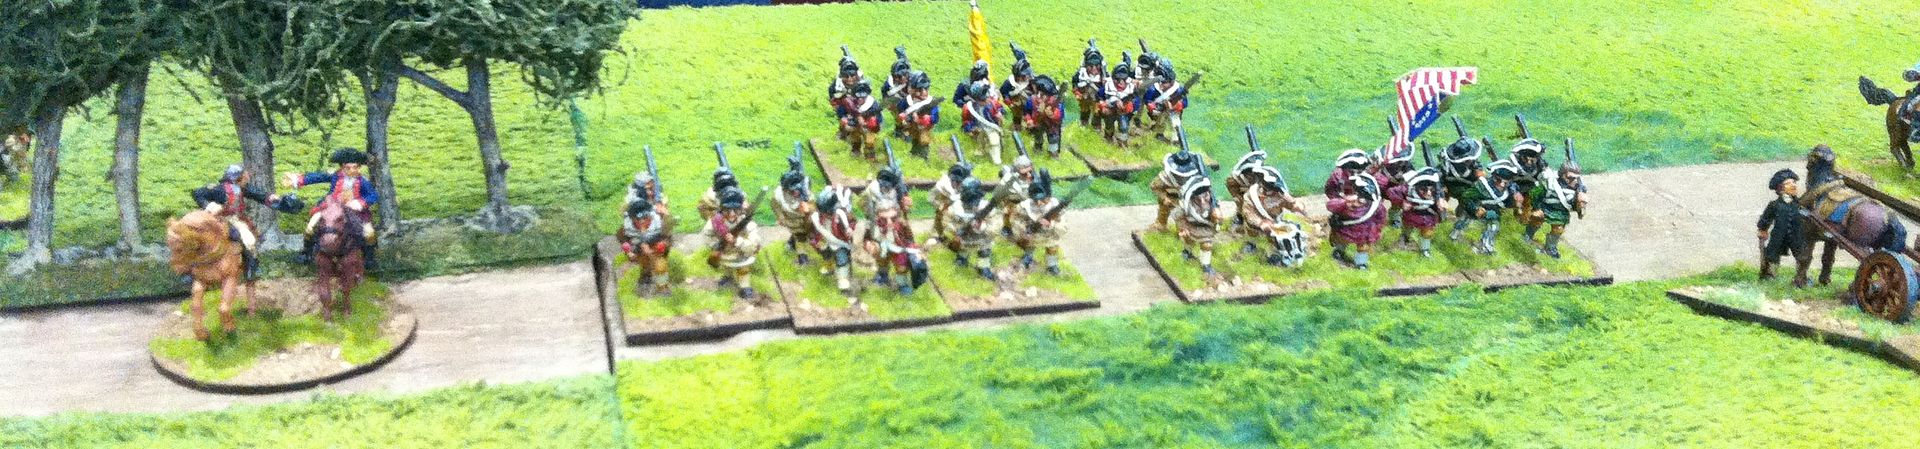
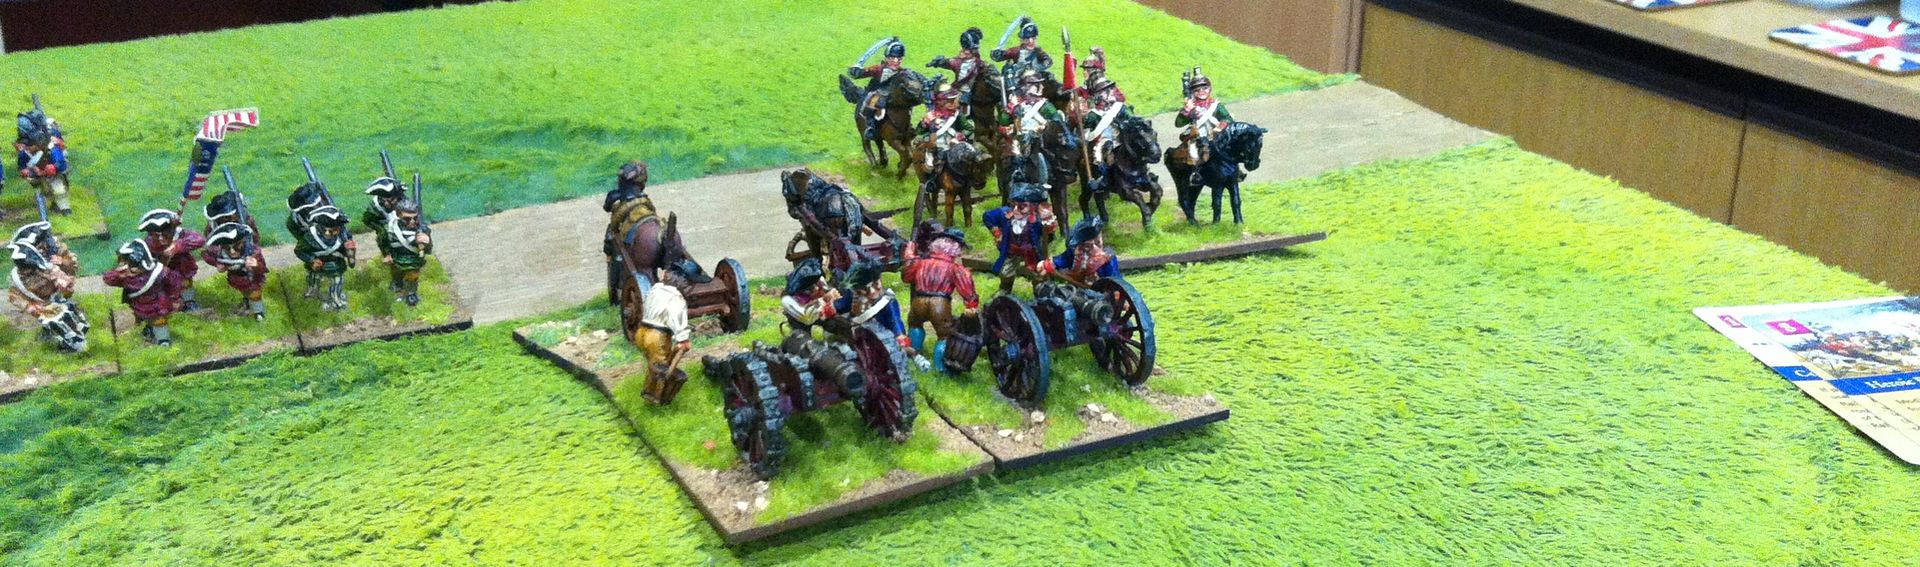
George Washington Robinson had drawn his forces up with his right and centre covered by his infantry, while his left consisted of his cavalry and the Continental artillery battery ~


As my objective lay towards my army's left flank, I decided to attack directly towards it with four infantry units, while deploying only two in my centre and my artillery battery and cavalry on my right ~


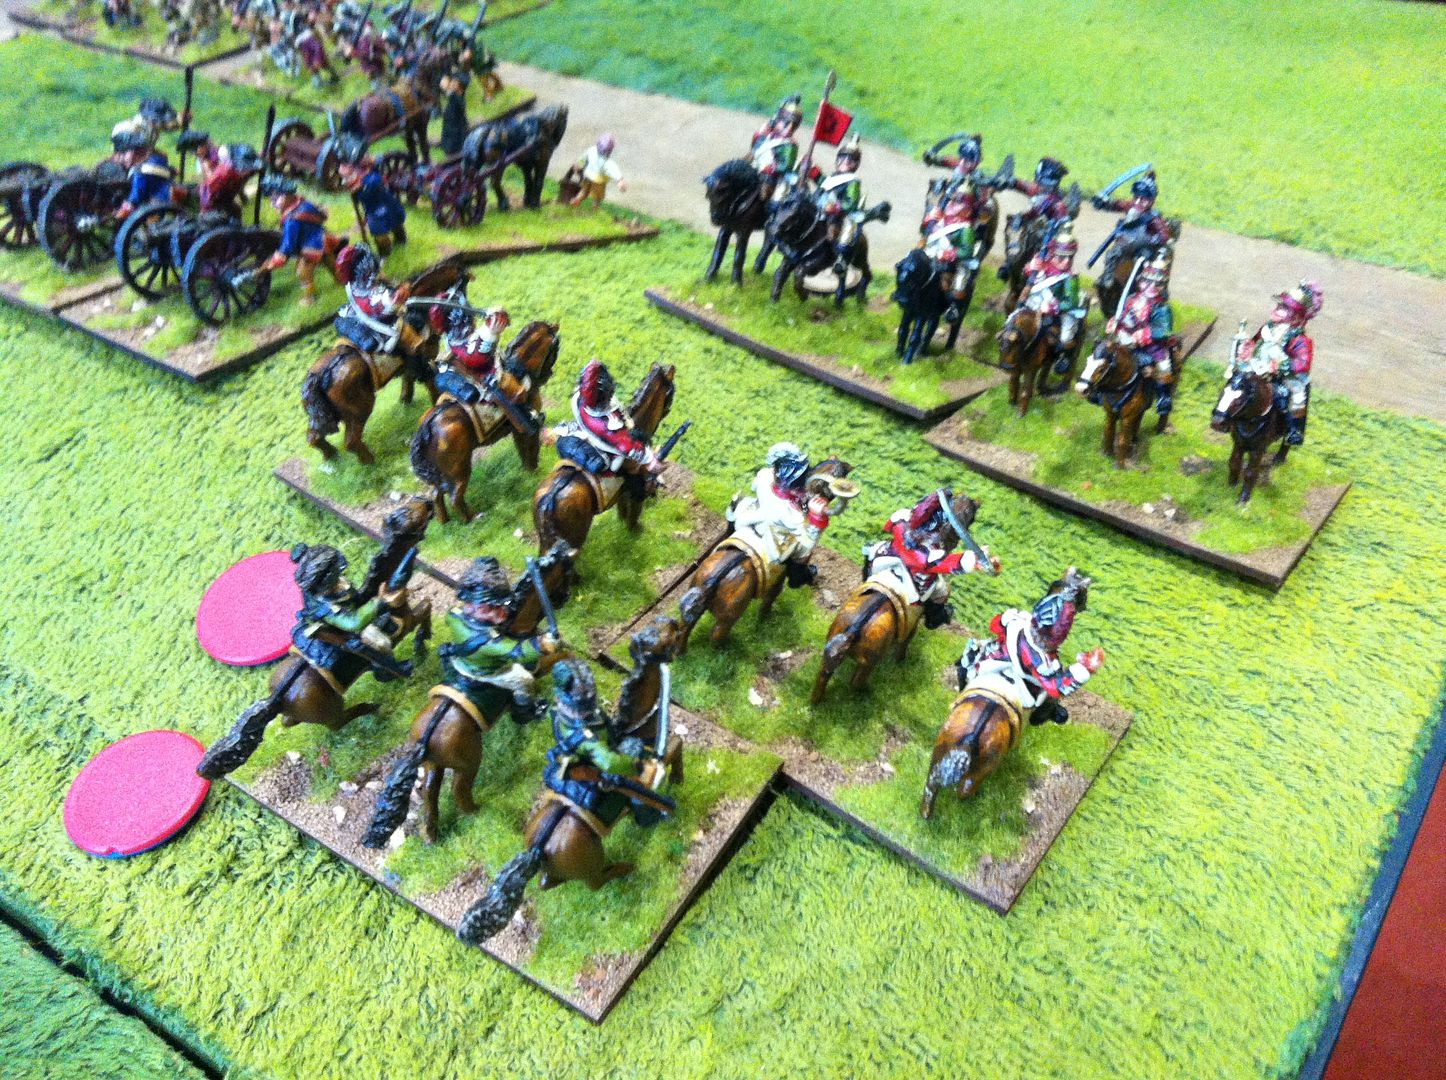
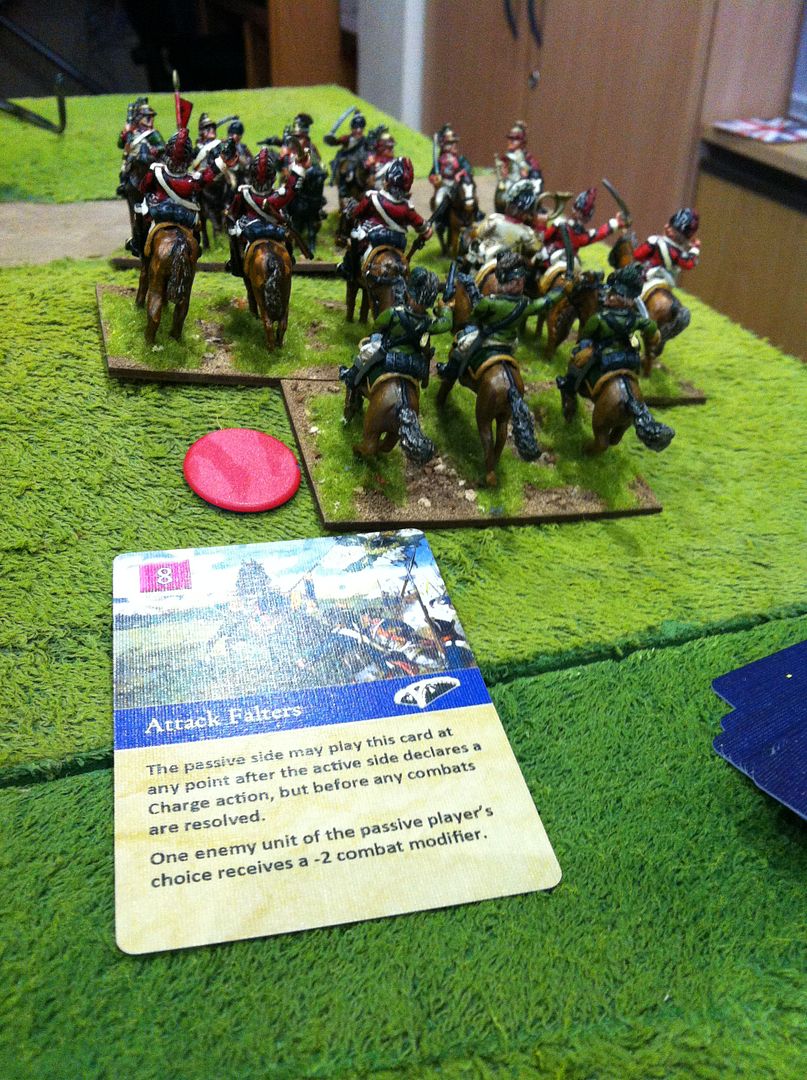
After an initial failure on my Right, the cavalry regrouped and drove off their Rebel counterparts ~


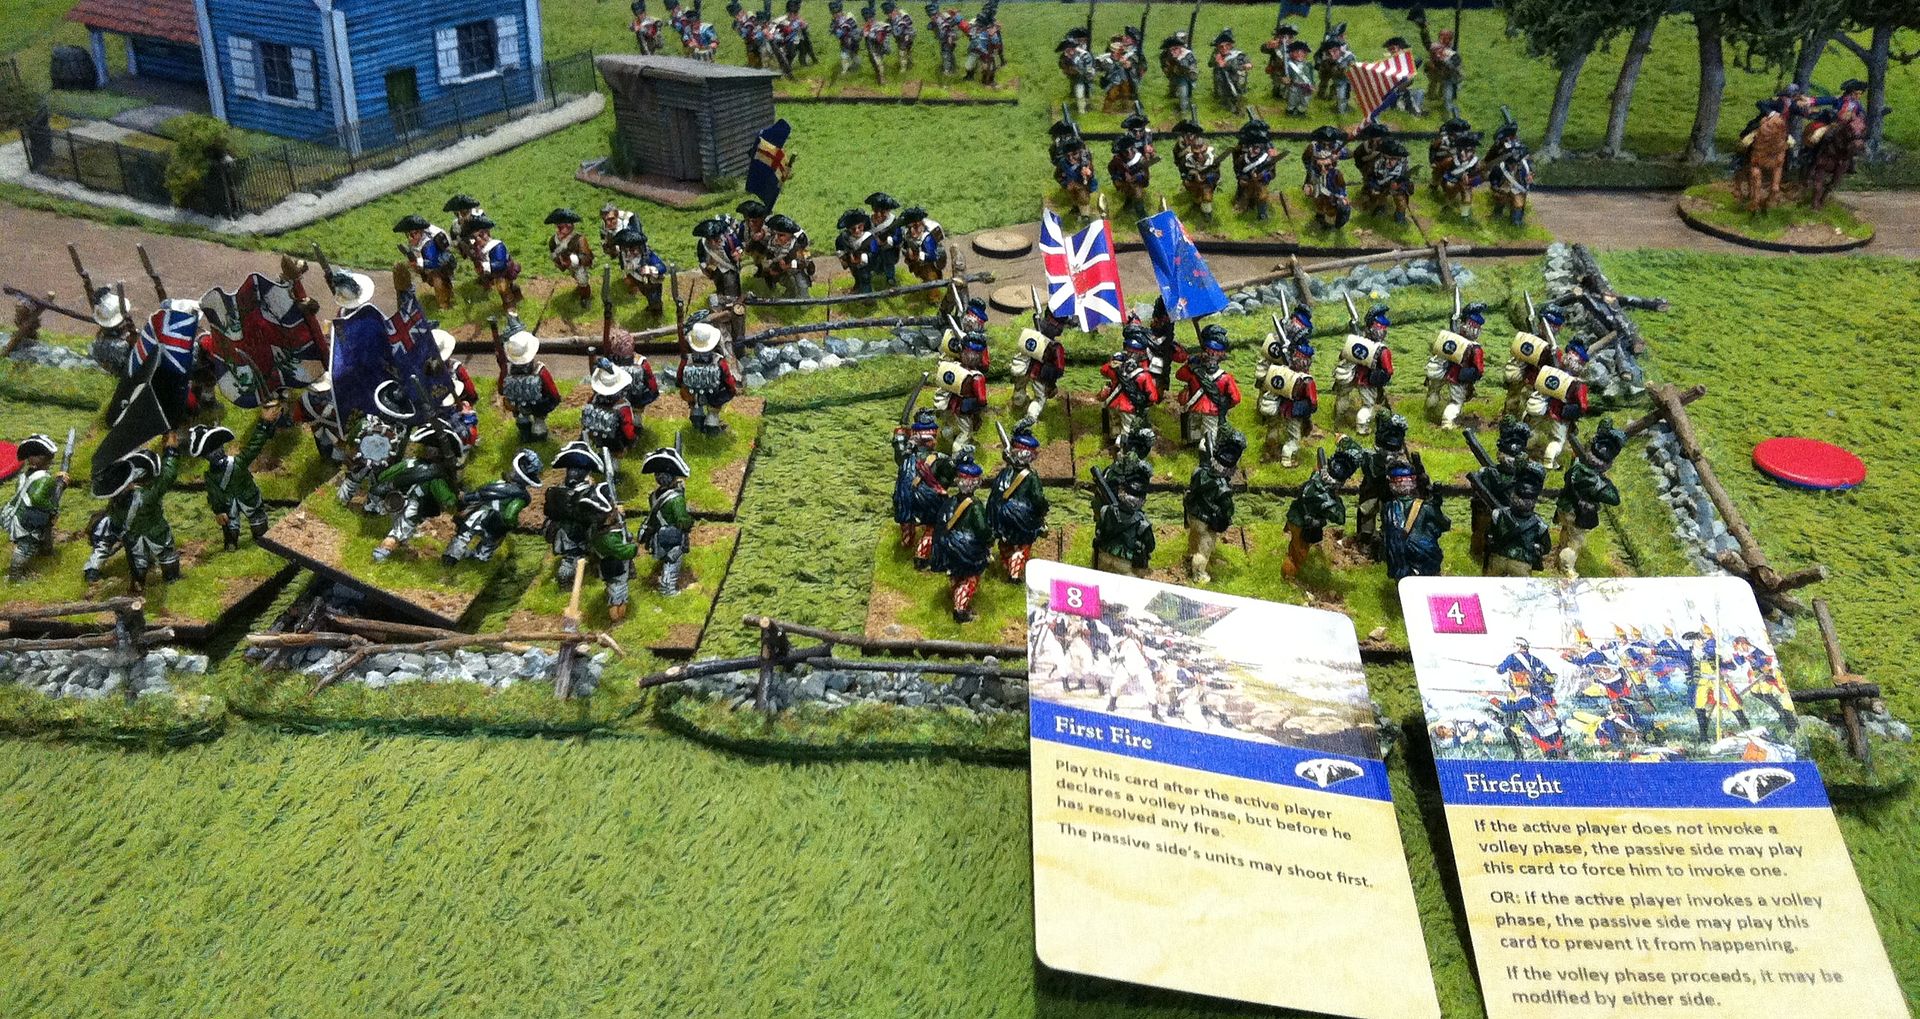
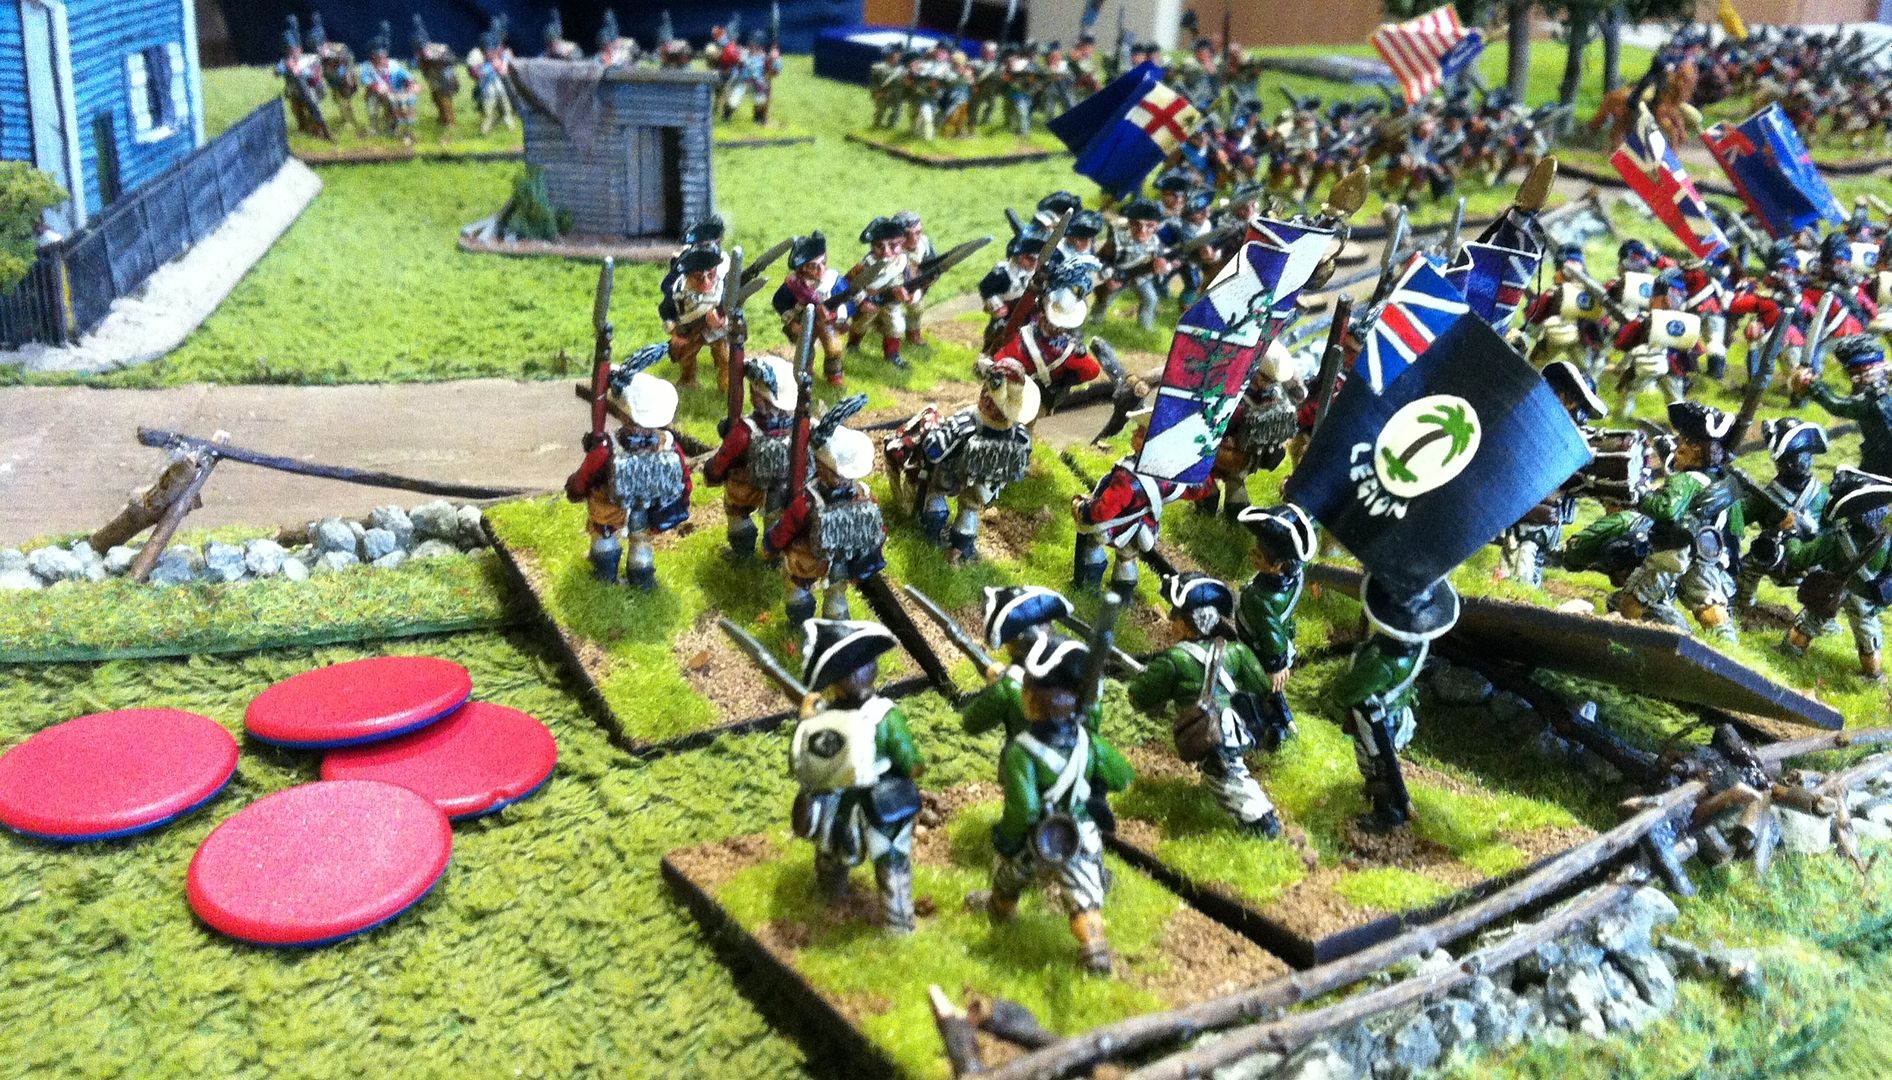
In the meantime, my main attack snarled up in a firefight which lasted for several turns ~


But unfortunately for my cause, Disruption markers were building up and attempts at Rallying them off were a dismal failure ~


To relieve the pressure on my left I advanced the weaker centre force hoping to flank his strong defence while my cavalry turned behind his artillery to take his centre in the flank  ~


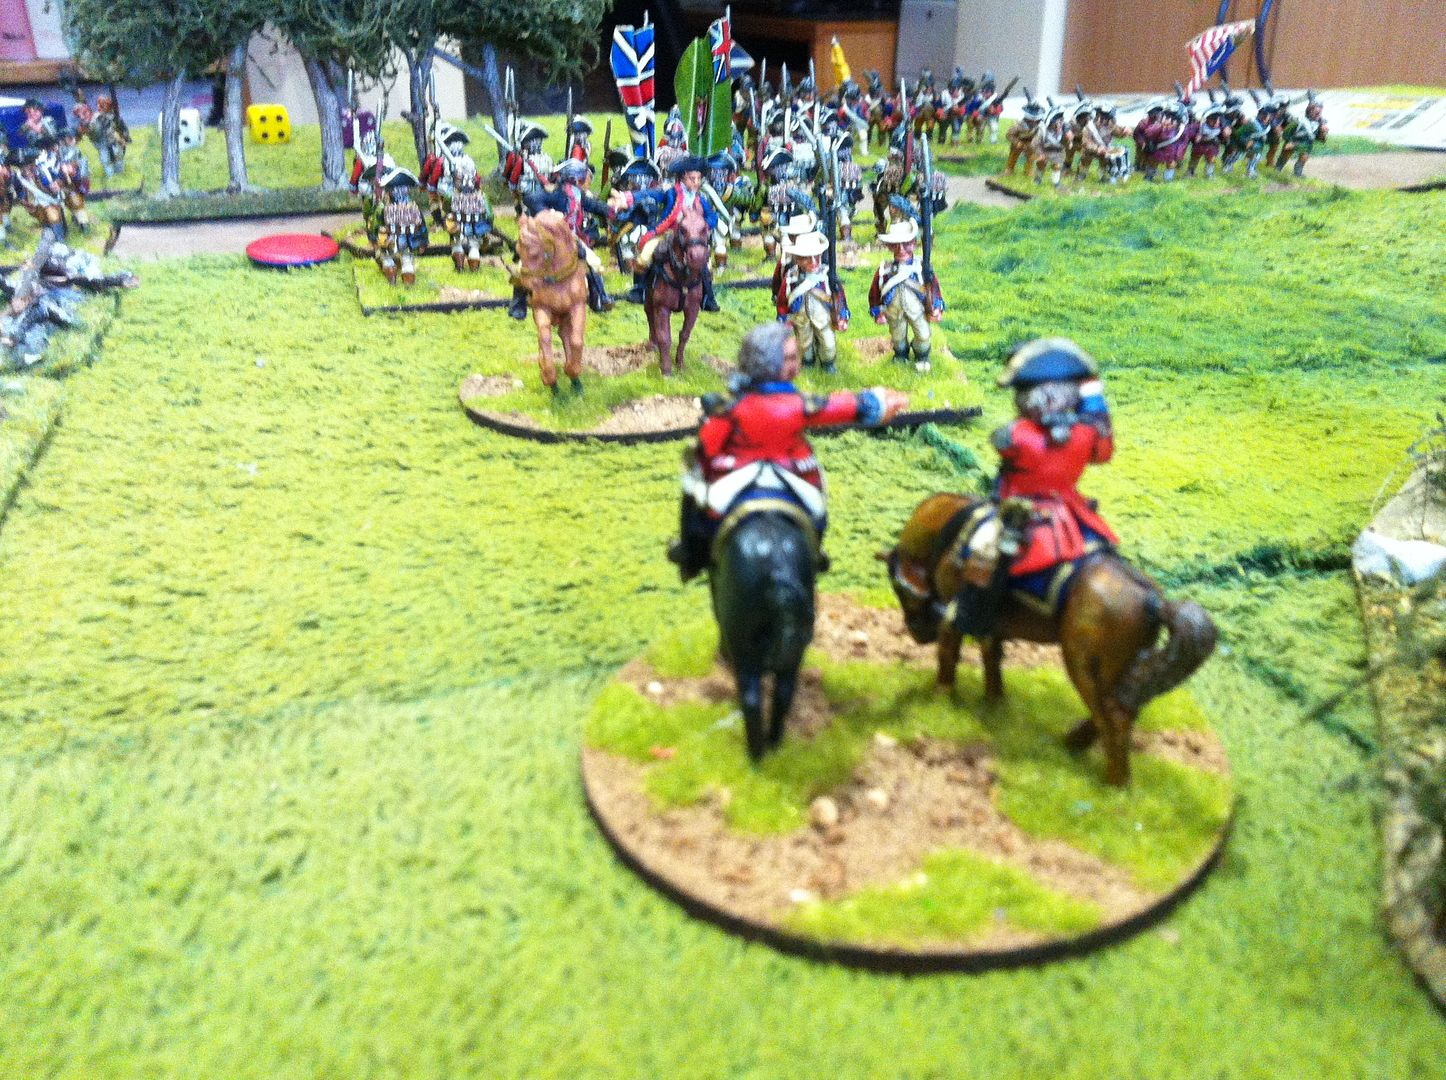
In the centre I managed to overrun his C-in-C! Phil threw the dice and the score resulted in his capture! Hurrah! I got all of his cards as a result, to add to my paltry two at the time. Things are looking up for King George's cause! Here you can see the moment George Washington Robinson was marched away into captivity as 'Gentleman Johnny Bykleigh' surveys the battlefield and notes his army's progress ~


Decisively on the left my infantry suddenly broke under heavy fire, while on my left appalling dice throws resulted in my cavalry failing to beat the flanked infantry!!! My Army Morale reached zero and the remnants quit the field. A victory for the Rebel cause snatched from the very jaws of defeat! A hard end to swallow to an excellent and closely contested game.


Our game lasted some three hours and drew to a conclusion when only two cards remained to be drawn from the pack. I've no idea how many turns were involved though. I have to say that despite my sad loss, I actually enjoyed the game far more this time around. Having a rule book each and the time to consult when we were unsure definitely helped us understand the flow of the game and the nuances of the rules.
The game is demanding in that it causes you to consider all your options, opportunities, and difficulties, continually, rather than in a more conventionally structured game where one side activates any or all or its forces, followed by the other side repeating the sequence. In a sense there is a more realistic sense of time passing as you 'visit' an area of the battle at a certain moment in time, rather than sense it all happening at once. I've never been entirely won over by the notion that a move in a game represents a certain amount of elapsed real time and here Mustafa seems to have addressed and solved the problem rather neatly.
Of course, some will not like the way the game is structured, being used to the I Go - You Go game which most sets follow and I have heard others describe the game more as a card game than a wargame. I'm won over I think at the moment by the way a story seemed to unfold in the game which was believable to both of us, even if seem from different perspectives. Crucially neither of us proved successful at Rallying off mounting Disruption points and at a crucial moment Phil's firing dice became overwhelmingly successful causing me to loose three units in a thrice!
We have decided to give the rules an extended trial in 2014 by playing out an AWI campaign using them. Look out for further battle reports over the coming year!

Thursday, 12 December 2013

Battle for the Empire

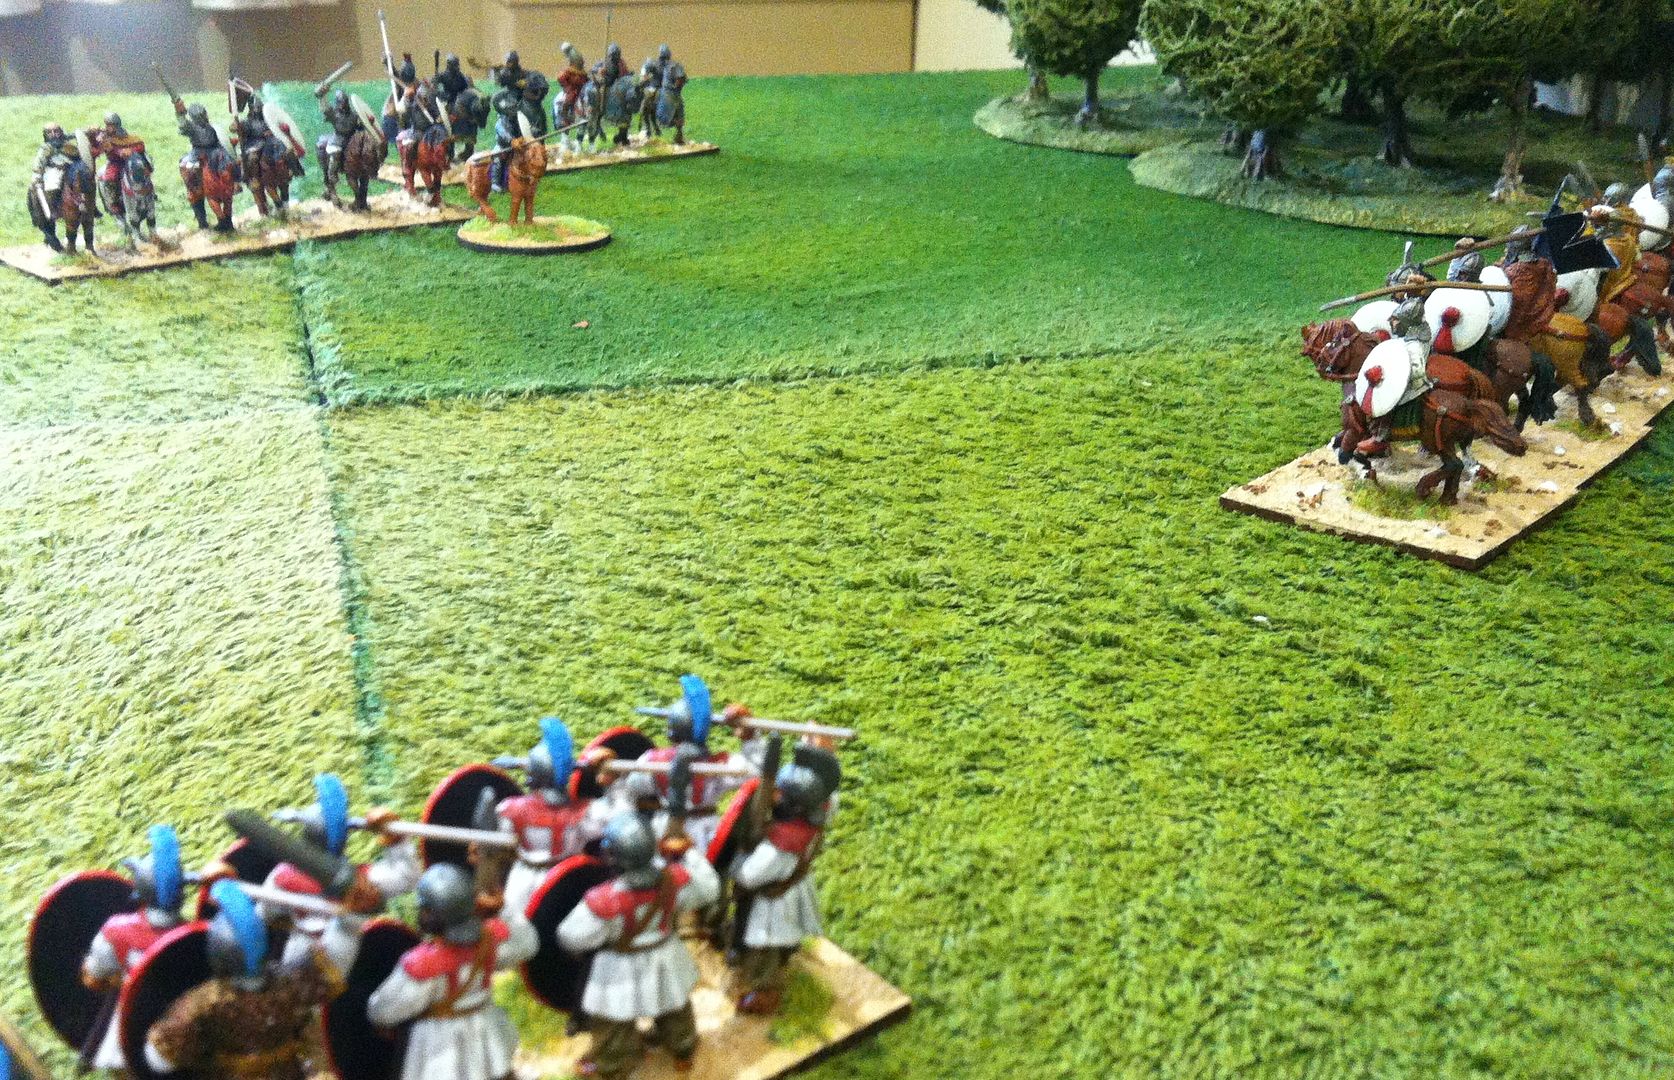
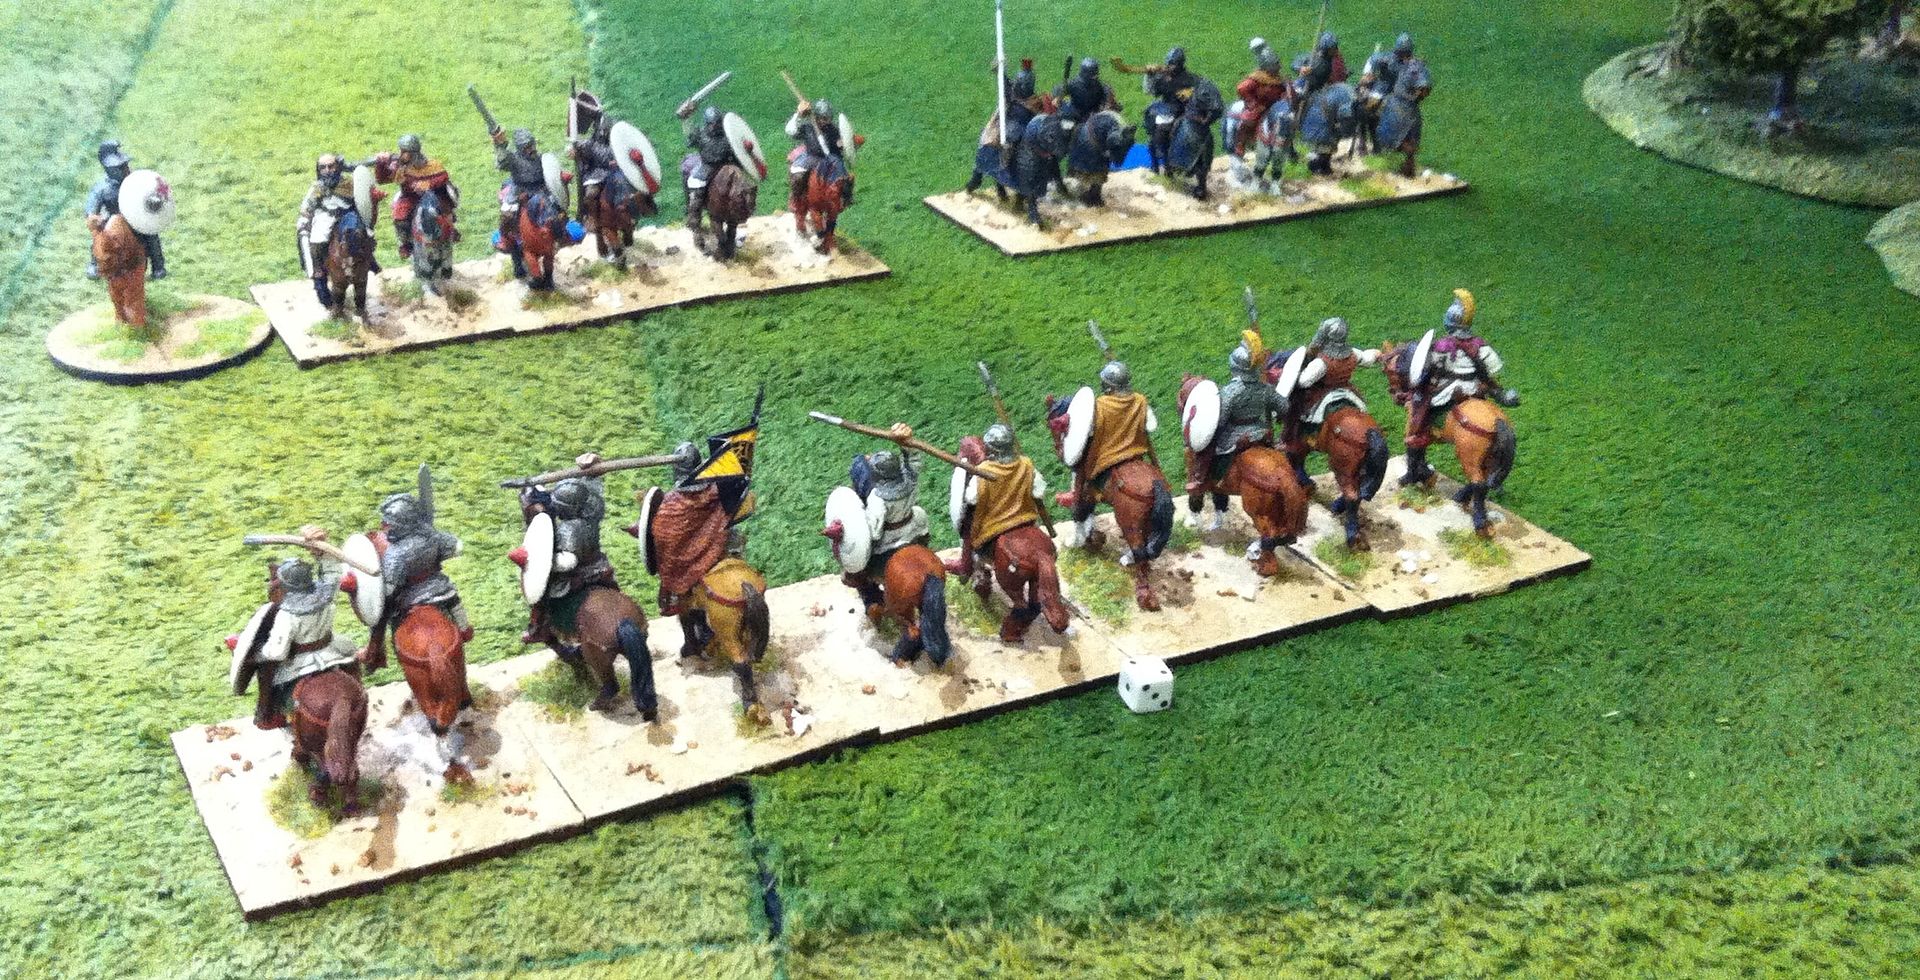
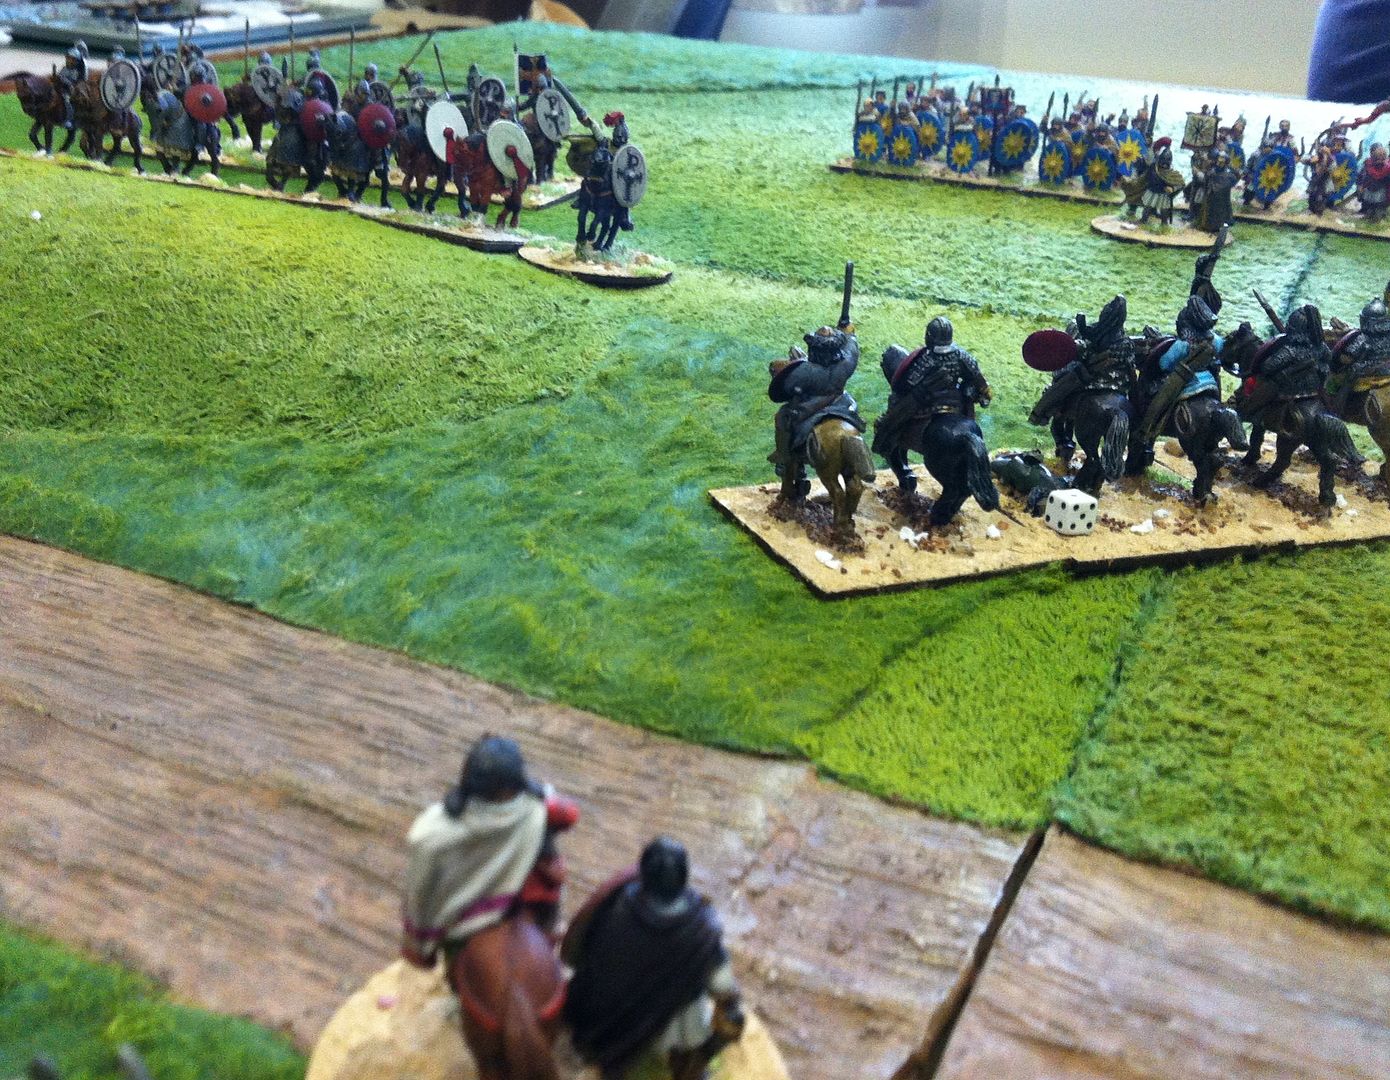
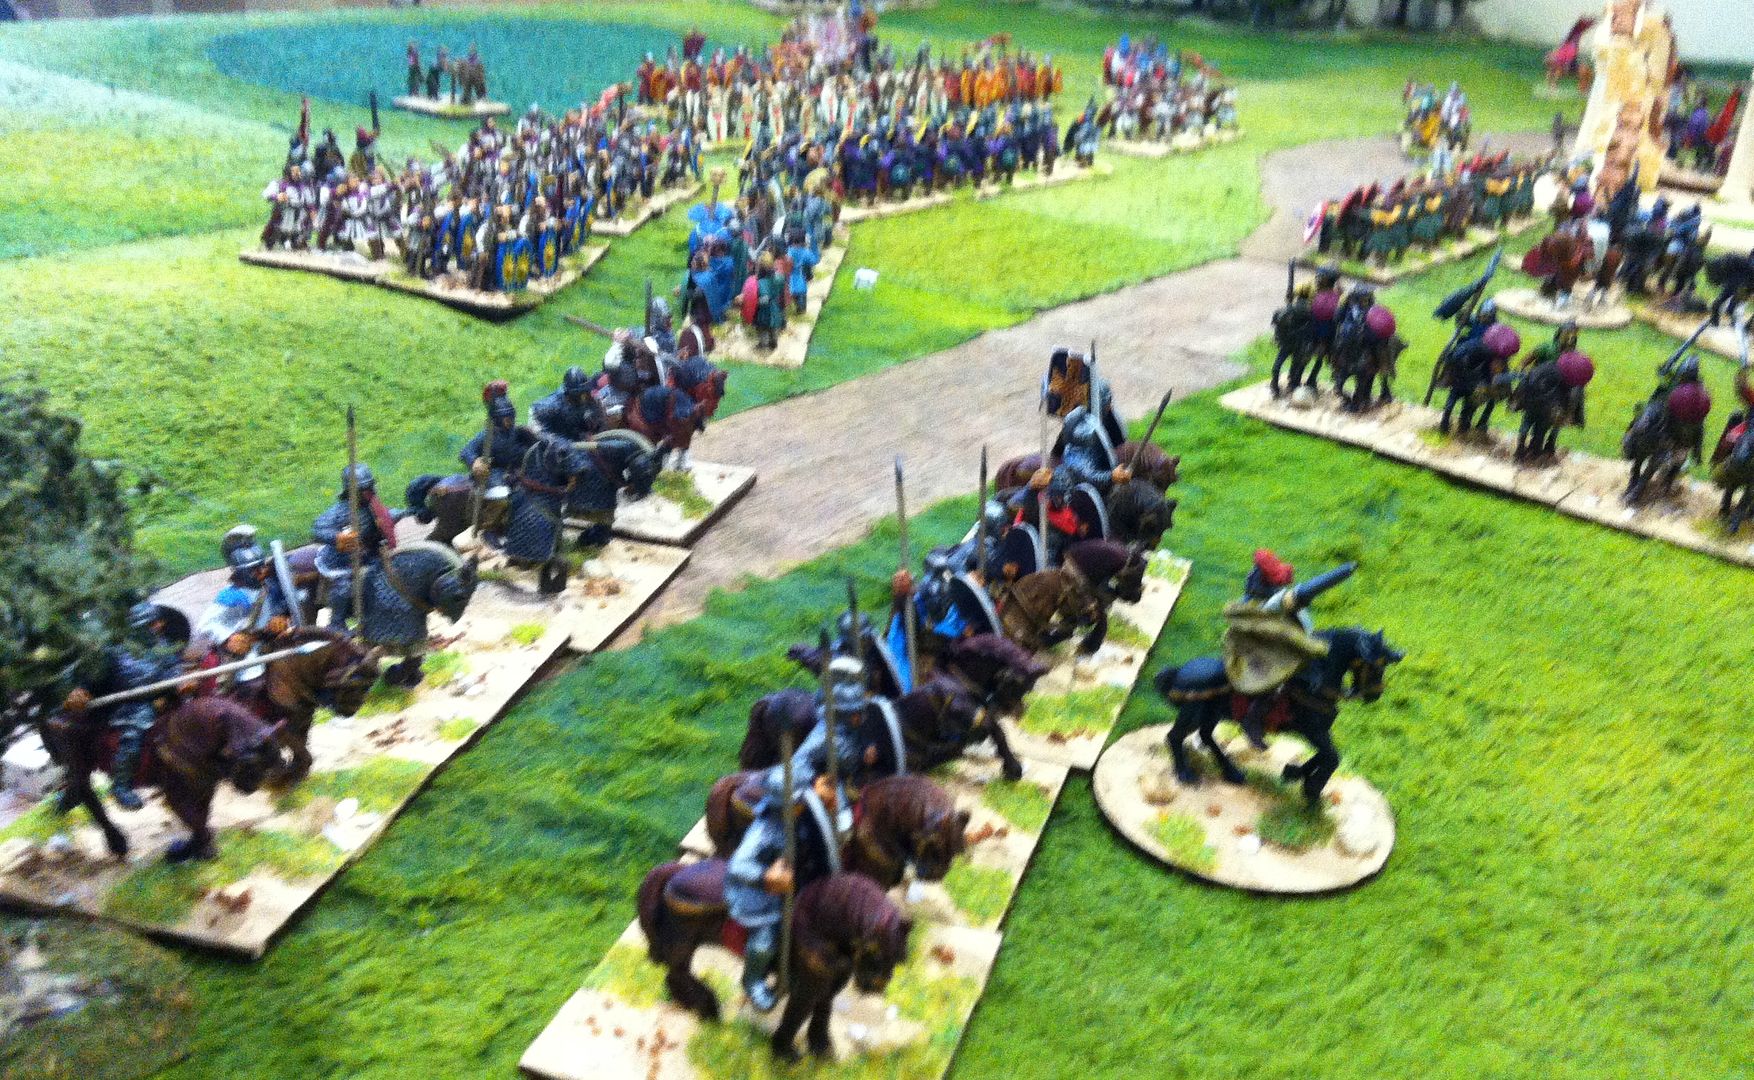
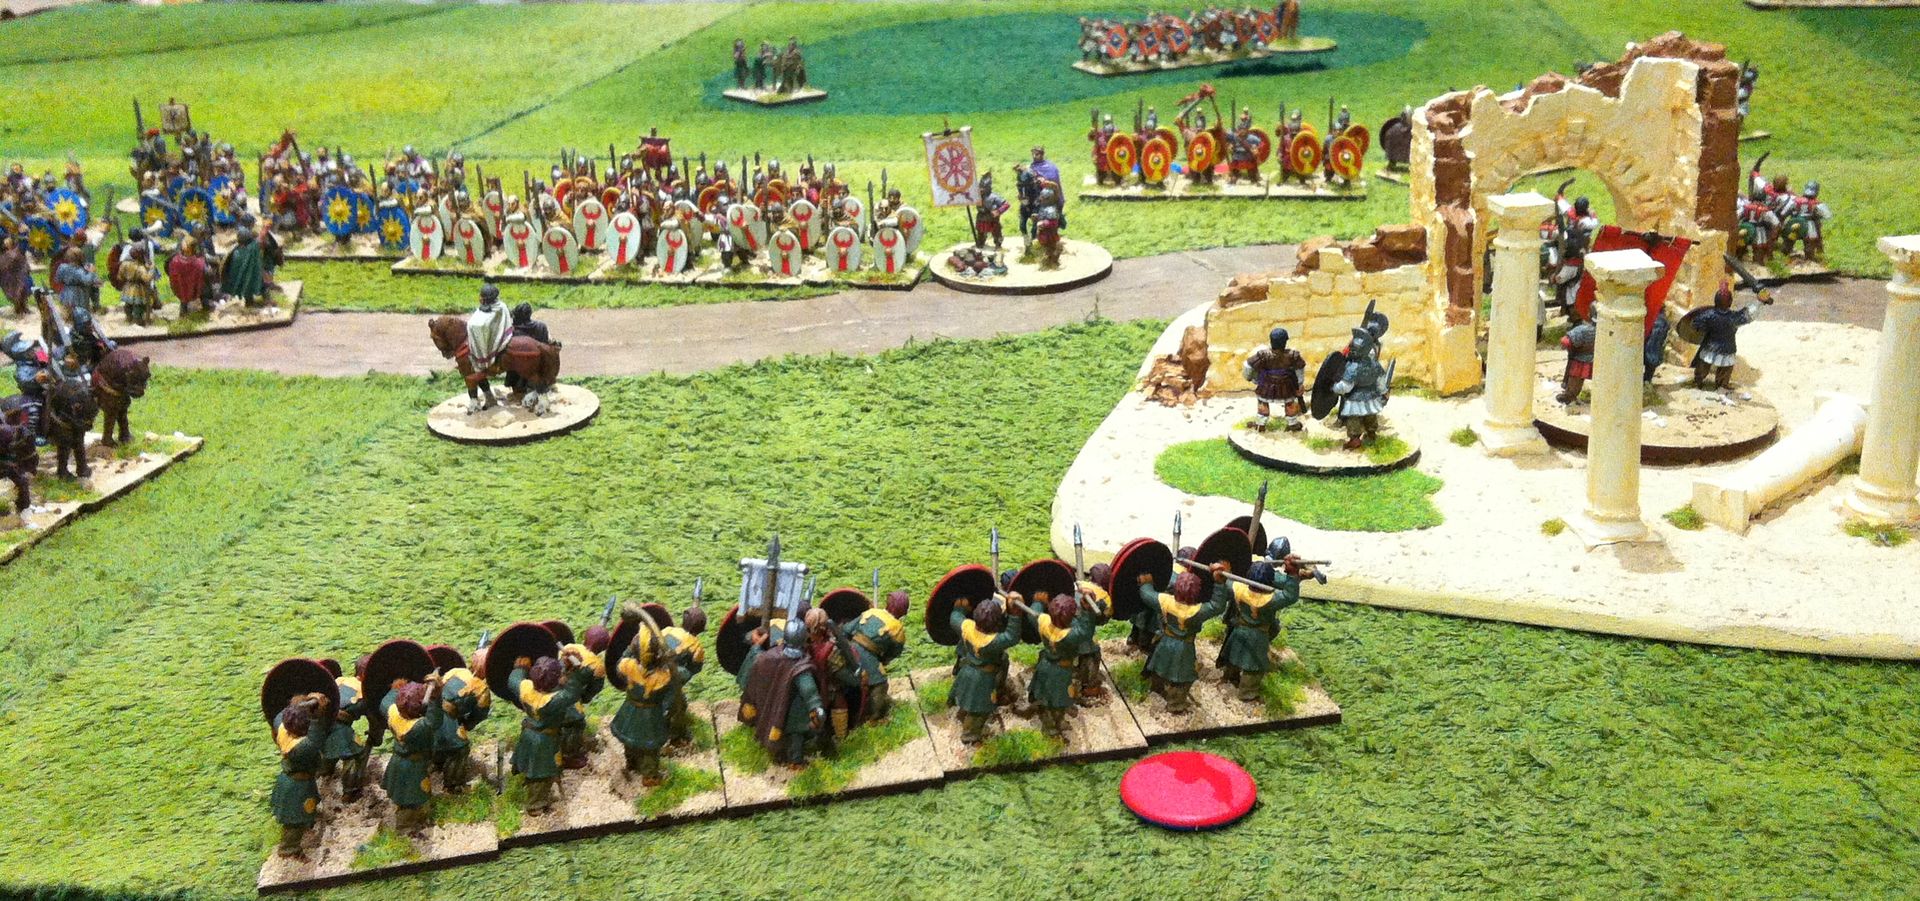
A while ago Jon and I dusted off my Late Romans/Arthurians/Saxons/Huns and sorted out a game using the Hail Caesar rules here in GHQ. I've not been a great success using these rules, indeed I'm almost sure I'm going to convert the forces into three Impetus armies next year, but we thought the figures should see the light of day for a game before the year draws to a conclusion...

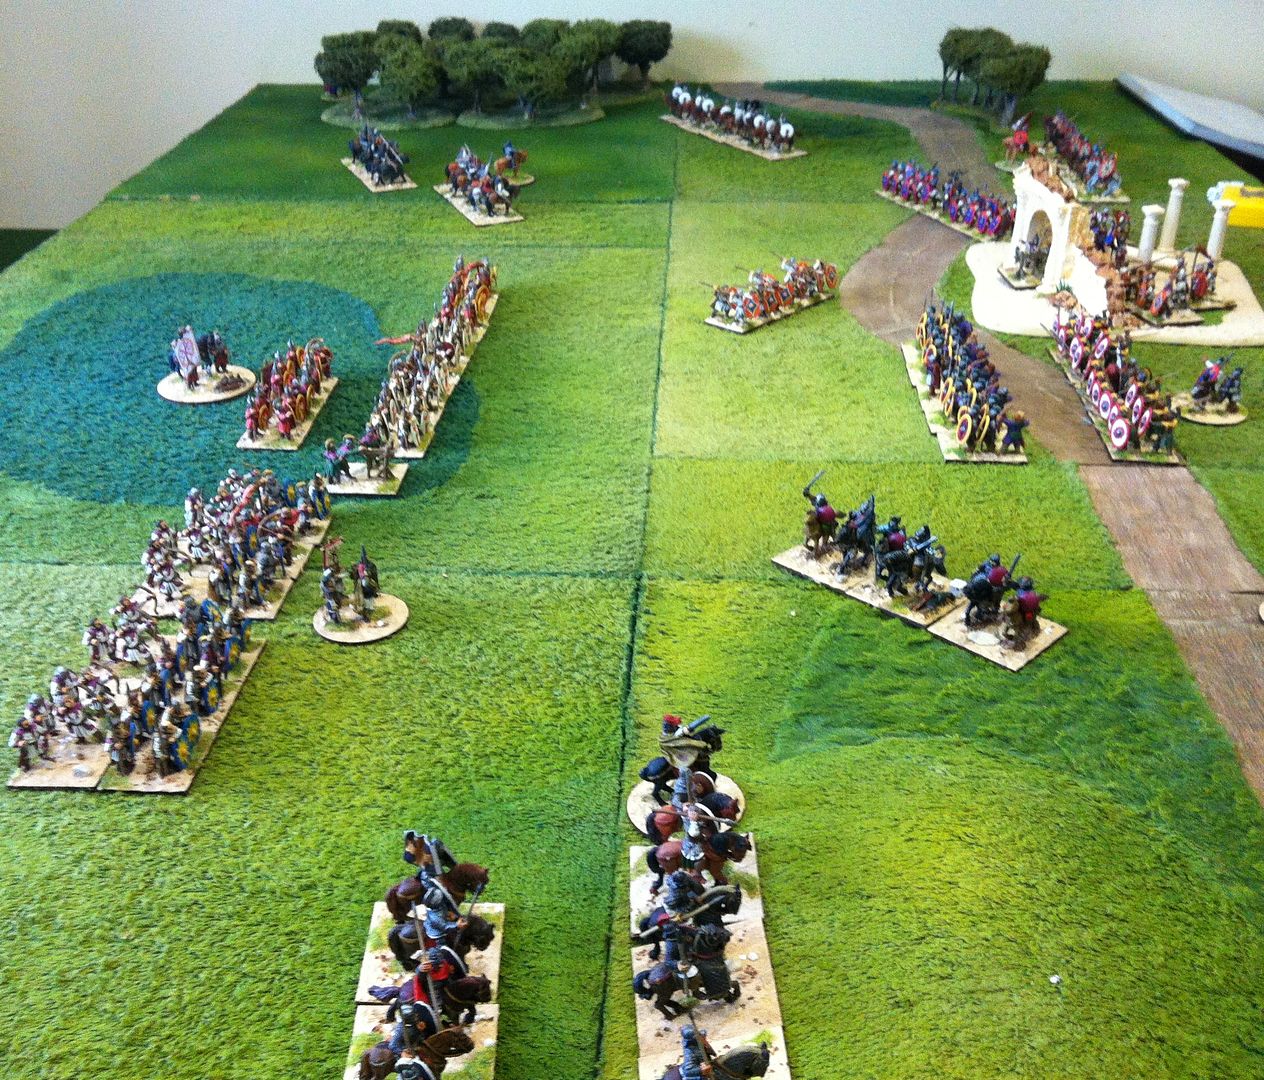
The table layout and forces early in the game. Jon's commands were attacking from the left towards the ruined temple {my only bit of ancient terrain} with the objective of capturing the ruin and preventing its reuse for vile pagan rites...


On my right flank the cavalry of both sides were manoeuvring for advantage ~


But my lads, buoyed by the exhortations of the rightful Emperor, Pompus Maximus, were soon getting stuck into the usurper's  hordes ~


Meanwhile, over on my left flank,events were much slower to unfold, due entirely to timid generalship or poor command dice ~


My Hun allies were pushed off the low rise after some desultory efforts to shoot at the approaching enemy ~


My Saxon mercenaries were even less inclined to get stuck in for the cause, and soon my whole left was being pushed in on the centre ~


Although over on my right, the forces of the usurper had been driven from the field in disarray, I now found my cavalry too far from the action to relieve the mounting pressure in the centre and on my left flank ~


Despite a little success for my infantry against enemy skirmishers, I found my centre suddenly overwhelmed and my cause in disarray ~


It was suddenly all up for my men, two broken commands and an army loosing faith in its commander's cause. The dismal sight at the end of the game as Pompus Maximus can only flee the field of Mars, again... The old gods may not be as powerful as they once were after all.


My Ancients collection is comprised entirely of Foundry figures. Some were painted for me by Matt and by Andy Dumelow and just under half by myself over the years. I must say that despite getting a tanking in the end I thoroughly enjoyed the run out of Hail Caesar. I may have to reconsider the plan...


Wednesday, 11 December 2013

The Great Detective ~ update

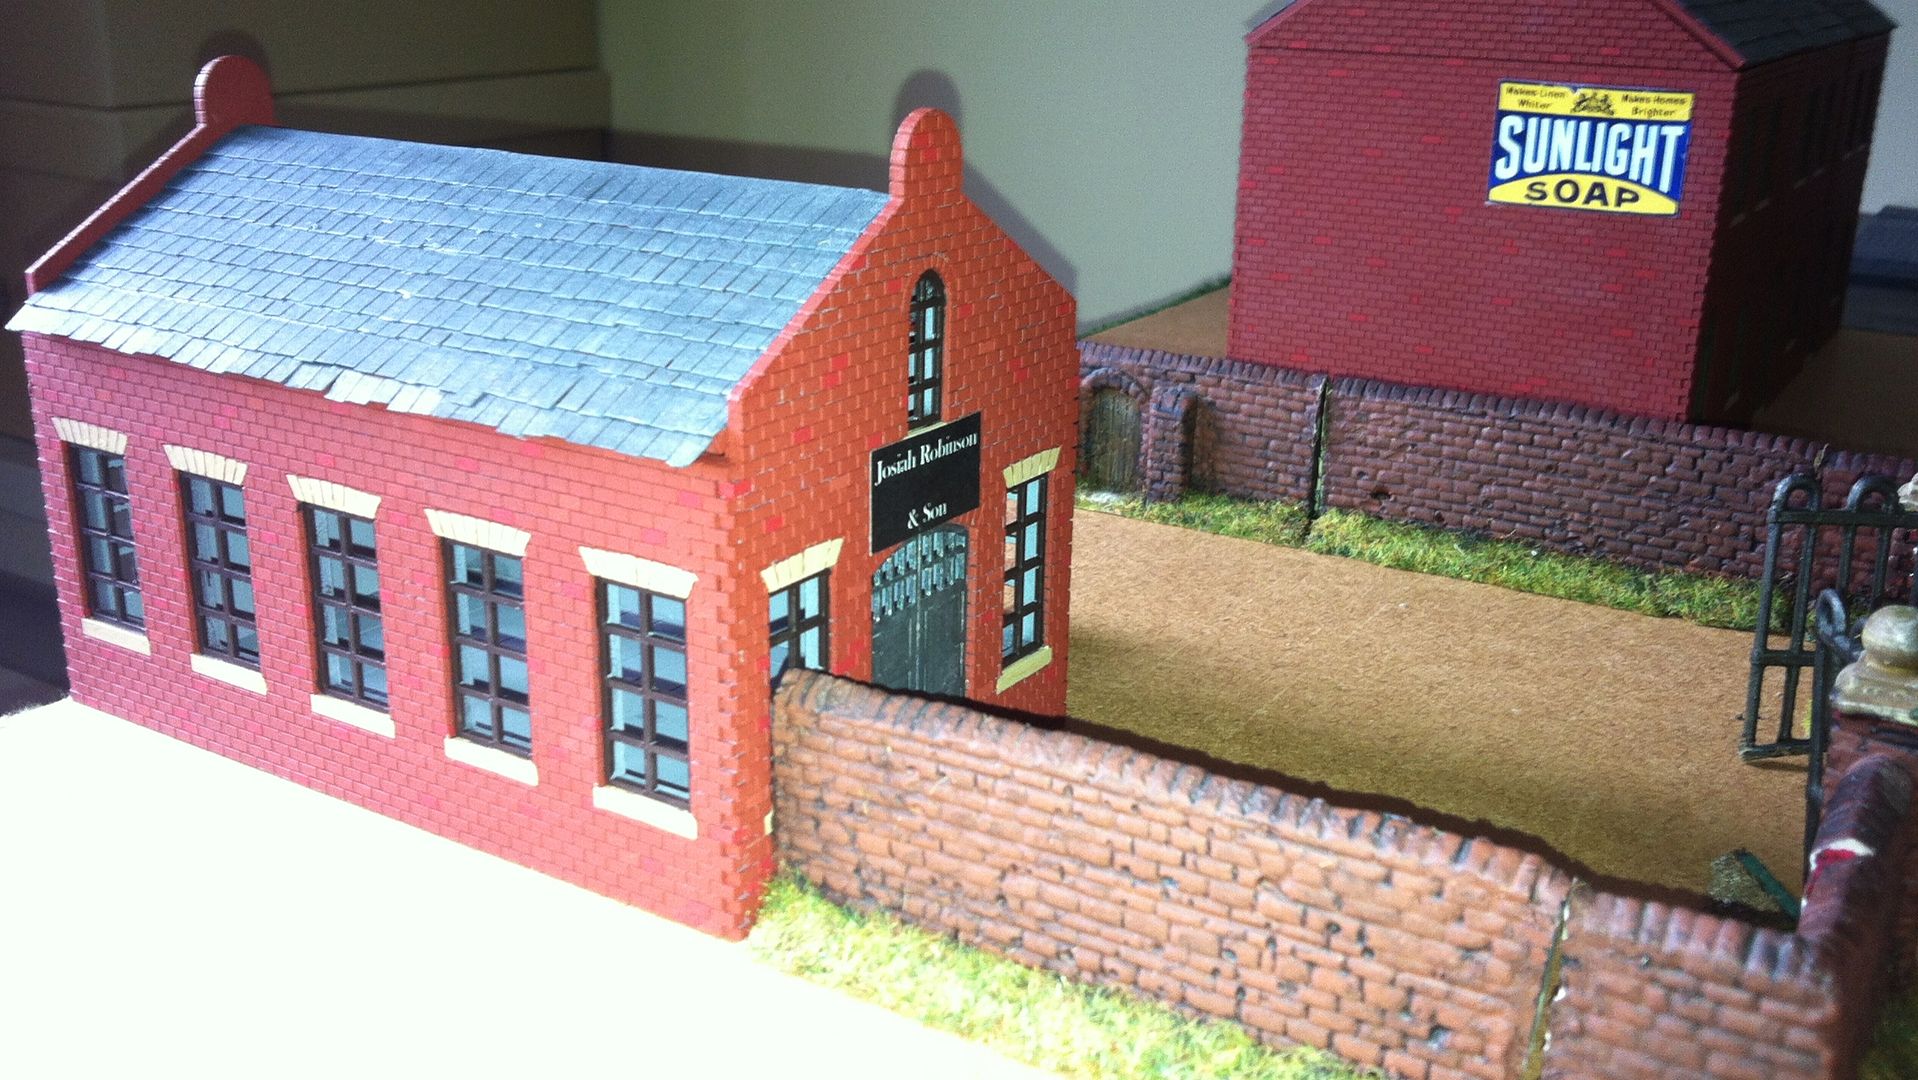
A few shots of the progress I've made recently with the Oshiro Victorian buildings. I'll combine them on the tabletop with the existing Dock tile and Cemetery tile from the Pulp set up. I'm waiting on two more buildings from James: a two storey shop front and a small pumping station. A general overview in period look ~


The local industry: Josiah Robinson & Son, import & export to the Empire. The walls, from Hovels, will need repainting before I finish a base for this piece ~


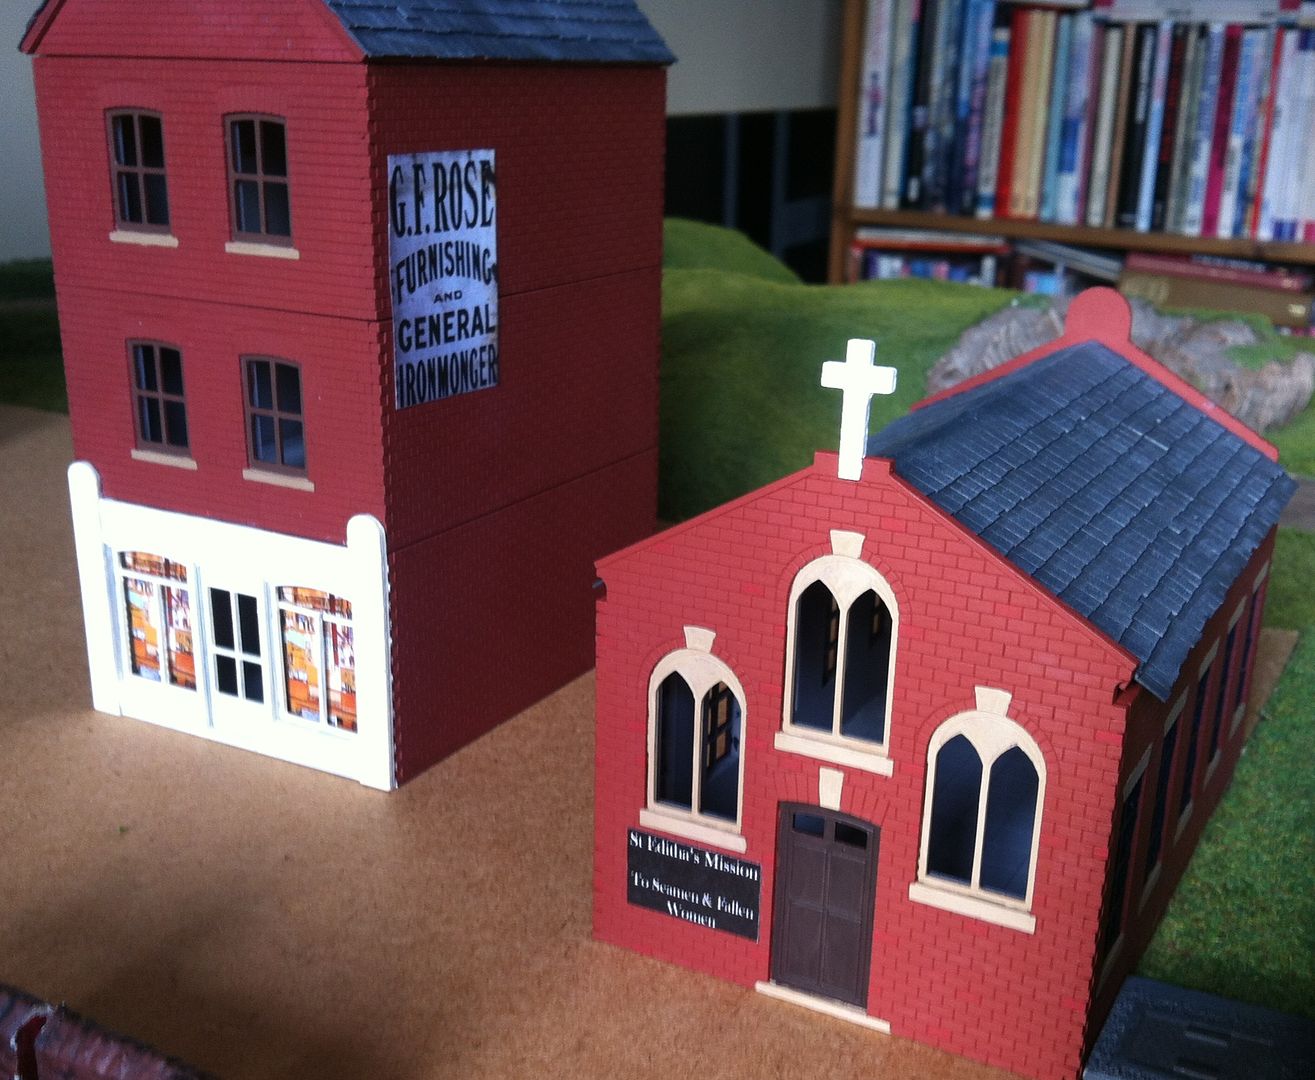
St Editha's Mission - to Seamen & Fallen Women - and an Ironmongers ~


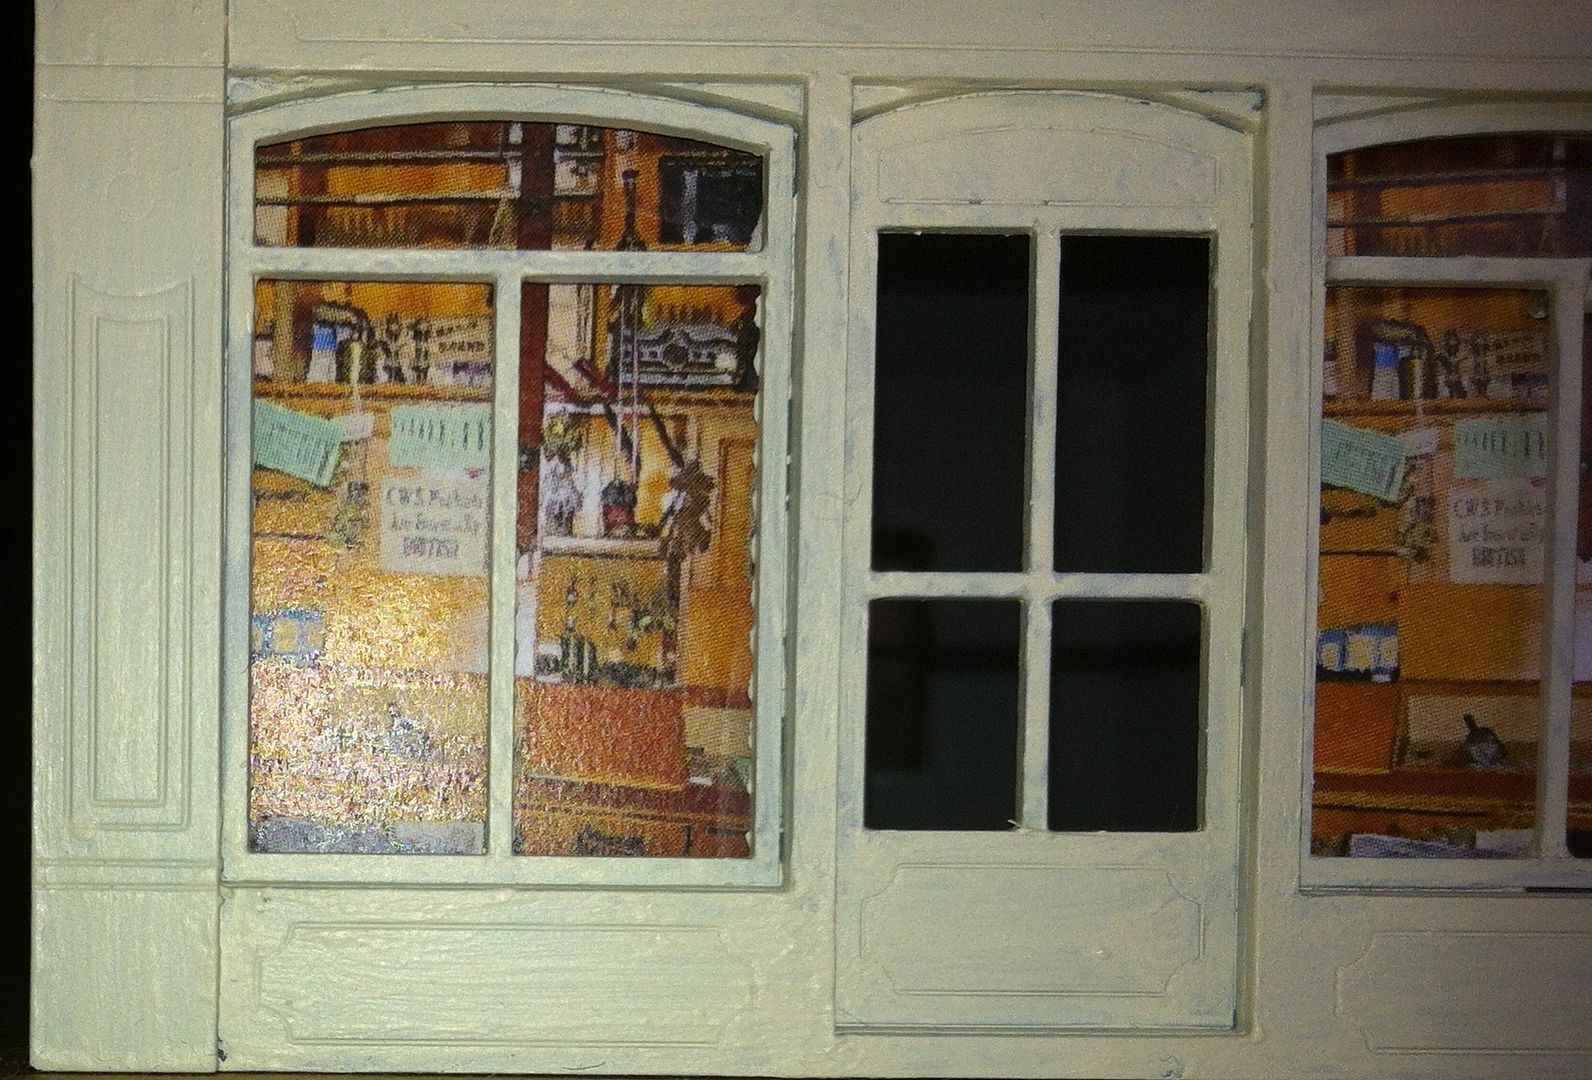
The Ironmongers' window display ~


Two shop front buildings: a butcher and the Britannia Inn ~


The butcher's window display - downloaded from the net {and resized} after a long search. The inn's windows are greaseproof paper ~


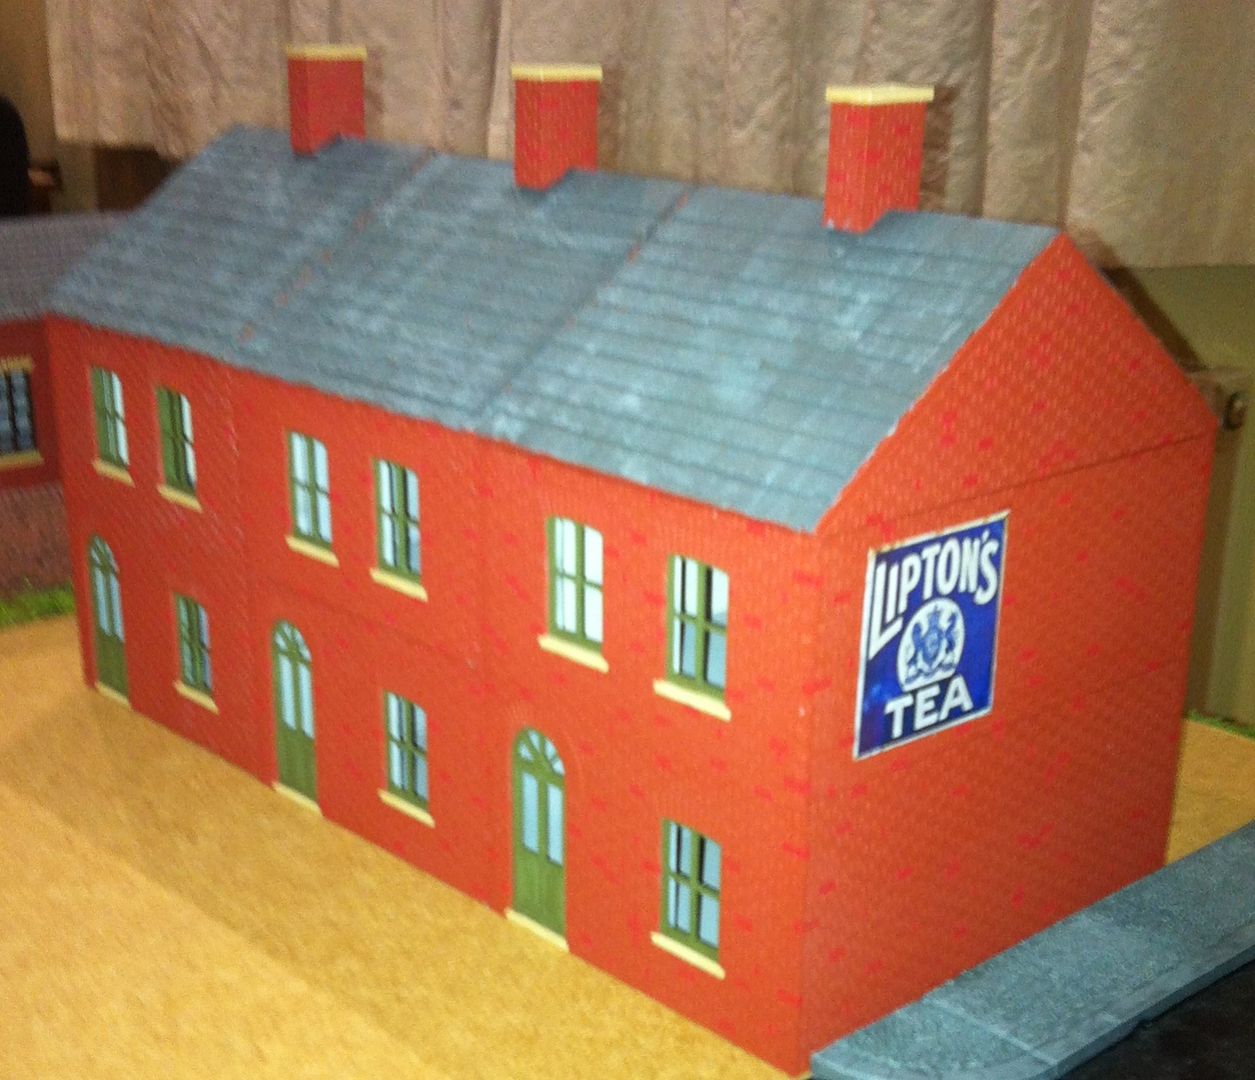
A row of terraced houses ~


The advertising boards, like the shop window displays, are the result of long trawling on net searches. As I don't plan any interiors for the buildings this time around, I thought a few window displays were in order. I still have to make the shop front name signs.
When all is done I have to solve the problem of back yards for the buildings and a cobbled texture for the roads, but all that will have to wait now for 2014...


Tuesday, 3 December 2013

En Avant!

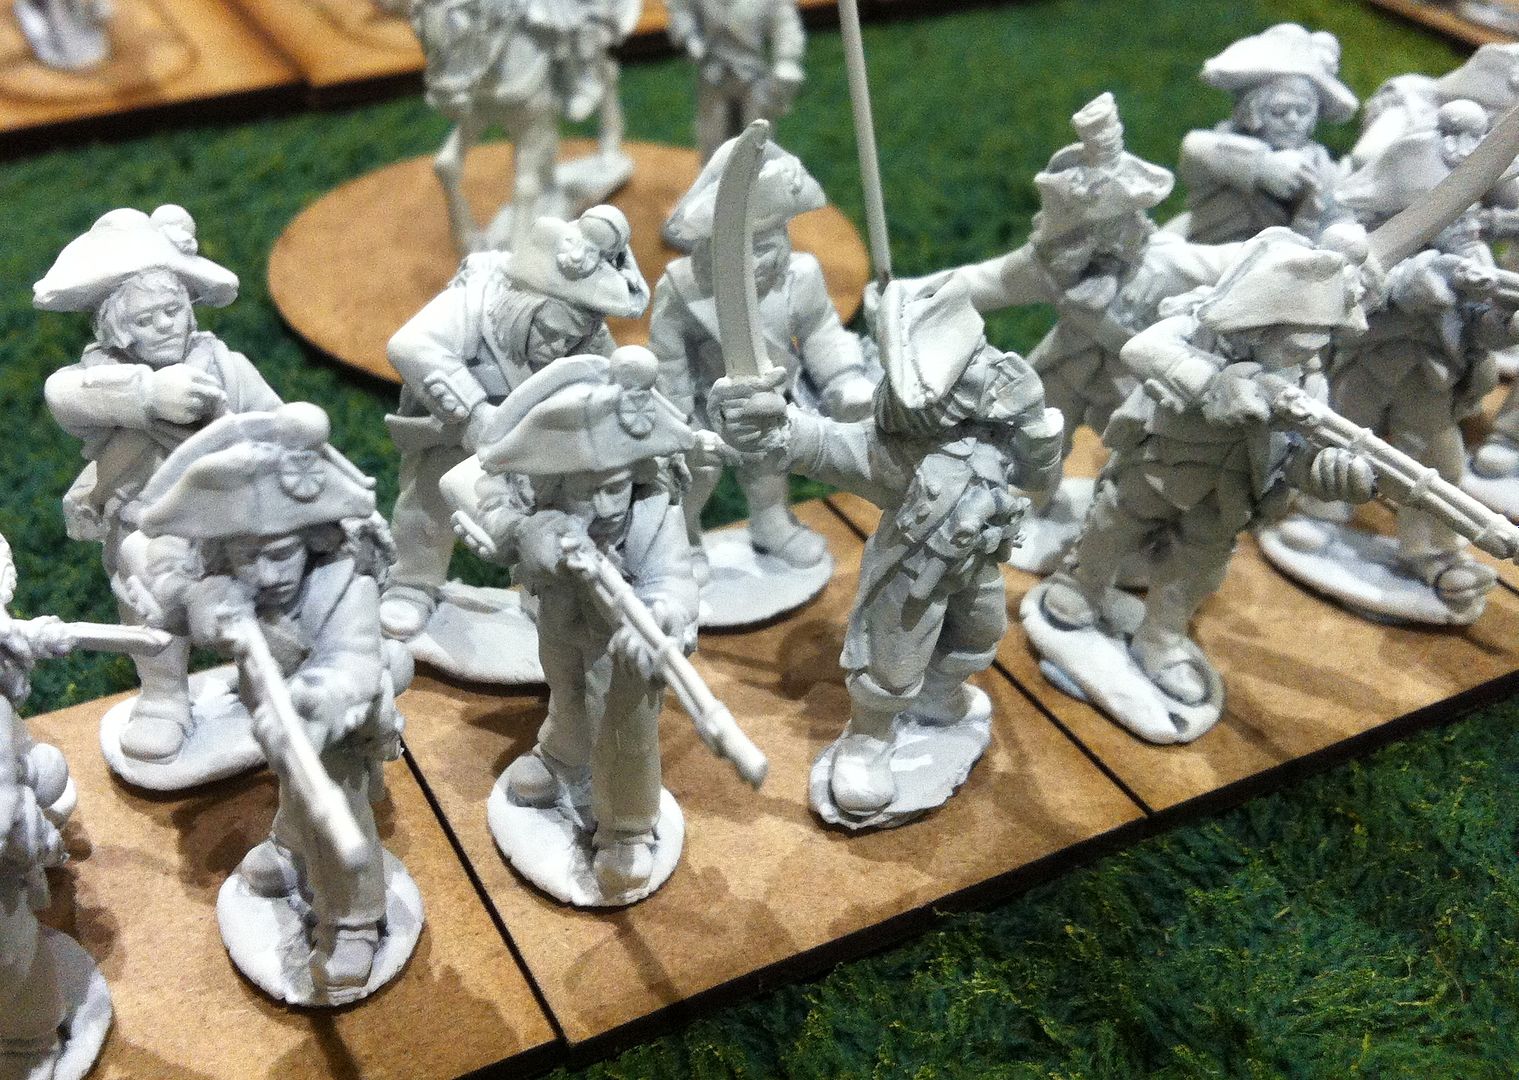
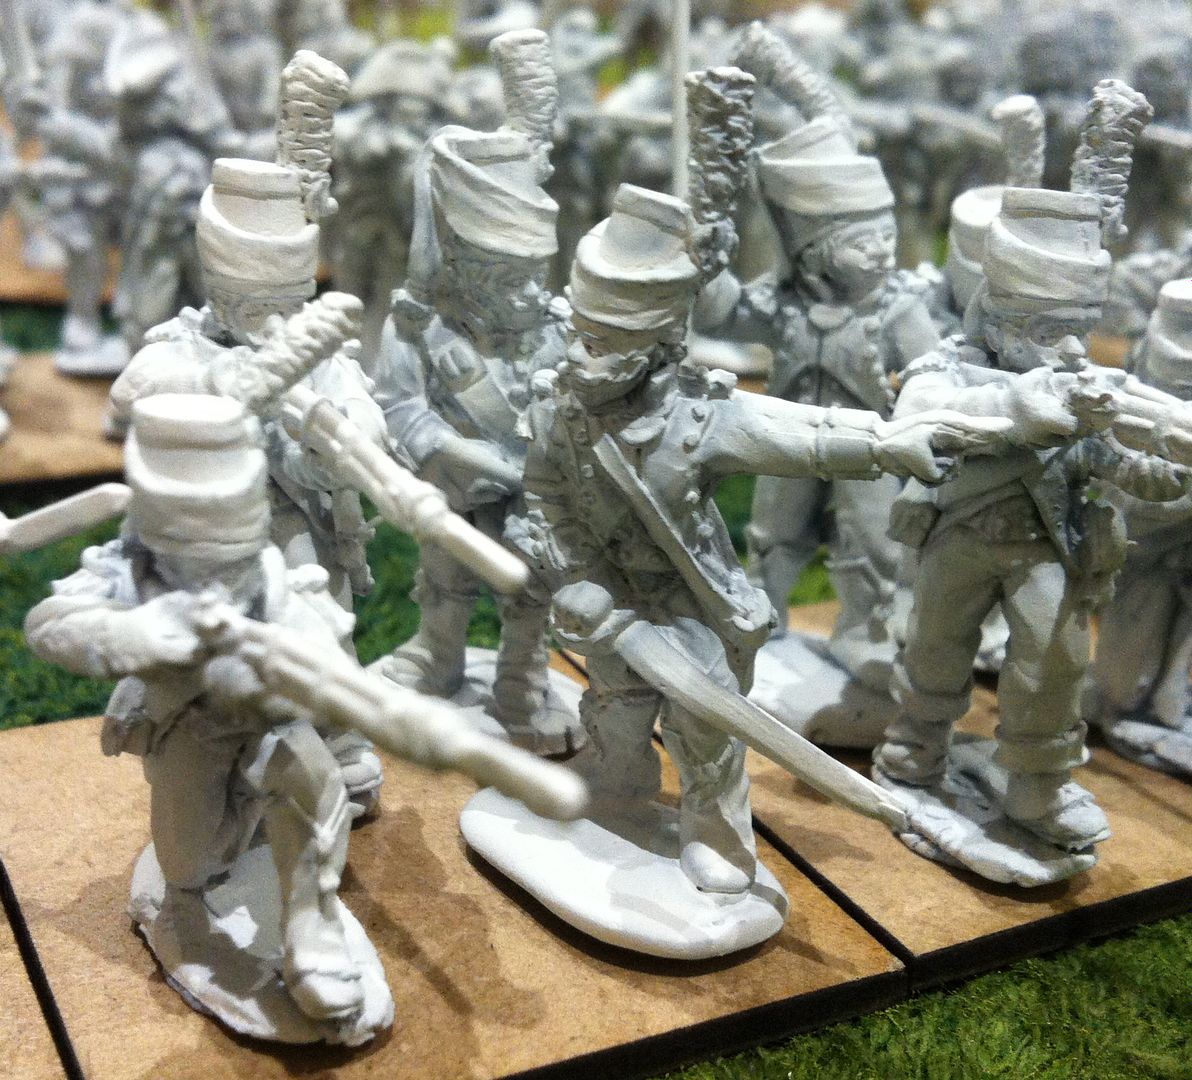
I've broken a promise I made to myself earlier in the year! I had decided that there would be no more major painting projects undertaken, where I would paint both sides' armies in 28mm. I've spent the last two days, on and off, cleaning up and spraying figures for the first of two new 28mm Armies ~ the Republican French for the Flanders Campaign in the 1790s. I still have the bones of a British force to deal with, though that will have to wait a few days now anyway ~ sore fingers and out of white acrylic spray!
I bought the two forces from Duncan Macfarlane's Trent Miniatures stand at Partizans and at Derby earlier this year. I need to explain my motivation to undertake this project: I have decided that I am not old after all!{ I met a 72 year old on Sunday at Wargamer. Not only still actively wargaming at the local club, but a part of the club's demonstation game team! Age, I have decided, is all in the mind! At least, that's what I'm telling myself for now!}
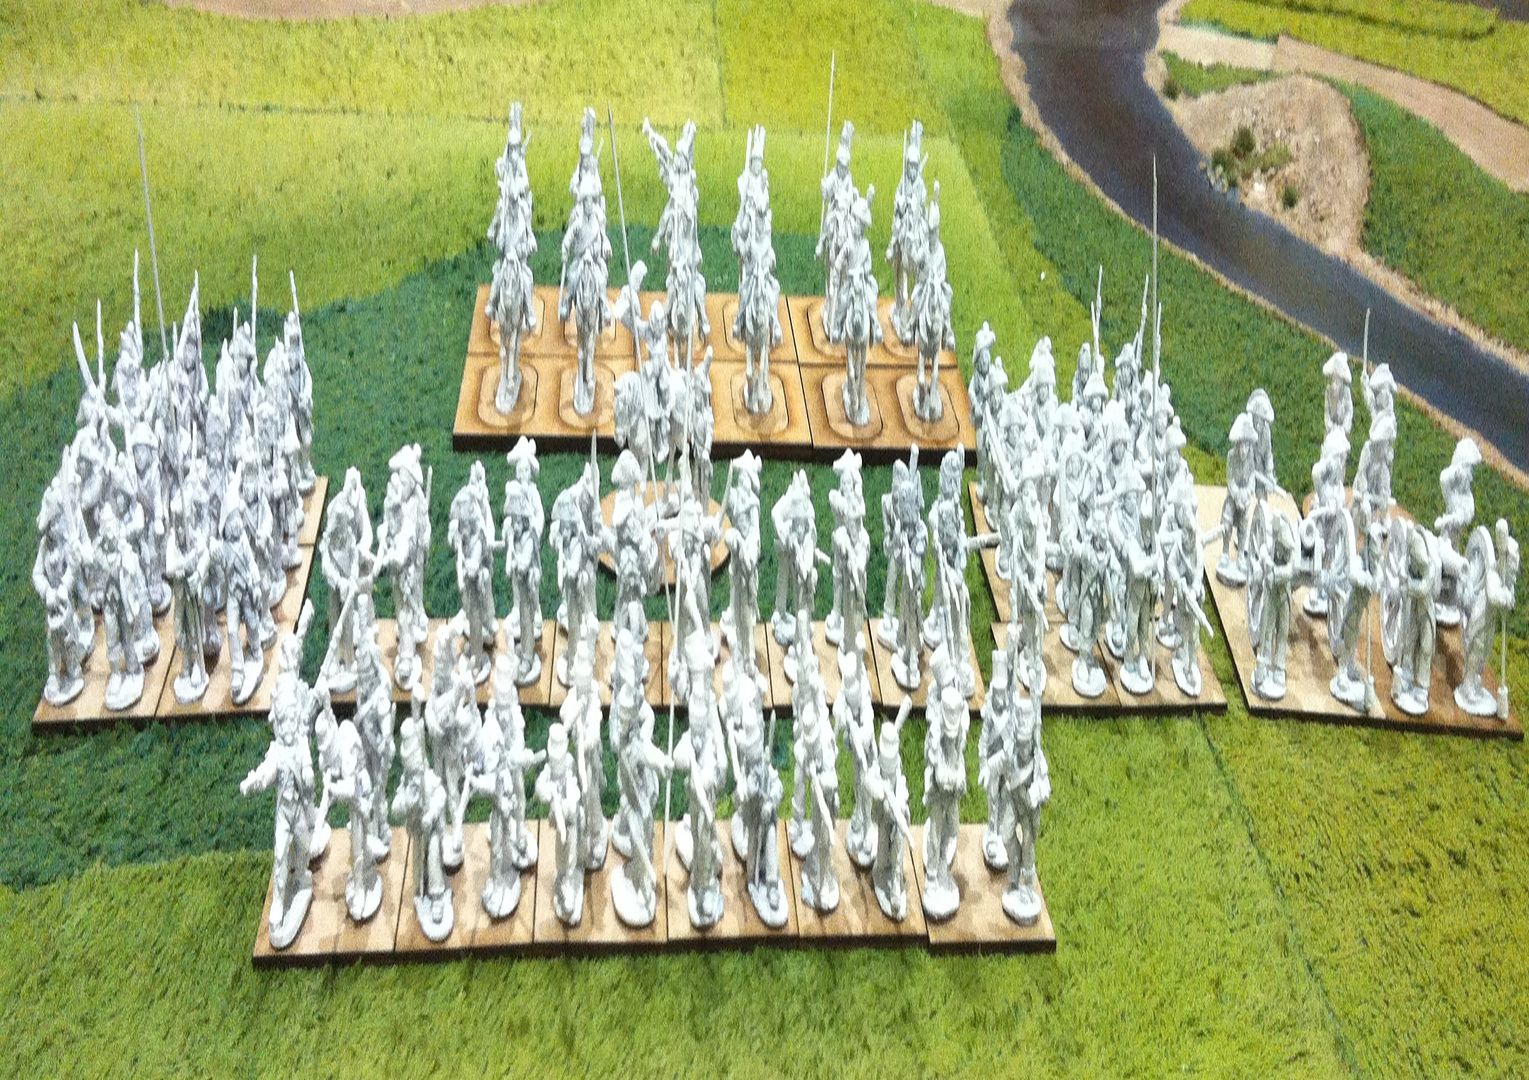
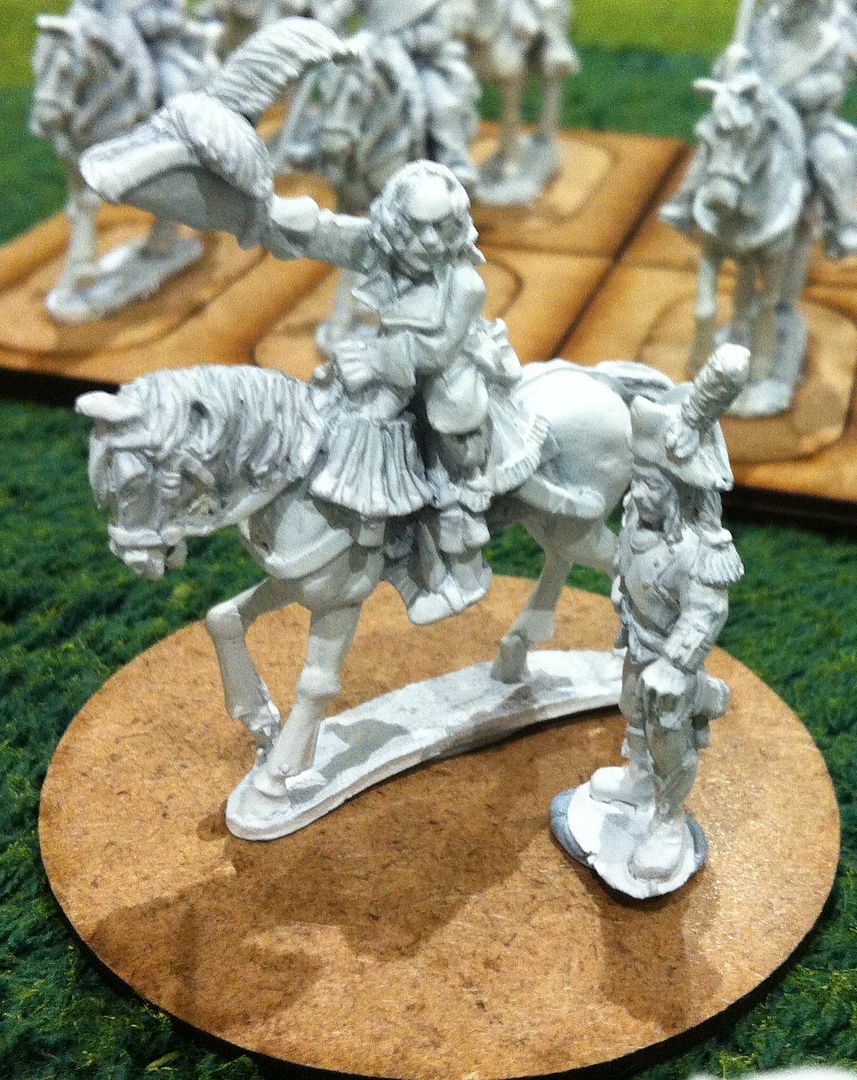
I also want to sell my SYW collection next year, or at least a part of it, as I shall move its focus from Europe to North America. More on that plan in 2014 I hope! My son, Matthew made the masters for almost all the French you'll see on this entry, with the exception of the 8th Cavalry, and some of the British as well I believe. The whole force to date ~
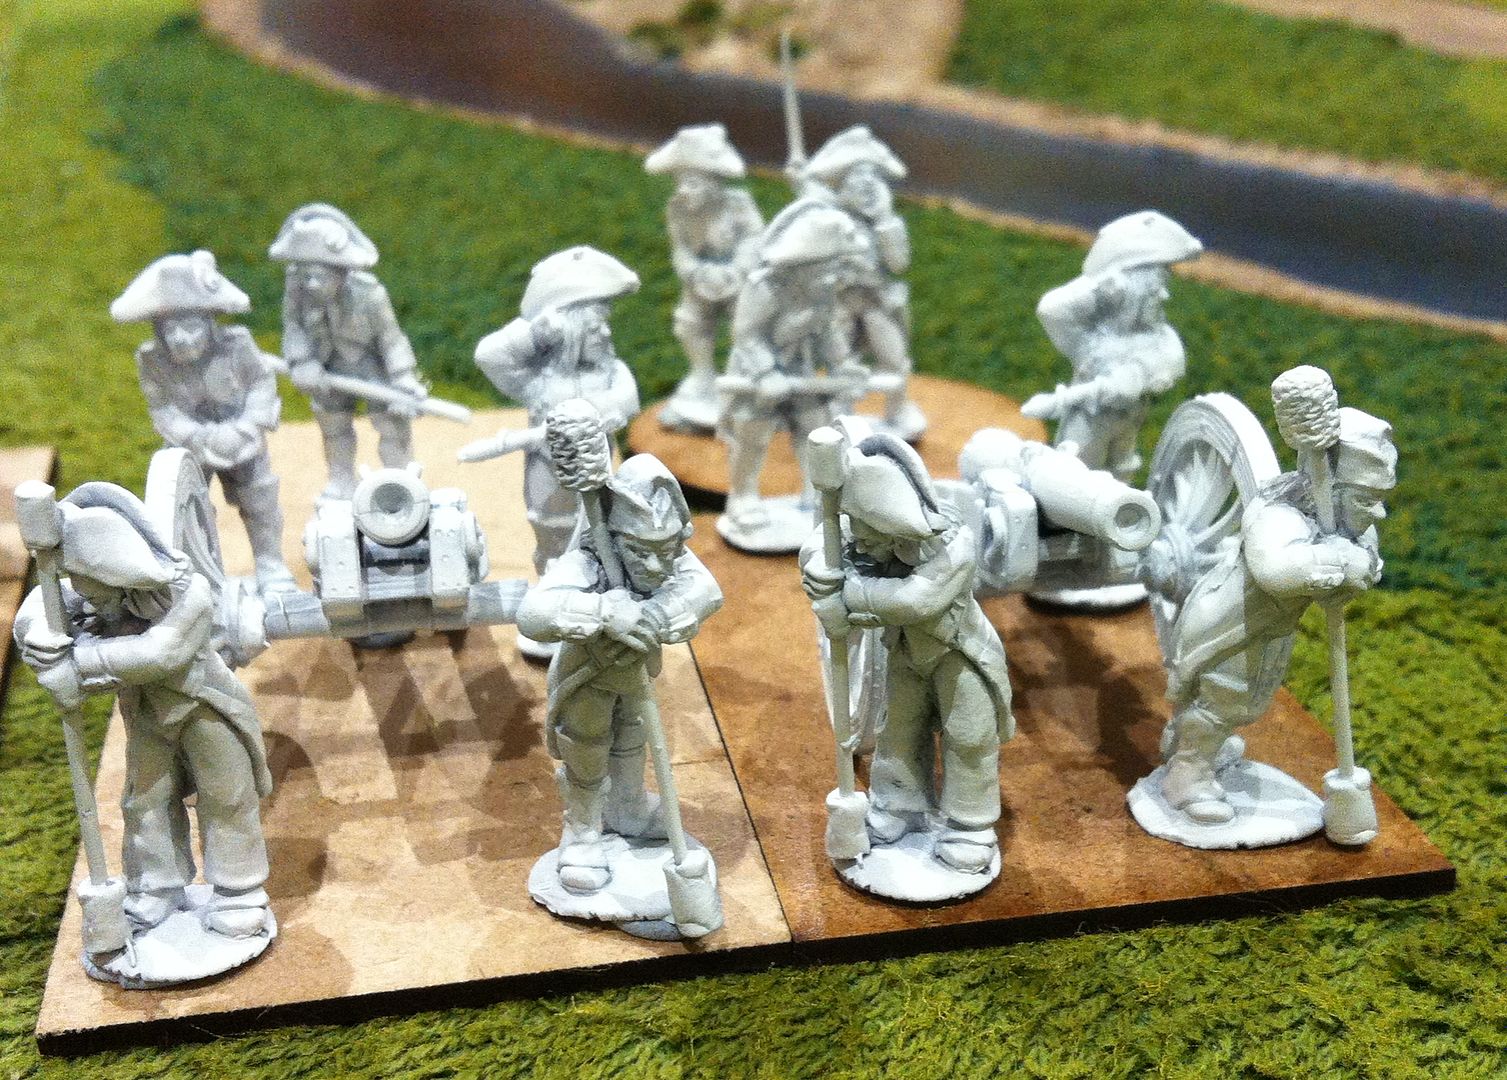
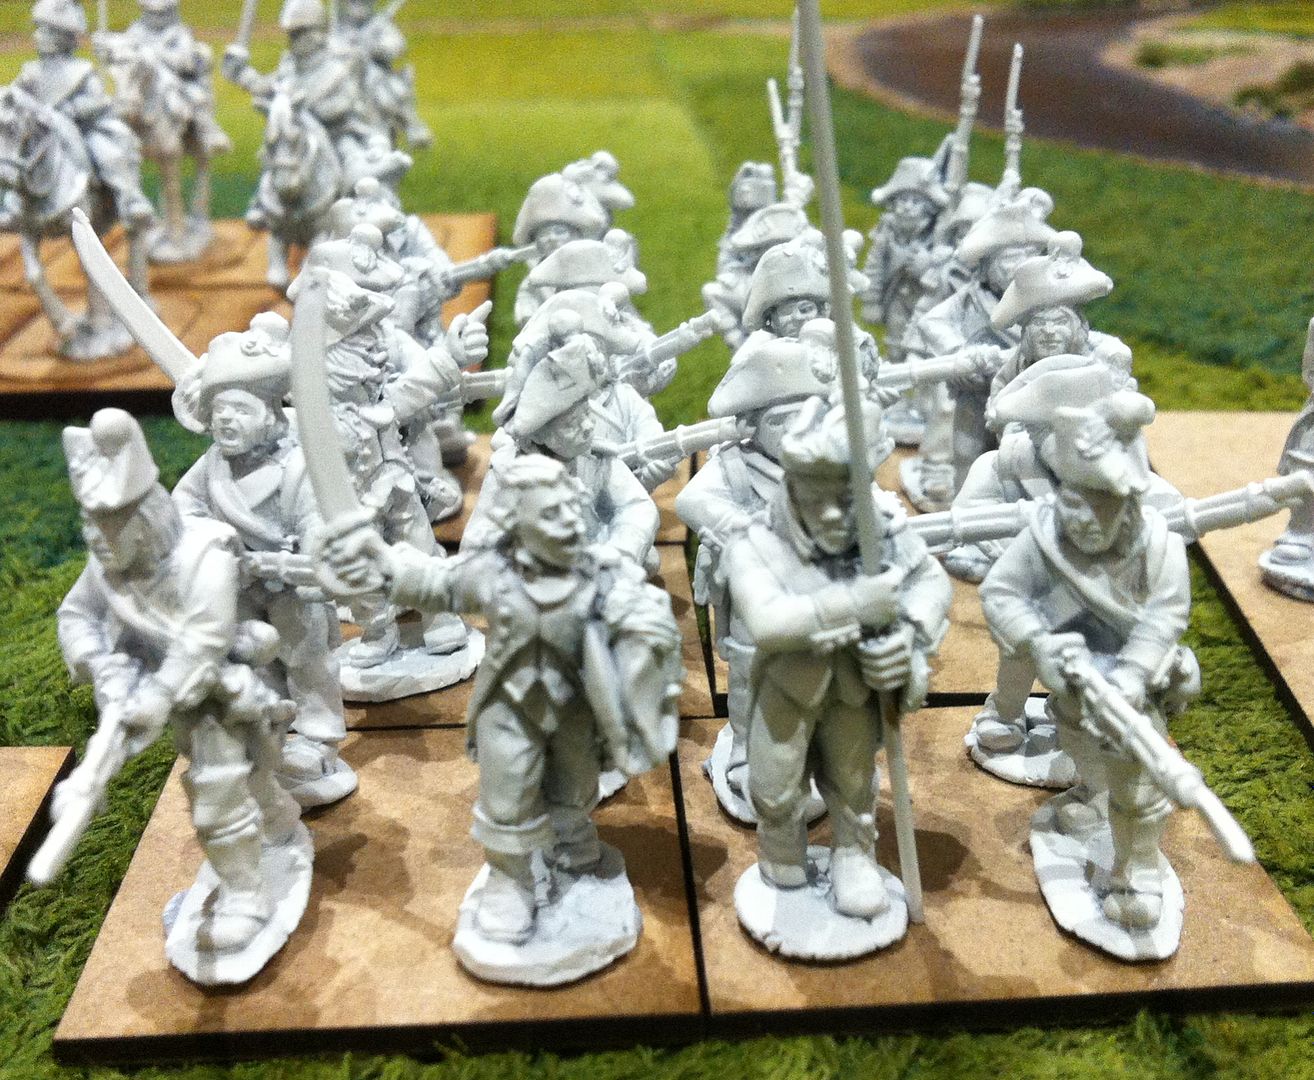
I've got three Line and one Legere battalions at present, together with a battery of guns {a 12lbr and a Howitzer}, some Dragoons and some 8th Cavalry and a command stand! I've got a few pictures to show the character of the figures, which was a further reason to choose them, as if I needed one that is...
I decided to publish them 'in the raw' like this as I found it motivated me to get started with the painting when I did a similar post for the RFF {see an earlier Blog entry} and so I'm hoping for similar progress with this project next year.
The British force is slightly smaller ~ well, it is only French rabble they are up against! In fact, both sides will be expanded next year I'm sure as I make inroads into the units I've prepared for painting action! I may add an entry when I get the British troops ready, but they are still a few odd figures light which I'll pick up early in the new year, so I may not bother until I've got some painted.

Saturday, 30 November 2013

A Slight Diversion


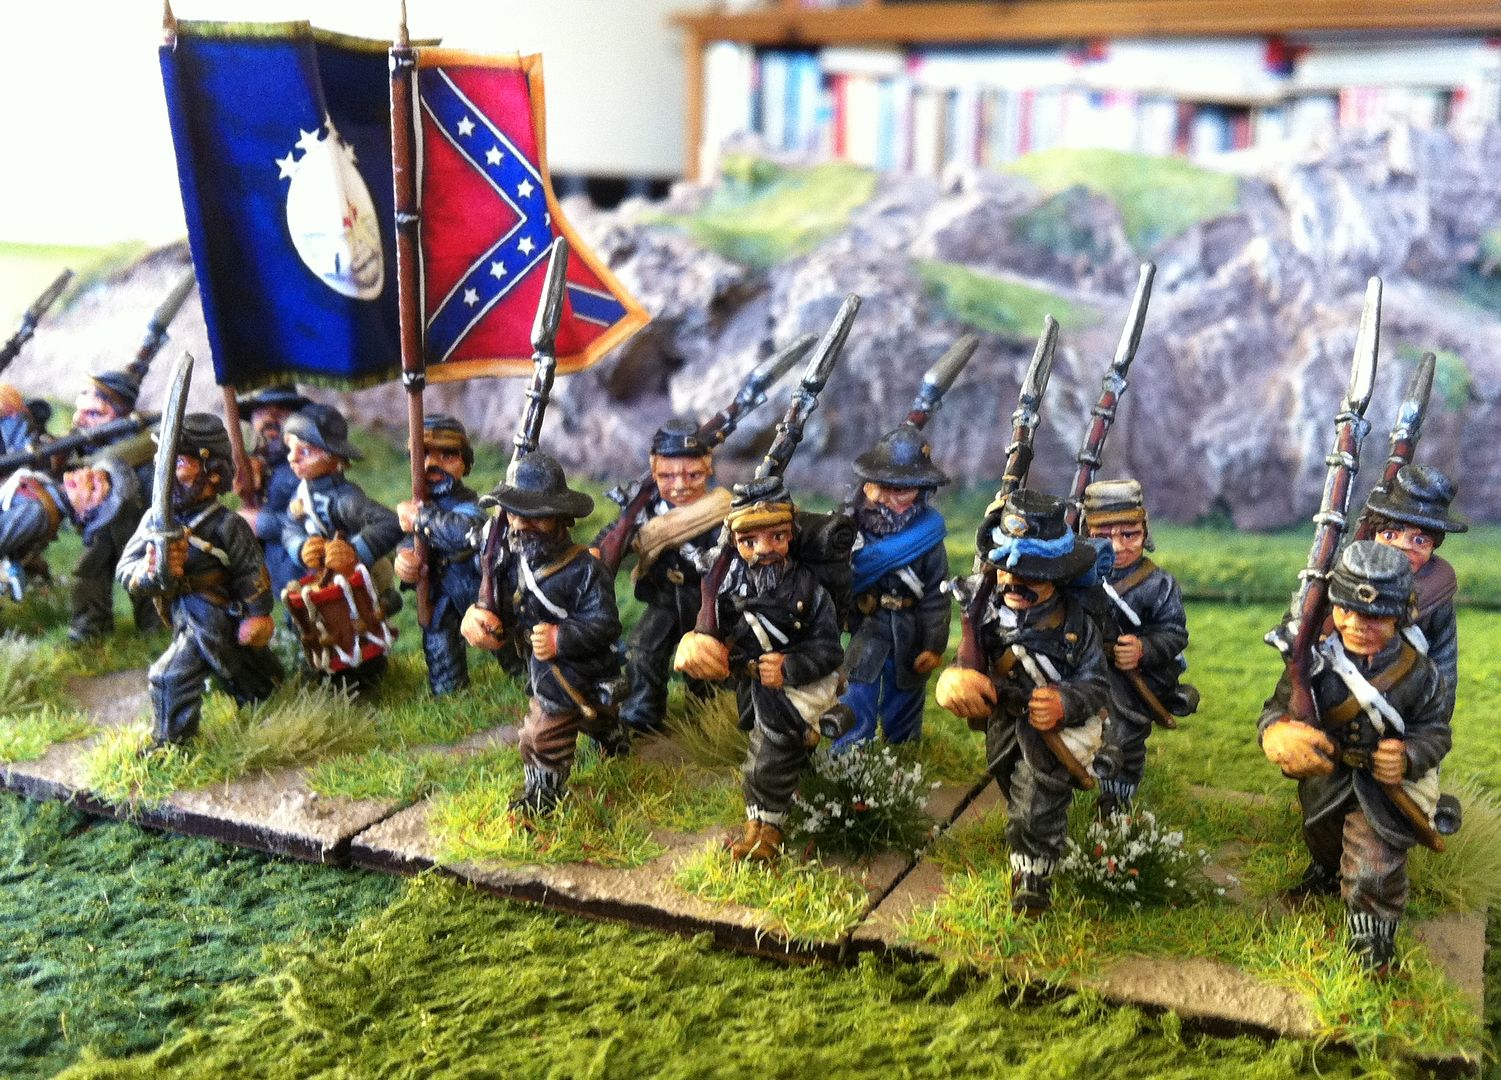
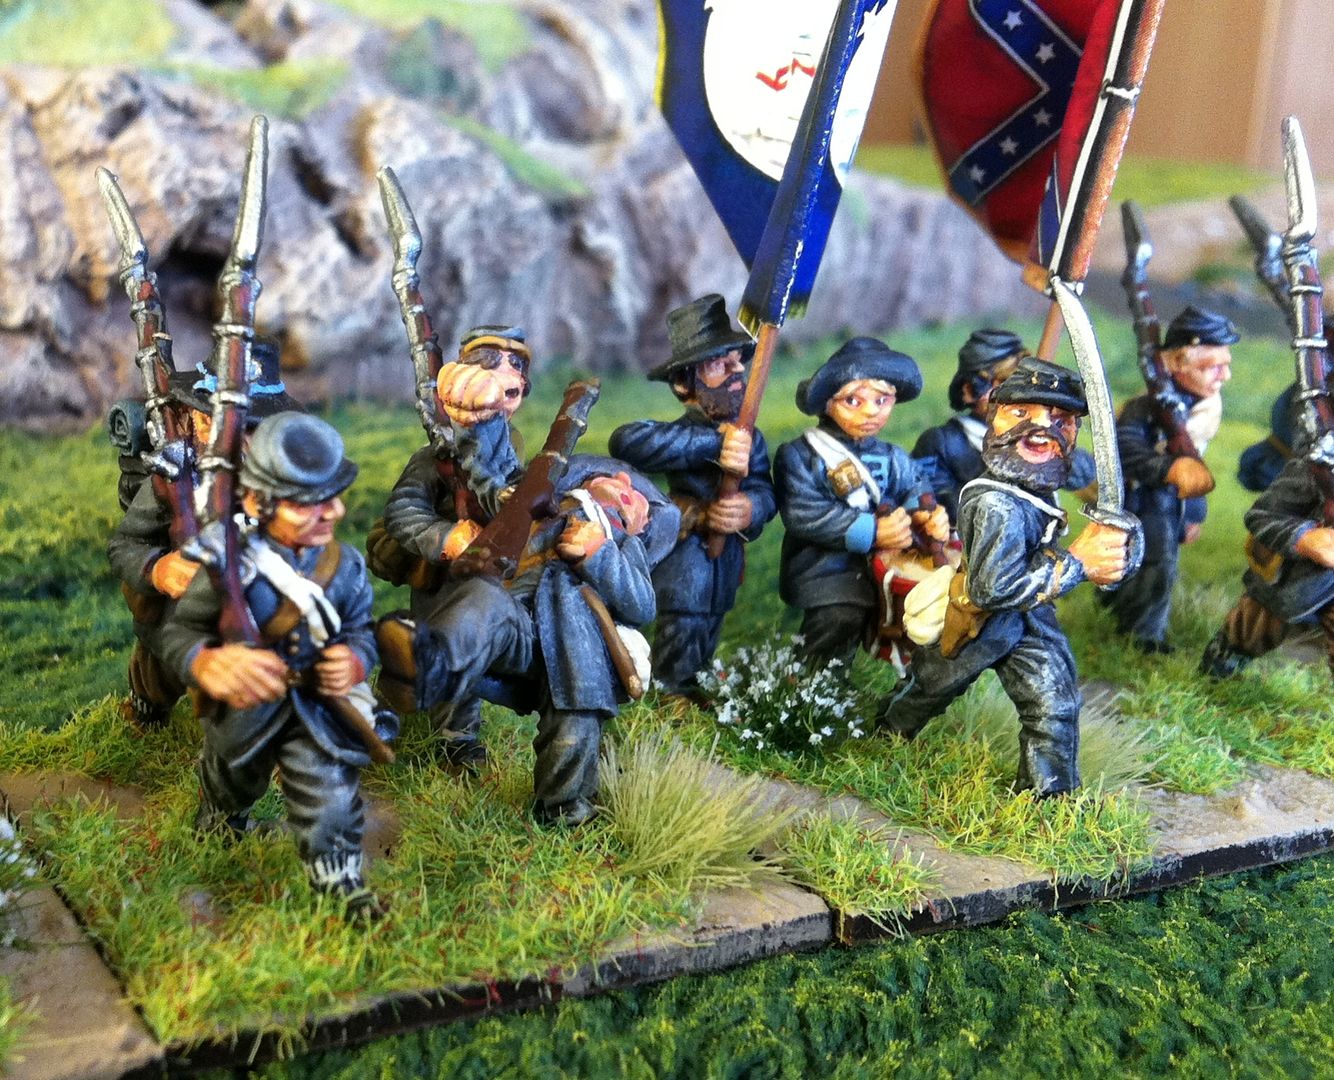
As I said over on my Rhanzlistan Blog, I just could n't face painting the second Indian Infantry unit so soon after completing the last one ~ same figure, same pose, same equipment, different head, you know how it is. Delving into the 'Ready to Paint' drawer I plucked a unit of Dixon ACW Rebel infantry and a Brigade Command Stand to occupy my spare moments in the second half of the month. I've decided to paint up Georgian units for Semme's Brigade, McLaw's Division of Longstreet's First Corps.
{Now there appears to be an issue between Blogger and Photobucket (and possibly AOL) because the pictures edited in Photobucket and uploaded into Blogger somehow revert to the original unedited versions in the Post. Not only that but the layout is all over the place too! No doubt some nerd with nothing better to do has cocked it up, again...}
Anyway, here are the remaining pictures. I hope they will illustrate why I prefer the Dixon Miniatures to other manufacturers, giving a vignette feel to the bases with the wide variety of poses and faces on offer ~


I would have expected to have painted more than this single unit and command base, but I got sidetracked into painting some of my Victorian buildings from Oshiro Models for my Great Detective Pulp Games. I've managed to paint a terrace of three two storey homes, a warehouse and a chapel ~ St Edith's Mission to Seamen and Fallen Women! More on this project in a future Blog entry.
 

Wednesday, 13 November 2013

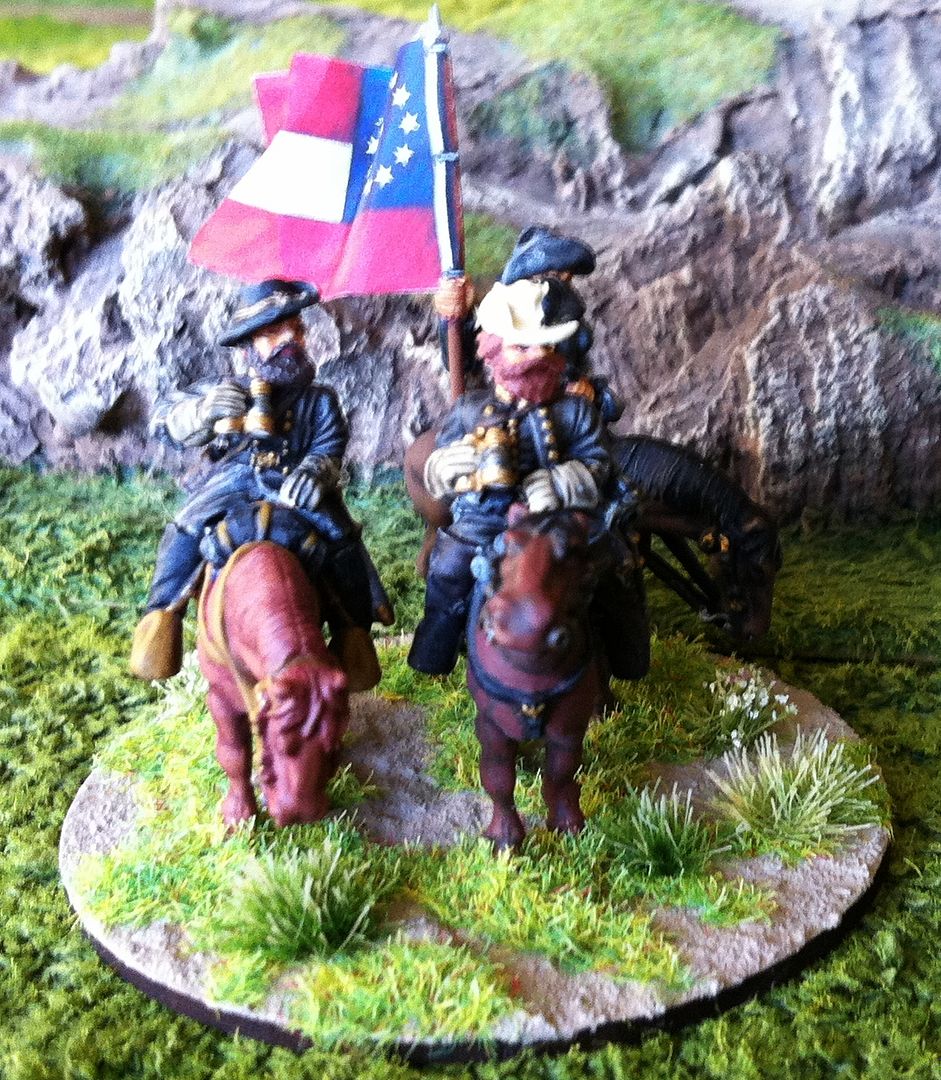
J.E.B.Stuart ~ Reb Cavalry Command Base

Not long ago I posted a few pictures of the 'new' command bases I'd added to my Confederate Army. At the time I think I mentioned that I'd got one base left to complete, a Command base for my Reb cavalry. I'd been over to Spirit Games in Burton on Trent, a 'local' stockist of my preferred Dixon Miniatures, and bought the J.E.B. Stuart figure, a generic general, a cavalry standard bearer and three horses. Here's a picture of the finished base ~


The flag is from GMB Designs I should add here, which I've been patronising of late as I've been reflagging my two armies as part of the general upgrading programme ~ MDF bases, tufts, flowers and the like. Its been a bit of a labour of love really, taking up painting time, but I do think it has helped to lift my quite average paint jobs to a higher level. But, you'll be a better judge of that than me...