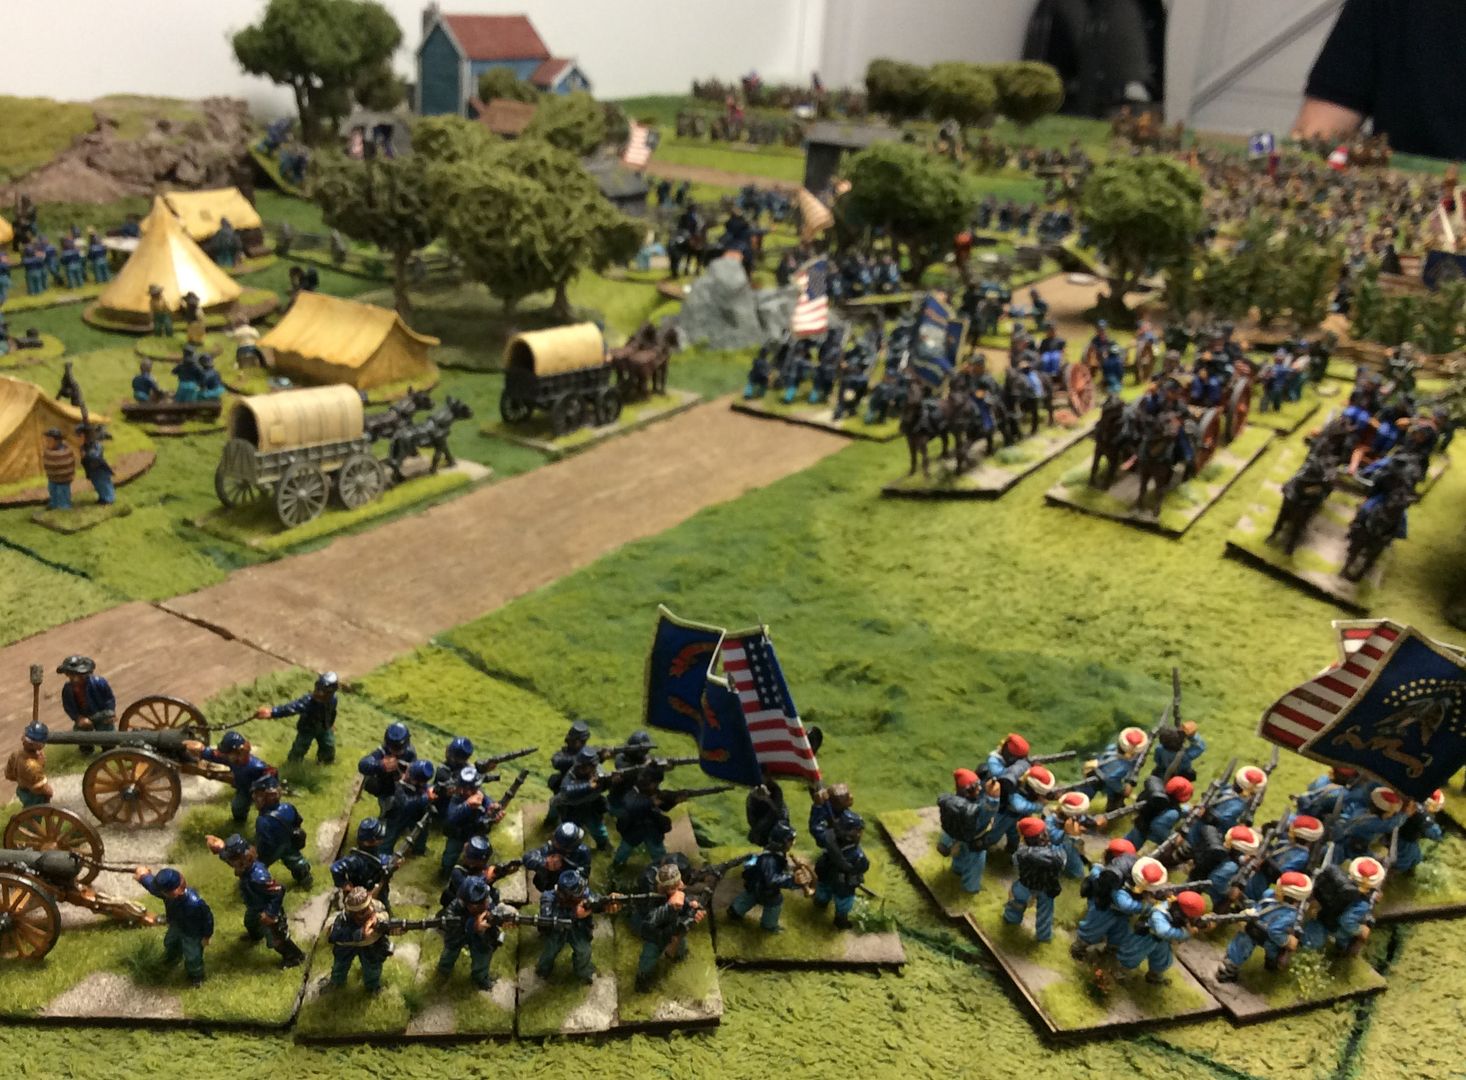
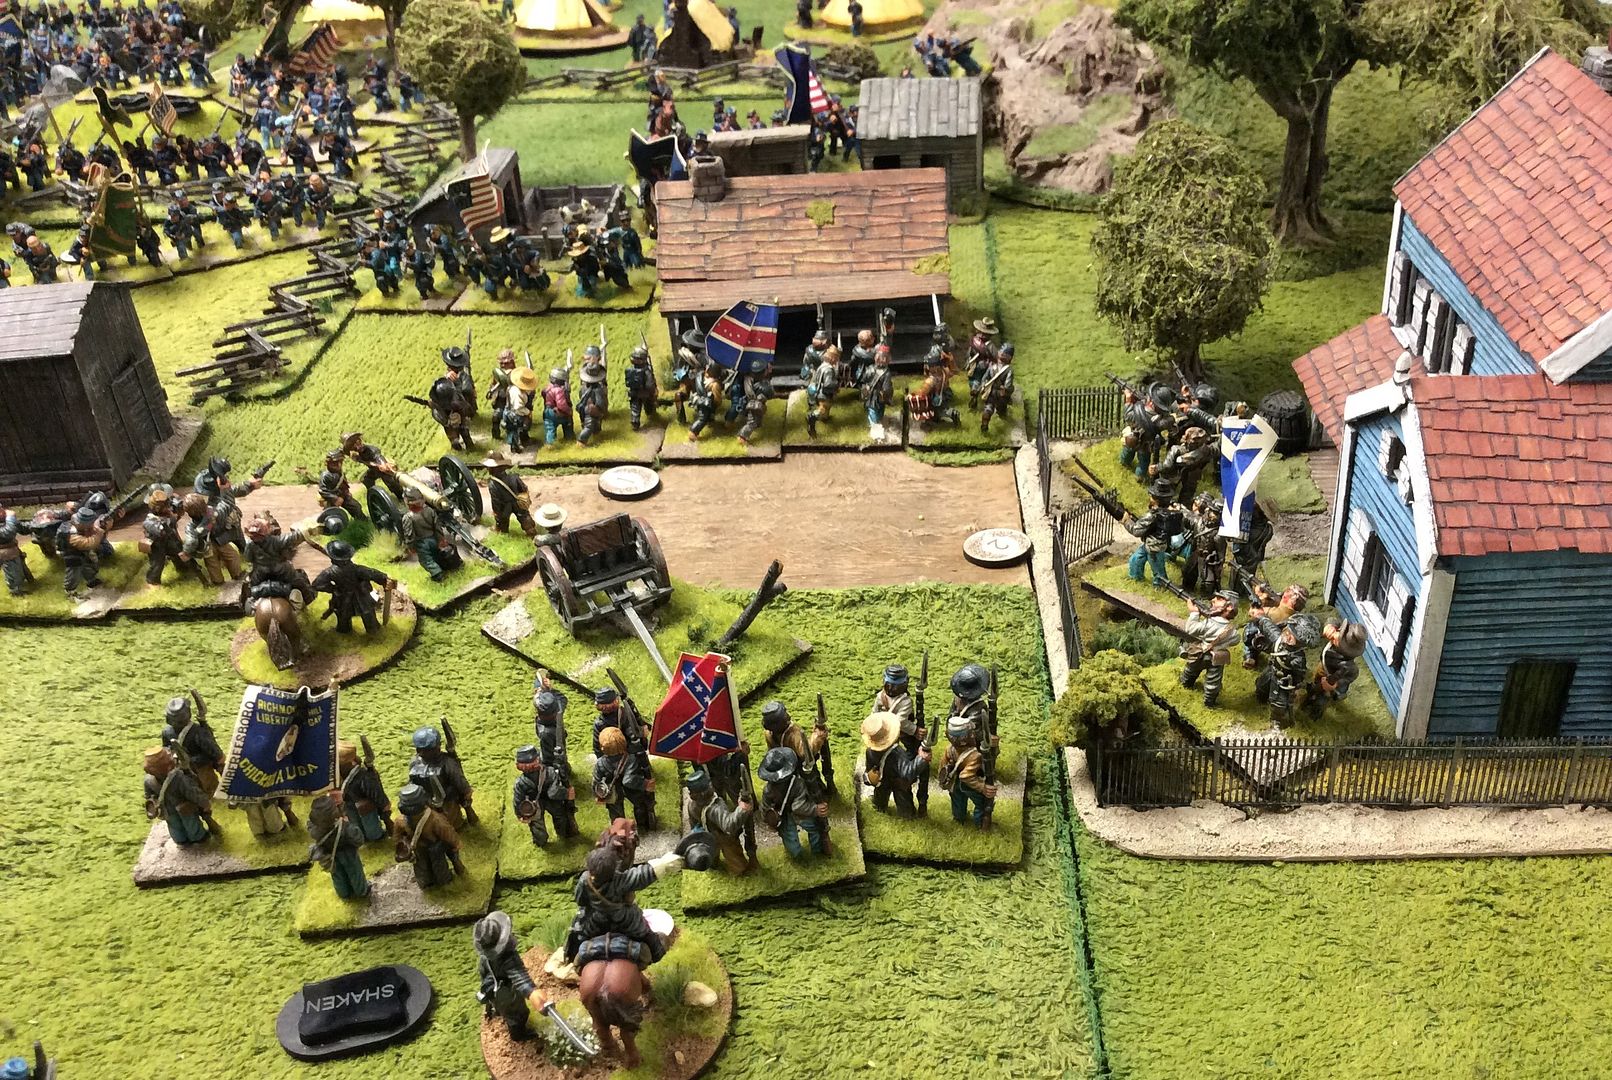
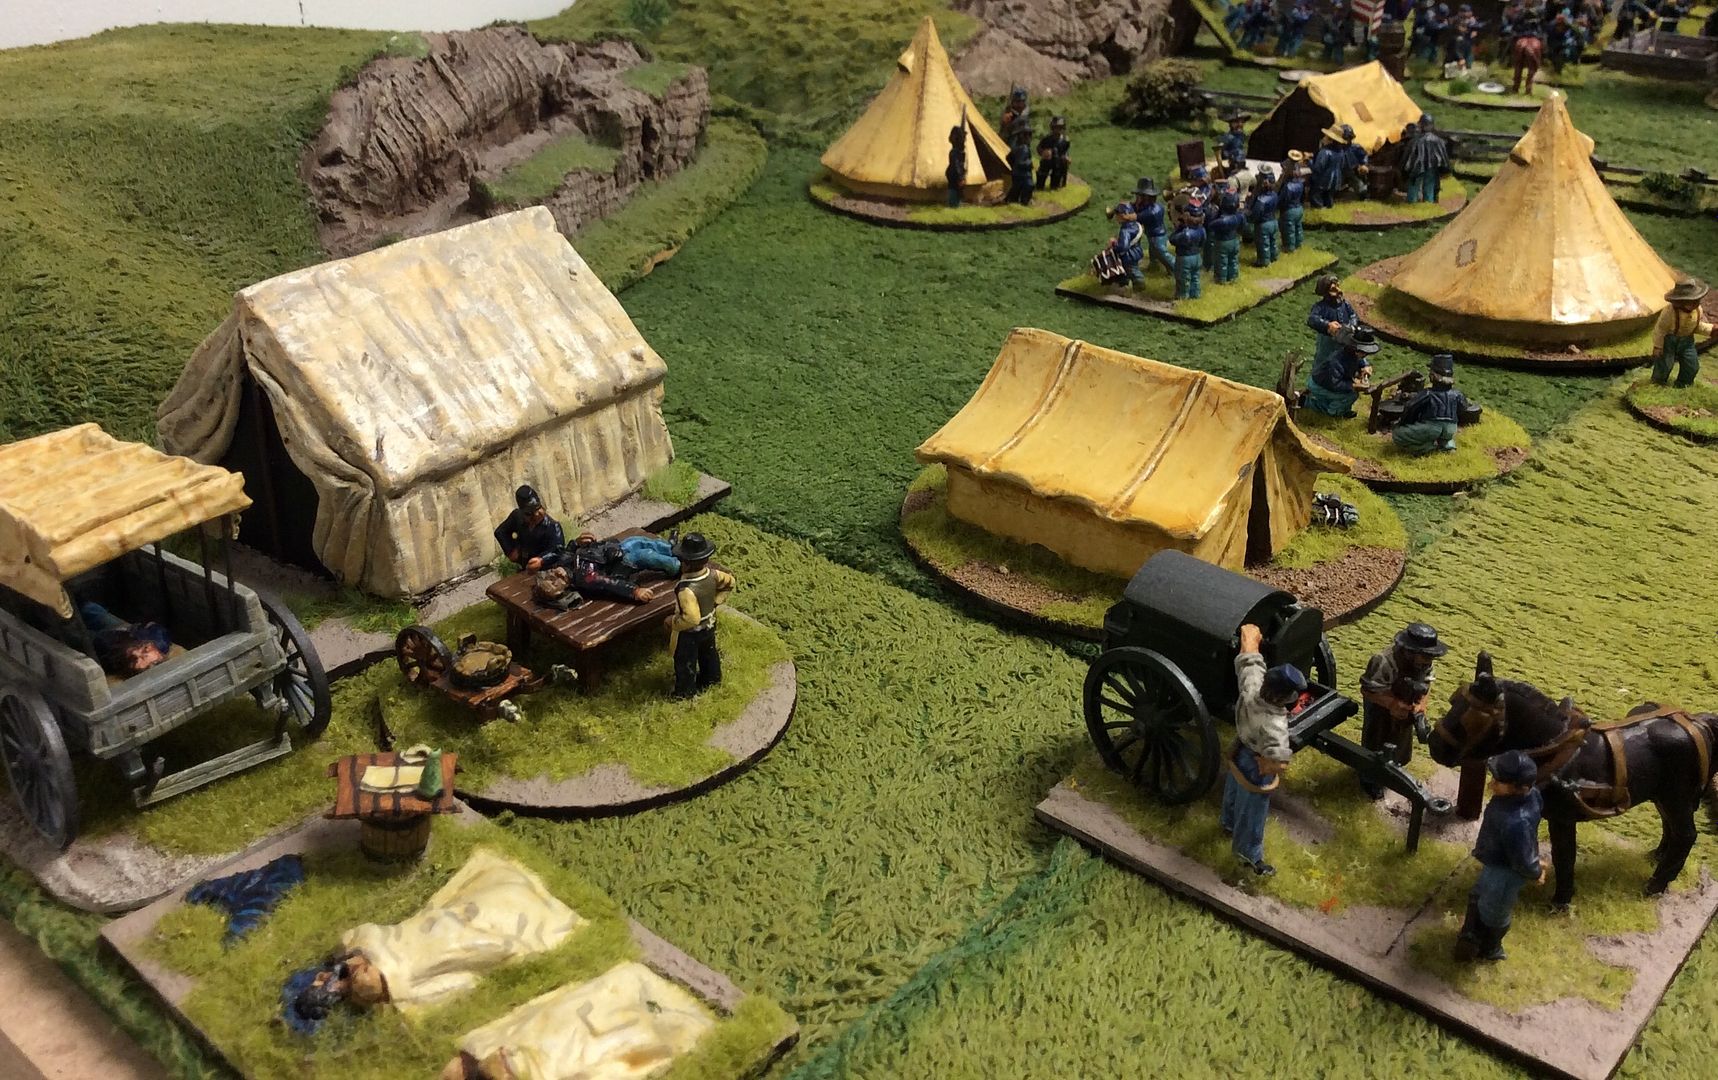
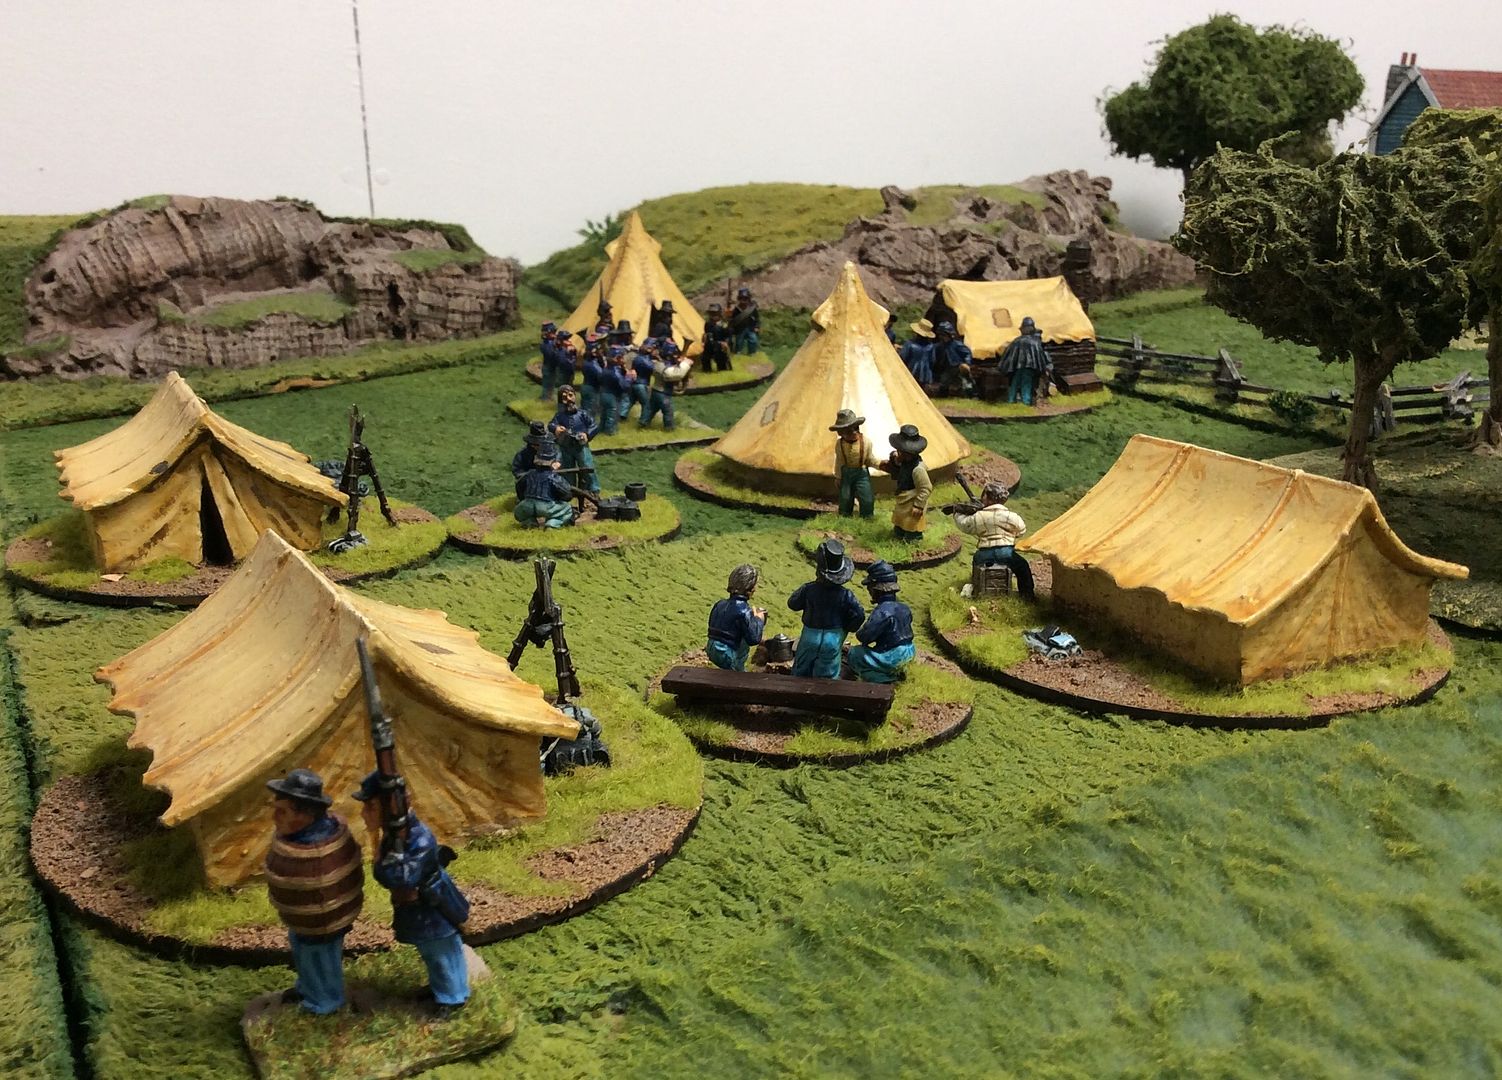
I am trying to 'learn' the Blackpowder rules once and for all! Given my age and the number of different games and rule sets we play it seems like a sensible move to me. We shall see, as they say... Jon and I are fighting a series of battles using the rules with different period focus to help me along the way! Mostly we play 12 move games on the table here in GHQ but we recently decided to try a much larger game played over two or more sessions. The period we chose is the ACW, my main interest as most of you know I'm sure. This allows far more figures than we usually deploy for a one off game, giving more of my collection of mostly Dixon Miniatures an airing, so as to speak. The Union camp as morning breaks ~
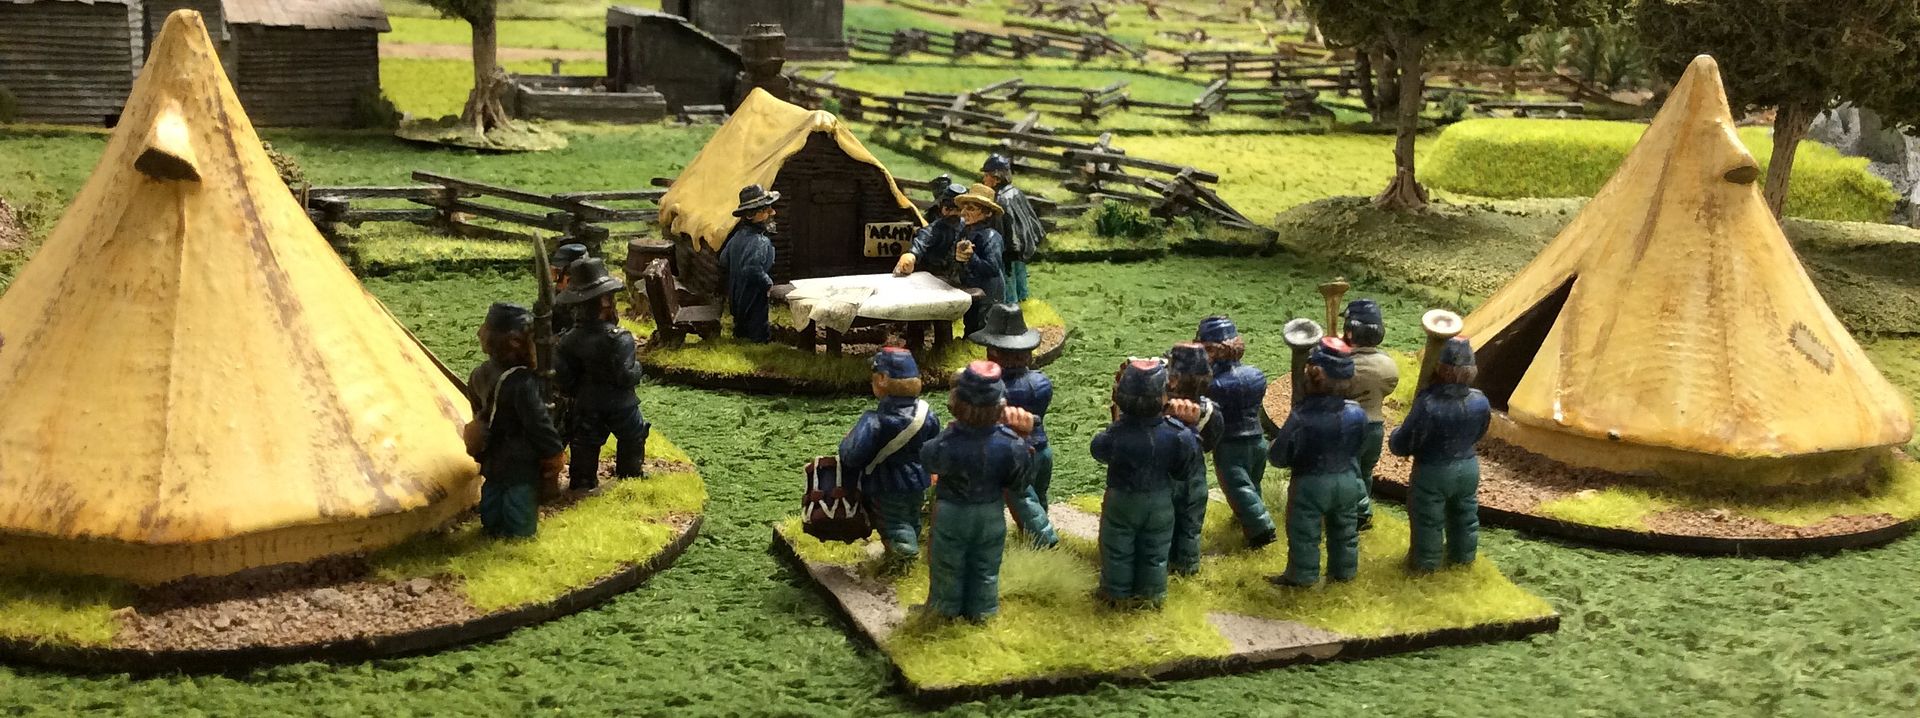
The band serenades senior officers as they await orders ~
The Union's right is held by a Brigade of U.S.Colored troops ~
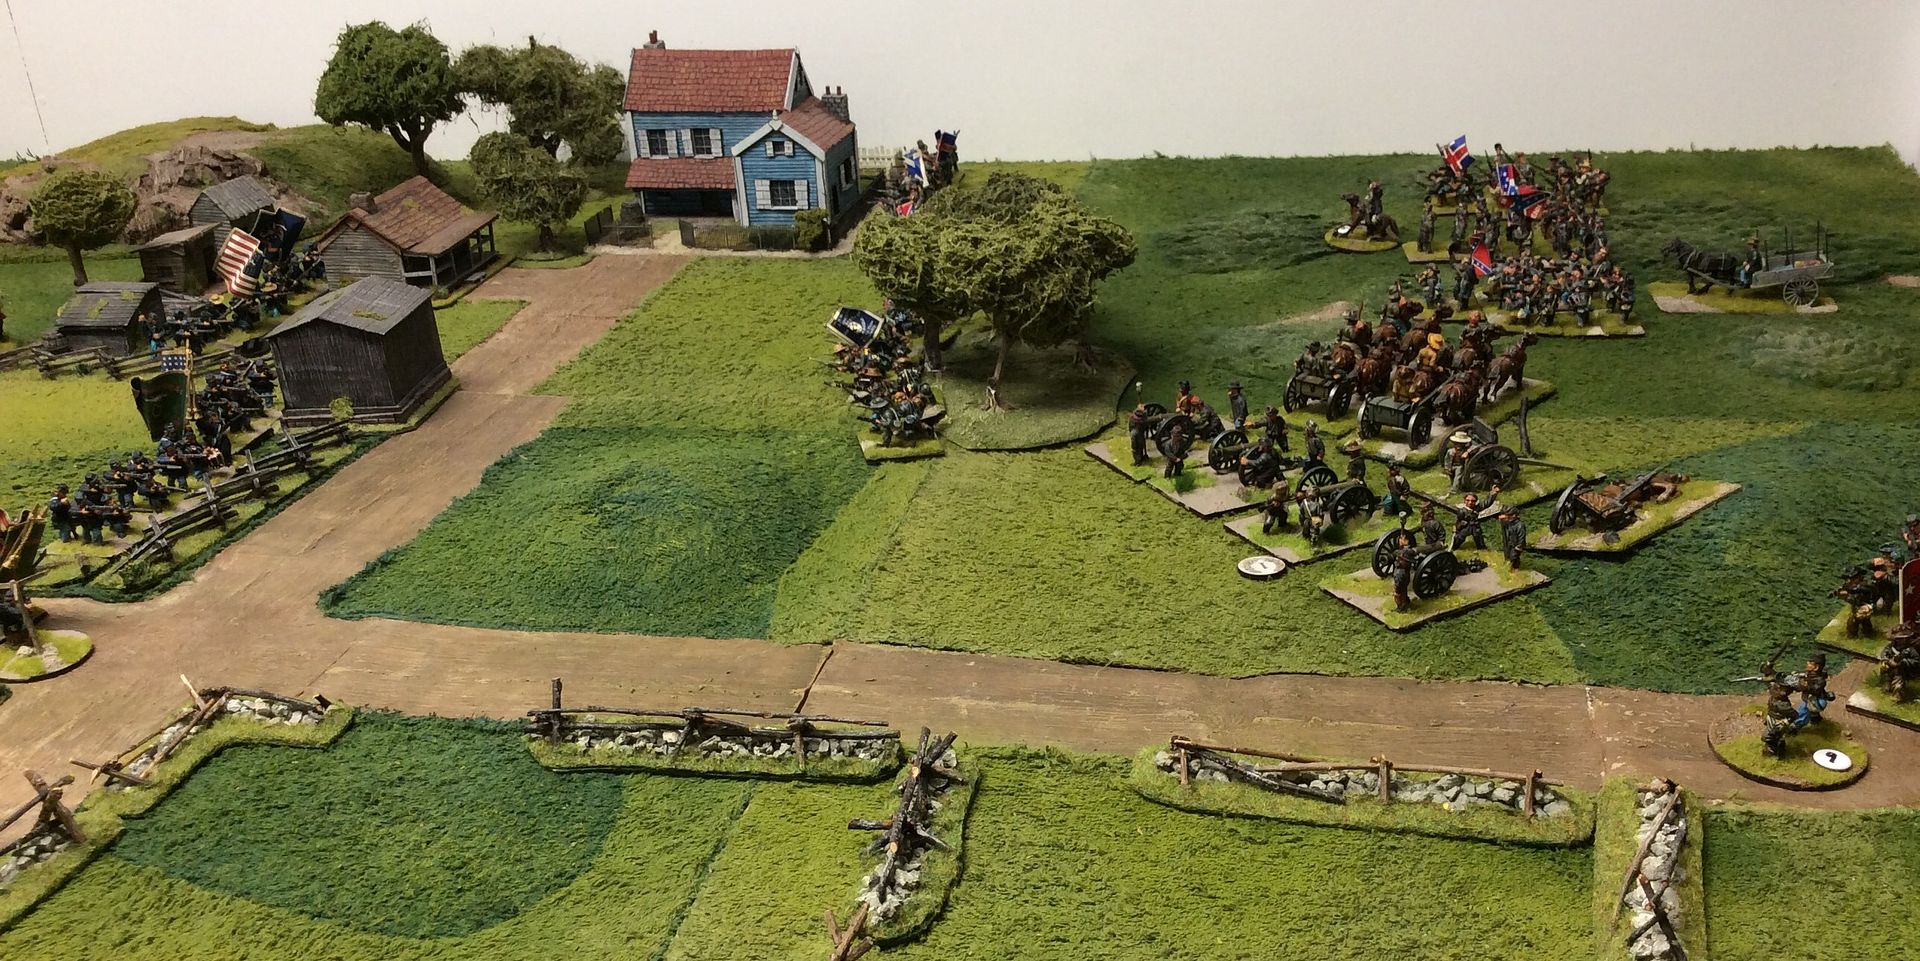
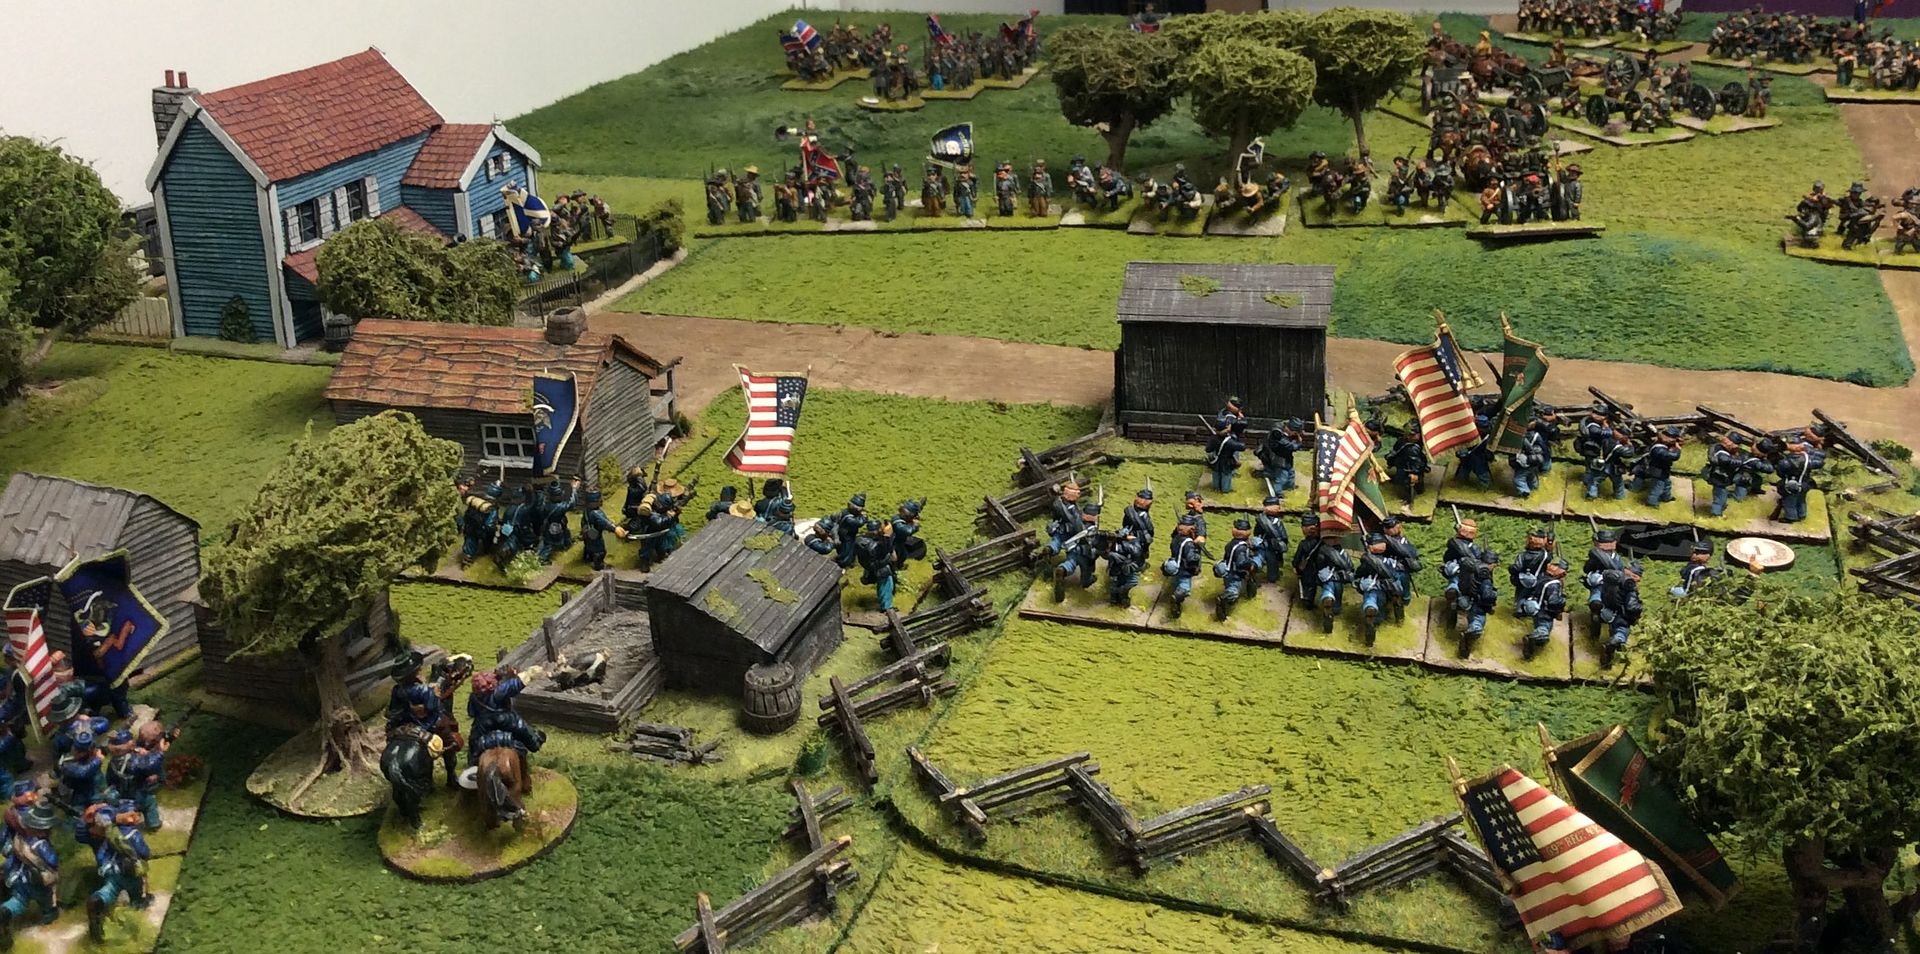
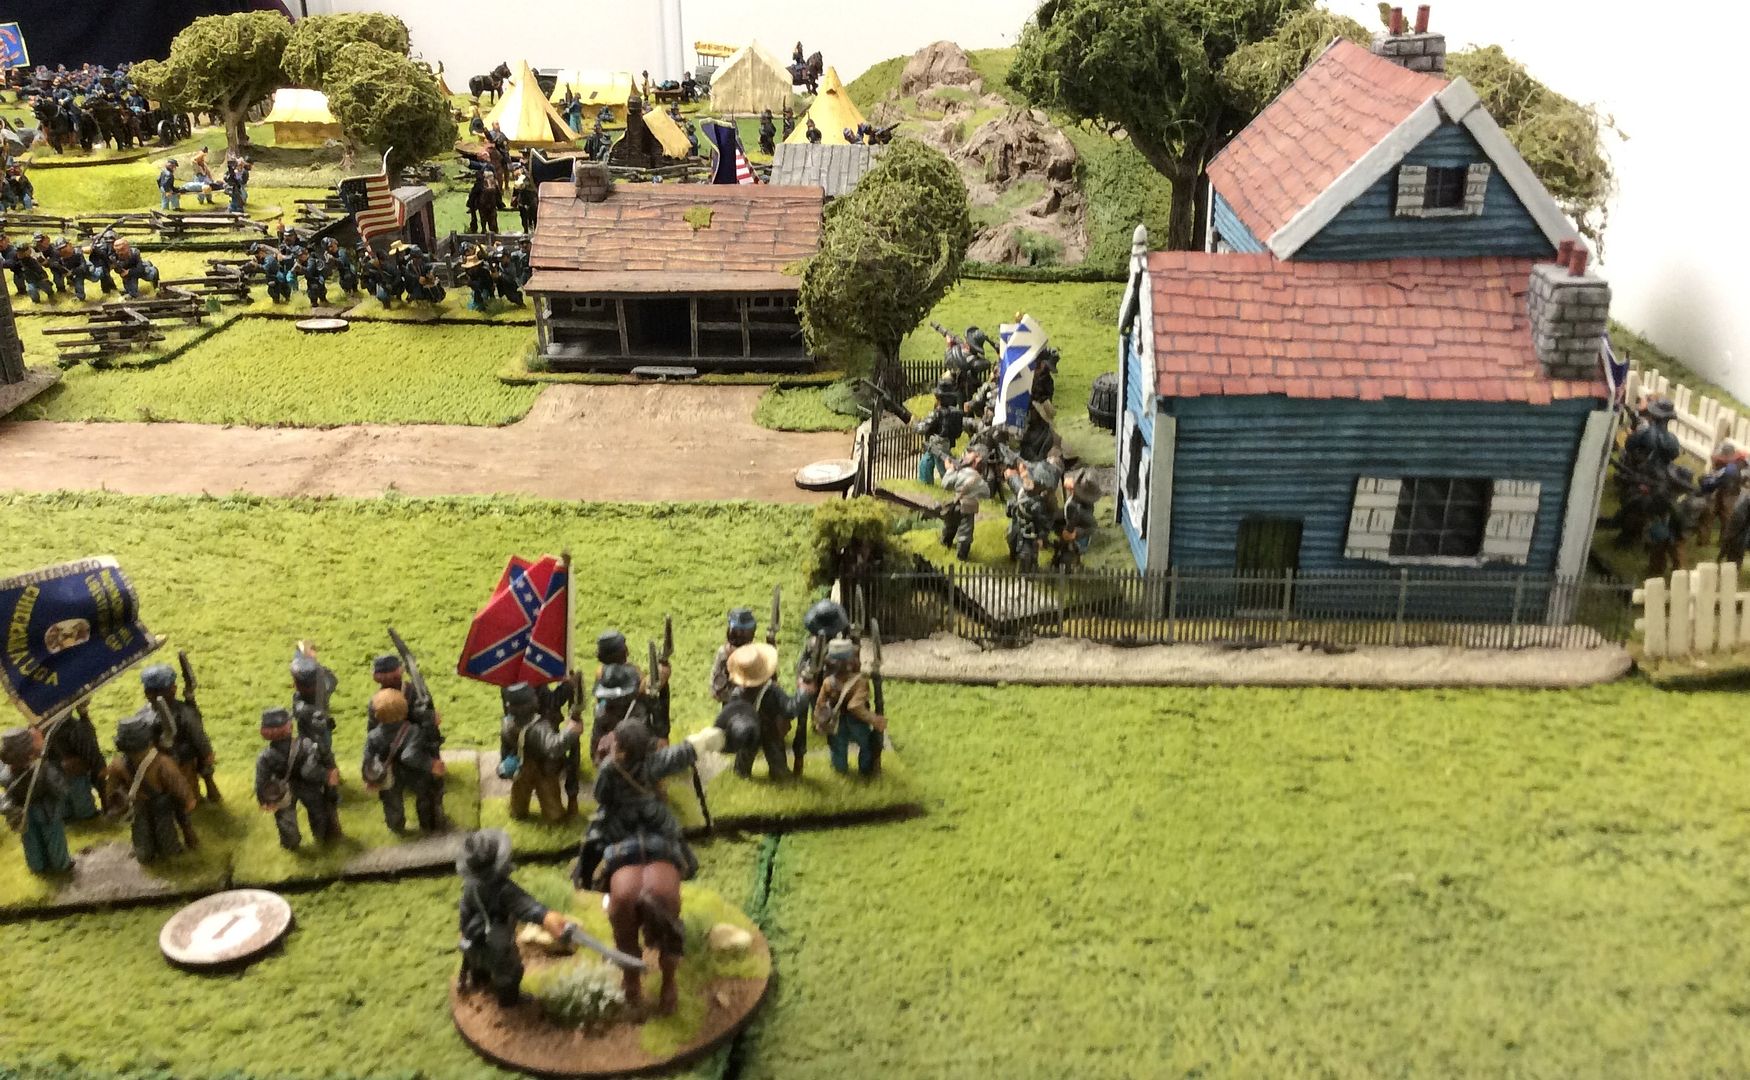
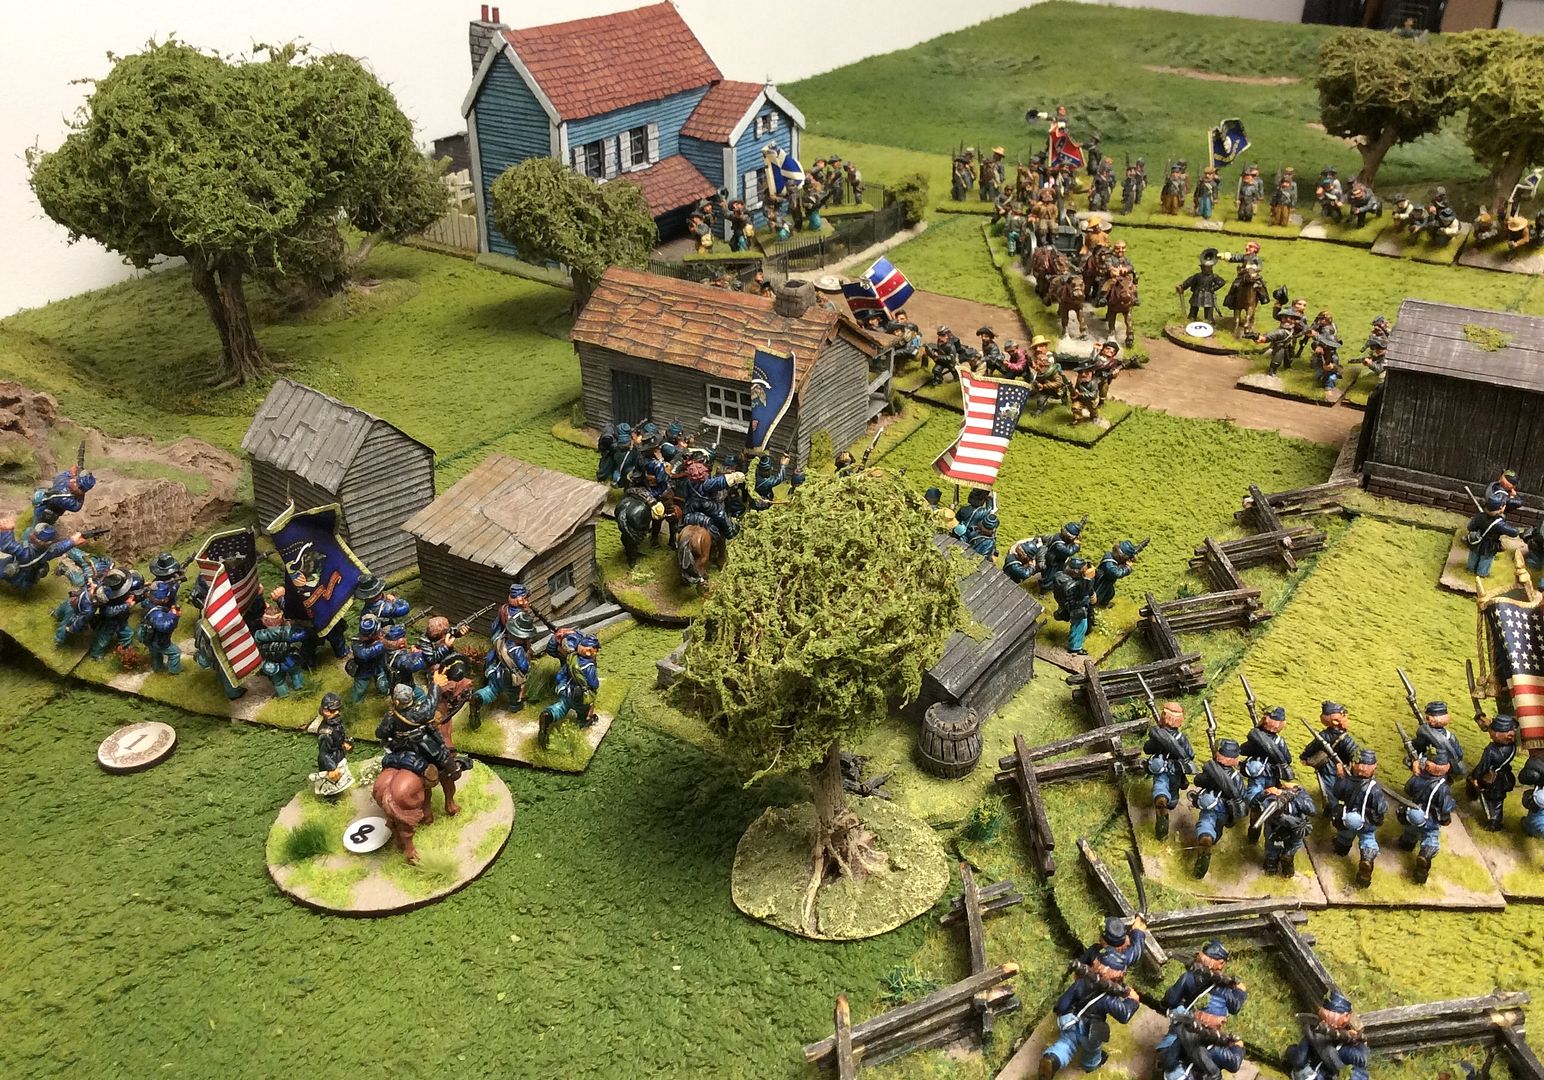
The initial Rebel attack is developing, slowly, on the Union's left around White's Farmstead ~
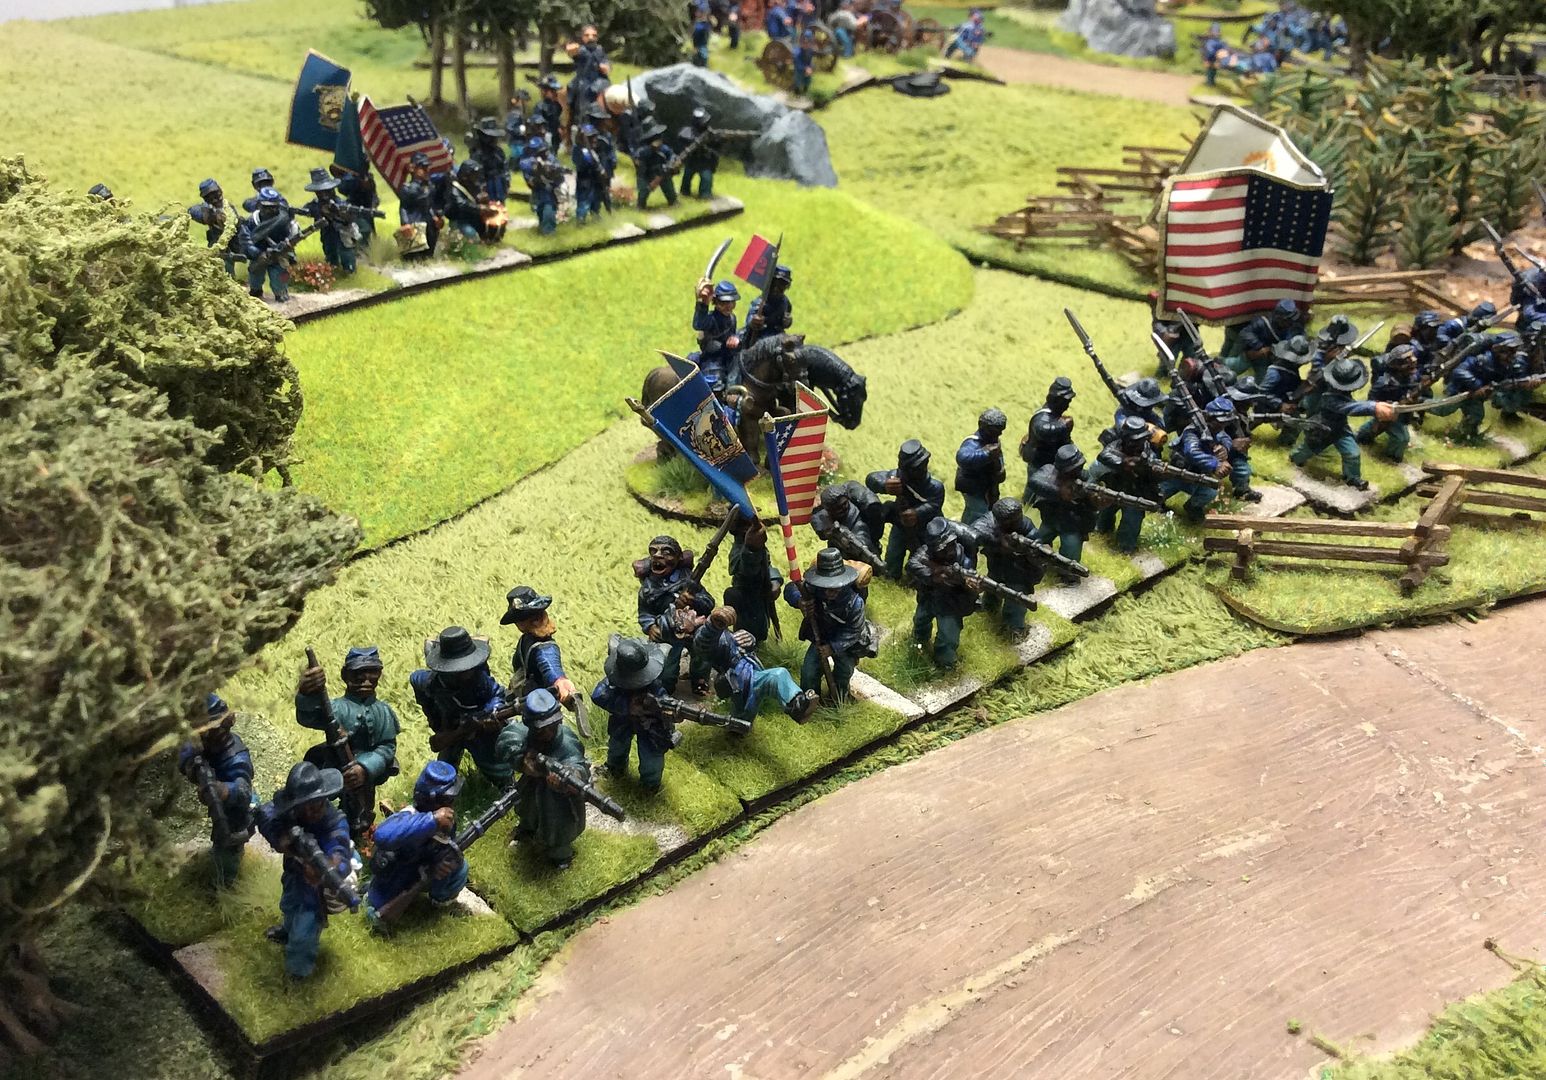
Colored Troops deploy into a firing line awaiting the inevitable Rebel assault ~
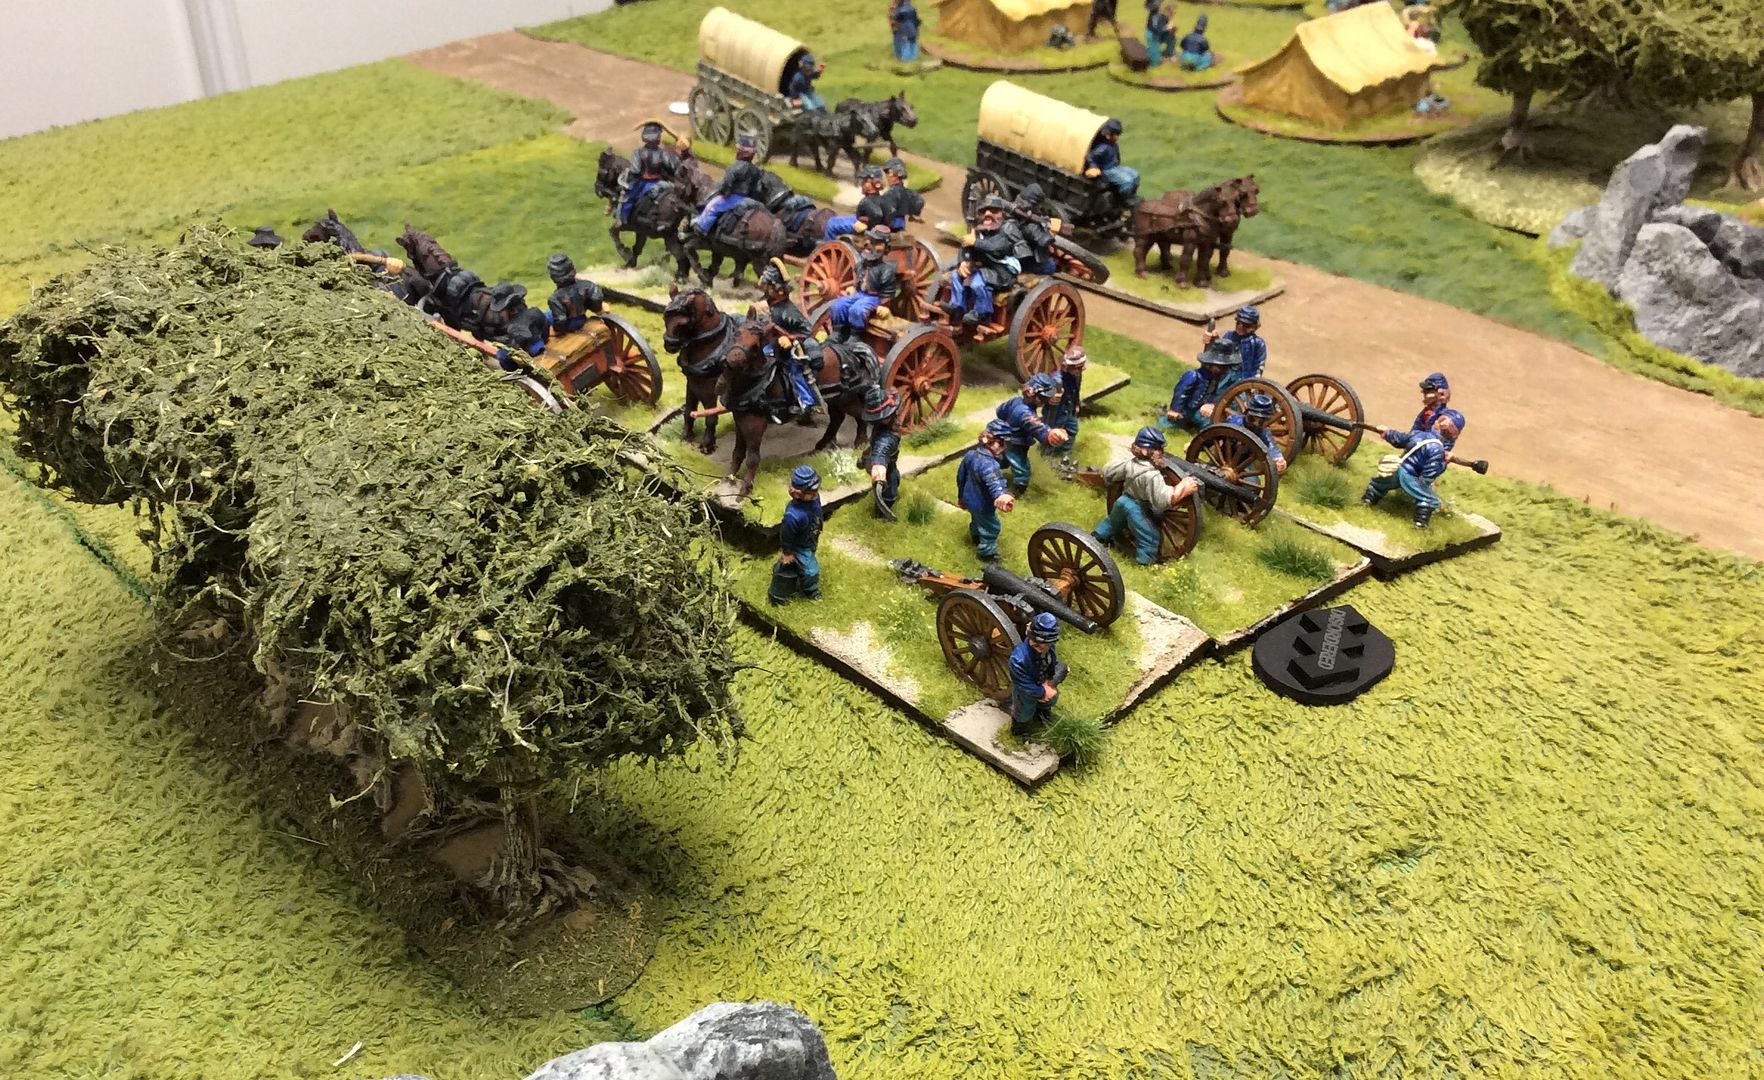
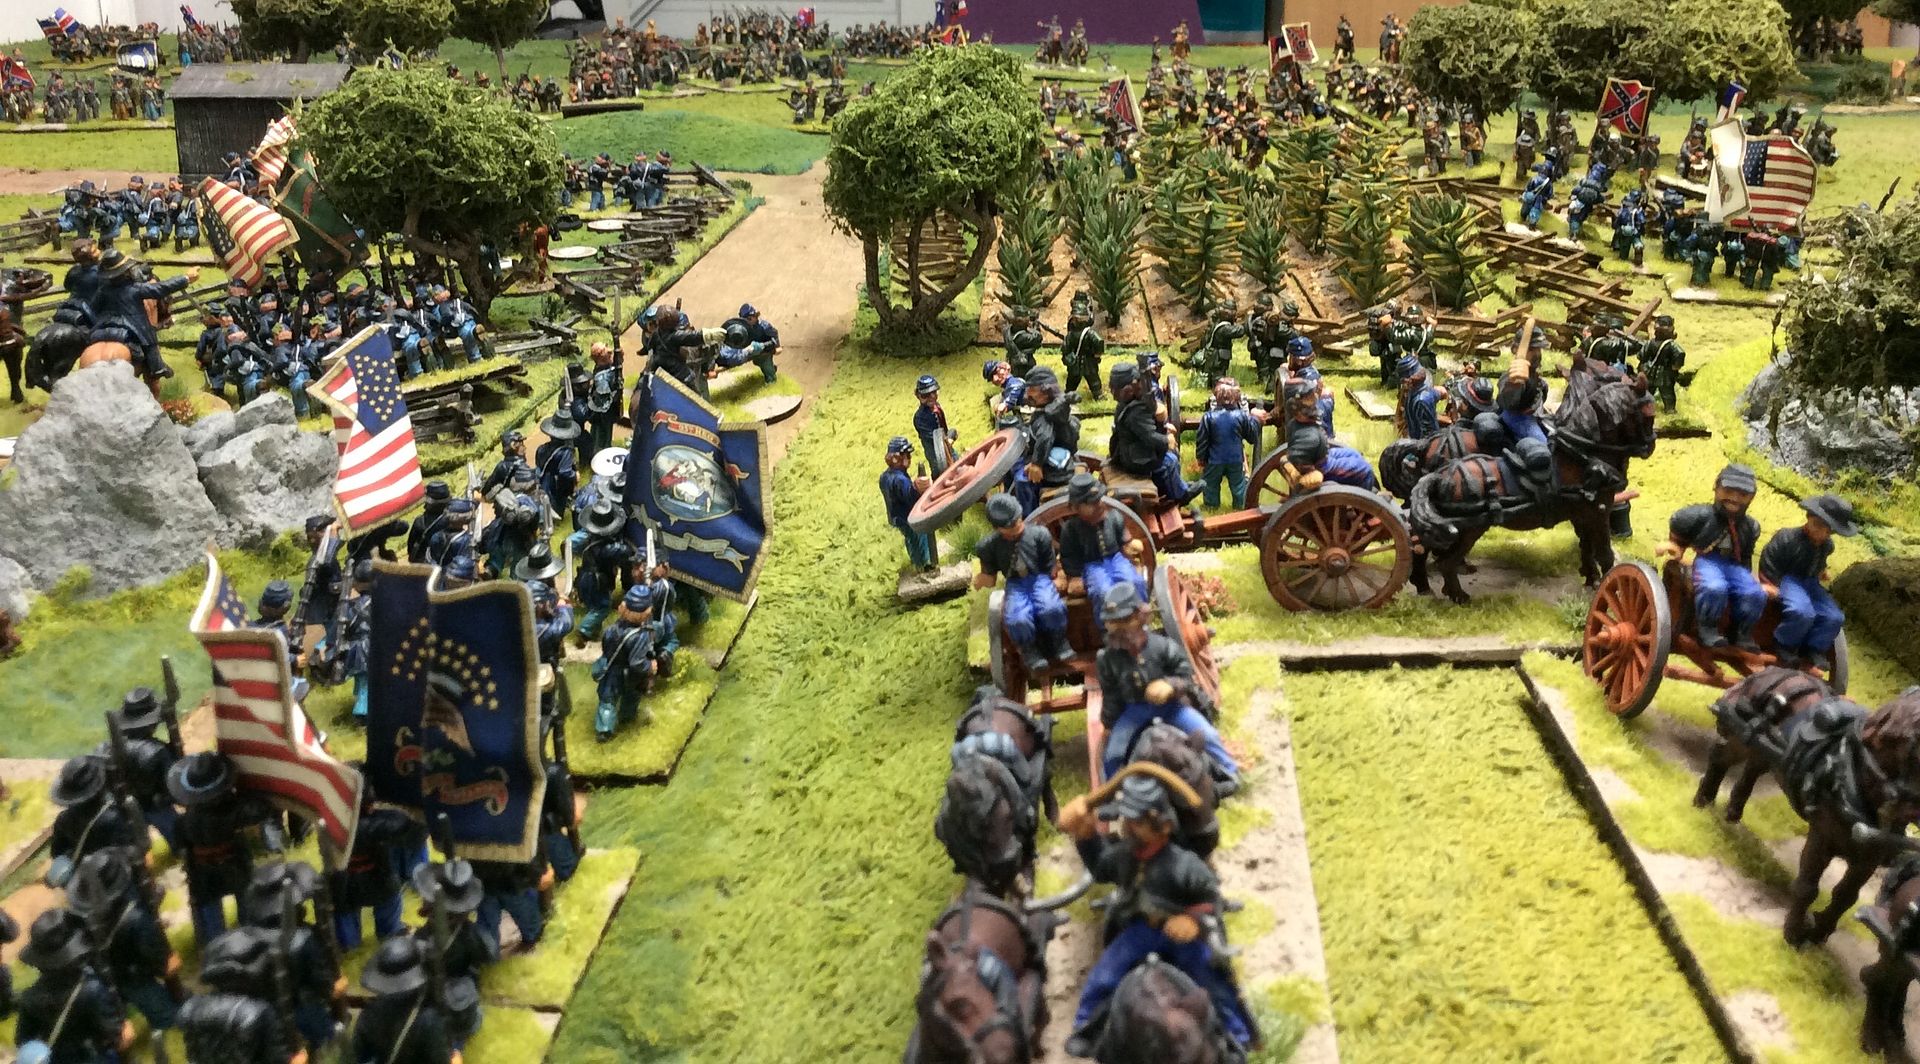
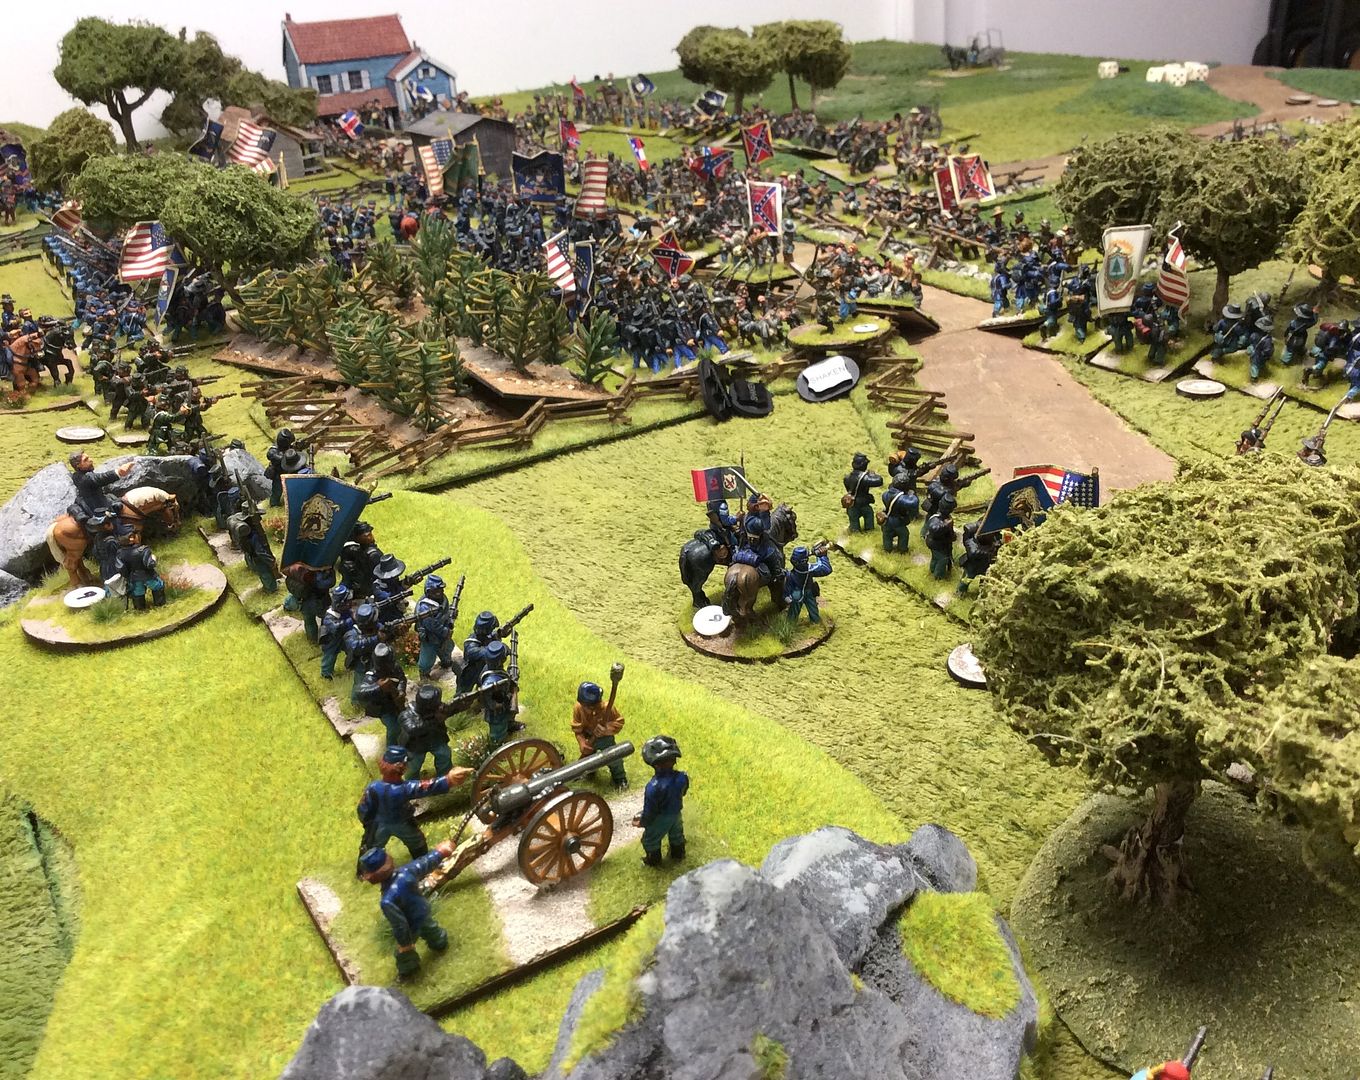
Union artillery rushes into action to support the line ~
Their view of the impending assault is far from encouraging!
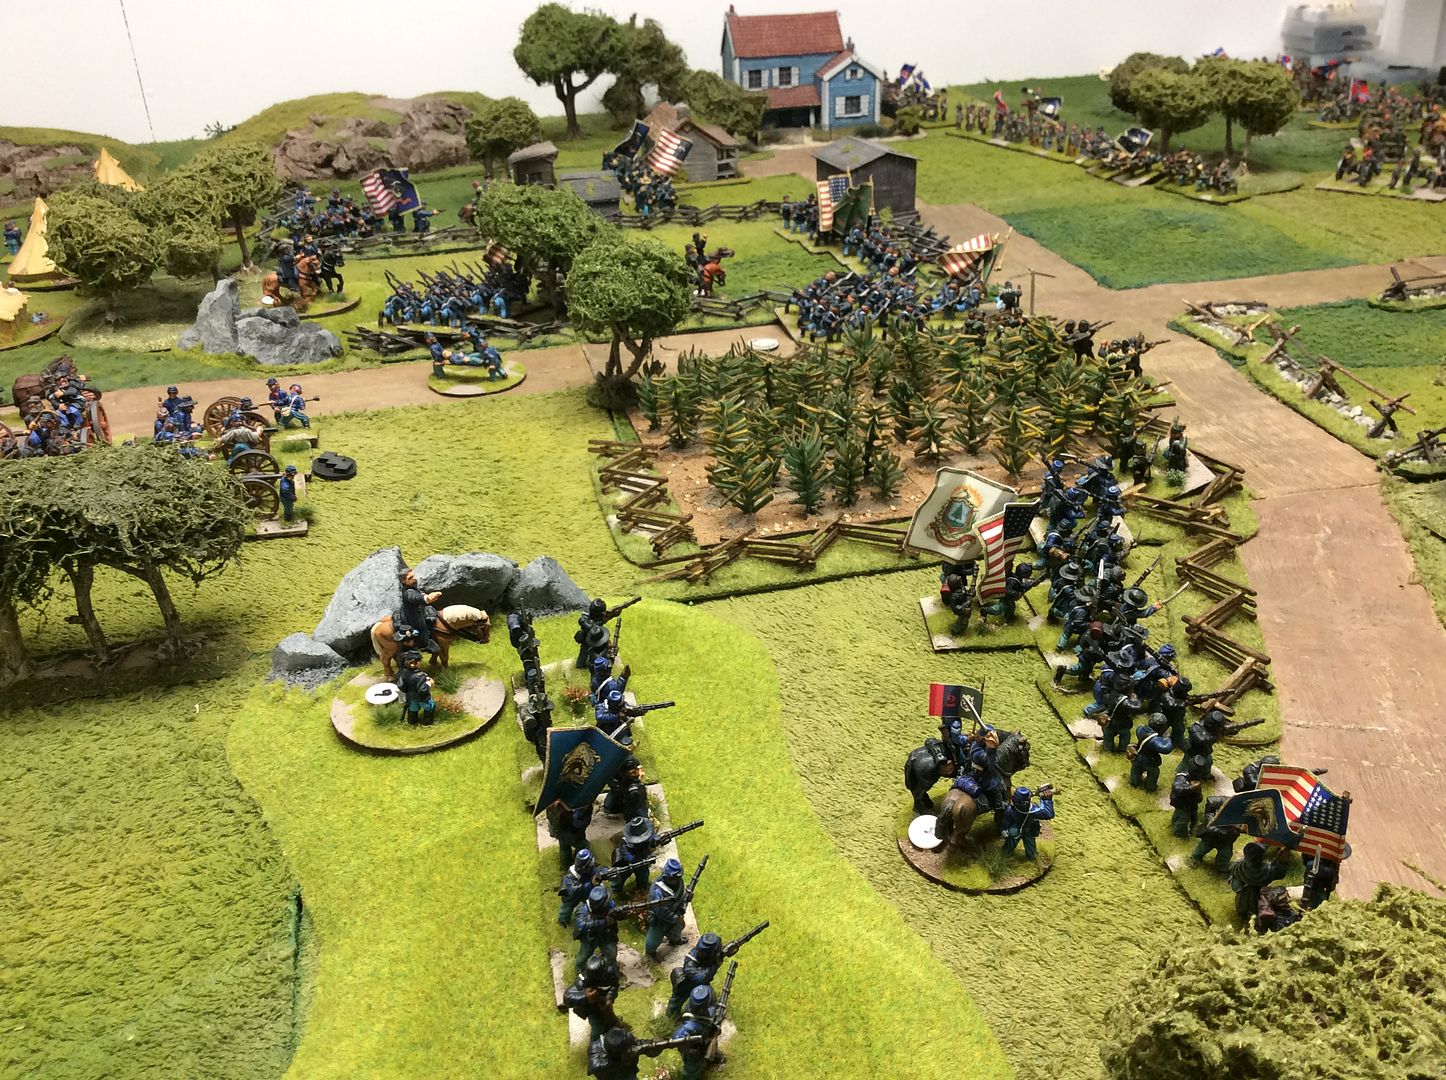
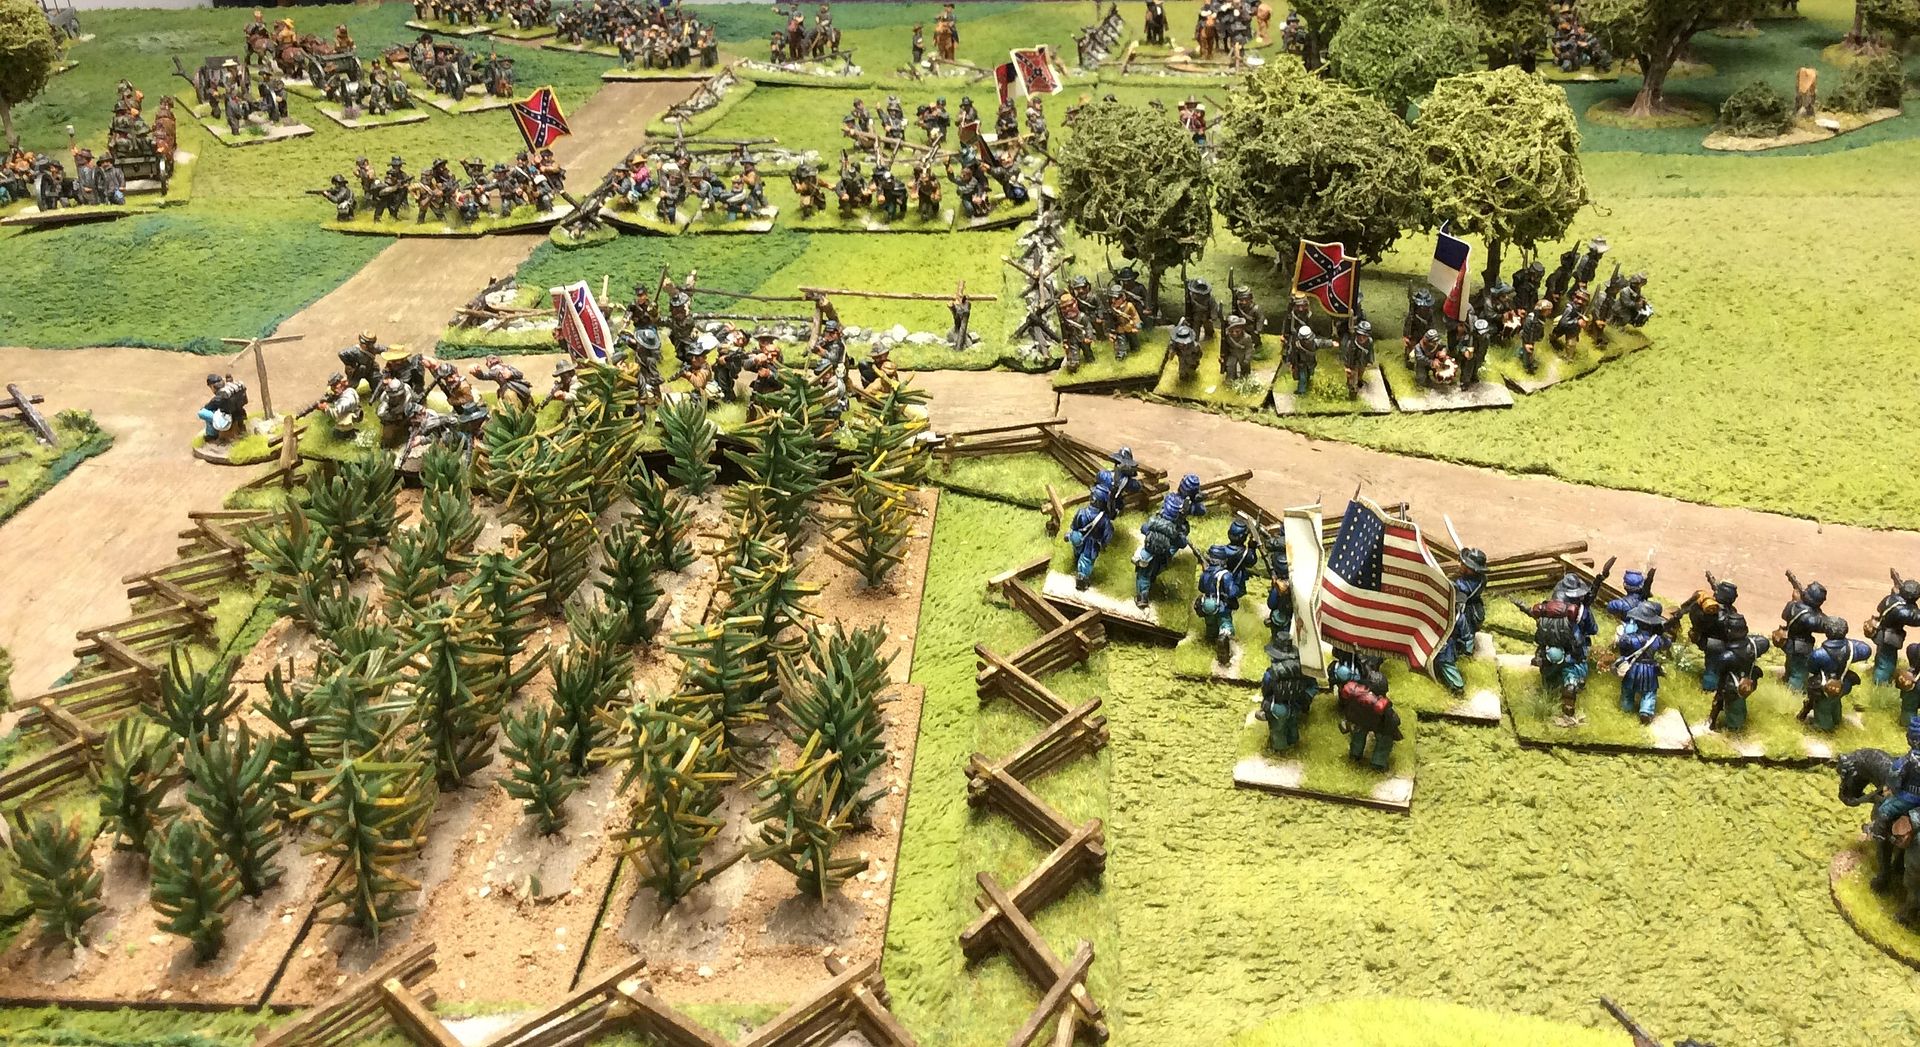
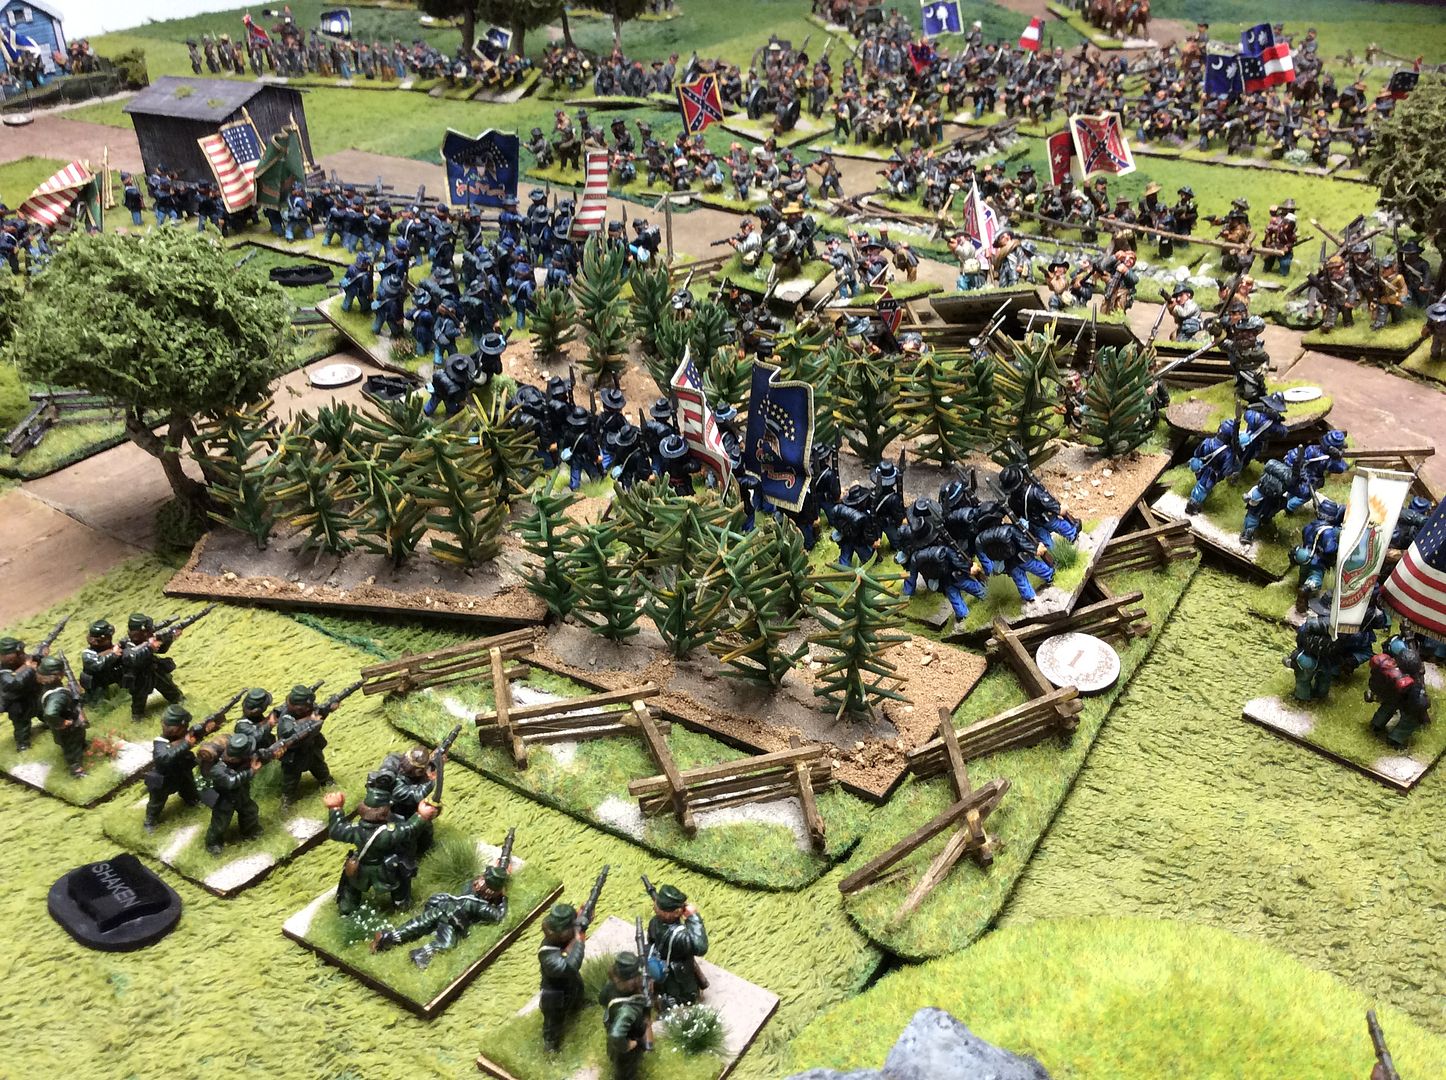
The opening action in the centre sees the U.S.Sharpshooters under attack in the cornfield ~
The action is building on the Union left by now, with troops from Pennsylvania and the Irish Brigade holding the line ~
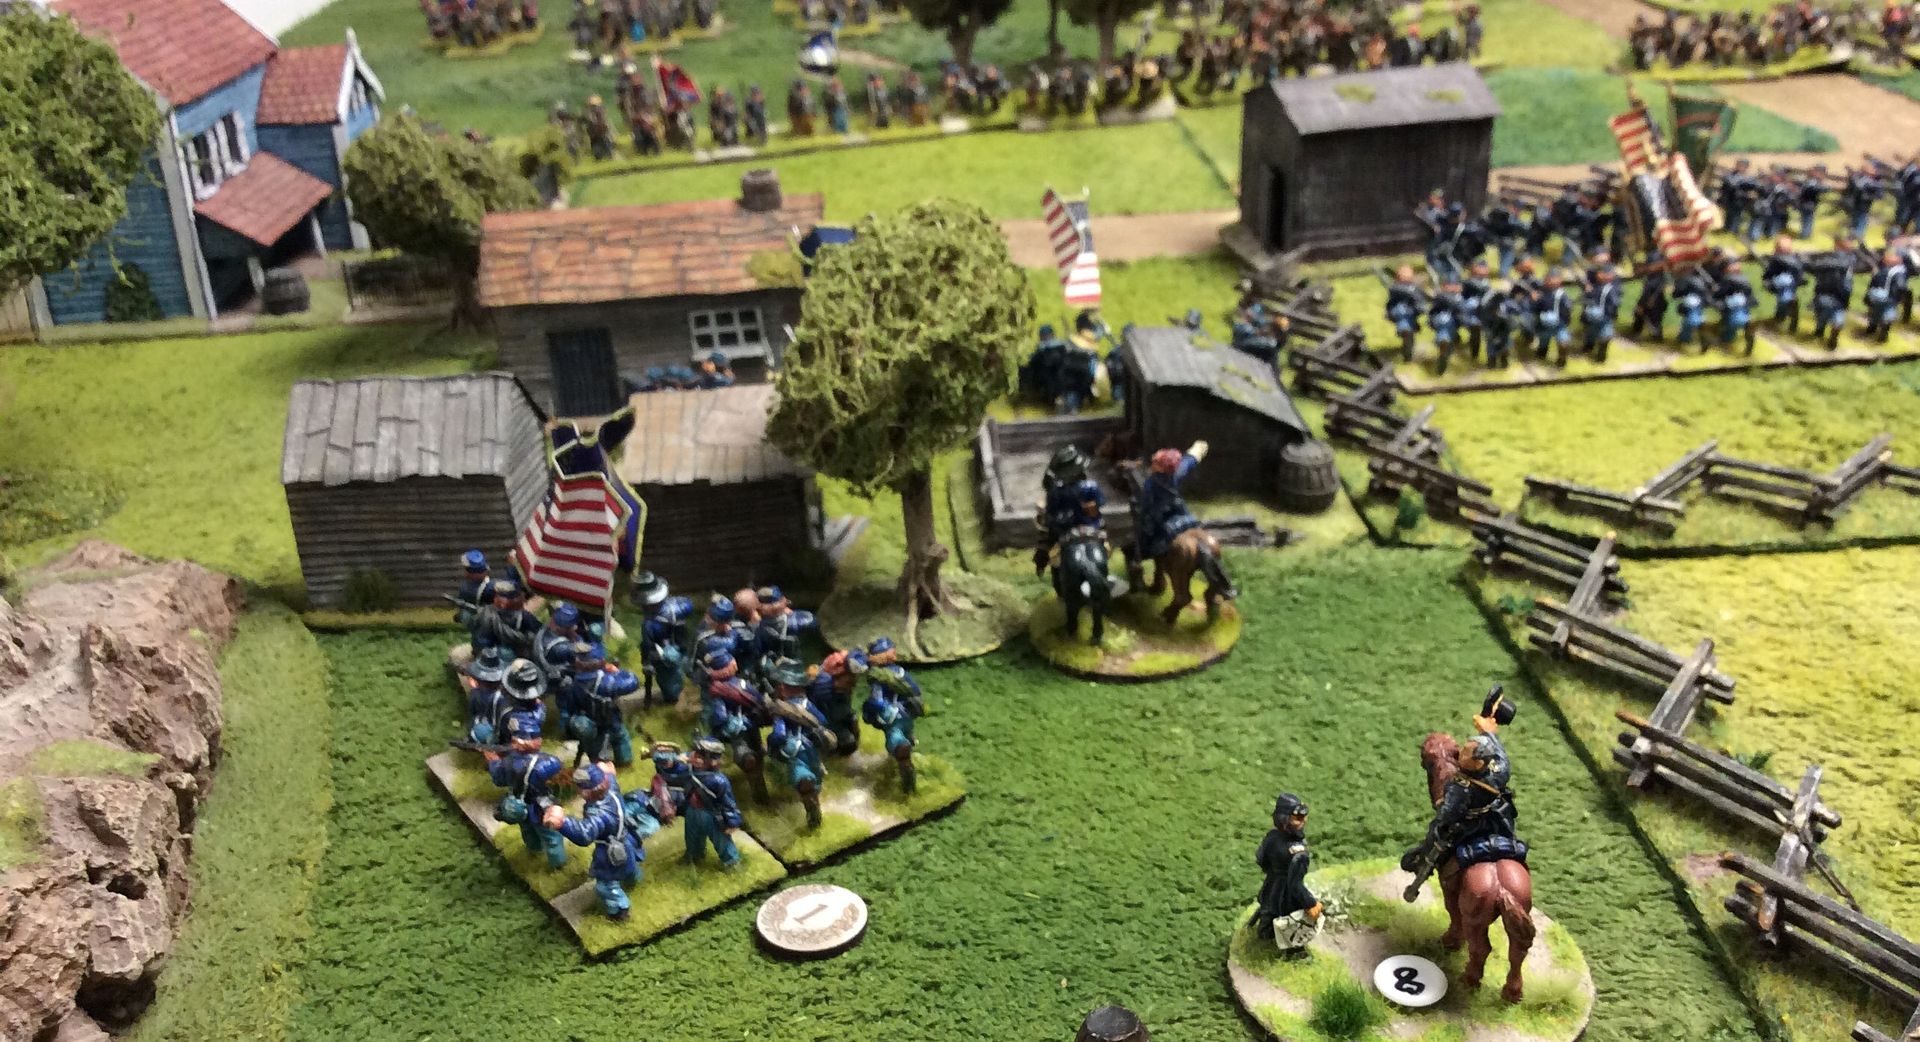
U.S.Bykleigh urges his boys into the fight ~
Boys from New York hurry to shore up the Union's left flank ~
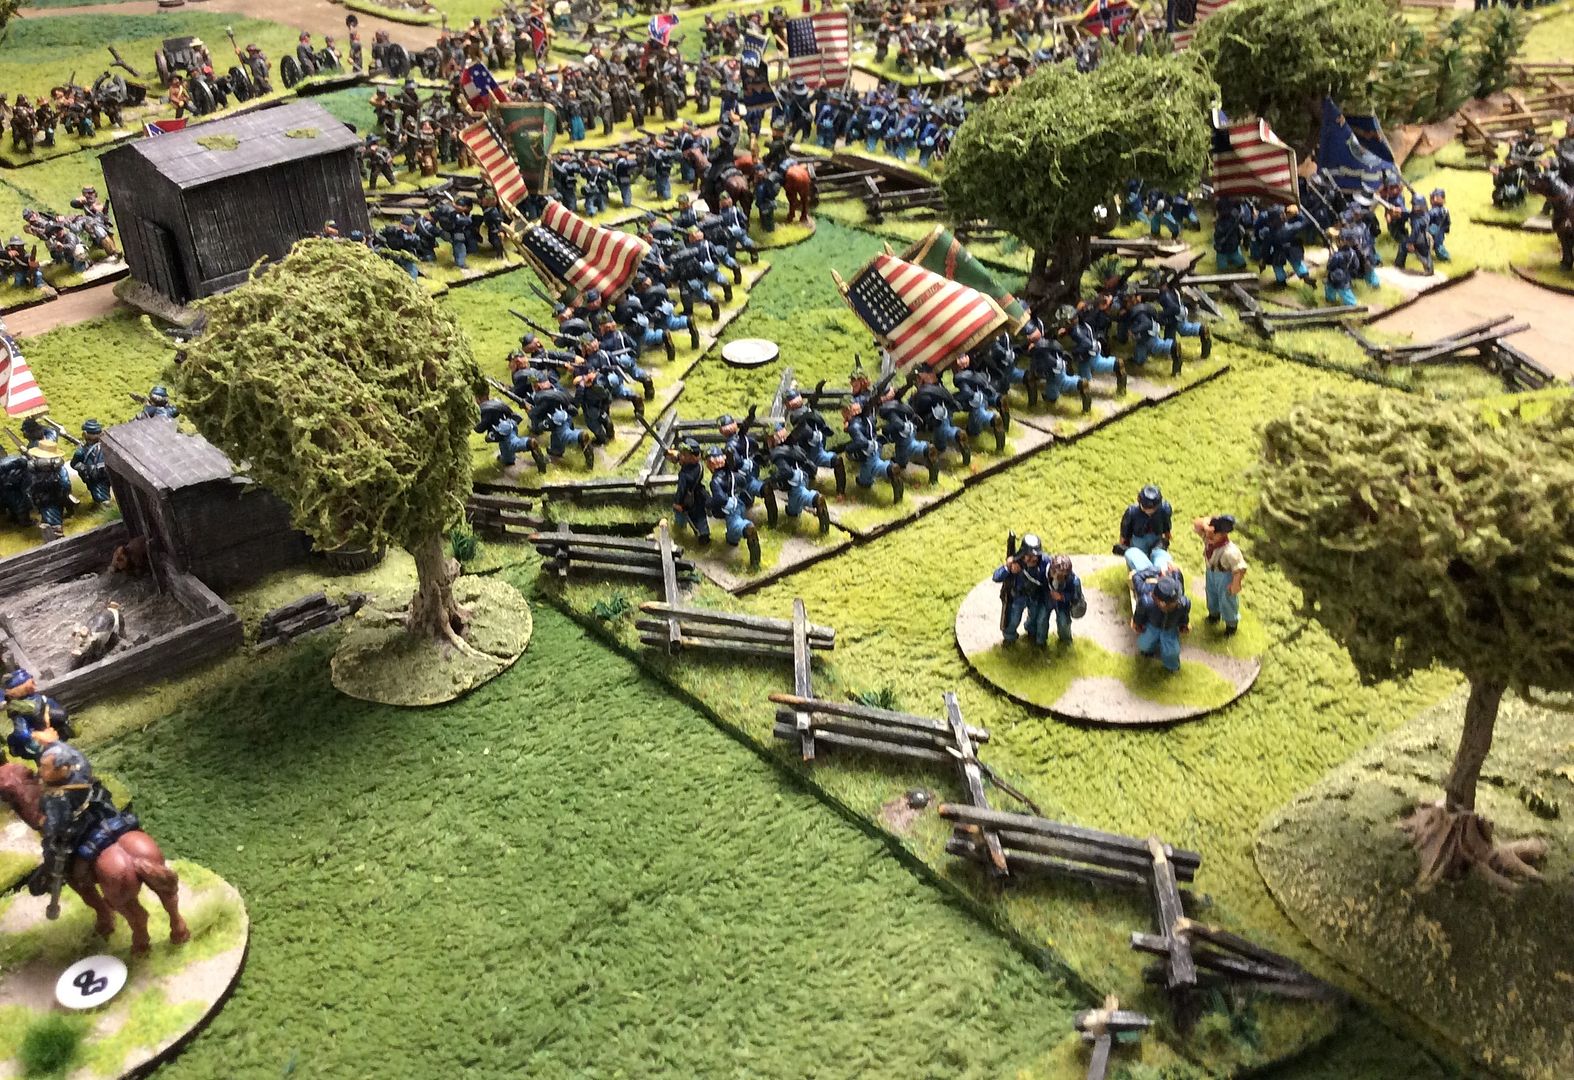
Fighting intensifies in the cornfield as Regulars move to restore the line ~
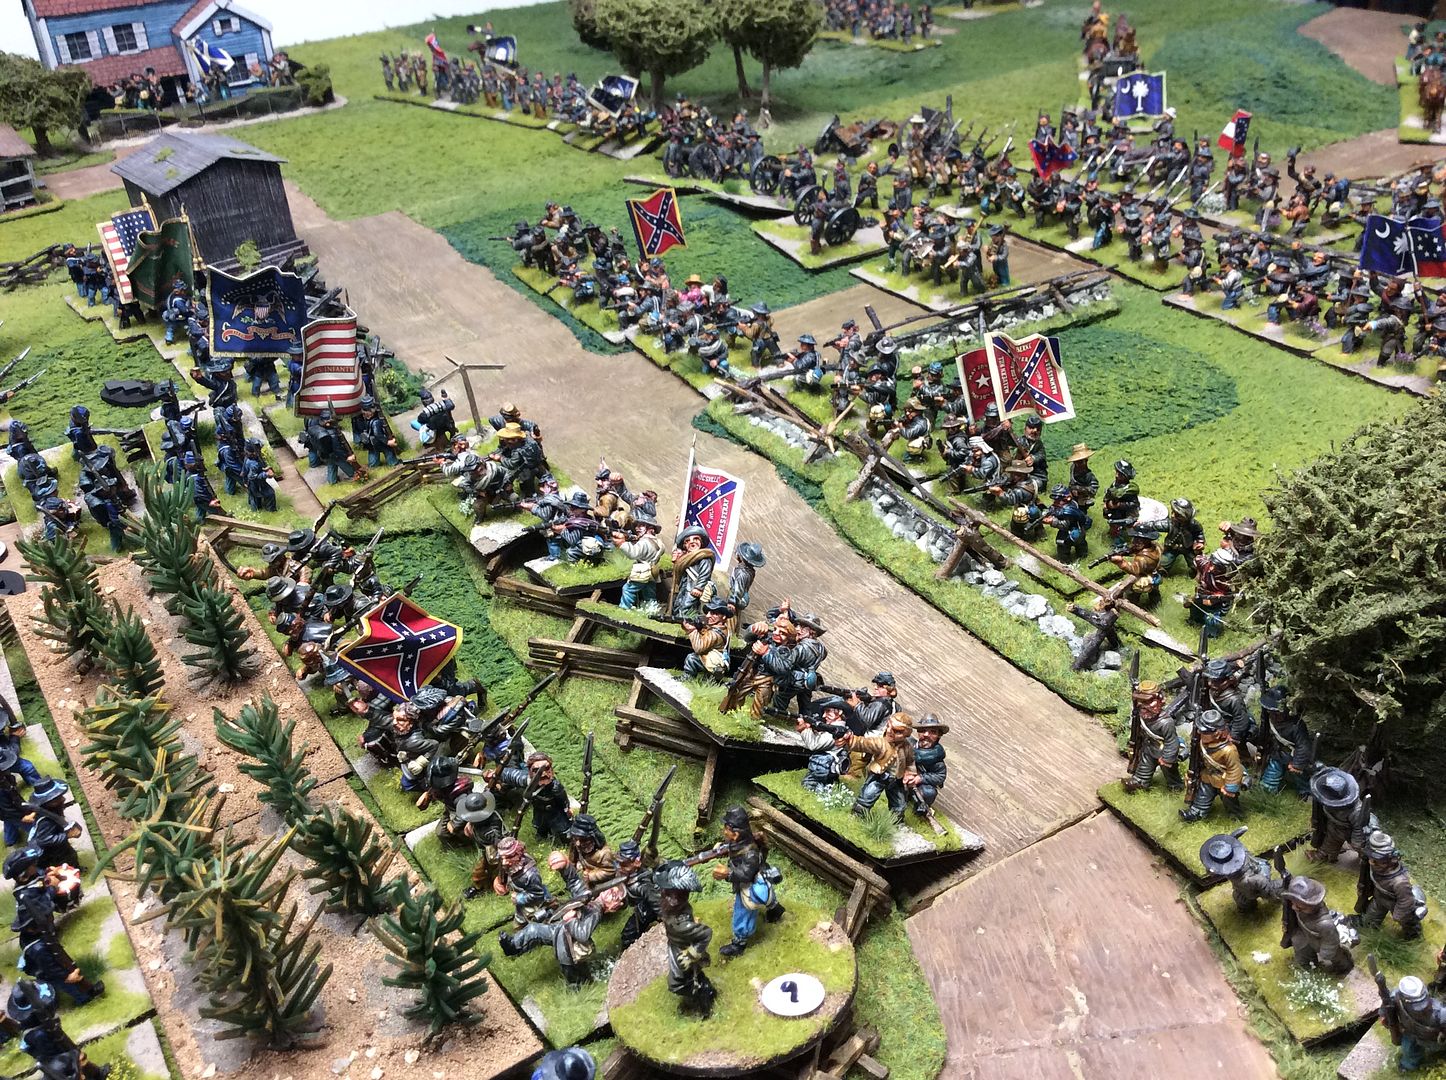
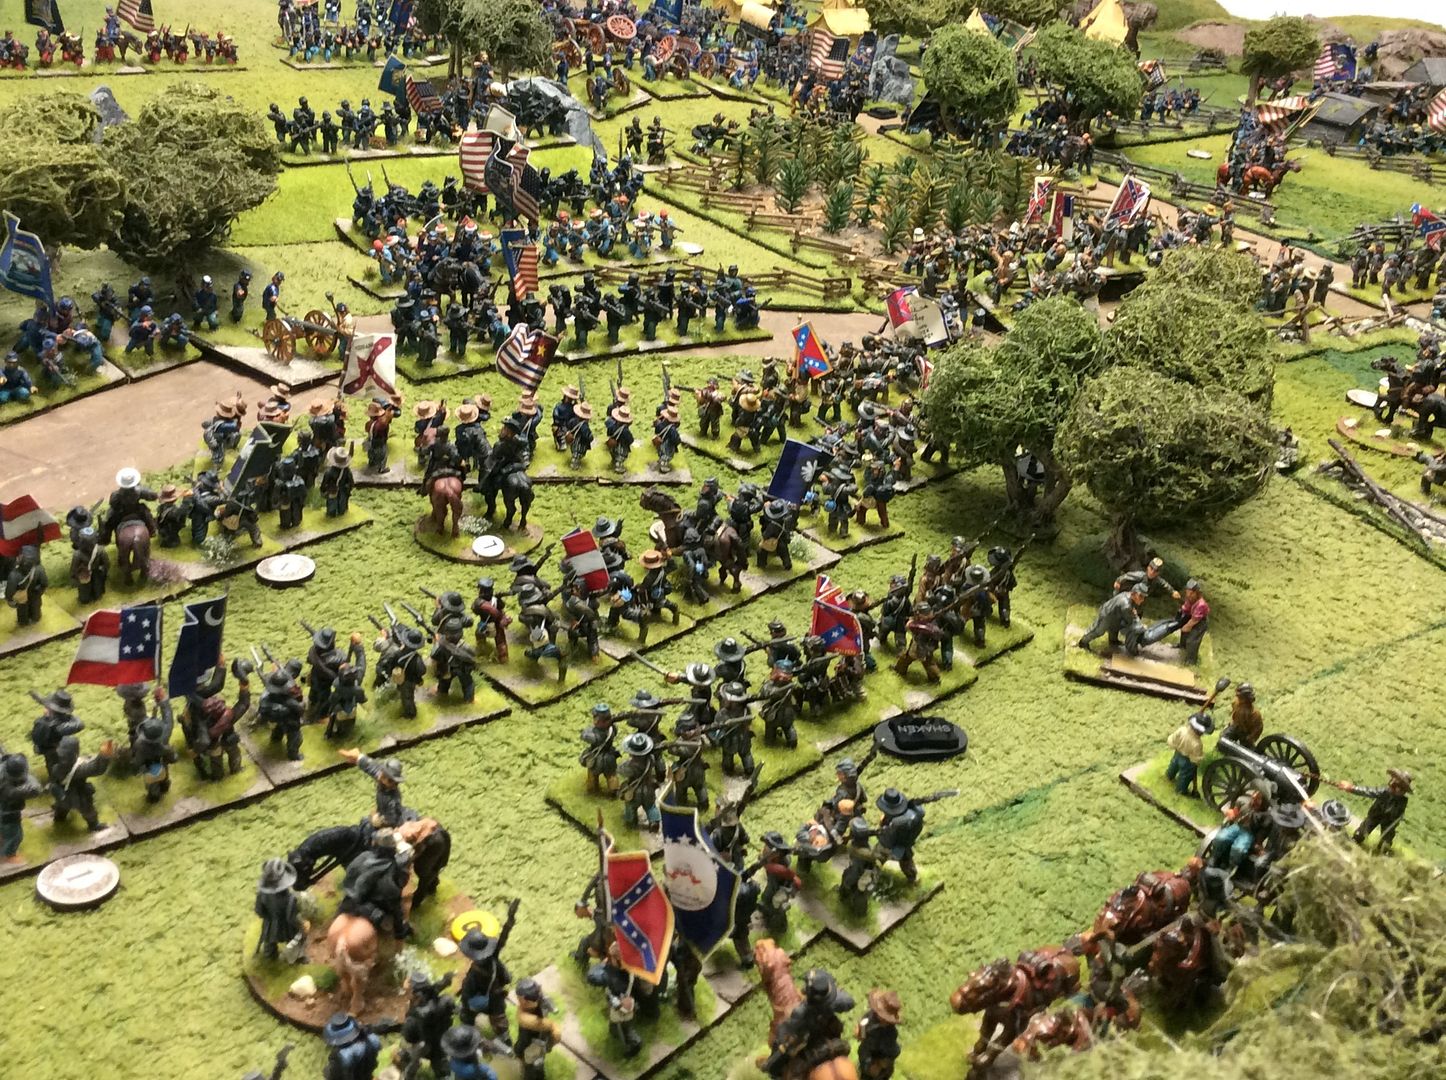
All along the line now the Rebs are pressing the boys hard ~
The Colored troops are in danger of being flanked by the Reb progress in the cornfield ~
Away on the Union left the fighting around White's Farm has degenerated into a sporadic firefight ~
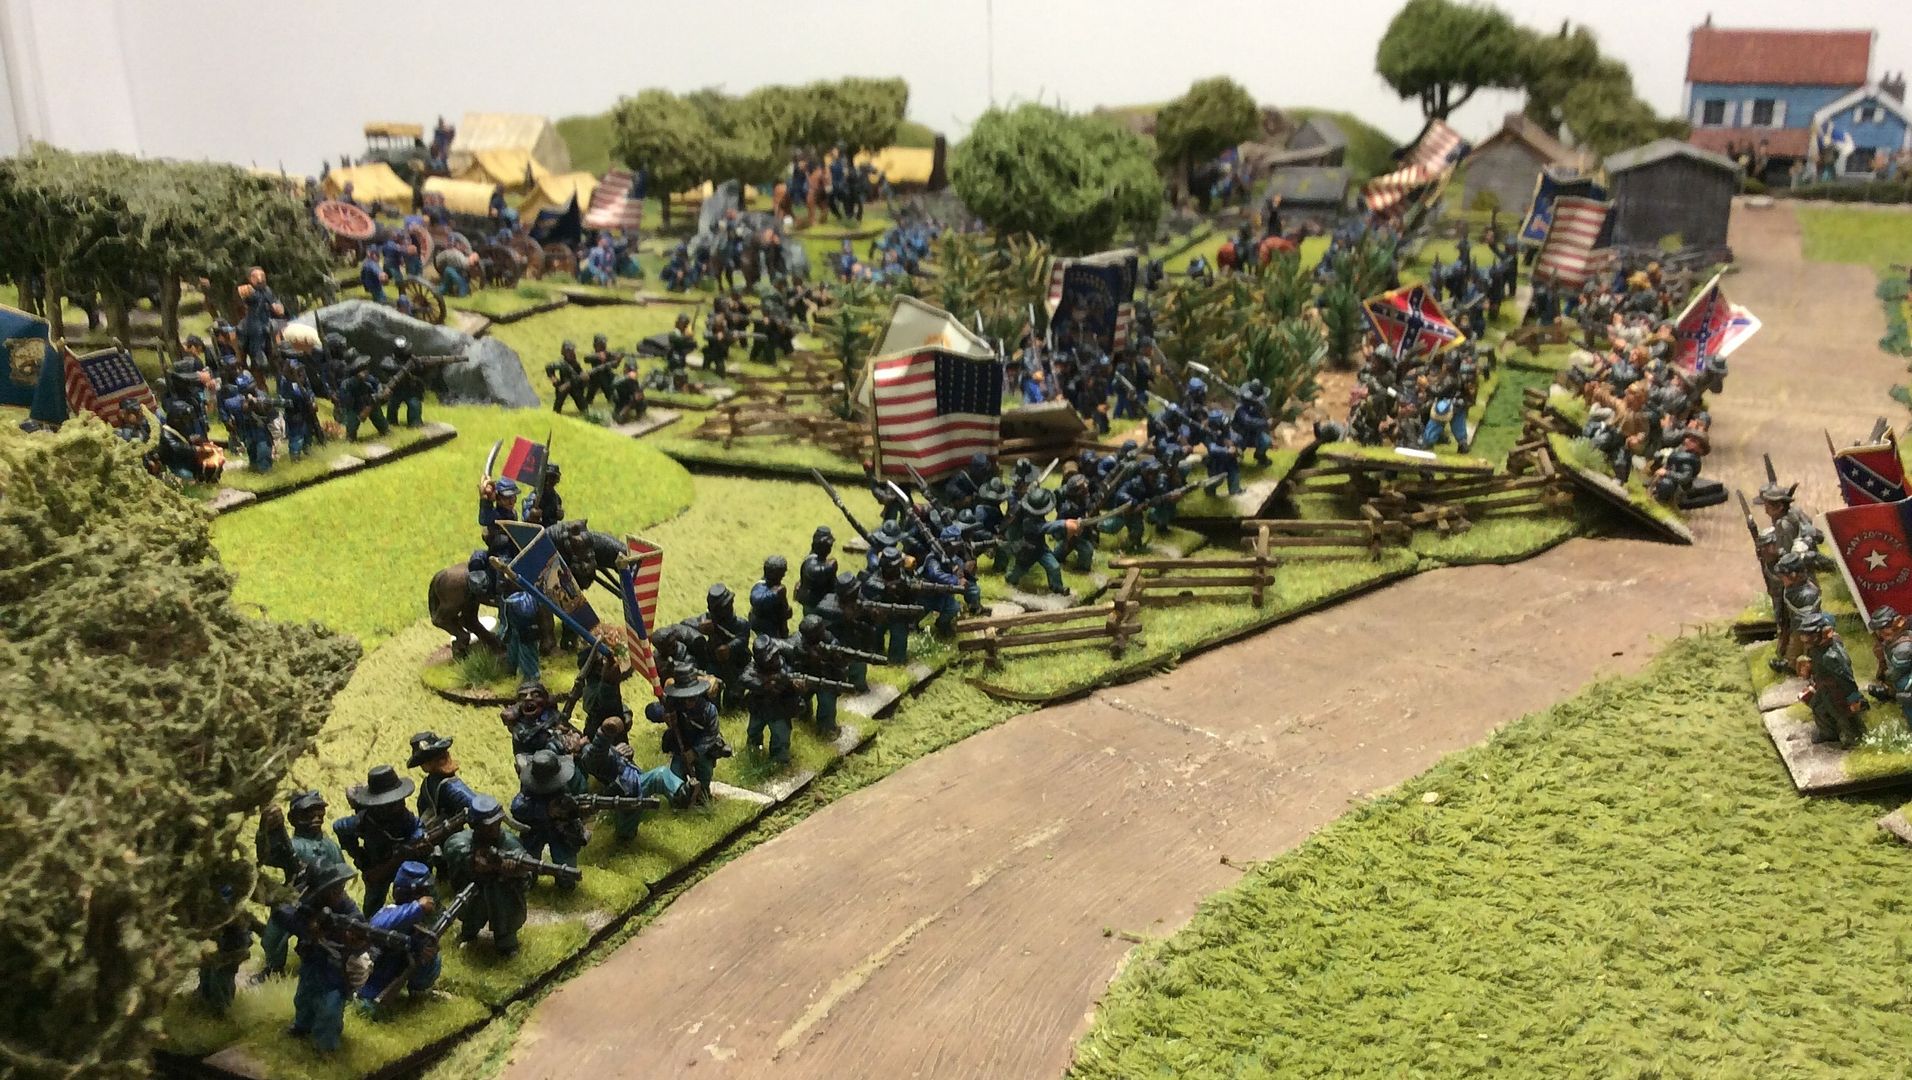
Colored Troops drive back the Rebs threatening their position with a bayonet charge ~
Although weight on numbers must surely begin to tell ~
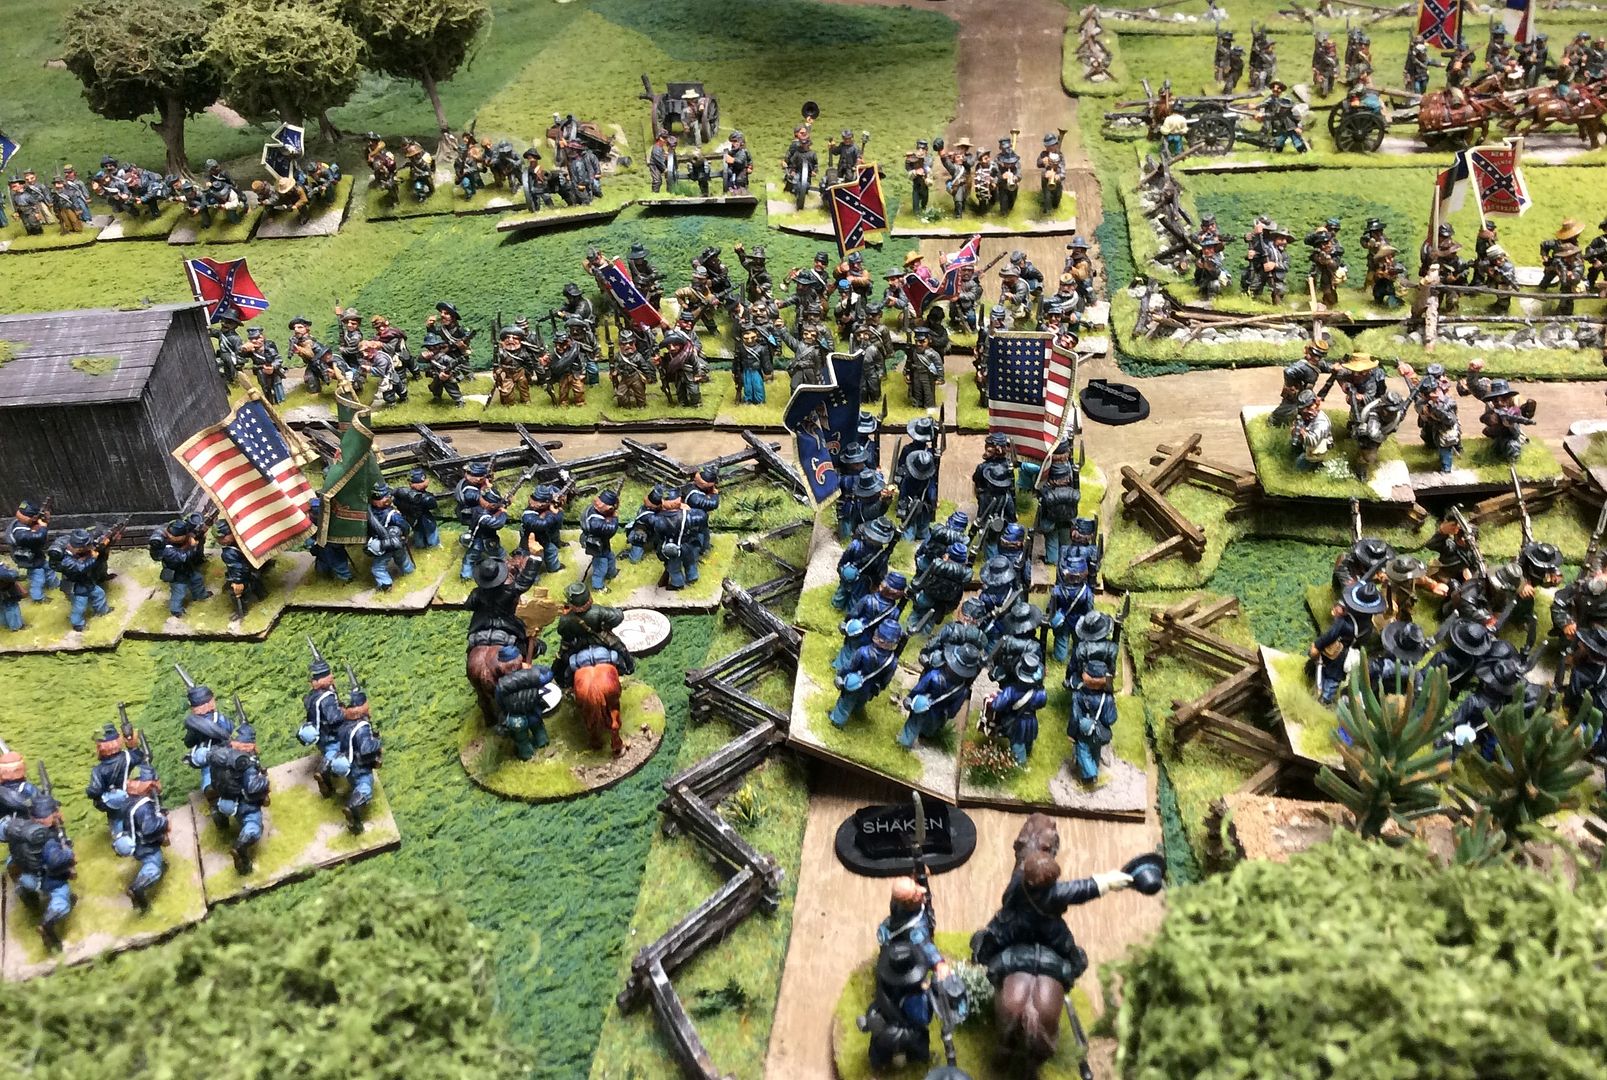
In the centre, fighting is at close quarters and begins to weaken the Union's hold ~
Rebel artillery is moving up to support the attacks on the Union's left ~
Casualties are beginning to mount in the Union's centre and on the left ~
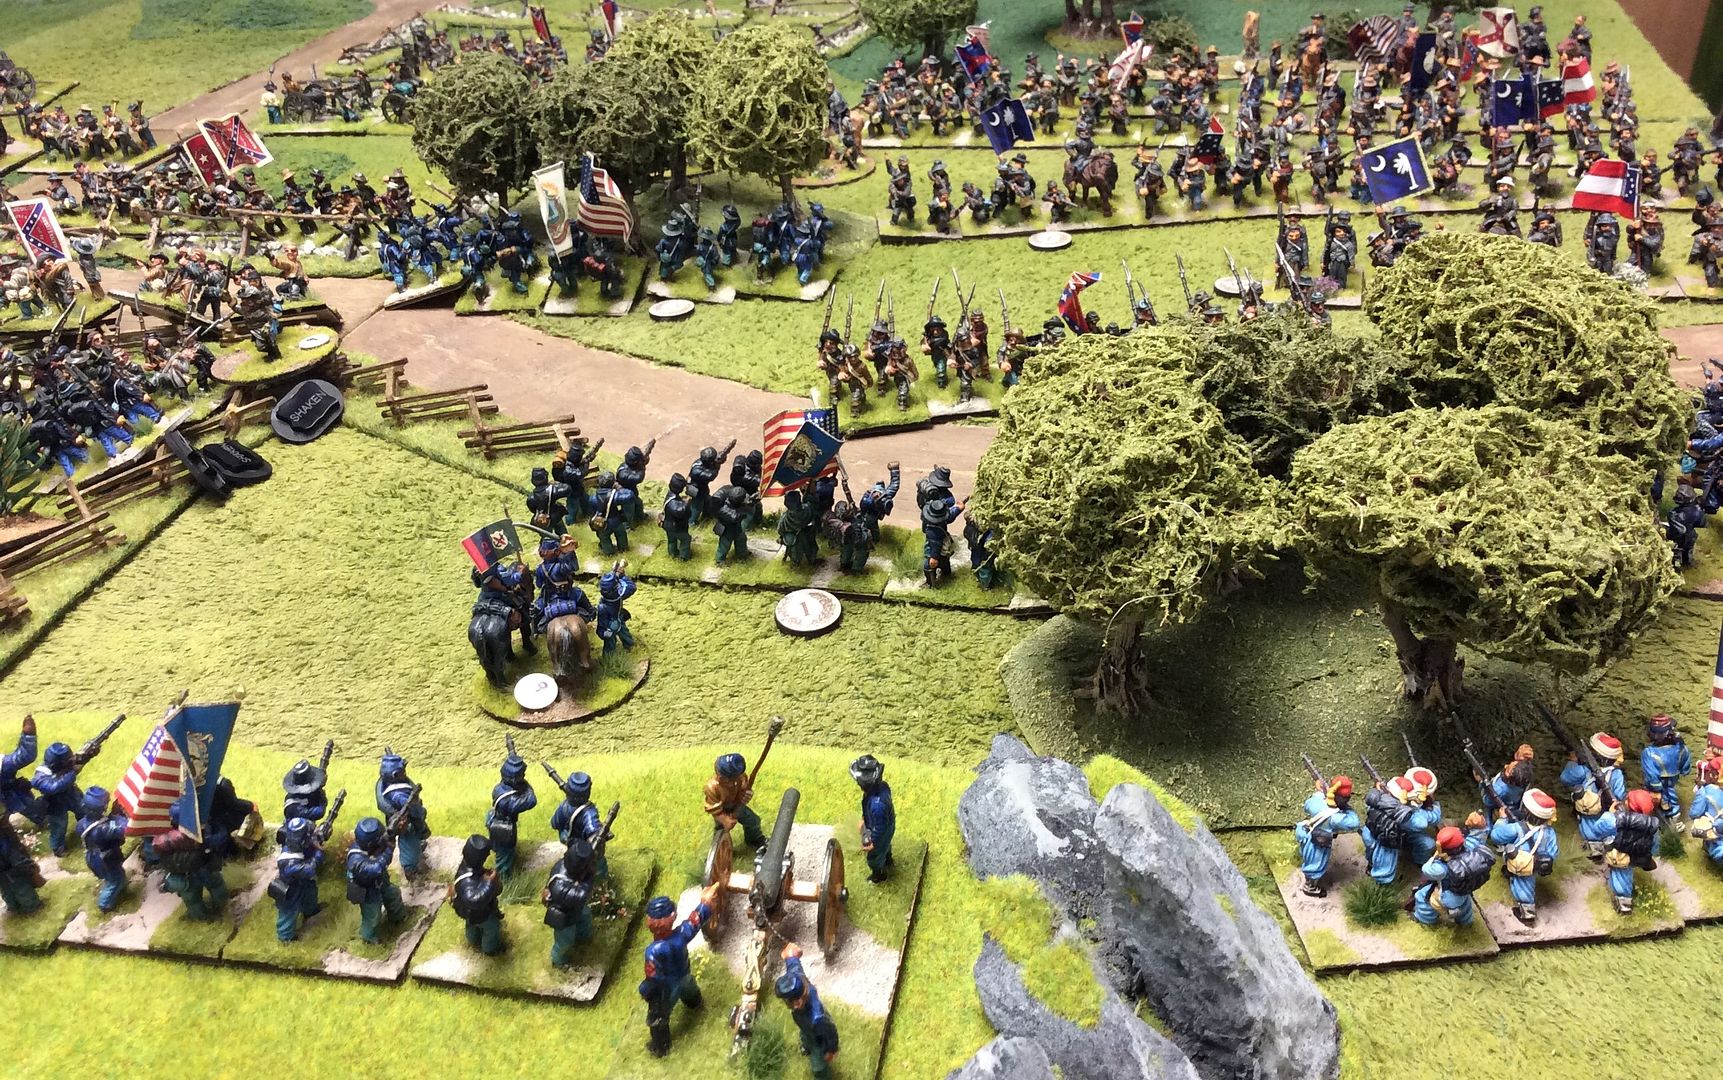
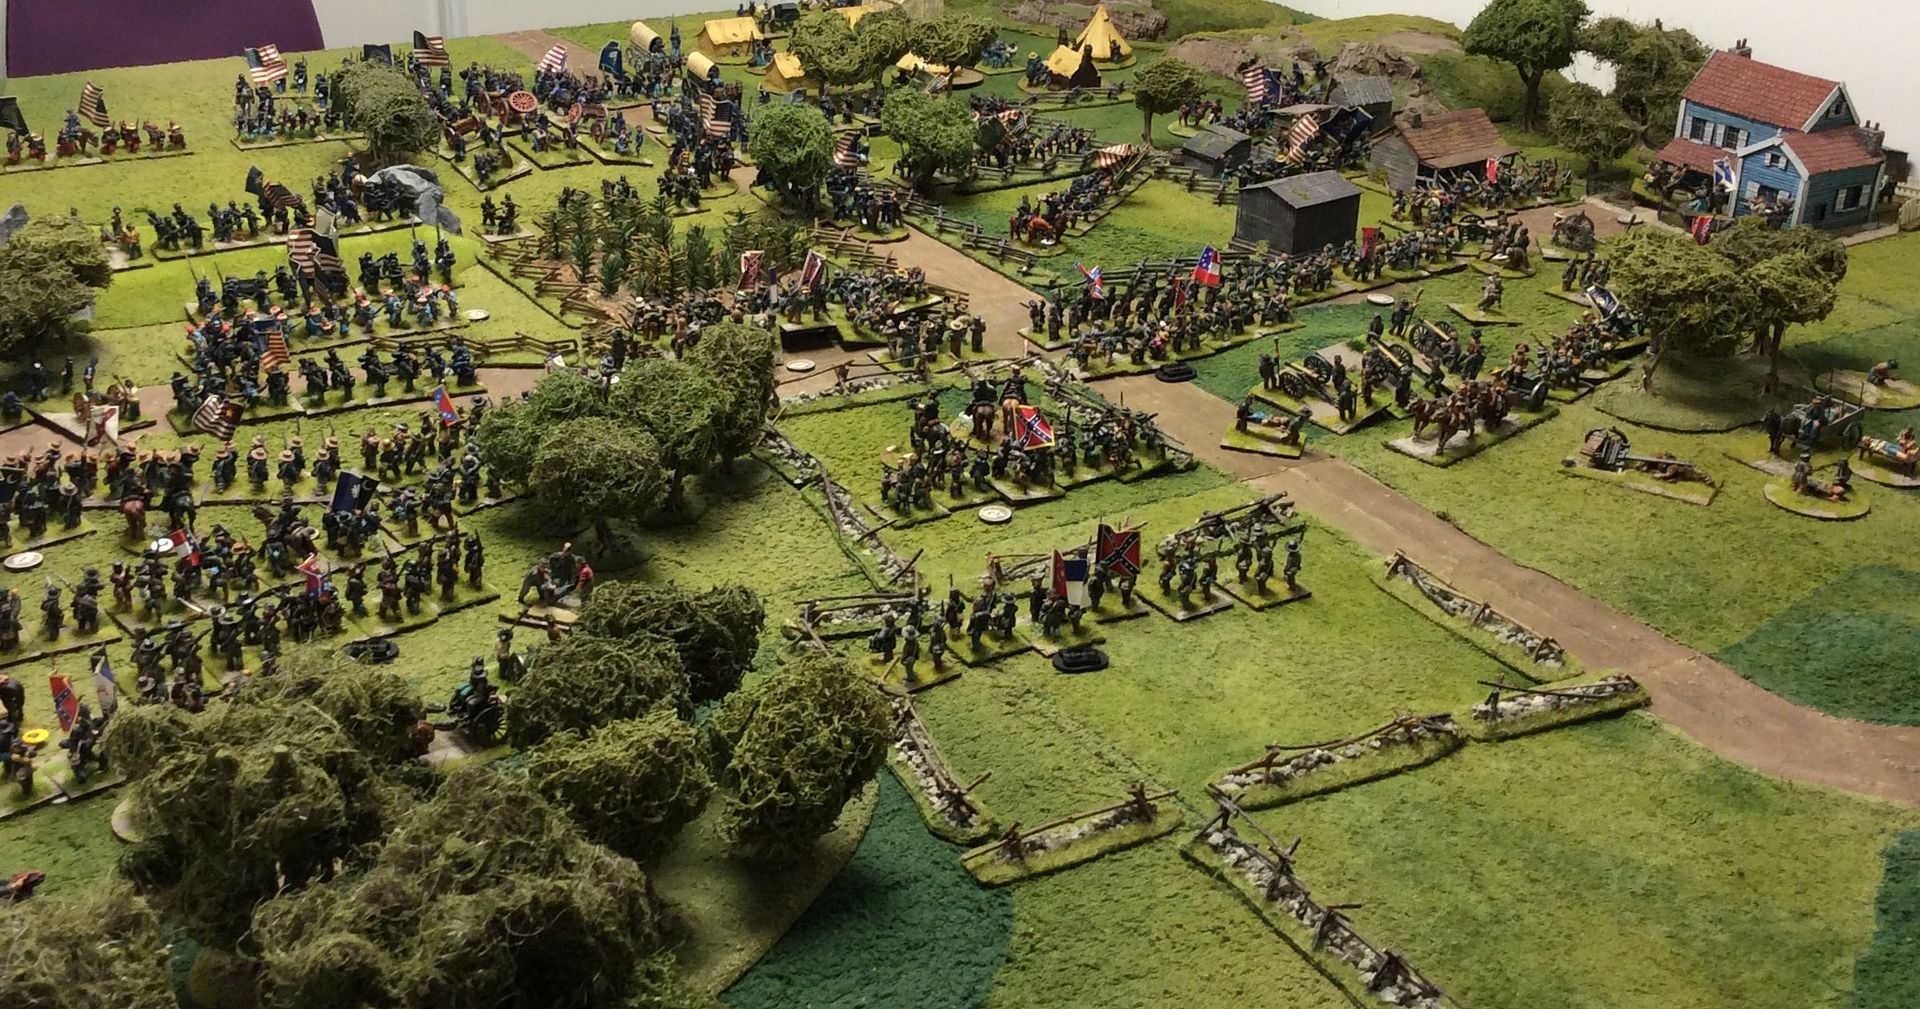
A panoramic view of the Rebel attacks developing all along the Union line ~
Despite the weight of numbers moving against them the boys in blue are holding firm ~
Even on the weakened Union left the boys are enjoying some success against the Rebs ~
Even so, the butcher's bill will be heavy I fear before those damned Rebs are driven back!
After 12 turns we had to call a halt. The situation has stabilized for the Union, with reserves bolstering weaker points in the line and a second line forming to guard against any breakthrough along the front. For the Rebs, weight of numbers is pressing on the Union right and some progress is being seen in the centre. Around White's Farm the fighting has settled into a bitter exchange of fire with neither side showing signs of giving way. We hope to continue the action next week, but first there is Derby Worlds this weekend and then Canada v Romania in the Rugby World Cup to consider.
David Bickley's Wargames Blog
The occasional ramblings of an average gamer, journeyman painter, indifferent modeller, games designer, sometime writer for Wargames Illustrated and host of games in GHQ.
Thursday, 1 October 2015
Saturday, 26 September 2015
The first World War
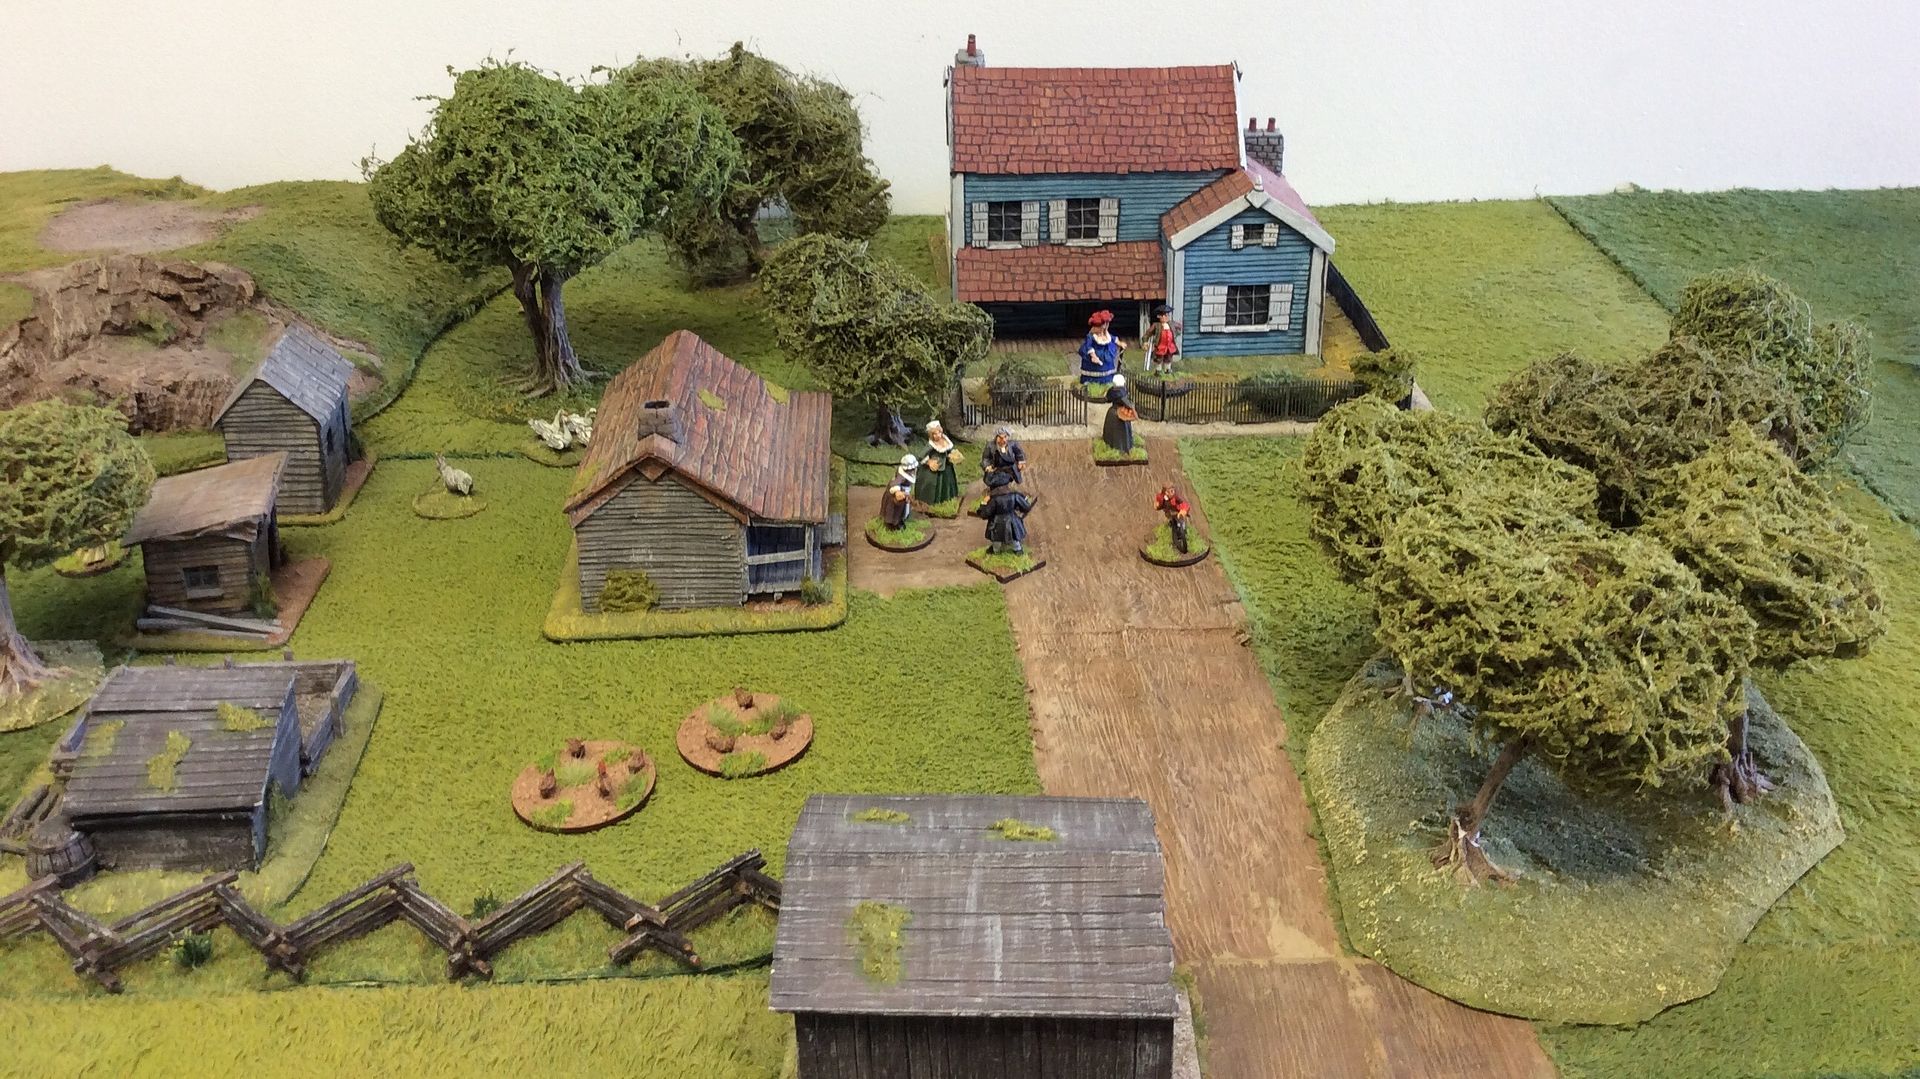
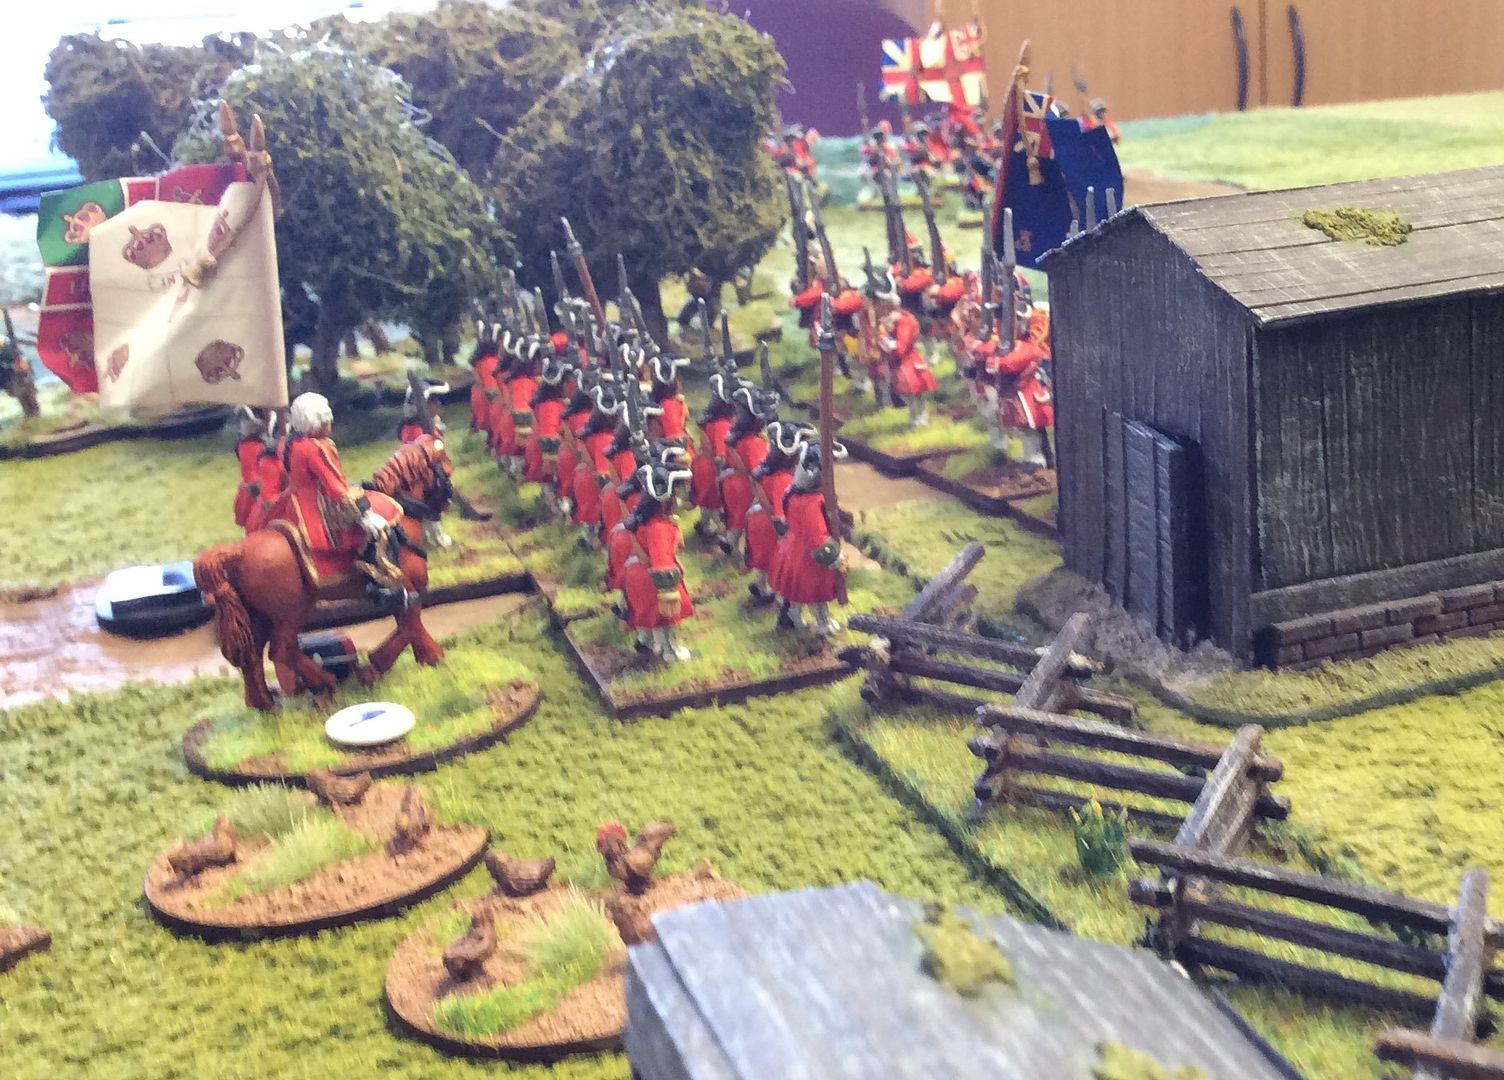
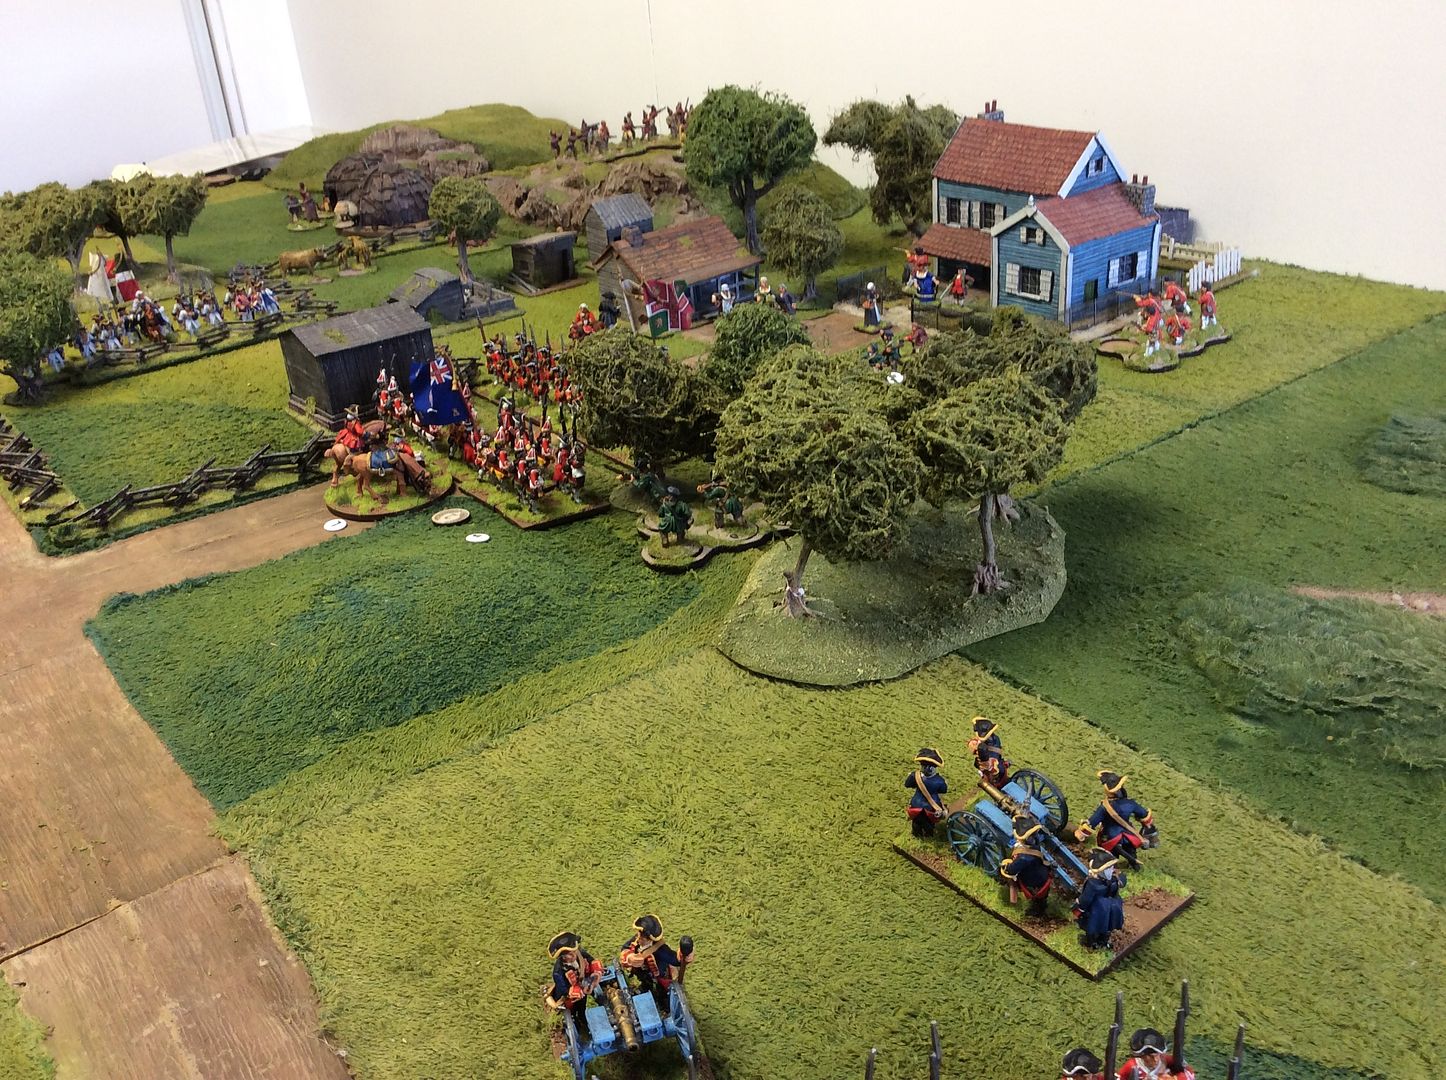
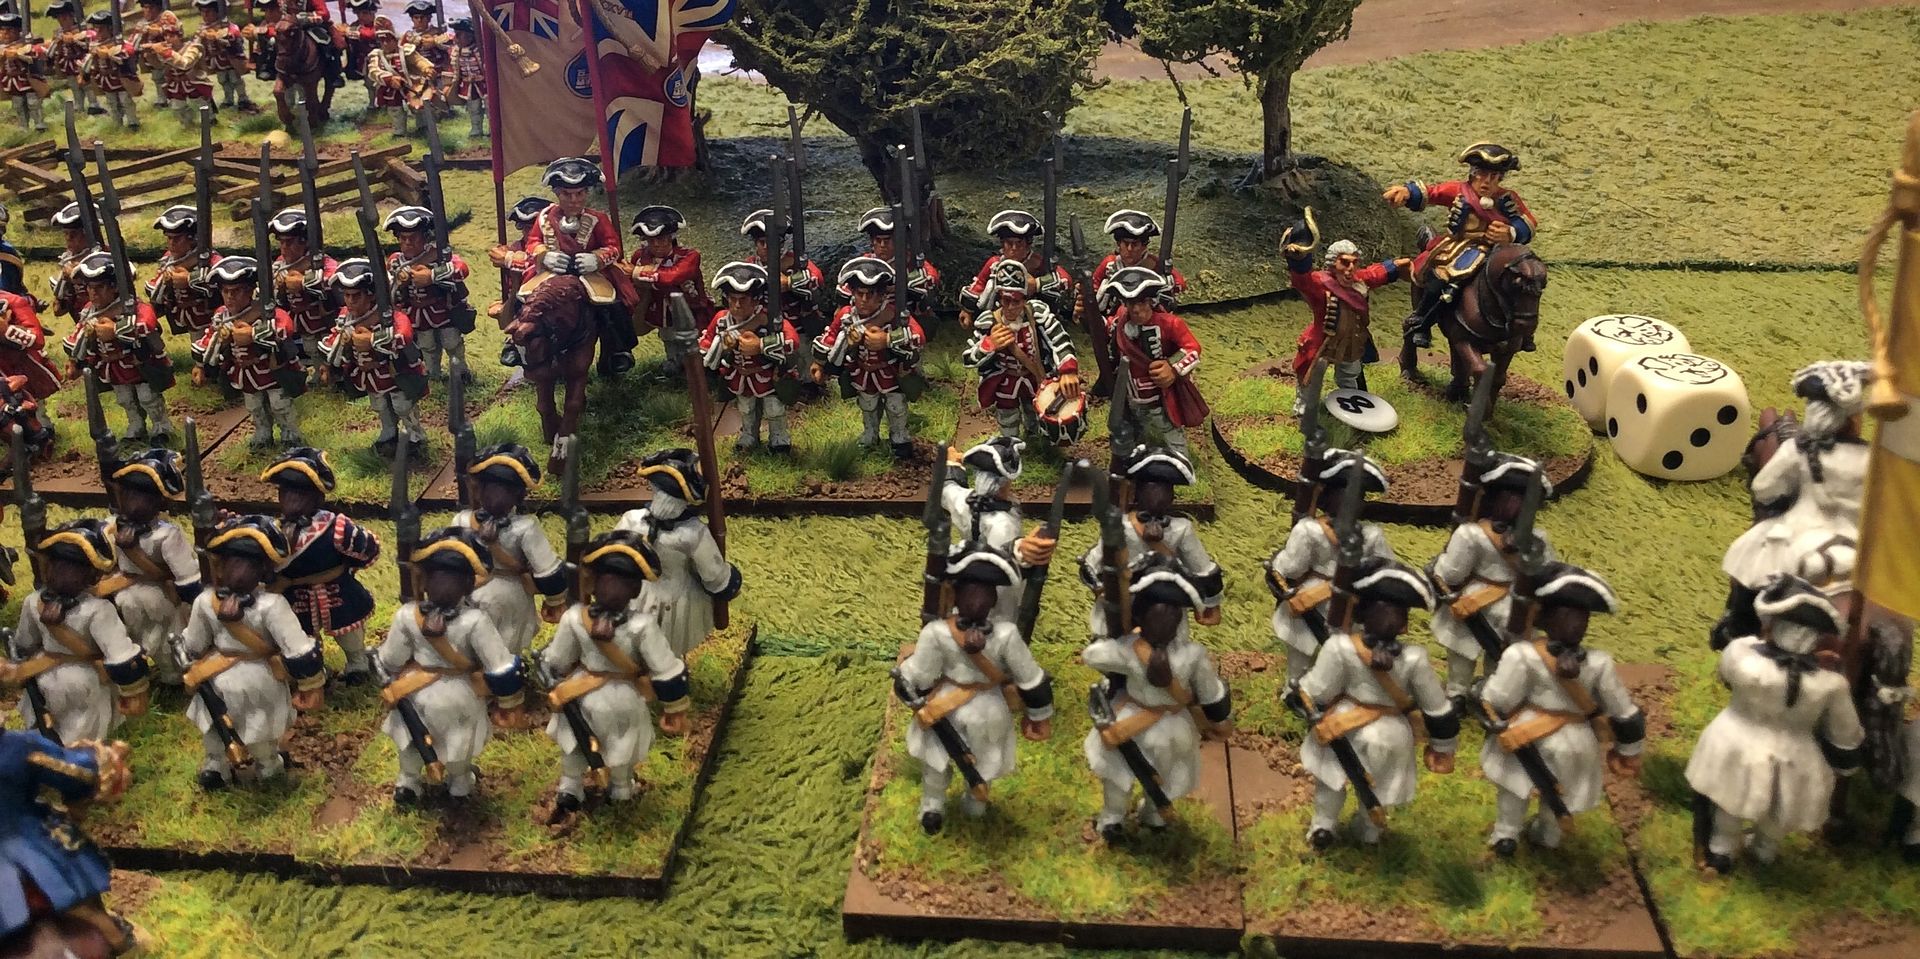
This epithet goes to the Seven Years War in my view, fought out as it was beyond Europe in disparate parts of the globe with Britain flexing her growing Imperial muscle at the expense of France. Why this meandering opening? Well, Jon and I fought out a F&IW game in GHQ earlier this week. Now, normally we use the rule set Astounding Tales with house modifications, meaning that games are large skirmishes in effect, perhaps with thirty figures or so a side the usual size of force. We both fancied a SYW game using Blackpowder, so I had to combine units form my SYW collections with individual figures from my F&IW collections mounted on multiple movement trays for ease. The pictures which follow give a sense of the game's unfolding story over 12 turns ~
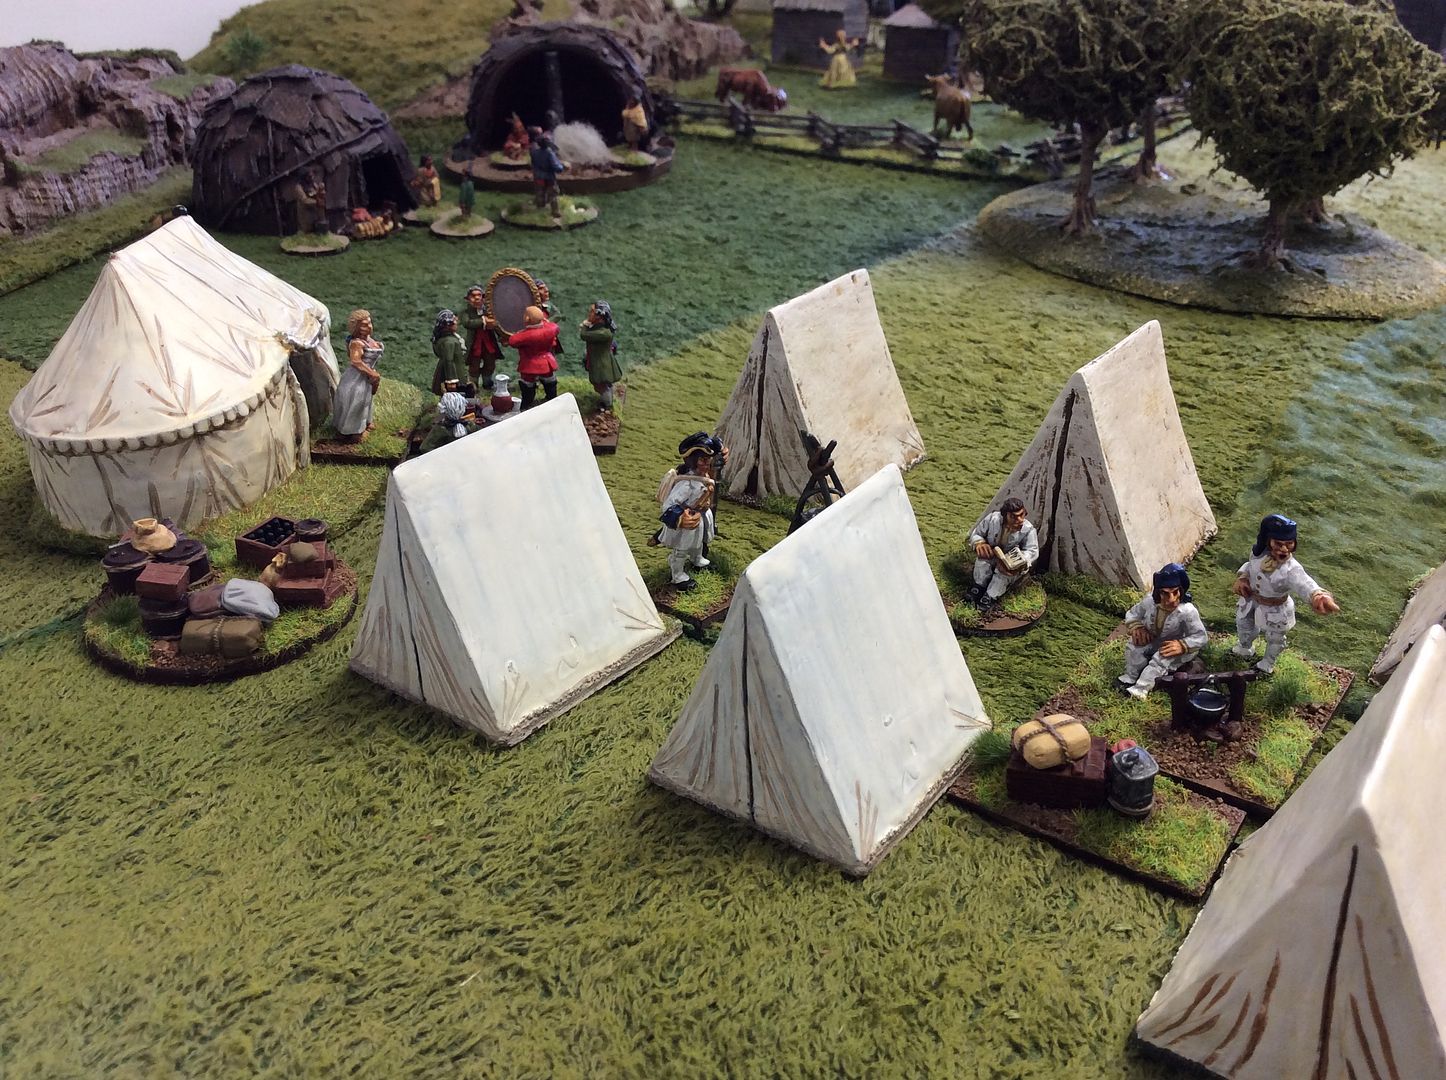
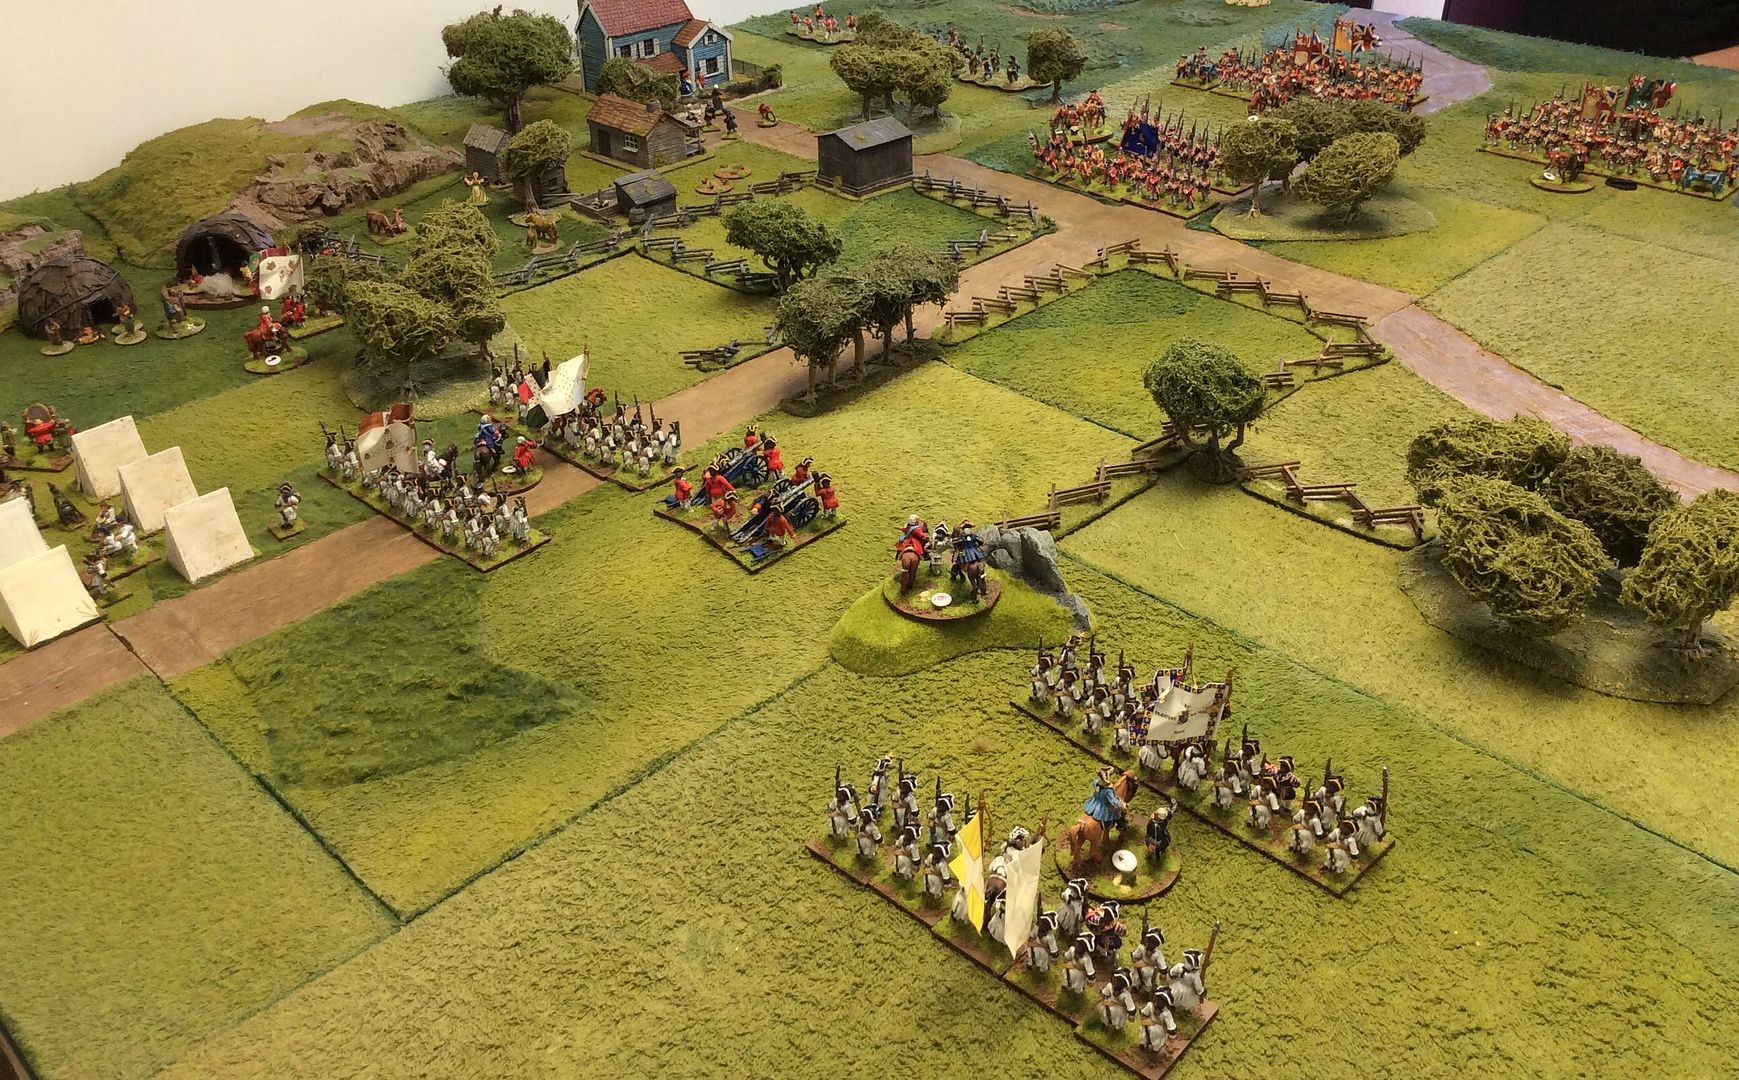
The French are camped near by ~
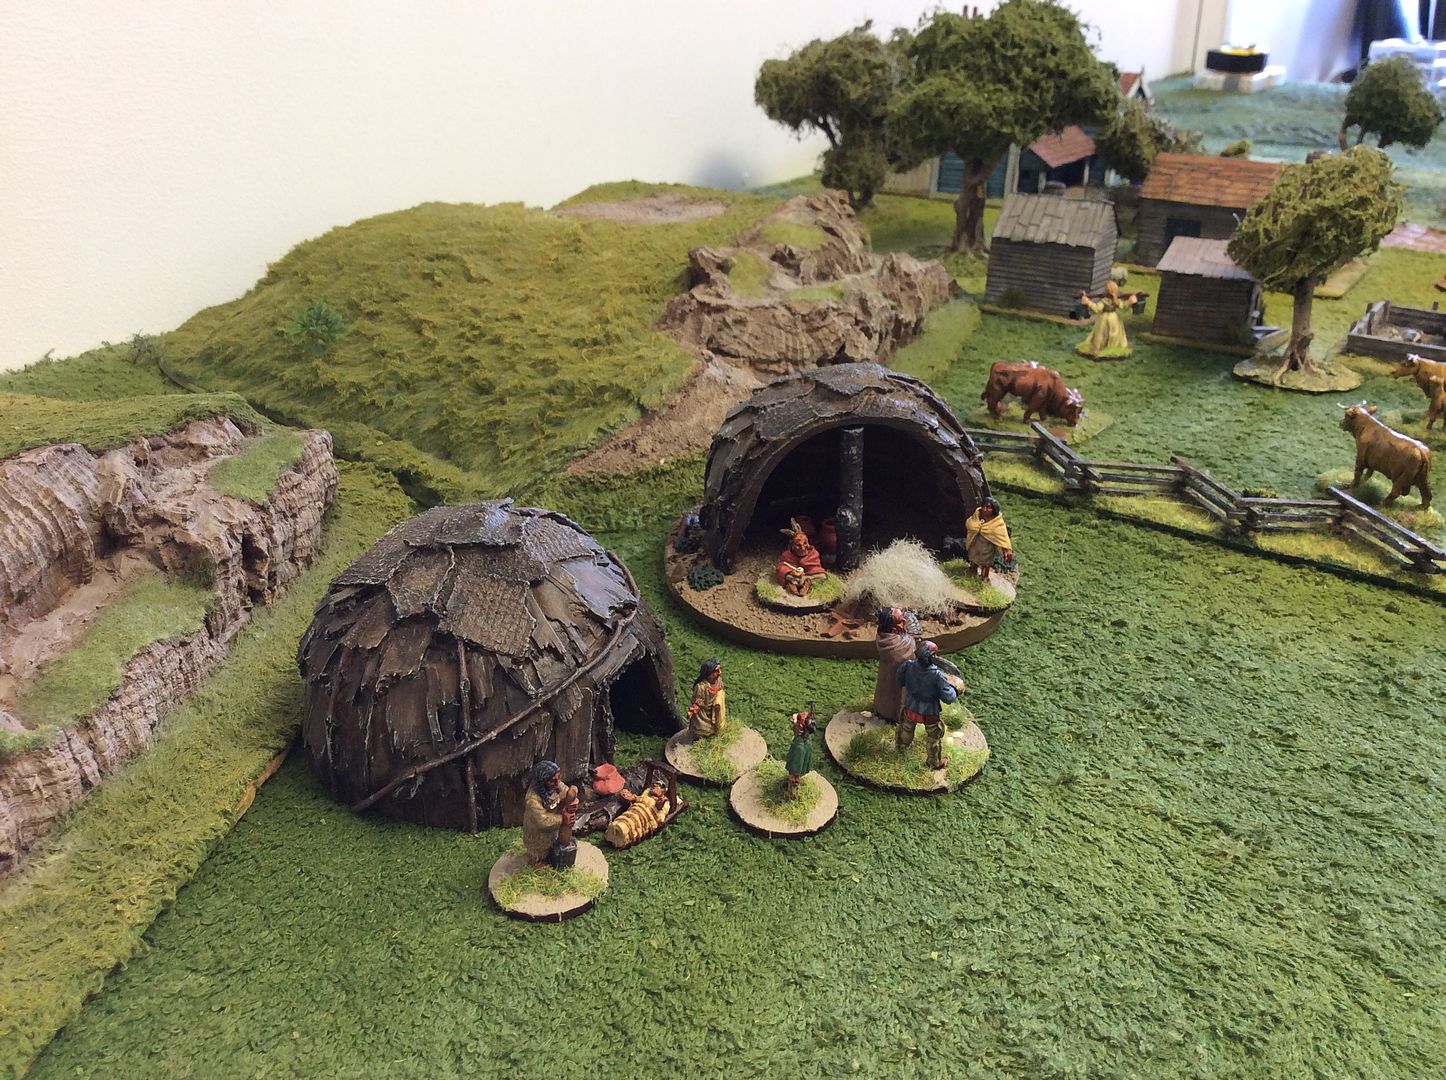
As are their Indian Allies, the Paddoquoi, a fierce warrior tribe ~
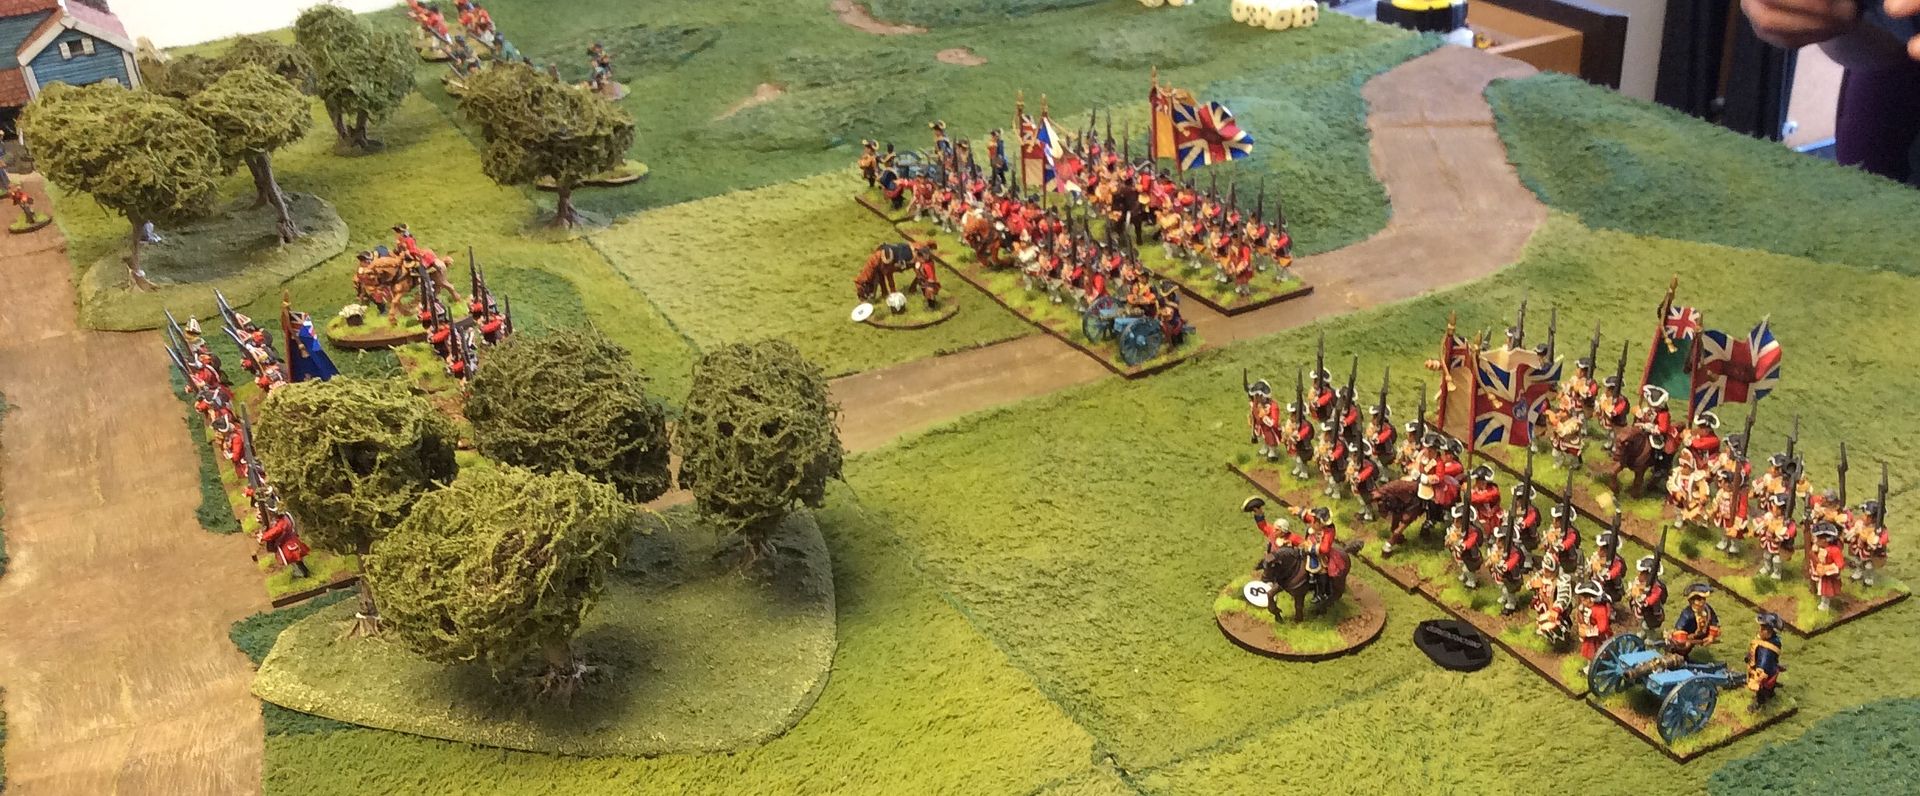
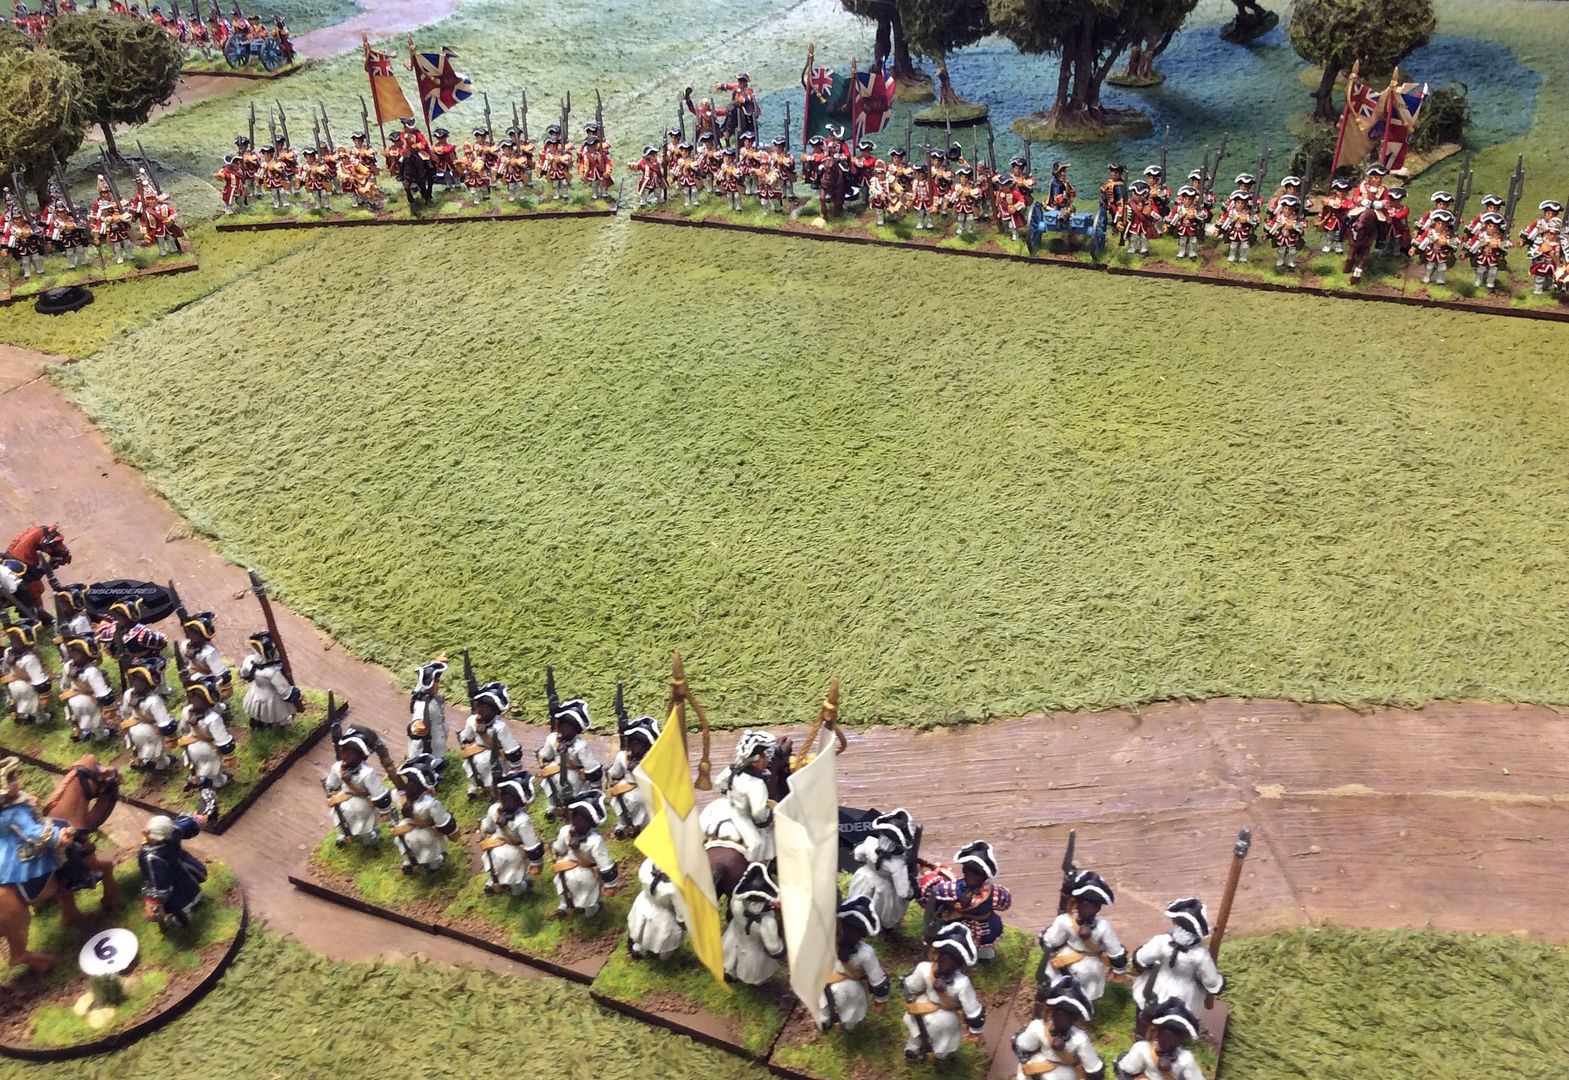
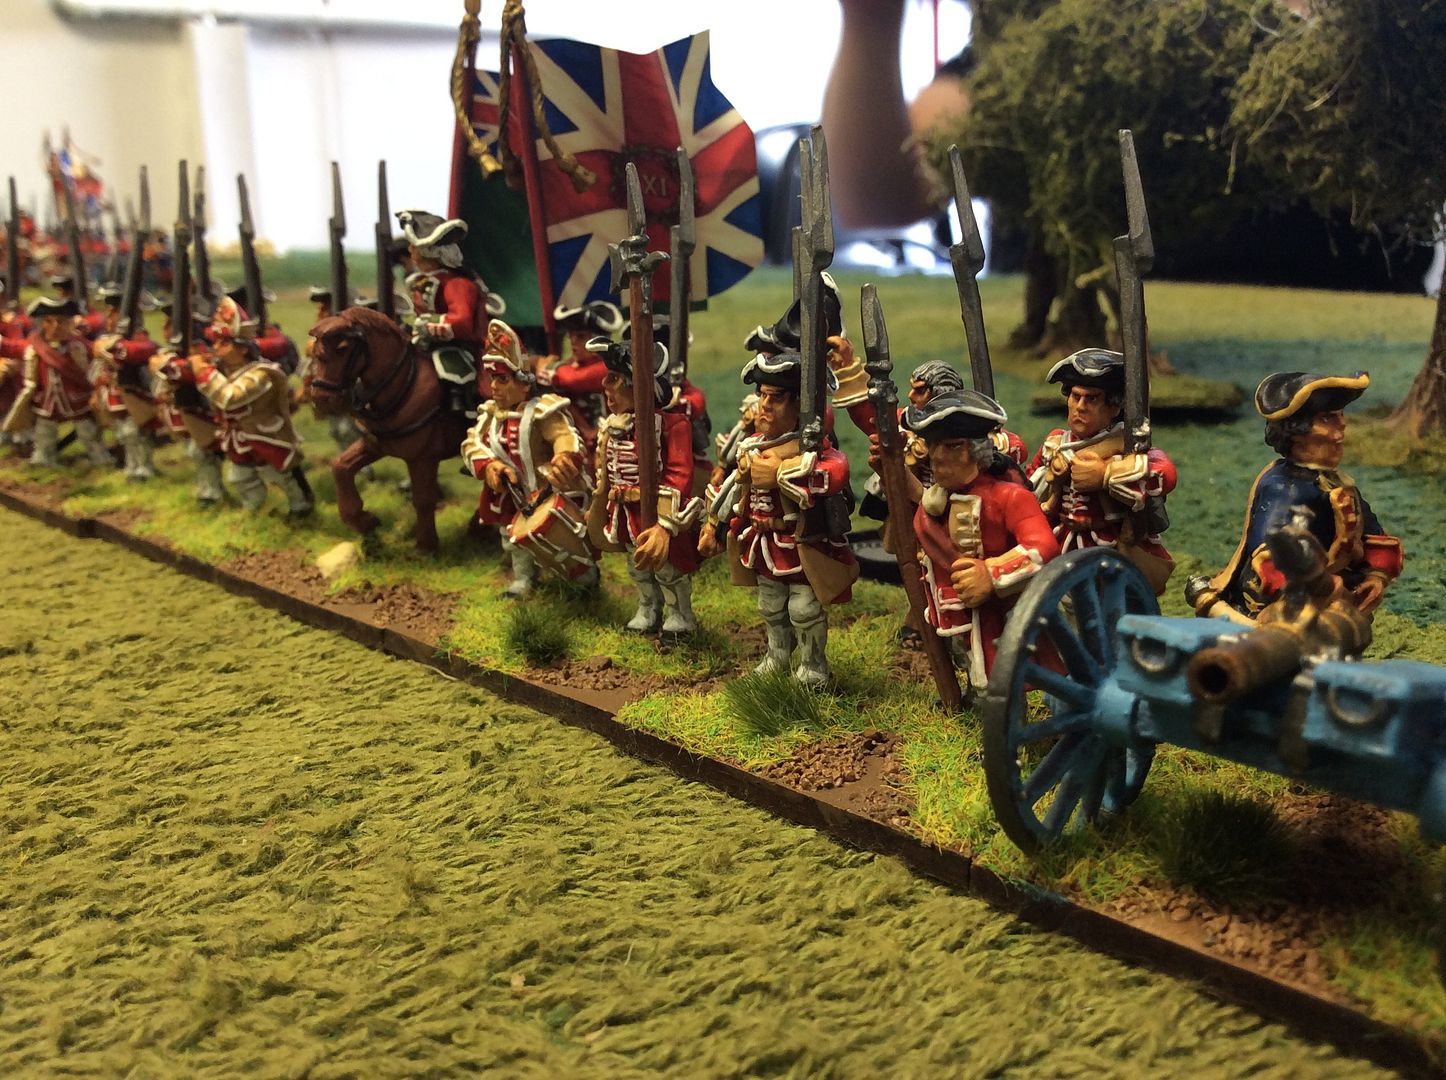
Lord Walton, commanding the British forces, orders a general advance on the enemy's lines ~
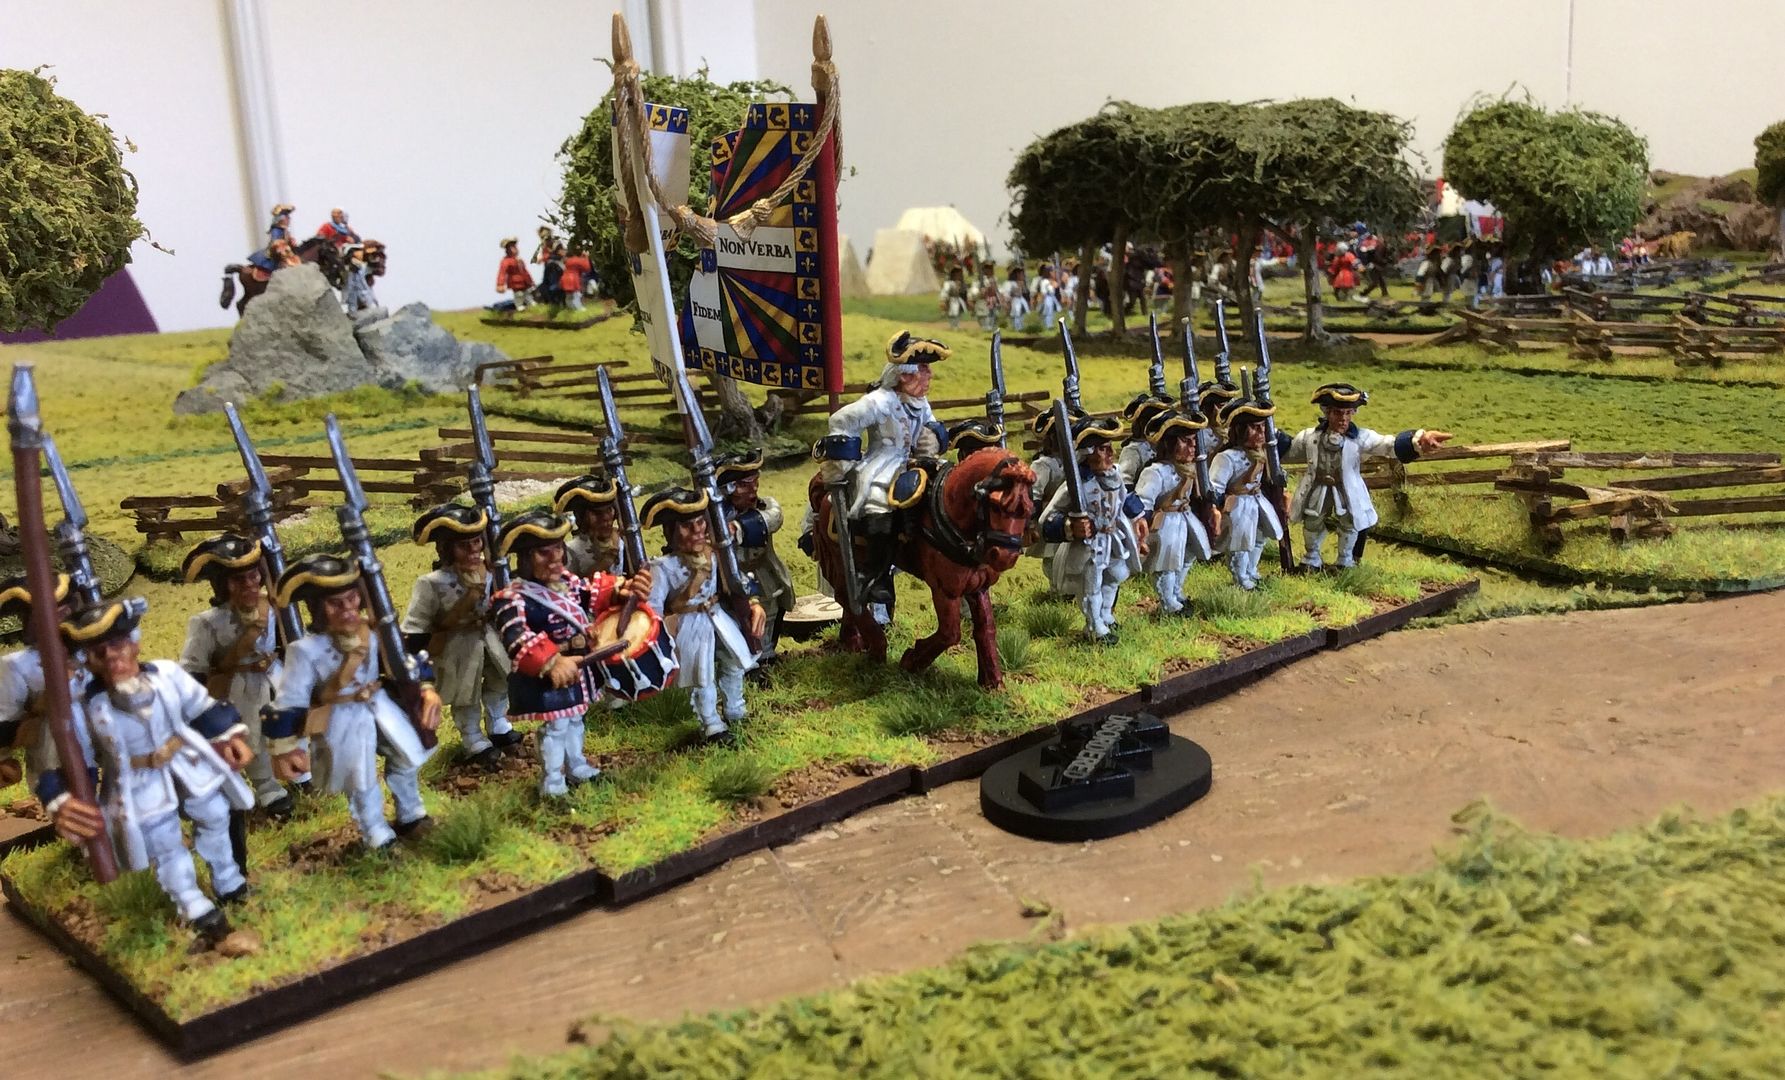
While the French commander, the Compte du Merde considers his response (fails his Command roll ~
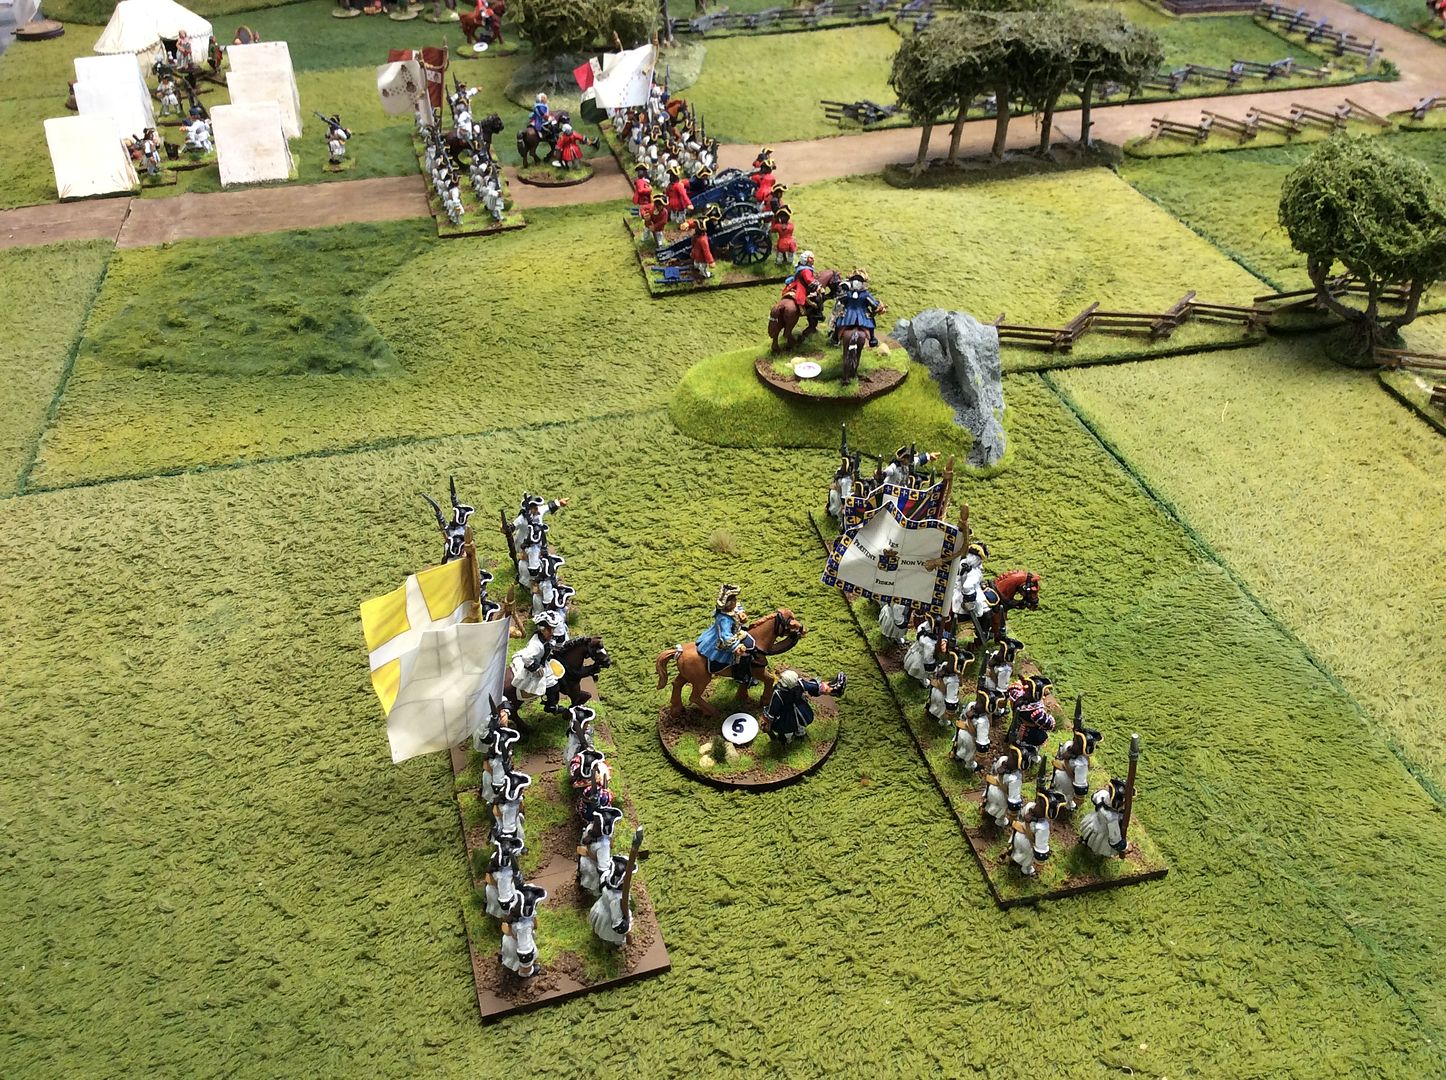
The Compte advances his infantry while anxiously awaiting the arrival of his Allies ~
Lord Walton manoeuvres his infantry against the French right ~
The Indians make a surprise attack against the Rangers and Light Infantry on the British right. Both sides have excess casualties and must Test morale. The British withdraw to nurse their wounds, the Indians flee into the hills in confusion!
The British pour volley after volley into the French right ~
Which forces the French back in some disorder ~
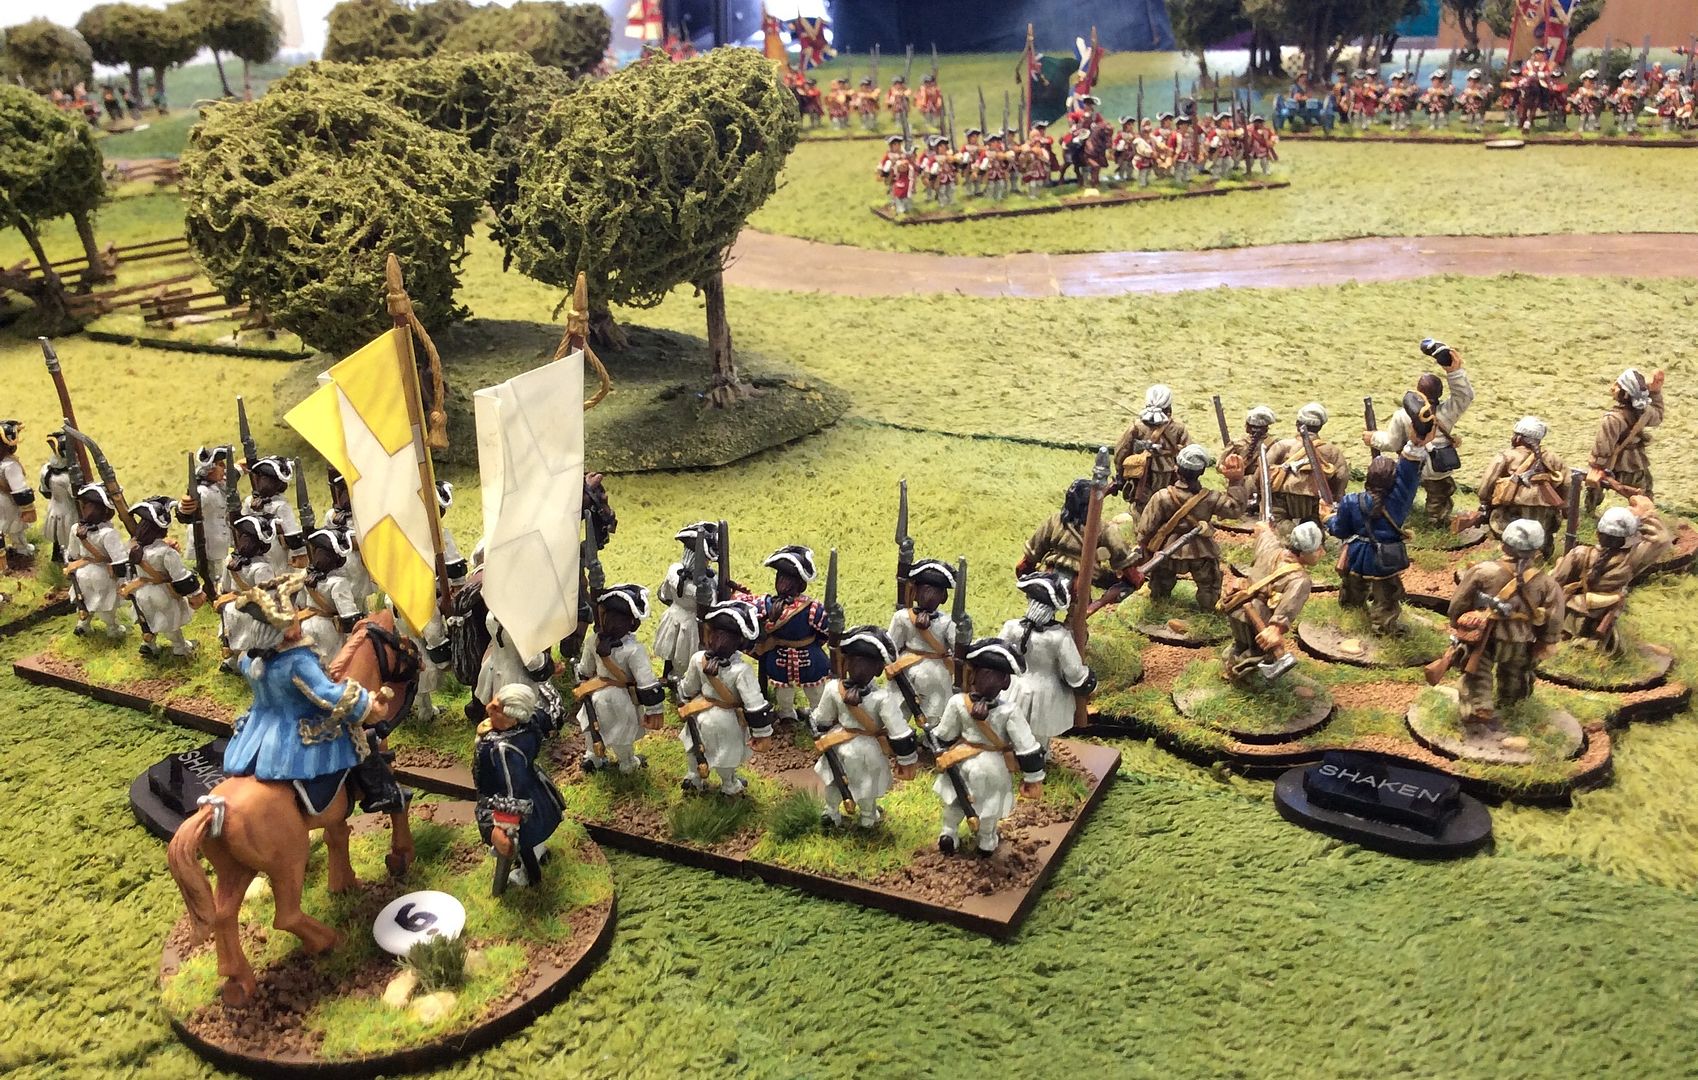
The French right is Shaken, but holds its ground and supported by its artillery begins to hurt the British infantry ~
On the French left a prolonged fire fight sees the fortunes of war surge back and forth between the sides ~
But the French gain the upper hand and break their opponents will to carry on the fight ~
Finally, Lord Walton 'blunders', leaving his infantry at the mercy of their foe. Volleys crash into the ranks of the redcoats and they are 'Broken' and flee. The British army is 'Broken' and flees the field in Turn 11 leaving the Compte du Merde to glory in his triumph ~
The game was tense and fortunes ebbed and flowed throughout between the two sides. The French defended their position with tenacity and courage (good dice) while their enemy were rather slow to manoeuvre and ineffective in their fire (poor dice). The blunder in Turn 11 was decisive in the end, braking the army as a result of excess casualties.
For those who like to know such things, the figures are Foundry, Redoubt and Perry Miniatures; the buildings are scratch built, as are the fences; while the wooded areas and individual trees are by The Last Valley.
The French are camped near by ~
As are their Indian Allies, the Paddoquoi, a fierce warrior tribe ~
Lord Walton, commanding the British forces, orders a general advance on the enemy's lines ~
While the French commander, the Compte du Merde considers his response (fails his Command roll ~
The Compte advances his infantry while anxiously awaiting the arrival of his Allies ~
Lord Walton manoeuvres his infantry against the French right ~
The Indians make a surprise attack against the Rangers and Light Infantry on the British right. Both sides have excess casualties and must Test morale. The British withdraw to nurse their wounds, the Indians flee into the hills in confusion!
The British pour volley after volley into the French right ~
Which forces the French back in some disorder ~
The French right is Shaken, but holds its ground and supported by its artillery begins to hurt the British infantry ~
On the French left a prolonged fire fight sees the fortunes of war surge back and forth between the sides ~
But the French gain the upper hand and break their opponents will to carry on the fight ~
Finally, Lord Walton 'blunders', leaving his infantry at the mercy of their foe. Volleys crash into the ranks of the redcoats and they are 'Broken' and flee. The British army is 'Broken' and flees the field in Turn 11 leaving the Compte du Merde to glory in his triumph ~
The game was tense and fortunes ebbed and flowed throughout between the two sides. The French defended their position with tenacity and courage (good dice) while their enemy were rather slow to manoeuvre and ineffective in their fire (poor dice). The blunder in Turn 11 was decisive in the end, braking the army as a result of excess casualties.
For those who like to know such things, the figures are Foundry, Redoubt and Perry Miniatures; the buildings are scratch built, as are the fences; while the wooded areas and individual trees are by The Last Valley.
Wednesday, 23 September 2015
Bit of a mish mash!
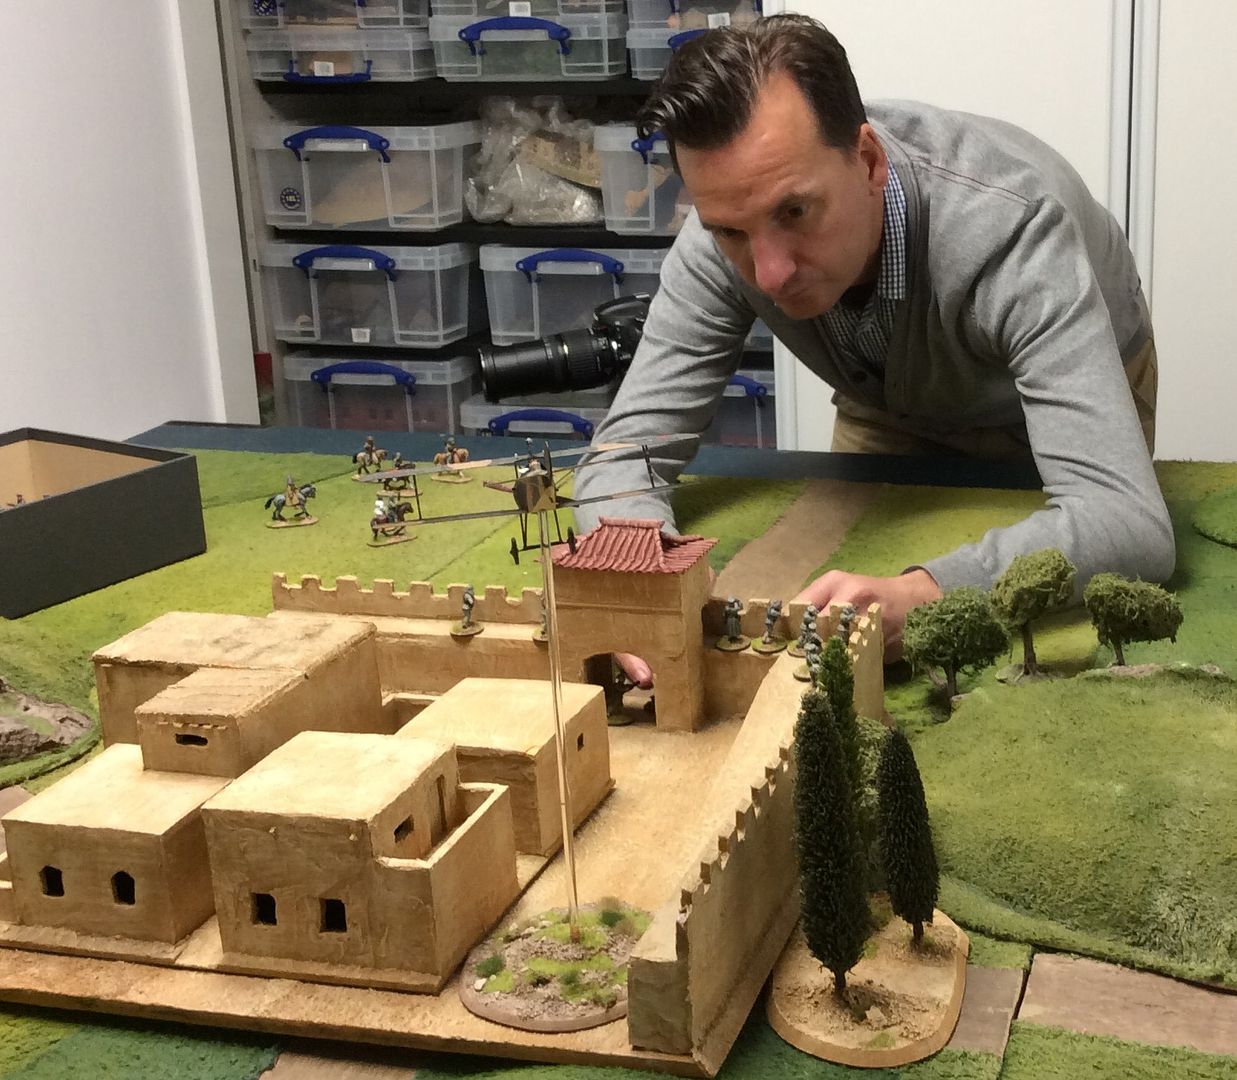
So far this month I seem to have been all over the place and accomplishing not very much along the way. I have managed five games, but we should draw a veil over four of them at this stage, they were not a pretty sight! Painting has been slow, if I'm honest with you, mainly due to arthritis problems in my right hand. Funny how I only seem to drop the brush when its charged with paint! I've also had a visit here in GHQ from Dan of Wargames Illustrated. Phil and I were providing figures and terrain for some photos he needed to accompany articles in the next two issues: Chindits v Japanese in Burma, for which I provided the terrain and figures; and Back of Beyond Chinese, for which Phil did the necessary. Look out for Phil's work, it is stunning in my opinion. In fact, I must be right there, as Dan took figures away with him for photos on the Digital Issue. I'm looking forward to seeing those! So, enough blather! Some pictures now! First, my attempt at jungle ~
The man in action organising one of the many shots he took. Perhaps half a dozen might make the magazine. A whole days work for such a small part of the whole shows us how much which we don't appreciate goes into producing each issue ~
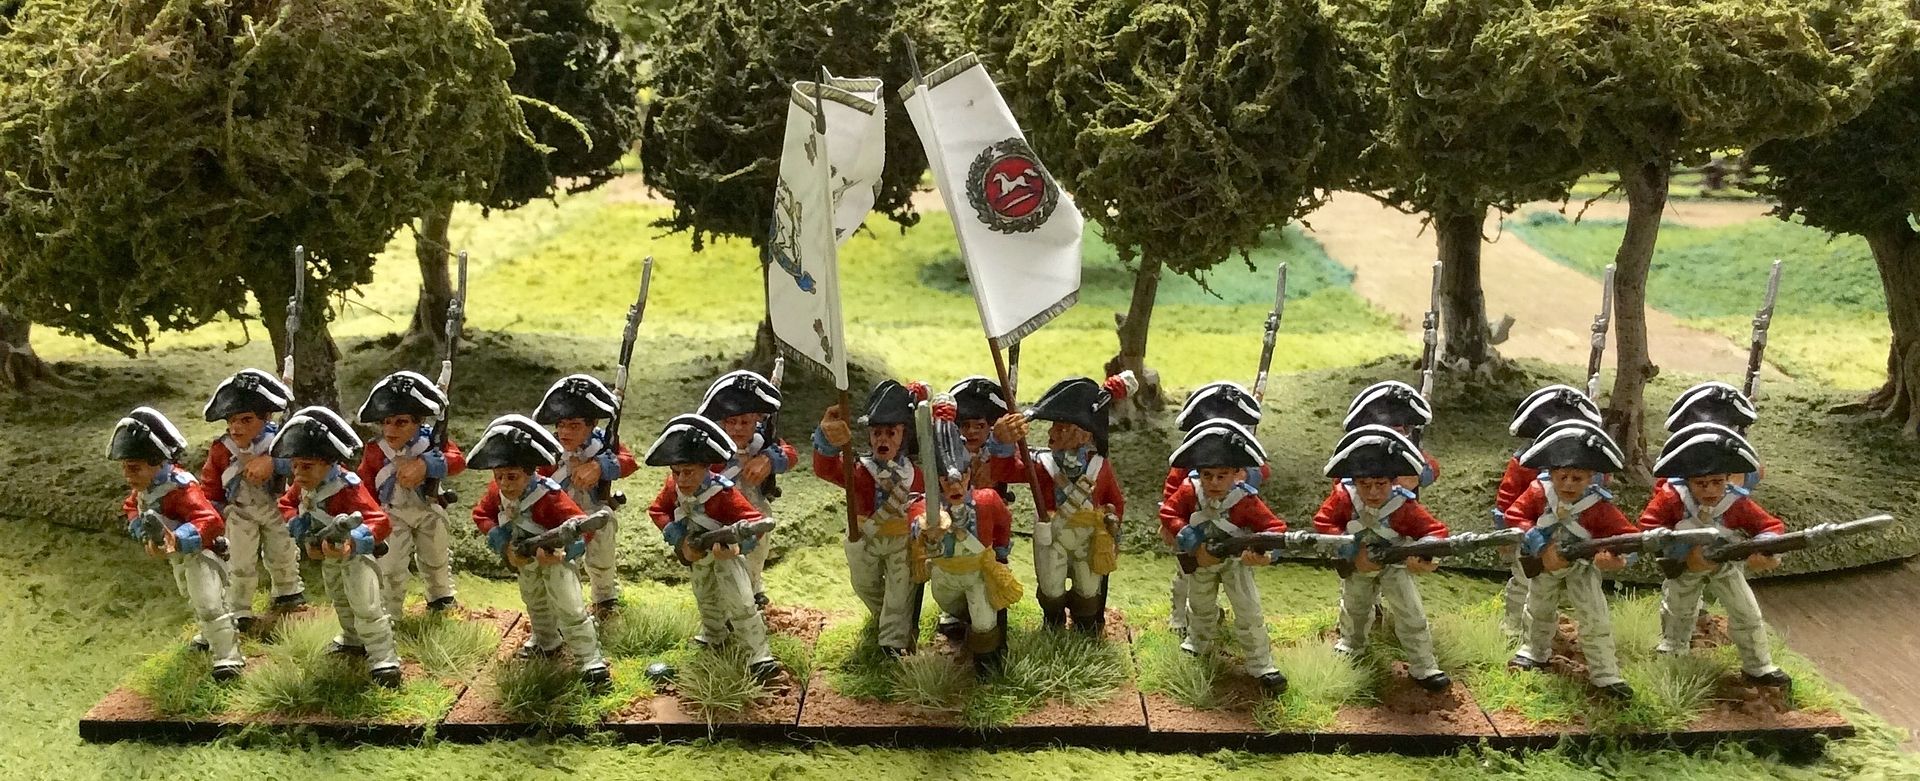
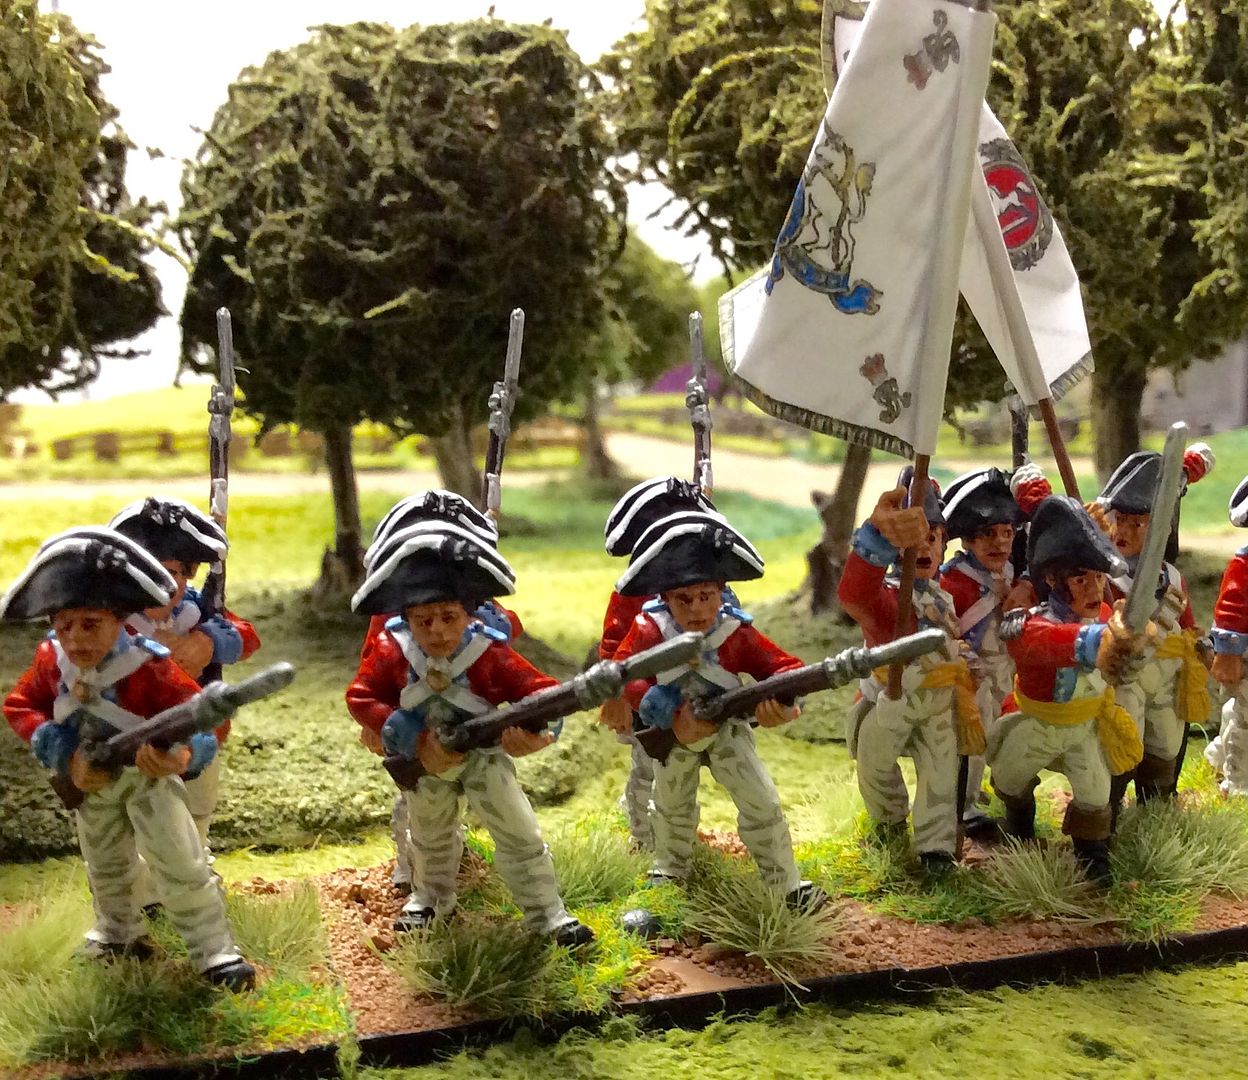
I've only completed one unit this month, a Hanoverian Infantry unit for my Wars of the French Revolution project. They are Trent Miniatures, of course, although the command elements are from Front Rank's Early Peninsular War range, with a bit of judicious painting they will pass for the period if you don't look too closely.
I've also started a unit of Highlanders, also from Trent with a couple of Front Rank figures. So far I've only got four skirmishing figures finished to show, although the first two bases of the Regiment are done too. They will be the 42nd Foot, or in some games the Dunwhinngin Fencibles under the command of Lt Col Alex Salmond,{ a well know whinger in reality!}
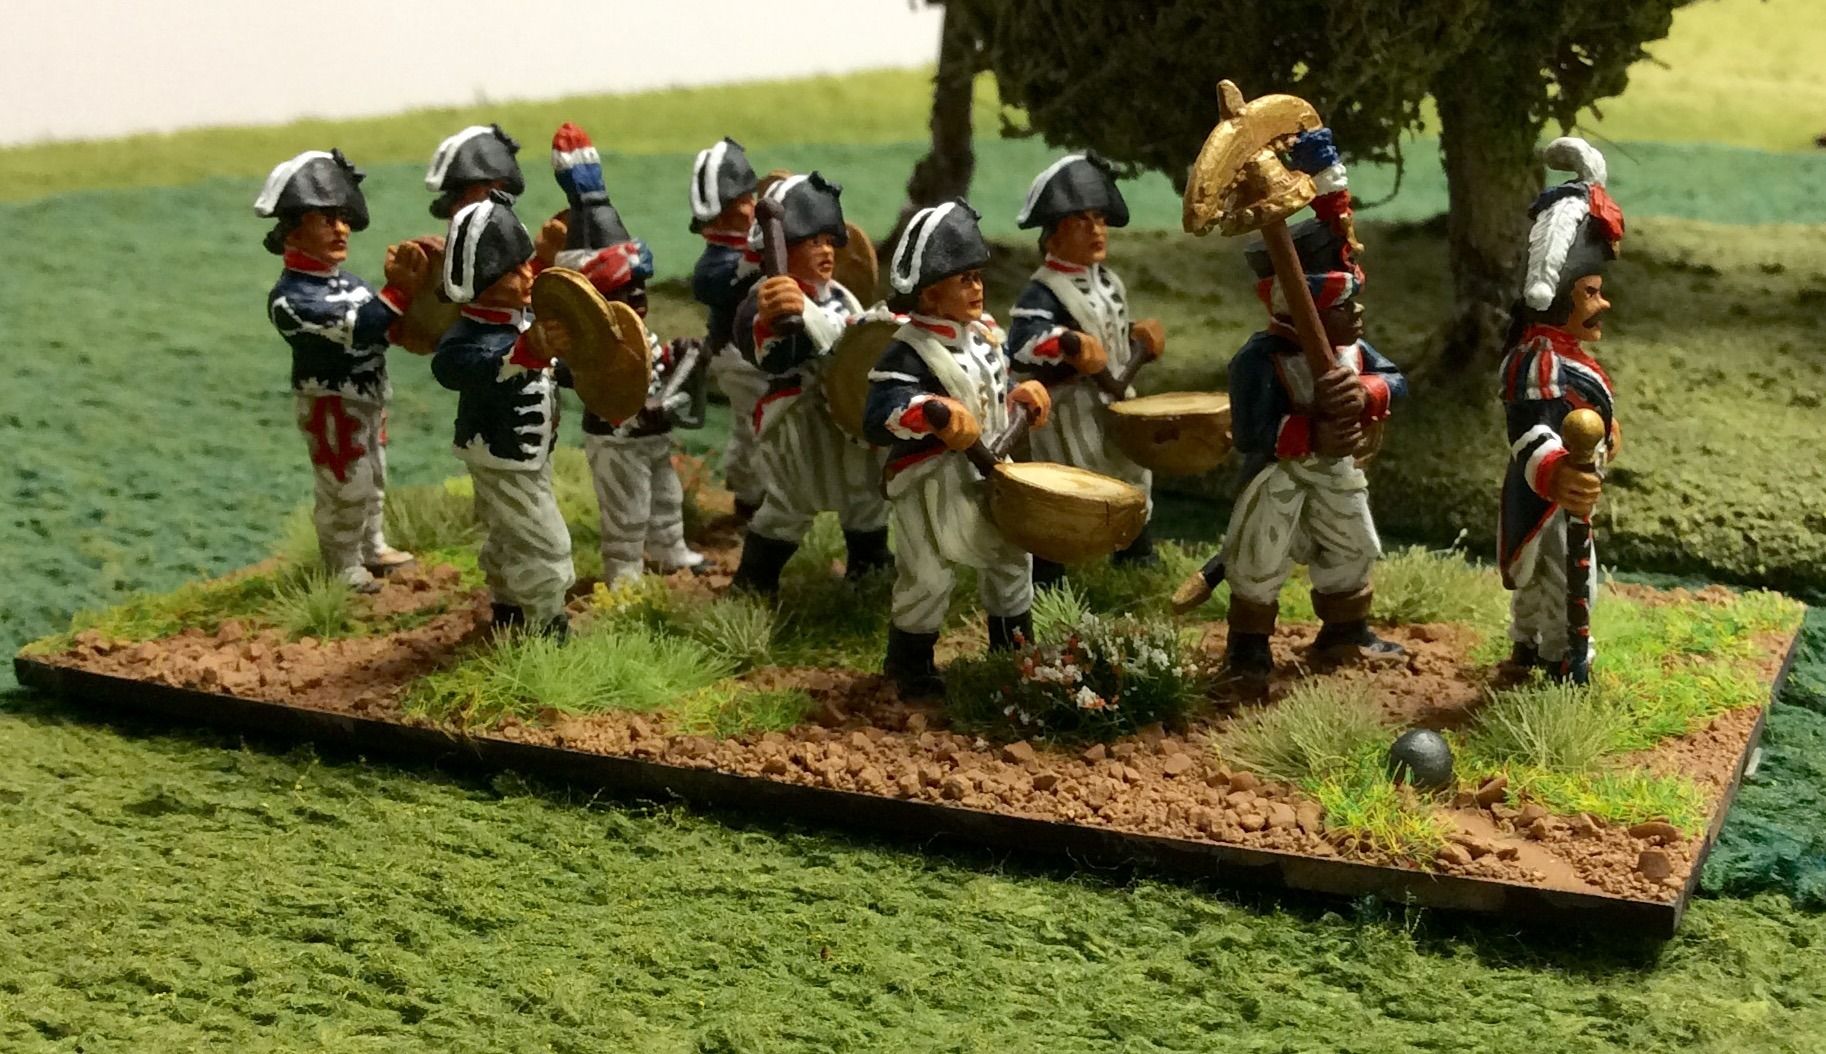
Duncan also very kindly found me the missing Jingling Johnnie figure so my French band is now completed and ready to lead the army to victory! Well, I can but hope ~
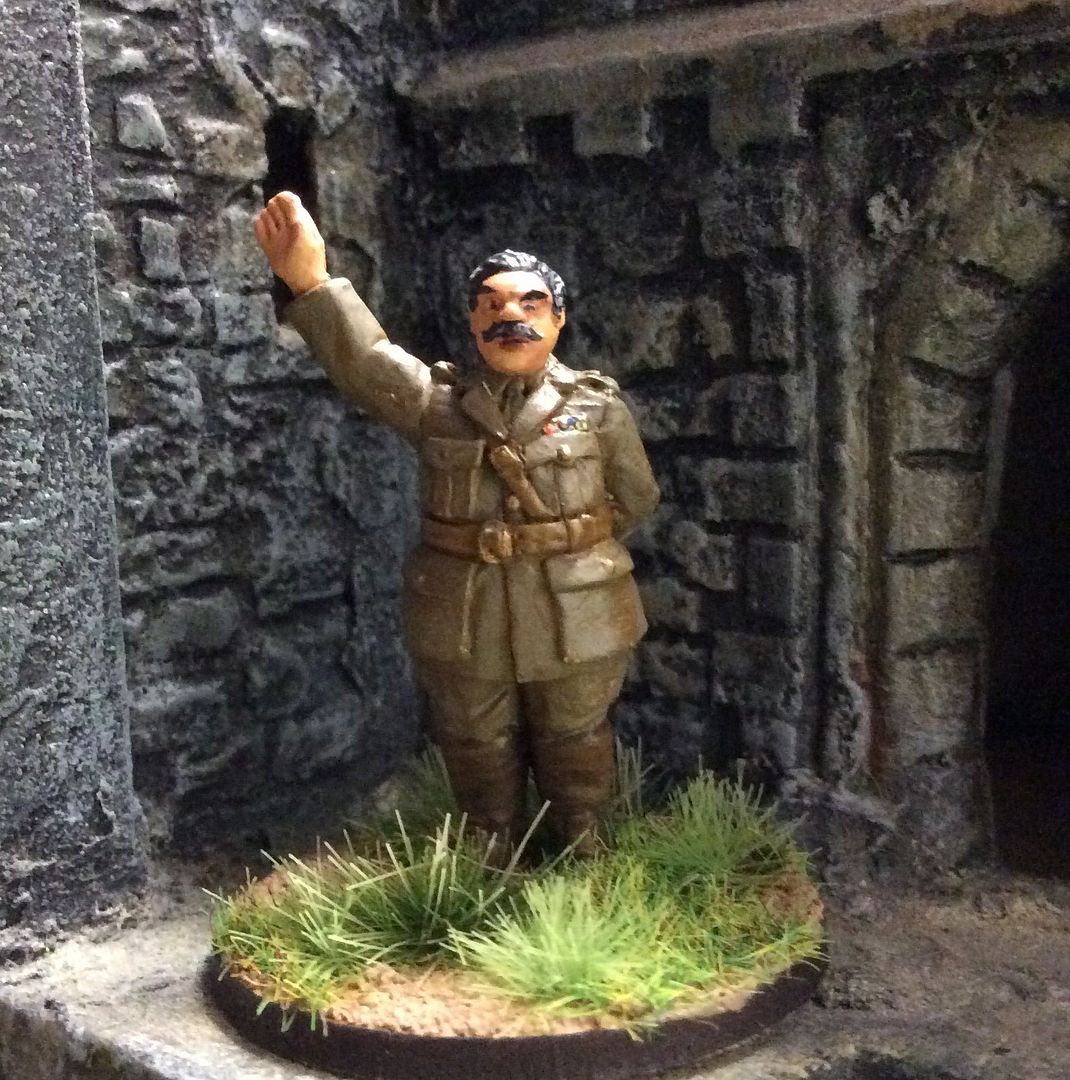
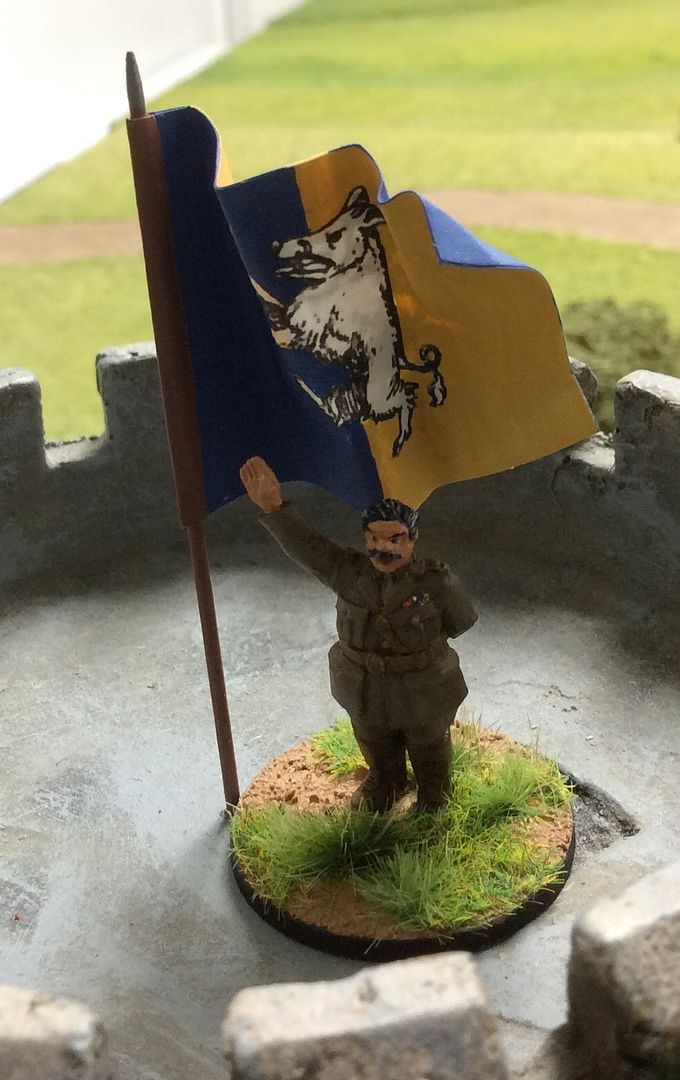
Finally, amongst all these flashy uniforms, I've painted up the free figure from the Other Partizan. He seemed just right for Lord Emsworth, so here he is at Blandings raising his standard for our VBCW/1940 Operation Zeelowe games ~
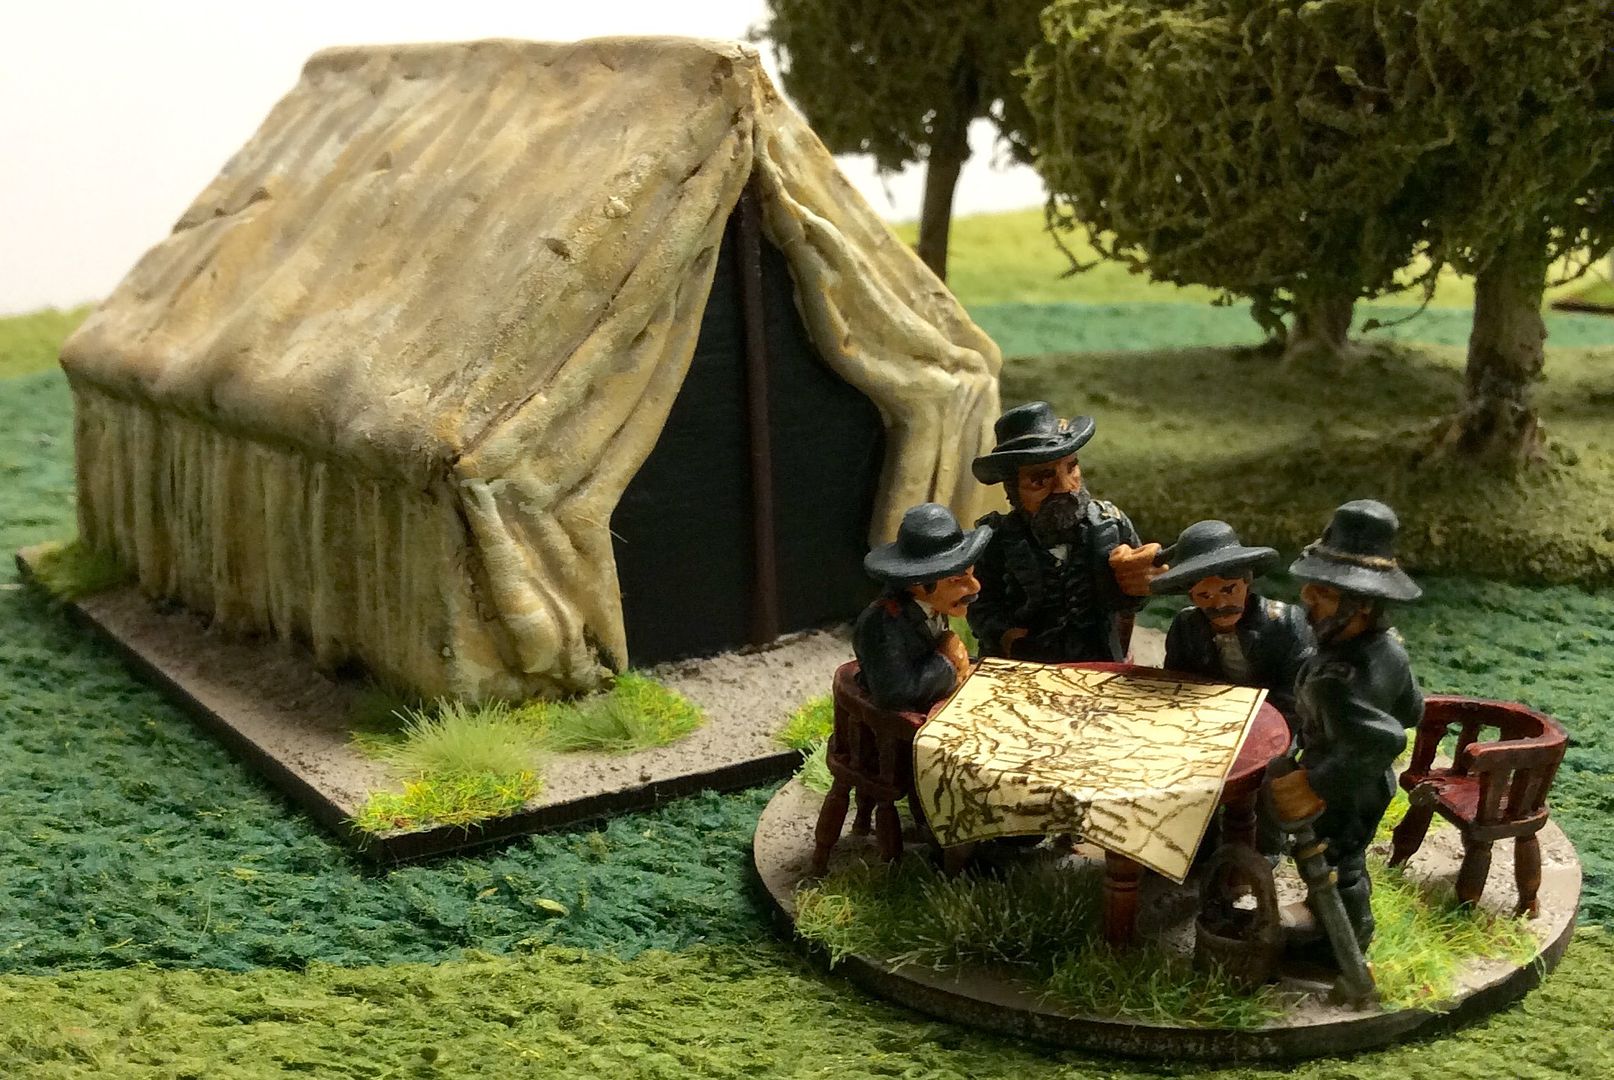
I almost forgot! I've been painting a few Dixon Miniatures ACW figures for a little 'Command in Camp' vignette. Here they are in front of an ACW Command Tent I bought at Partizan from Old Glory ~
Well, that's all I have to say for now. I hope you found at least something to interest you amongst the dross. I've time to put a little more paint on some figures, then Jon and I are off to see Walsall v Chelsea in the 3rd Round of the League Cup. Here's hoping for a shock result!
The man in action organising one of the many shots he took. Perhaps half a dozen might make the magazine. A whole days work for such a small part of the whole shows us how much which we don't appreciate goes into producing each issue ~
I've only completed one unit this month, a Hanoverian Infantry unit for my Wars of the French Revolution project. They are Trent Miniatures, of course, although the command elements are from Front Rank's Early Peninsular War range, with a bit of judicious painting they will pass for the period if you don't look too closely.
I've also started a unit of Highlanders, also from Trent with a couple of Front Rank figures. So far I've only got four skirmishing figures finished to show, although the first two bases of the Regiment are done too. They will be the 42nd Foot, or in some games the Dunwhinngin Fencibles under the command of Lt Col Alex Salmond,{ a well know whinger in reality!}
Duncan also very kindly found me the missing Jingling Johnnie figure so my French band is now completed and ready to lead the army to victory! Well, I can but hope ~
Finally, amongst all these flashy uniforms, I've painted up the free figure from the Other Partizan. He seemed just right for Lord Emsworth, so here he is at Blandings raising his standard for our VBCW/1940 Operation Zeelowe games ~
I almost forgot! I've been painting a few Dixon Miniatures ACW figures for a little 'Command in Camp' vignette. Here they are in front of an ACW Command Tent I bought at Partizan from Old Glory ~
Well, that's all I have to say for now. I hope you found at least something to interest you amongst the dross. I've time to put a little more paint on some figures, then Jon and I are off to see Walsall v Chelsea in the 3rd Round of the League Cup. Here's hoping for a shock result!
Thursday, 17 September 2015
The Battle of Bykleigh's Crossing
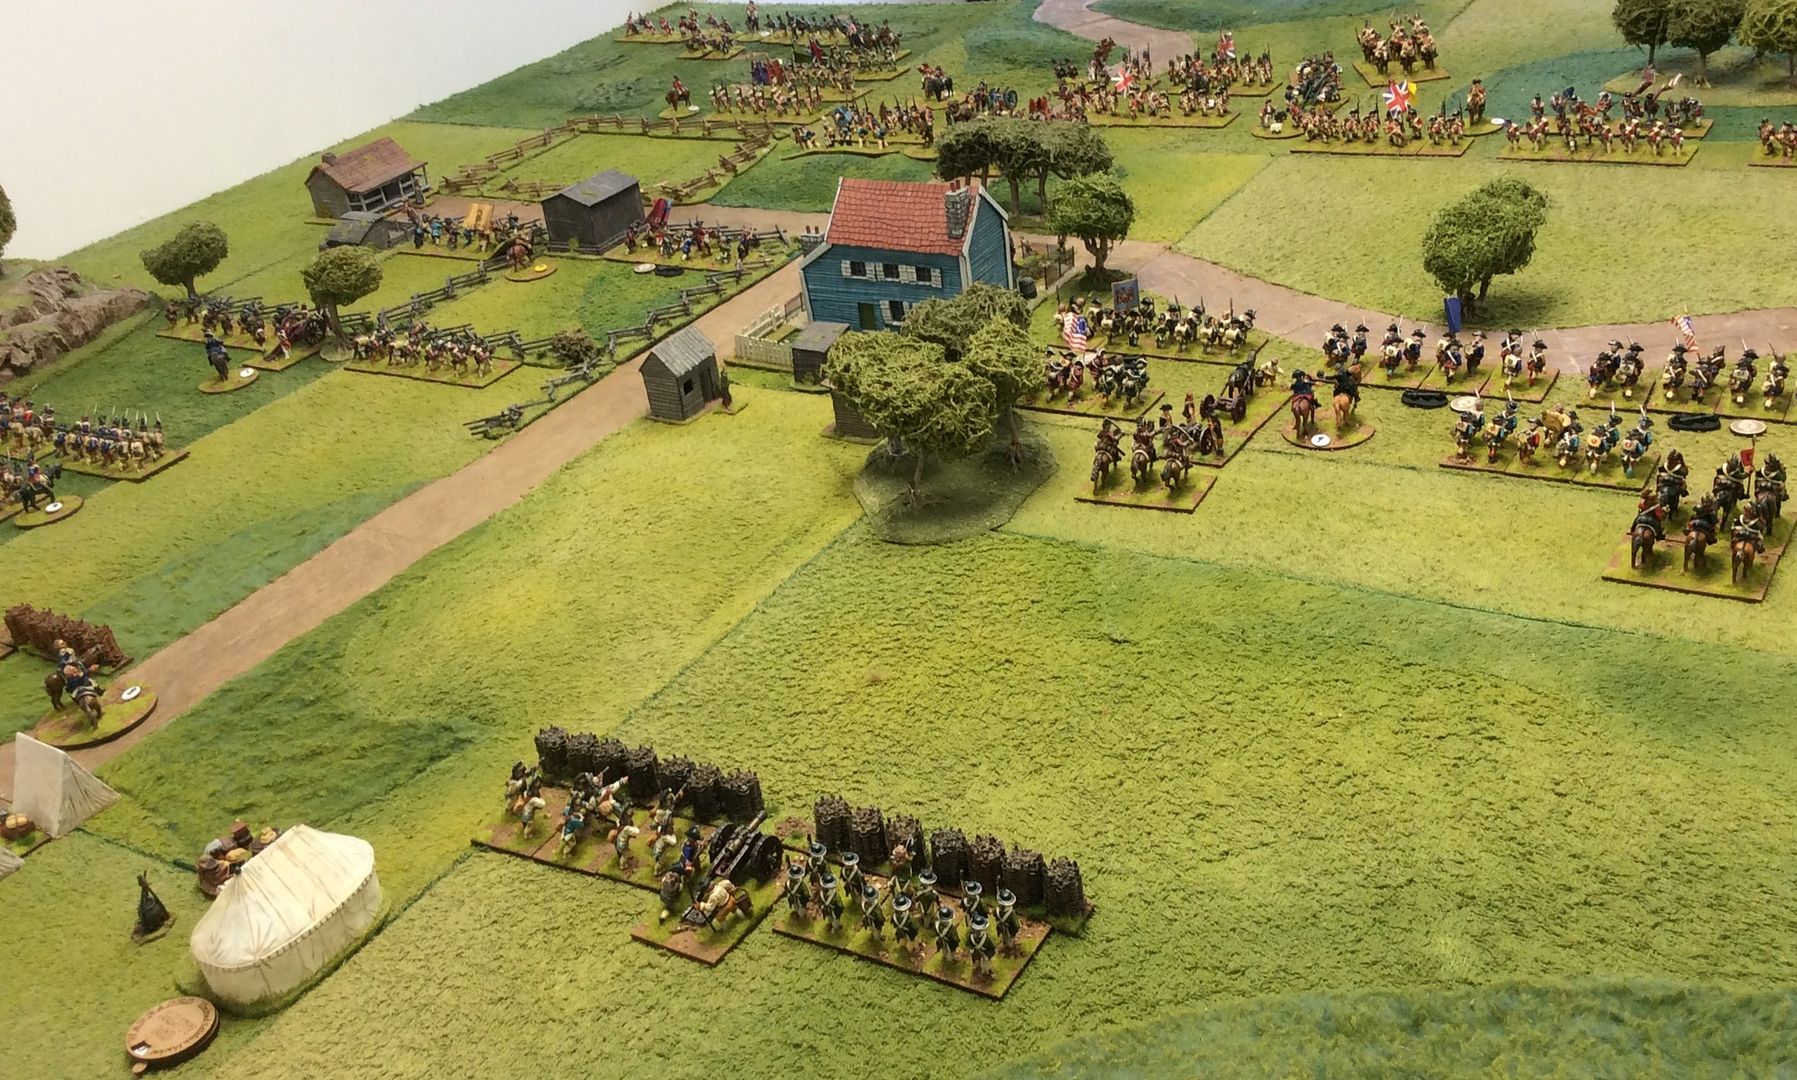
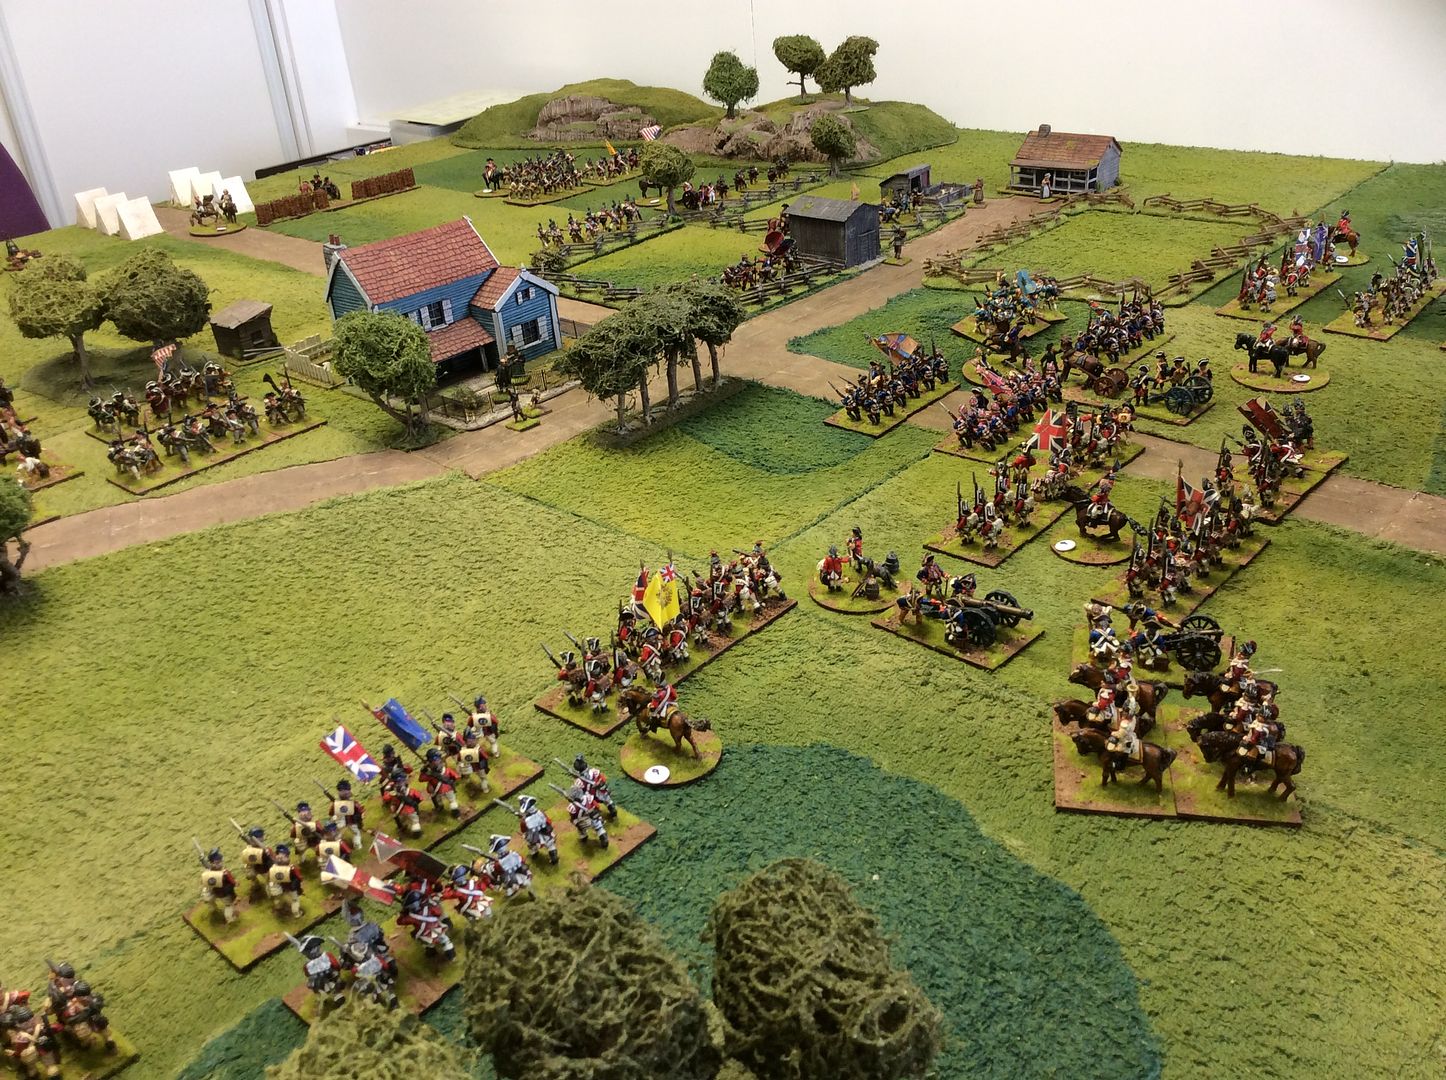
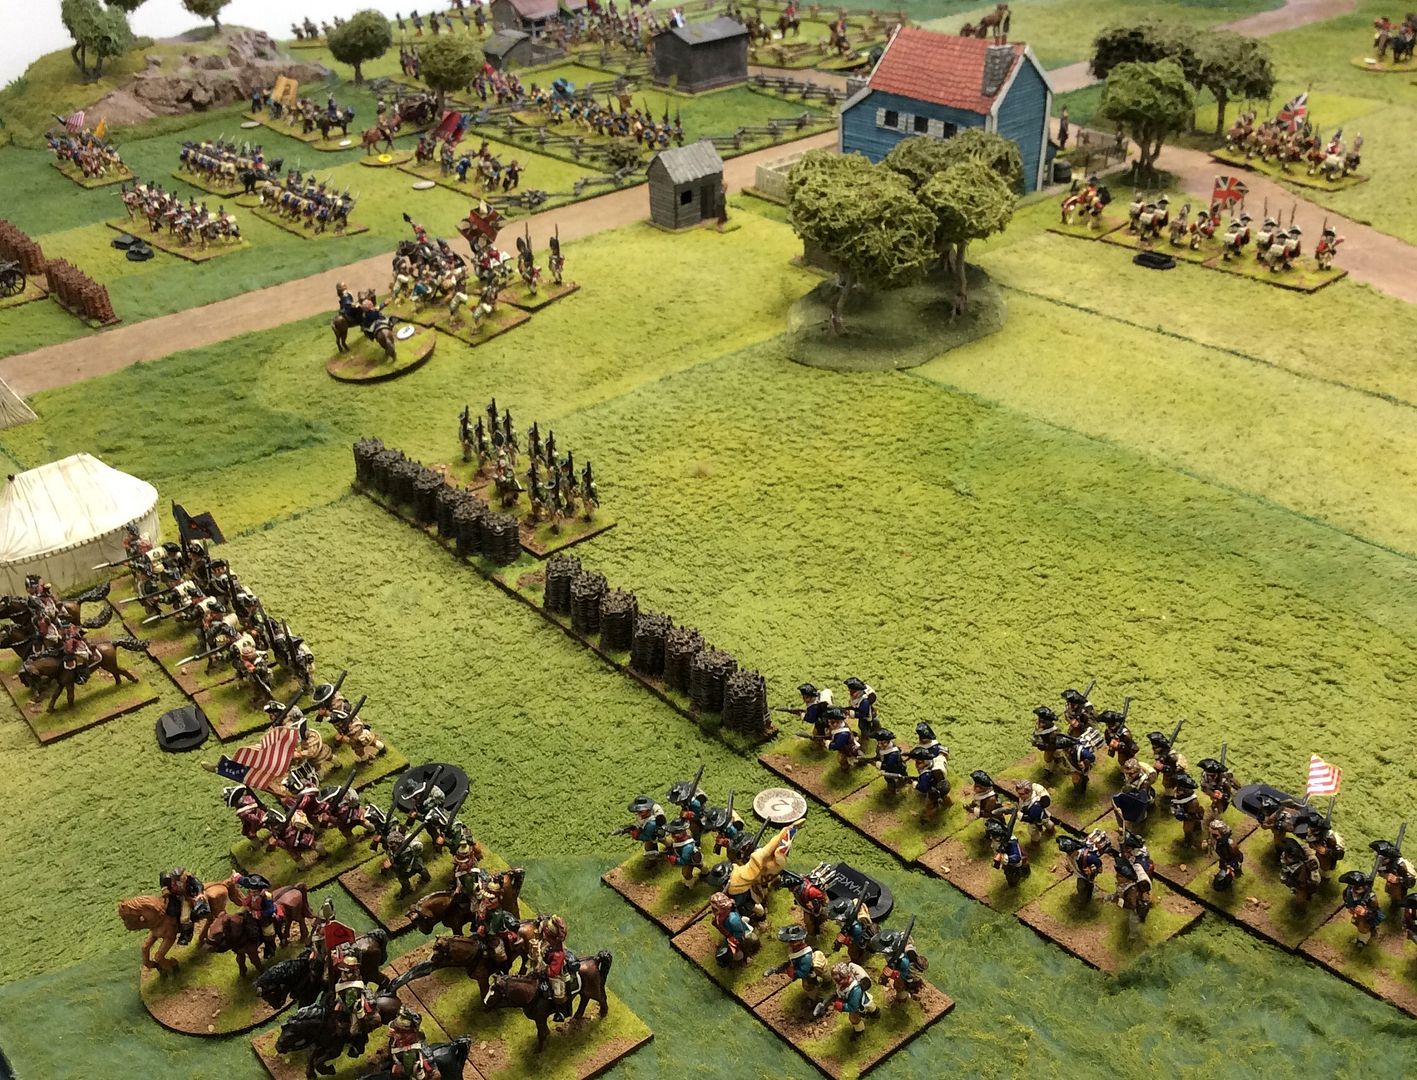
Recently Jon and I managed to fit in a game here in GHQ. Jon chose an AWI theme for the game, so I set about laying out a table which would give my AWI collection its first outing on the new larger table in my games room. I chose Blackpowder as the rules to run the game by. Most of my collection is from Front Rank and was painted many years ago, as you could tell from the 'black lining' approach to detailing popular back in the day, while some figures come from the more recent Perry Miniatures and others from Hinchliffe I think. The buildings are all scratch built, as are the fences, while other terrain features are from The Last Valley of course. The first picture gives a general view of the battlefield from the American perspective. The American force. commanded by Old 'Independence or Death' Bykleigh are deployed around the crossroads, with a third defensive line about their encampment ~
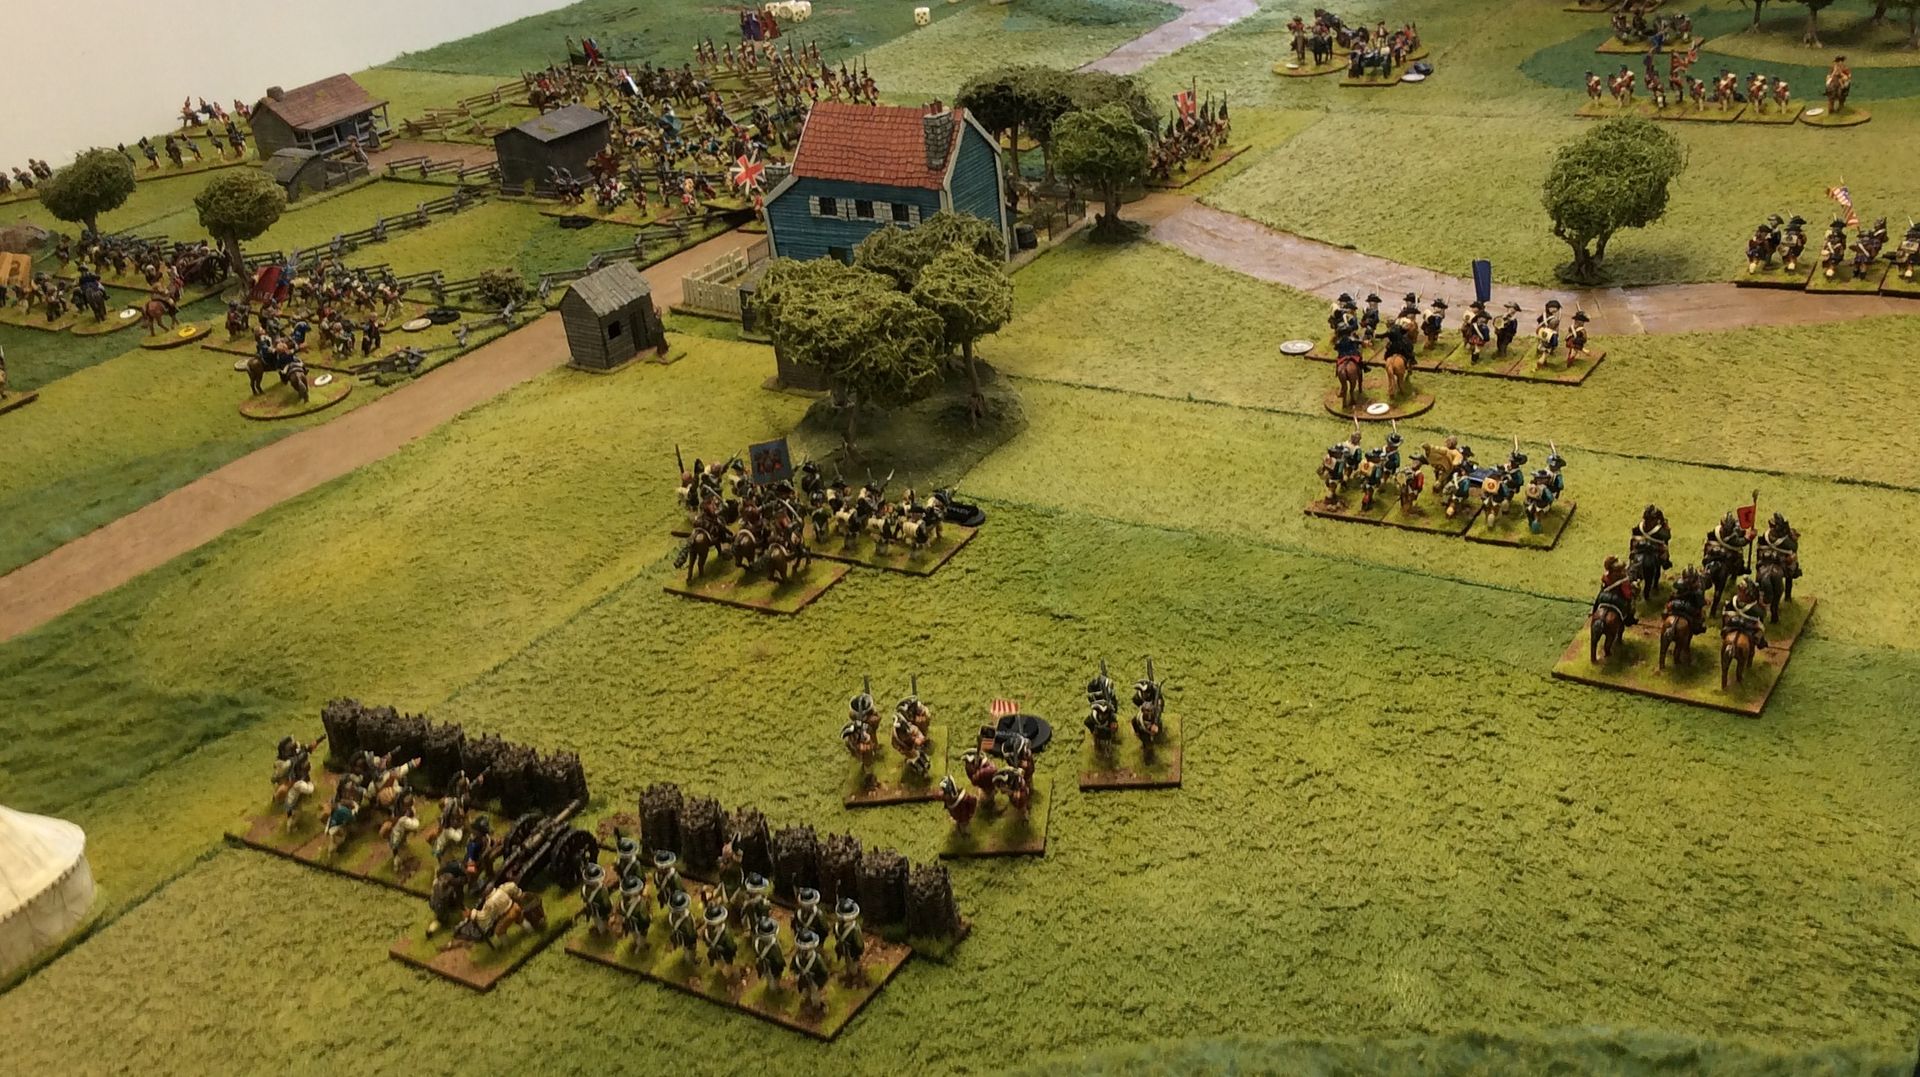
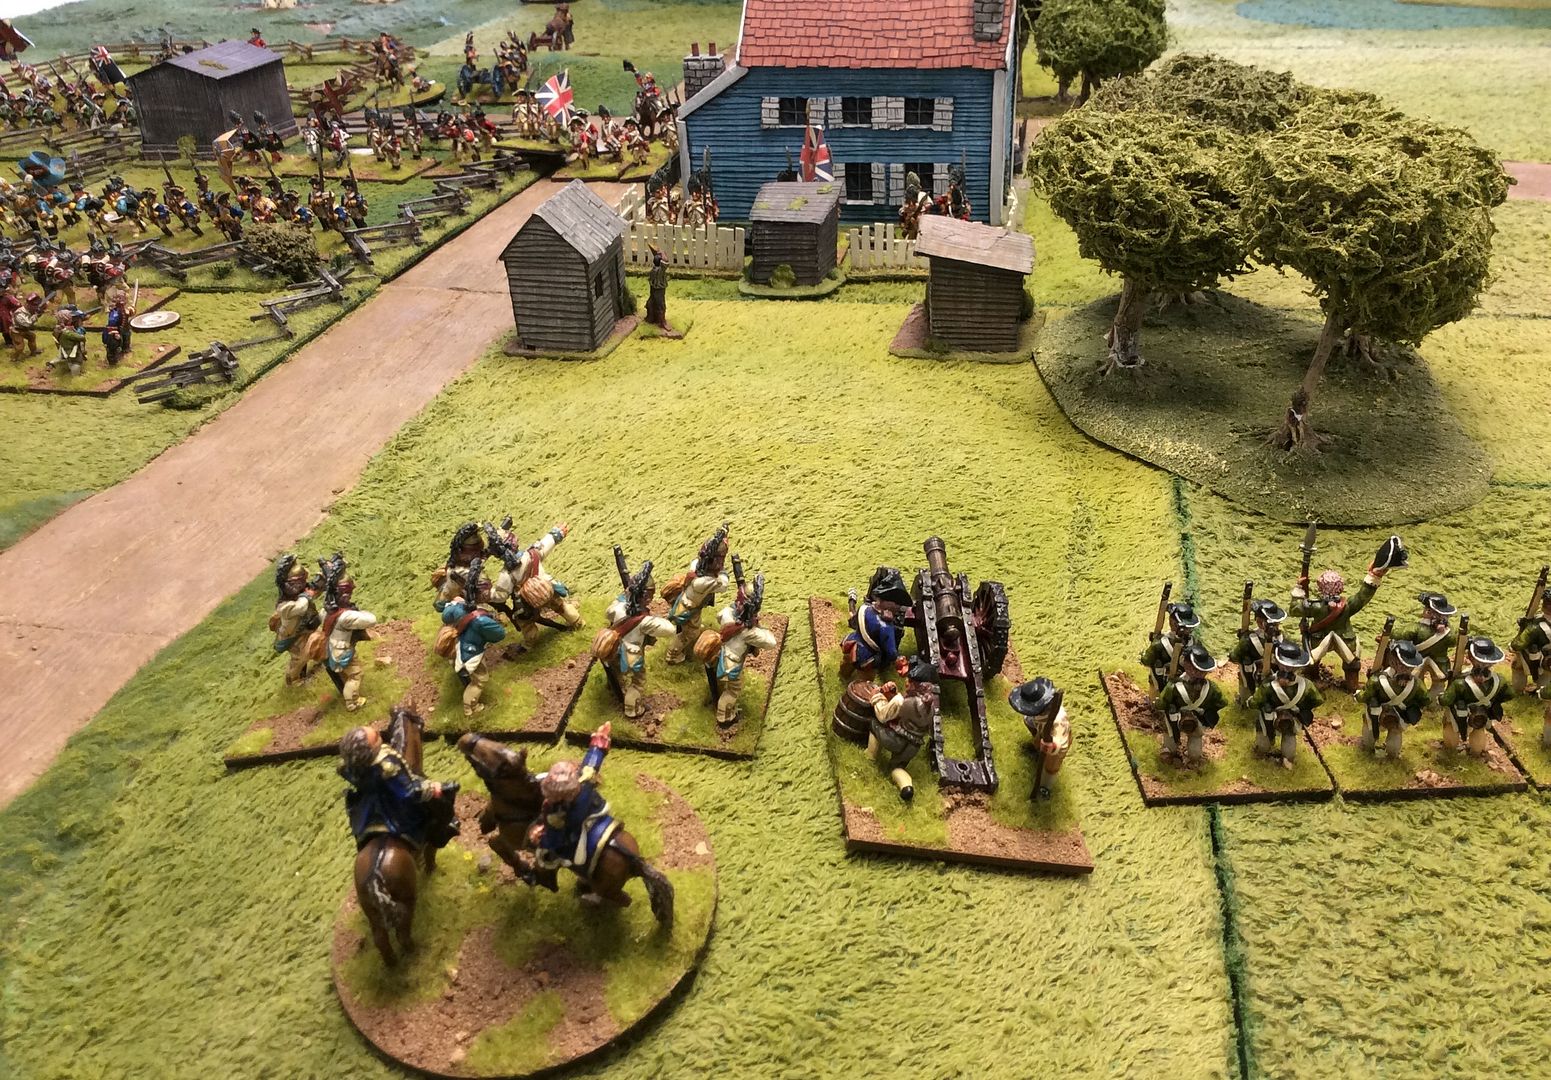
The American right is held by a strong brigade of Continentals and State troops. As you can see they suffered badly from British musket fire in the first turn of the game!
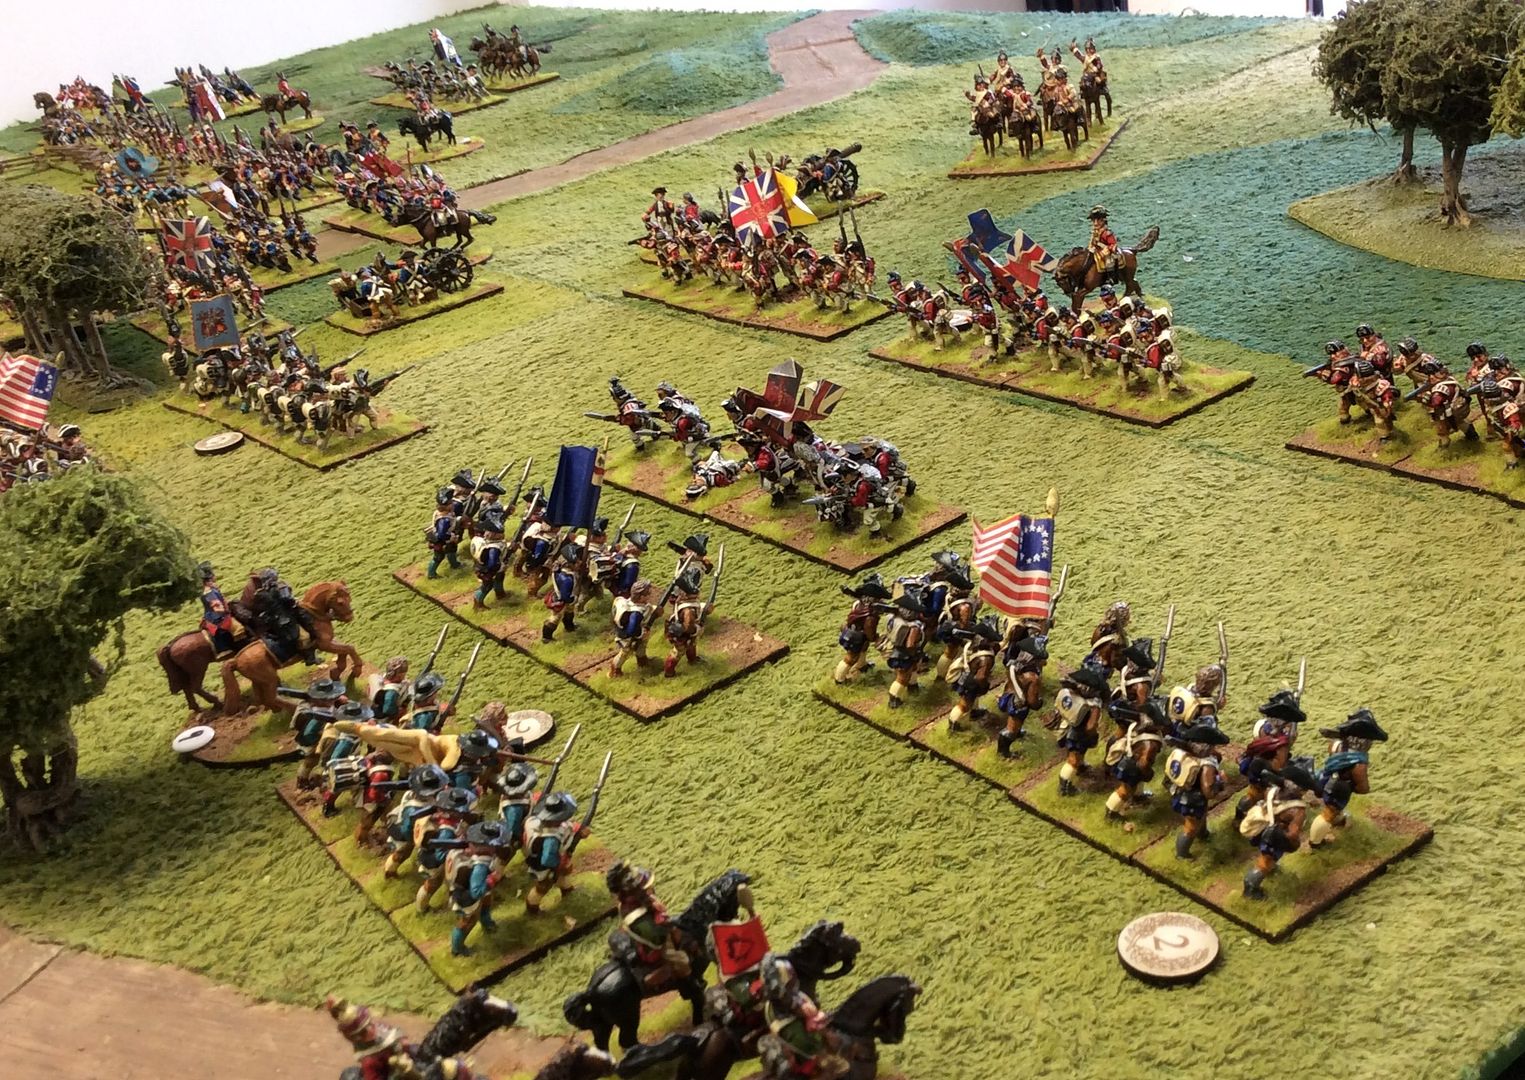
The American left had an advanced line held by the Militia and a support line of State troops. The Militia also were to suffer under enemy fire but held their ground and traded shots with the Hessians with more tenacity than might be expected.
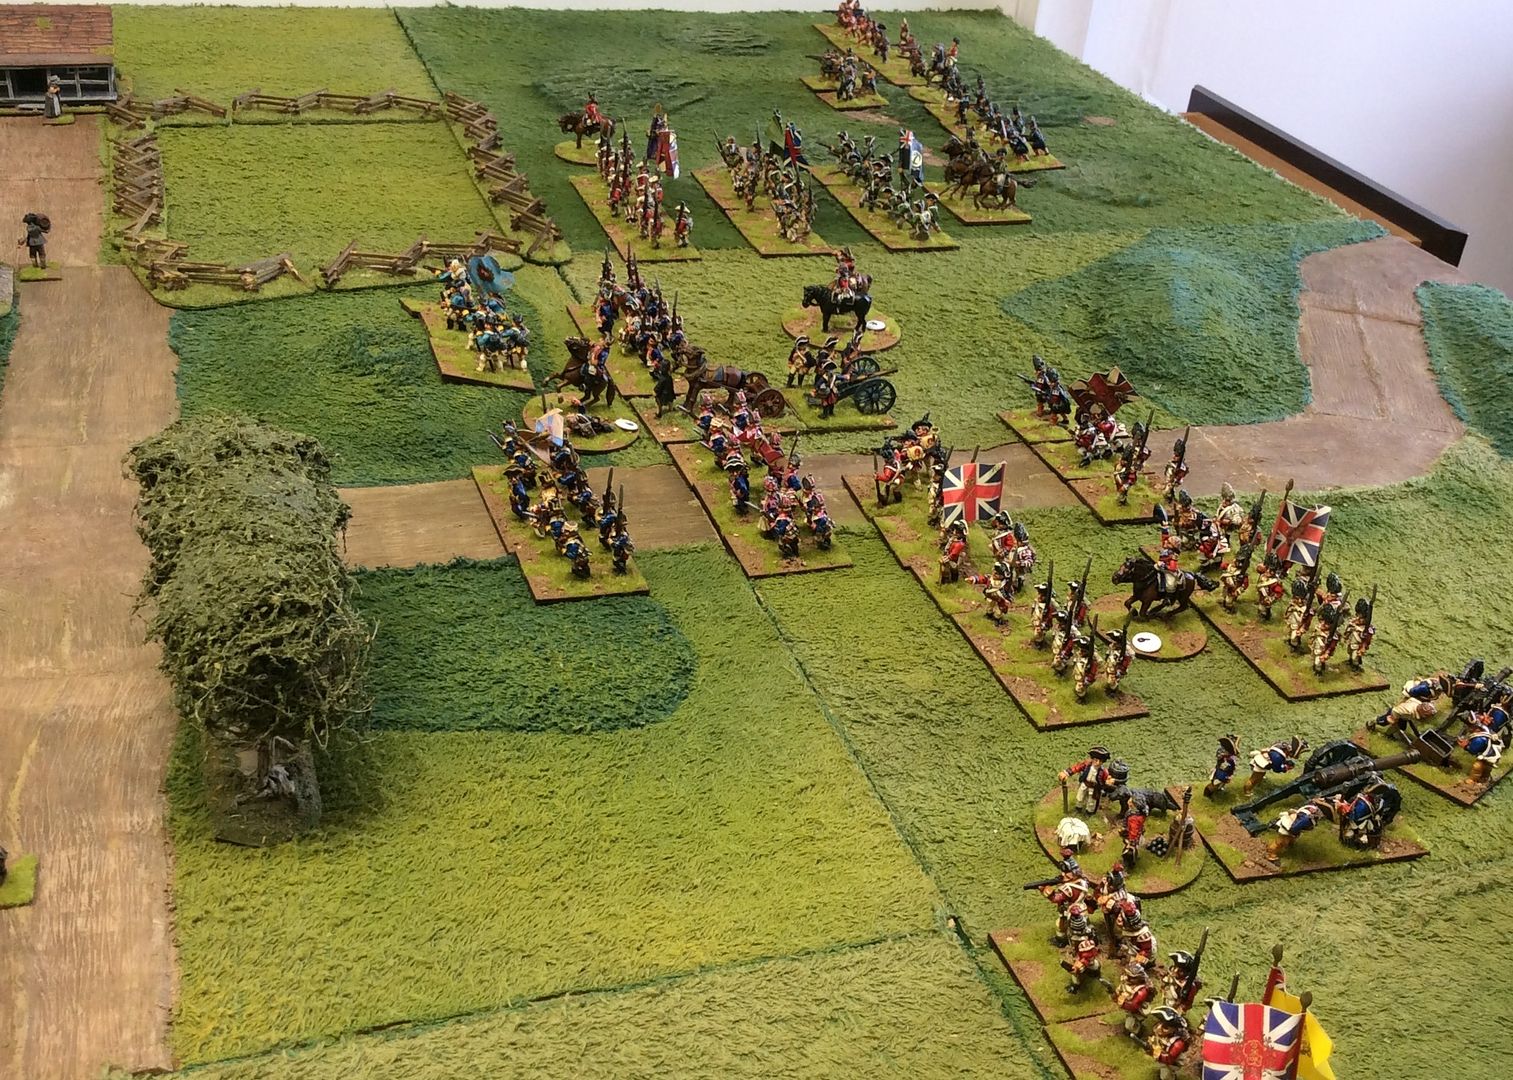
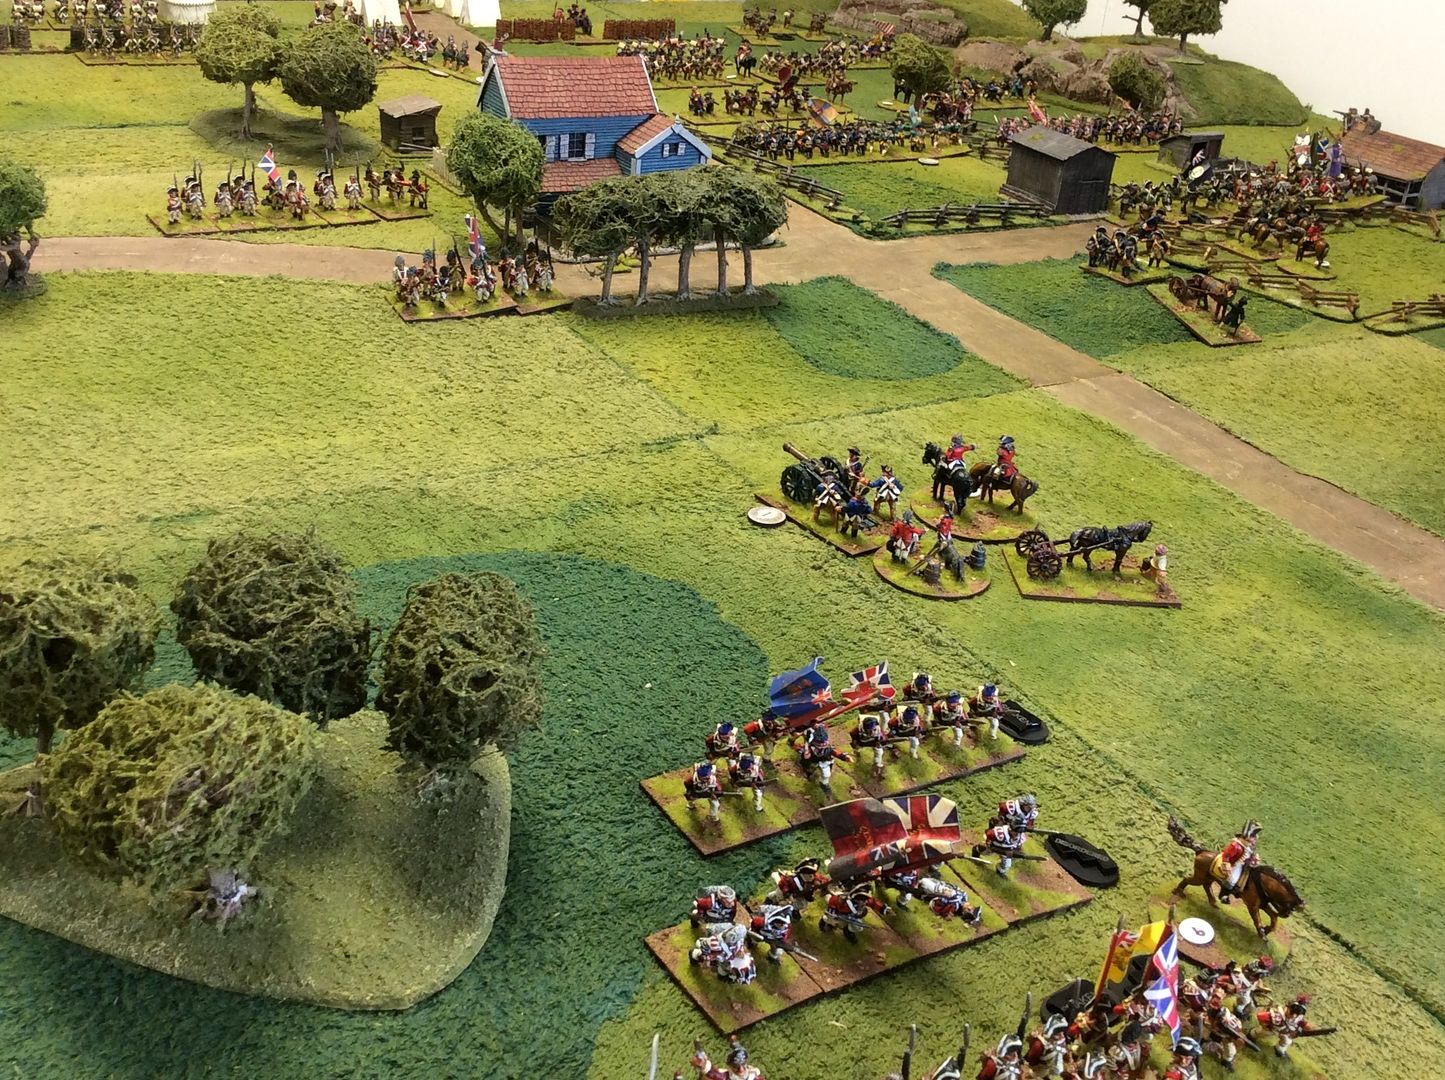
The British lines sweep forward into the attack. Or at least some of them did. The Hessians were markedly reluctant, so much so that we came to the conclusion they had not been paid for months!
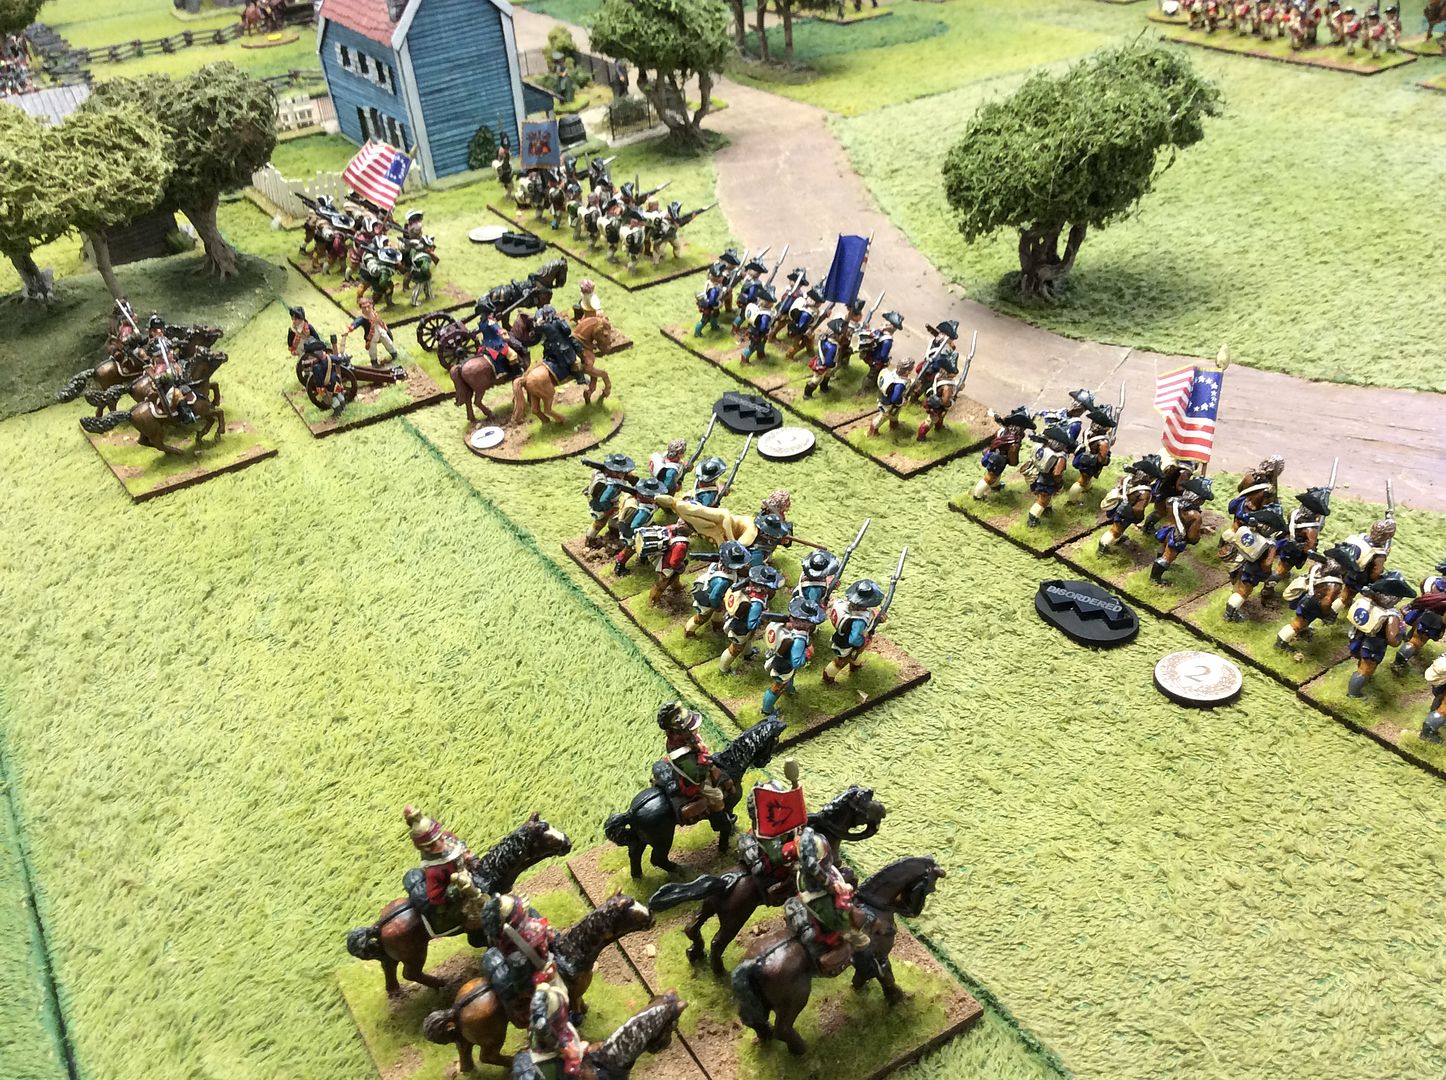
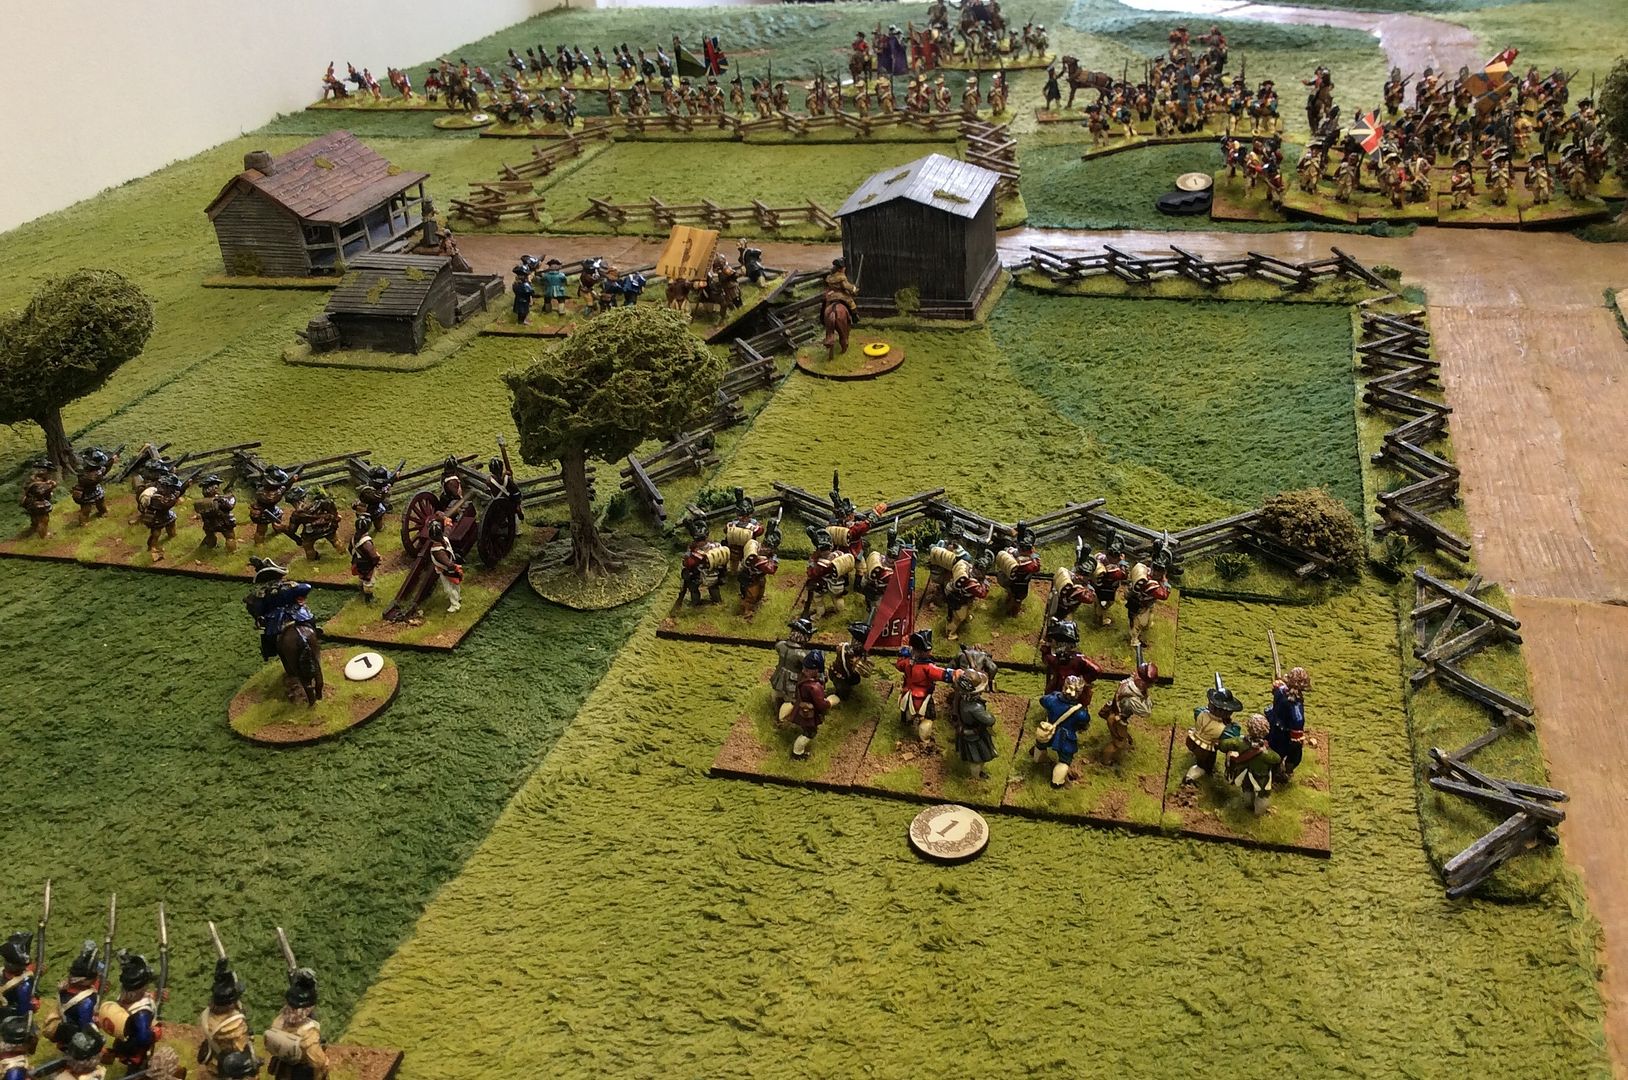
One aspect of Blackpowder which seems to divide opinion is the Command structure. We diced before the game to establish the ratings of each commander and marked the number on a small coloured piece. We both personally like the uncertainty of events which results from each command throw, but others seem less keen I've noticed. In the picture below you can see the results of one British turn, where the two far commanders have both failed an order test resulting in a piecemeal advance of the force.
The American right flank, disordered by musketry in the early stages, went onto the attack when the opportunity arose. The resulting fire fights and melees were to be bloody but brief, but more of that later.
One Militia regiment was able to fire and retire as the threat grew, but its sister unit was pinned by a Disorder marker and had to stand the trial of a prolonged firefight, which it did more due to Jon's dice throws than anything else!
Back on the American right the British Brigade opposing it is suddenly broken and flees the field. The Americans loose one Regiment to a rout, but the way seems open to swing left and roll up the British line, especially as the Hessian advance has once more stalled!
Things are never simple though in wargames as in life. British artillery hammers the Americans and they too break, even as the British before them flee the field in confusion.
As his right flank streams away to the rear, Old 'Independence or Death' must shore up his lines and so leads the reserves of Marines, Dragoons and artillery forward to engage the Guards now occupying the Bykleigh residence.
The British attack on the American left finally makes some headway. The Militia are spent and fall back behind the second line as the mass of enemy close on the position.
The American reserves are pounding the Guards occupying the house and inflicting heavy losses, it seems that the sons of liberty may carry the day!
Suddenly the Grenadier composite units supporting the wavering Foot Guards charge the American line. One American unit breaks in confusion and the second is Shaken but fights on. In the next turn both are Broken and stream away to the rear. Both armies have two broken Brigades at this stage, one more for either side will see the army itself broken and defeat inevitable!
In fact in Turn 7 the American second line on the left is broken by a combination of musket and artillery fire and so Old 'Independence or Death' sees his army quit the field. It is no consolation that he has badly mauled the enemy all across his front as all around he sees his boys in full flight from the enemy. No doubt there will be awkward questions in the Congress...
As ever, Blackpowder provided an intriguing game with the advantage swaying first one way and then the other. As the American commander I had two opportunities to win the game, but in the end my luck ran out! Jon suffered many incidents of poor or failed command rolls and as a result his attacks became disjointed, a disadvantage further hampered by unusually poor dice in firing phases! The key disadvantage for my boys came in melees, where I consistently lost and frequently failed the saving rolls. The ending of the game was sudden, though not unexpected as it turned out. Had I survived Turn 7 then Jon's British may well have broken in Turn 8, but that's life as I said earlier on!
The American right is held by a strong brigade of Continentals and State troops. As you can see they suffered badly from British musket fire in the first turn of the game!
The American left had an advanced line held by the Militia and a support line of State troops. The Militia also were to suffer under enemy fire but held their ground and traded shots with the Hessians with more tenacity than might be expected.
The British lines sweep forward into the attack. Or at least some of them did. The Hessians were markedly reluctant, so much so that we came to the conclusion they had not been paid for months!
One aspect of Blackpowder which seems to divide opinion is the Command structure. We diced before the game to establish the ratings of each commander and marked the number on a small coloured piece. We both personally like the uncertainty of events which results from each command throw, but others seem less keen I've noticed. In the picture below you can see the results of one British turn, where the two far commanders have both failed an order test resulting in a piecemeal advance of the force.
The American right flank, disordered by musketry in the early stages, went onto the attack when the opportunity arose. The resulting fire fights and melees were to be bloody but brief, but more of that later.
One Militia regiment was able to fire and retire as the threat grew, but its sister unit was pinned by a Disorder marker and had to stand the trial of a prolonged firefight, which it did more due to Jon's dice throws than anything else!
Back on the American right the British Brigade opposing it is suddenly broken and flees the field. The Americans loose one Regiment to a rout, but the way seems open to swing left and roll up the British line, especially as the Hessian advance has once more stalled!
Things are never simple though in wargames as in life. British artillery hammers the Americans and they too break, even as the British before them flee the field in confusion.
As his right flank streams away to the rear, Old 'Independence or Death' must shore up his lines and so leads the reserves of Marines, Dragoons and artillery forward to engage the Guards now occupying the Bykleigh residence.
The British attack on the American left finally makes some headway. The Militia are spent and fall back behind the second line as the mass of enemy close on the position.
The American reserves are pounding the Guards occupying the house and inflicting heavy losses, it seems that the sons of liberty may carry the day!
Suddenly the Grenadier composite units supporting the wavering Foot Guards charge the American line. One American unit breaks in confusion and the second is Shaken but fights on. In the next turn both are Broken and stream away to the rear. Both armies have two broken Brigades at this stage, one more for either side will see the army itself broken and defeat inevitable!
In fact in Turn 7 the American second line on the left is broken by a combination of musket and artillery fire and so Old 'Independence or Death' sees his army quit the field. It is no consolation that he has badly mauled the enemy all across his front as all around he sees his boys in full flight from the enemy. No doubt there will be awkward questions in the Congress...
As ever, Blackpowder provided an intriguing game with the advantage swaying first one way and then the other. As the American commander I had two opportunities to win the game, but in the end my luck ran out! Jon suffered many incidents of poor or failed command rolls and as a result his attacks became disjointed, a disadvantage further hampered by unusually poor dice in firing phases! The key disadvantage for my boys came in melees, where I consistently lost and frequently failed the saving rolls. The ending of the game was sudden, though not unexpected as it turned out. Had I survived Turn 7 then Jon's British may well have broken in Turn 8, but that's life as I said earlier on!
Subscribe to:
Posts (Atom)