David Bickley's Wargames Blog

The occasional ramblings of an average gamer, journeyman painter, indifferent modeller, games designer, sometime writer for Wargames Illustrated and host of games in GHQ.


Sunday, 19 April 2015

Austrian Army ~ Progress to Date

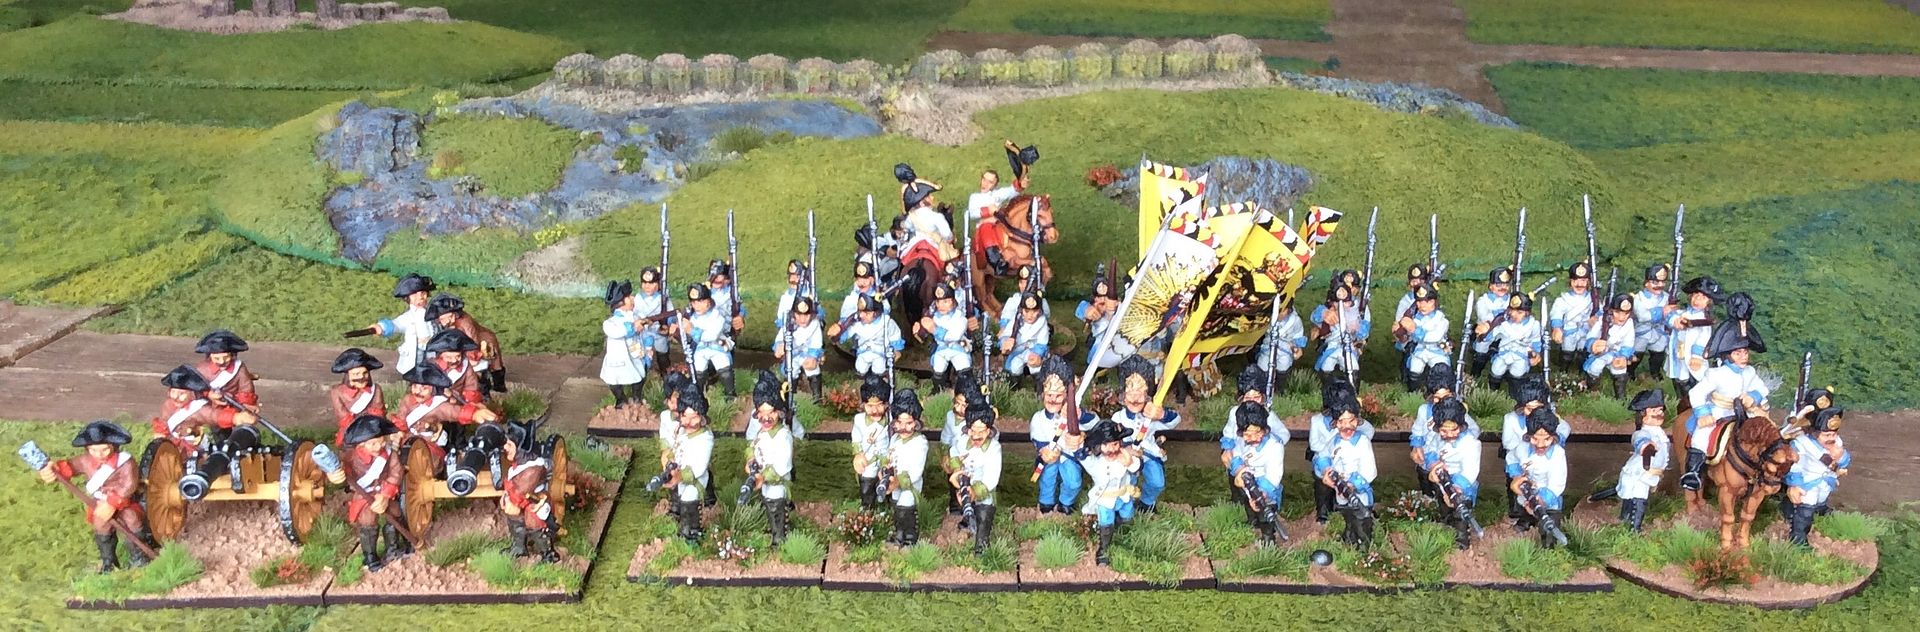
I think my muse for painting has been energised by my holiday break. I have made progress with the Wars of the French Revolution project since I returned home, so I thought a post showing what I had done was appropriate. Despite advice, I have stuck with the Foundry Austrian White for my uniform coats and trousers on the appropriate figures. In the photos the gradation of the colour, like reds I find, does n't reflect the figures on the tabletop. Firstly, the whole force painted to date ~


The two units I've painted so far this month , a 19 figure Grenadier composite Battalion and a 28 figure German infantry Battalion~
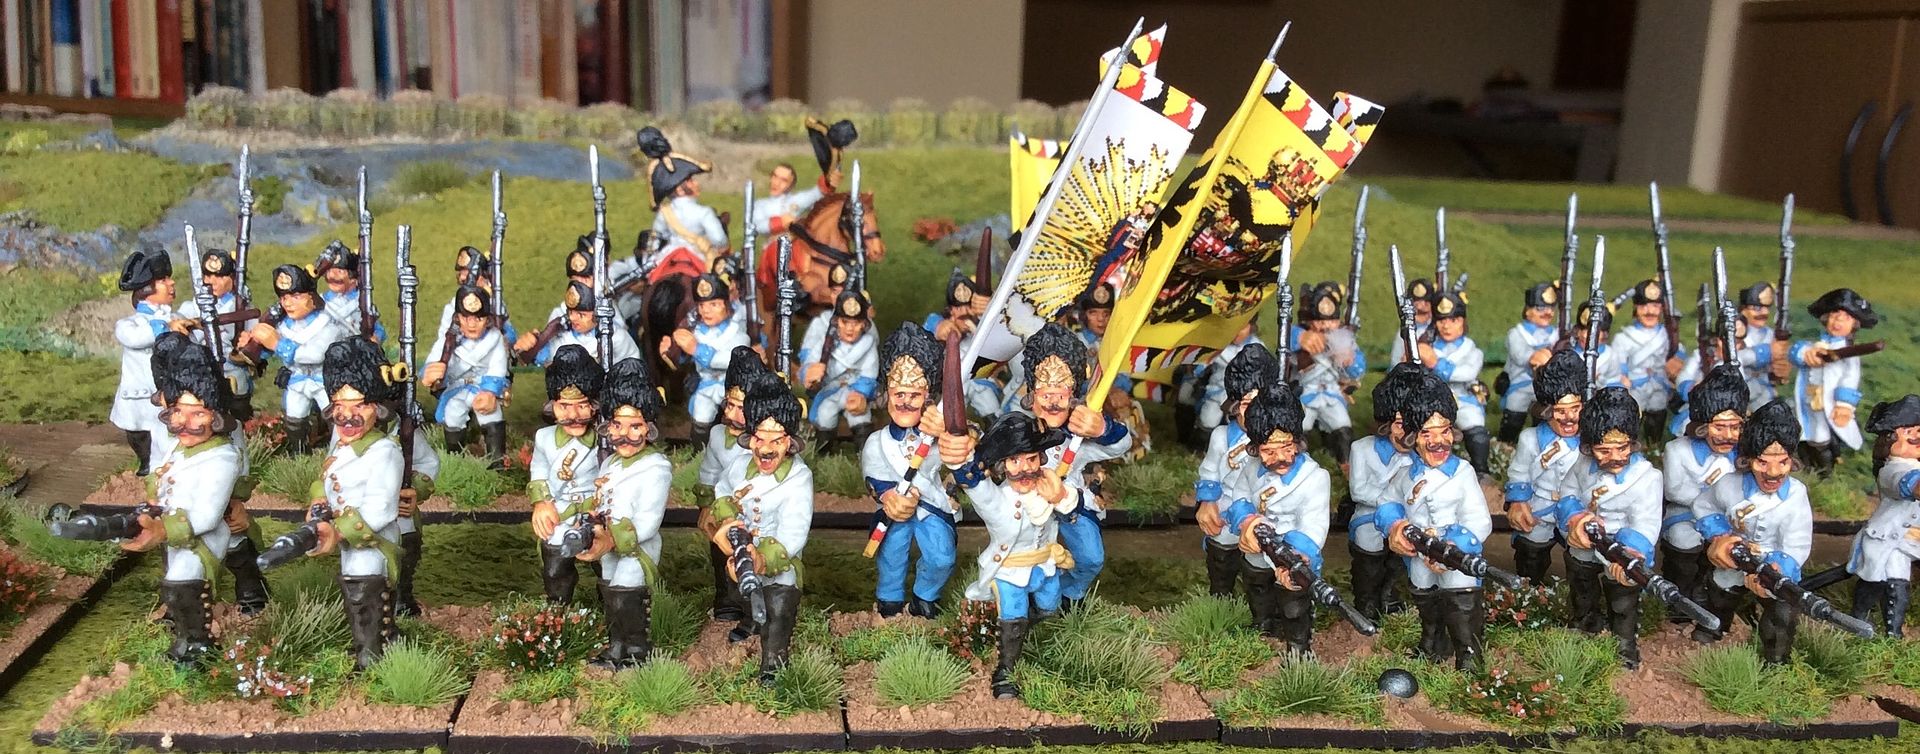


The first of the German Infantry units of 28 figures ~


Three closer shots, to give a better idea of the standard I'm aiming for, not for the fainthearted painting fascists out there ~
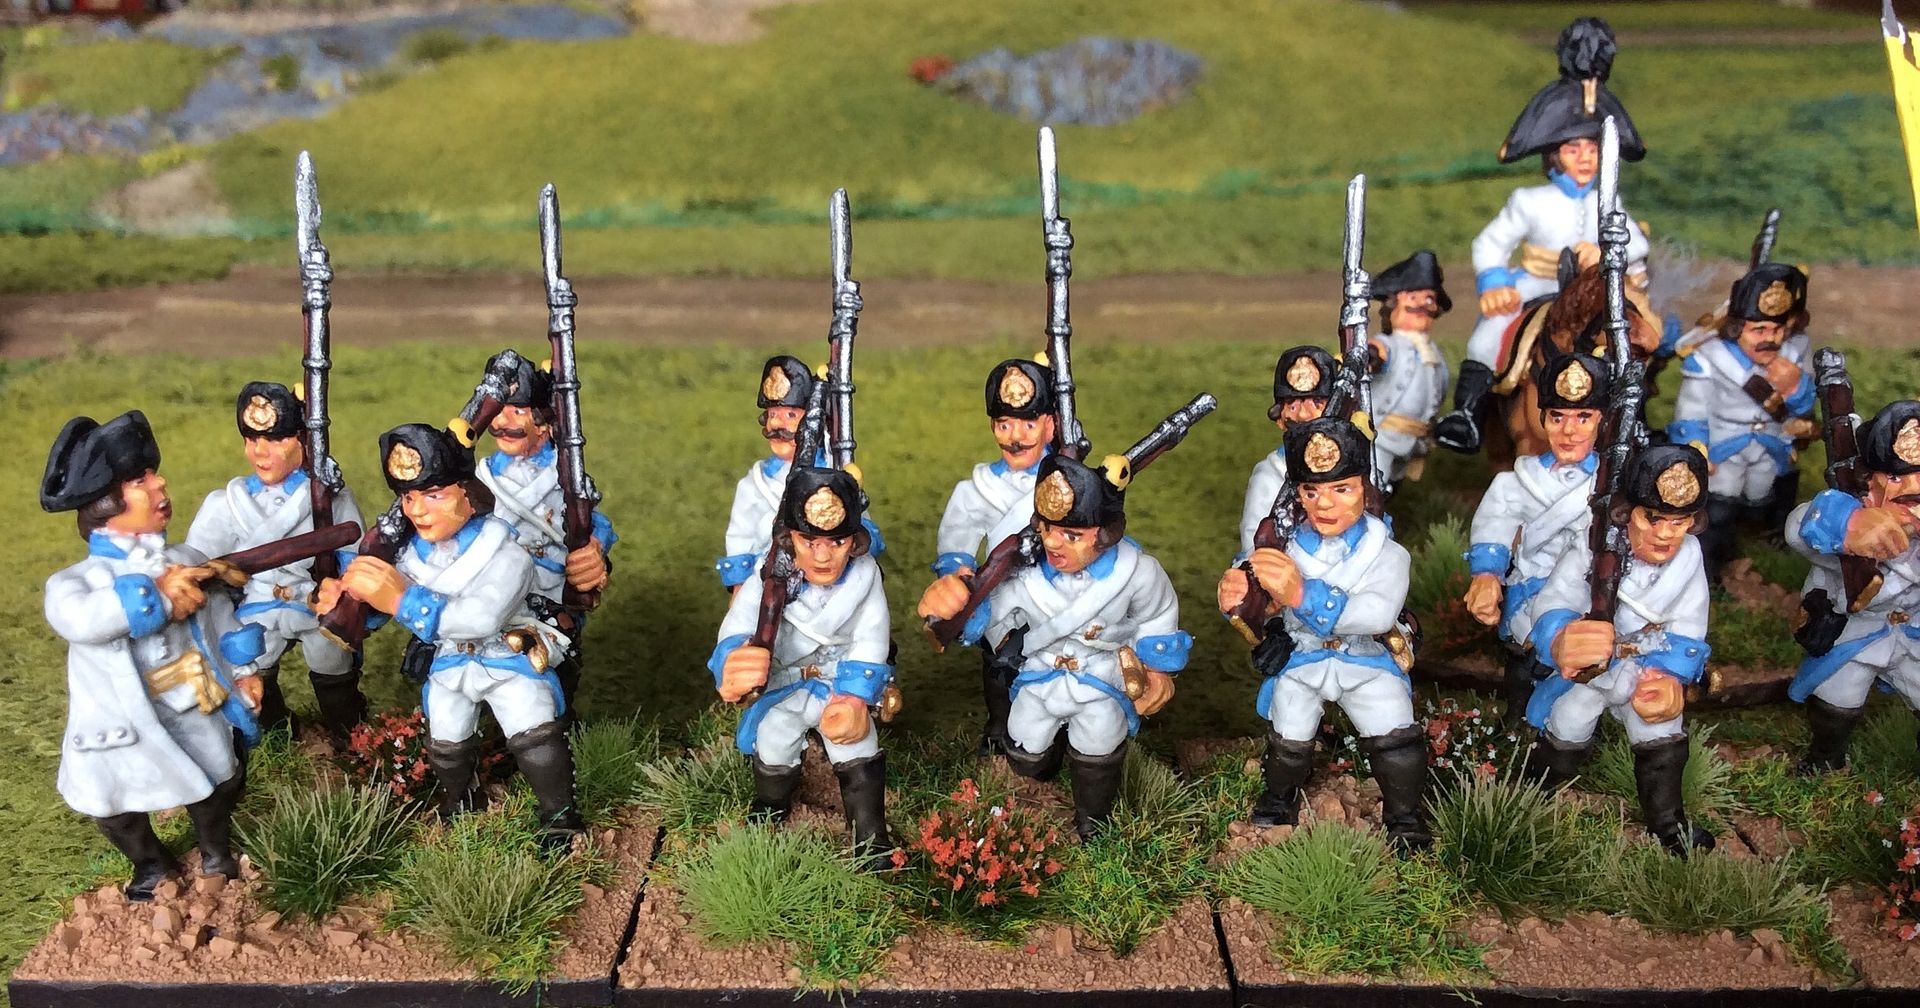
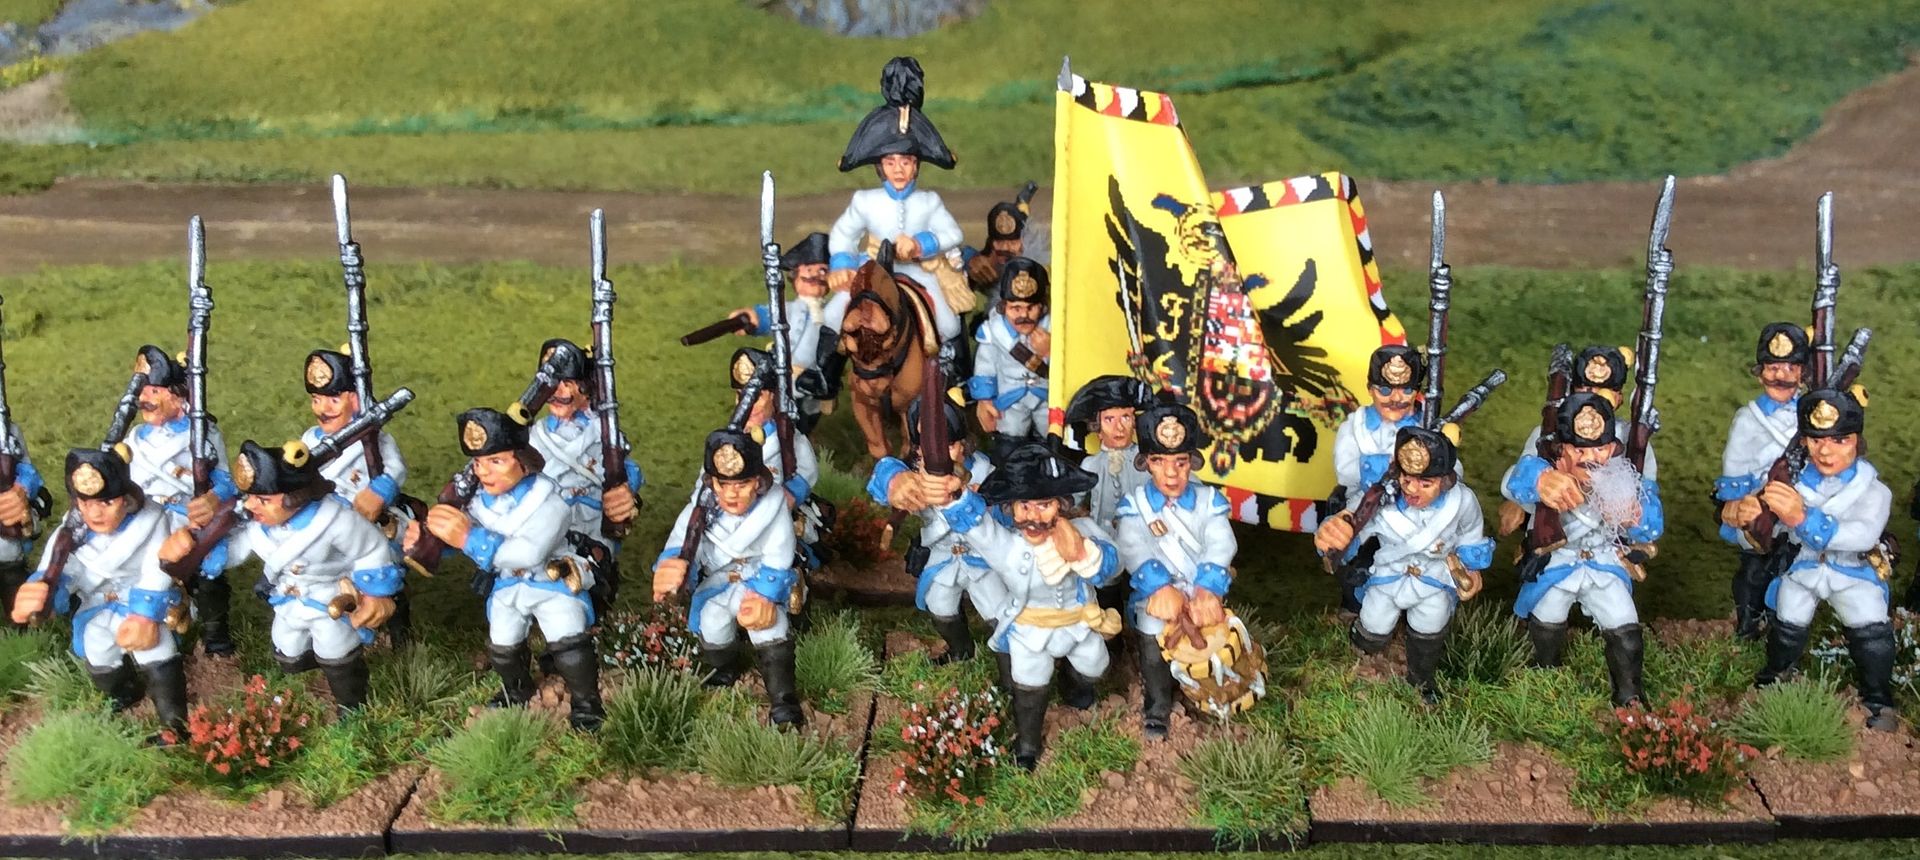
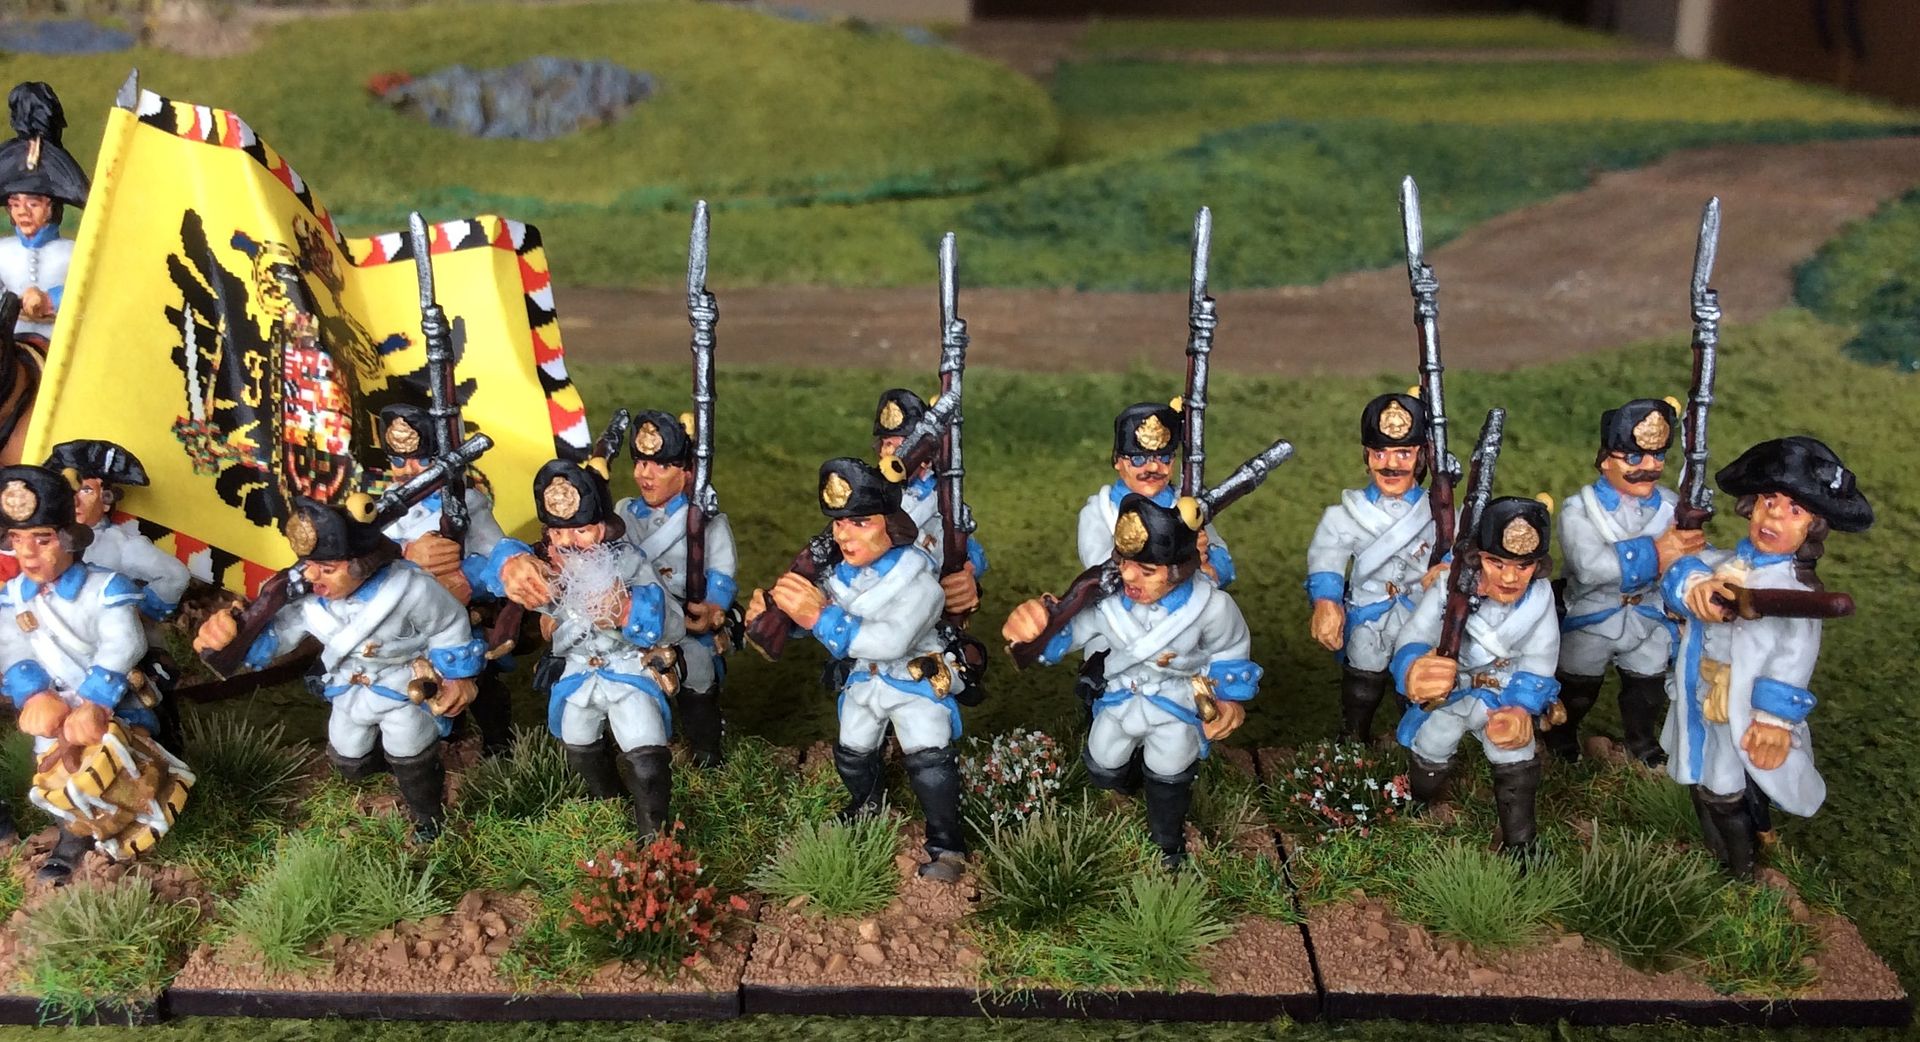


As you will undoubtedly recall, the spine of my collection for this project are Trent Miniatures, originally sculpted by my son Matt a few years ago. The sharp eyed, or awake, amongst you will probably have spotted the lone Foundry figure and the Front Rank mounted officers and generals. I've acquired a few more figures for the project this month:-
Some early French Chasseurs a Cheval, from Foundry;
Some early Austrian infantry command figures, from Foundry again;
A unit of Austrian Cuirassiers, from Eureka;
And finally, from Colonel Bill's, Ive ordered a unit of Front Rank Austrian Hussars to collect at Carronade. On the painting table at the moment I've started another Austrian German infantry Battalion, four finished so far, and some Austrian Dragoons ~ progress here halted until the Osprey I ordered turns up to help with colours of facings and horse furniture.
I have preordered some more Trent Miniatures to pick up at Partizan next month: the two French Hussars to complete the 2nd Regiment featured in an earlier post; some French skirmishers, which are hopefully cast up by then; and some British Highland Fencibles {I believe some extra command figures have been commissioned while I was away}. If funds permit I may also get another Austrian Infantry unit and perhaps some of the musicians to form a small band for the British army. We'll see how the cash situation pans out nearer the date. Well, back to painting now I think! Toodle Pip!

Friday, 17 April 2015

The Volcano God must be appeased!
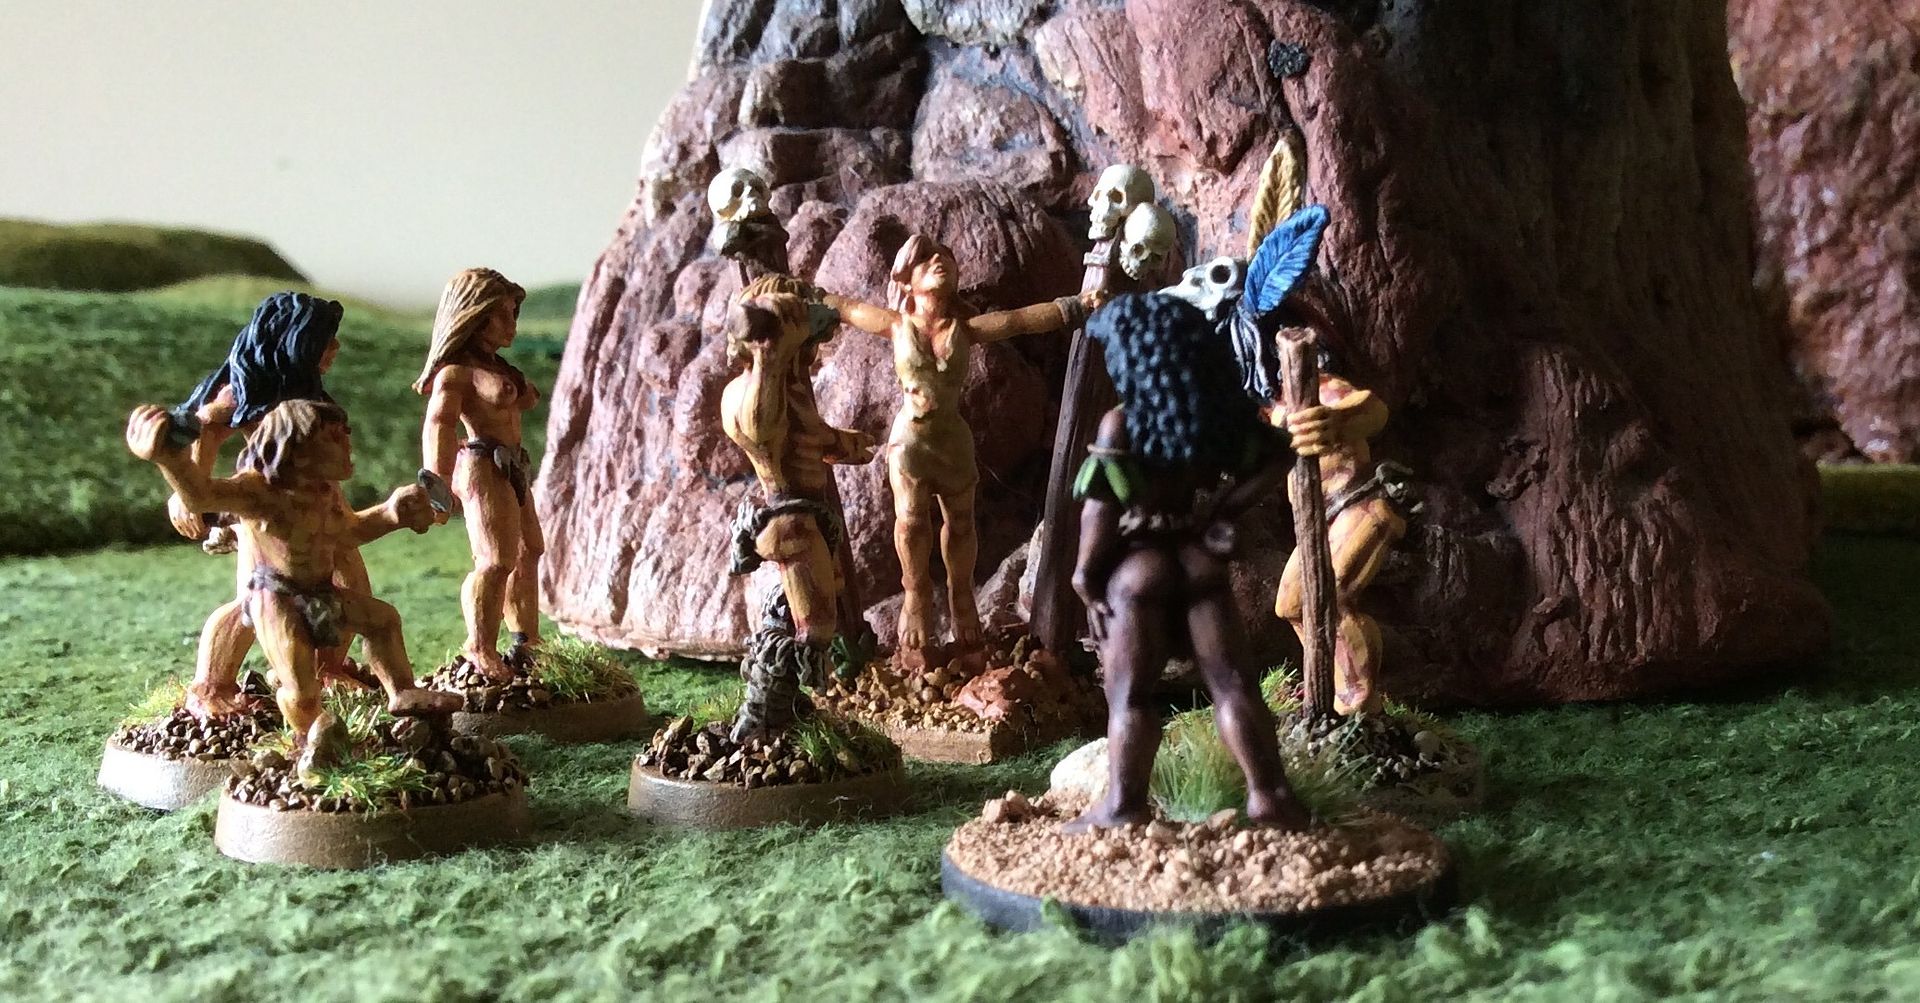
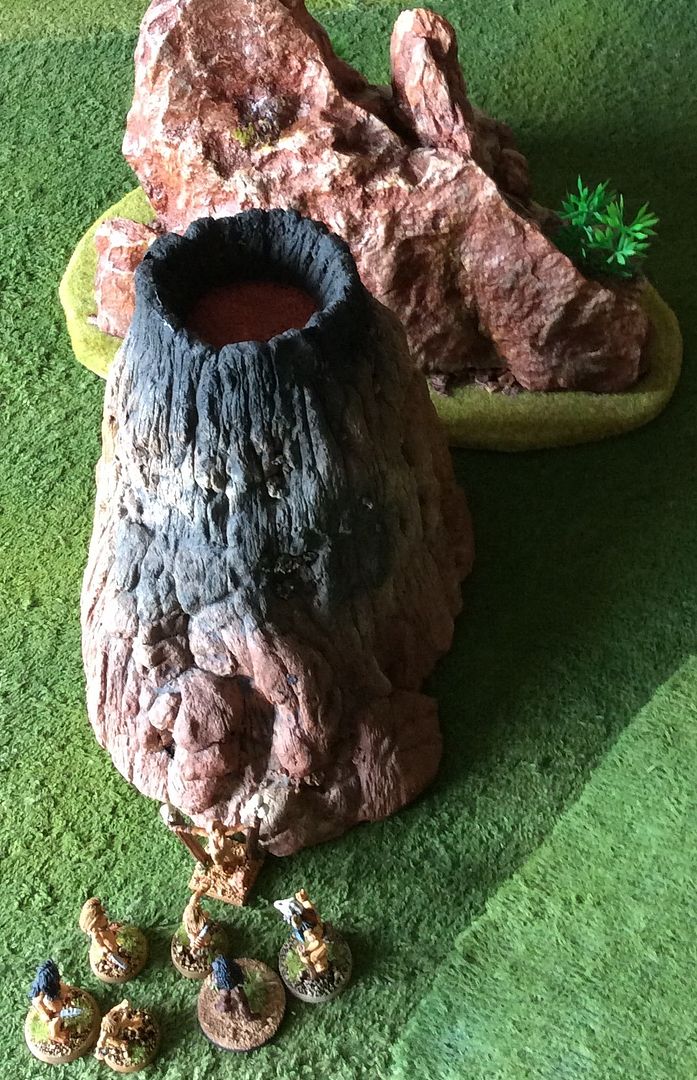
If, like me, you follow the doings of 'Eric the Shed' on his excellent Blog you will have seen that recently he added a volcano feature to his terrain tiles. I must admit I liked the idea, but lack the skills and patience to do a similar thing and anyway I would rather spend my time on figure painting. Earlier this week we popped into one of the local garden centres and there, in the Aquarium Centre, was a really nice hollow cast and pre-coloured volcano! Cost me nothing as Sue kindly treated me to it! Result! Here it is as a work in progress. I glued an MDF circular base inside the hollow cone and textured it with my standard basing grits and when it was dry painted and dry brushed the resulting lava lake with a selection of reds. Judge for yourself ~


Phil has 'volunteered' to cut out an MDF base for it which I can then texture and add some vegetation and I think it will do for our very occasional Pulp/Lost World games. The figures are from Pulp Miniatures and Copplestone Castings to give an idea of the scale of the piece ~


I'm rather chuffed with this as a find I must confess. Next up I'd like a decent scaled rope bridge over a gorge so I'll be off to local Garden Centres over the weekend I think!

Monday, 13 April 2015

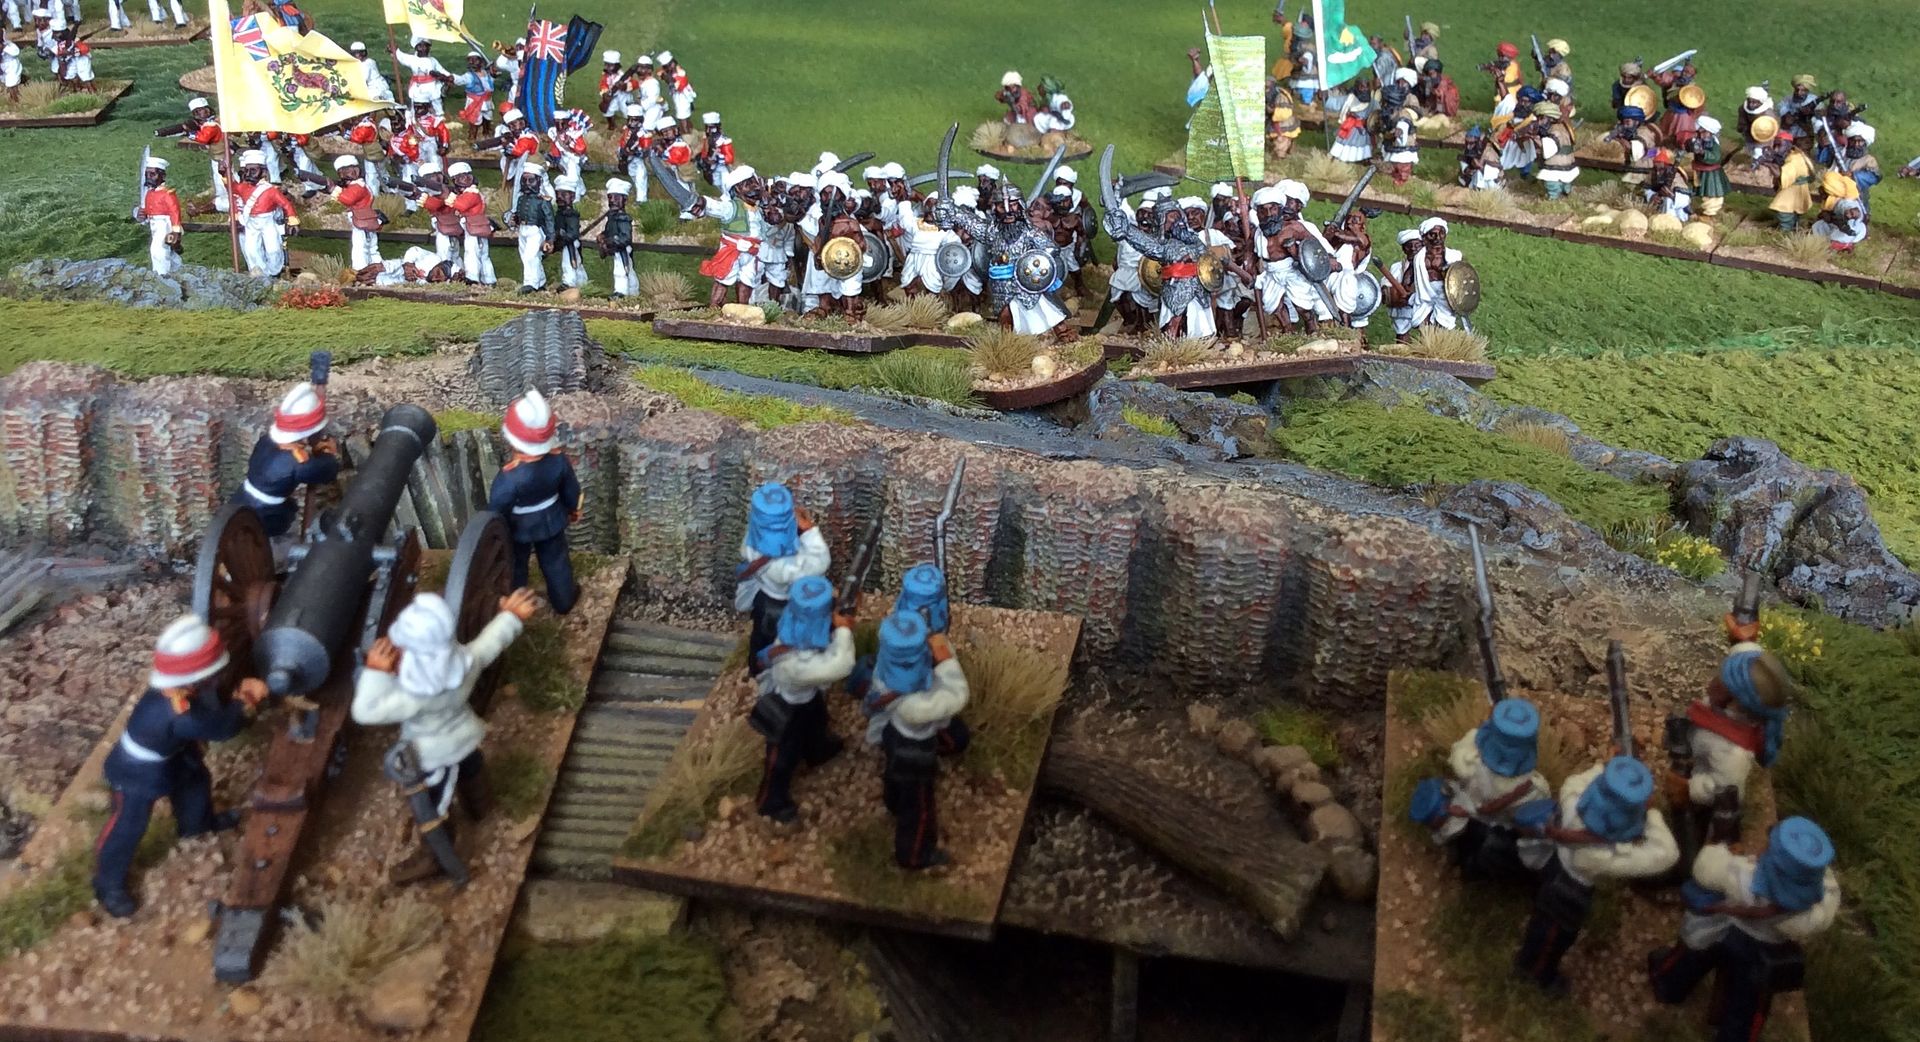
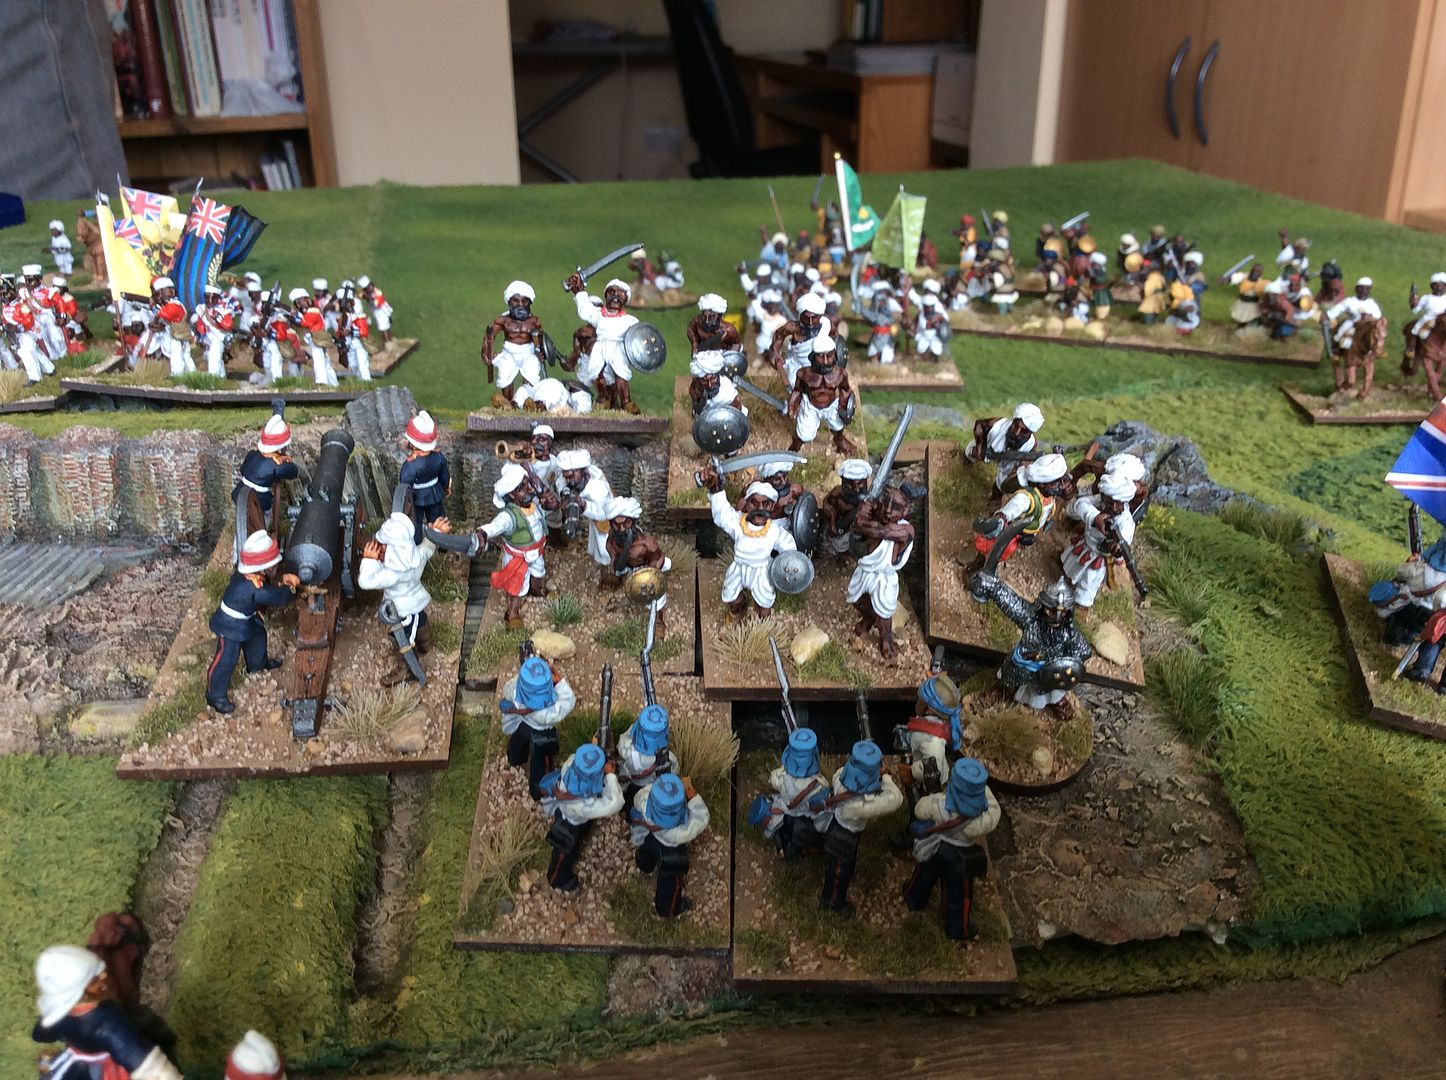
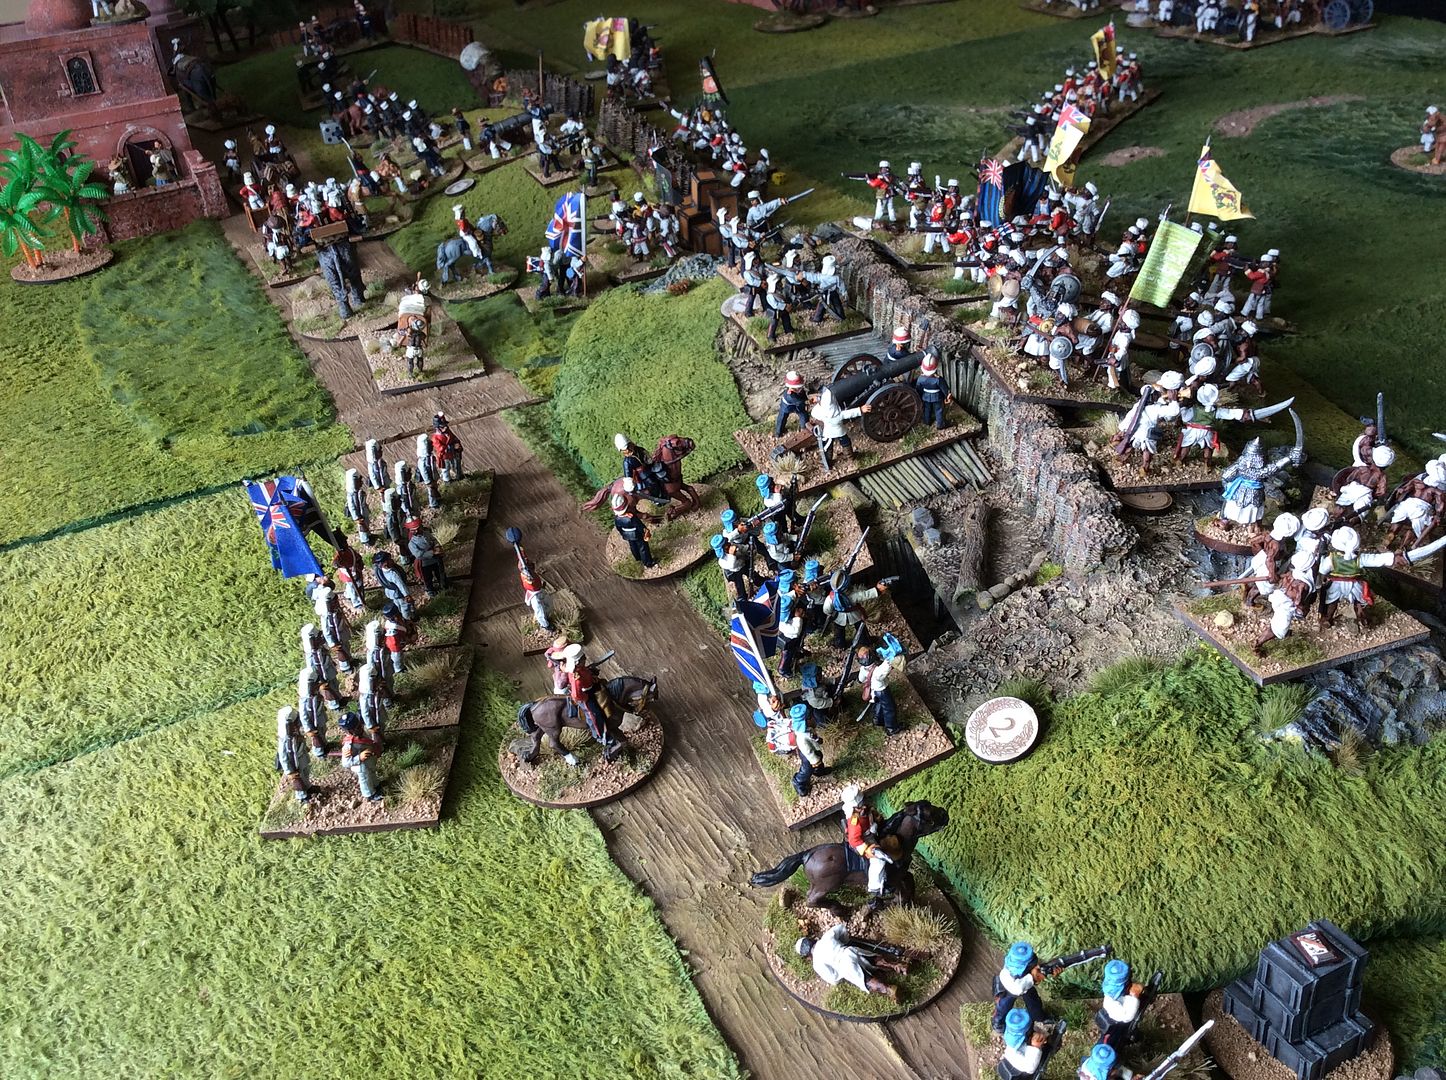
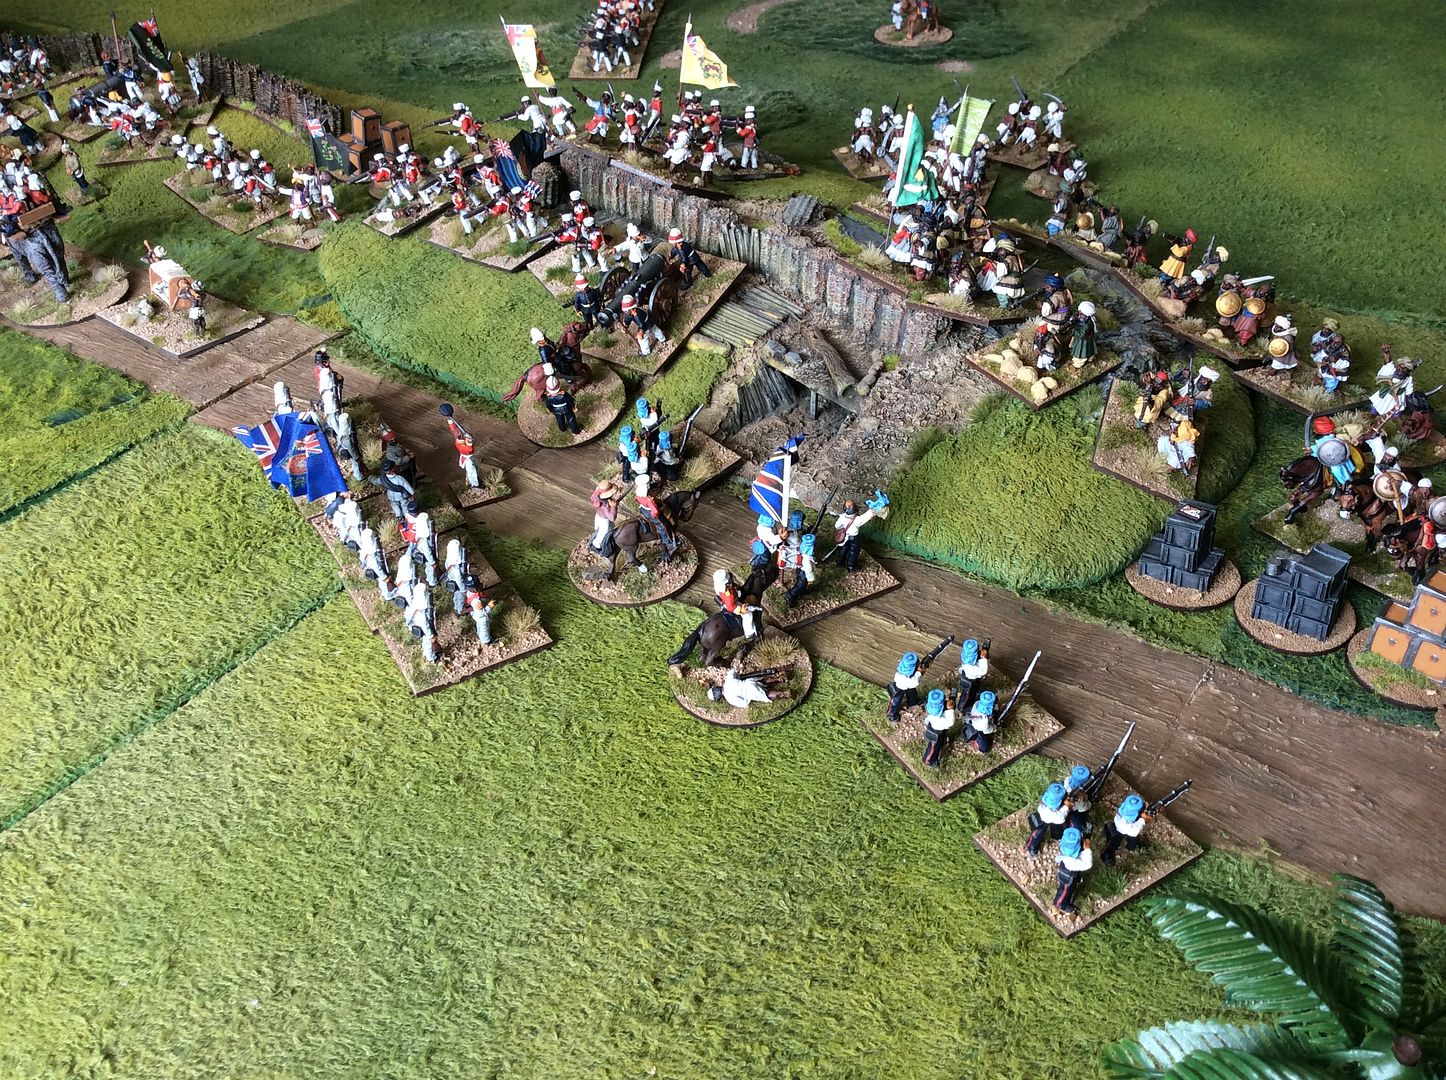
Battle For The Byklabad Ridge

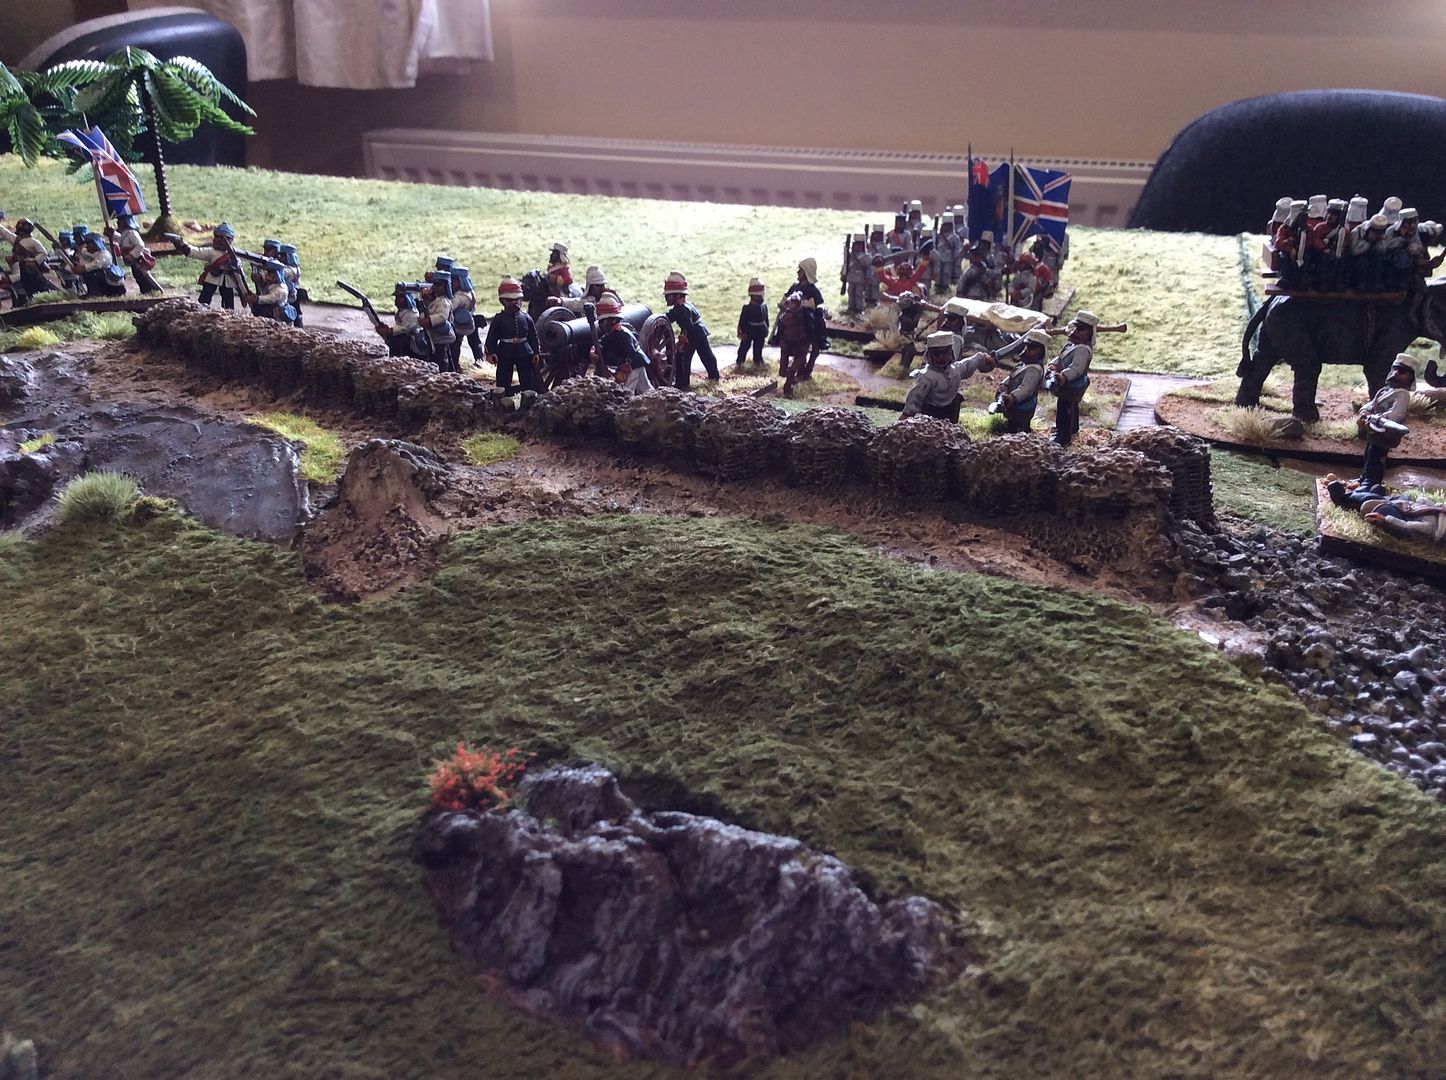
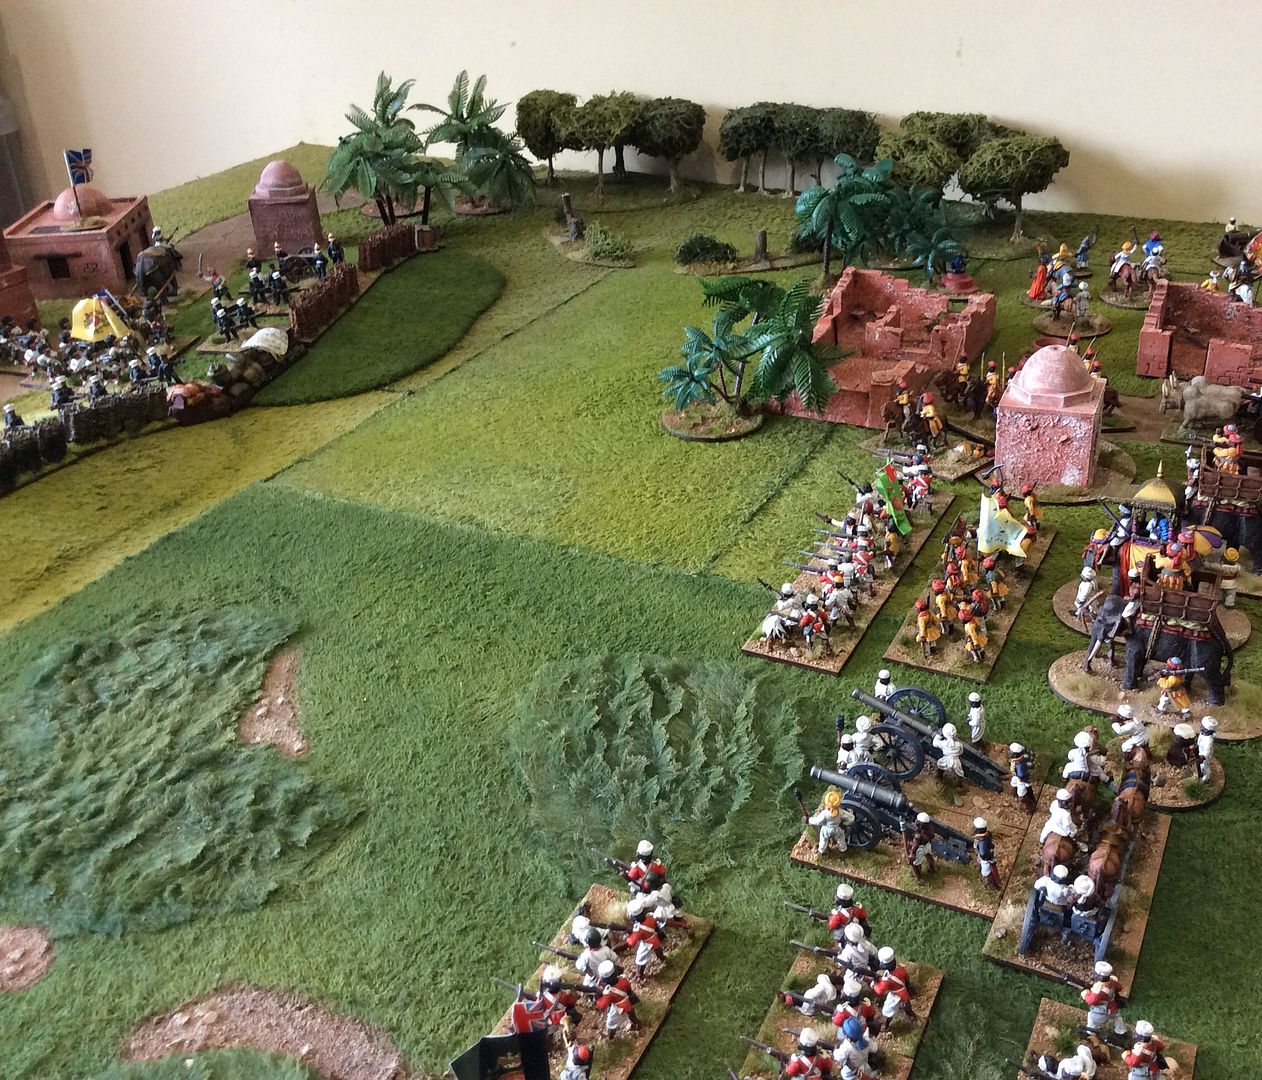
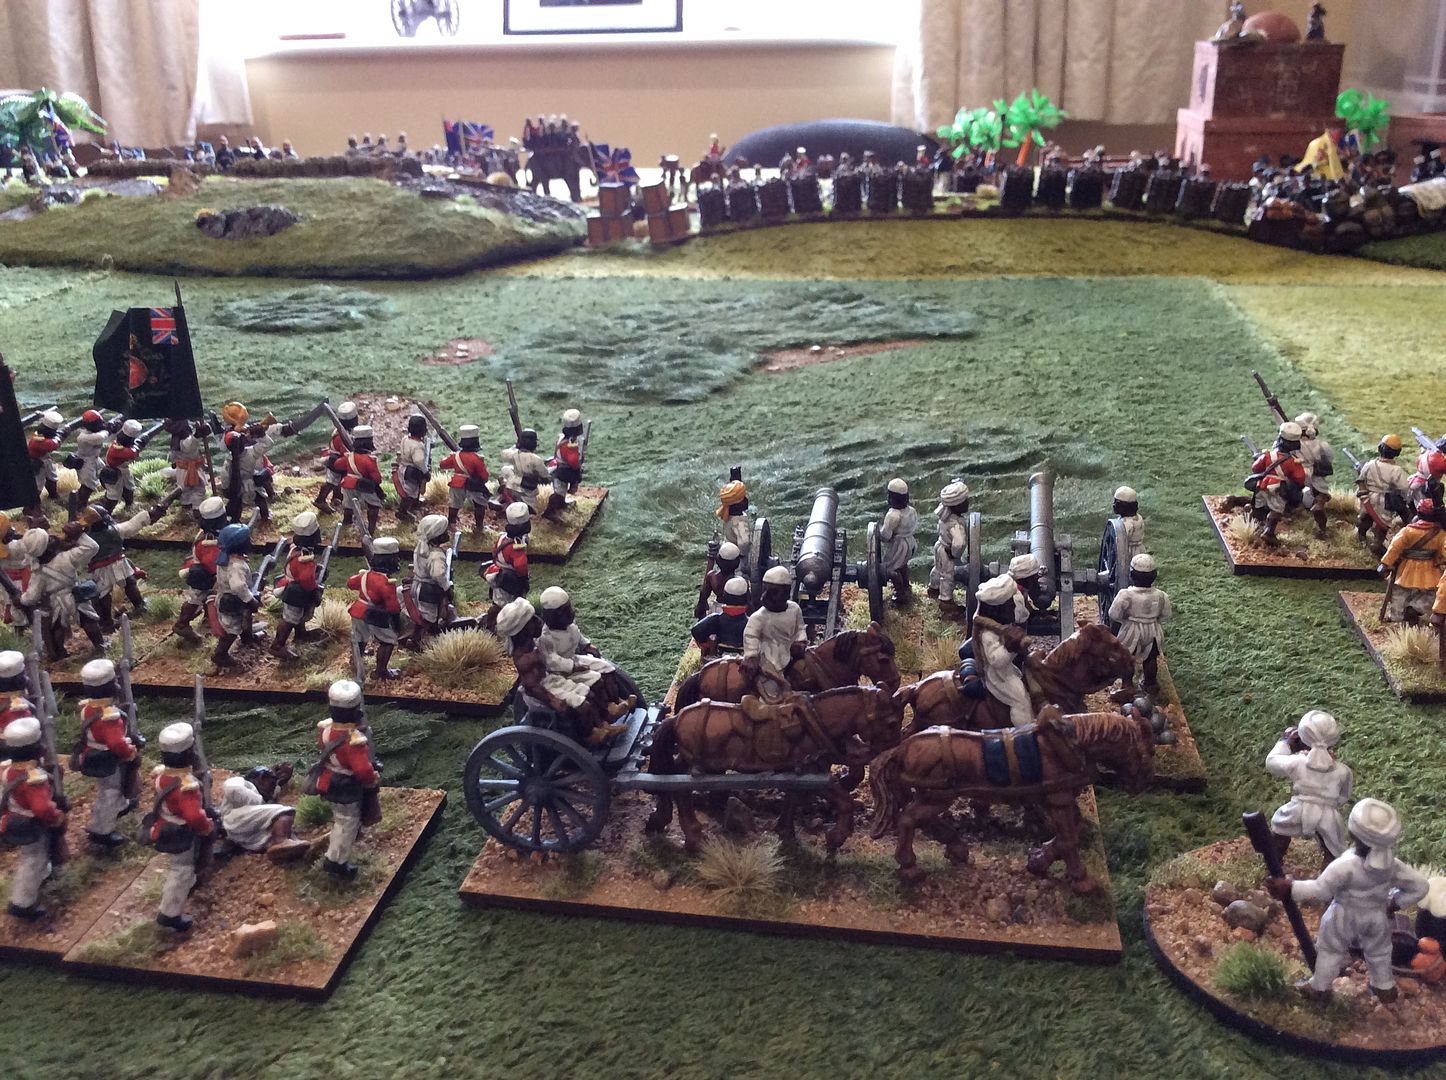
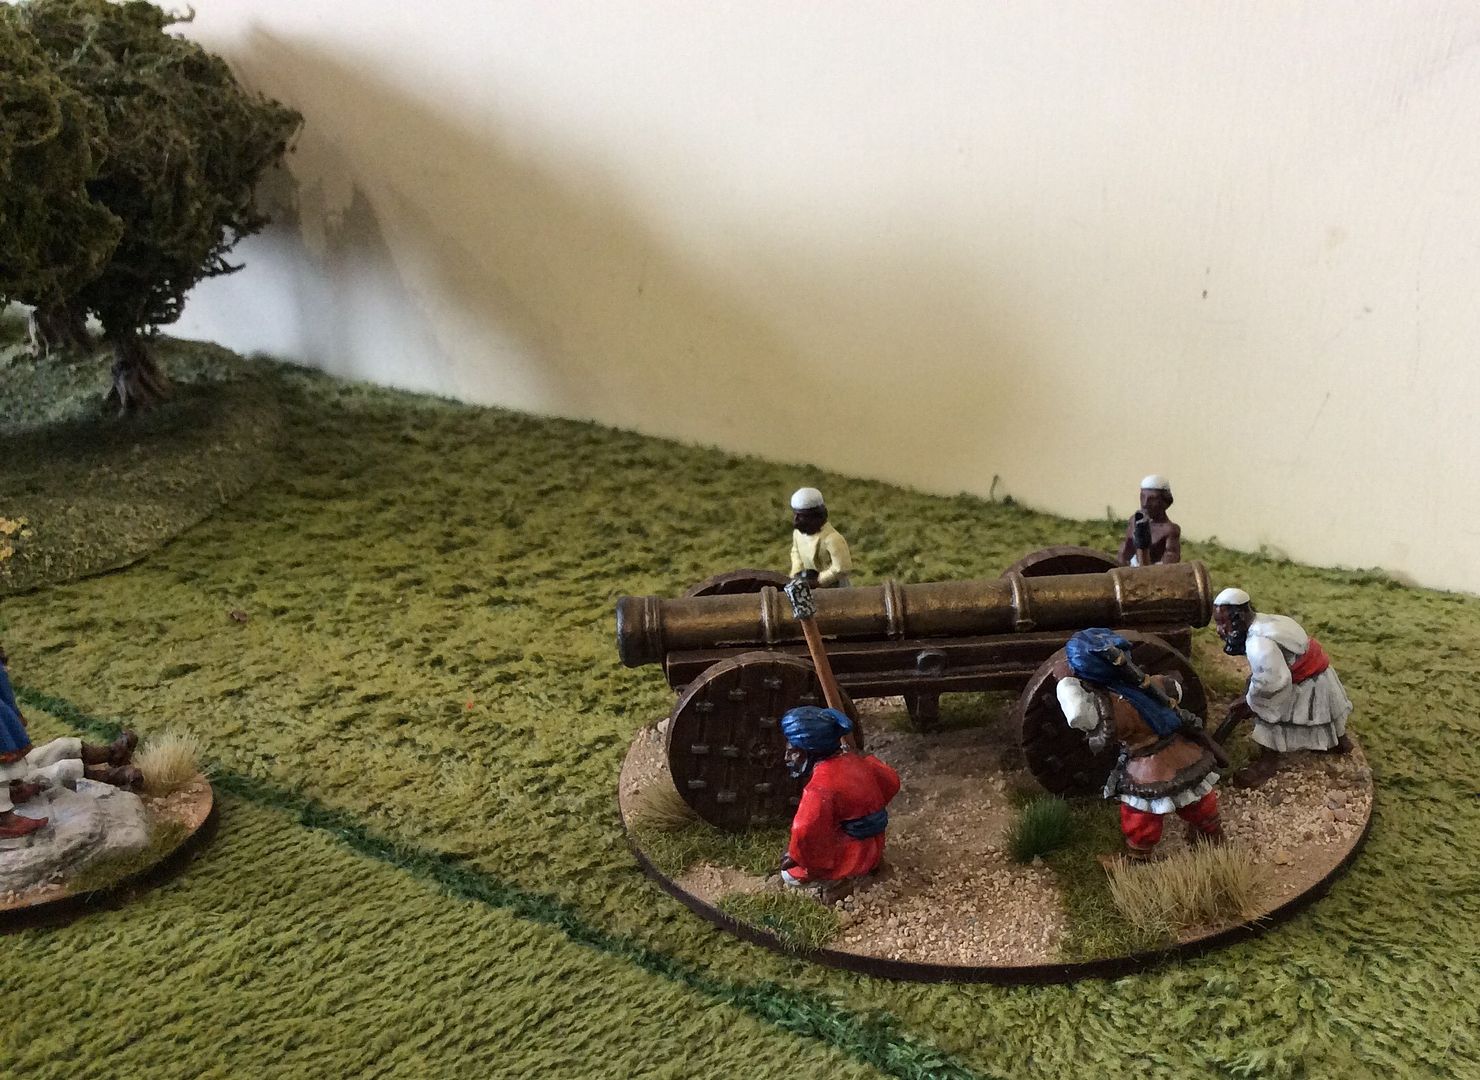
Phil and I finally managed to integrate our schedules and get together in GHQ for a game! Only seven weeks since the last time! Phil asked for an Indian Mutiny game and what follows is a photo report of the action fought out over 12 turns using my own The Devil's Wind rules. The figures are all from my collection and are mostly from the Foundry ranges. The buildings are from Mutineer Miniatures and the vegetation from either The Last Valley or, in the case of the plastic palm trees, from Tiger Miniatures. Now, on with the action.
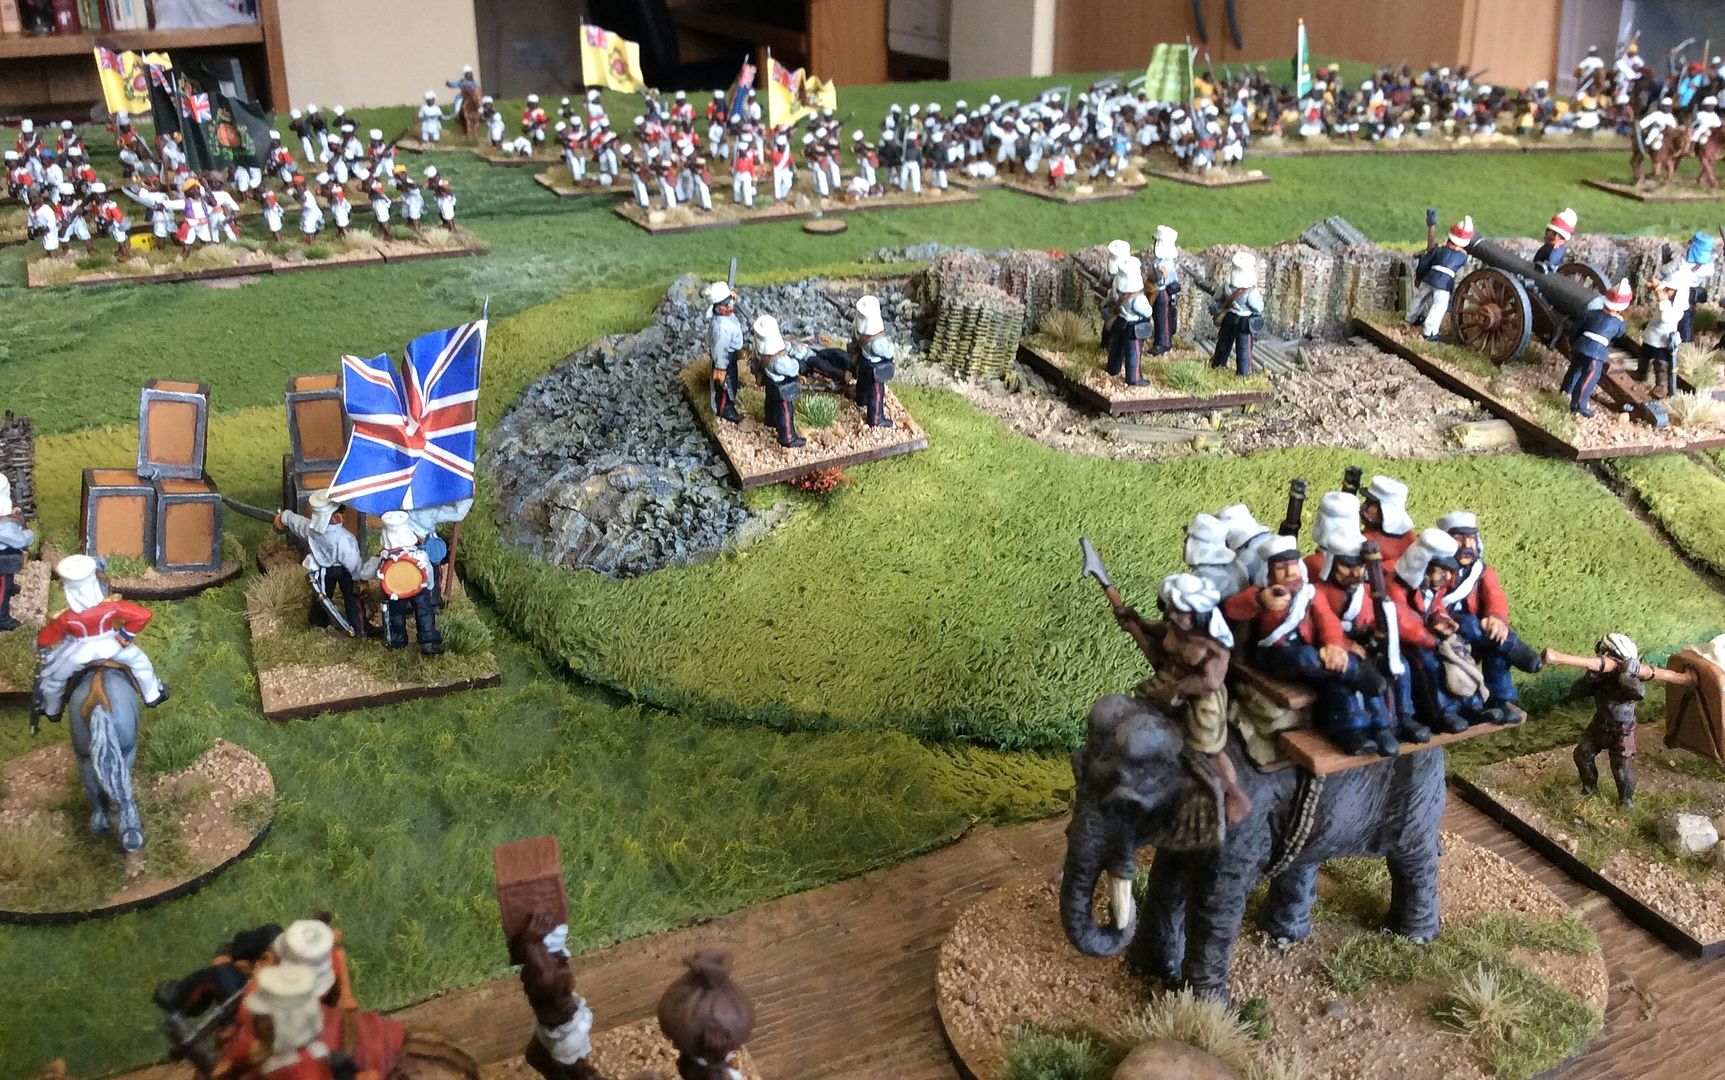
The gallant defenders of the Ridge outside Byklabad stand too in the early morning light ~


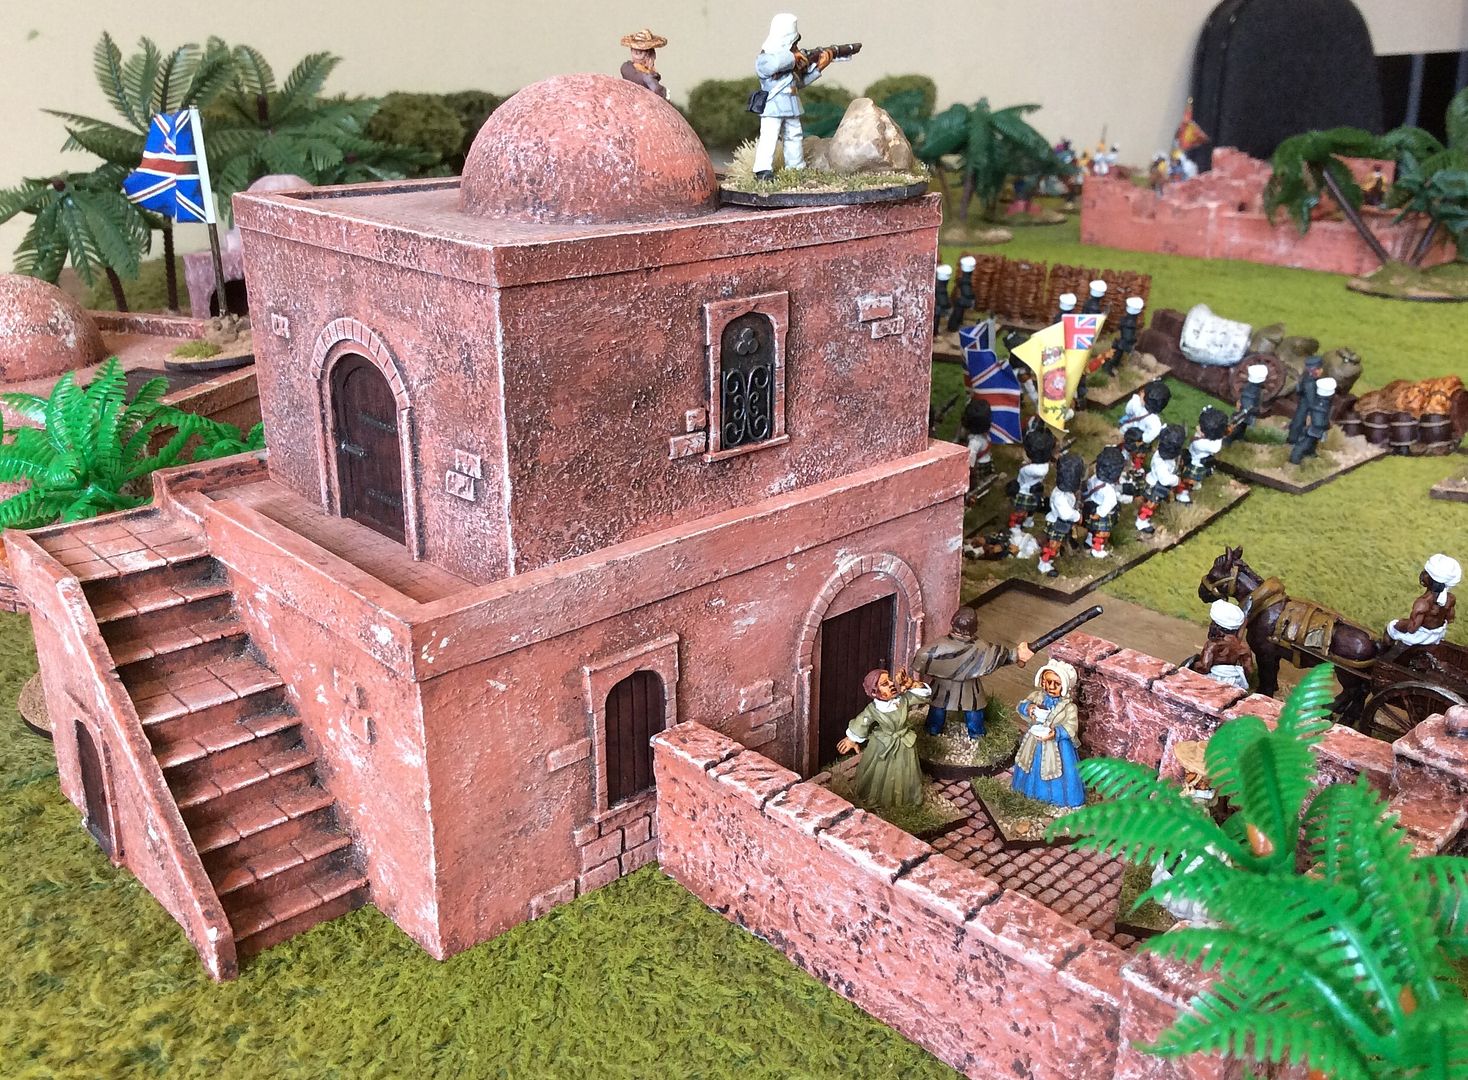
The British Resident and his entourage prepare to quit the Residency at Byklabad ~


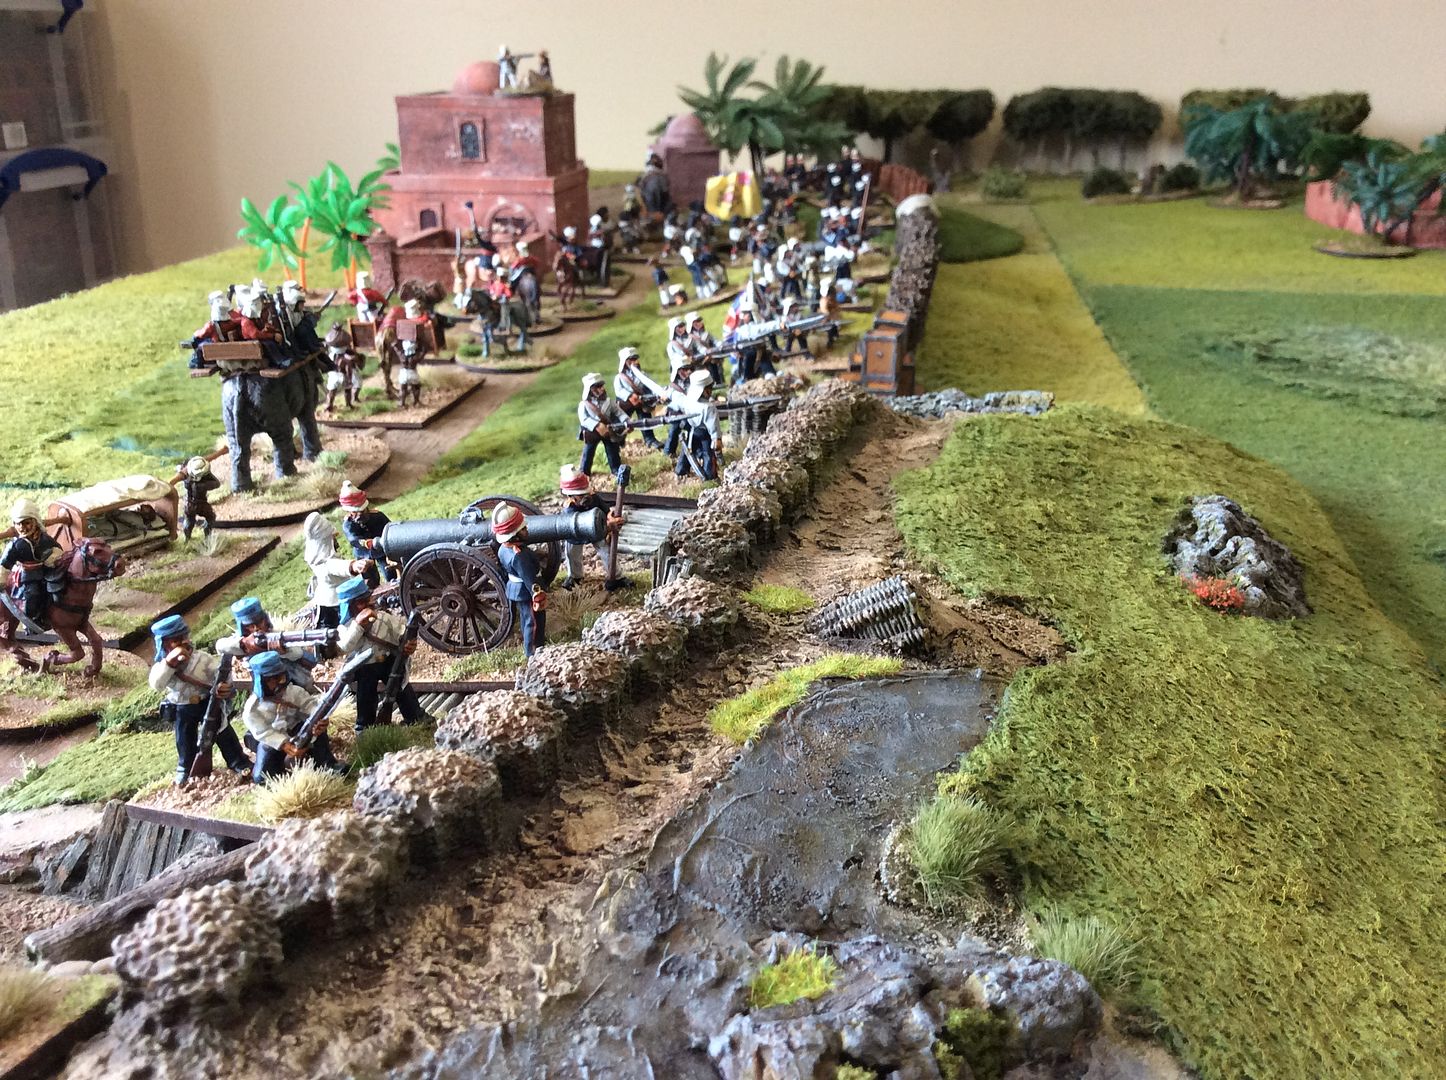
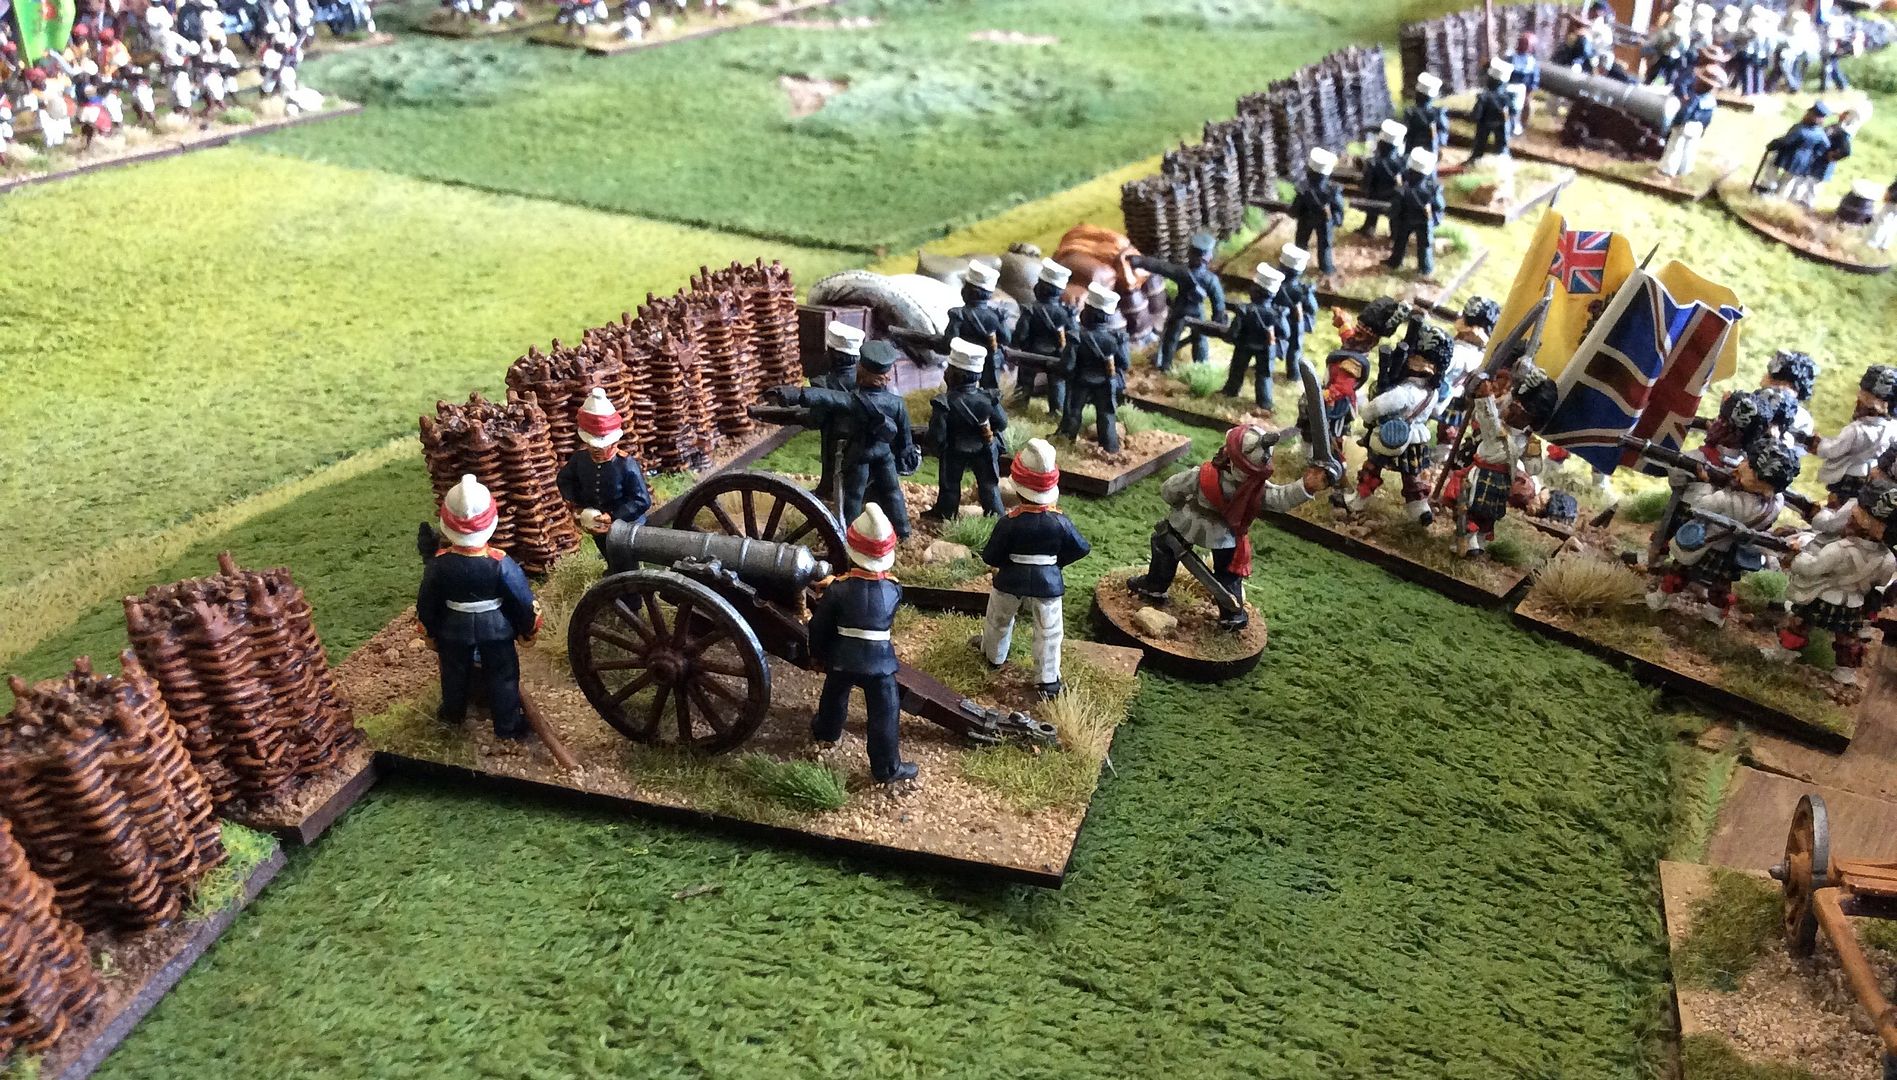
The Gurkhas, supported by a heavy gun and the Highlanders, prepare to defend the Ridge ~


The infantry of the H.E.I.C., supported by British Regulars and a heavy gun defend the eastern end of the Ridge ~


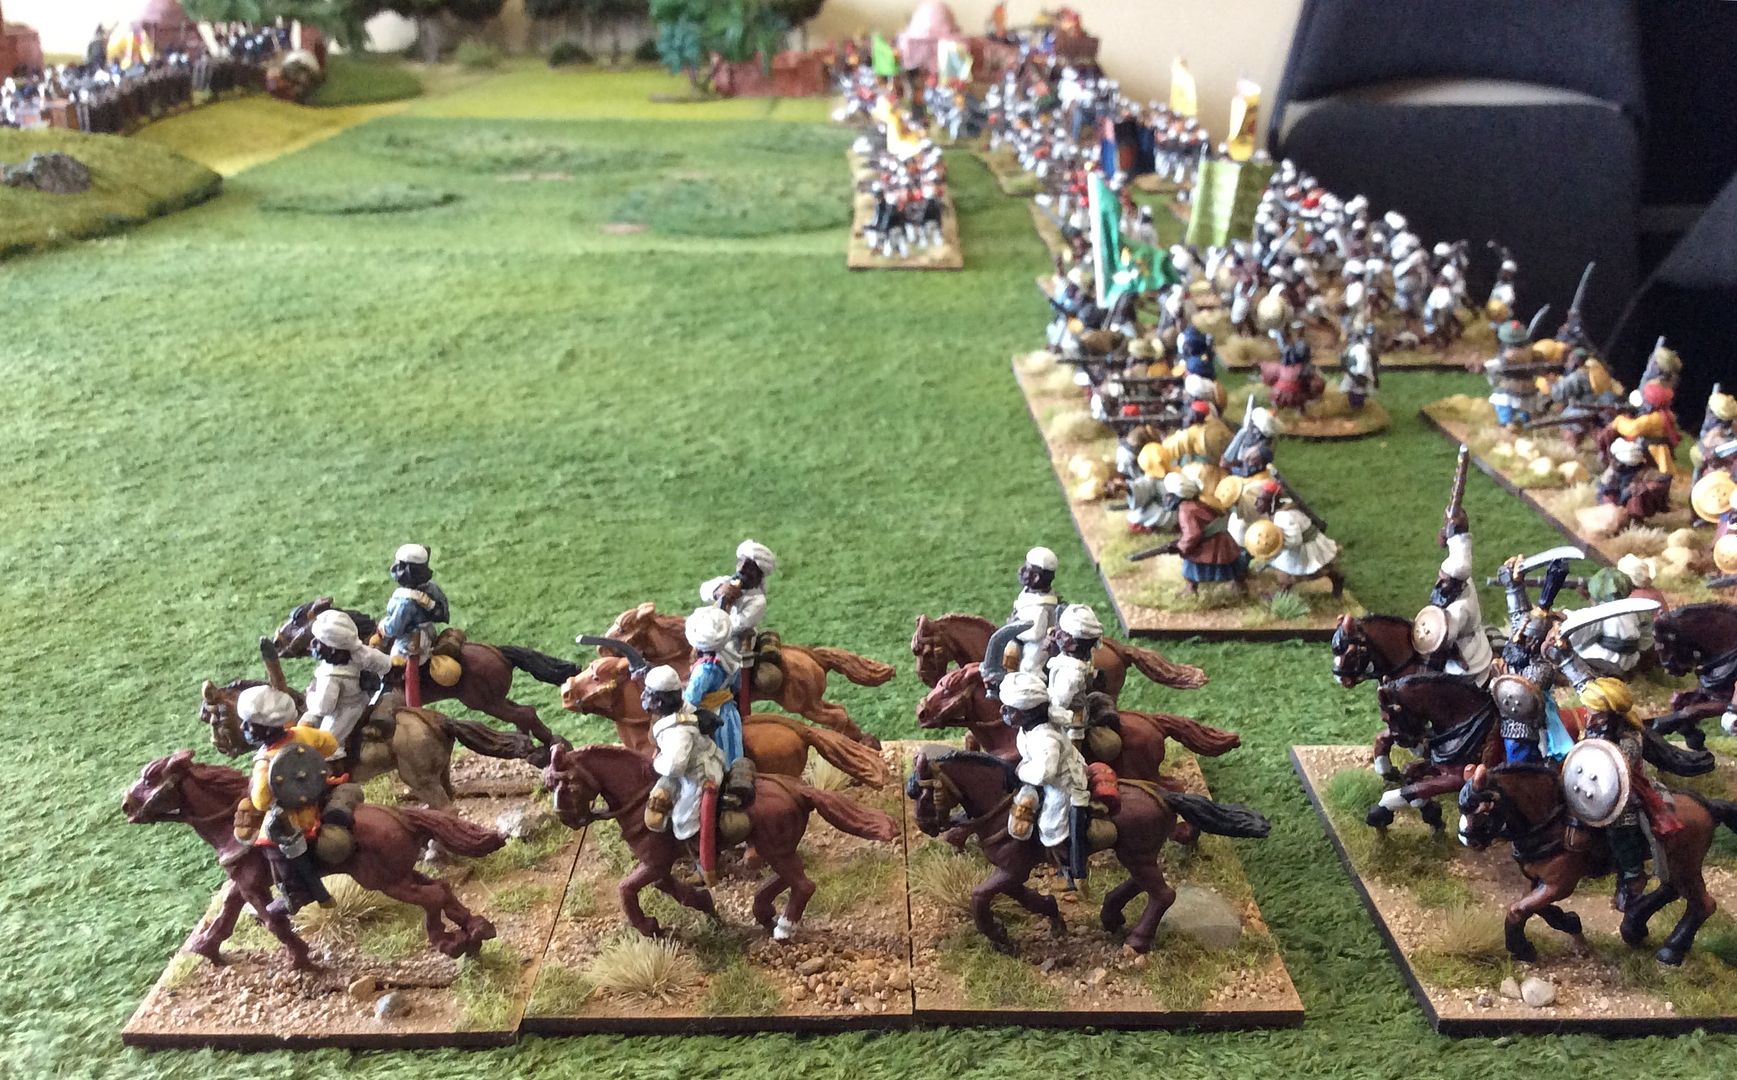
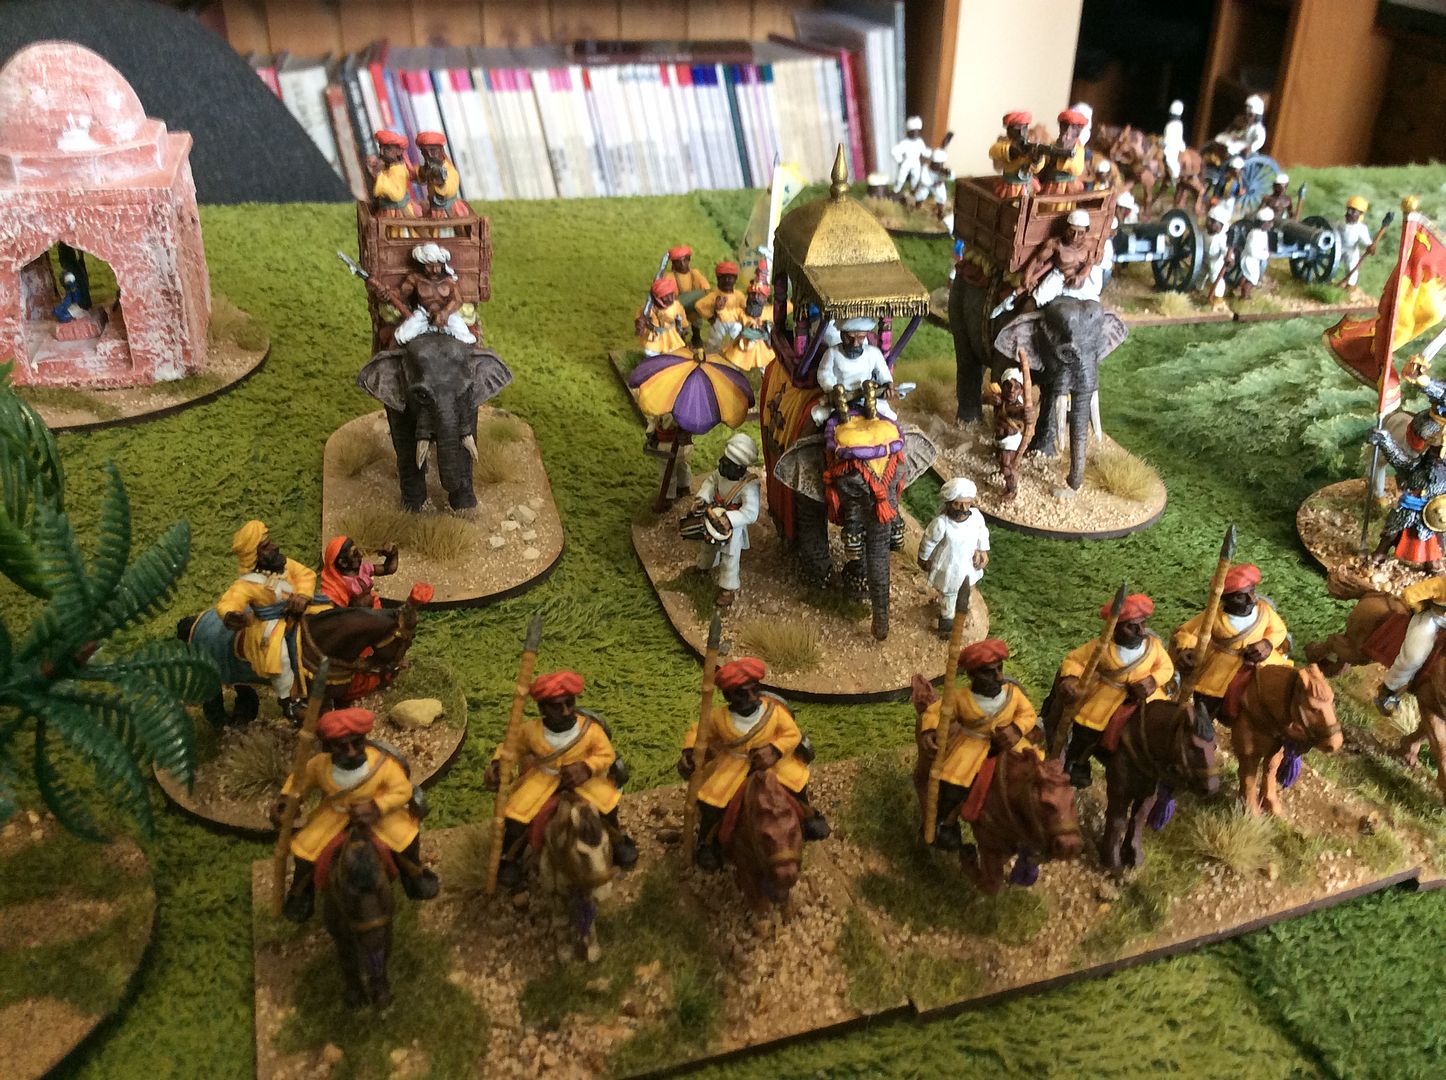
The mutinous hordes prepare for the assault ~


Mutineer guns batter the Ridge's defenders ~


The 'Great Gun of Byklabad' prepare to batter the Residency ~


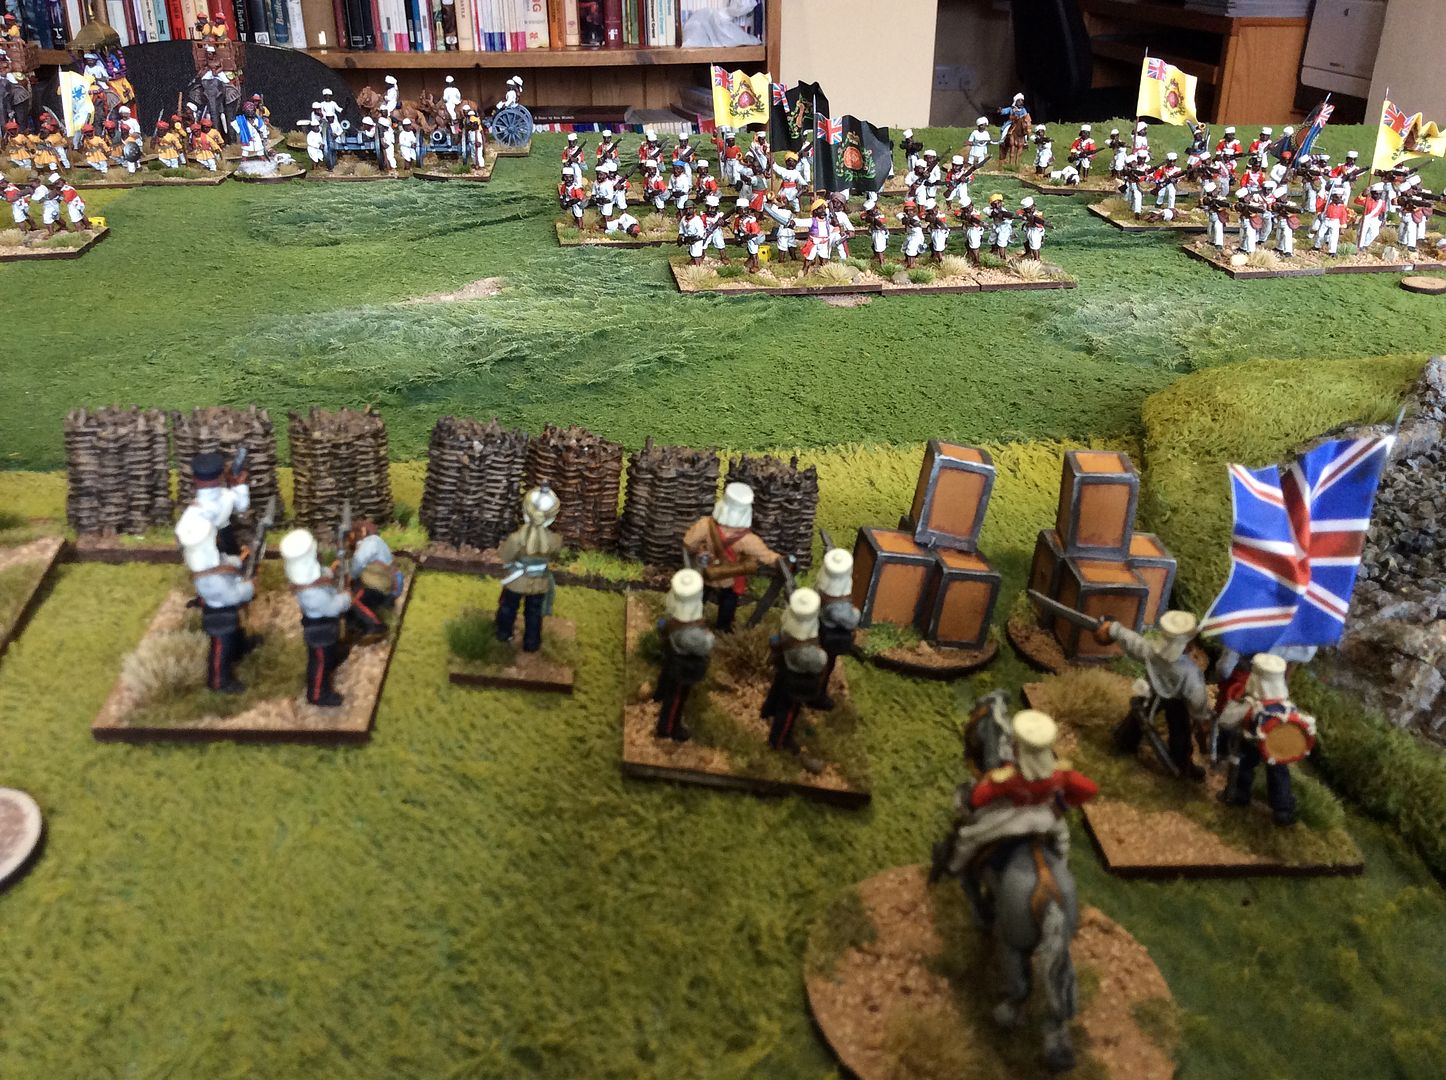
The defenders eye view as the assault on the Ridge gathers pace ~


On the Mutineers' left flank cavalry rushes forward to screen the assault ~


"Steady Boys!"


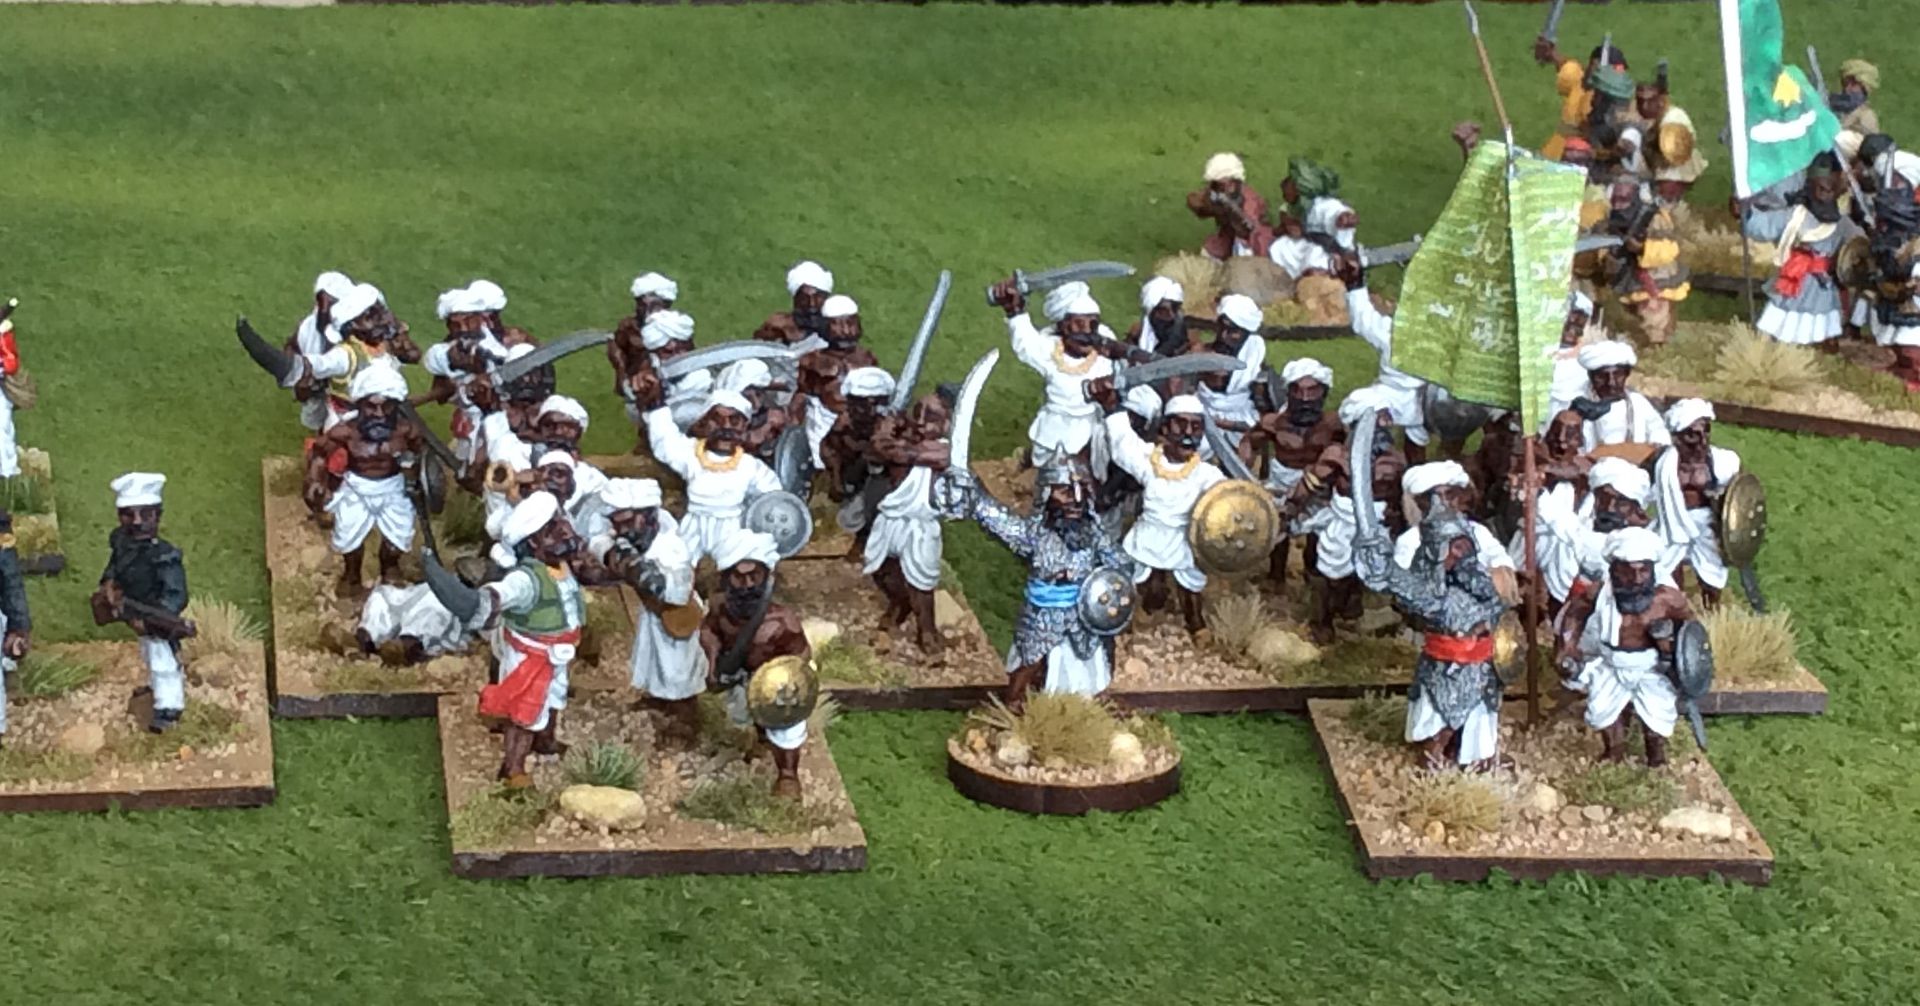
On the Mutineers' right flank the Raja of Rhanli exhorts his men to the attack ~


On the Mutineers' left flank, screened by the cavalry, hordes of Badmash and Irregular Hill Tribesmen rush the defences ~


"Fire!"


Under heavy fire one unit of Badmash falters but the other presses on!


The defenders are overwhelmed!


Time for a quick exit perhaps?


Weight of numbers begin to take their toll of the defenders ~


The Mutineers pour through the gap in the centre of the defences ~


Safe in the knowledge that the Mutineers have broken the resolve of the defenders, the Raja of Rhanli decides to advance!


I conceded defeat in turn 11, my centre was broken and I had few reserves to hold a line!  The Resident and his party made a swift exit, leaving General H.W. Hardly-Worthitt to salvage what he could from the defeat!


We both enjoyed the day's game, though my pleasure was tempered by awful dice luck through out the game, with my artillery proving particularly ineffective and my infantry fire being more than wayward! But, that's wargaming for you, up one game and down the next! To the next time!

Thursday, 9 April 2015

De Whytt's Gamble

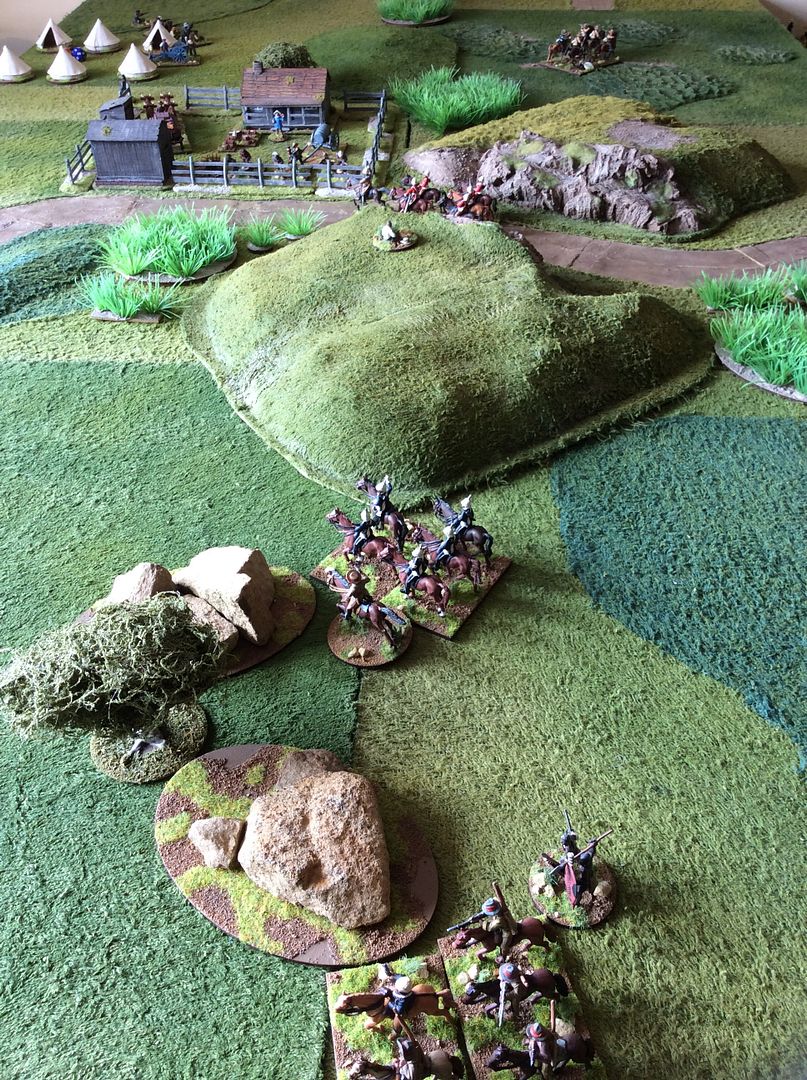
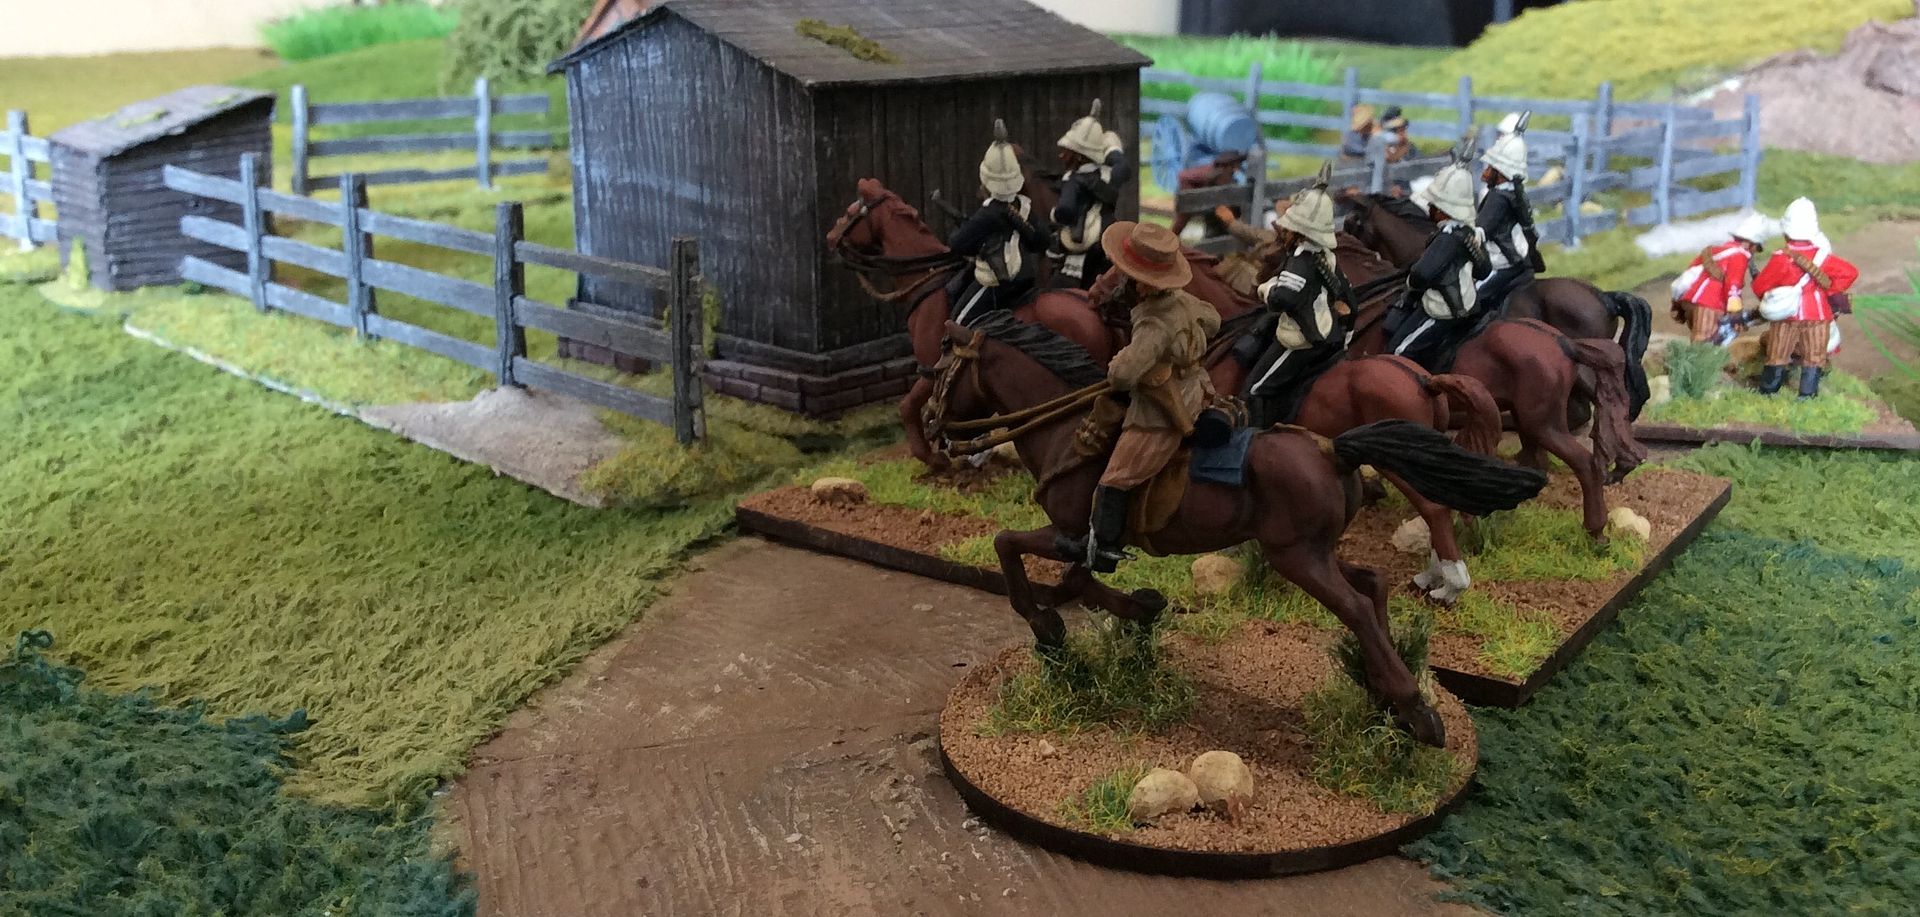
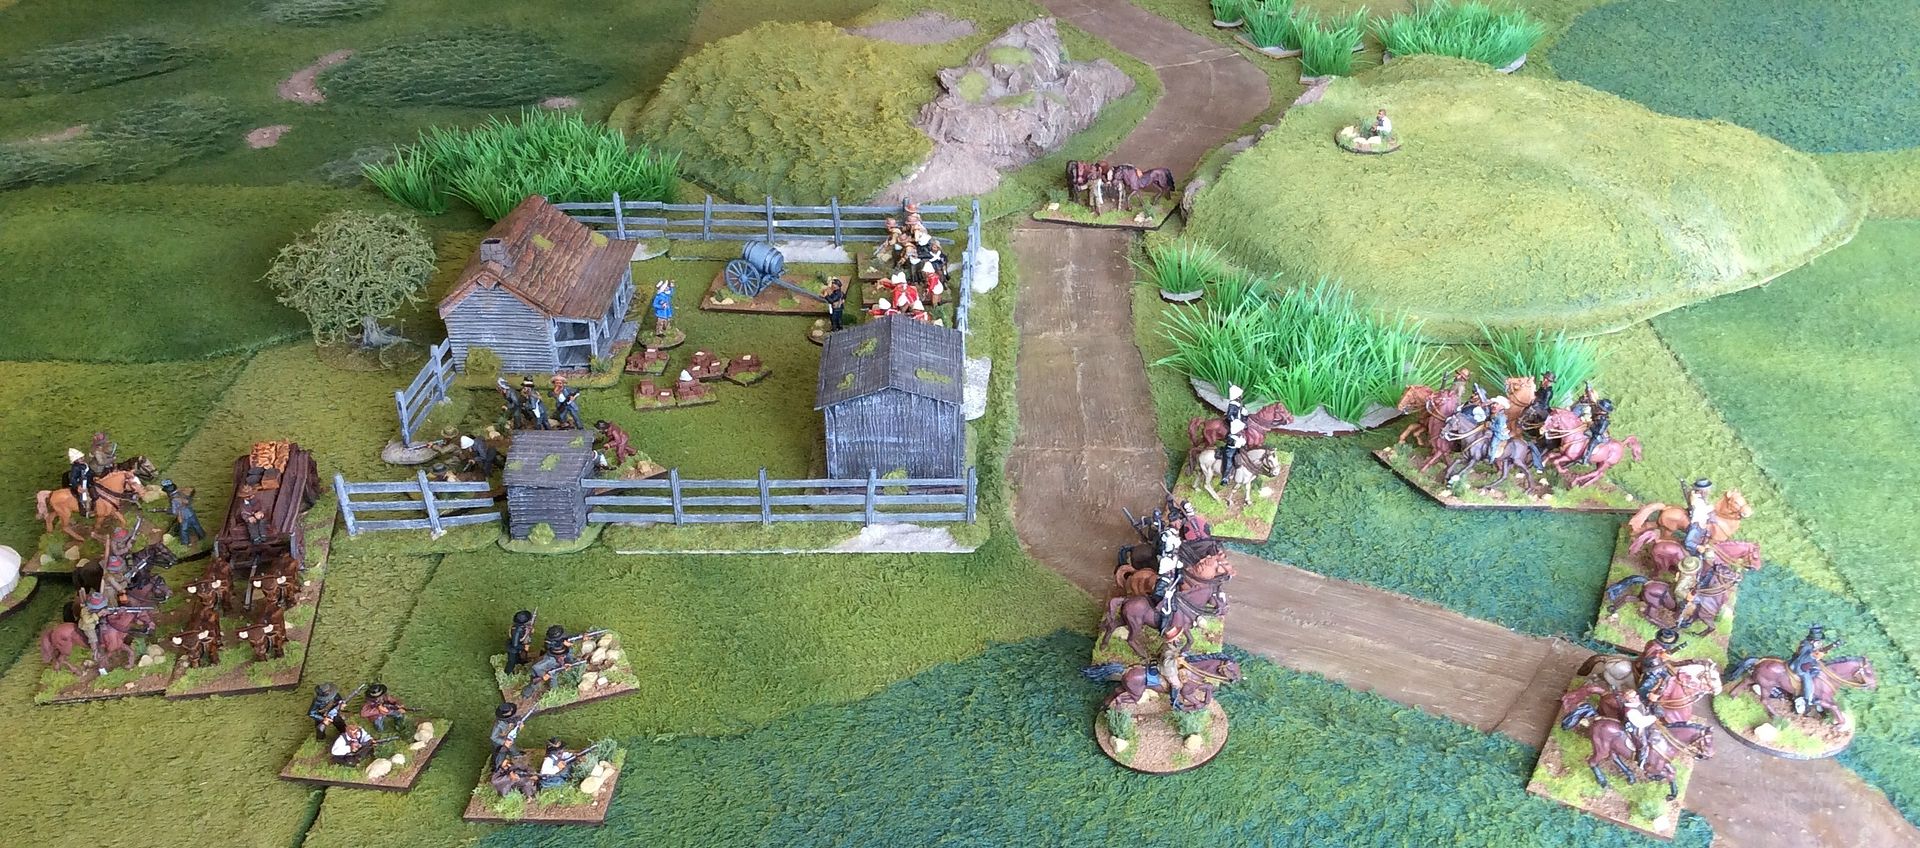
Jon and I recently managed to fit in another game, this time a tussle between the Boer Kommando of the cunning De Whytt and a British Mounted Column under that generally fragile general, H.W.Hardly-Worthitt. The Boers have to remove five elements of ammunition from the homestead to win the game while the British have to prevent this. All the British force can start anywhere along their table base edge, while only three Boer elements plus the ammunition waggon can start on the table. Remaining elements of the Kommando enter by random dice throw, the % needed decreasing from 90-10% each turn by 10%. The table layout at the onset of the action ~


Jon has divided his column into three, each thrusting for one of the gaps in otherwise impassable terrain of rocky hills and expanses of elephant grass, while the Boers who began on table are clustered around De Whytt's homestead and their encampment in the distance. Other elements of the Commando would enter the table, or not, on a random number generator as laid out in the rules, Washing the Spears. More of this later...


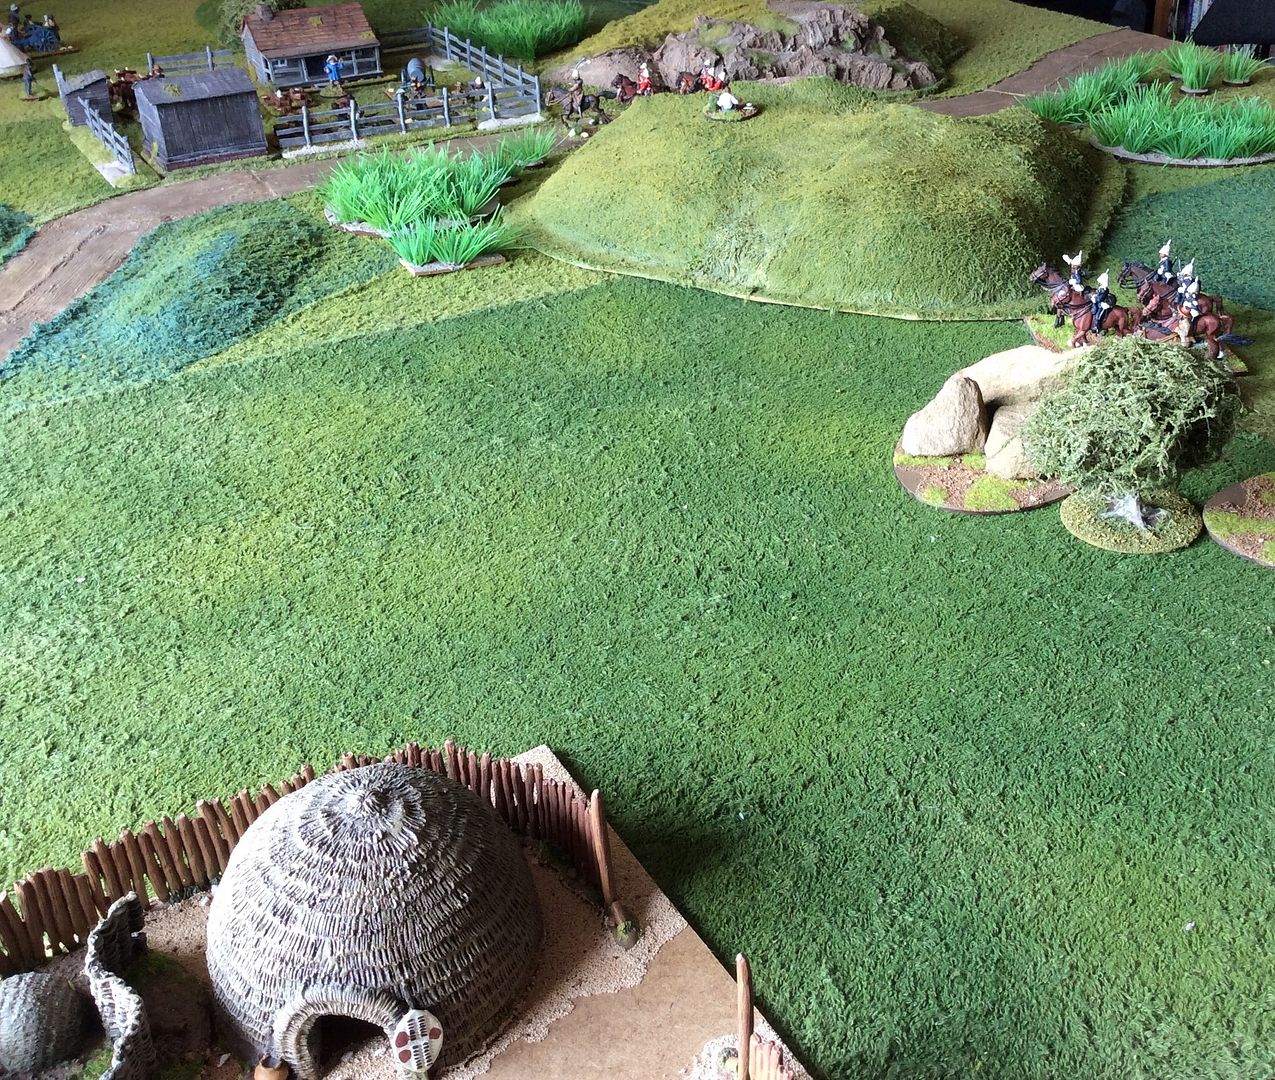
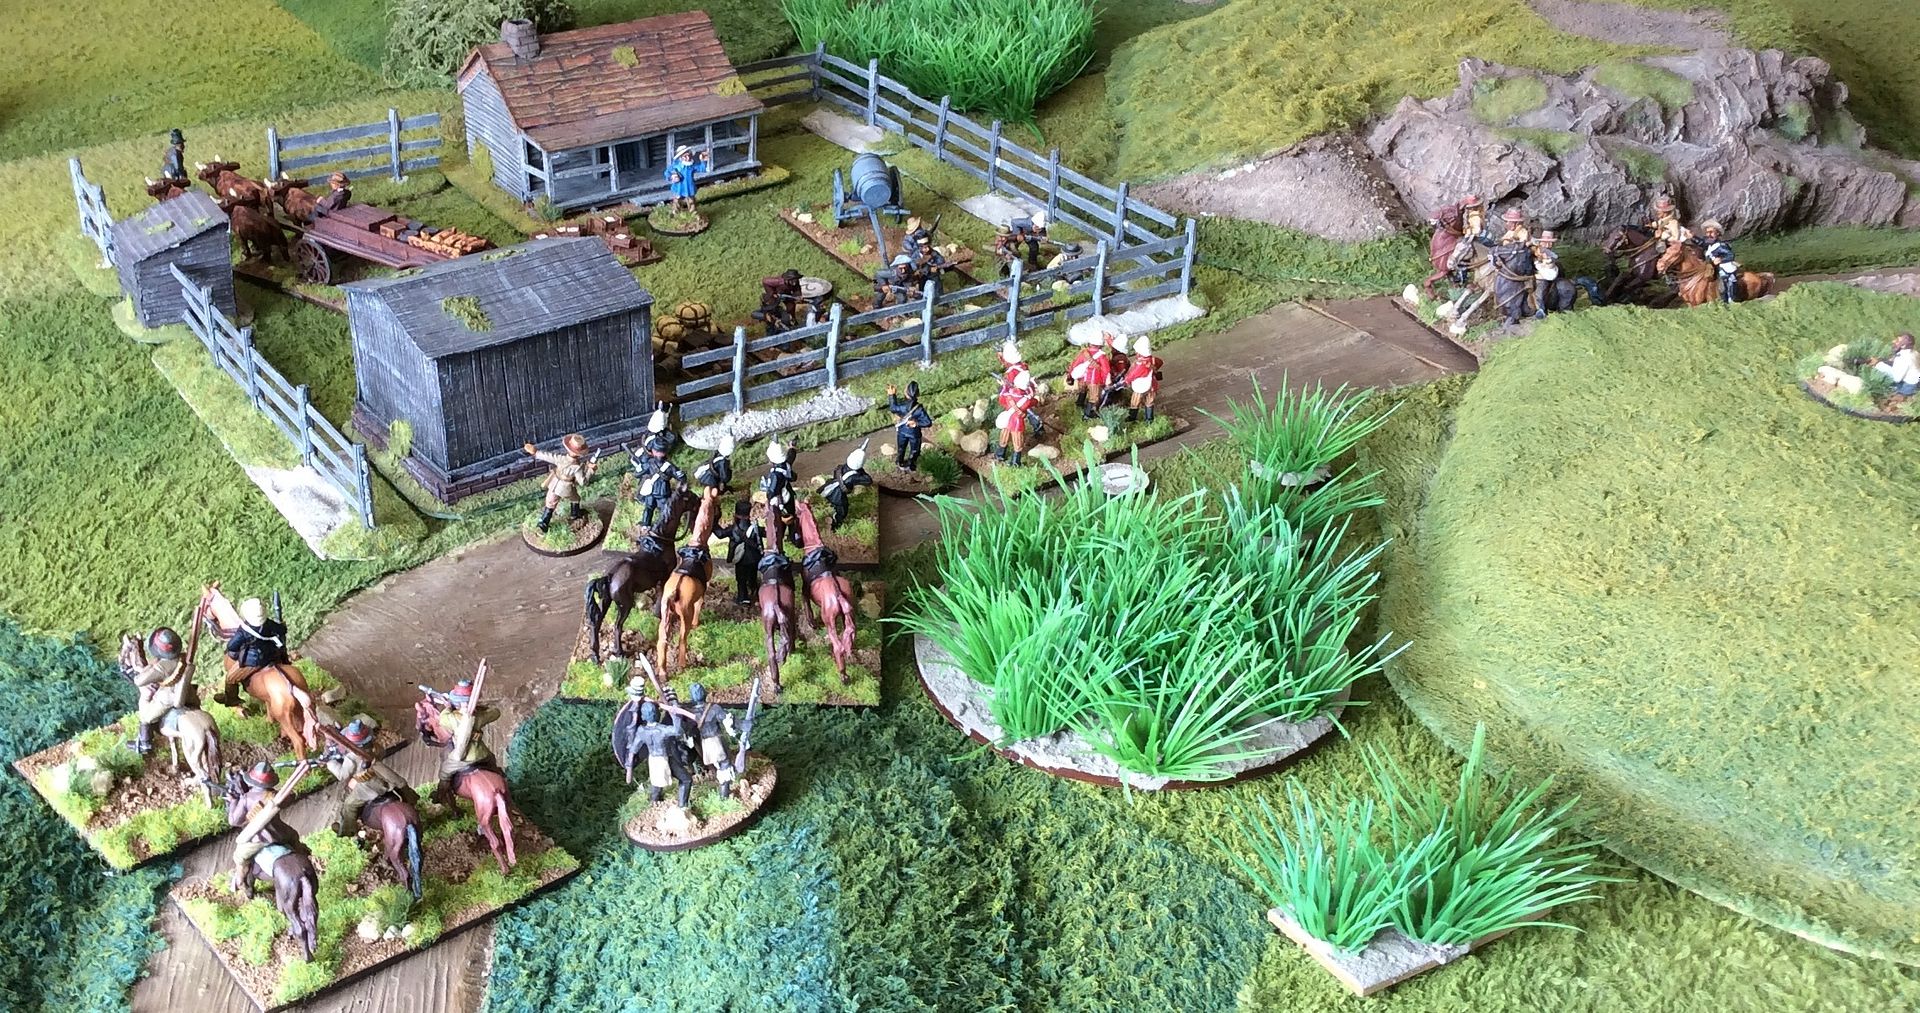
Mounted infantry advance on De Whytt's homestead through the gorge and come under fire from the Boer defenders while Volunteers move towards the Zulu kraal in the foreground. At this stage neither Jon nor I knew if there were any Zulus in the vicinity or where any such might appear. The kraal is as yet incomplete - I had forgotten all about it!


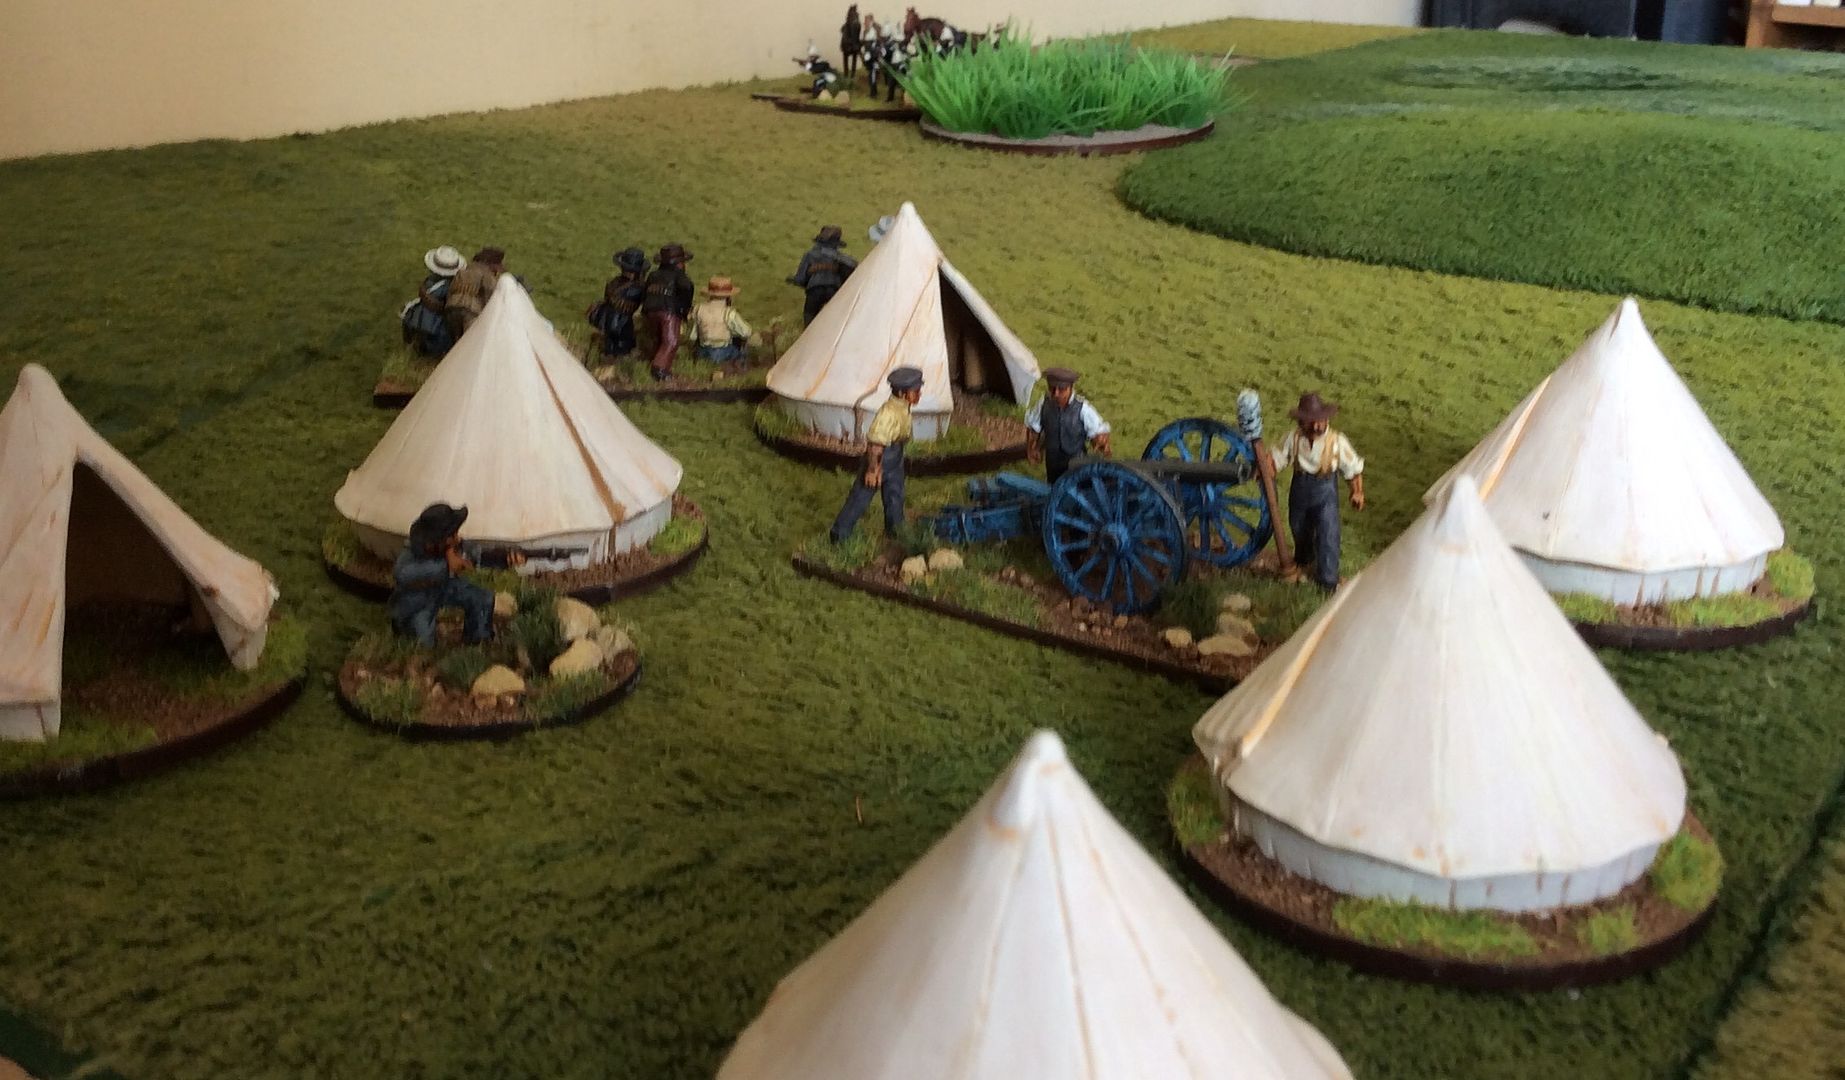
On the Boer left more Volunteers are cautiously engaging those elements in the Boer encampment, while the Boer artillery element and a single marksman cover the rear of De Whytt's homestead from attack. A firefight lasted almost the whole game on this flank with hardly any casualties resulting for either side!!


Meanwhile a solitary Boer takes his mark on Hardly-Worthitt, with equally little success!


Hardly-Worthitt, inspired by the near miss it seems, leads another of the Volunteer elements towards the escaping Boer ammunition waggon.


Fierce fighting develops around the homestead, with the Boer defenders holding their own despite being outnumbered. One waggon load of ammunition has been safely removed from the table and the second is on its way, so things are looking up for the Boers.


Sadly, mounted elements of the Kommando are driven off by volunteers while the Native Horse captures the second waggon load at the end of turn 13. The final Boer reinforcements did not enter until Turn 10, too late to really influence the game's outcome, while the Zulus never appeared, each of the three blinds on the table proving to be a dummy!
While neither side scored a clear win, Jon's British force clearly had the better of the draw having prevented all five ammunition loads being evacuated and causing more casualties to the Boers than they received in return. As I mentioned, we used my own Washing the Spears rules to run our game with some small amendments to the Pluck Test to take account of the smaller unit sizes. Great fun and perhaps a new legend created in H.W.Hardly-Worthitt?

Tuesday, 31 March 2015

The Maori Wars?

I made it back home yesterday from our trip to New Zealand after an epic 30 hours and 20 minutes of travelling! What better way to fight the bodily and mental effects of feeling awfully tired than to make a Blog post? Well, probably loads come to mind, starting with sleep, but this will have to do for now...
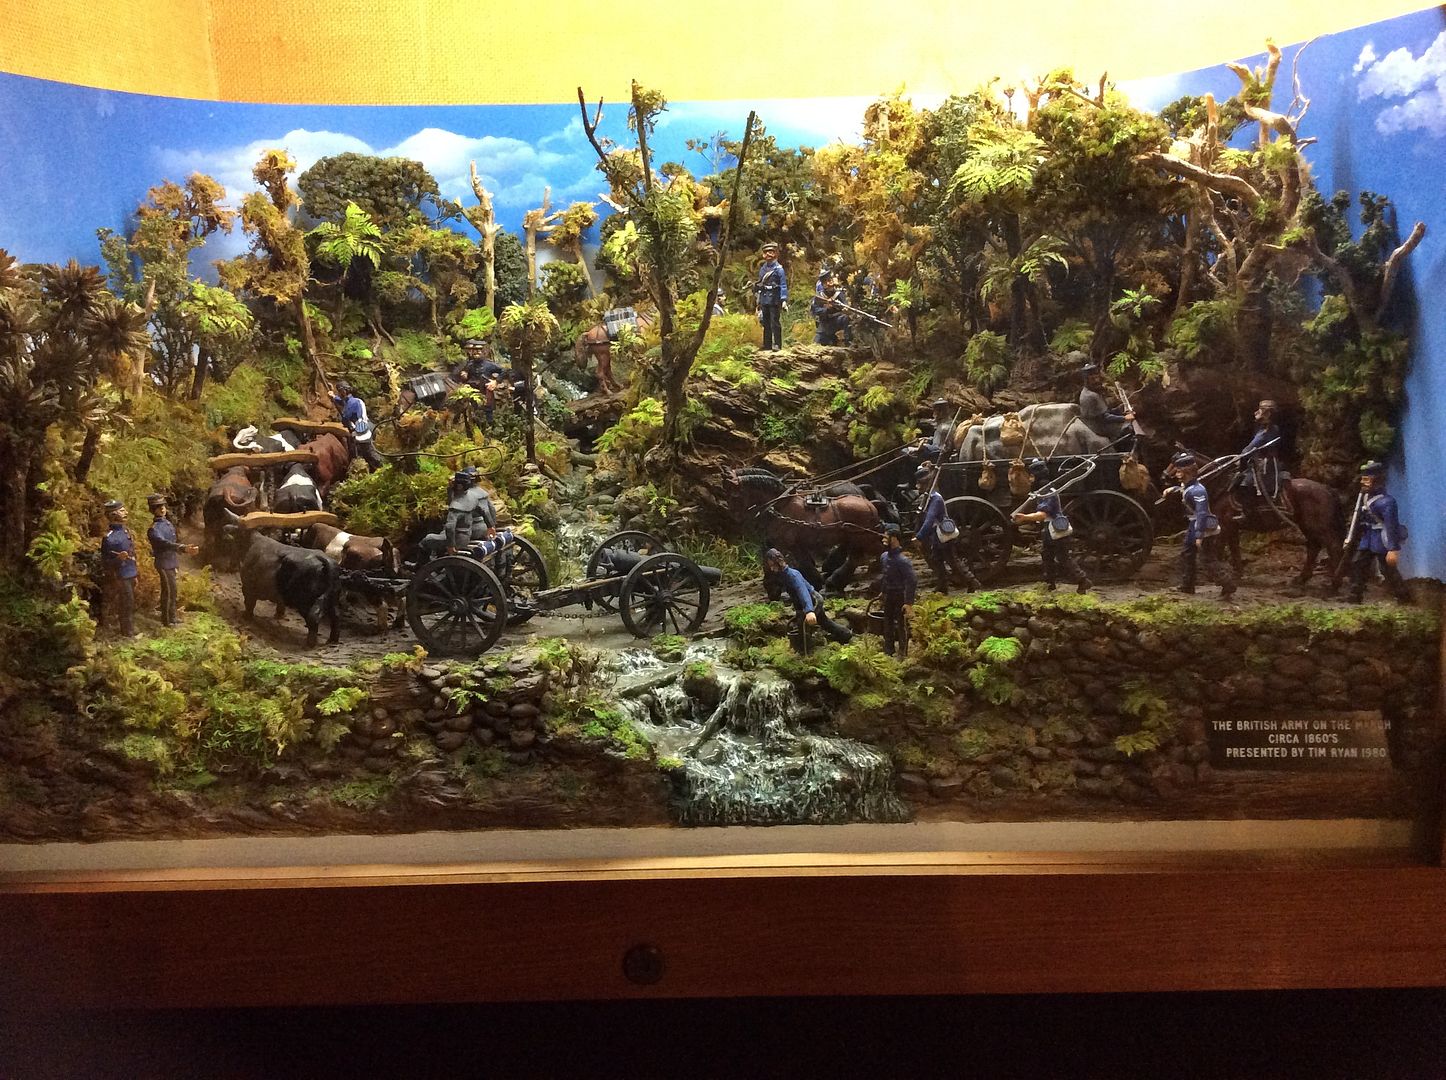
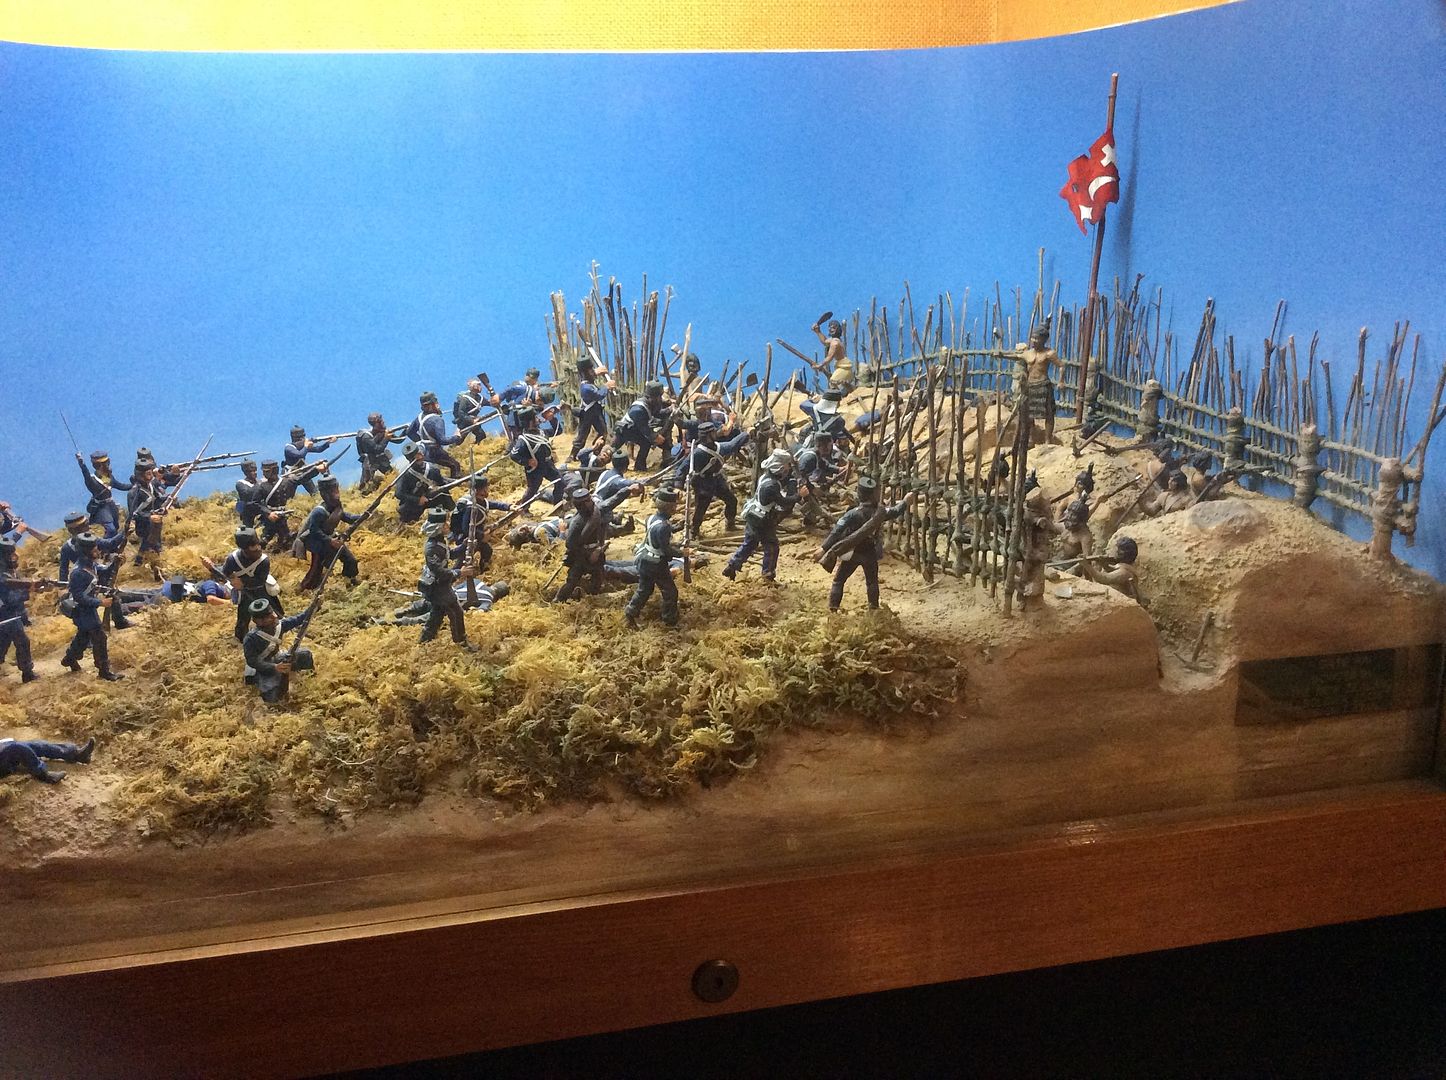
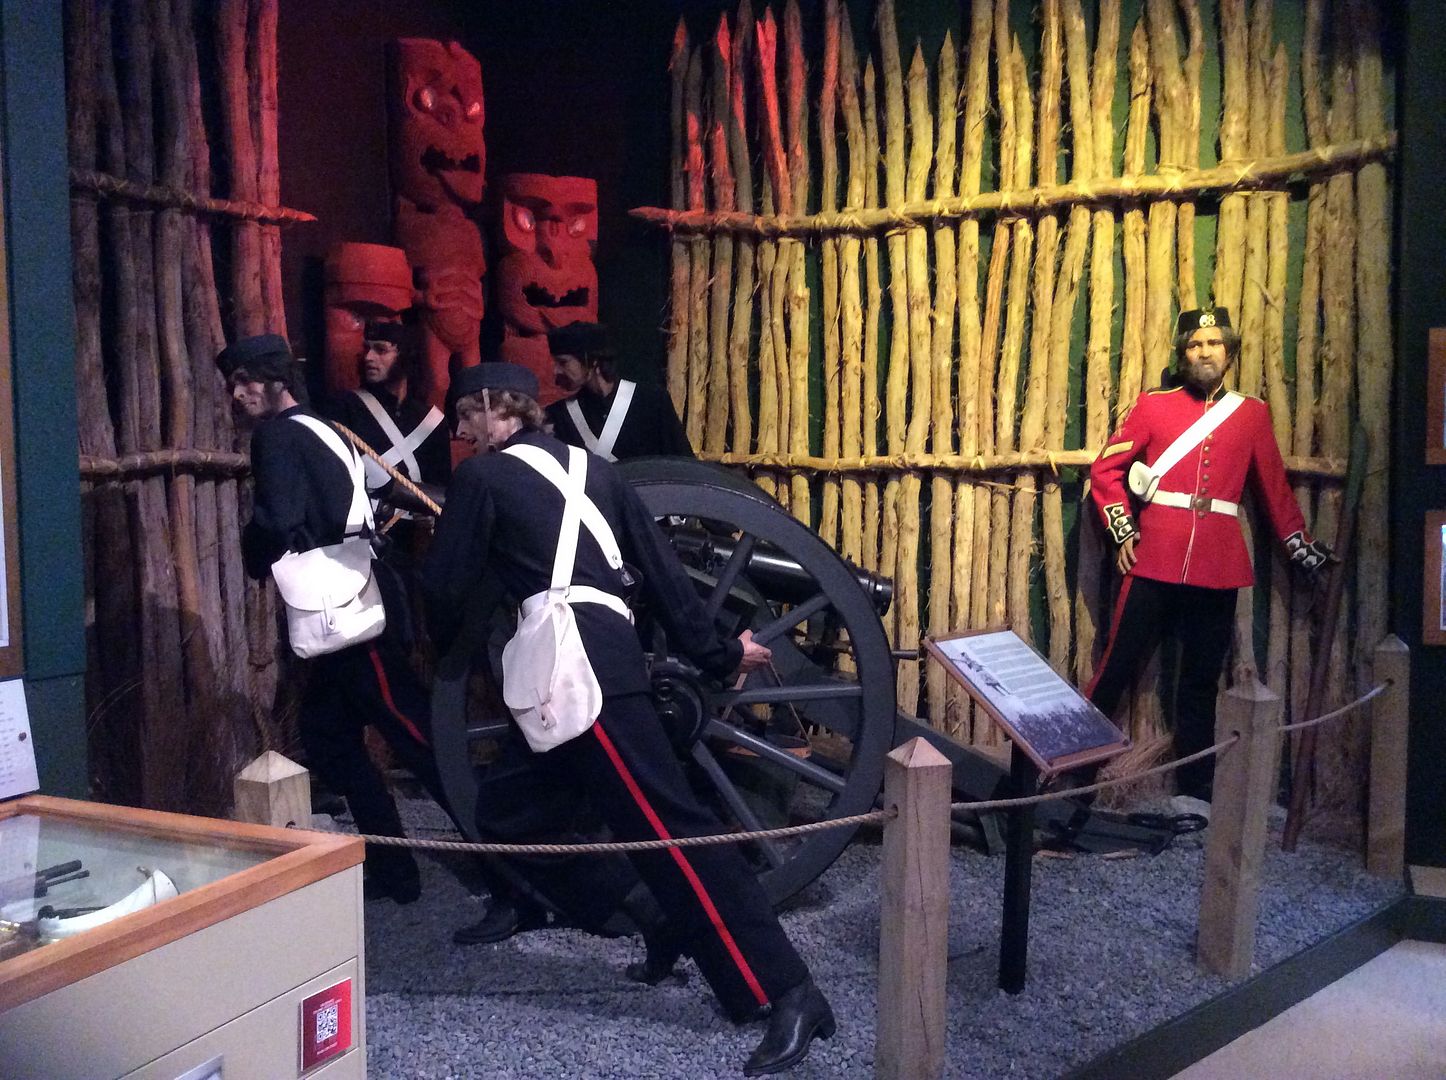
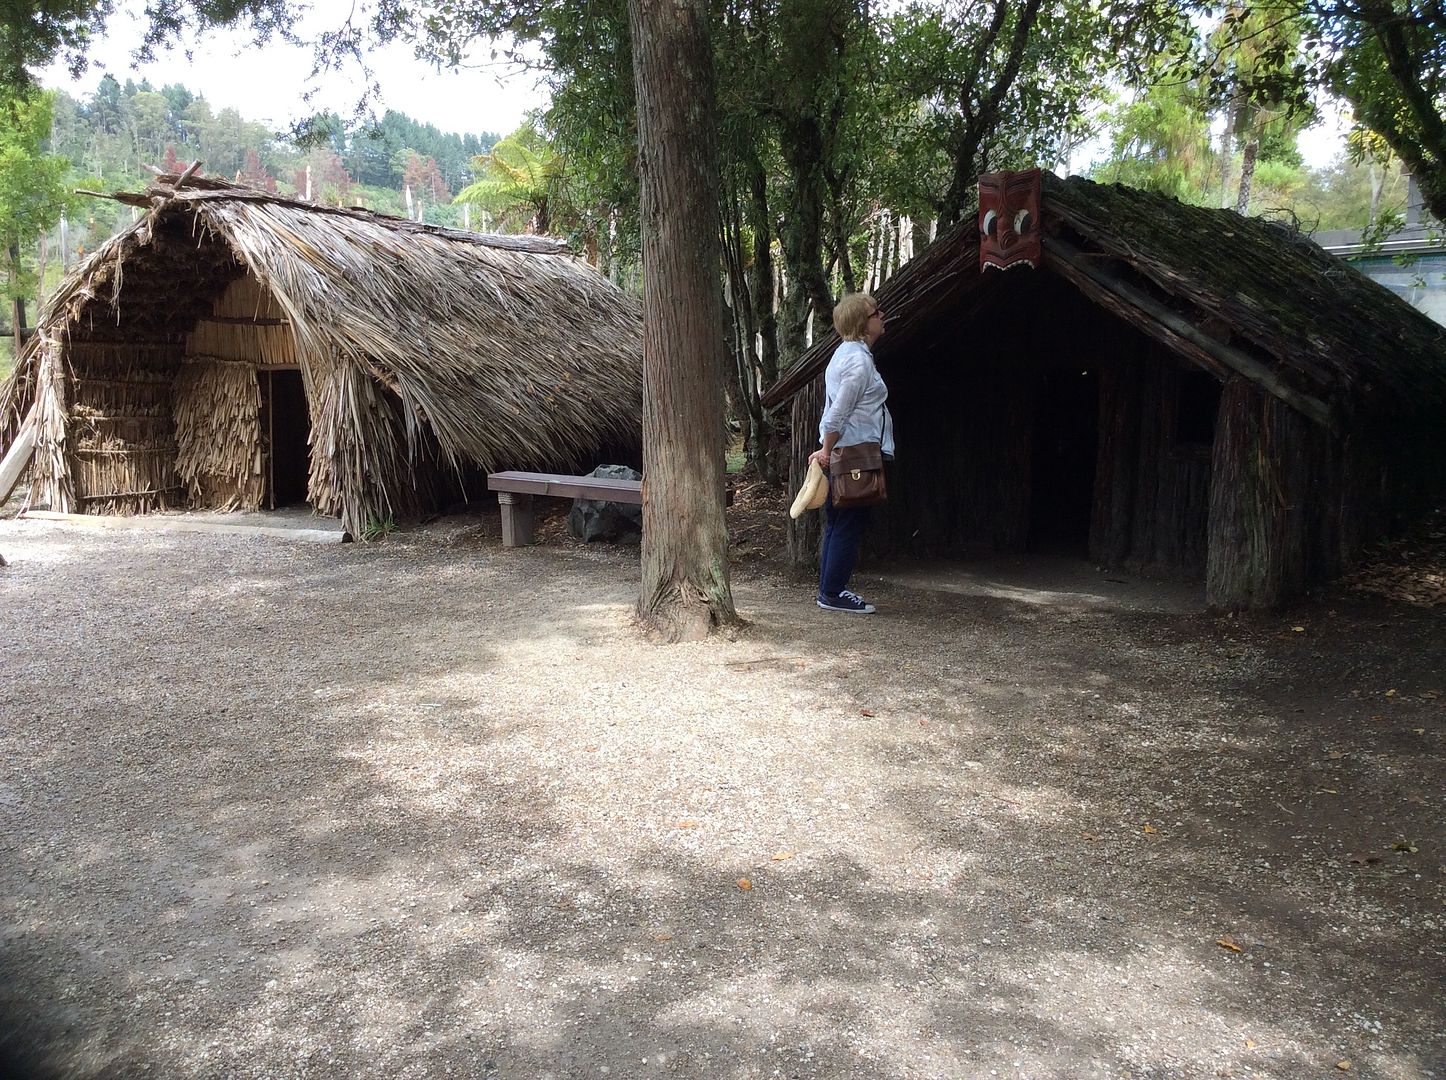
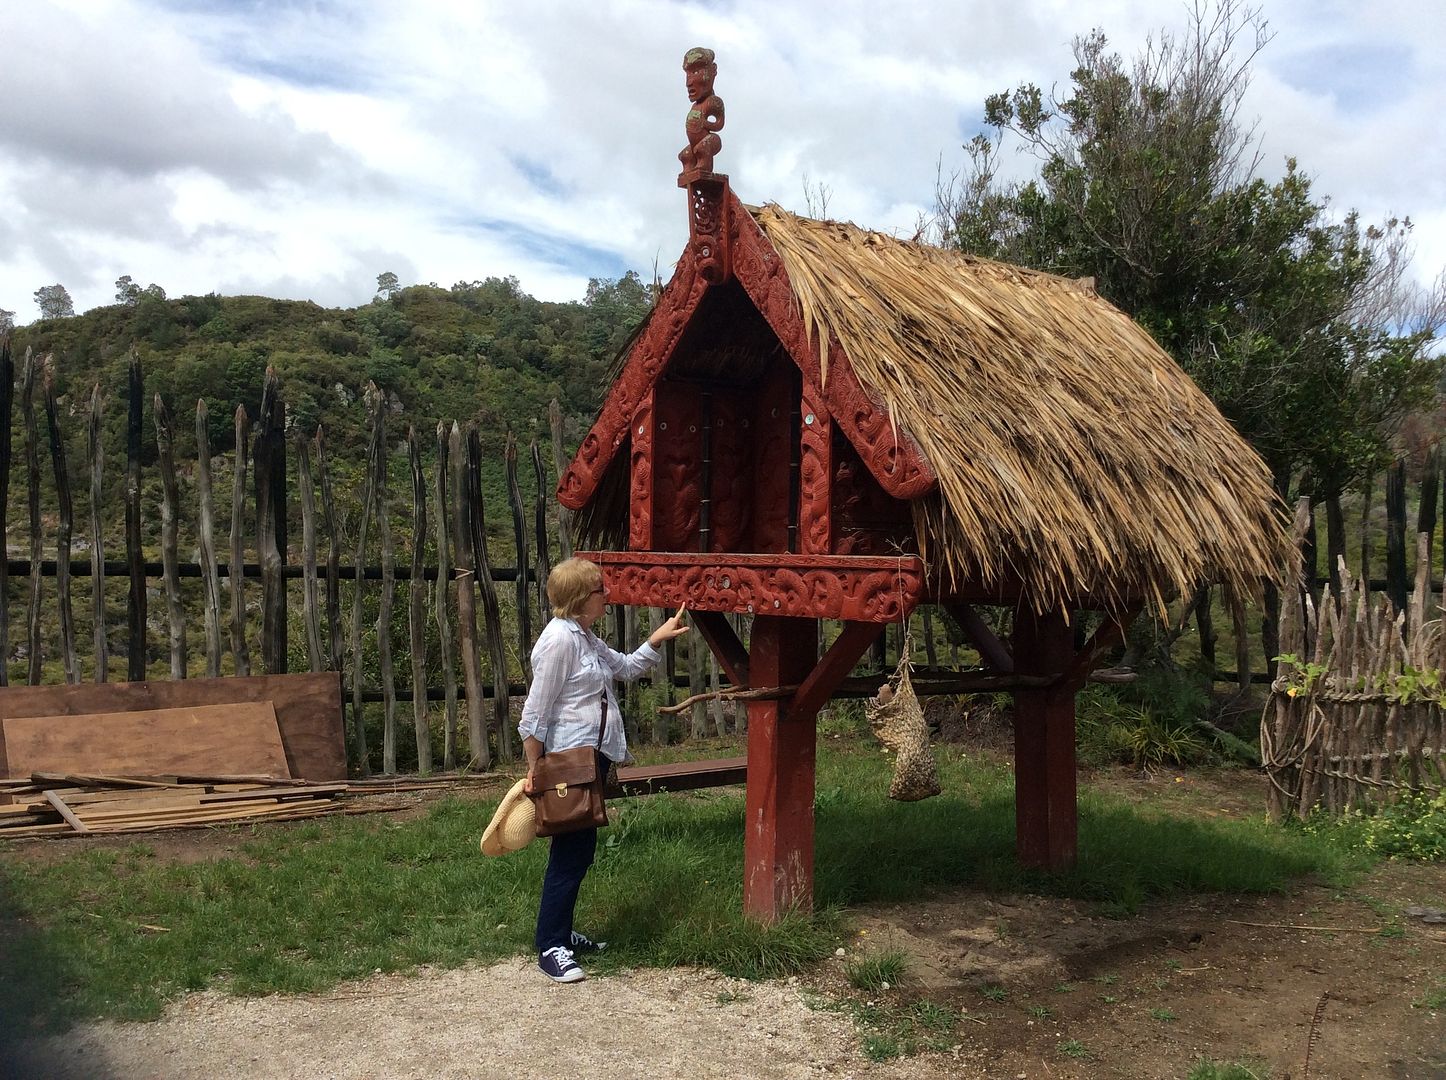
Before our trip, which was largely driven by Sue's desire to see the country, I think my knowledge of New Zealand was almost non existent; perhaps limited to a little about their cricketing exploits - I once saw them play England at cricket when I was a school boy {back in the day when we used to win games against minor cricketing powers, unlike recent efforts!} - and eating lamb for Sunday lunch! As to the history of the country? Well, almost nothing, so I have learned quite a lot in the past five weeks. I became particularly interested in the Maori culture as the trip developed, and having seen the excellent range of figures produced by Empress last year, I thought I'd post a few pictures from my trip for anyone who is tempted to dabble in one of the less well known of our Colonial C19th conflicts. Firstly, two dioramas from the New Zealand National Army Museum ~
A good idea of the terrain the wars were fought over


An attack on a Maori Pa


Some period uniform displays from the New Zealand National Army Museum ~


Bringing the gun into action


Some ideas of the buildings, fortifications and terrain from the North Island ~
Village palisade fencing at Rotorua


Two styles of living huts at Rotorua


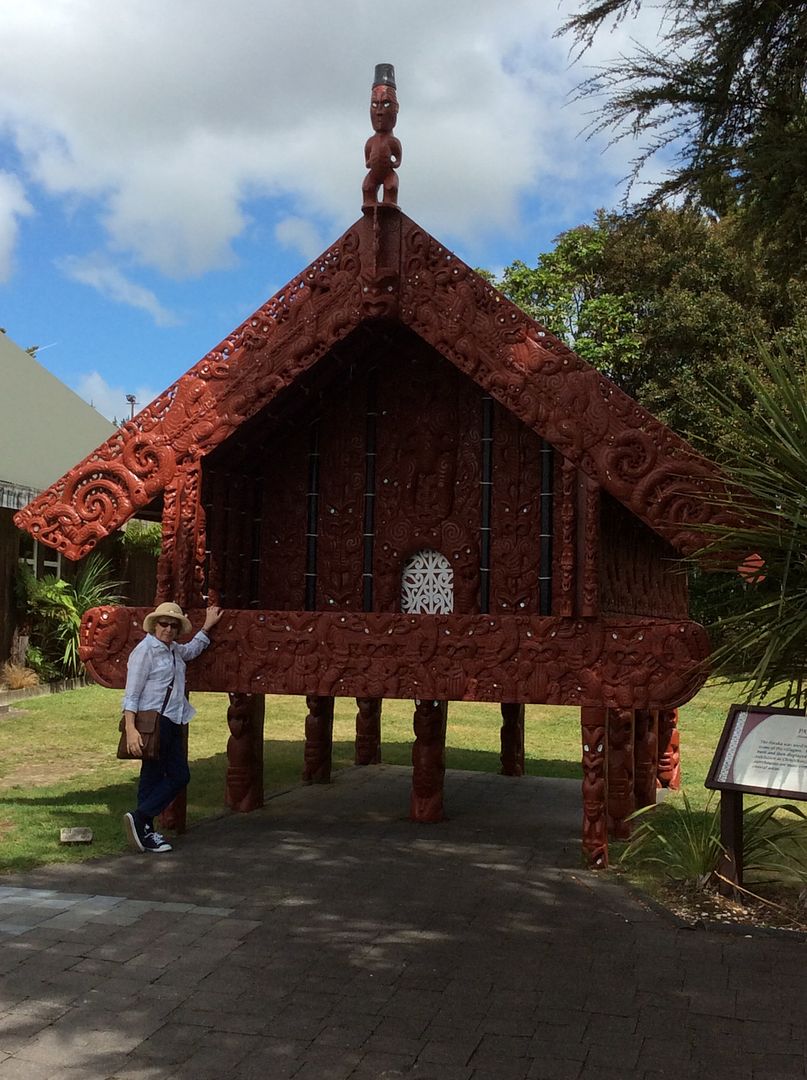
Small village storehouse at Rotorua


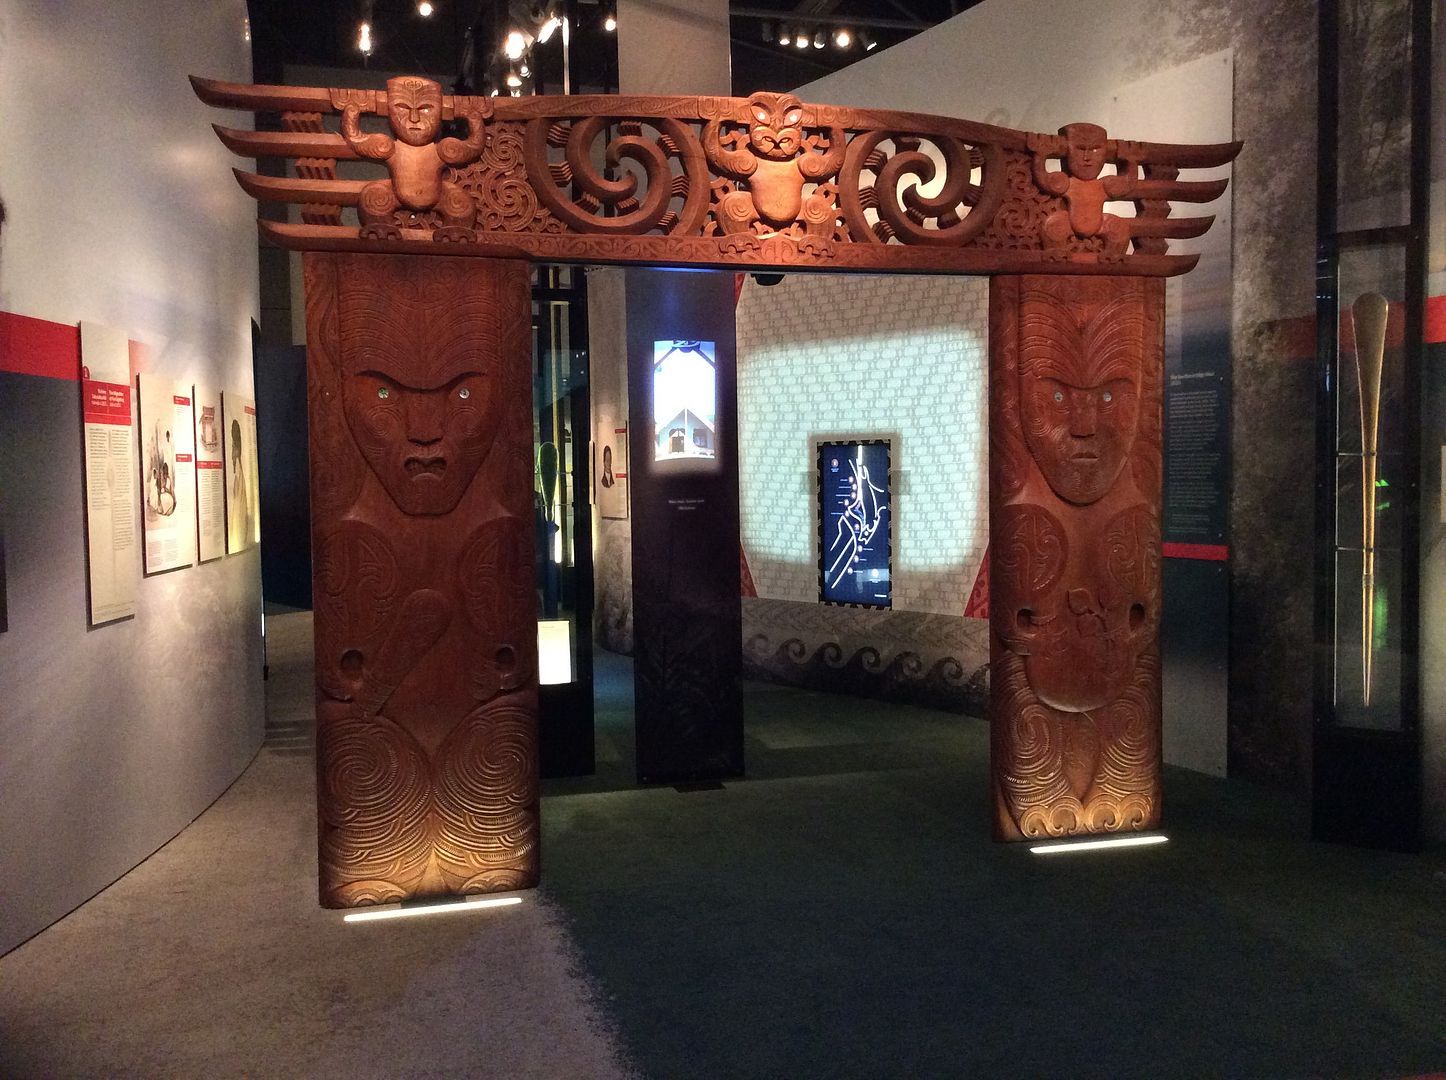
Carved gateway at the National Museum in Wellington


Maori storehouse at Waitangi Treaty Grounds


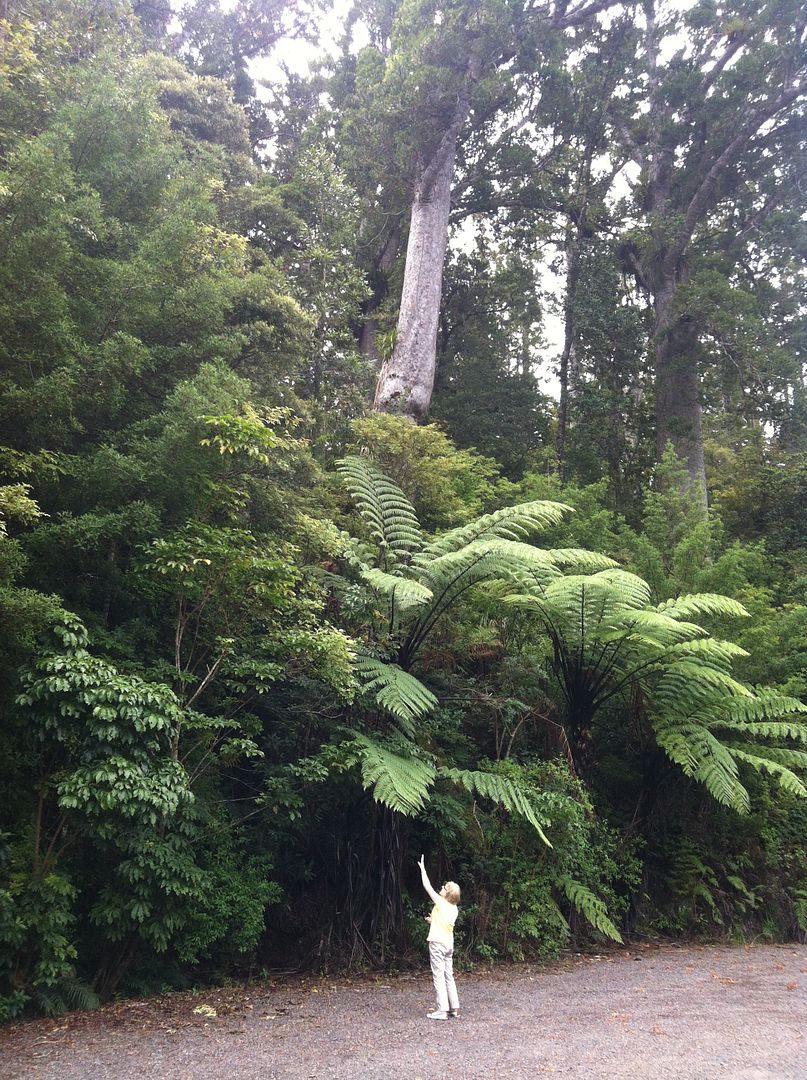
Some idea of the scale of the vegetation


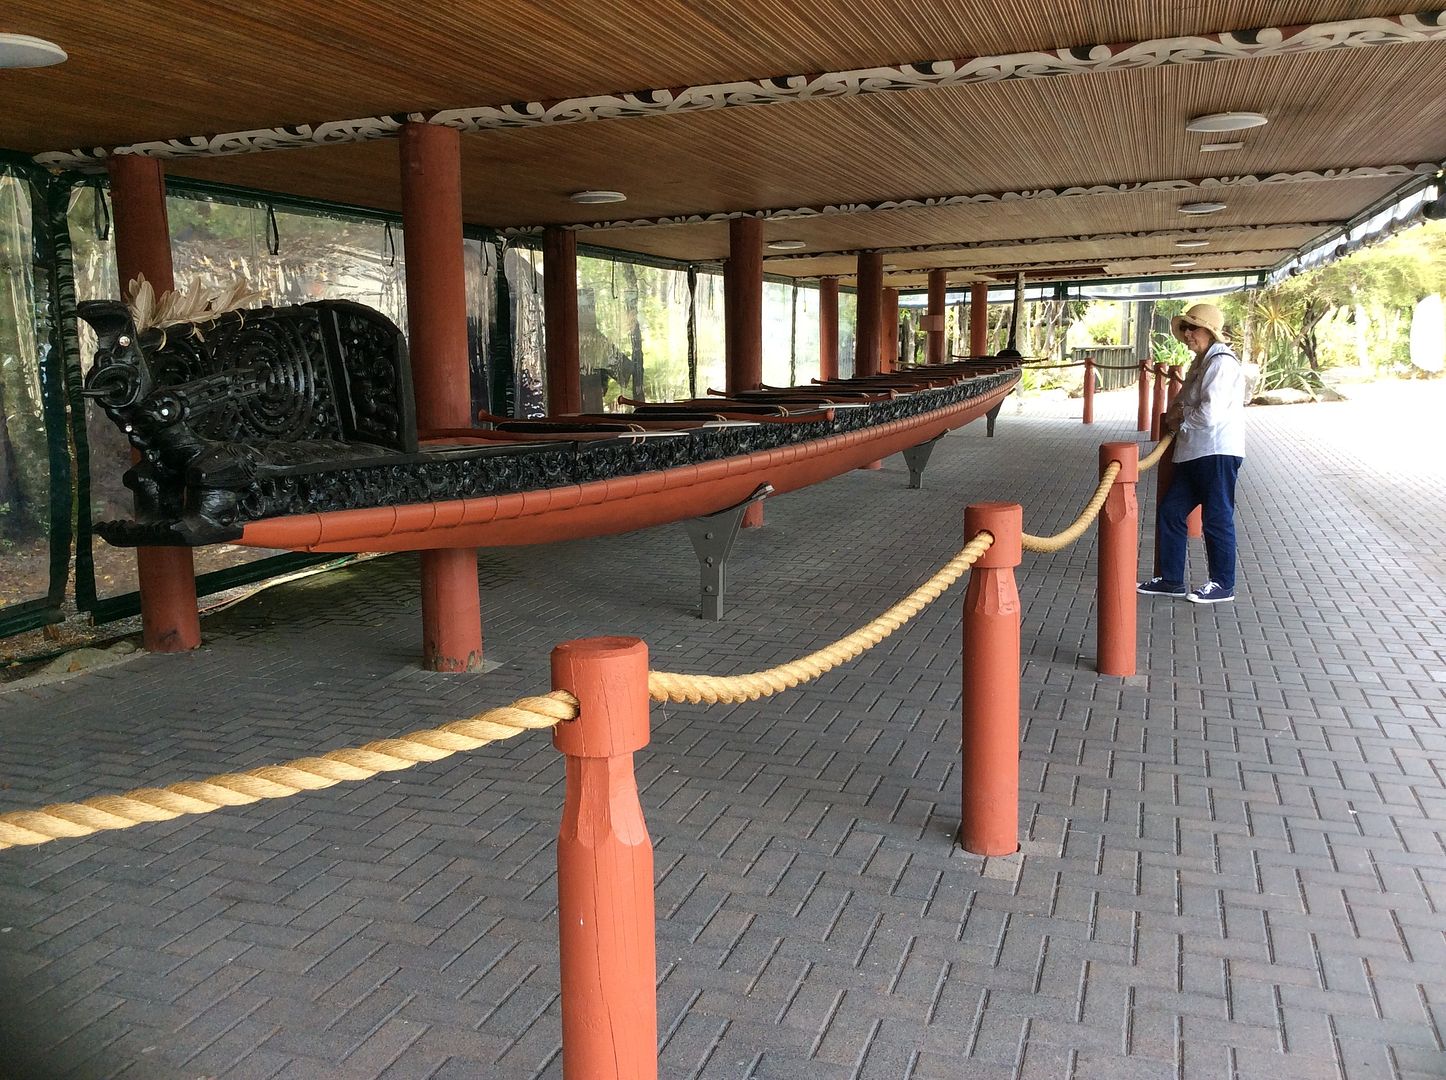
The War Canoe ~
 
Ceremonial canoe at Waitangi Treaty Grounds


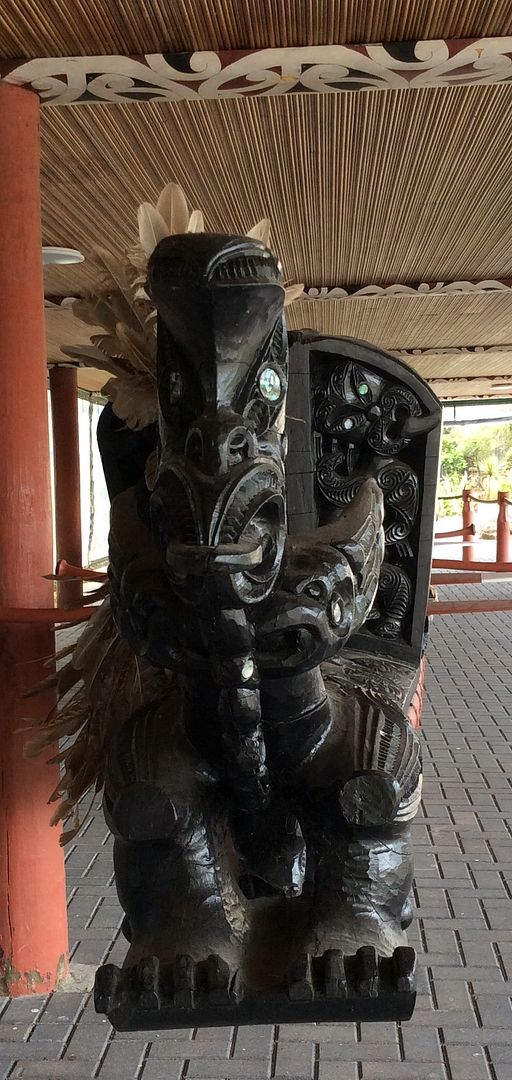
Carved canoe figurehead


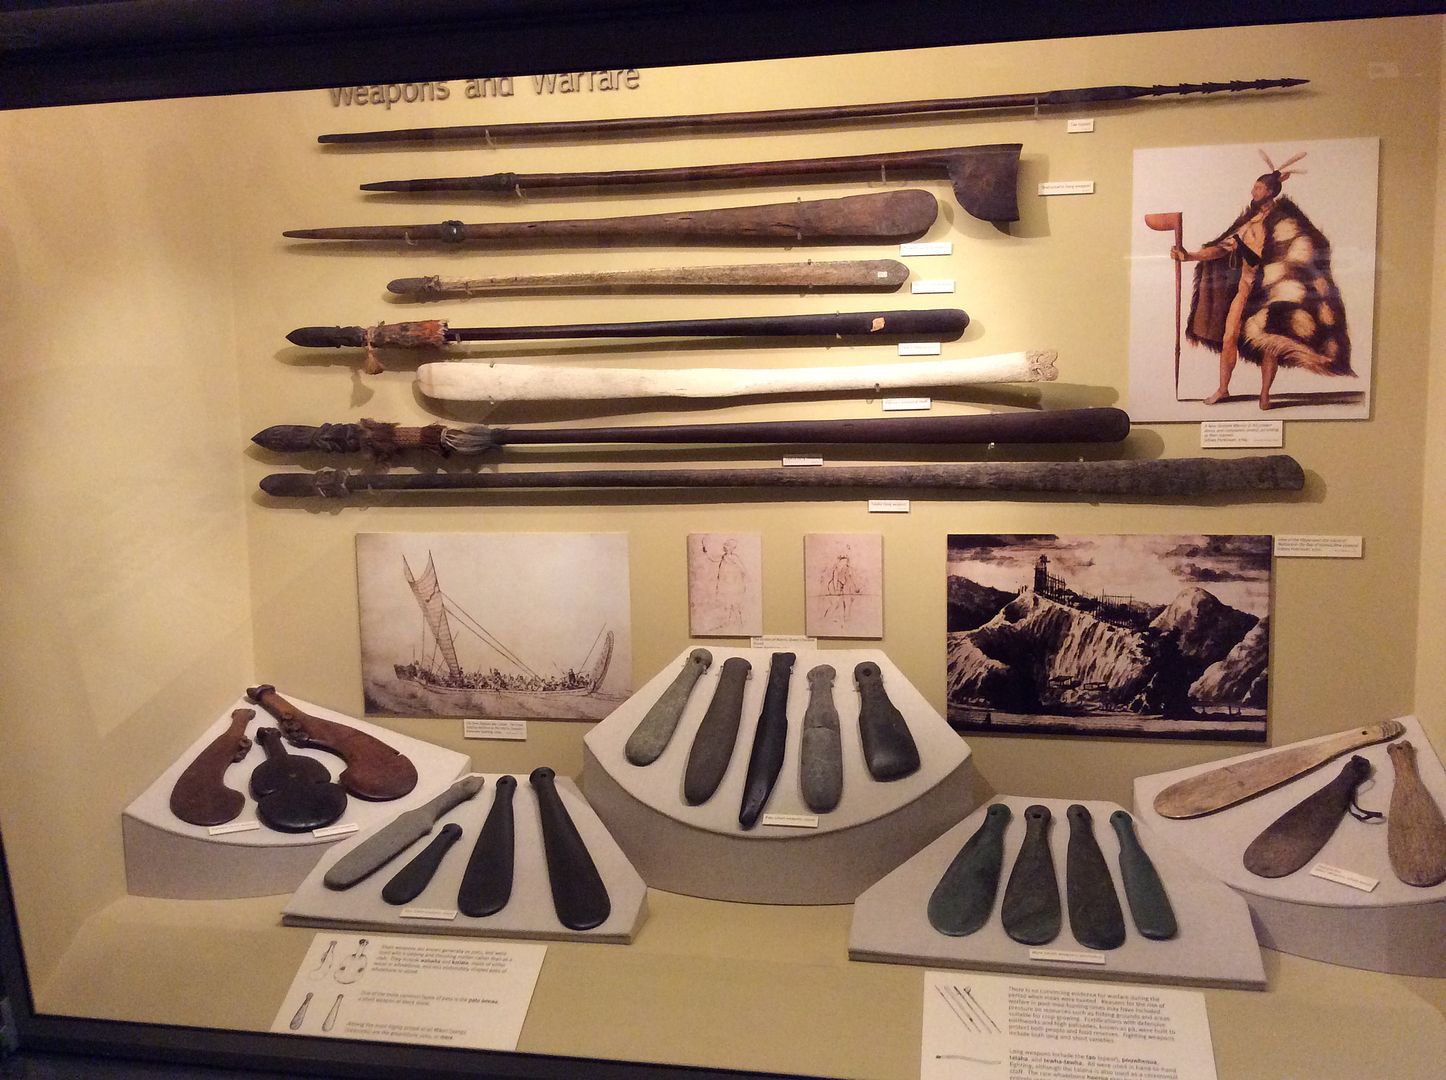
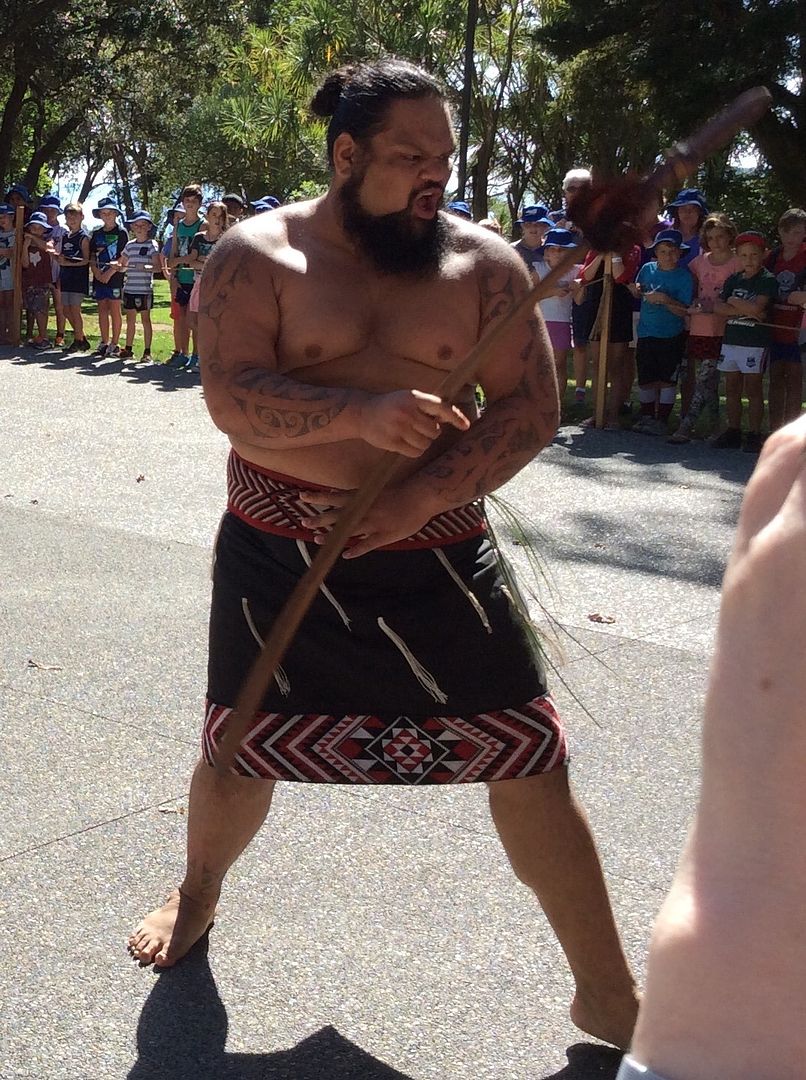
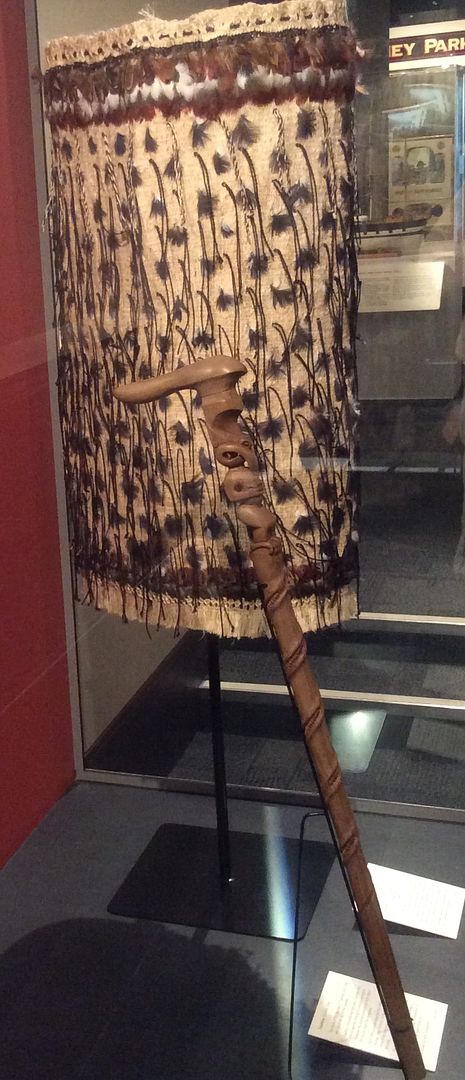
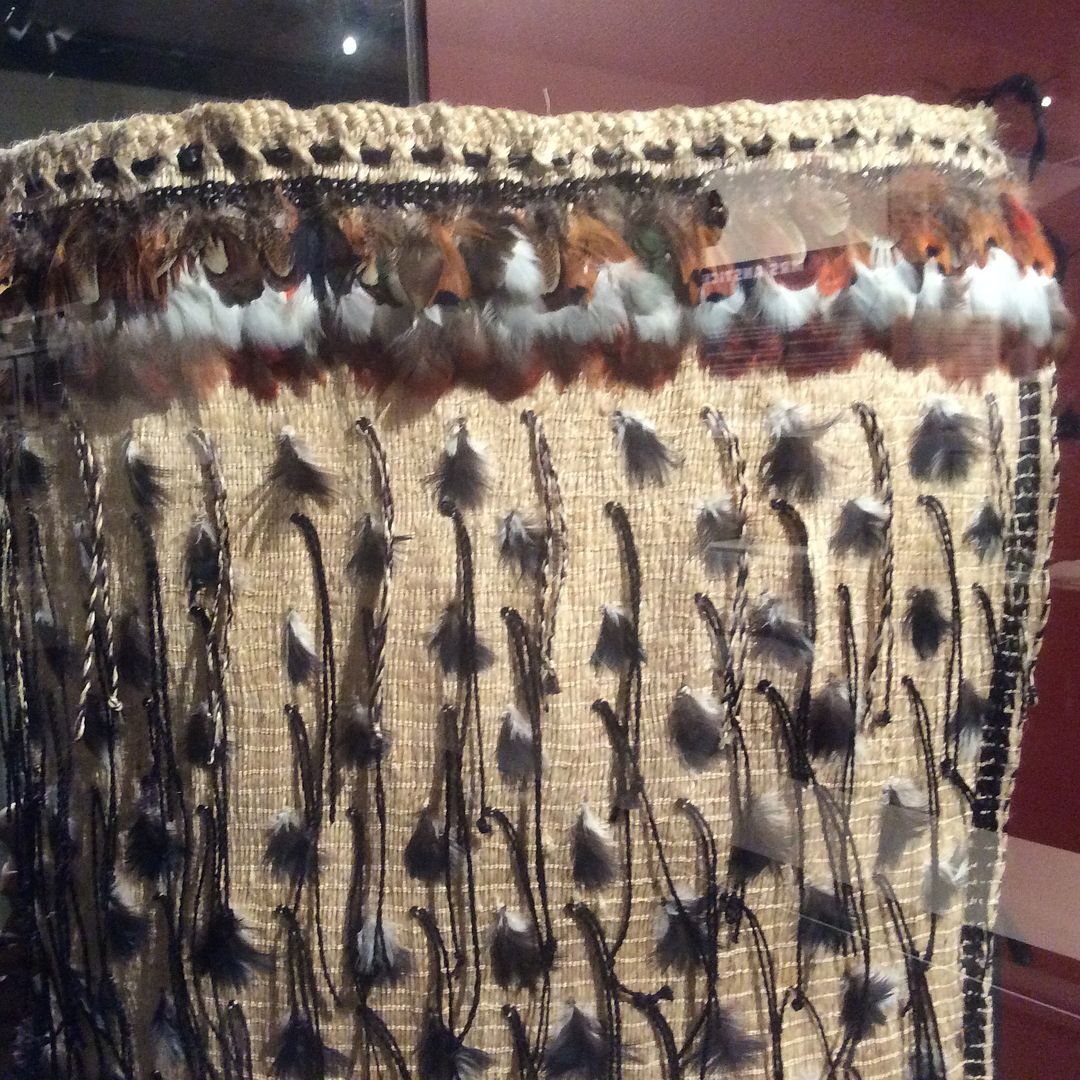
Maori weapons, tattoos and dress ~
Maori weapons on display at Christchurch Museum


From the Waitangi Cultural Centre display


Cape and staff


Detail of a feather cape


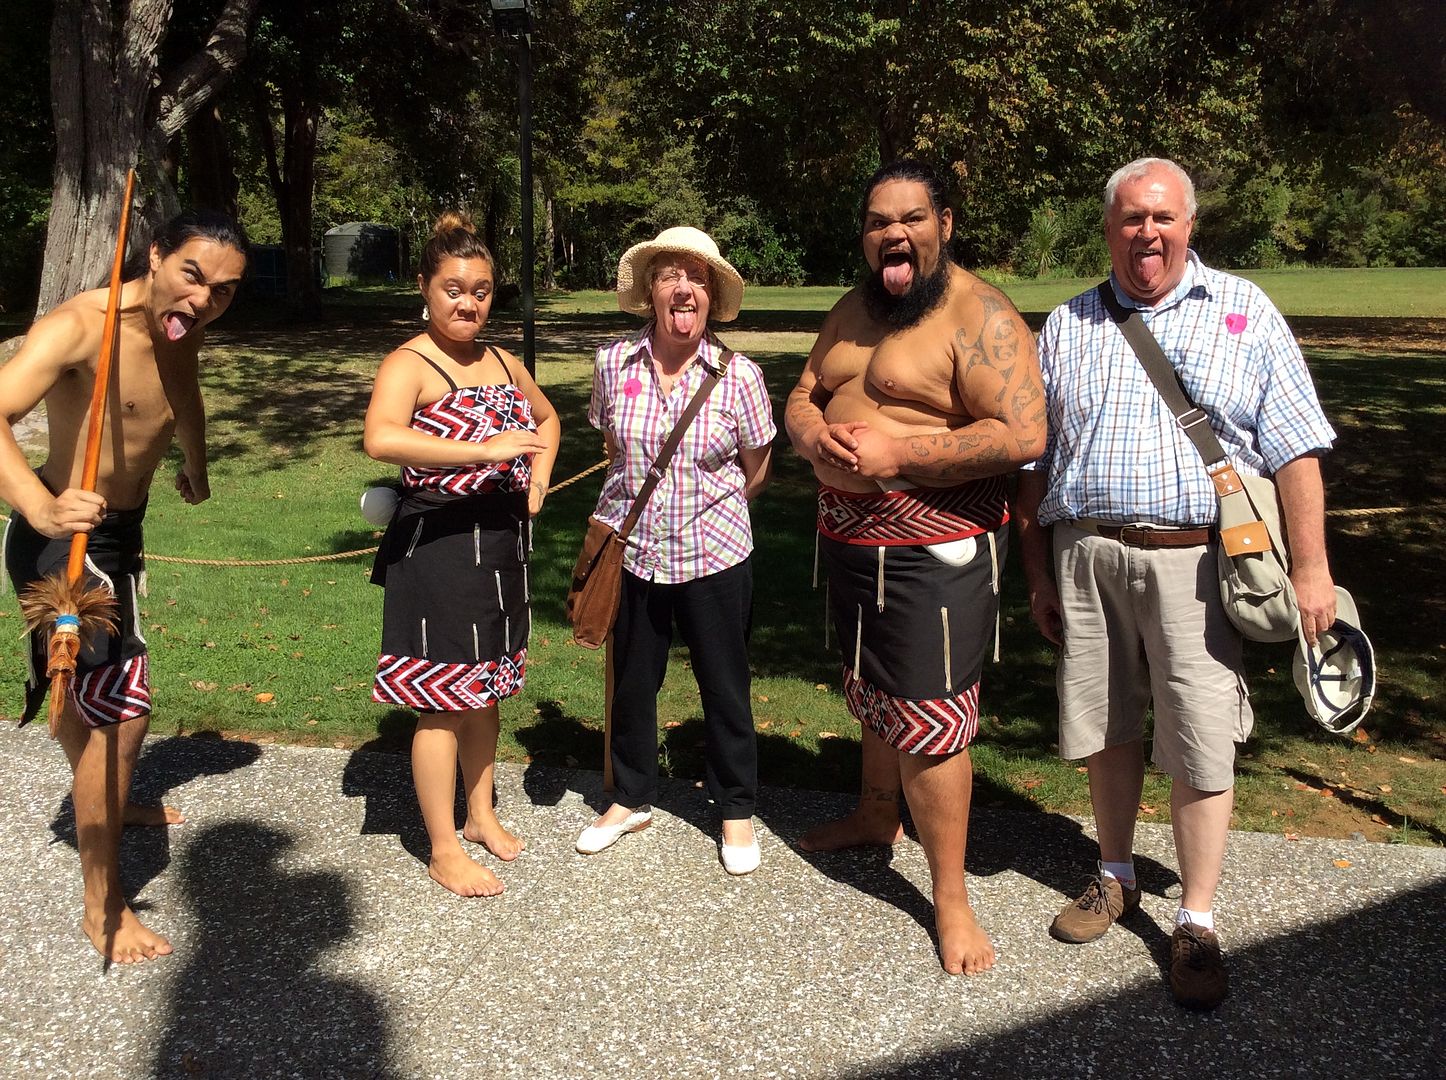
Finally, one or two self conscious snaps to amuse the bored reader ~
Joining in, at Waitangi Treaty Grounds!


Well, on holiday no one knows who you are...


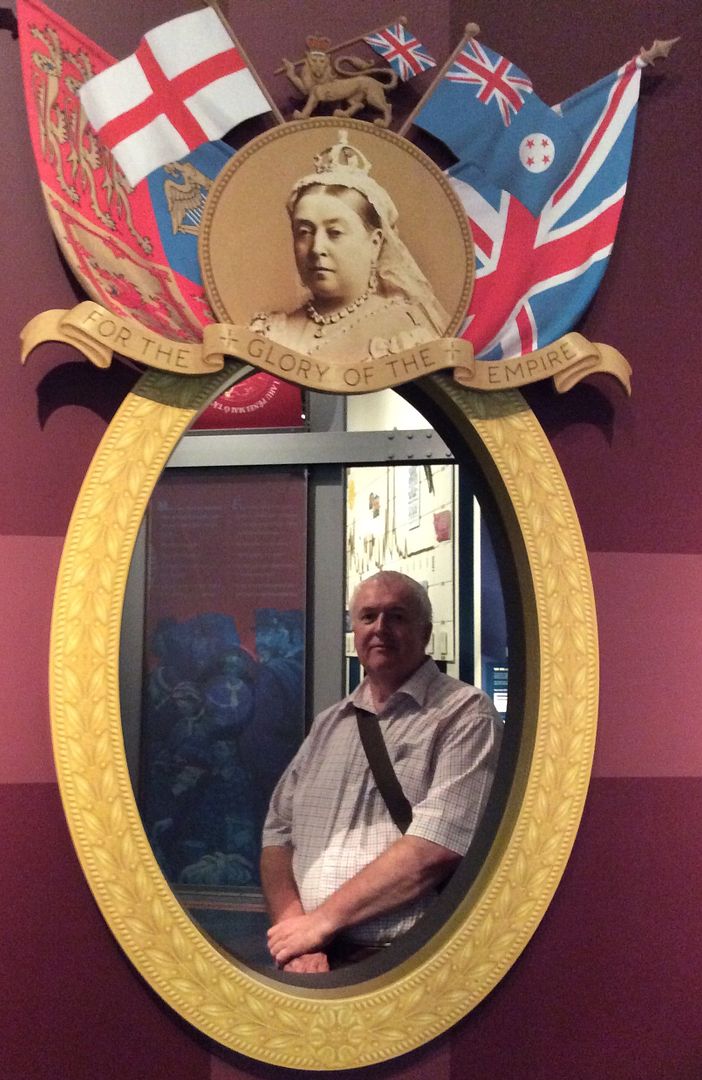
And finally...
'Hero' for the Empire - or not?


The figures for the Maori Wars are out there with Empress and Eureka in 28mm, the latter having both Maori warriors and Colonial Militia, but you might be put off by the thoughts of scratch building the terrain. Fear not, its already out there in 3D Print format. To view the stunning whole in a game setting ~
https://arteis.wordpress.com/2015/03/11/worlds-first-3d-printed-maori-pa-completed/
There is heaps more inspirational stuff to see on the thread under the Maori Wars label too.
The source of the files ~
http://www.printablescenery.com/16-buildings
As to the war canoe; well I bought a dapper little wooden model one in a souvenir shop, so that's sorted!
I am very tempted to try this for small scale skirmish gaming you know... Meanwhile I'll paint some more Austrian infantry, but not today if you don't mind.