I decided a break from painting figures for a while would be good for both morale and focus so I looked around my box of bits for inspiration. I found two barns by
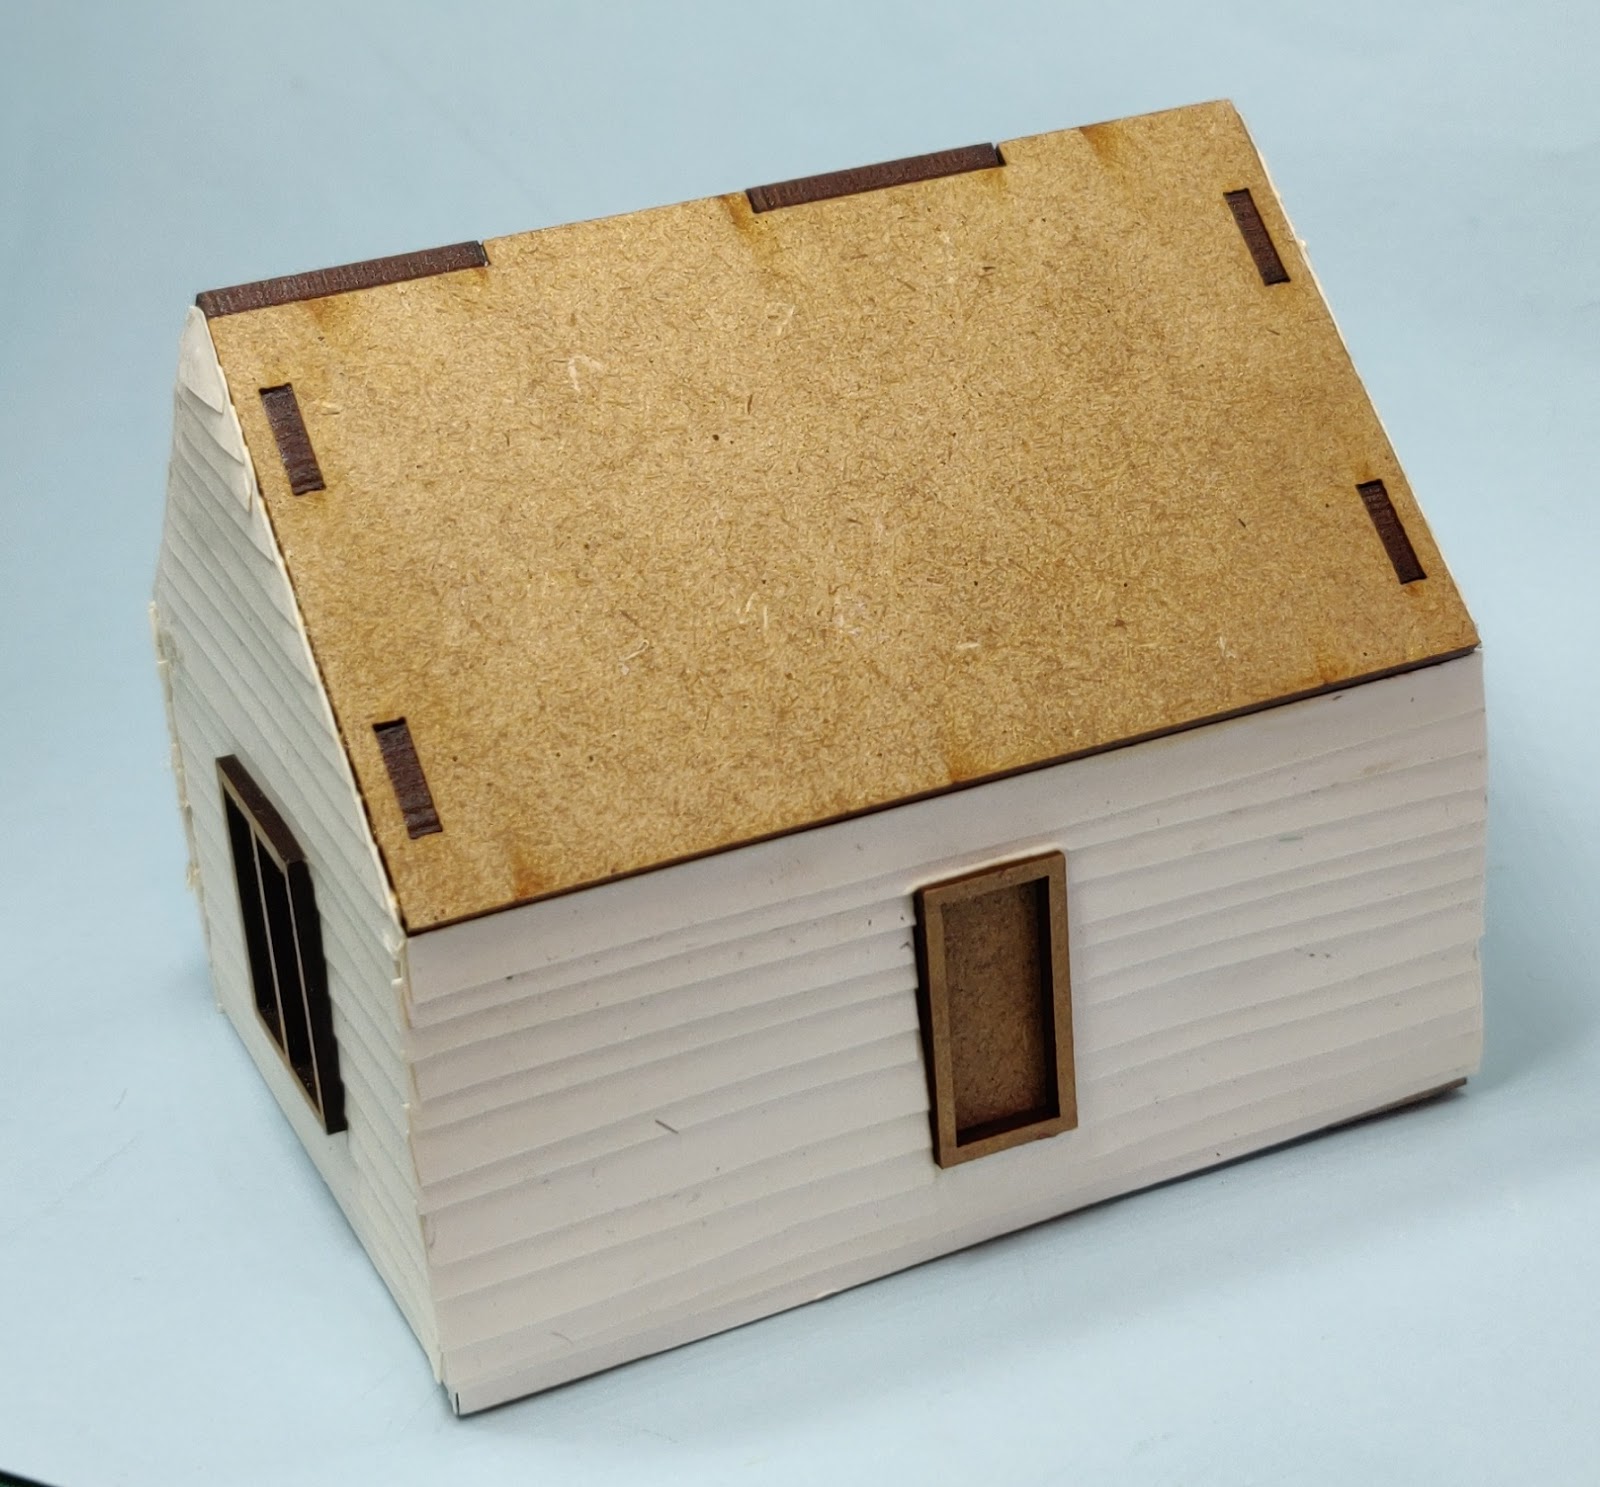
Warbases, sold as 15mm buildings. They were for an abandoned project, at least it is for now, and I wondered if they might be repurposed. Testing the idea out it seemed I could make a small cabin out of the smaller of the two barns, so I assembled it and added the 28mm scale doors and windows to it and left it to harden off overnight. Here's stage 1 as it stood ~
The back of the cabin to be, which is really the front of the barn kit, looked very odd at this stage, but the planking will put that to rights later ~
The next phase is to start adding the planking. I use thin card for this stage, very fiddly for my hands and eye, but I the want it to match the look of the buildings I've made before for the theatre, as far as possible anyway ~
When the planking has hardened the next phase is to add the rustic shutters to the windows. These are available from
Warbases and were also found in my trawl of the 'box of bits' ~
I've mounted the cabin on a spare 3mm
Warbases 'Terrain Base'. It's 100 X 100mm and left over from my Italian Wars project from last year. Next up in the process is applying the roof shingles using sheets of precut strips from
Oshiro; messy but quicker than individual shingles! I added some spare plastic tubing to suggest the venting pipework for a pot bellied stove, after all they seem to have been first used in 1800 in Pennsylvania ~
The next phase was to paint the entire cabin. When that was done it could be weathered and the base textured. The final phase was adding static grass and tuft type vegetation to help bind the building into its surroundings visually.
I first washed the walls sparingly with GW's Nul Oil, but any thin dark wash would do. When that was thoroughly dry I dry brushed all the walls in a succession of Foundry Arctic Grey shade, light, Canvas light and lastly Arctic Grey light. The shingles I painted first Foundry Bay Brown shade (only because I'd let the glue run fixing the pipe to the shingles!), Then dry brushed lightly with Foundry Stone shade, followed by a light dry brushing with Stone midtone. Grassing and adding vegetation to taste and it was done!
And in situ here in GHQ~
Now it's on to the 'L' shaped upscaling...


That really is a successful transformation, some ideas there that I would like to try out.
ReplyDeleteThank you Norm! Hope yours turns out well!
DeleteThat's very effective David and the wood planking is a great idea.
ReplyDeleteThank you SteveJ, glad to see my planked siding meets approval.
DeleteVery fine Mr. Barratt, very fine indeed a veritable des res.
ReplyDeleteBarratt Holmes? Thanks Watson, but the game's sadly not afoot...
DeleteThat has worked really nicely David...
ReplyDeleteIt looks like it could fit in with a number of different periods as well.
All the best. Aly
Thanks Aly, as you say it will prove versatile I think too.
DeleteThat looks great David. Well done!
ReplyDeleteVery kind Ray!
DeleteThat came out wonderfully!
ReplyDeleteKind of you to say so.
DeleteLovely looking cabin! Nice conversion work!
ReplyDeleteBest Iain
Very kind of you to say so Iain.
Delete