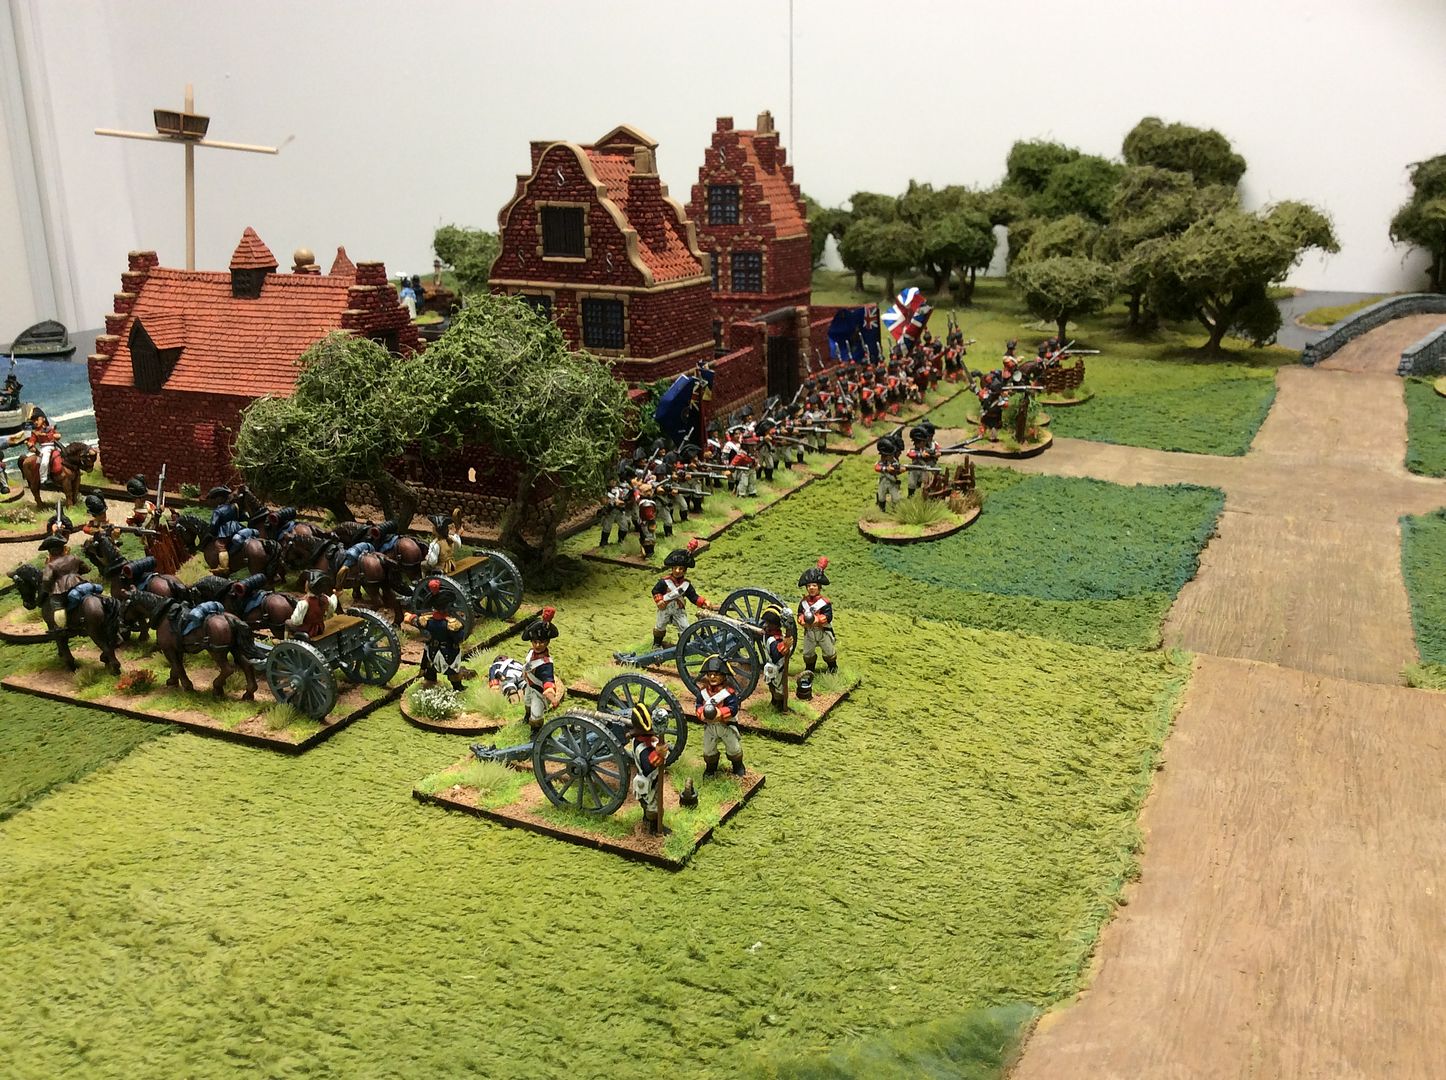
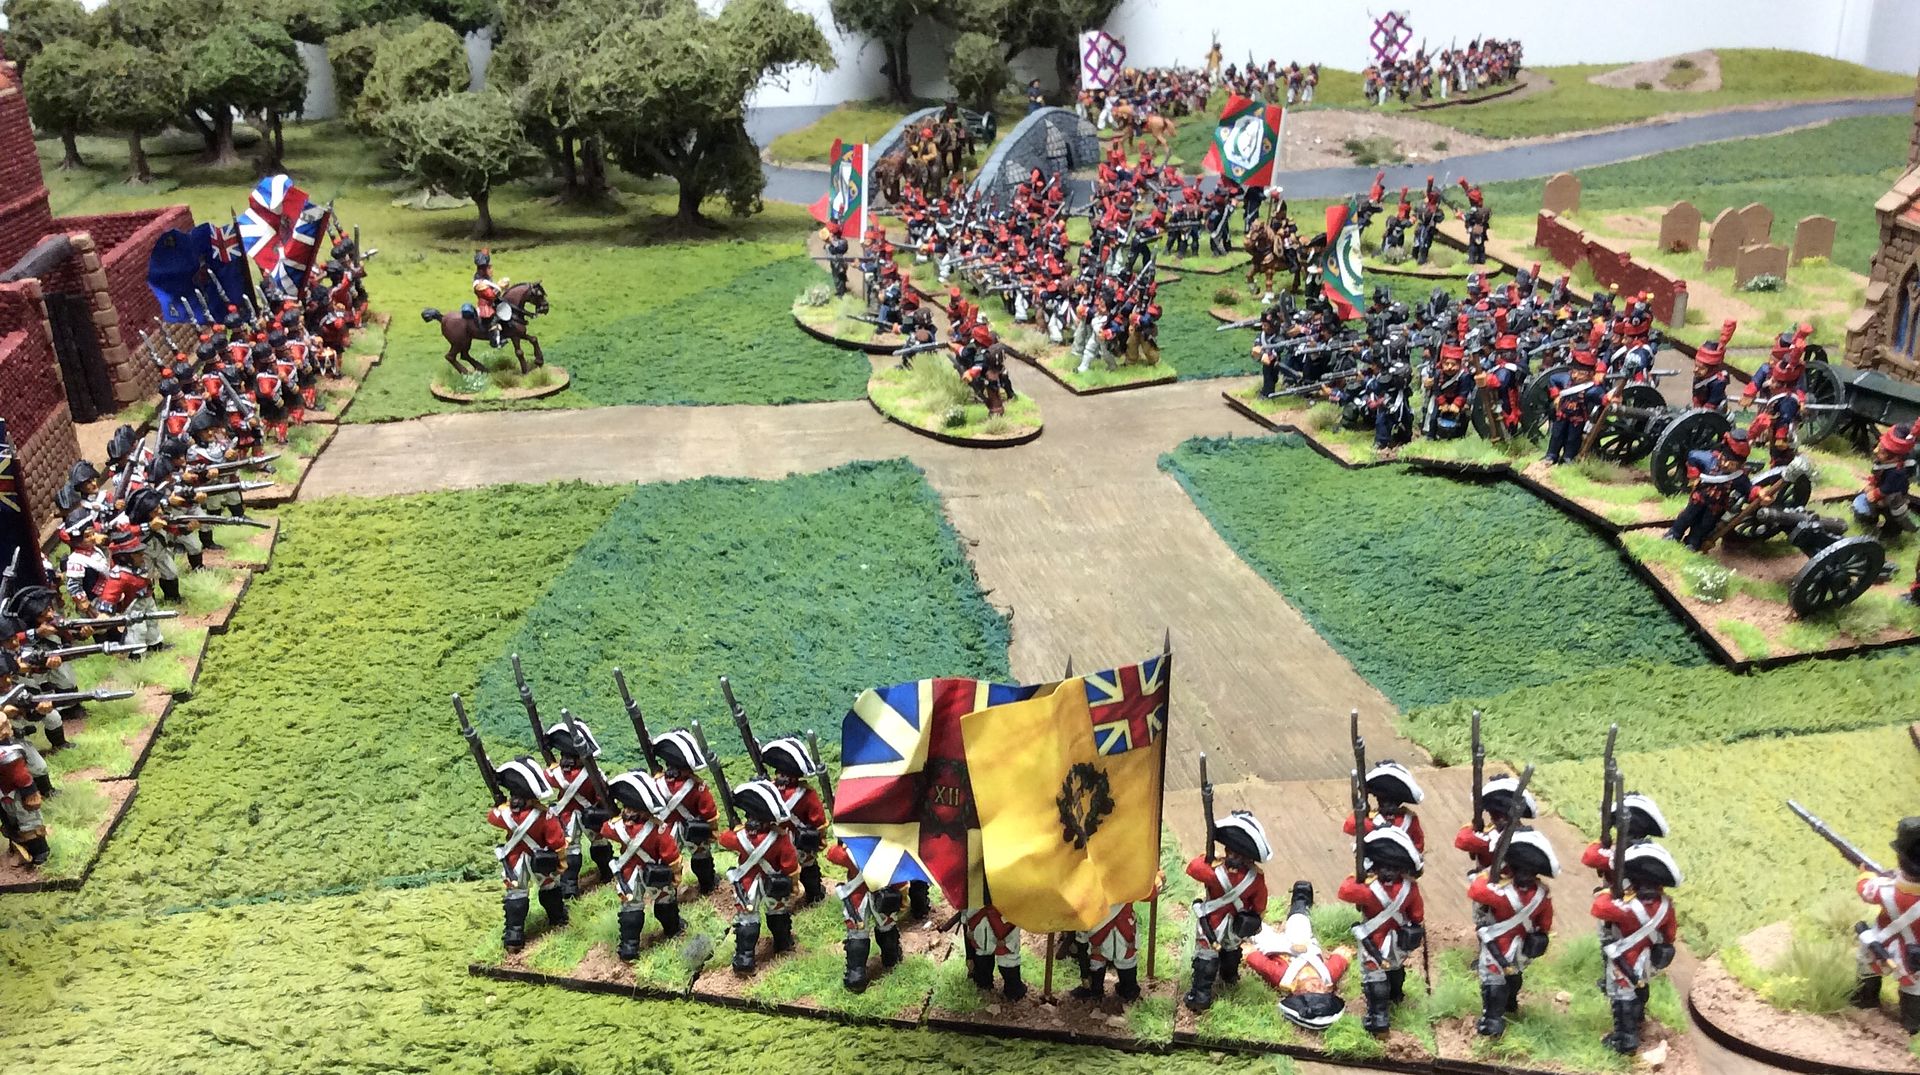
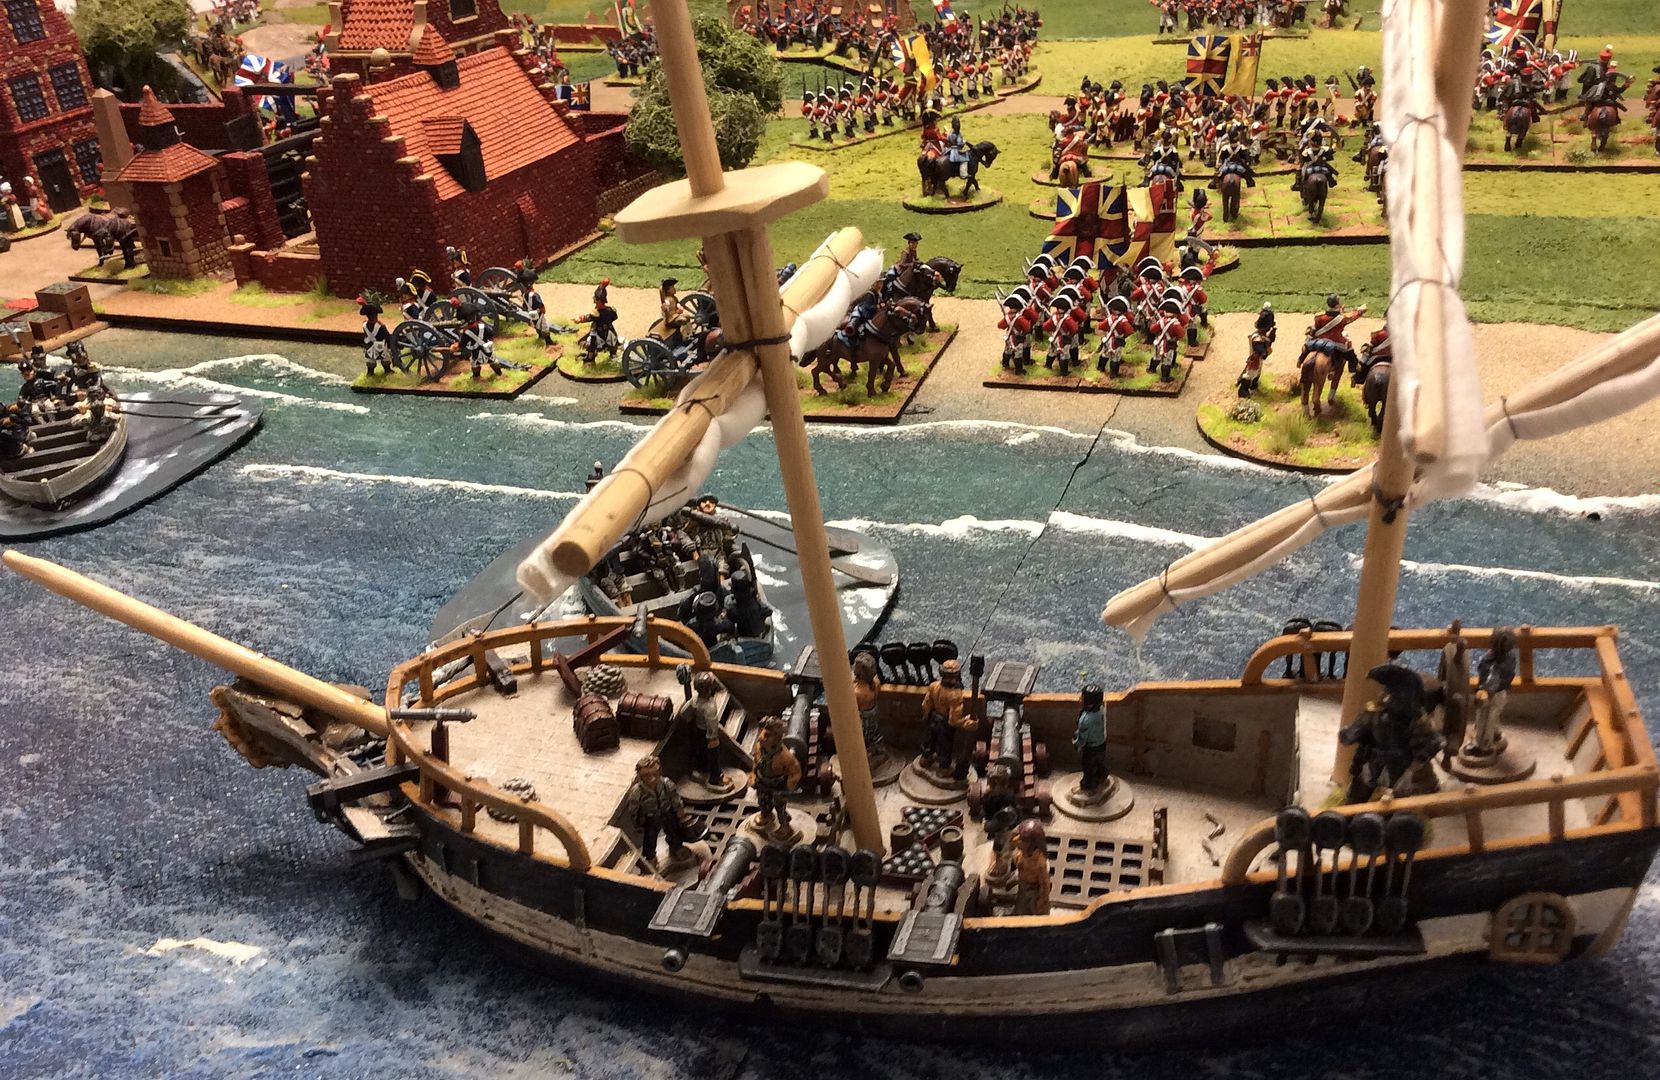
The British force has seized the port of Peendeforde and awaits reinforcements landed by the jolly tars of the Royal Navy. Meanwhile, De Rawnslie ~ he'll later drop the 'De' quietly as revolutionary zeal takes hold ~ has managed to get his army's advanced elements deployed against the British ~
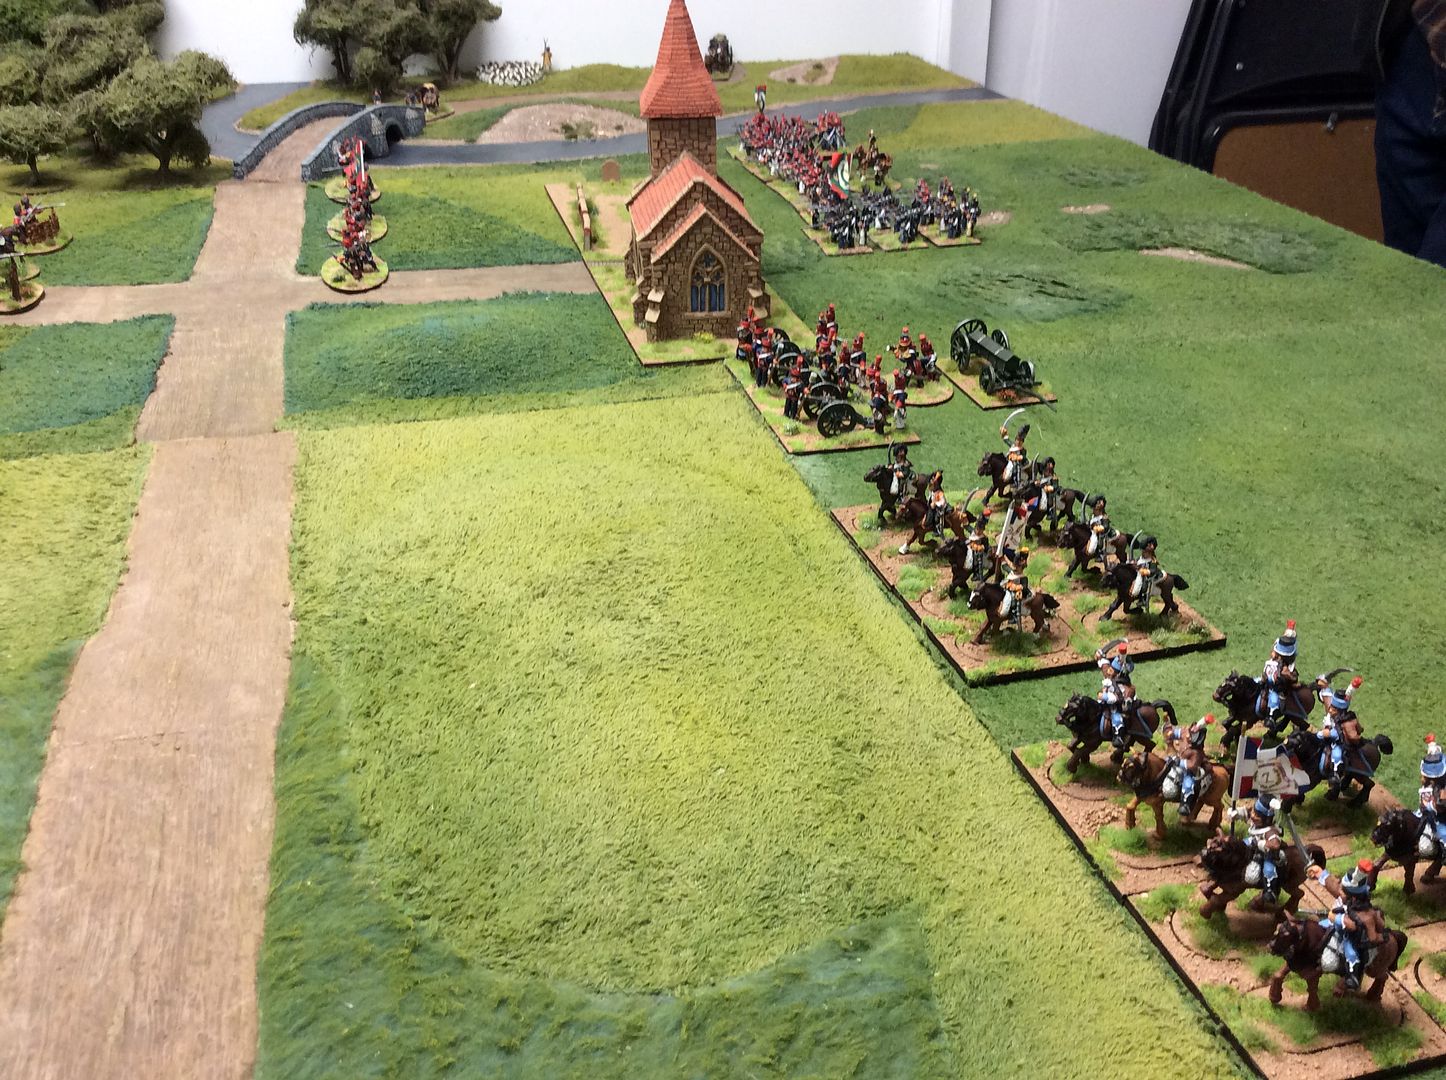
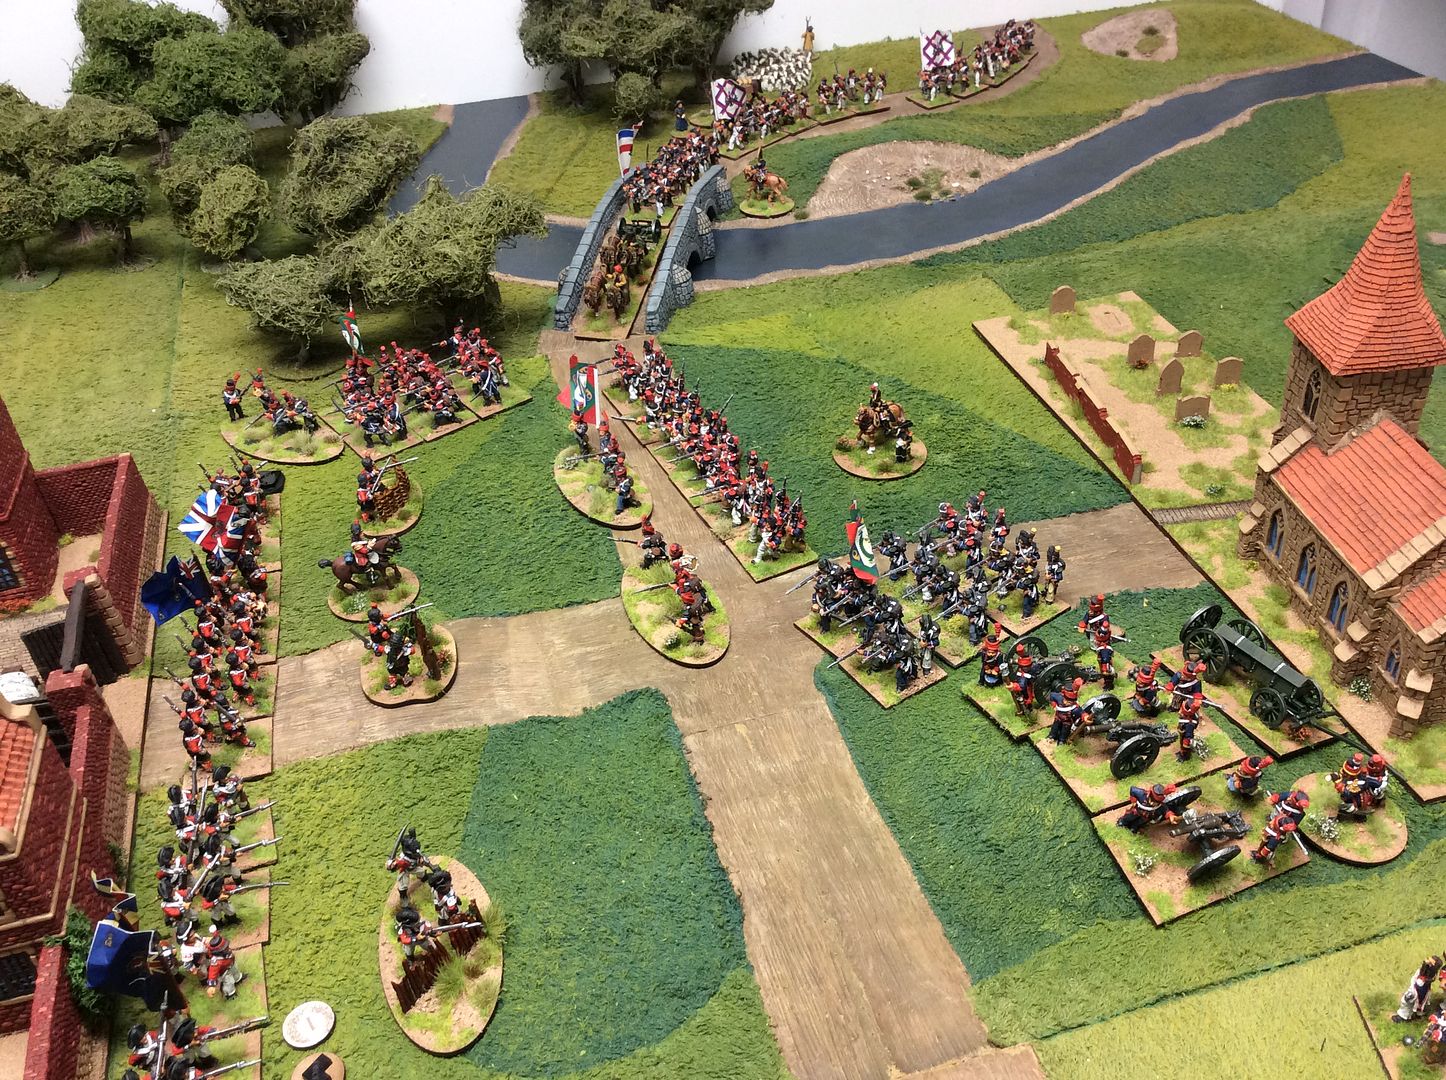
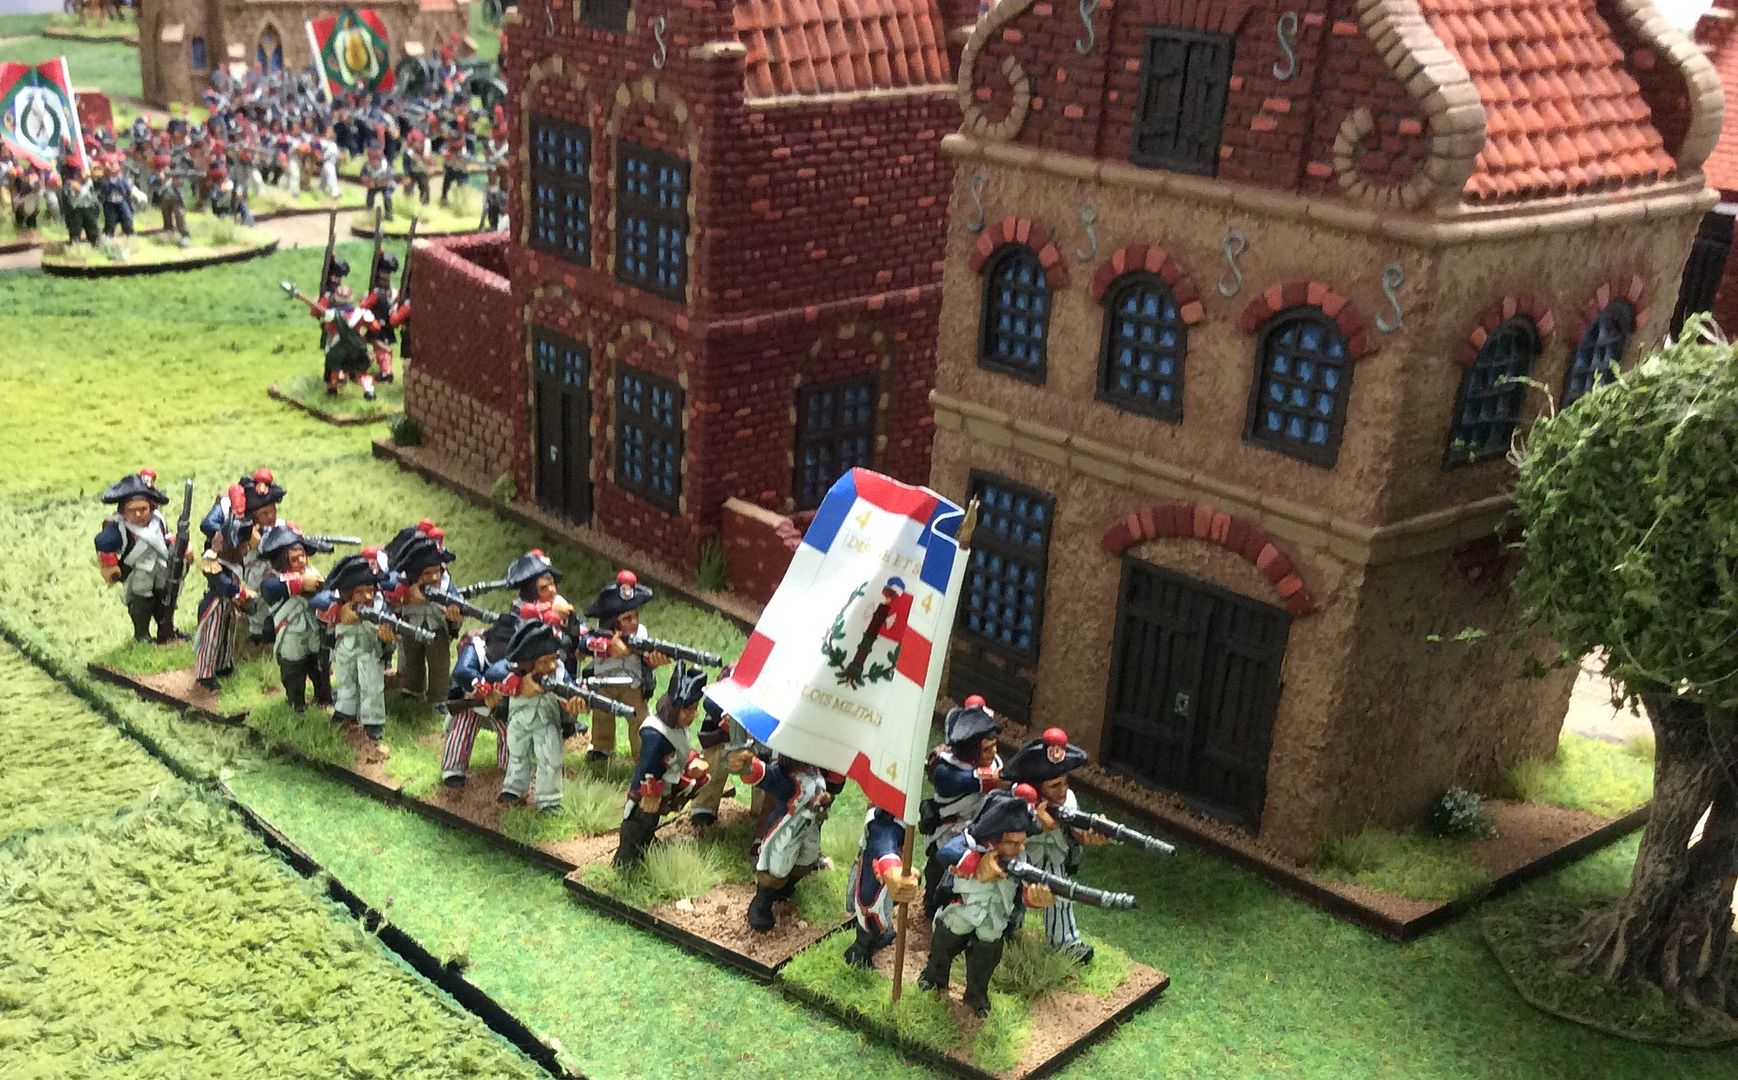
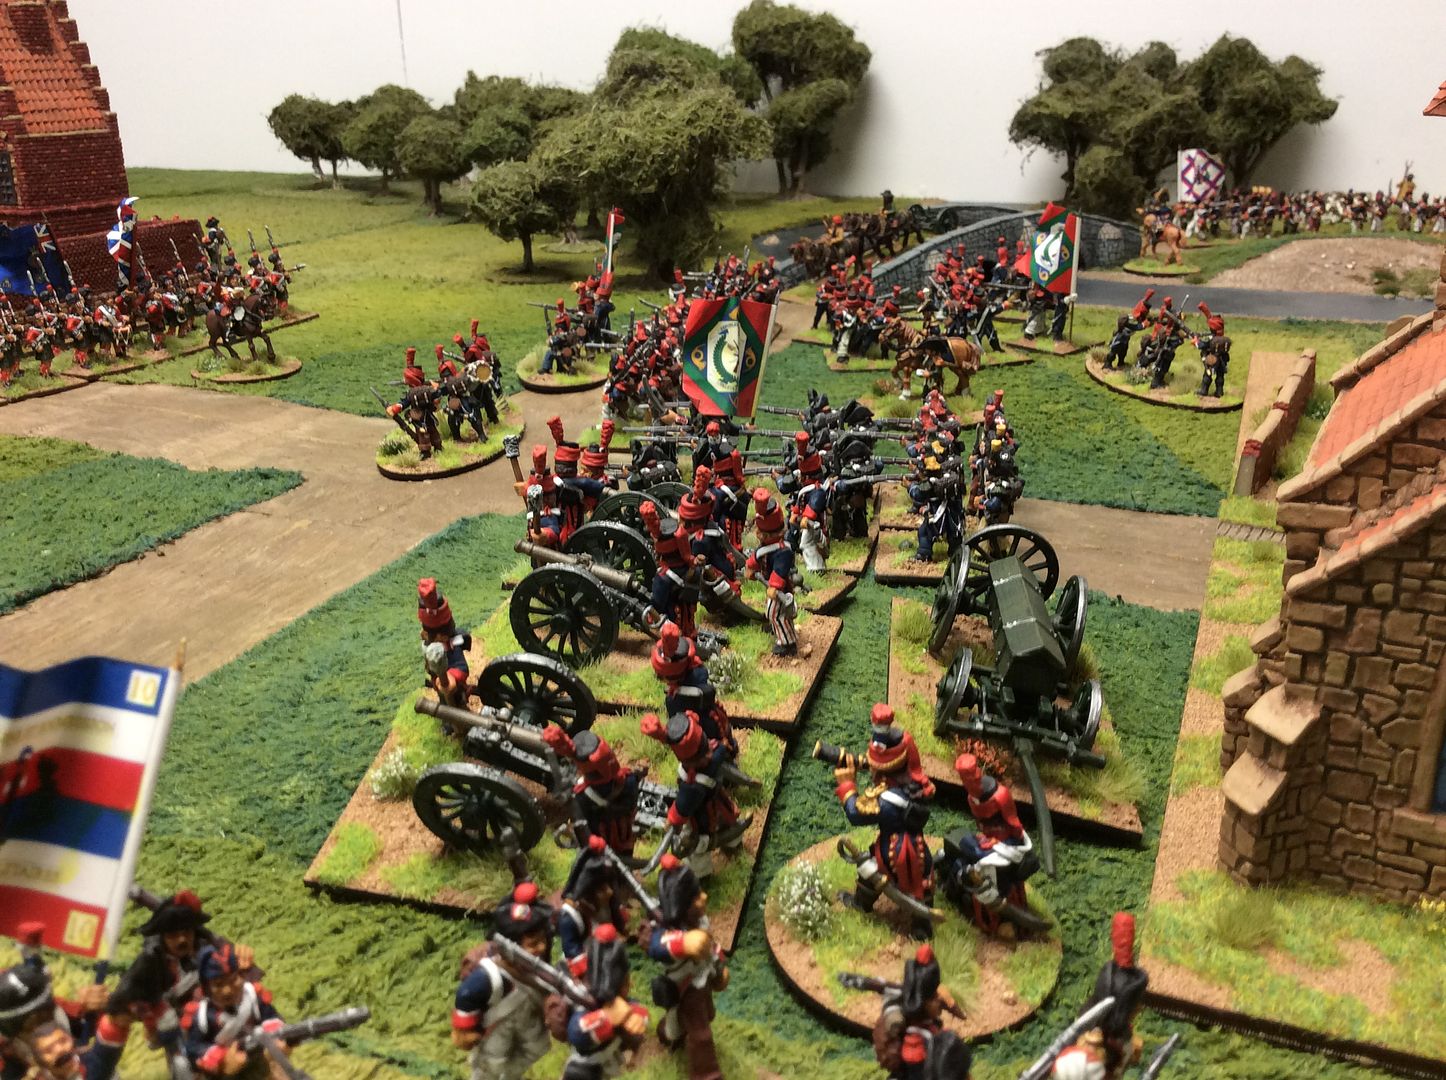
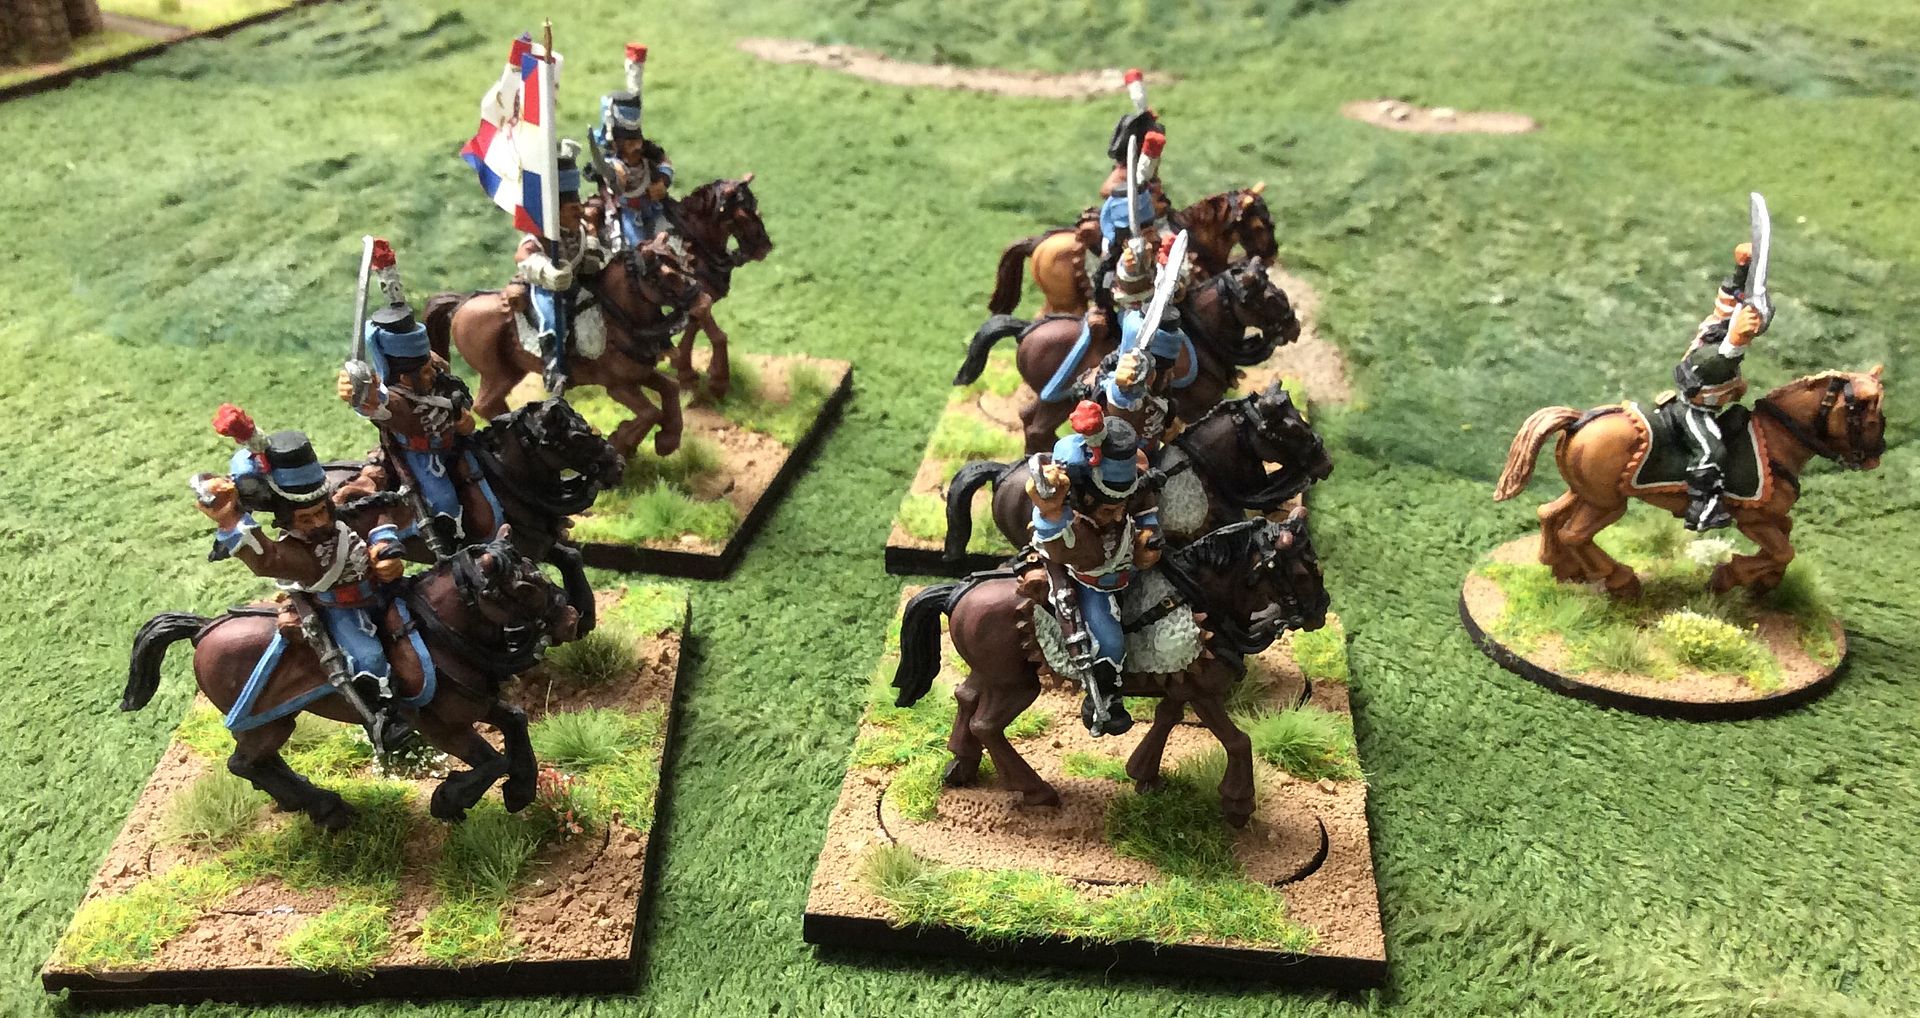
Advanced elements of the French secure a line around the church: in the foreground the Light Cavalry Brigade protects the French horse artillery while in the distance the Light Demi-Brigade advance to secure the bridge by throwing skirmish elements forward of their advance. At the end of Turn 2 a second French Demi-Brigade appears to support the cavalry on the French left ~
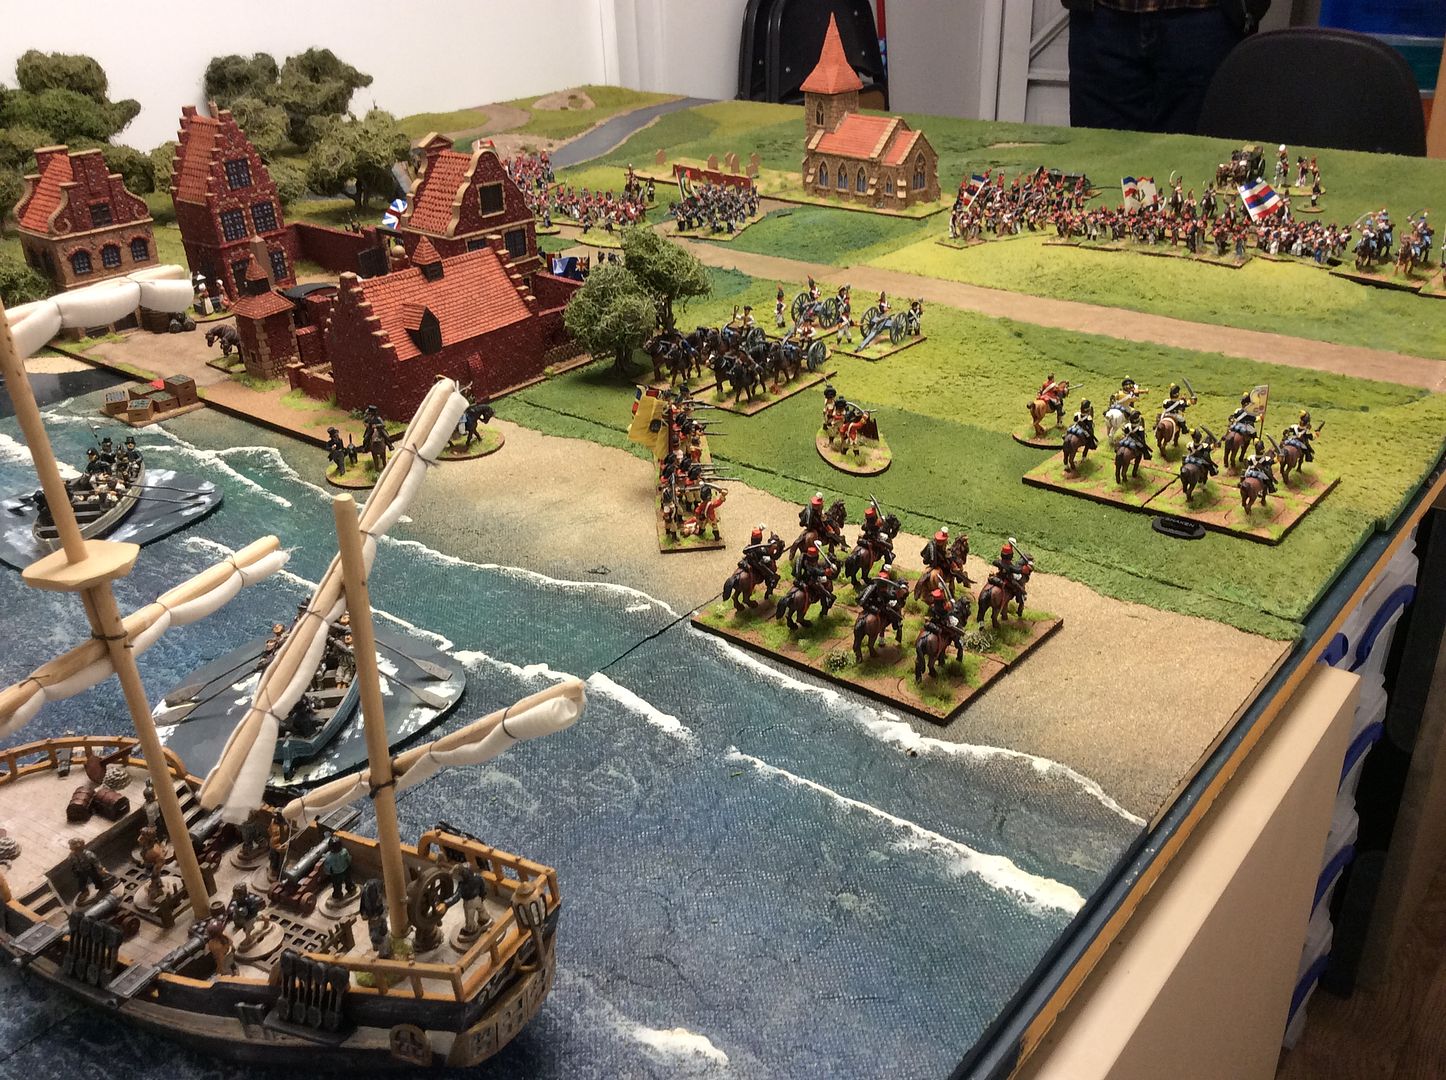
Fortunately for the British commander, a second Light Cavalry regiment disembarks promptly, accompanied by the first of the second Infantry Brigade. Worryingly though on the British left the enemy Light Demi-Brigade is closing with the 42nd Foot ~

Although the French 2nd Hussars see off the British 16th Light Dragoons they n turn are comprehensively beaten by the Hompesch Hussars and flee the field. The French Demi-Brigade is forced into sqare by the threat while inexplicably the 9th Chasseurs a Cheval stand idly by ~
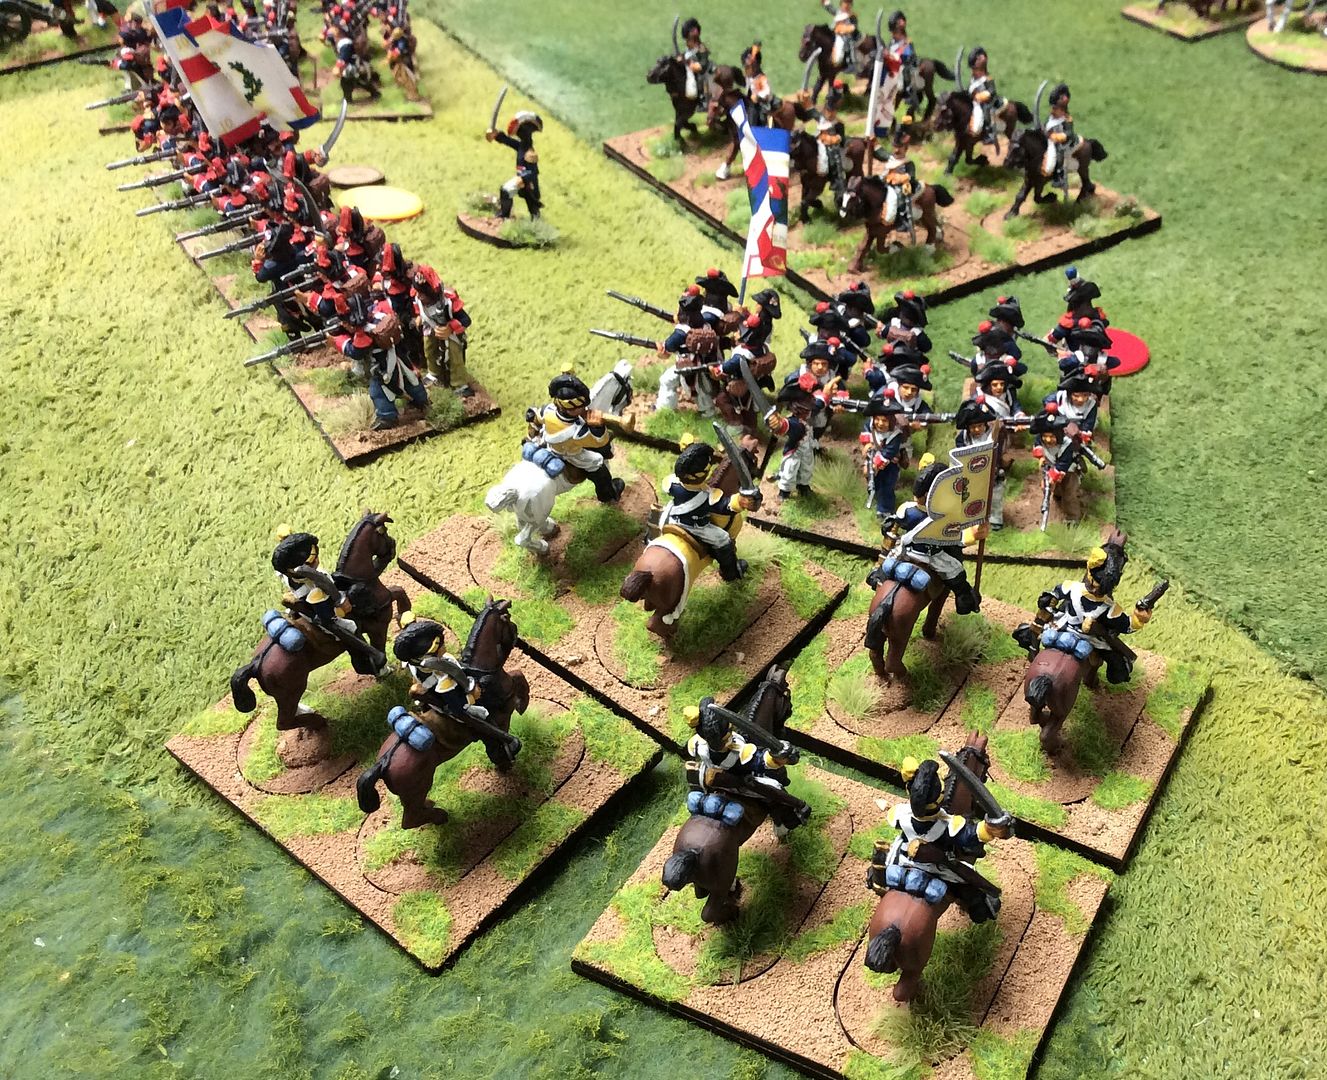
The 16th rally and charge the shaken French square. The result is a resounding win for the Light Dragoons and the French battalion flees to the rear. Sadly, the British losses prevent 'Sweeping Advance' and the Chasseurs live to stand another day! Despite this setback for the French, De Rawnslie receives news of his final Demi-Brigade marching to the sound of the guns ~
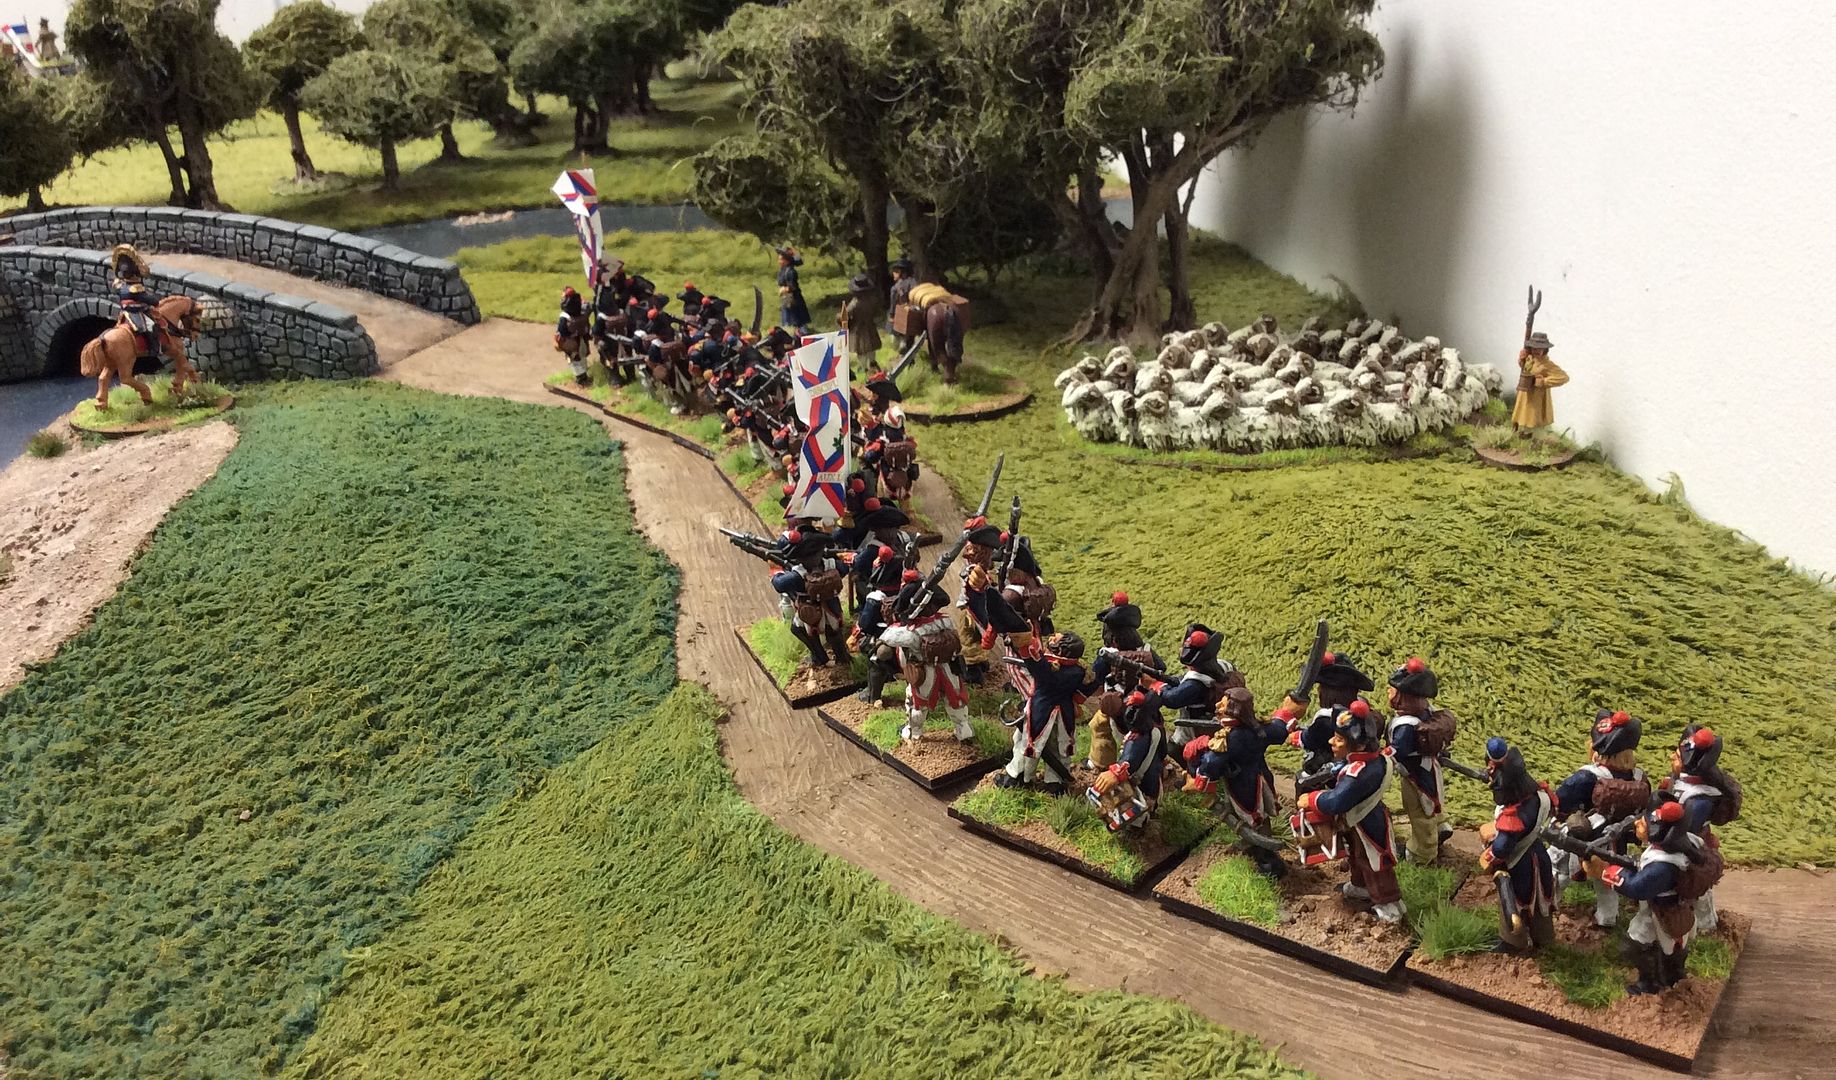
Sadly for him, as it turns out, the progress of these fresh troops is slow and the British left s also proving a tough nut to crack. While the leading element crosses the bridge to flank the British line, the remaining Battalions' progress stalls badly ~
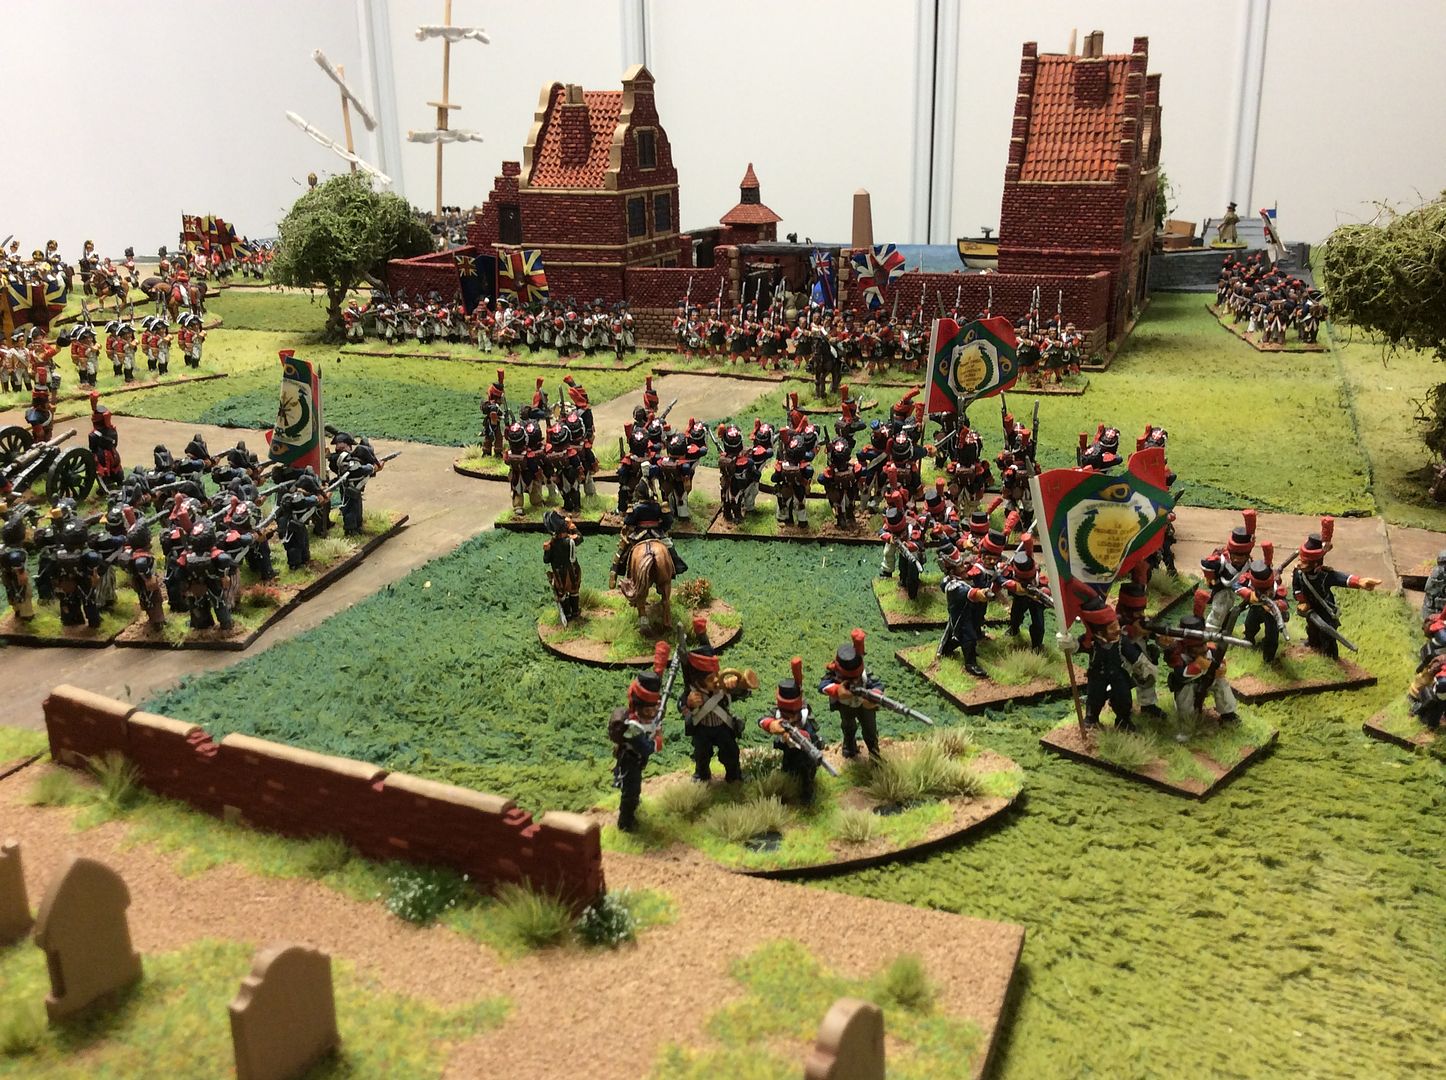
By Turn 6 the tide is slowly turning in favour of the British. Fresh infantry are landed by the tars and advance boldly into action in support of the beleaguered troops holding the outskirts of the town. The fresh troops give new heart to the infantry engaged in heavy fighting and thy defeat the Light Demi-Brigade in Hand-to-Hand combat ~
Away on the French left things are suddenly looking very bleak for De Rawnslie. The Chasseurs simply refuse to advance, forcing the remaining infantry of the Demi-Brigade holding the low hill into square, in which formation they receive withering fire from their British opponents. More British troops can be seen disembarking on the shore line ~
Despite one fresh French battalion seeming to flank the Highlanders, the advance on the British left has stalled, due to congestion on the narrow bridge, and the Light Demi-Brigade's assault has been drive off with serious losses ~
As ever more British troops are landed by the navy, the artillery is free to move to counter the French flanking move over on the British left flank ~
Although the leading Battalion of the last Demi-Brigade to arrive successfully flanks the British left its isolation from its fellows and the threat posed by the newly positioned British artillery makes it a fruitless move. The battle has turned against the French ~
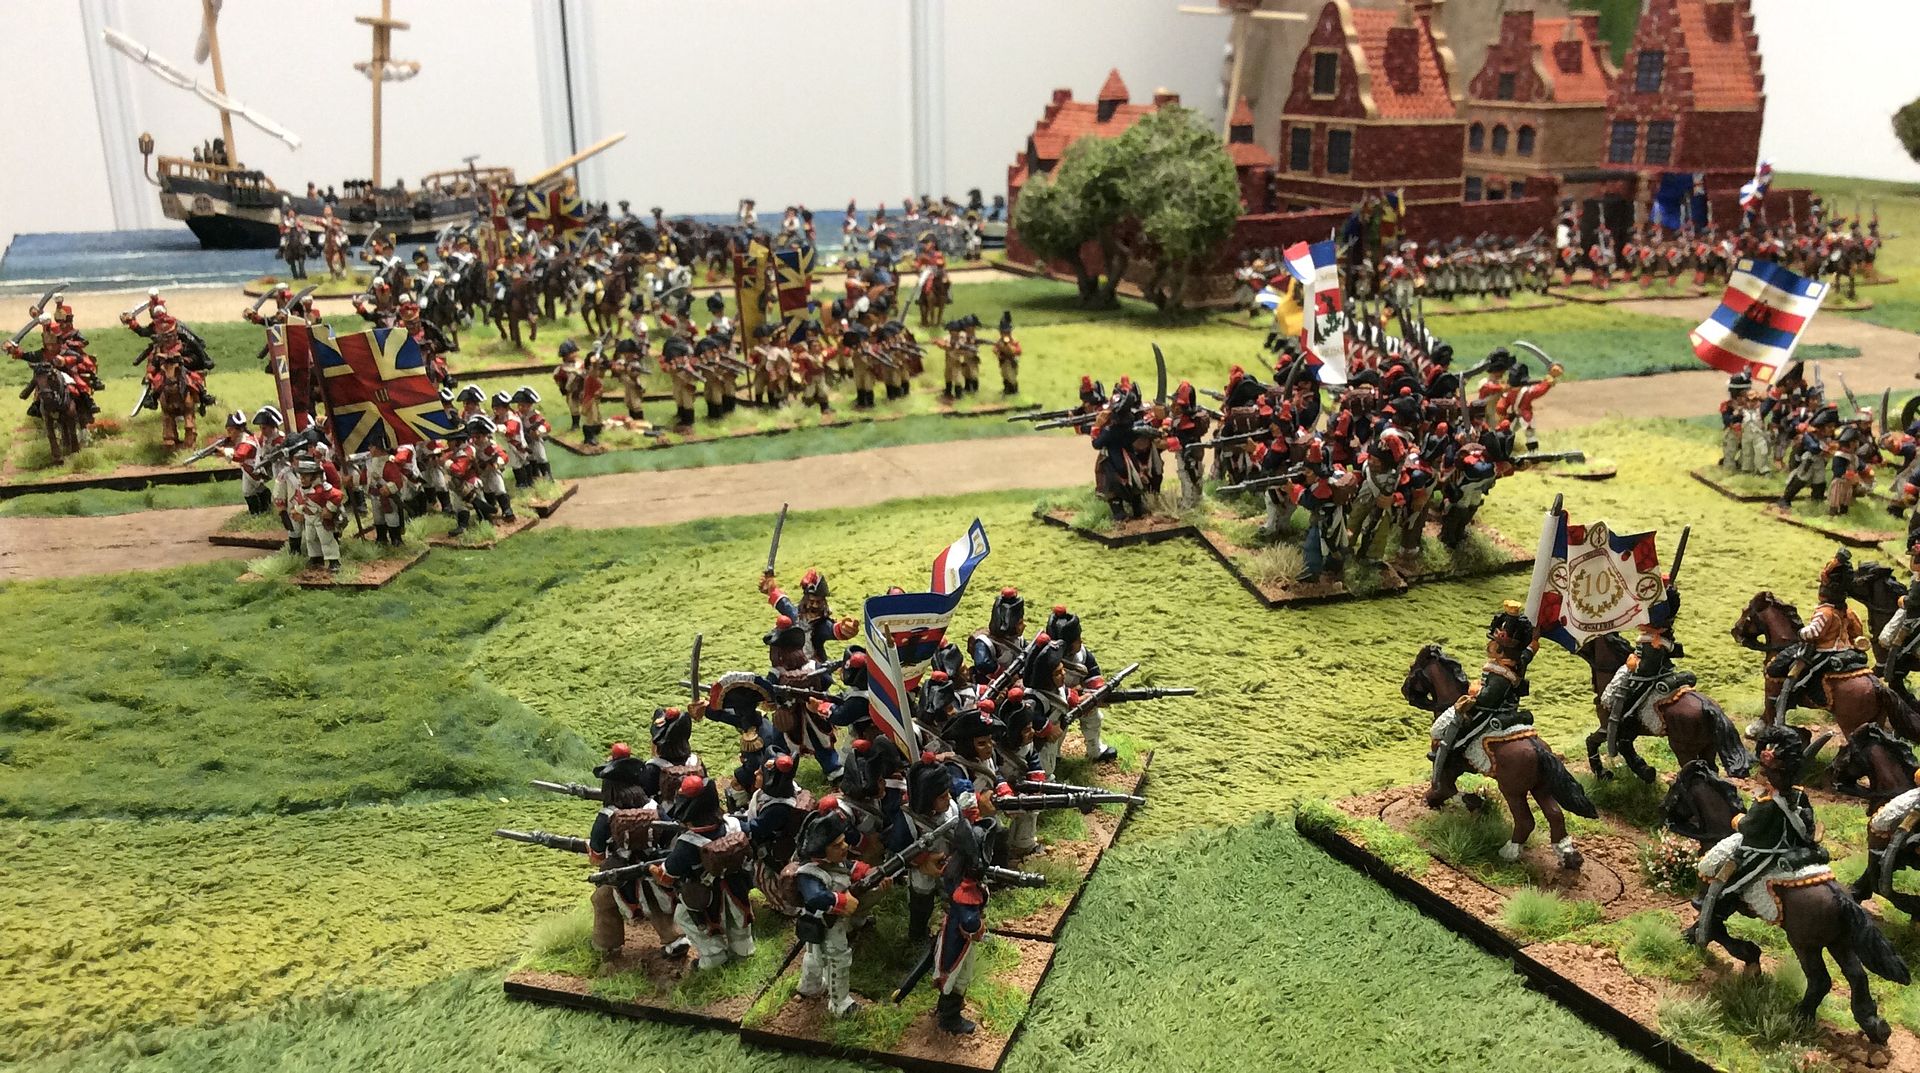
The final scene on the field of battle sees the French cente exposed by the collapse of its right and left supporting Demi-Brigades. With three Brigades broken De Rawnslie has no option but to order a retreat, allowing the British to consolidate their bridgehead.
Some elements of his army appear to have already anticipated the order! The 2nd Hussars rout towards the safety of the main French Army of the North ~
The battle played out over seven turns, the rules coping well with the vagaries of the scenario and the 'Freshly Raised' status of the French line Demi-Brigades, which all passed the necessary Morale Check the first time they came under fire or were involved in Hand-to-Hand combat! After all Phil's 'Blunders' in the last game here in GHQ today there was only one, by yours truly, which fortunately had no lasting effect on the battle's outcome. Another successful outing for Black Powder we thought. The more we play them, the more subtleties we discover in the rule set, the more we like them. I think you may see more Black Powder games here in GHQ in the months ahead as we explore the rules' toolbox approach in more depth.
Great looking game , especially the buildings. Never played BP but have a very clean copy of hail caeser which I have never gotten round to playing. We keep drifting off into skirmish games.....
ReplyDeleteThank you, Matt; glad you liked the game.
DeleteThere appeared to be a certain lack of revolutionary fervour, Rawnslie may well be dropping more than the "De" and it may be caught in a basket ;-)
ReplyDeleteThat reminds me, I wonder if I should add a guillotine to my collection...?
DeleteGreat looking game, very nice figures and good to see the Brits fight the Frenchies!!
ReplyDeleteThanks for such a positive response.
DeleteVery nice looking game as per usual. I wouldn't buy the rules myself as my interests lie elsewhere but they always give a cracking Sudan game at the club.
ReplyDeleteThank you George! Missed your 'View from the Window' today!
DeleteGreat battlefield. It's good to see some game about this period.
ReplyDeleteThank you for your kind words.
DeleteLoving it!
ReplyDeleteWell, that's not entirely surprising given your recent foray into the period!
DeleteGreat write up Mr.B. Looks like I'm missing a lot more than just the burgers ...
ReplyDeleteThank you Jon! Your company is missed as you know, though the burgers seem to have no view on the matter...
DeleteEnjoyable read, thanks. I am just re-familiarising myself with the rules as I have started properly browsing the Glory Hallelujah book for ACW.
ReplyDeleteGlad you enjoyed the visit Norm.
DeleteBeautiful looking game and great AAR.
ReplyDeleteA few more victories and maybe the Revolution will become a small footnote of history. Well maybe not but a nice game indeed.
Thanks for the very positive response William.
DeleteGreat looking game, figures and scenery, it's nice to see some bicornes out and about!
ReplyDeleteBest Iain
Thanks for that Iain.
DeleteWhat a lovely looking game!
ReplyDeleteChristopher
Thank you Christopher, we do our best to please.
Delete