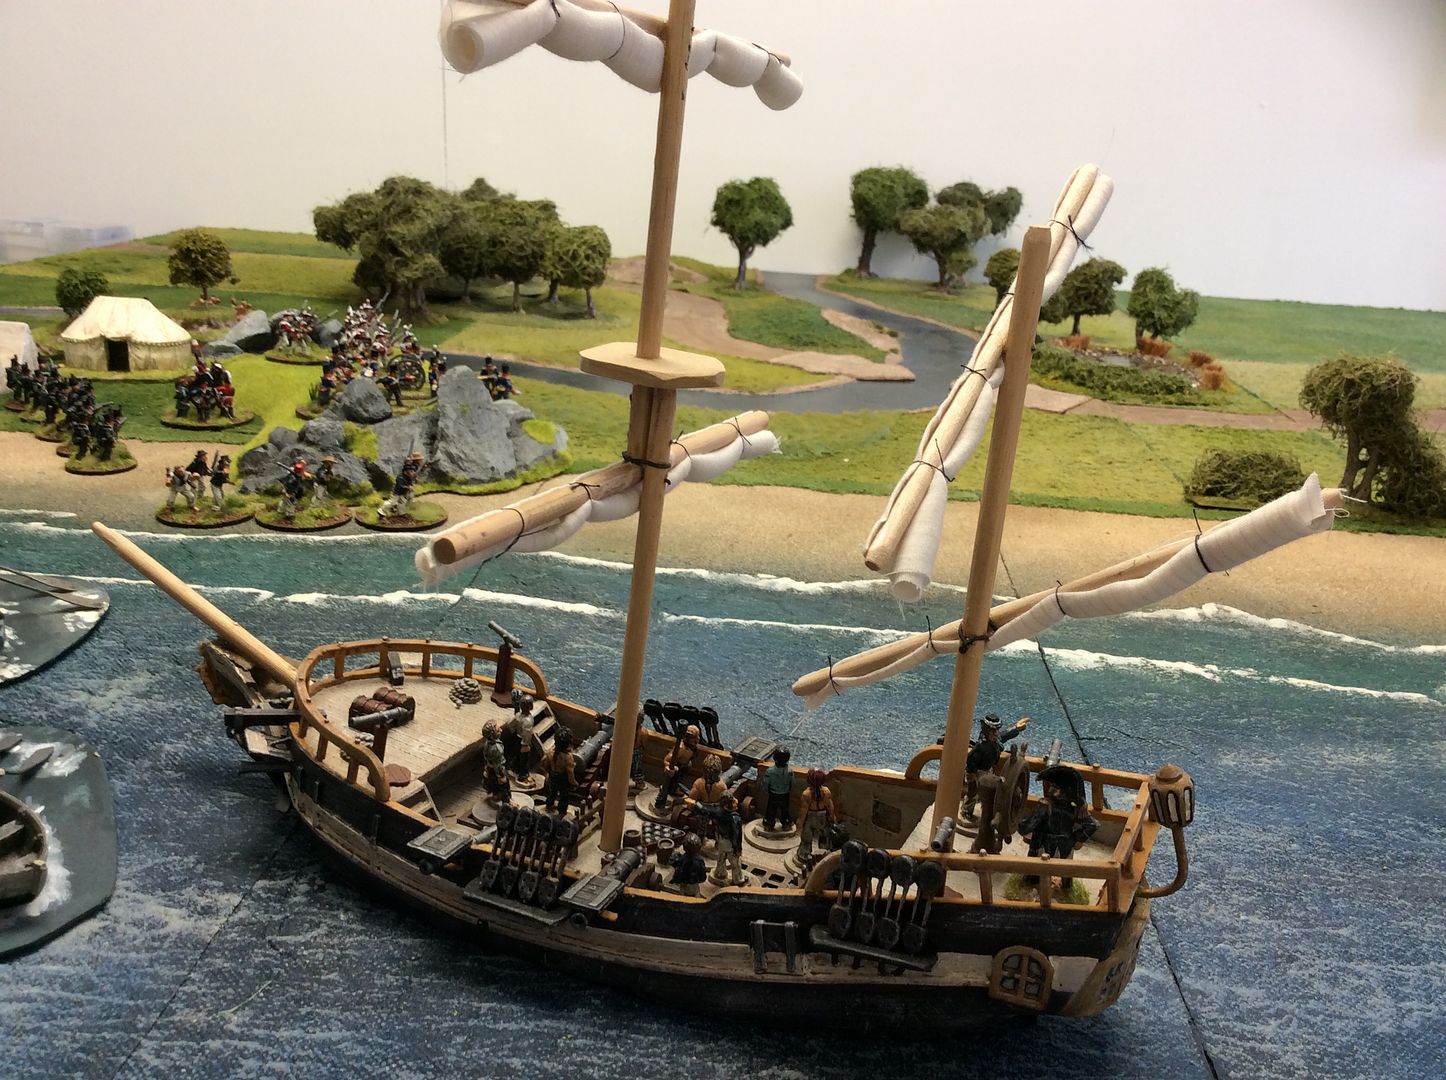
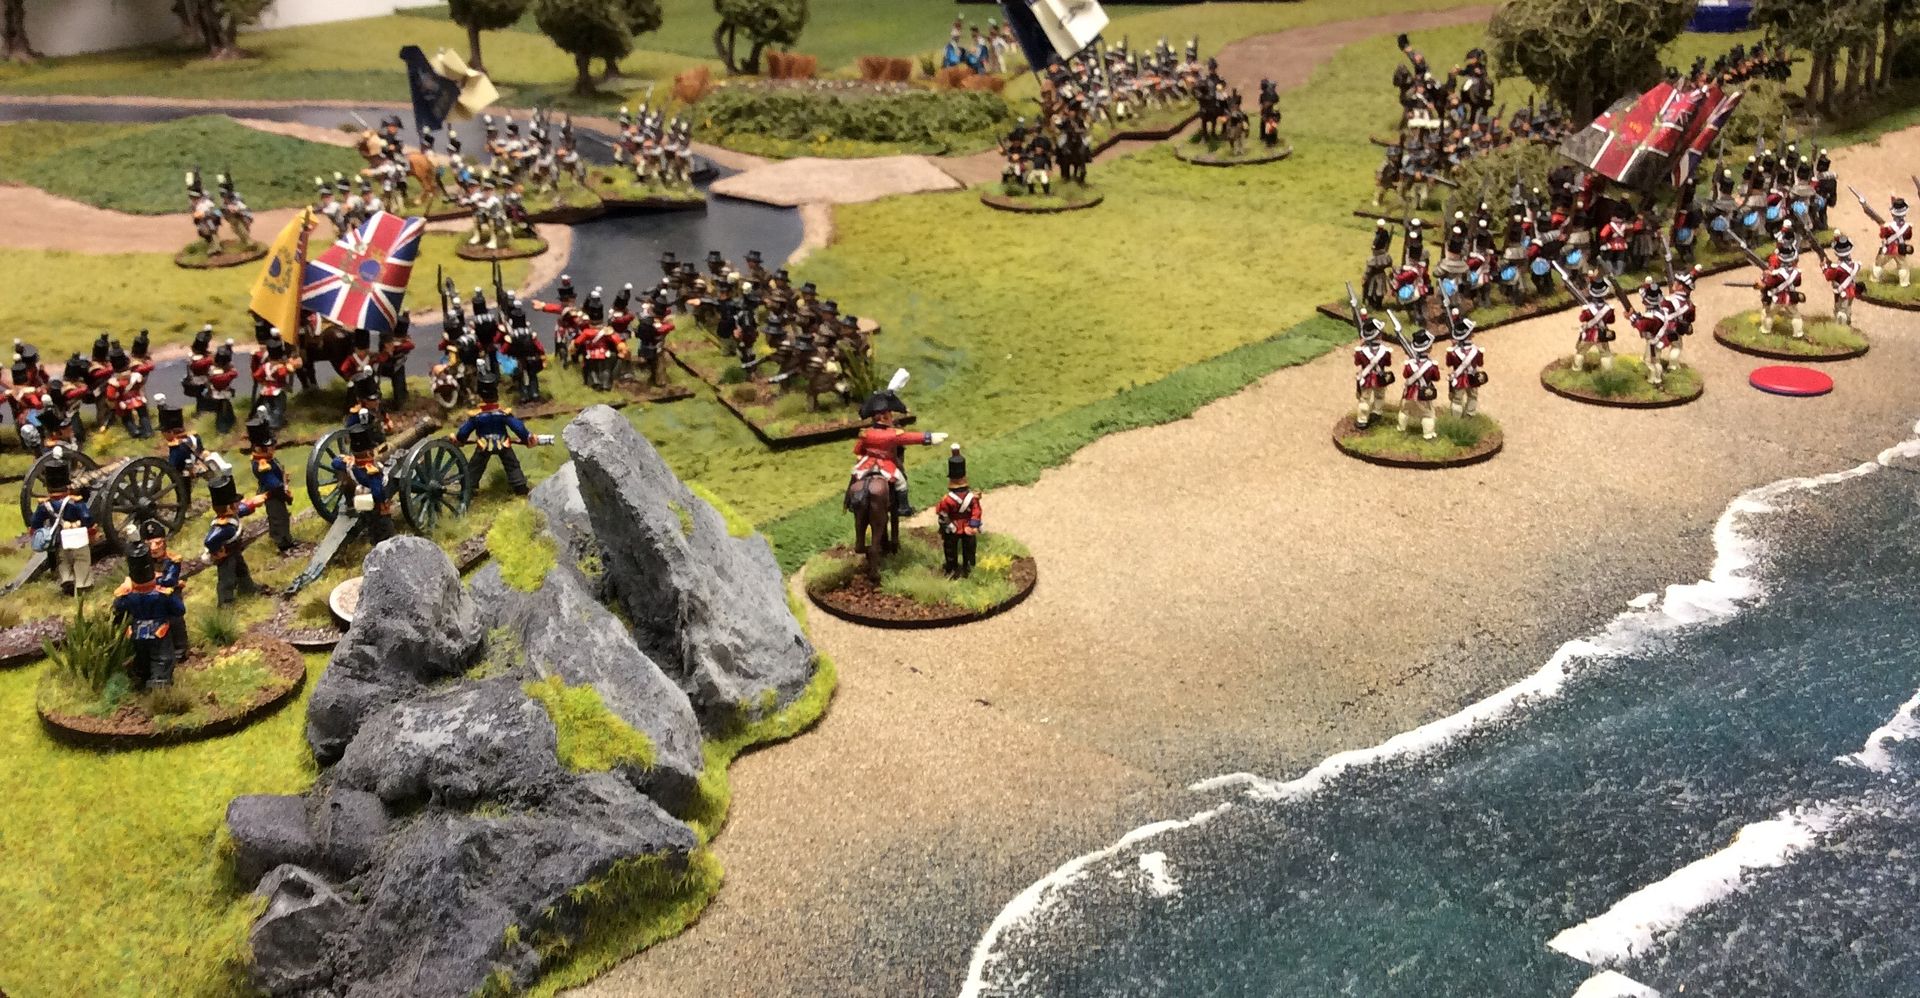
The landings are supported by the Royal Navy. HMS Dianna's batteries threatening to enfilade any rash attackers. The model is the old Britannia resin set I seem to remember. Guns from Dixon I think and the crews Abbott Miniatures which Redoubt used to sell.

The first Brigade of Anglo-Canadians to land raised their commander's hopes for a swift consolidation of the position, while American troops could be seen in the distance advancing briskly to the attack.
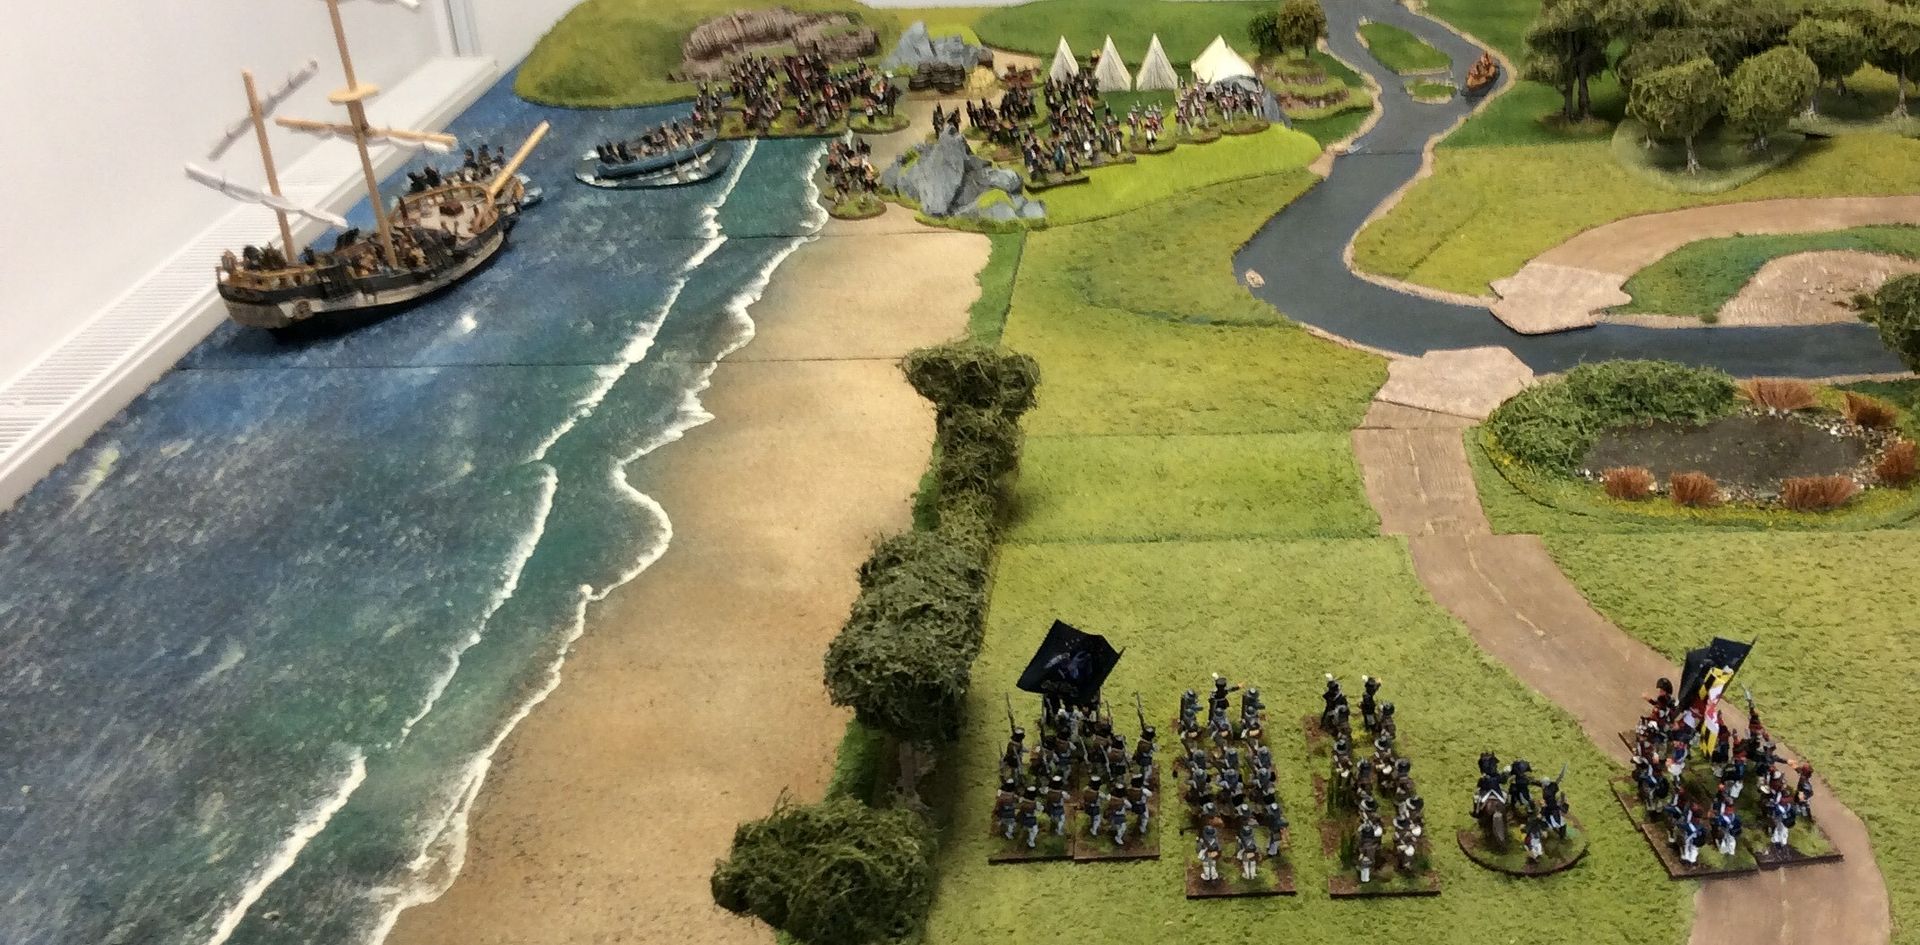
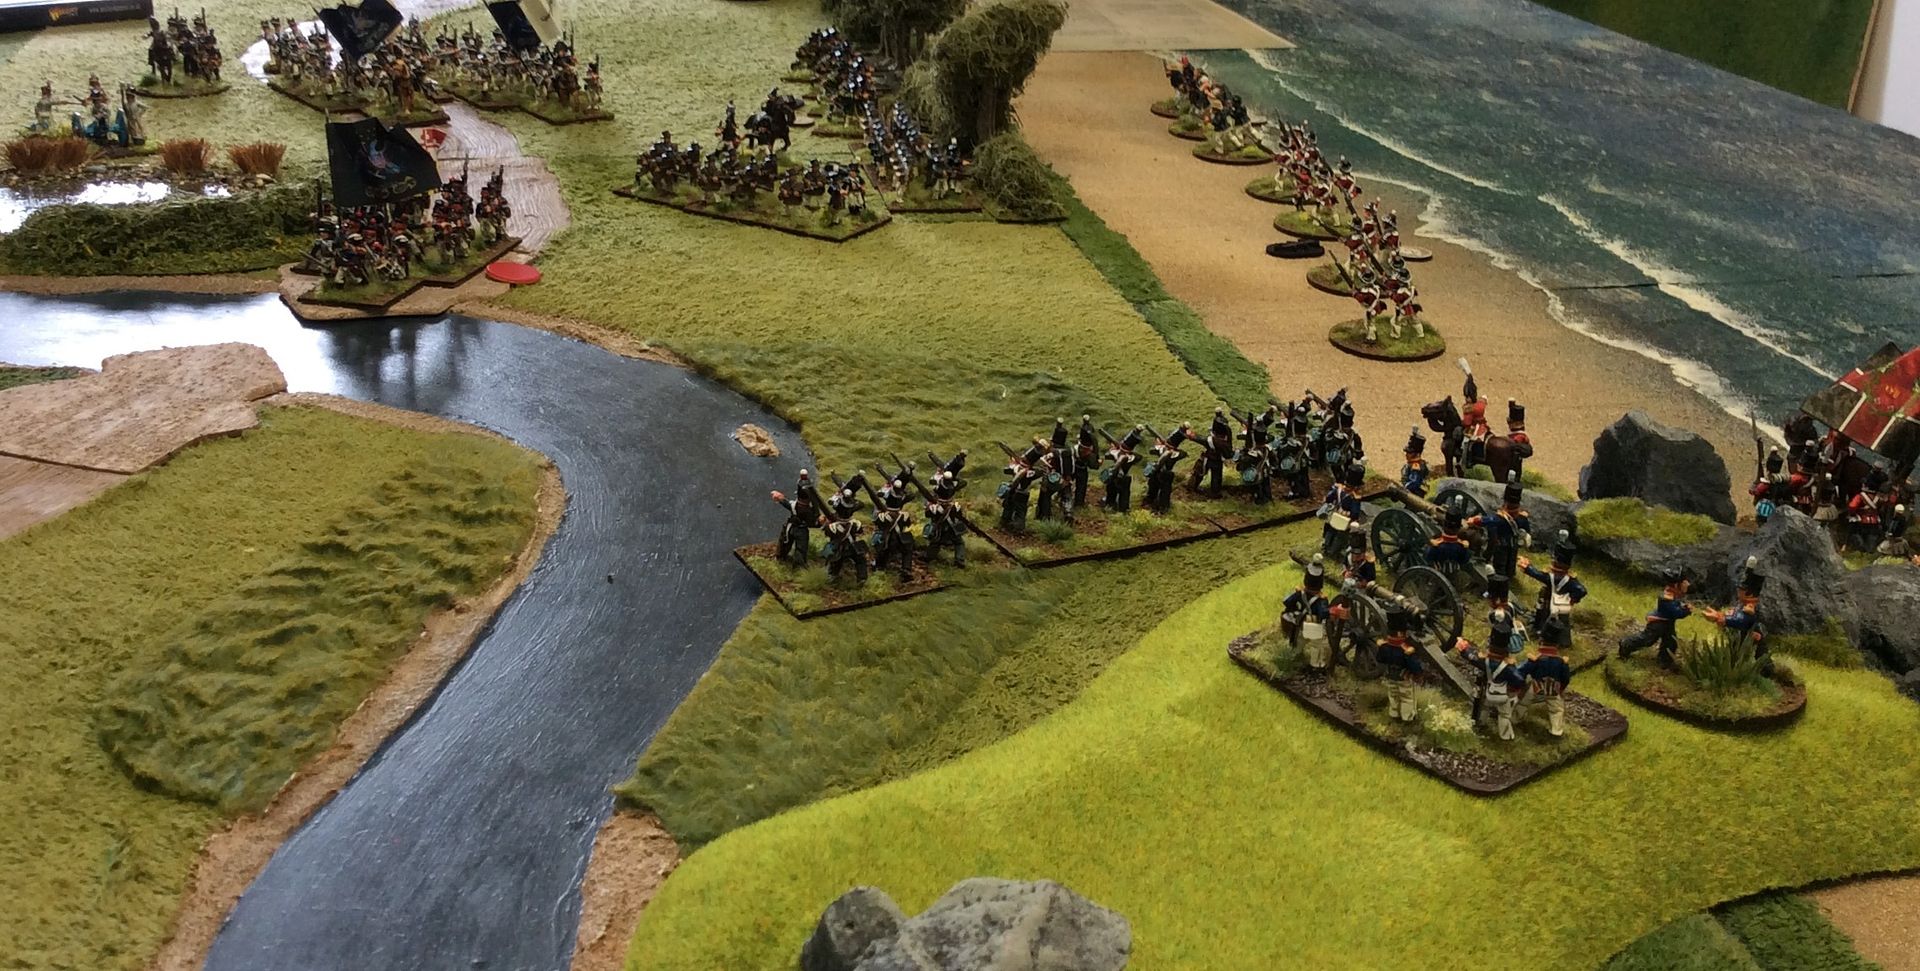
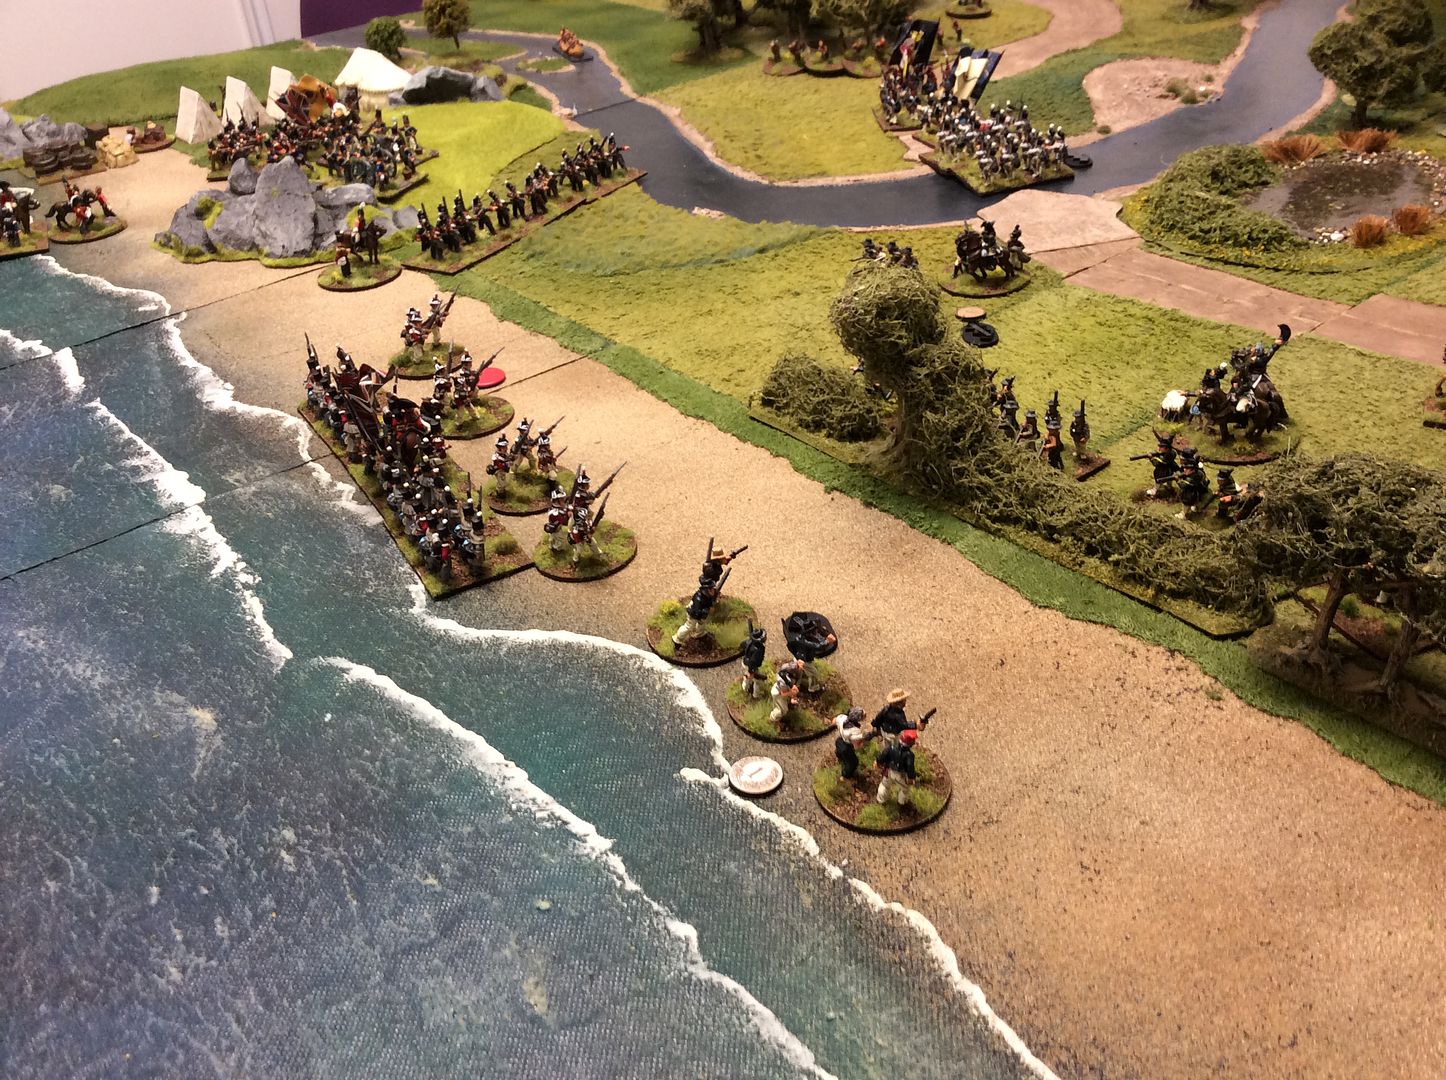
A brigade of State and Volunteer troops makes straight down the bay hoping to pin the enemy while buying time for their further Brigades and the CinC to arrive on the table.
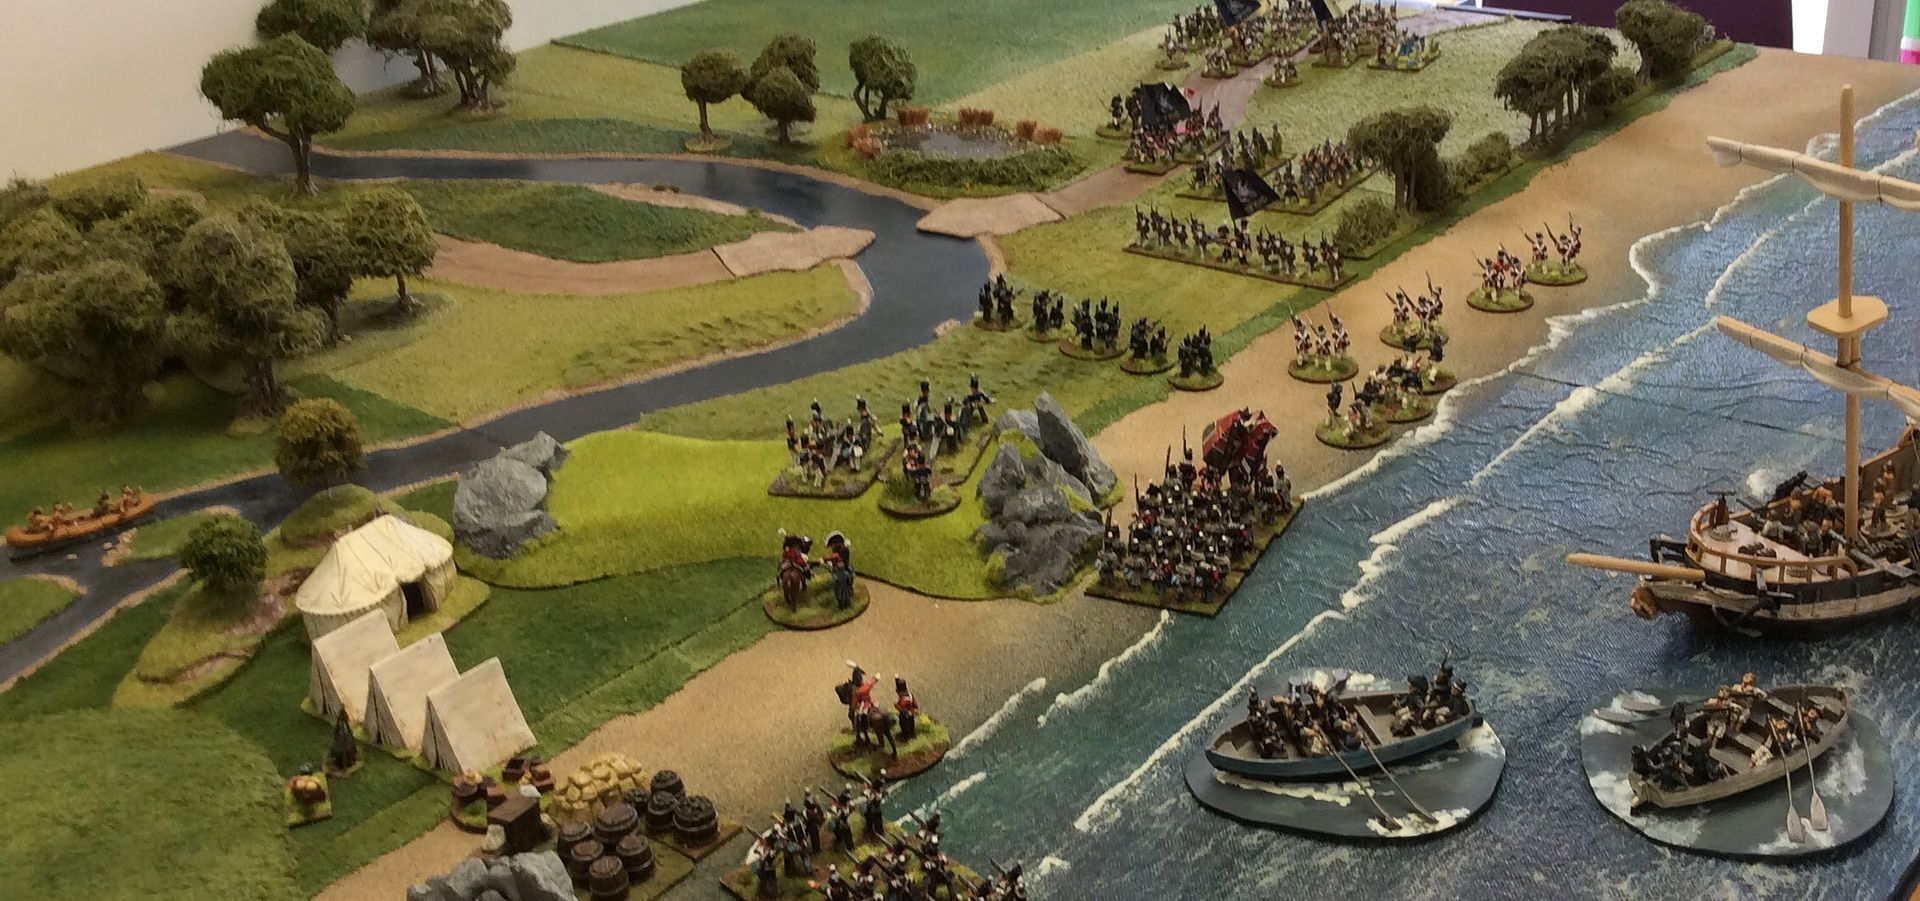
In the meantime the Marines and Naval shore party move cautiously down the beach, hoping to take up a position to harry the flank of the American advance. The Michigan Fencibles move off the landing beach to support their move while the Canadian Fencibles struggle to form up in the surf.

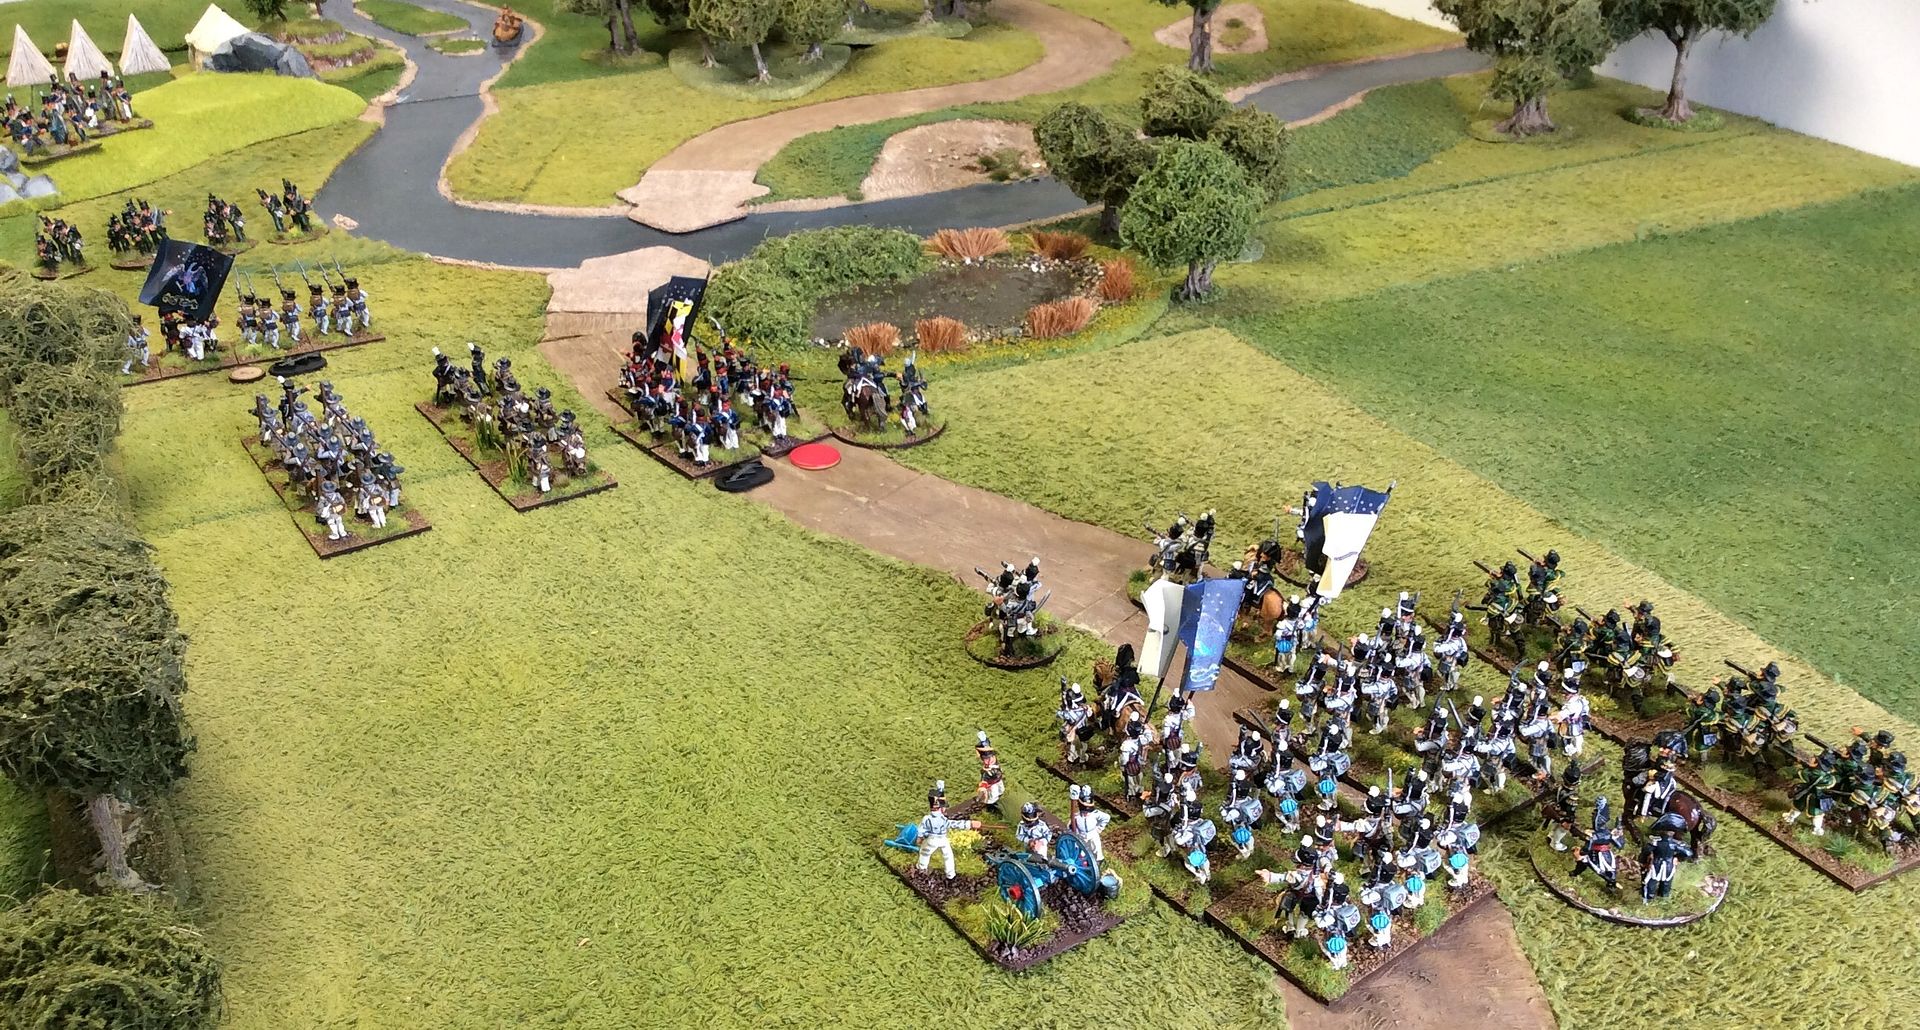
Troops from Pennsylvania, their flank supported by Volunteer companies, engage the skirmishers of the Glengarry Light Infantry. The Colonel of the Michigan Fencibles calls a halt while he assess the situation unfolding before him. Before he can act, the Pennsylvanians charge the Glengarry LI and drive them off, rushing on to attack the unsupported RA battery. The subsequent Closing Fire shatters the attackers and they flee the field. But, not before the Brigade commander of the Anglo-Canadians is taken prisoner!
 |
At last, in Turn 5, Scott's Brigade appears marching to the sound of the guns and bringing relief to the stalled American attack. Meanwhile, the third Anglo-Canadian brigade is landed in the bay by the Royal Navy, meaning the attackers still have local numerical superiority over the American commander's forces.
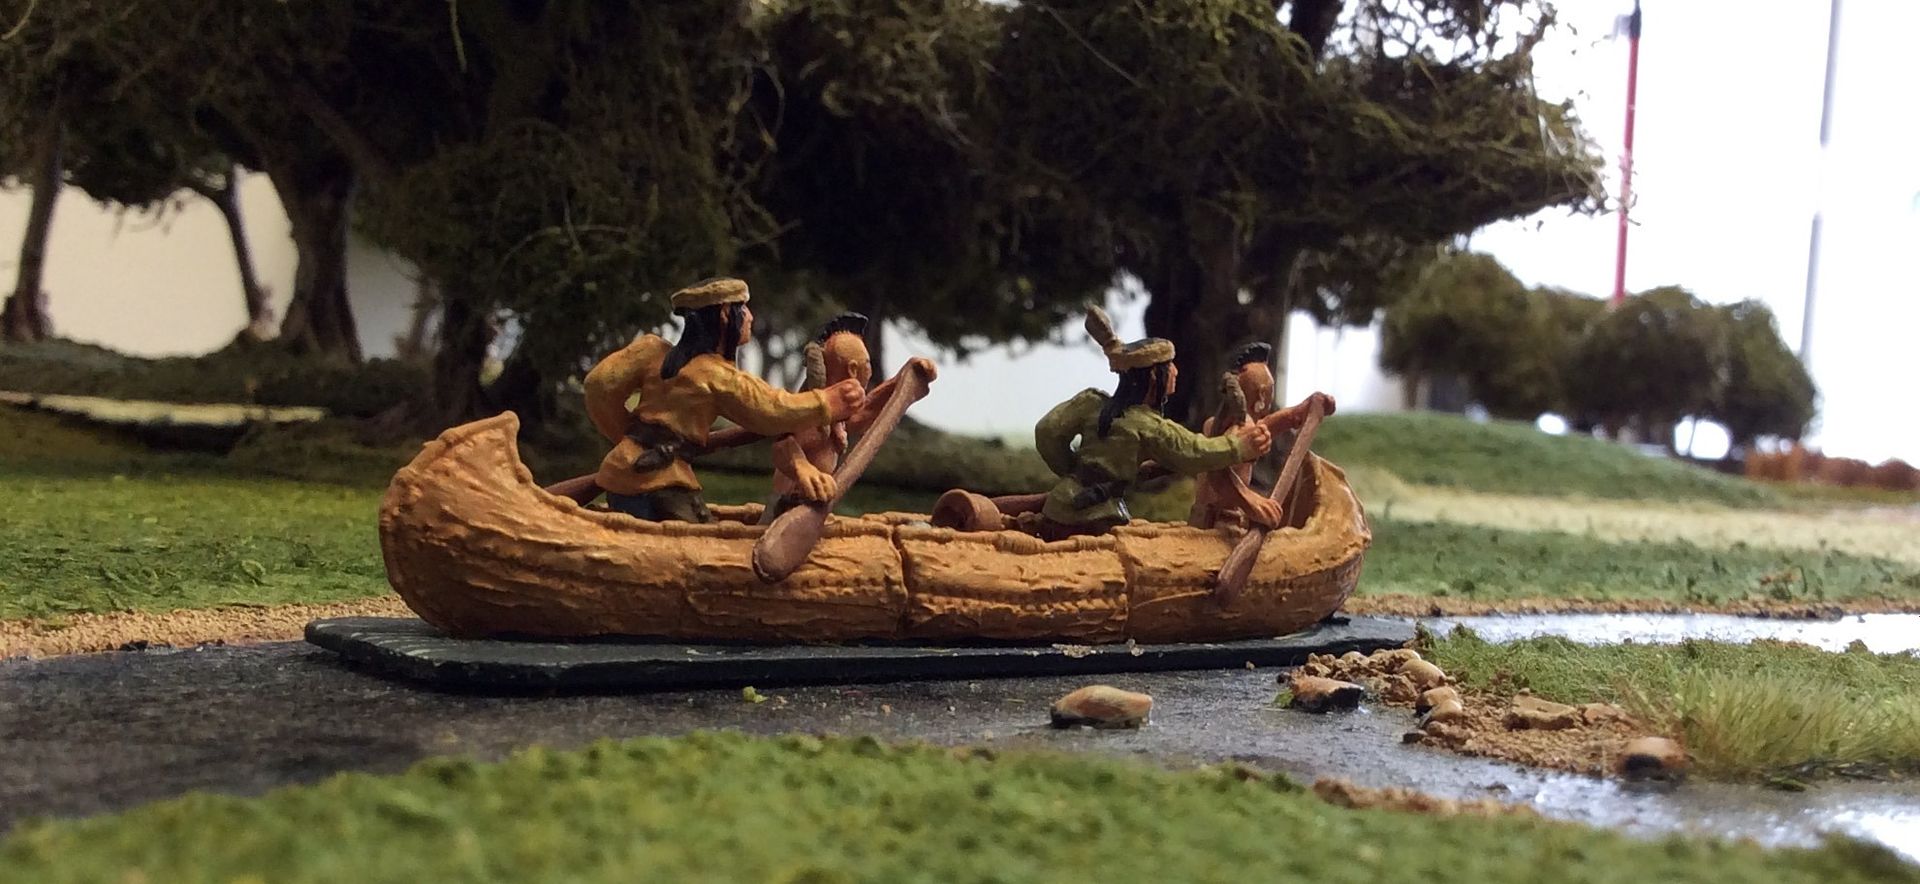
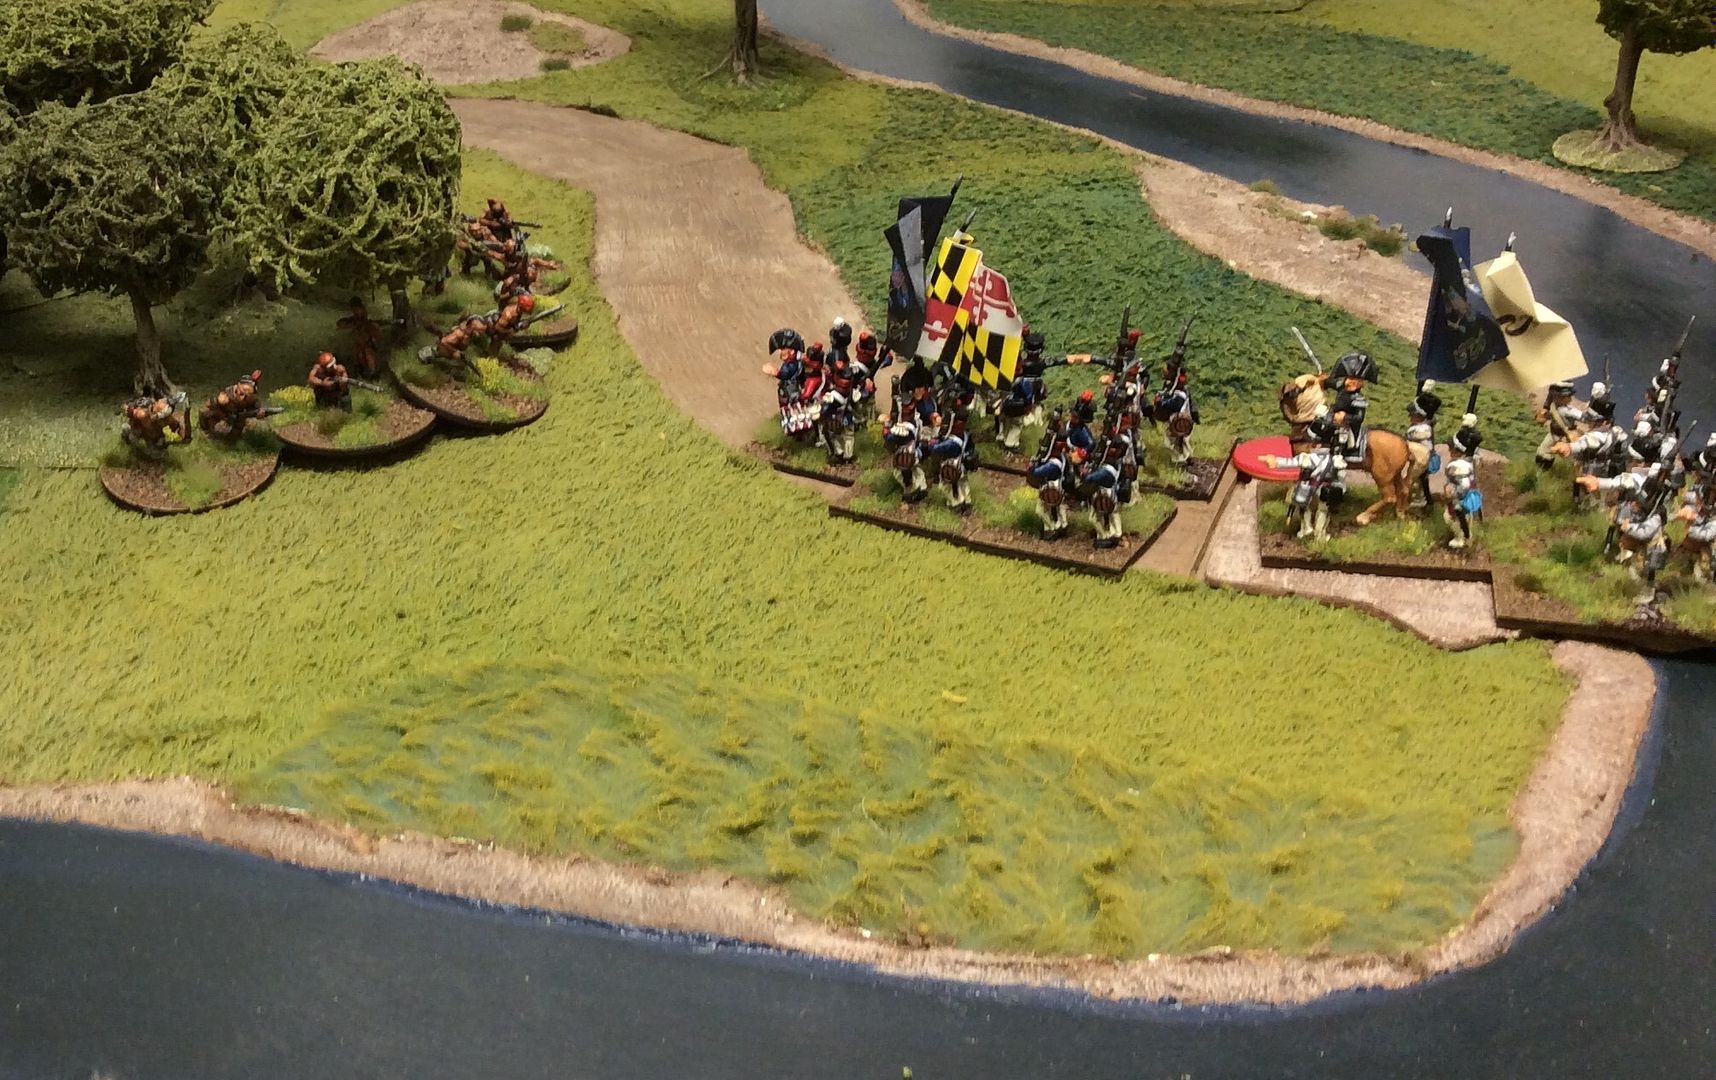
American scouts bring in worrying reports of a large Paddoquoi war party moving down the great river. Gen Robinson orders the Maryland Regiment forward across the river to prevent a flanking surprise attack. The attack is held up for a move by fire from the Canadian Fencibles supported by the guns f the RA and the RN broadsides from HMS Dianna.
The brave Maryland troops, now supported by a regiment of Regulars, surge forward and engage the Paddoquoi, driving them into the woods.
The Americans are across the river in numbers now aiming to cross upstream and flank the enemy camp and defensive line. Despite their third brigade failing to make it onto the table, they press forward bravely. The Paddoquoi are driven off after they attack again and the Newfoundland Fencibles are repulsed shaken when they try to charge the Maryland troops!
With the Anglo-Canadian troops making no headway on the Americans' left flank and seeing their centre somewhat stretched, the Ohio Volunteers heroically charge the flank of the Canadian Fencibles and send them reeling in the subsequent melee! Suddenly the RA guns are vulnerable and the troops along the beach cut off from the camp. On the American right flank the Newfoundland Fencibles are driven back further and the Paddoquoi dispersed! The end of Turn 12 brings the end of the game with the American cause in the ascendancy but the Anglo-Canadians doggedly hanging on right on the waterline. We reasoned the game was a draw, but noted that the Americans would probably break their opponents in the next turn or two!
A great game which ebbed too and fro from almost the outset. The low Command Ratings meant that troops often failed to move or were restricted to one free move because of their current formation or the use of initiative moves when in proximity to the enemy. Frustration drives commanders to errors of judgement I find, and I certainly made two during the game: the first seeing a Brigade Commander captured as I forgot to move him at the end of my turn; the second in allowing my CinC to give a 'Follow Me' order and ending up beyond the dense woods, cut off from any support and faced by superior numbers of American infantry. Oops! Here's to the next battle, and the next mistake!
For those interested in such things, the figures are all from my collection, mainly Foundry figures from either their 1812 range or the main Napoleonic range. The former sculped by Ally Morrison, the latter by the Perrys. Scenics from The Last Valley and Phil made the terrain tiles with the exception of the waterline ones which I made by basing a beach mat on MDF and he tarted up with green towelling and spray paint.
Fantastic looking game - best looking terrain and models ever!
ReplyDeleteThanks for that, Dean. Much appreciated.
DeleteA great bash indeed, with spiffing figures and scenics.
ReplyDeleteYes it was good in the end. The low Command Ratings added to the uncertainties I thought too.
DeleteWonderful report, looks an amazing sight.
ReplyDeleteThanks Rupert! Glad you enjoyed it!
DeleteGreat game David and a period I have often wanted to start.
ReplyDeleteThanks for that Colin, high praise coming from you!
DeleteFantastic photos and report, David. This didn't help my temptation to get into the War of 1812. The terrain is terrific - is it all home made?
ReplyDeleteThanks for the comment,Giles, much appreciated. My friend Phil (News From the Front in my sidebar) made the terrain tiles, though the sea was once a commercial Terrain Mat.
DeleteSuperb figures and terrain...well done!
ReplyDeleteHow did you make your shore line and rivers?
Thanks Rod! The shore line is a commercial terrain mat stuck to MDF tiles that are 3' x 2' x 6mm. The river is created by leaving a gap when covering the tile with towelling and building up a bit of a bank, it's an illusion effect in reality.
DeleteFantastic figures and wonderful terrain - a real feat for the eyes. The beach looks wonderful.
ReplyDeleteThanks Sidney, glad you liked it! Beach is a cut up commercial Terrain Mat as I mentioned I think.
DeleteGreat looking game David and it's good to see the 1812 figures getting an outing, mine haven't been in action for many years.
ReplyDeleteHi Dave! Thanks for the kind words. Sorry your own 1812 stuff is languishing, you need to give it an airing before Winter Quarters are upon us!
Deletepretty , I like it ... more ;-)
ReplyDeletefred
Thanks Fred!
DeleteExcellent report. I am currently creating 28mm forces to play The War of 1812 with units from Knuckledusters. I have not had my first games yet.
ReplyDelete