David Bickley's Wargames Blog

The occasional ramblings of an average gamer, journeyman painter, indifferent modeller, games designer, sometime writer for Wargames Illustrated and host of games in GHQ.


Monday, 12 October 2015

The French are Revolting!

Now, I realise that there are a number of ways you can take the title of this piece, you will just have to believe me when I say that on this occasion it refers to a recent Wars of the French Revolution game Phil and I played out here in GHQ. Phil took command of the French, with a total of 17 units plus artillery and command elements while I commanded the Allies with a total of 18 units plus artillery and command elements. As we were using Blackpowder once again, we agreed that the French would have slightly better command ratings than the Allies overall to represent their revolutionary zeal! The first photo gives an impression of the table layout at the beginning of the game viewed from the Allied right ~


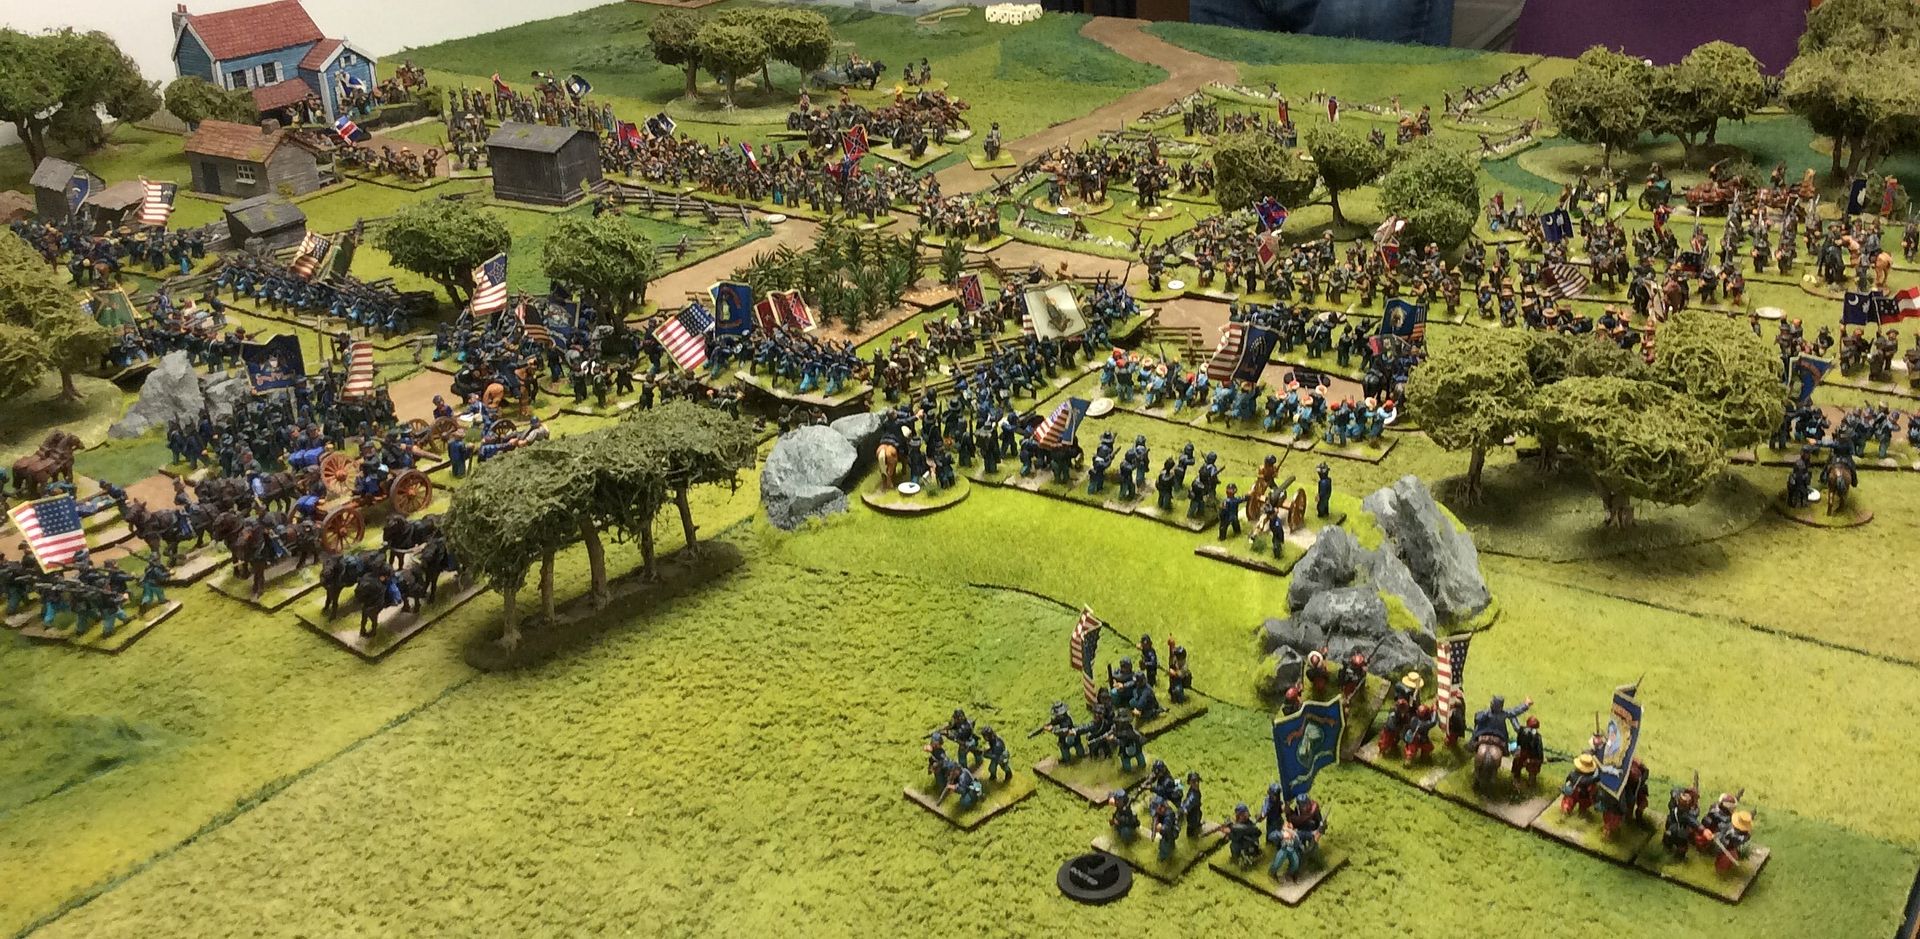
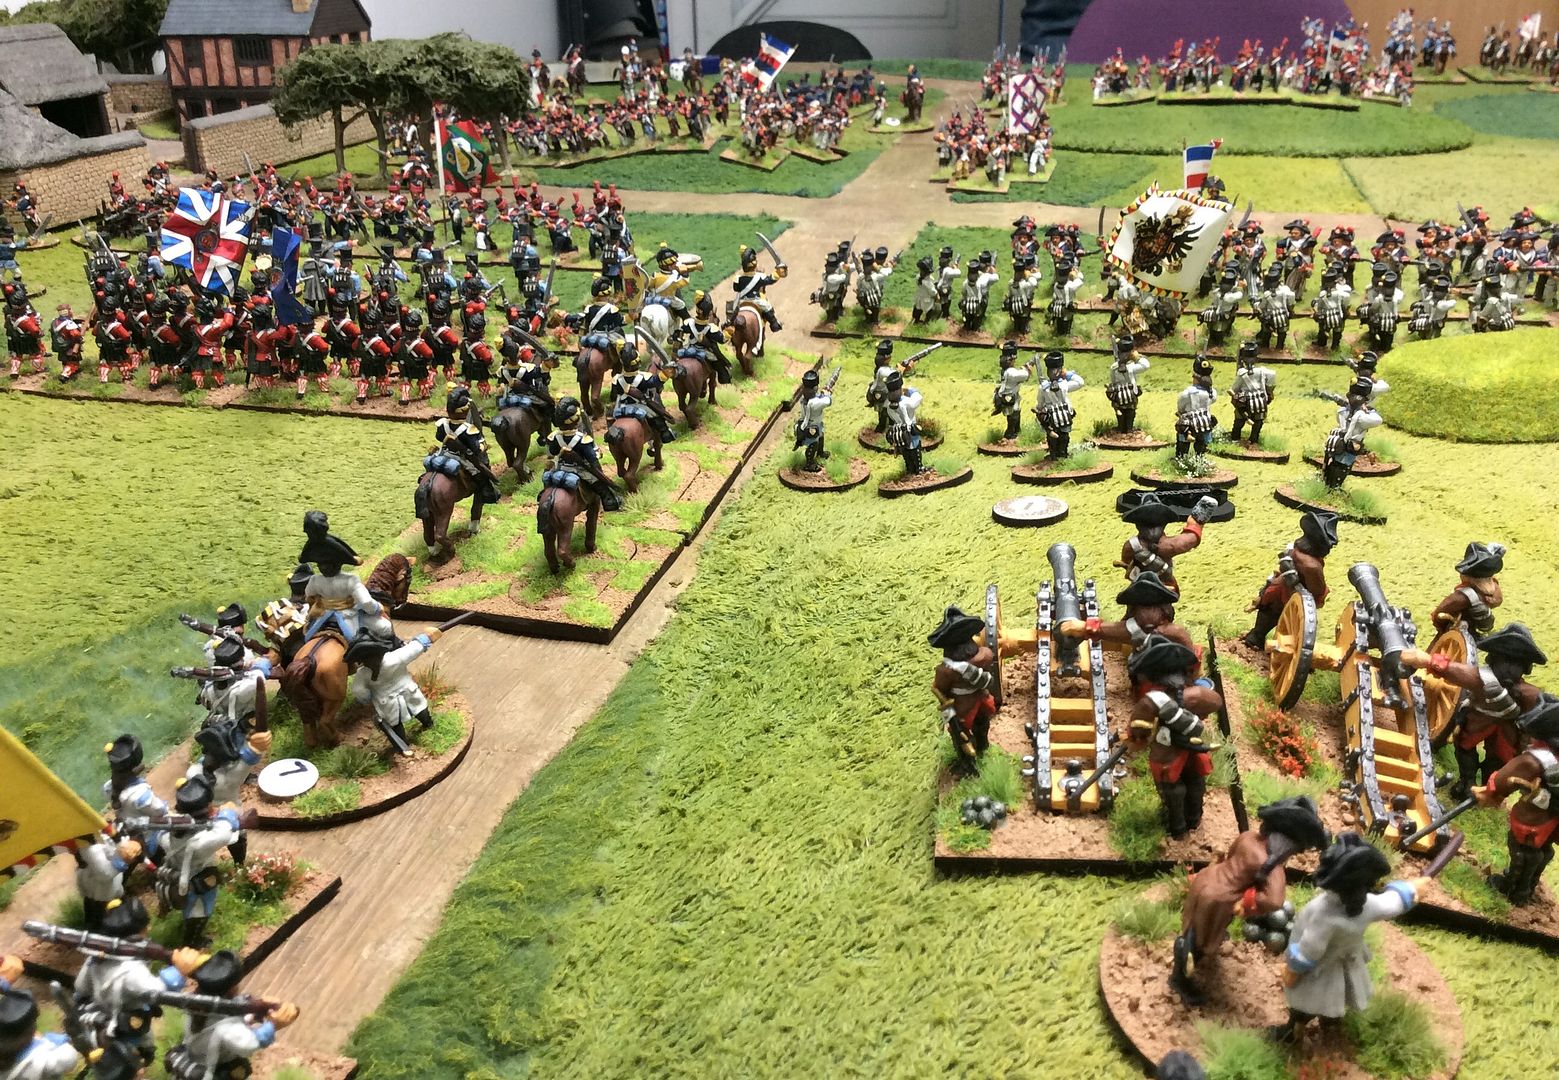
The French had the initiative and Phil immediately 'Blundered' in his advance, seeing one unit dash forward for three moves! He redeemed the mistake when other units advanced to cover the flank of the overenthusiastic troops! In the Allied turn the Austrian infantry holding the centre advanced to block the French while the British left flank cautiously moved forward.


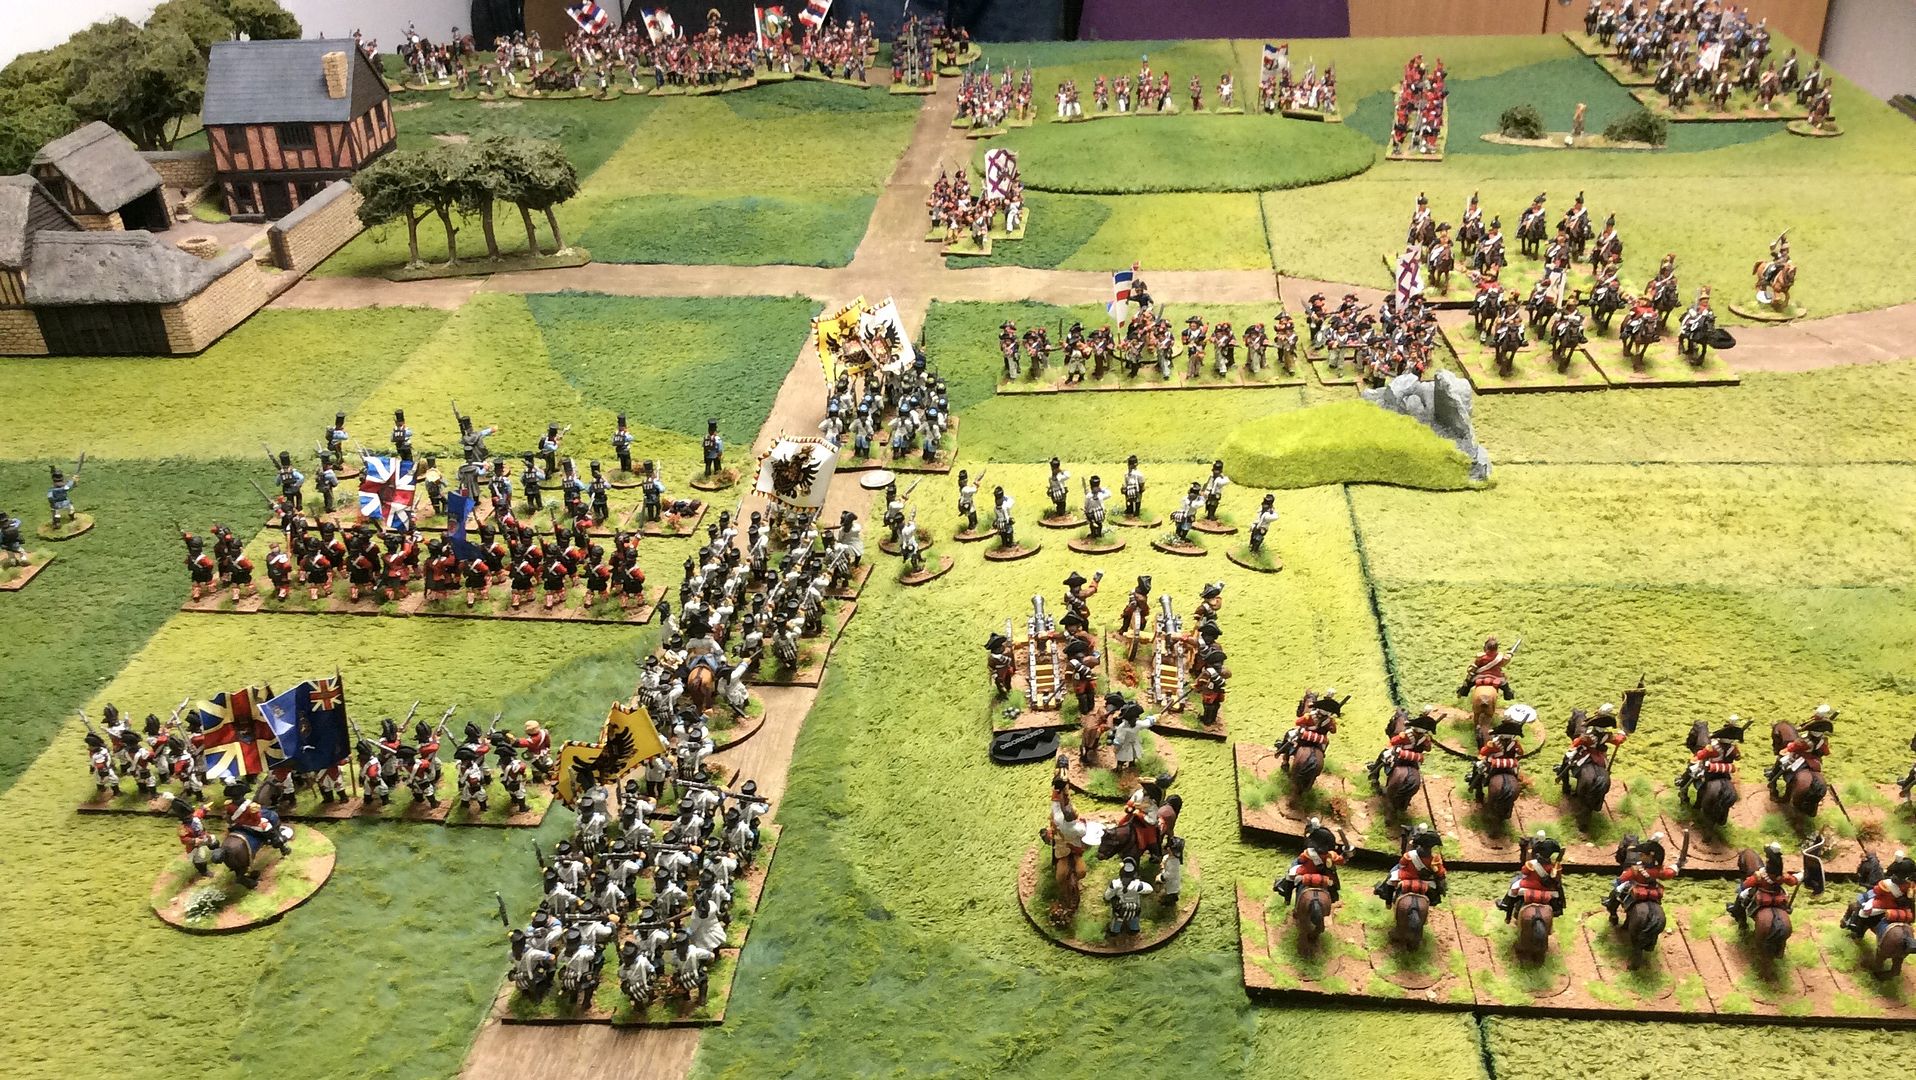
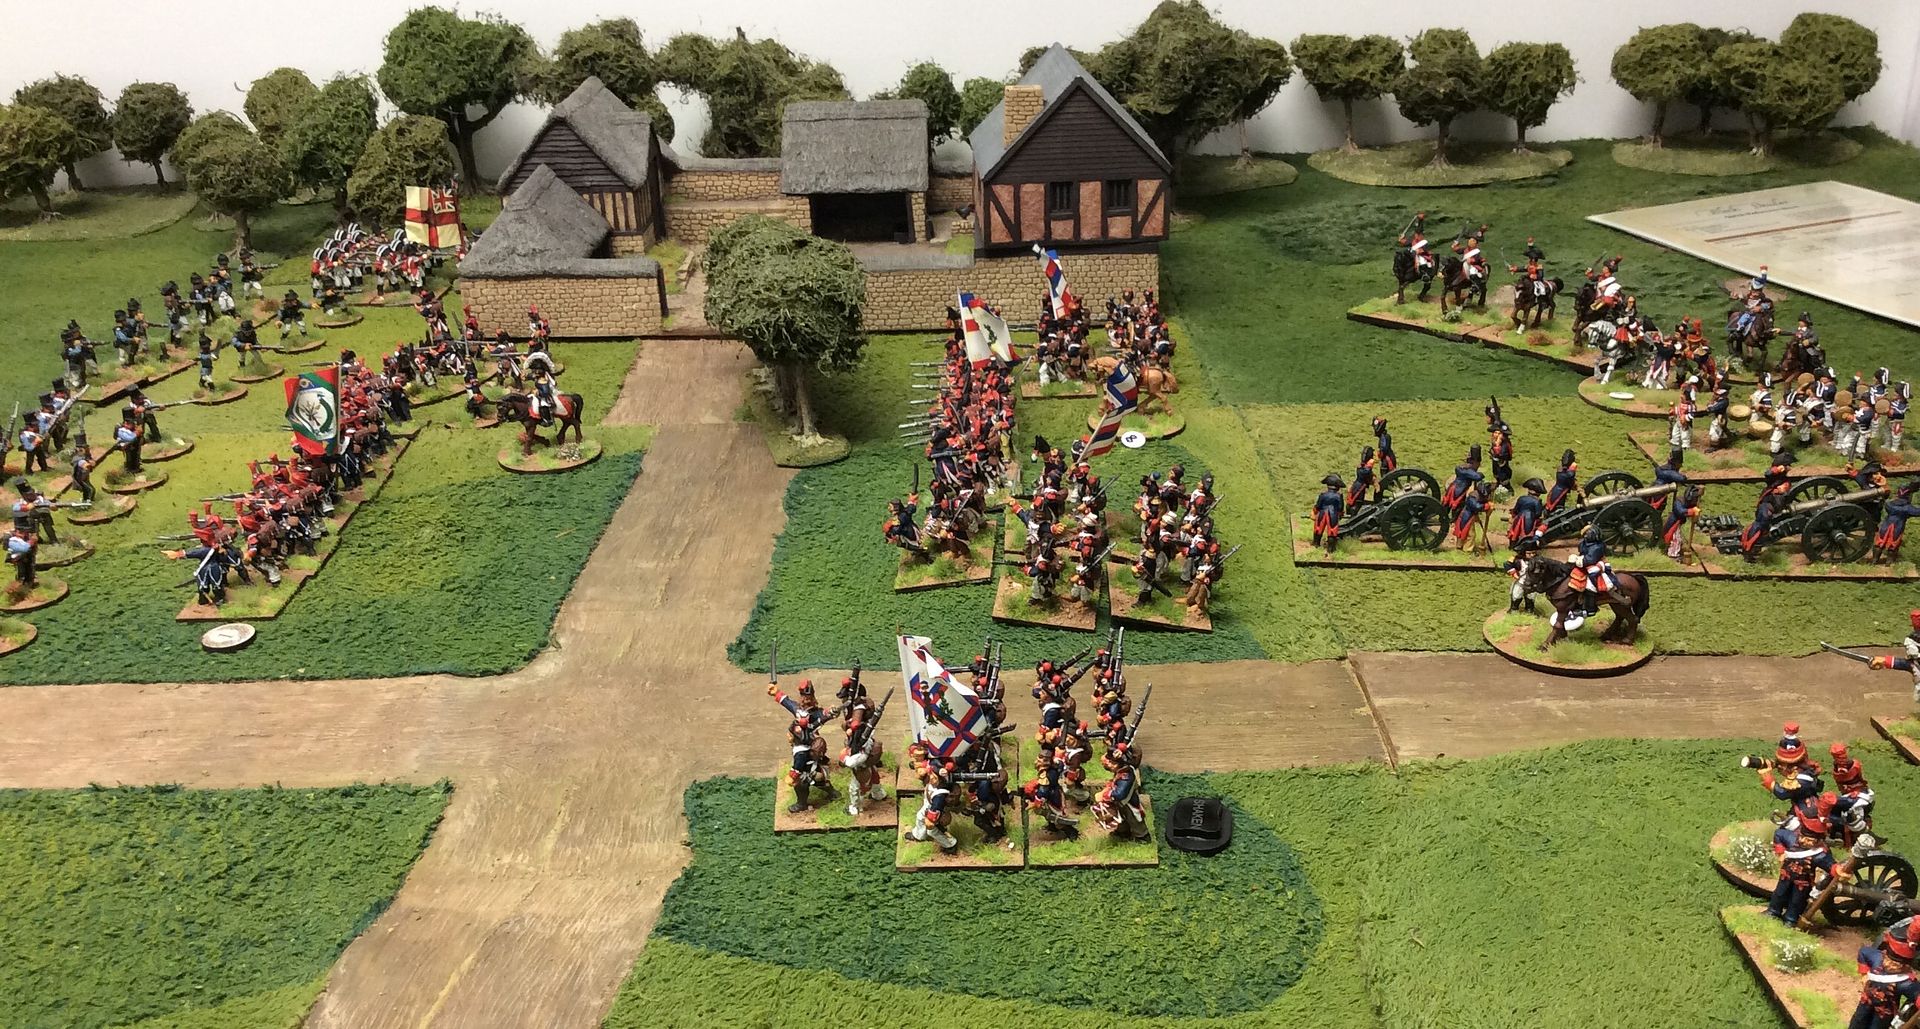
The French second line in their centre and their right flank were still not prepared to advance, leaving them vulnerable t an Allied thrust towards the farm, if only they could pass their Command rolls and muster some enthusiasm for the fight!


At last the French second line and their right began to make progress, just when the Allied left had decided to call a halt for a reorganisation!


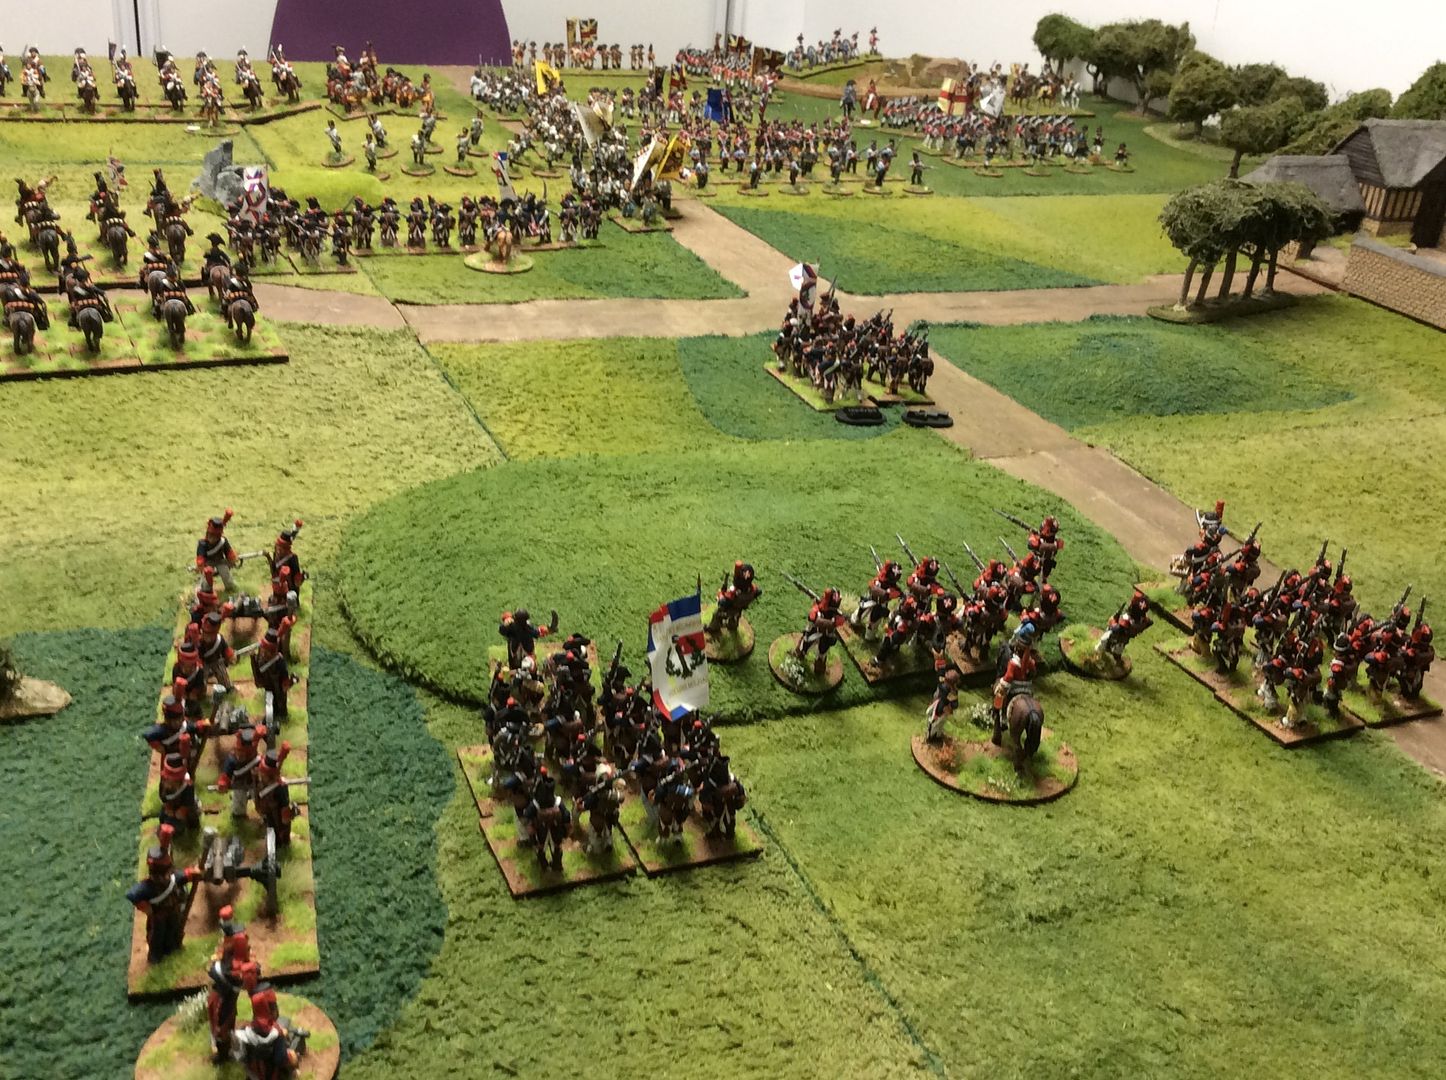
In the centre the Allies suffer their first reverse when, after initial success, the Austrian Grenadiers are driven off in route by the French!


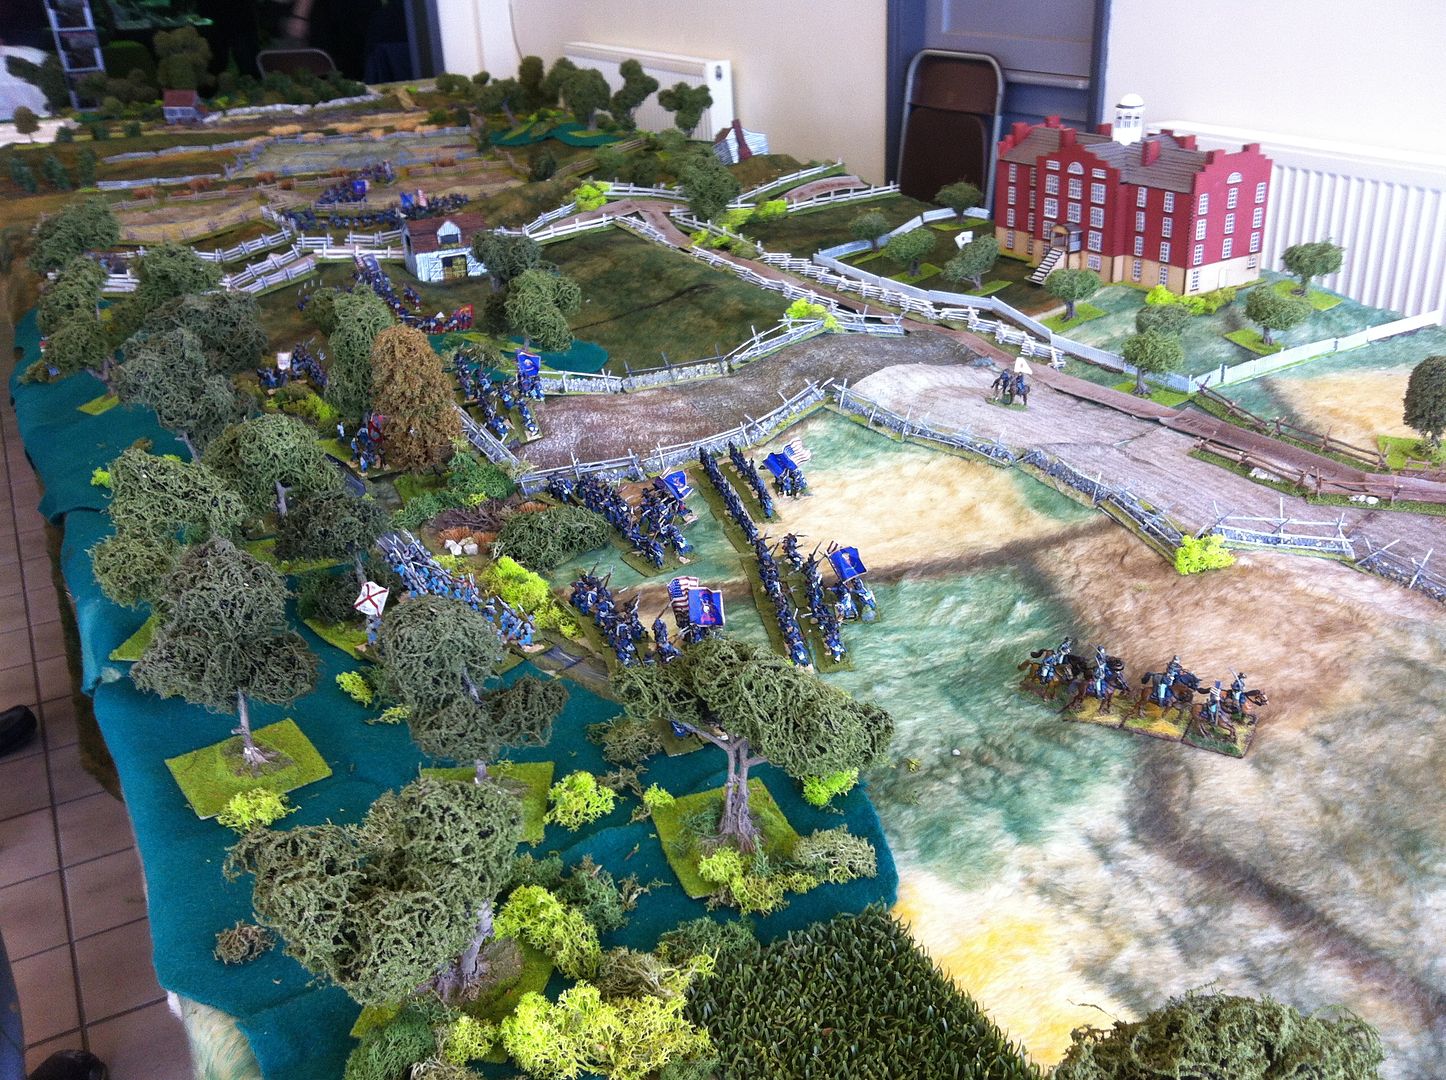
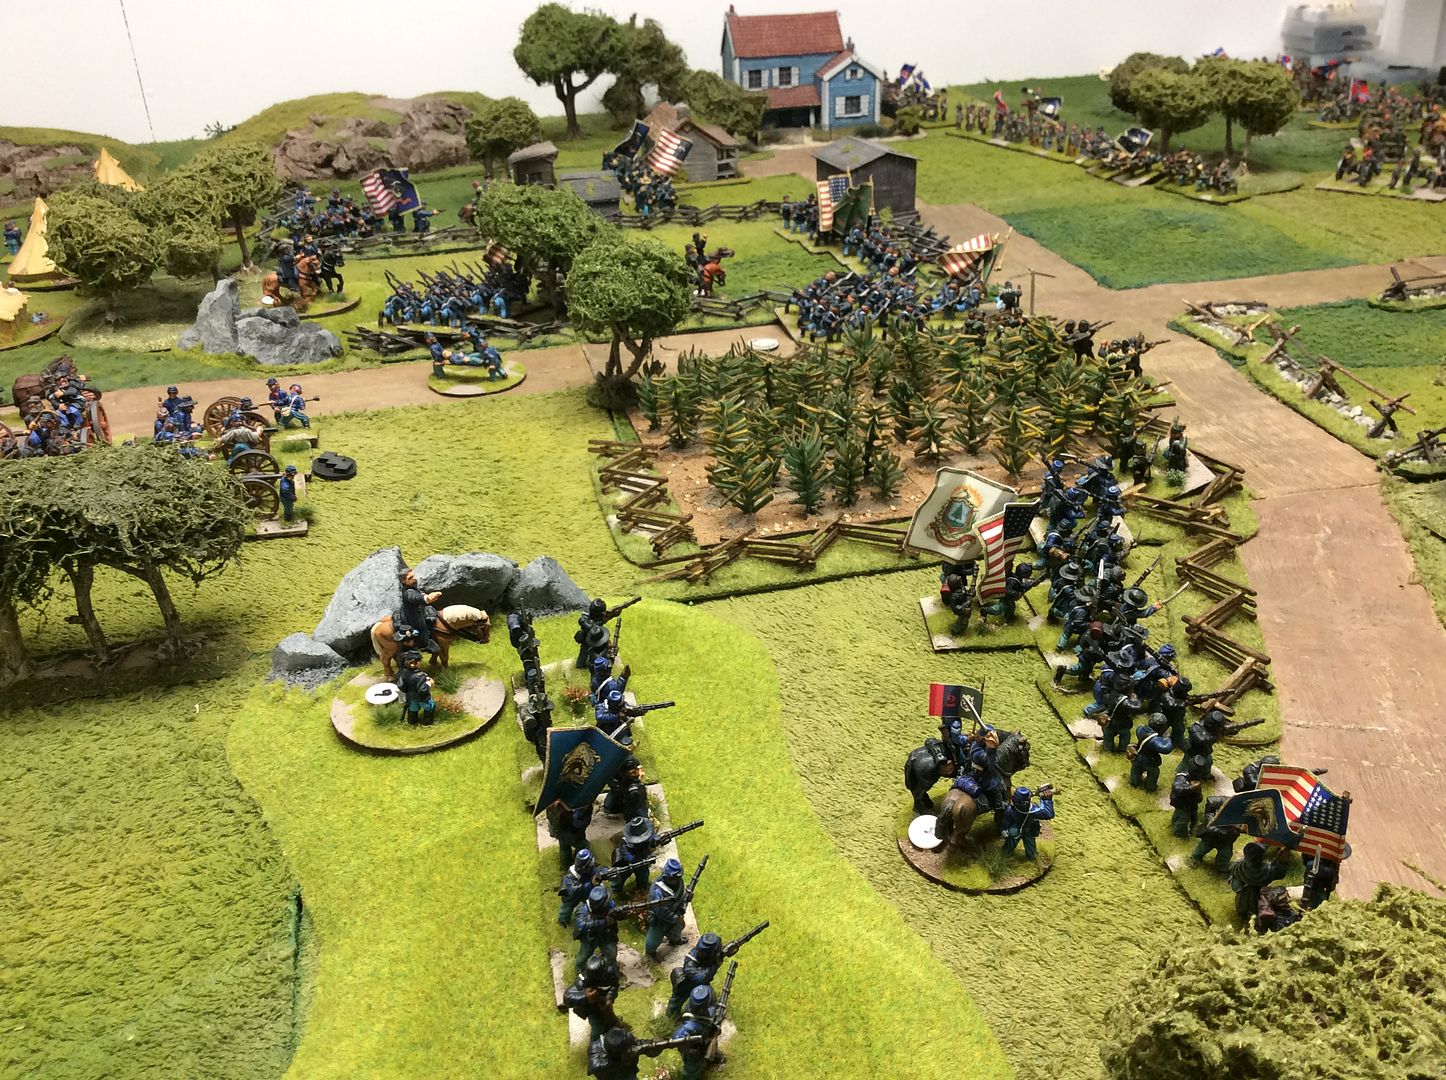
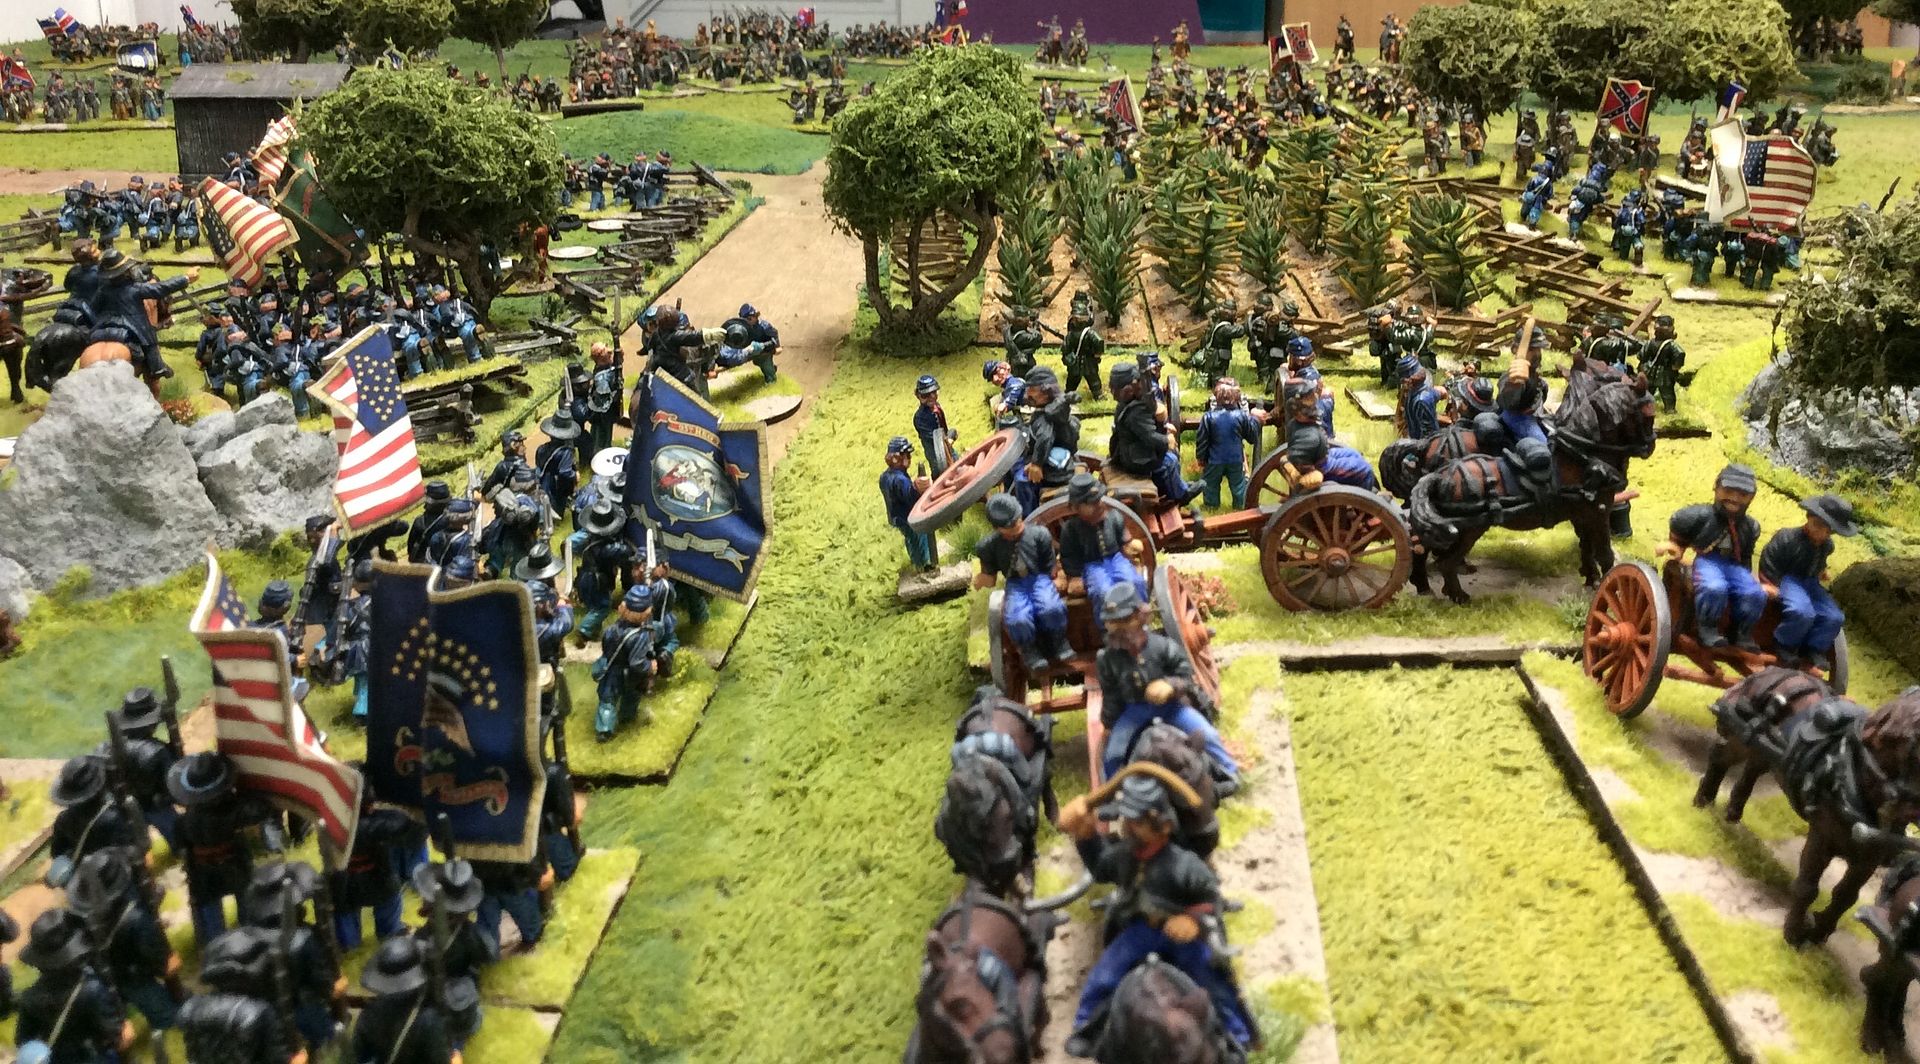
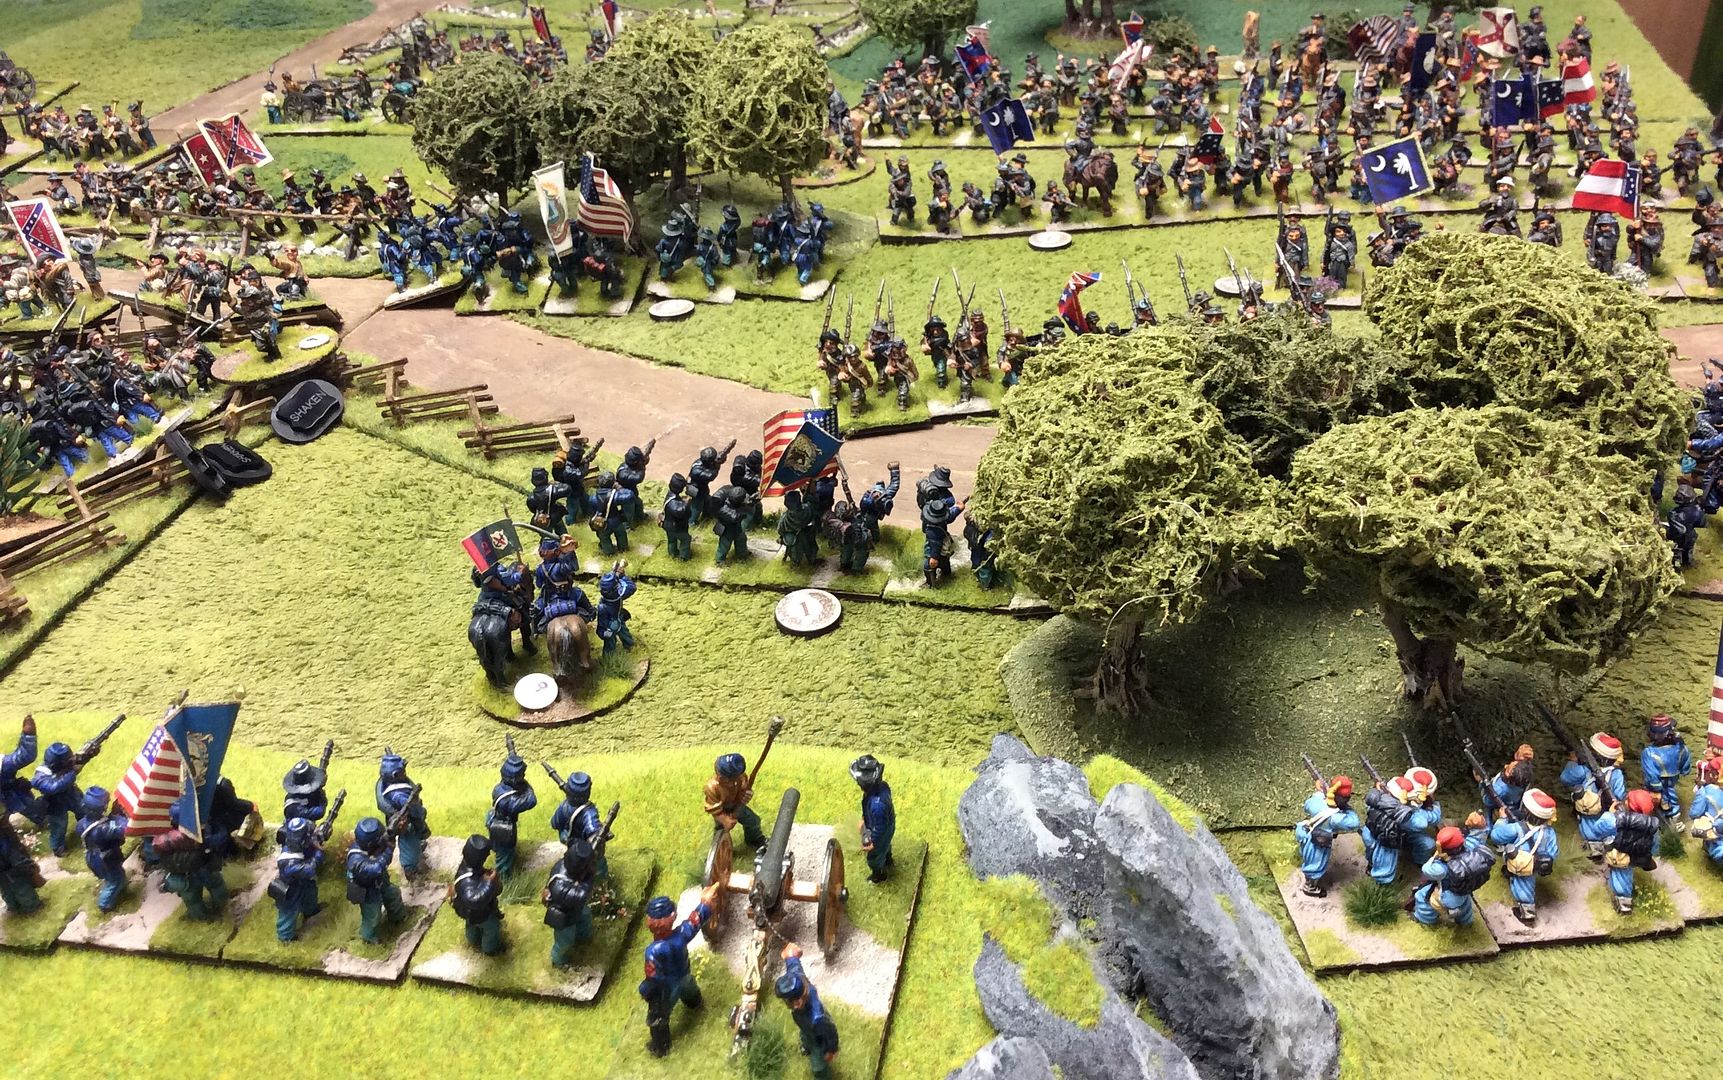
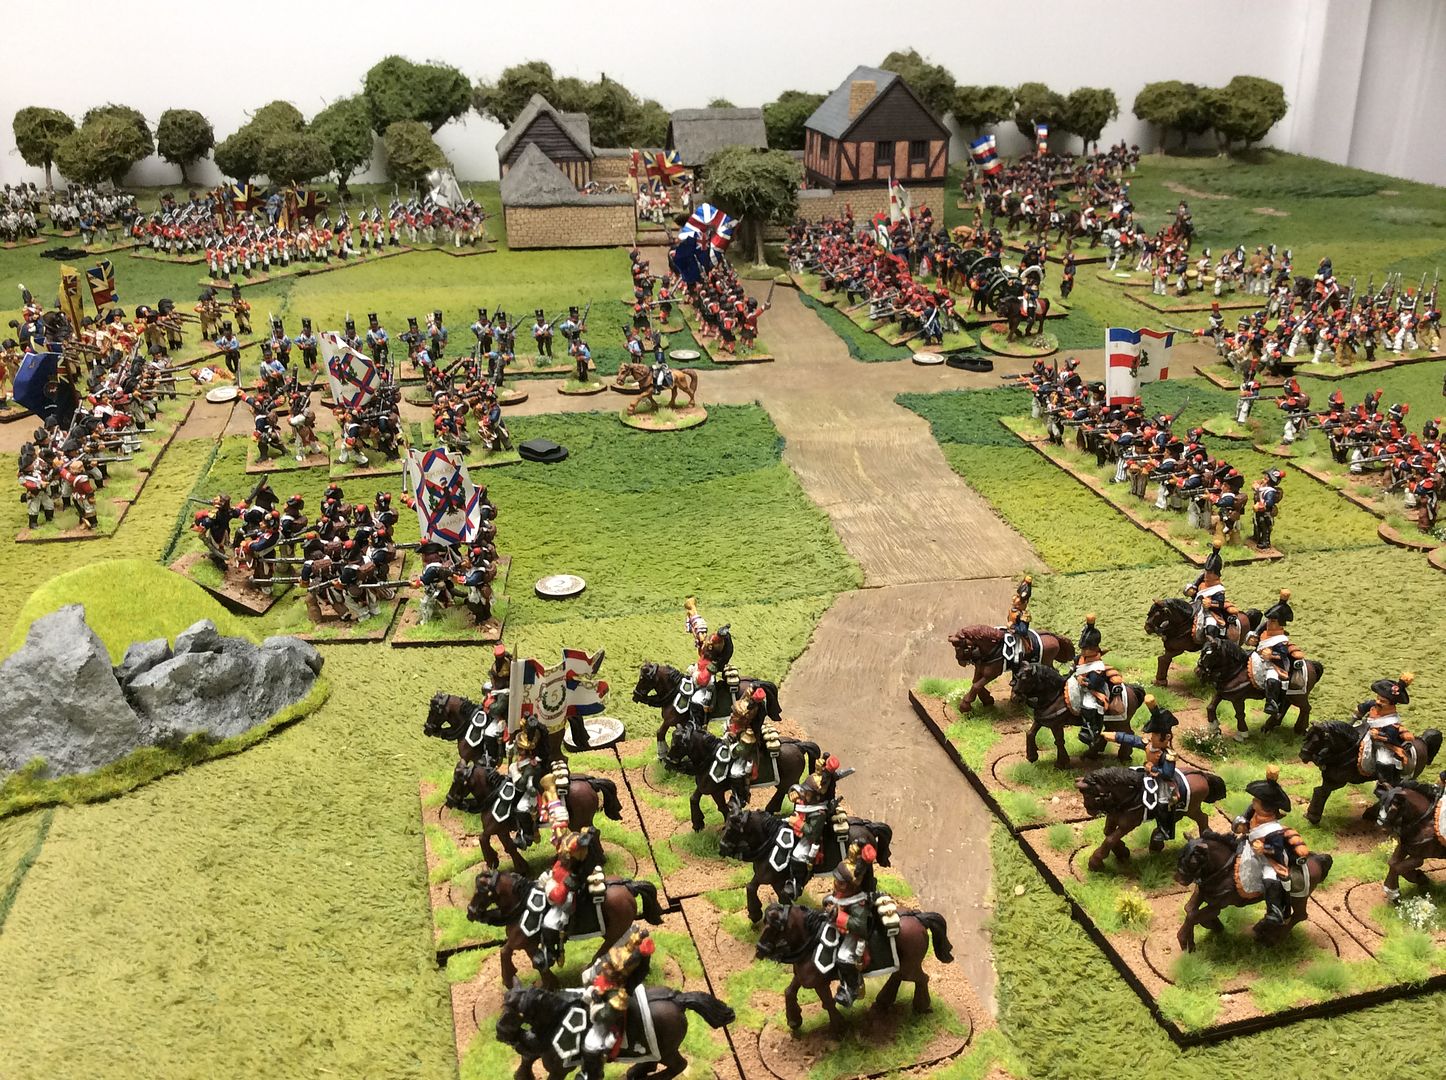
The remainder of the Austrian infantry brigade deploy into line to bring their greater firepower to bear on Les Bleus! British light cavalry move to protect their flank and also screen the British advance from unwelcome French interference. Austrian 12lbers play on the advancing French columns.


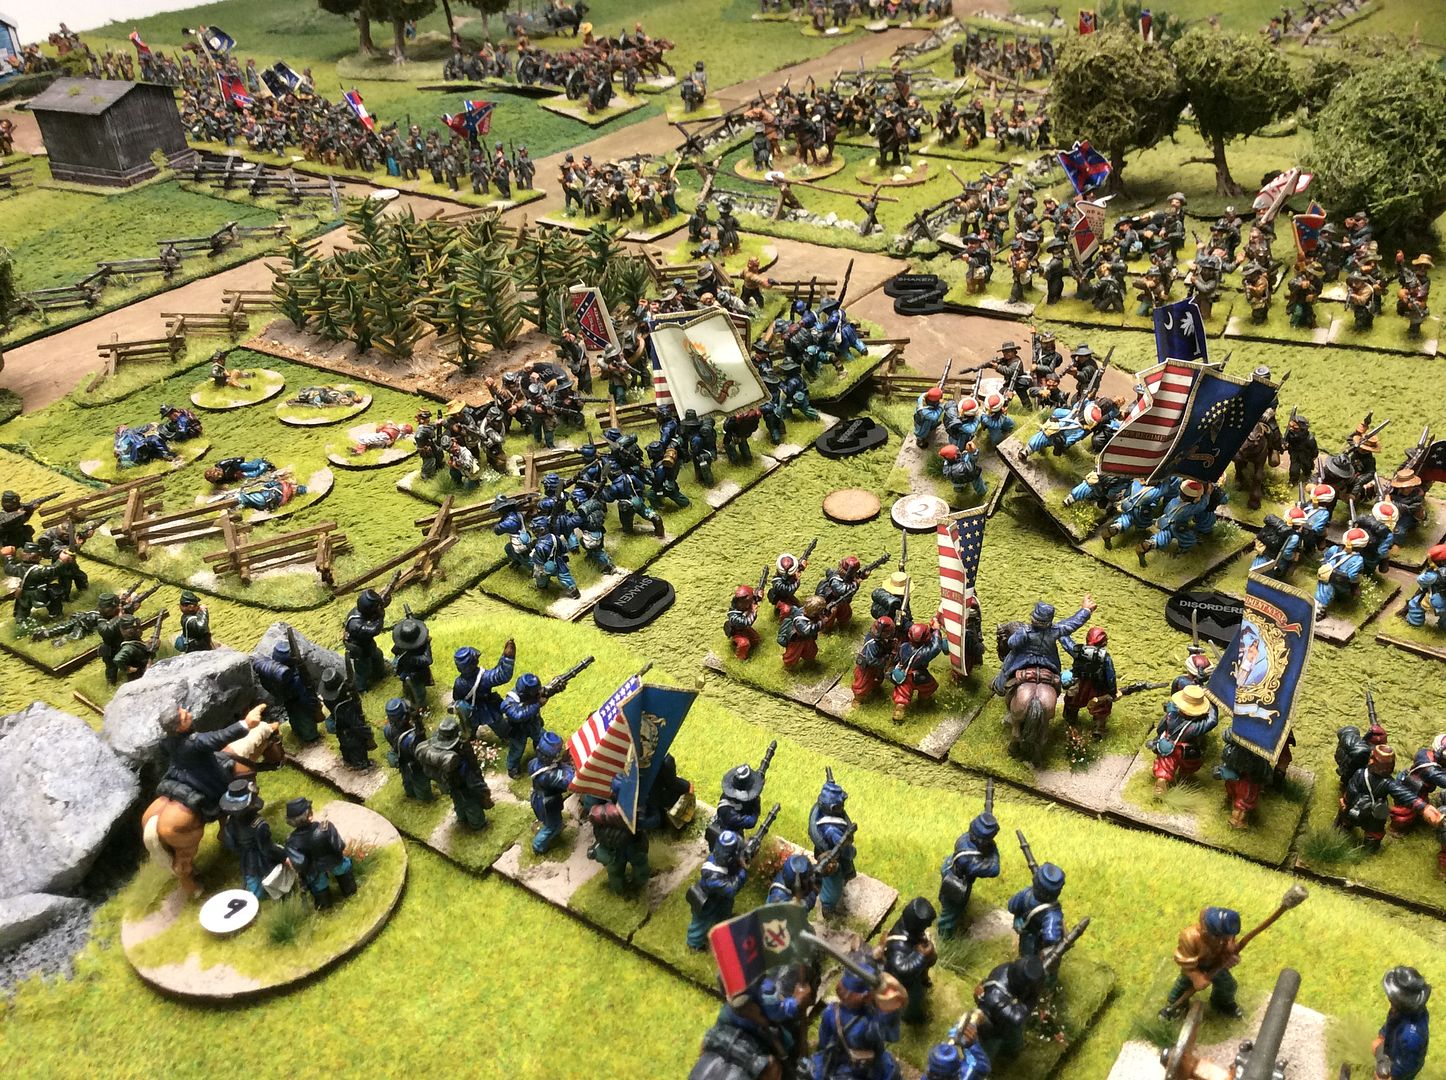
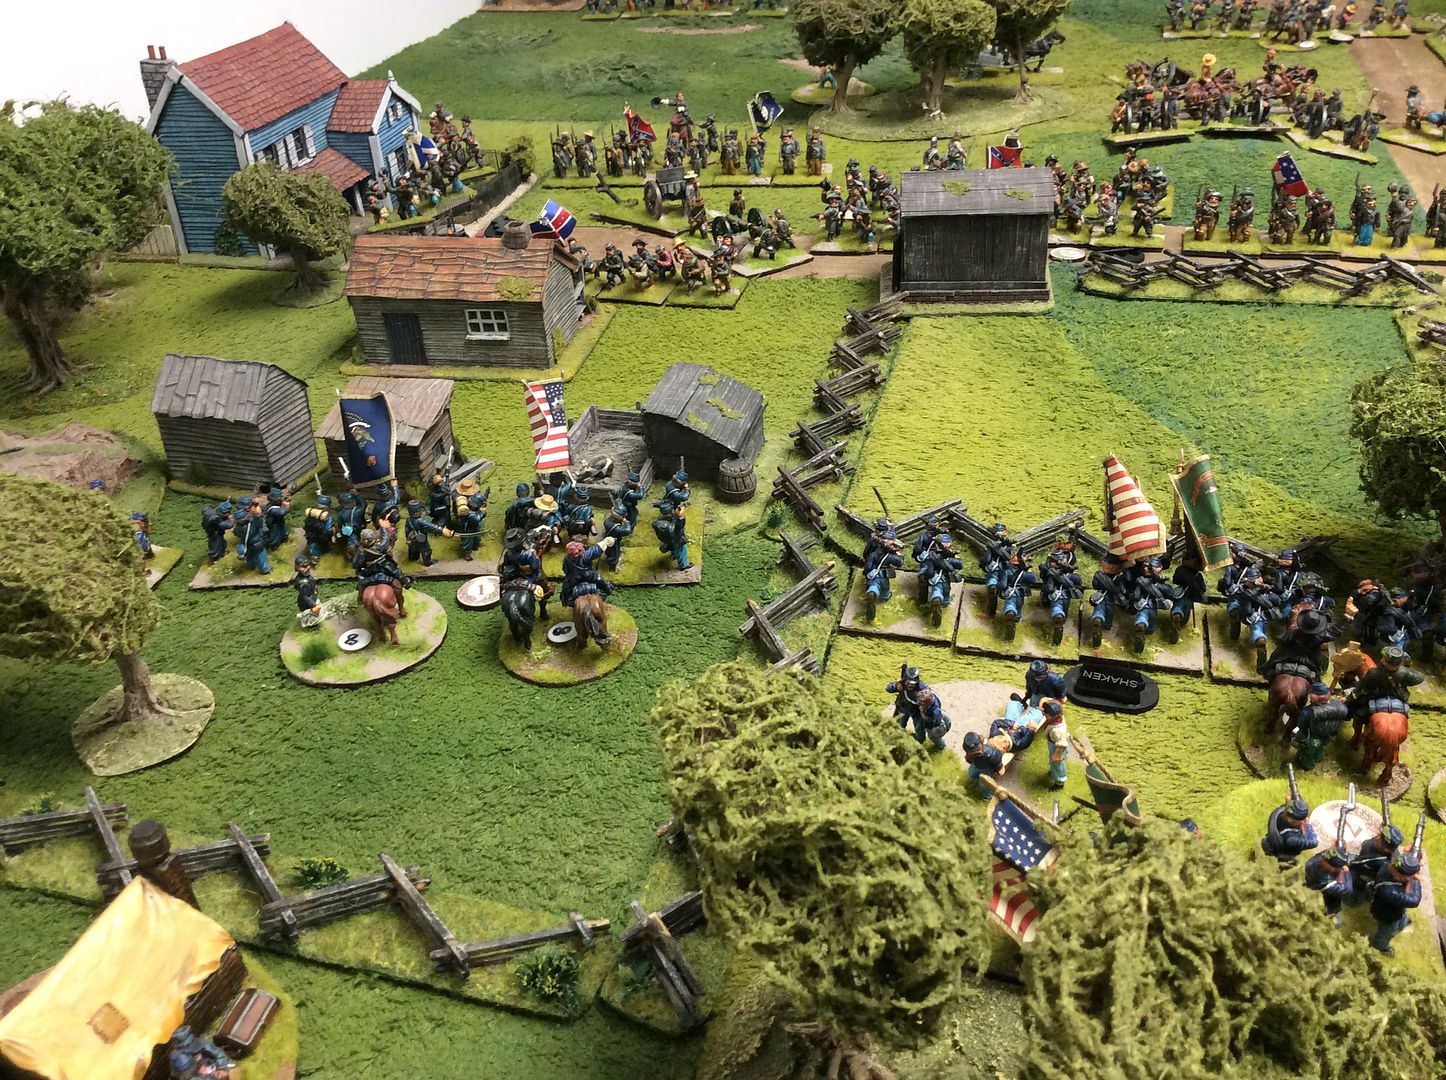
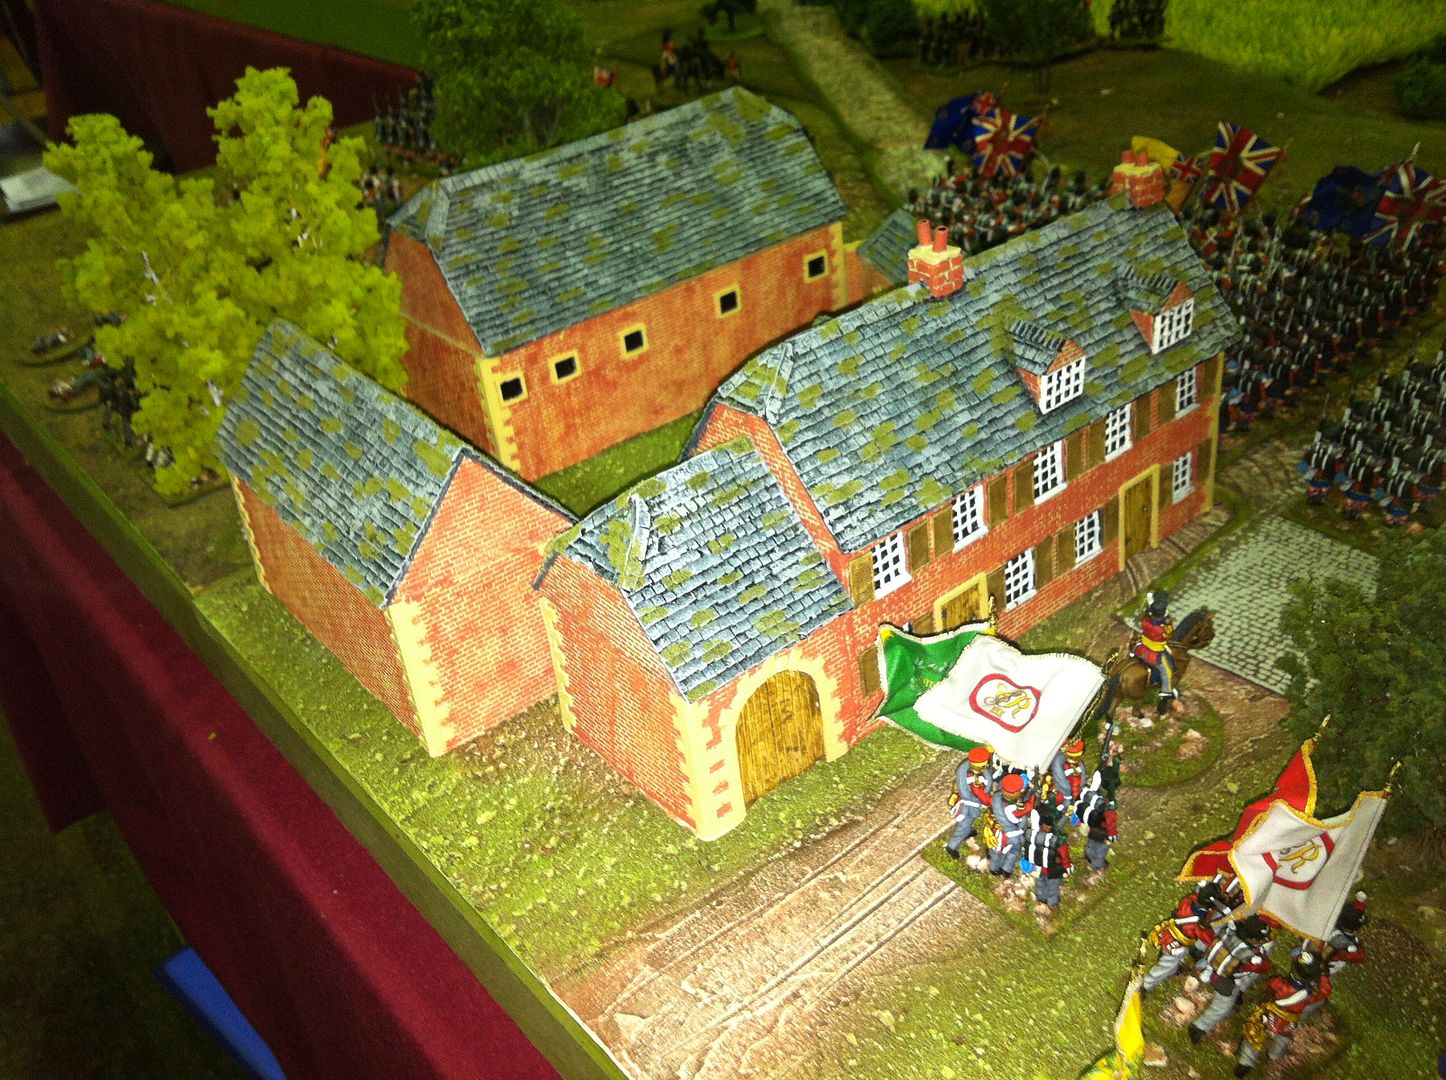
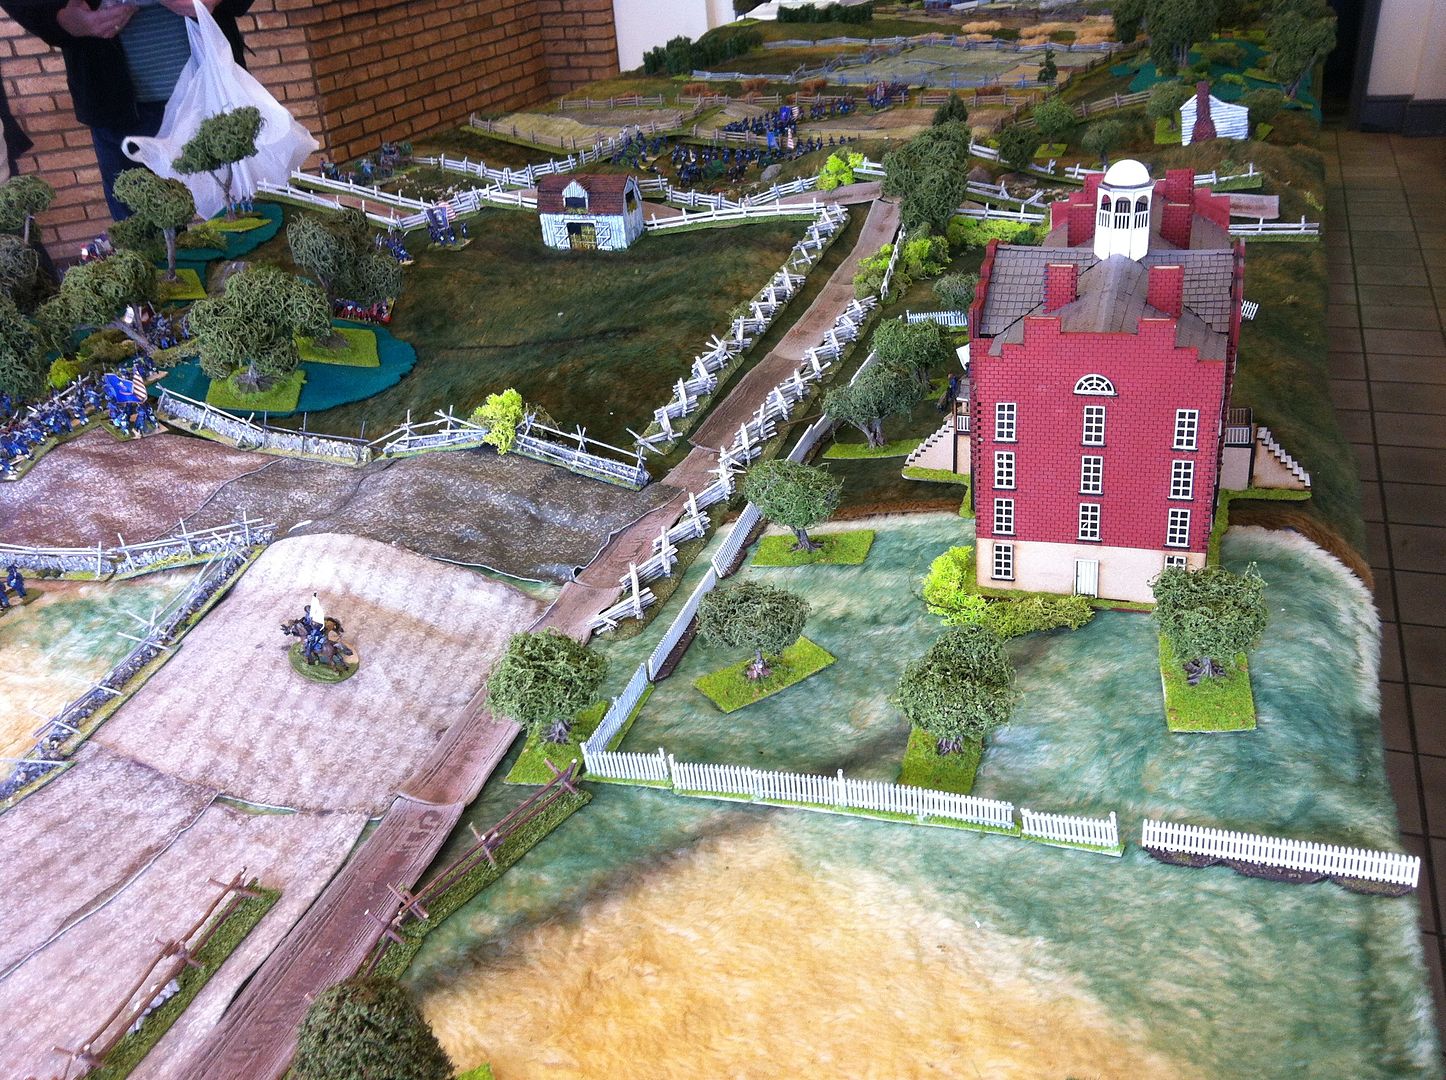
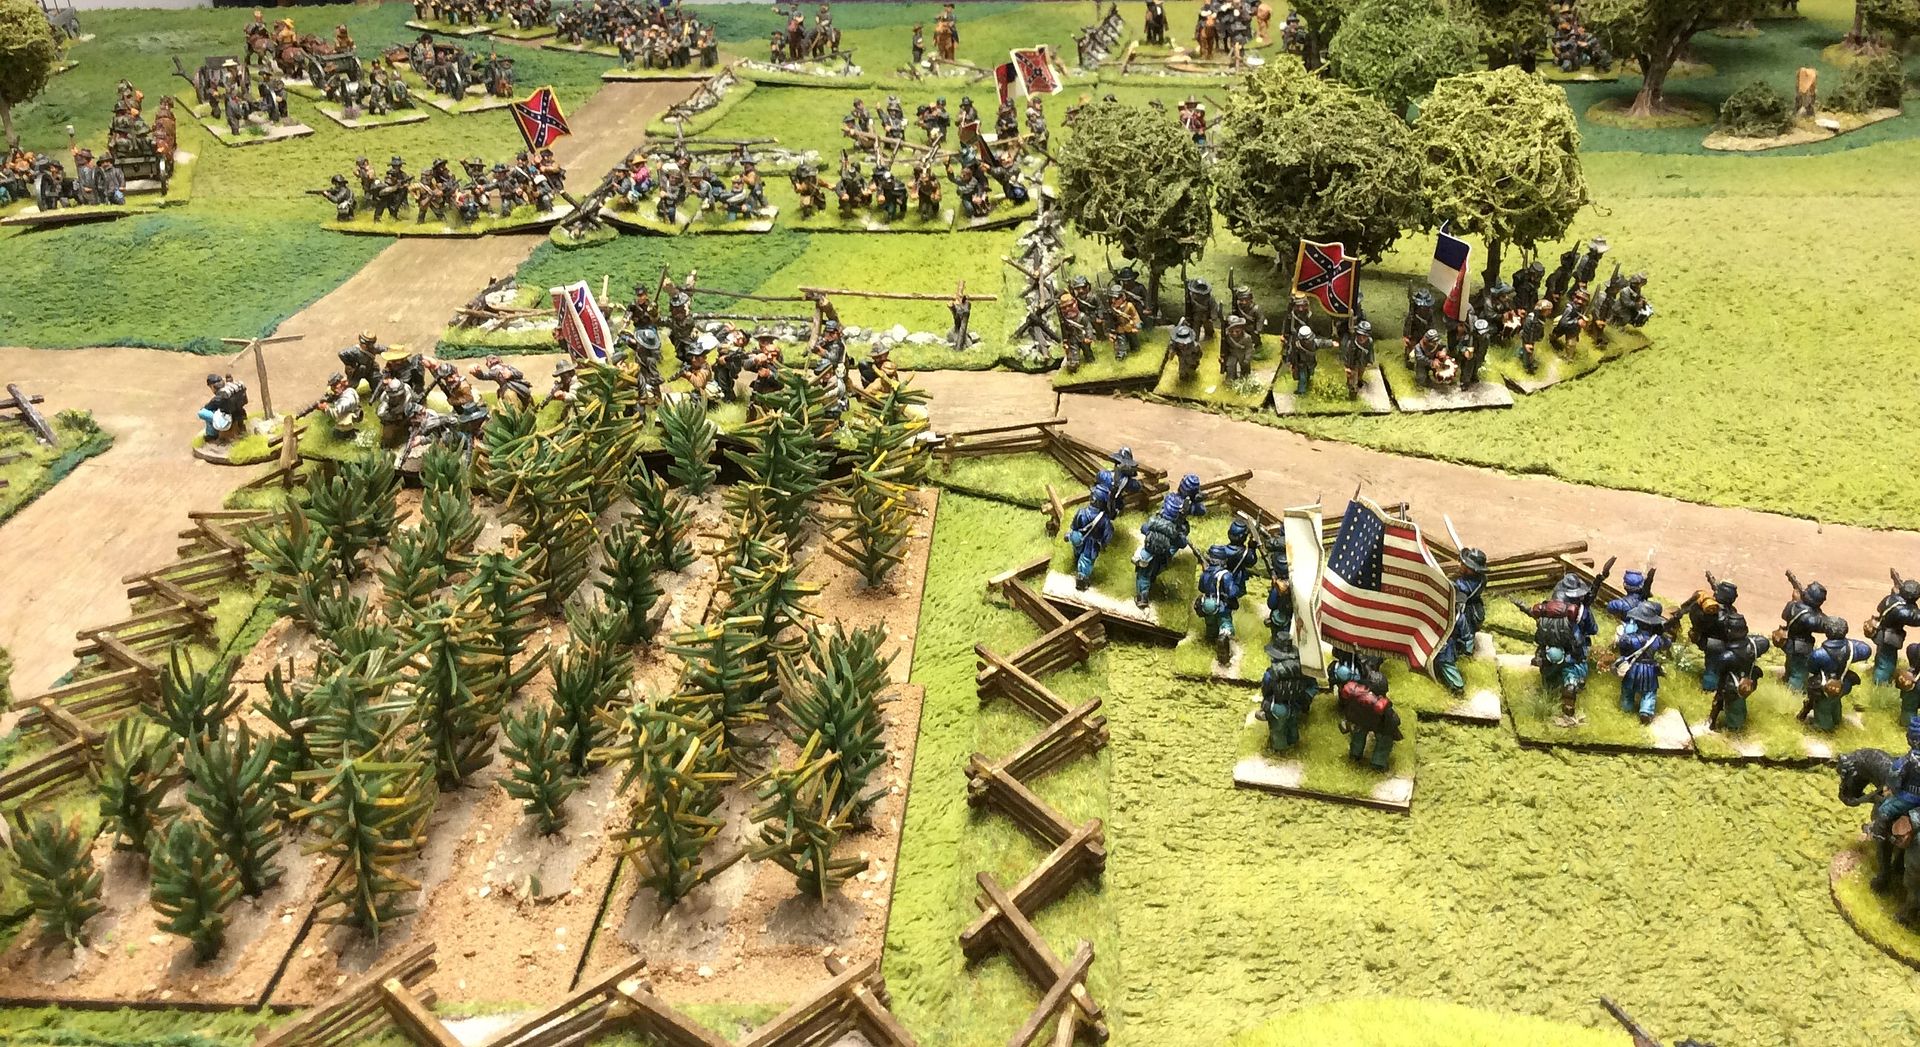
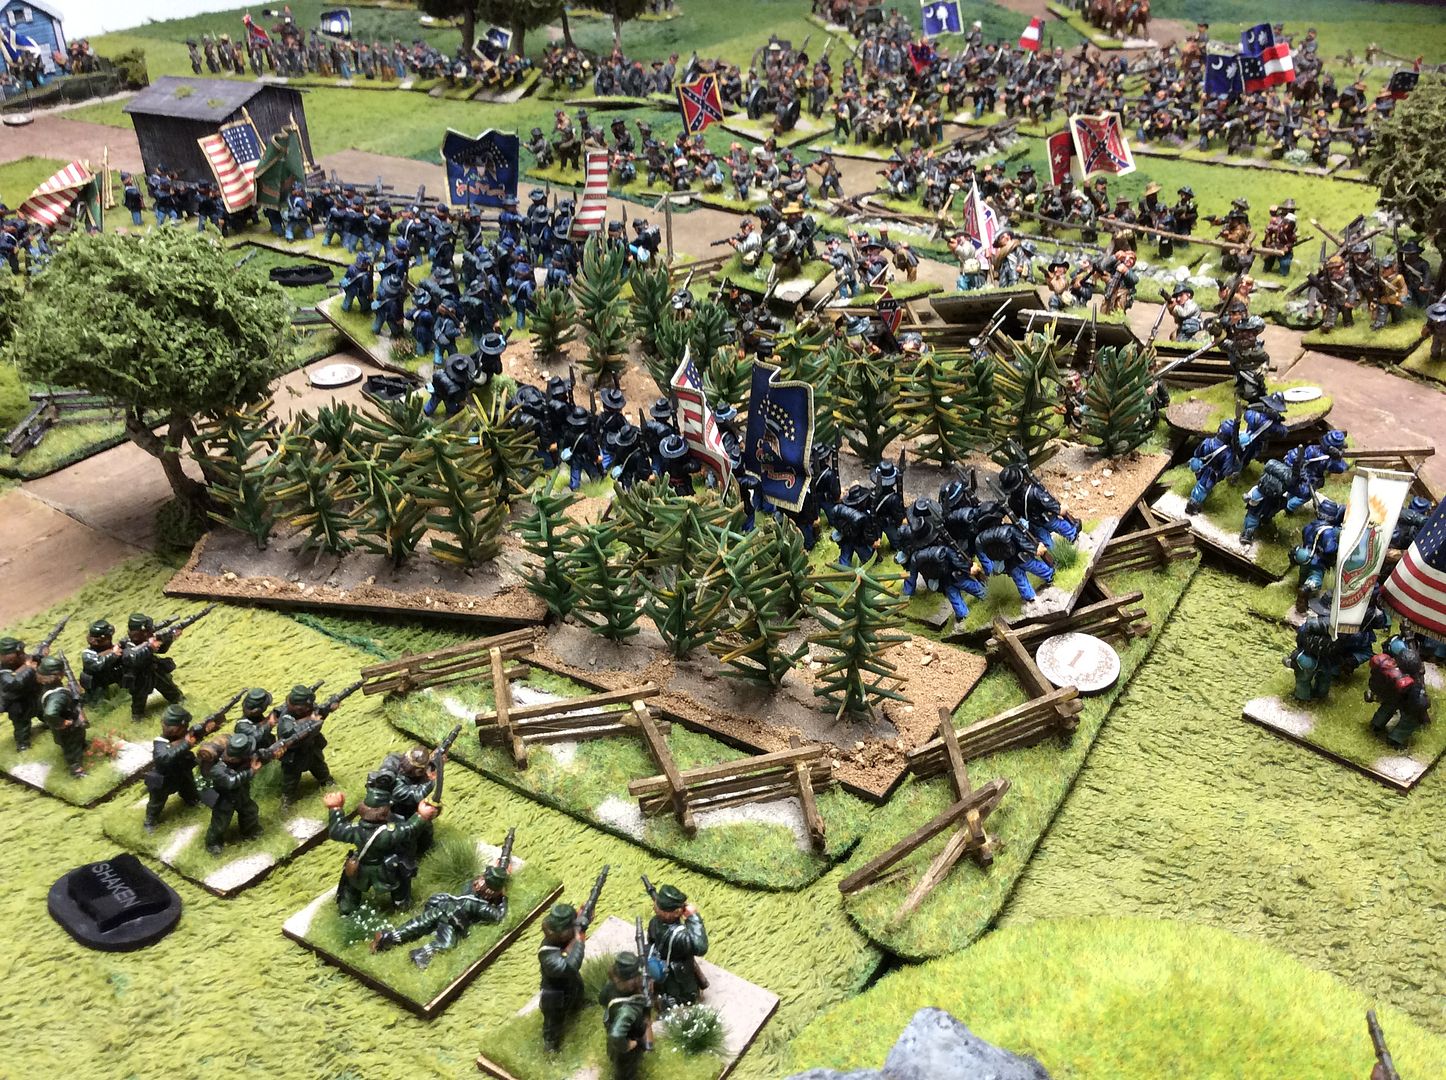
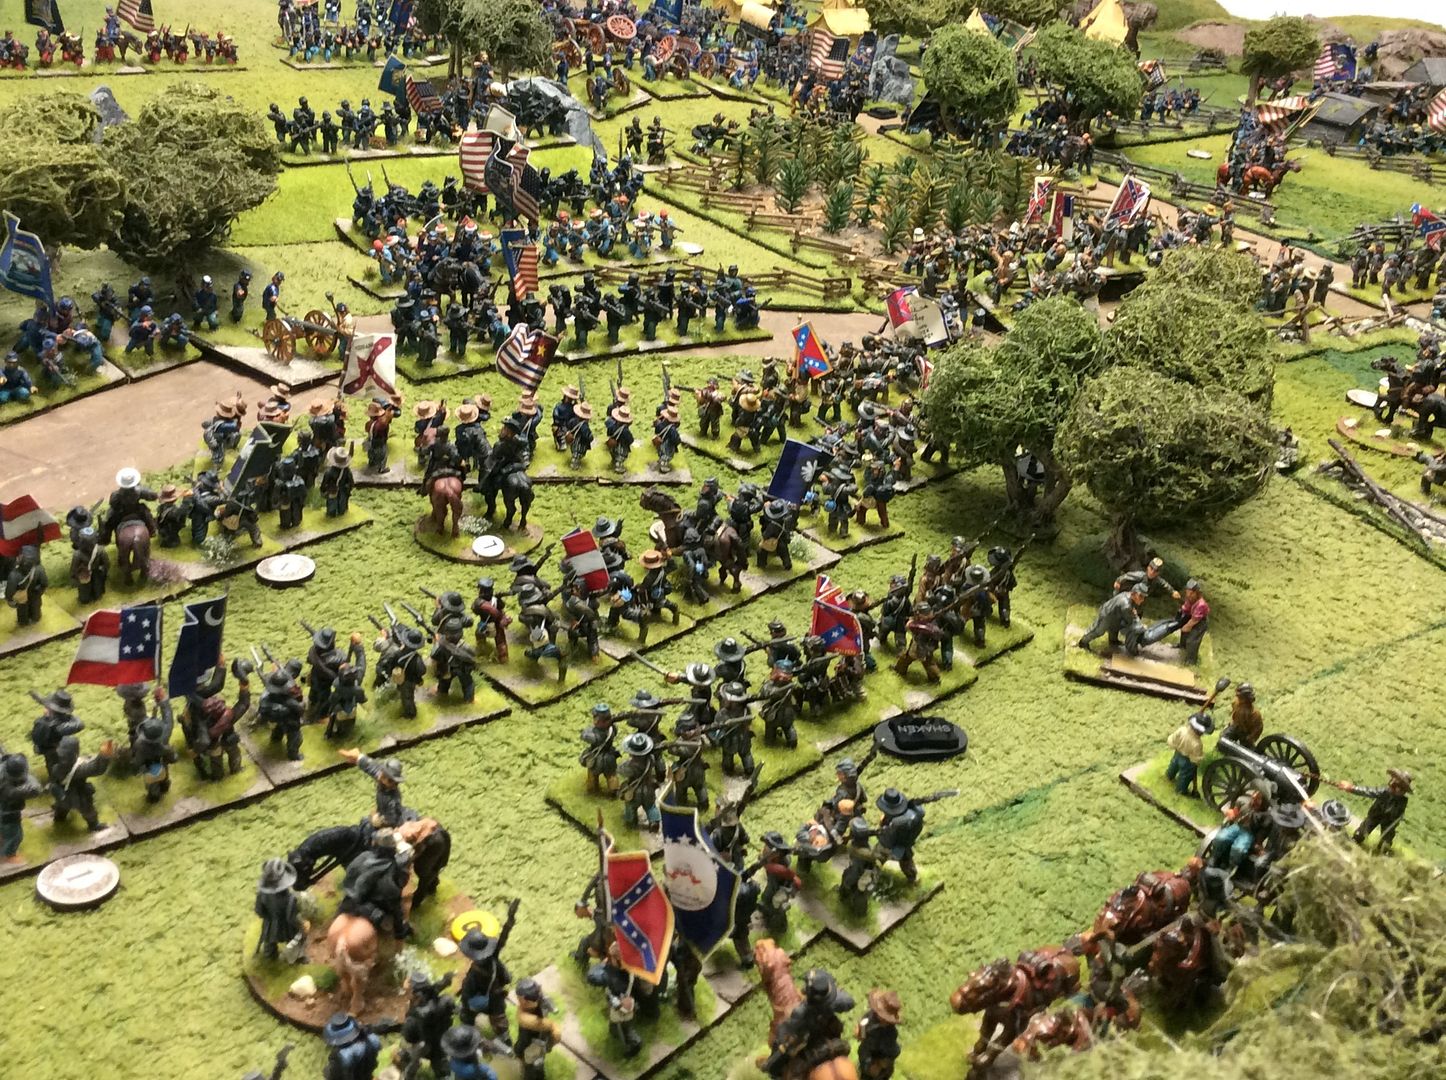
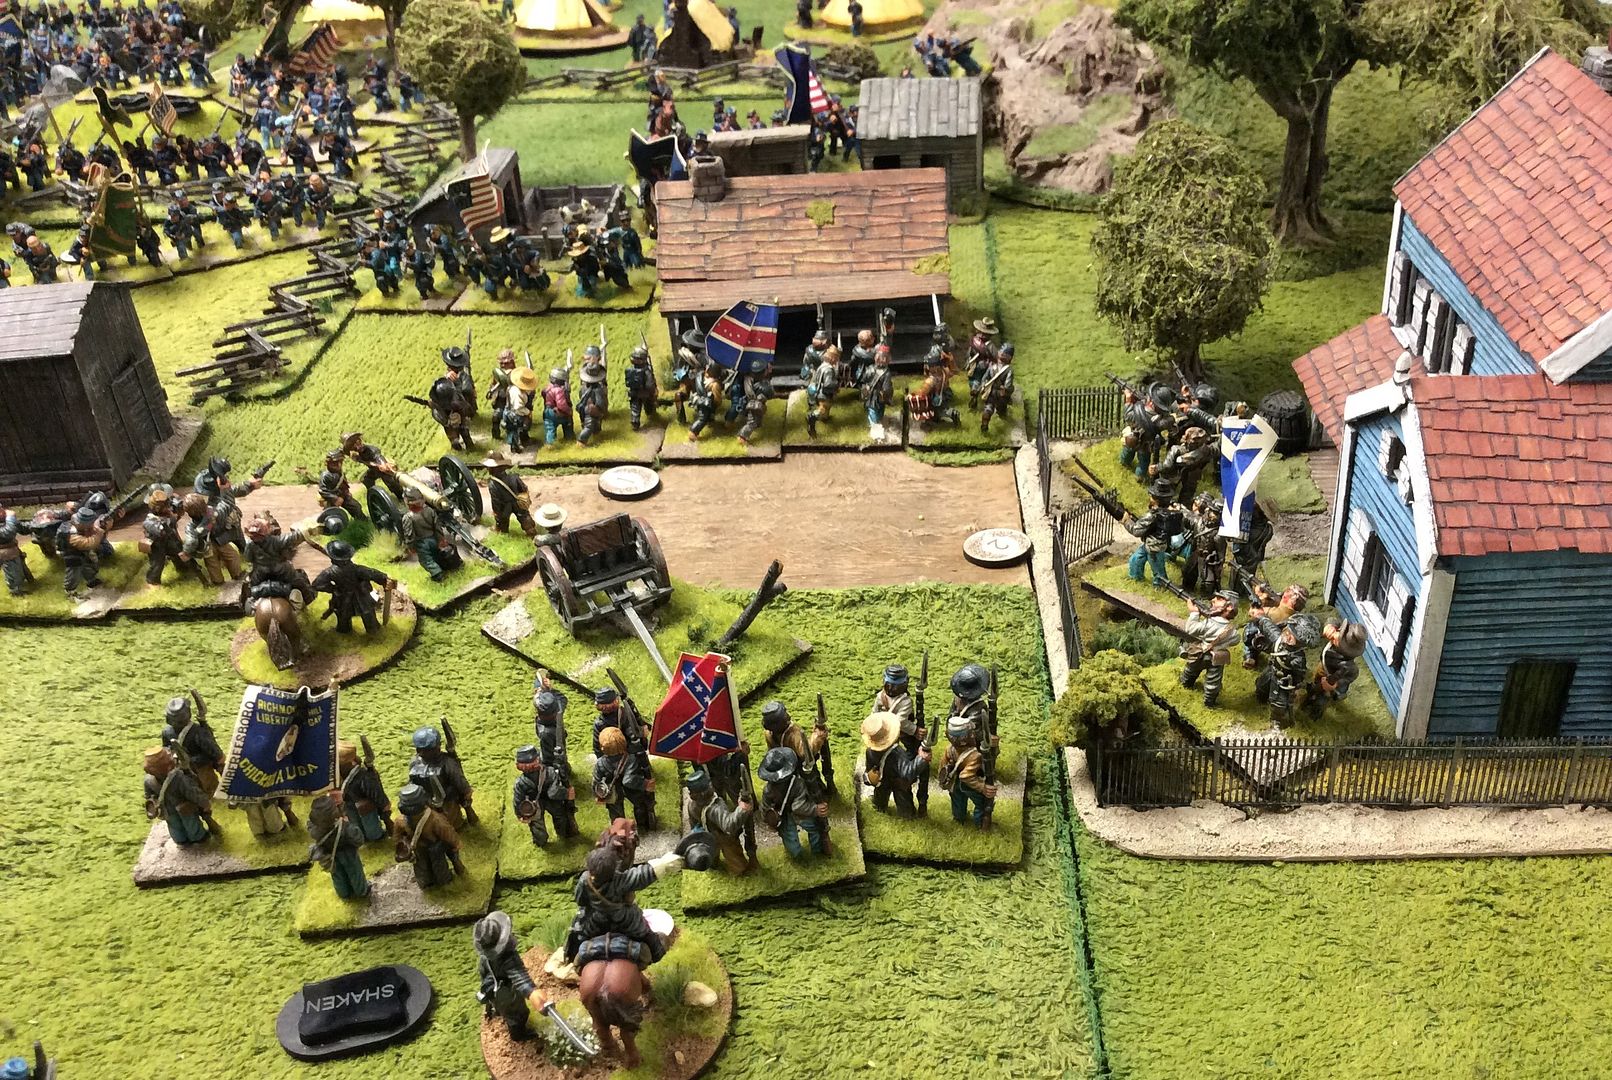
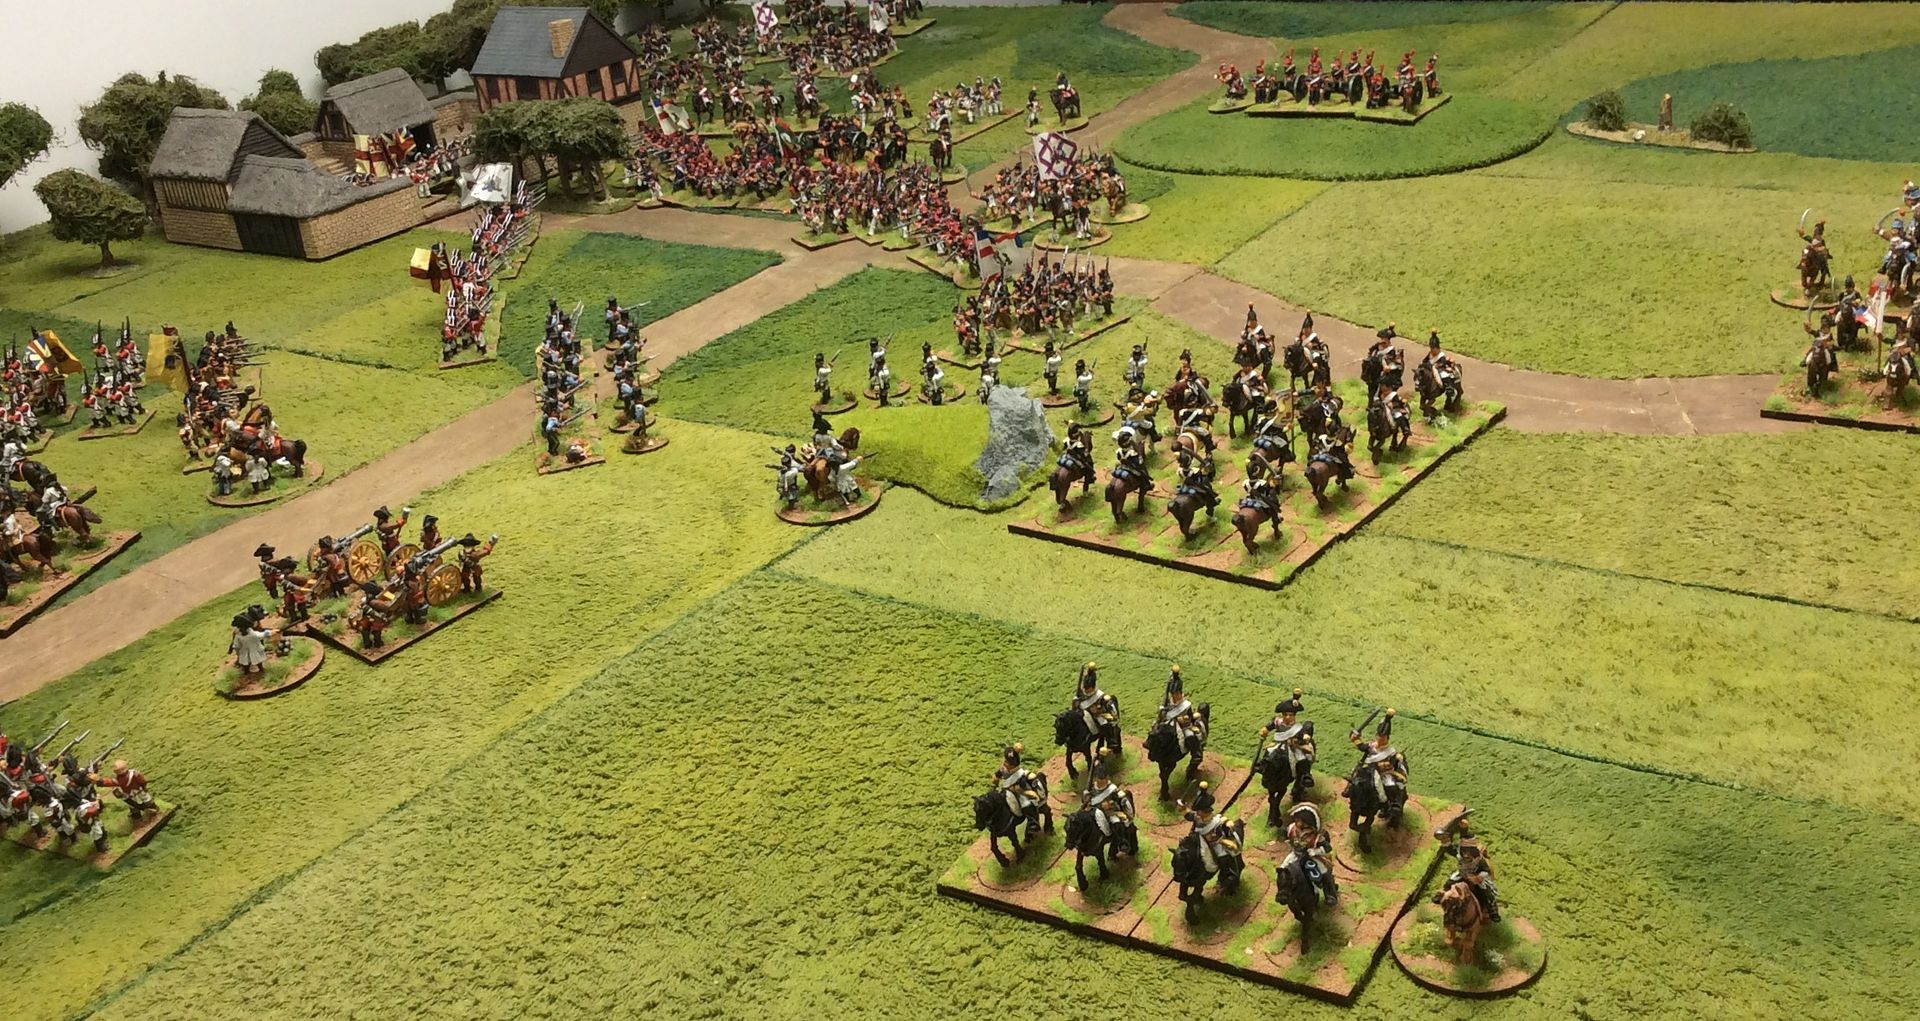
Both sides are keen to occupy the farmstead to secure their flank. The French fail in their turn to reach the objective, leaving the British free to try in their turn! Meanwhile rival Lit Infantry exchange fire.


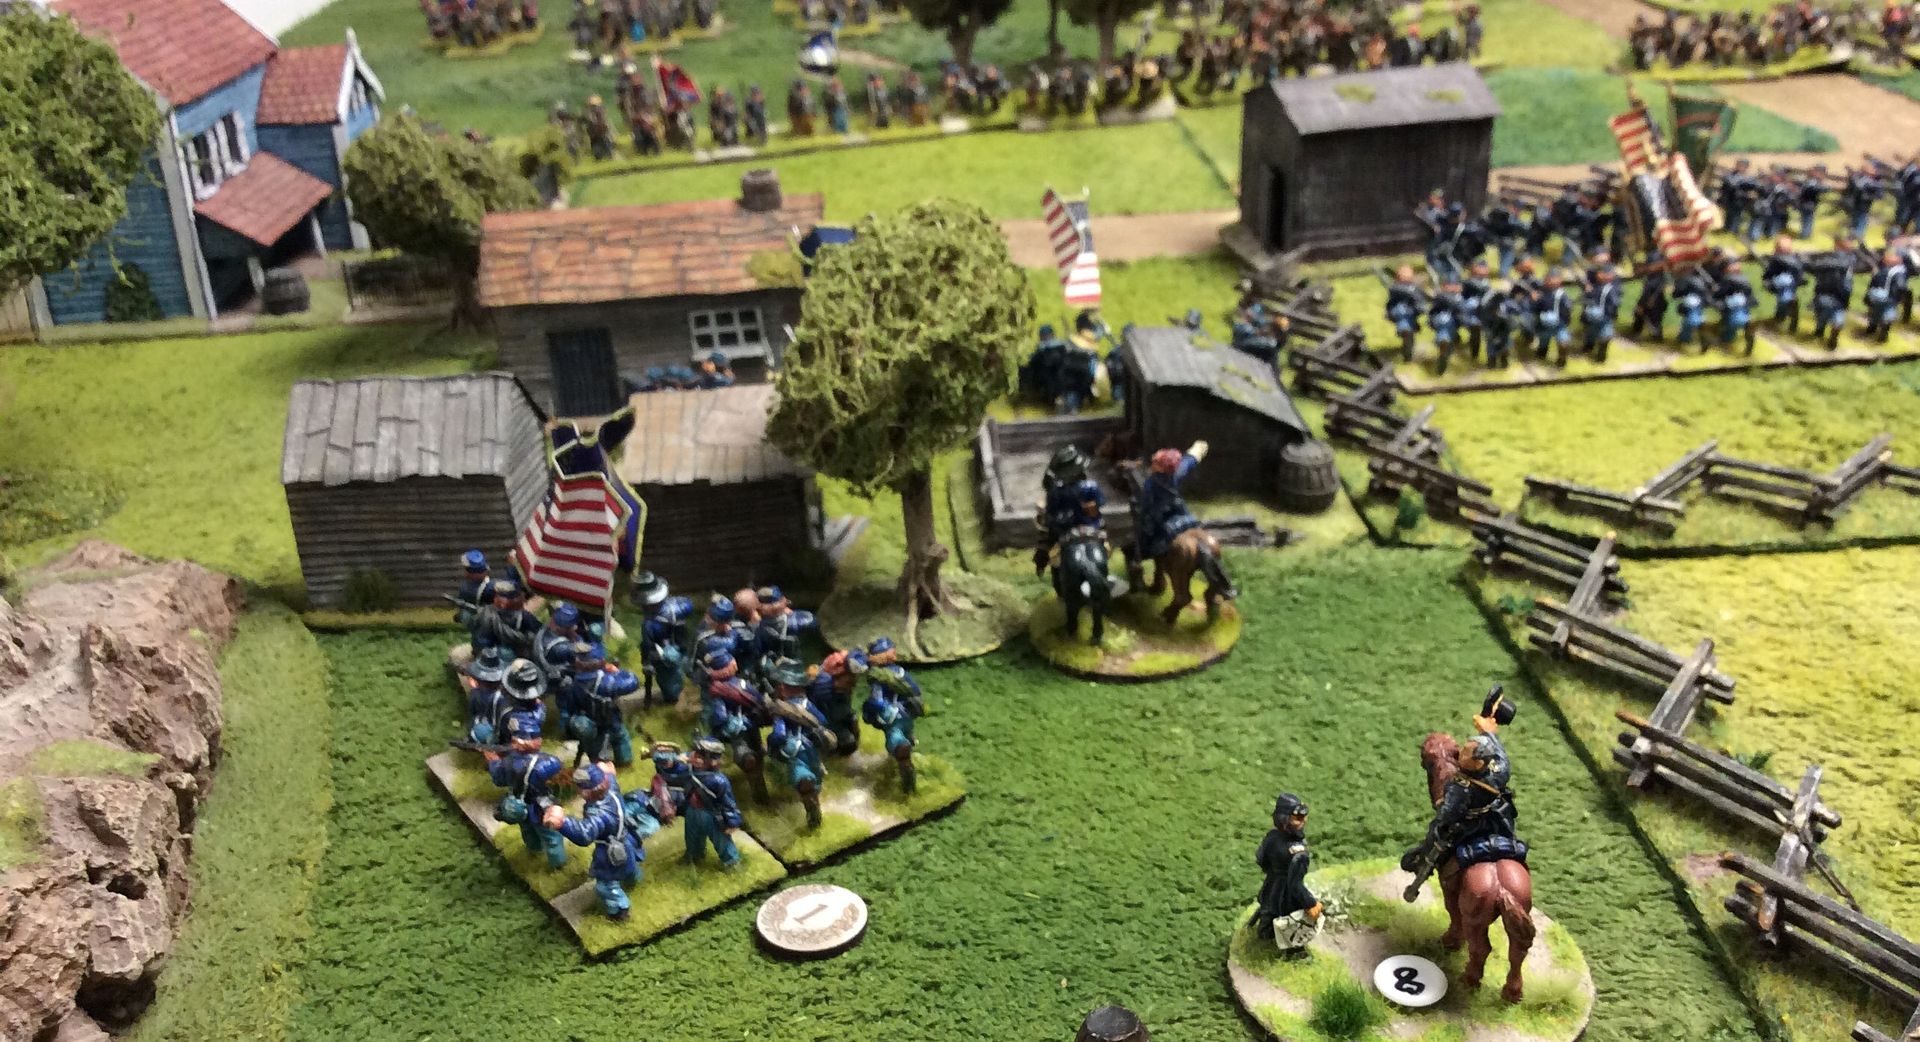
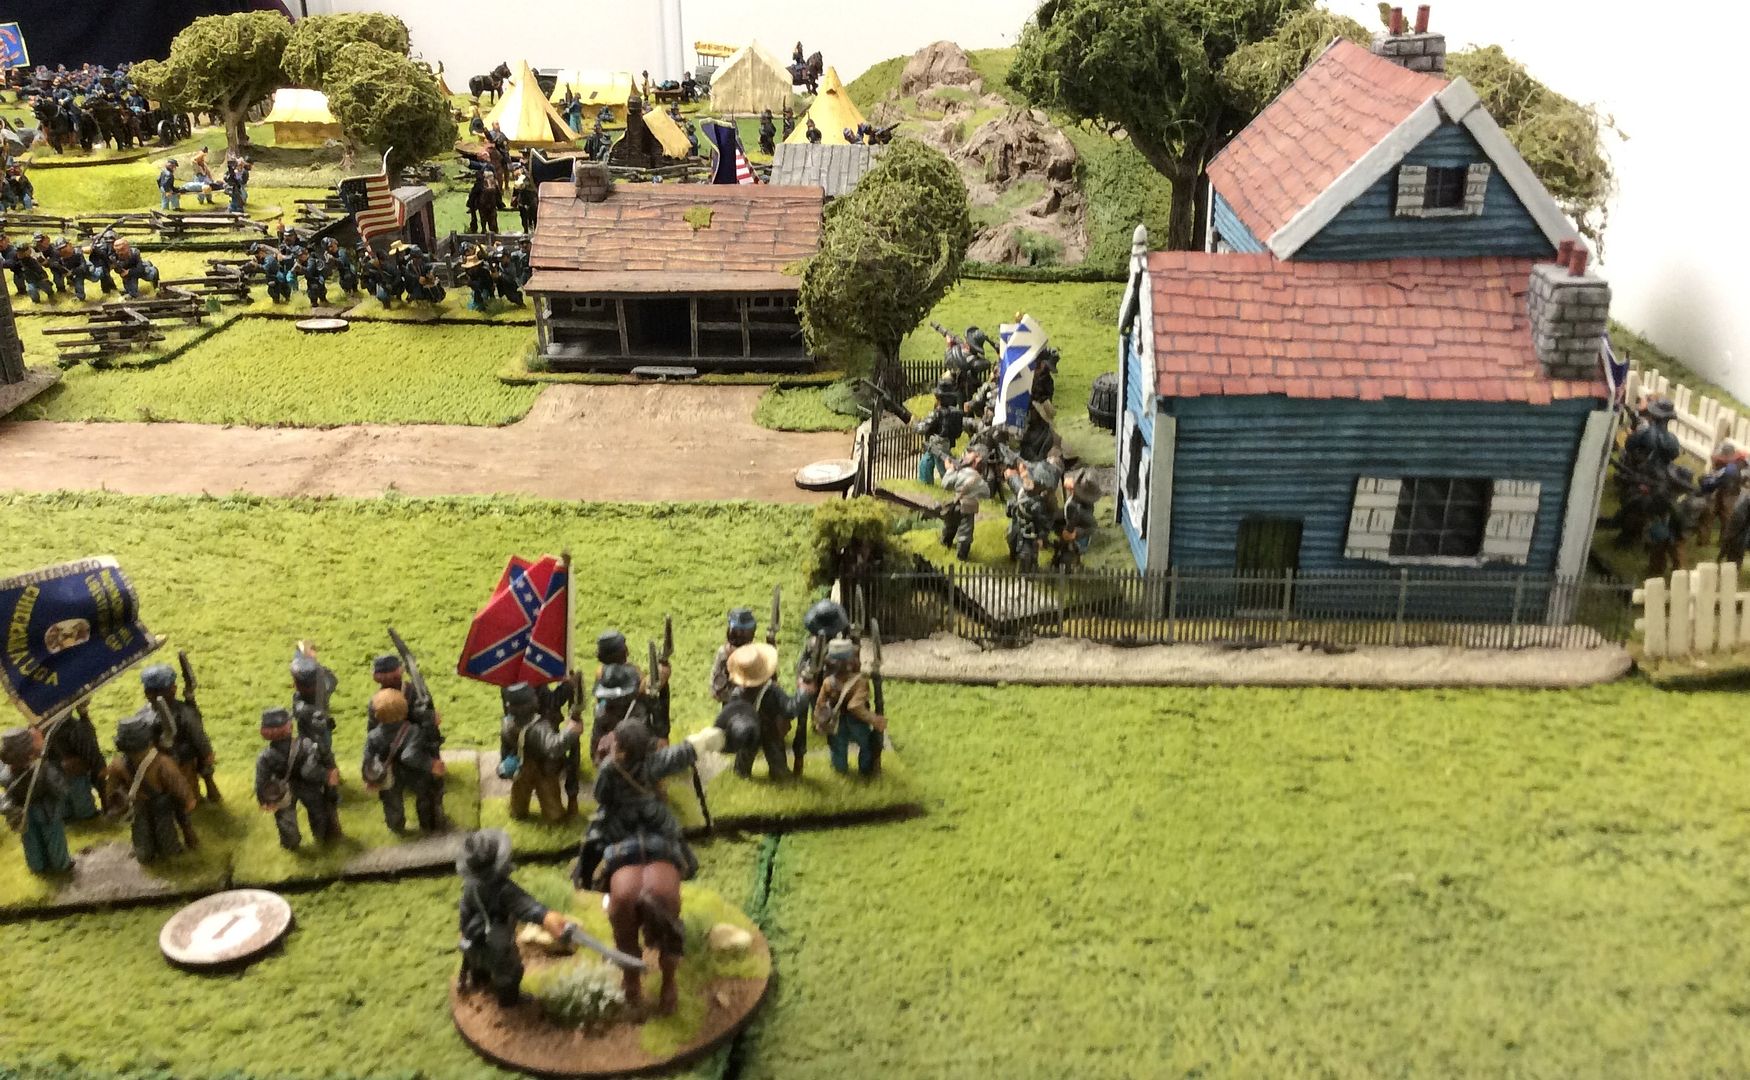
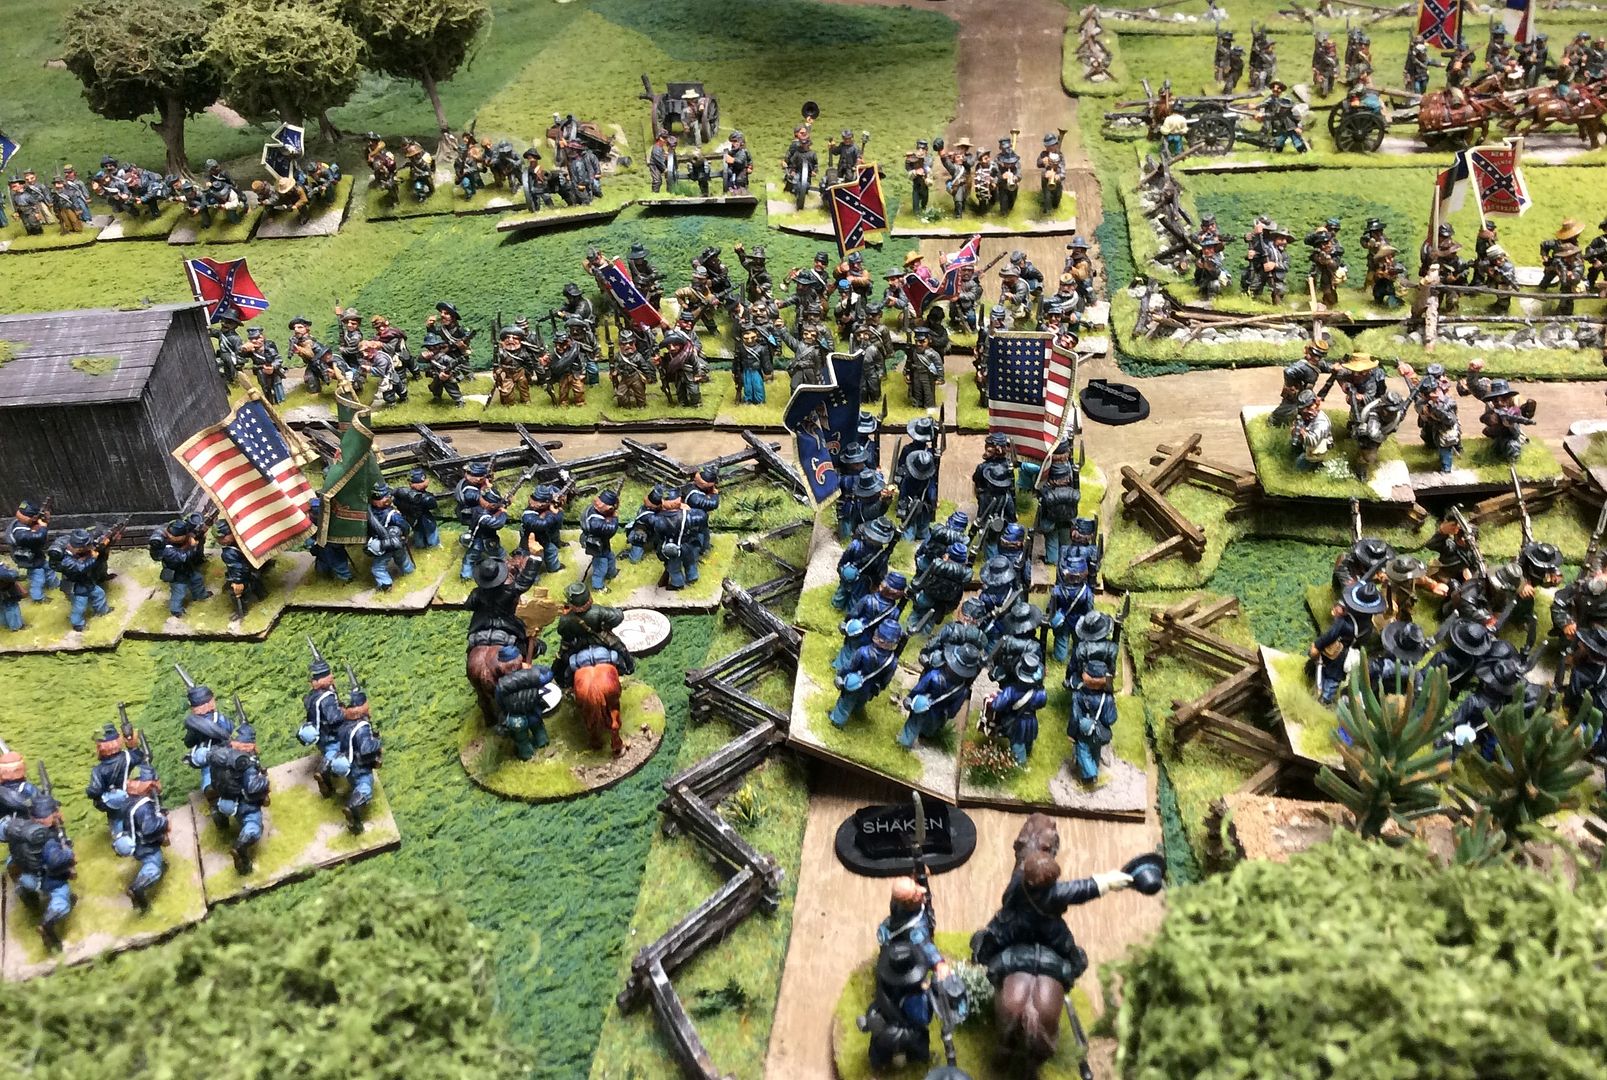
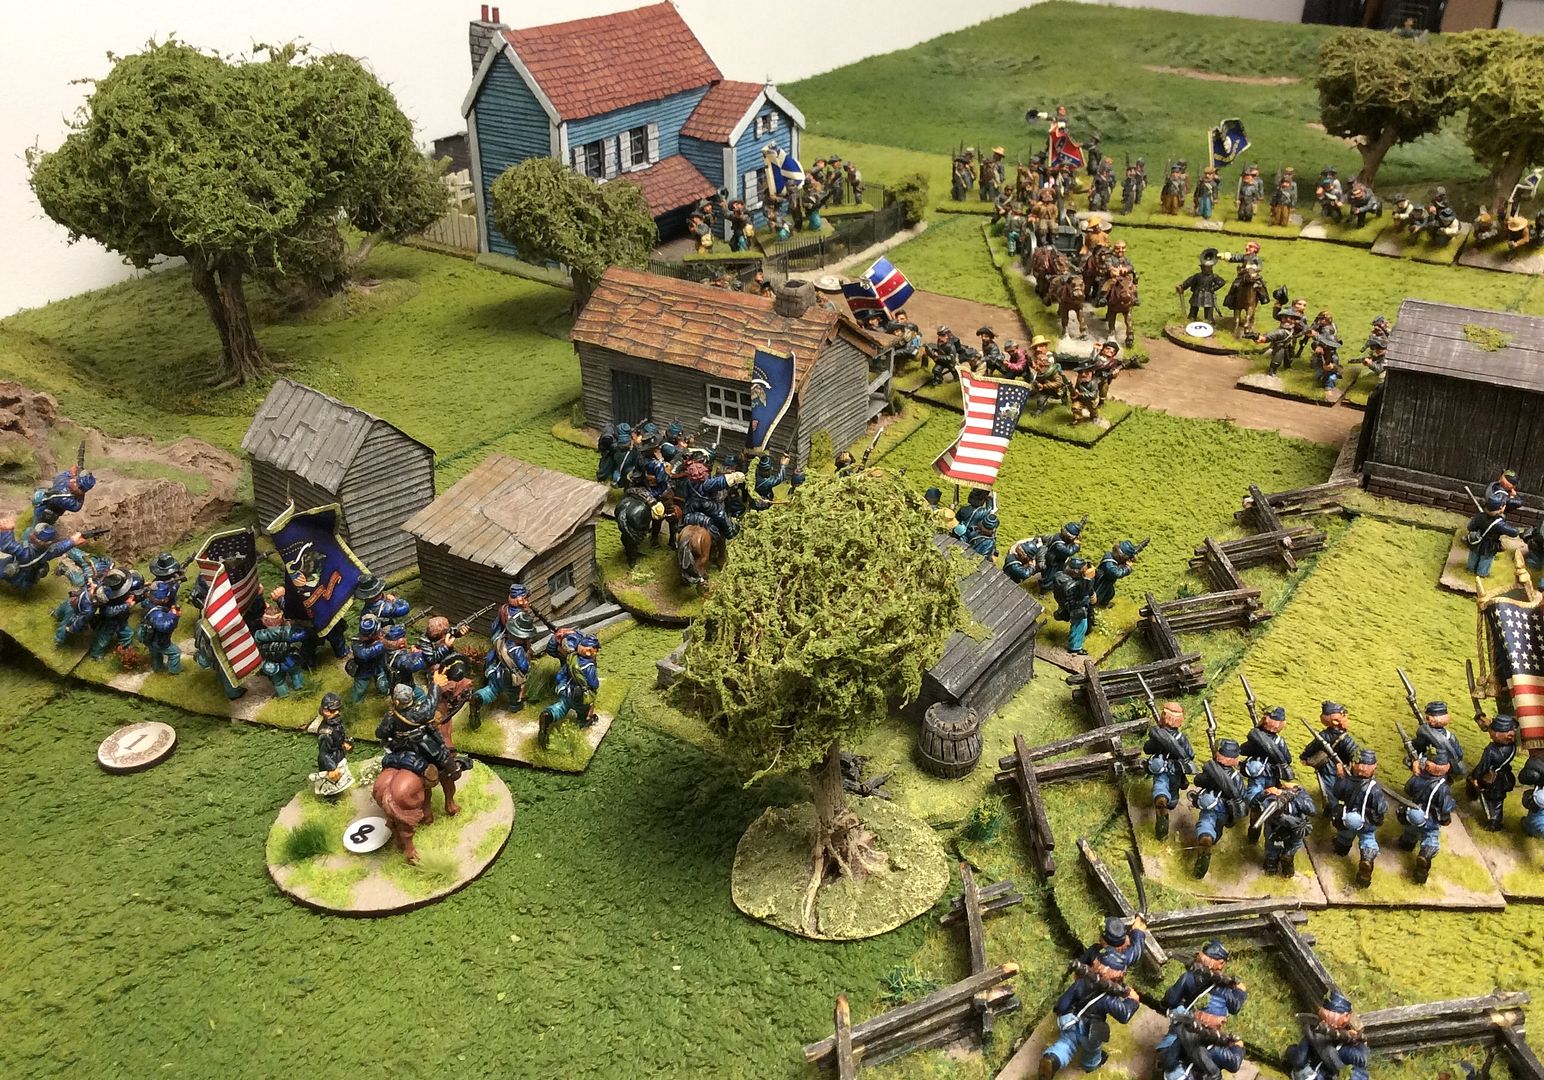
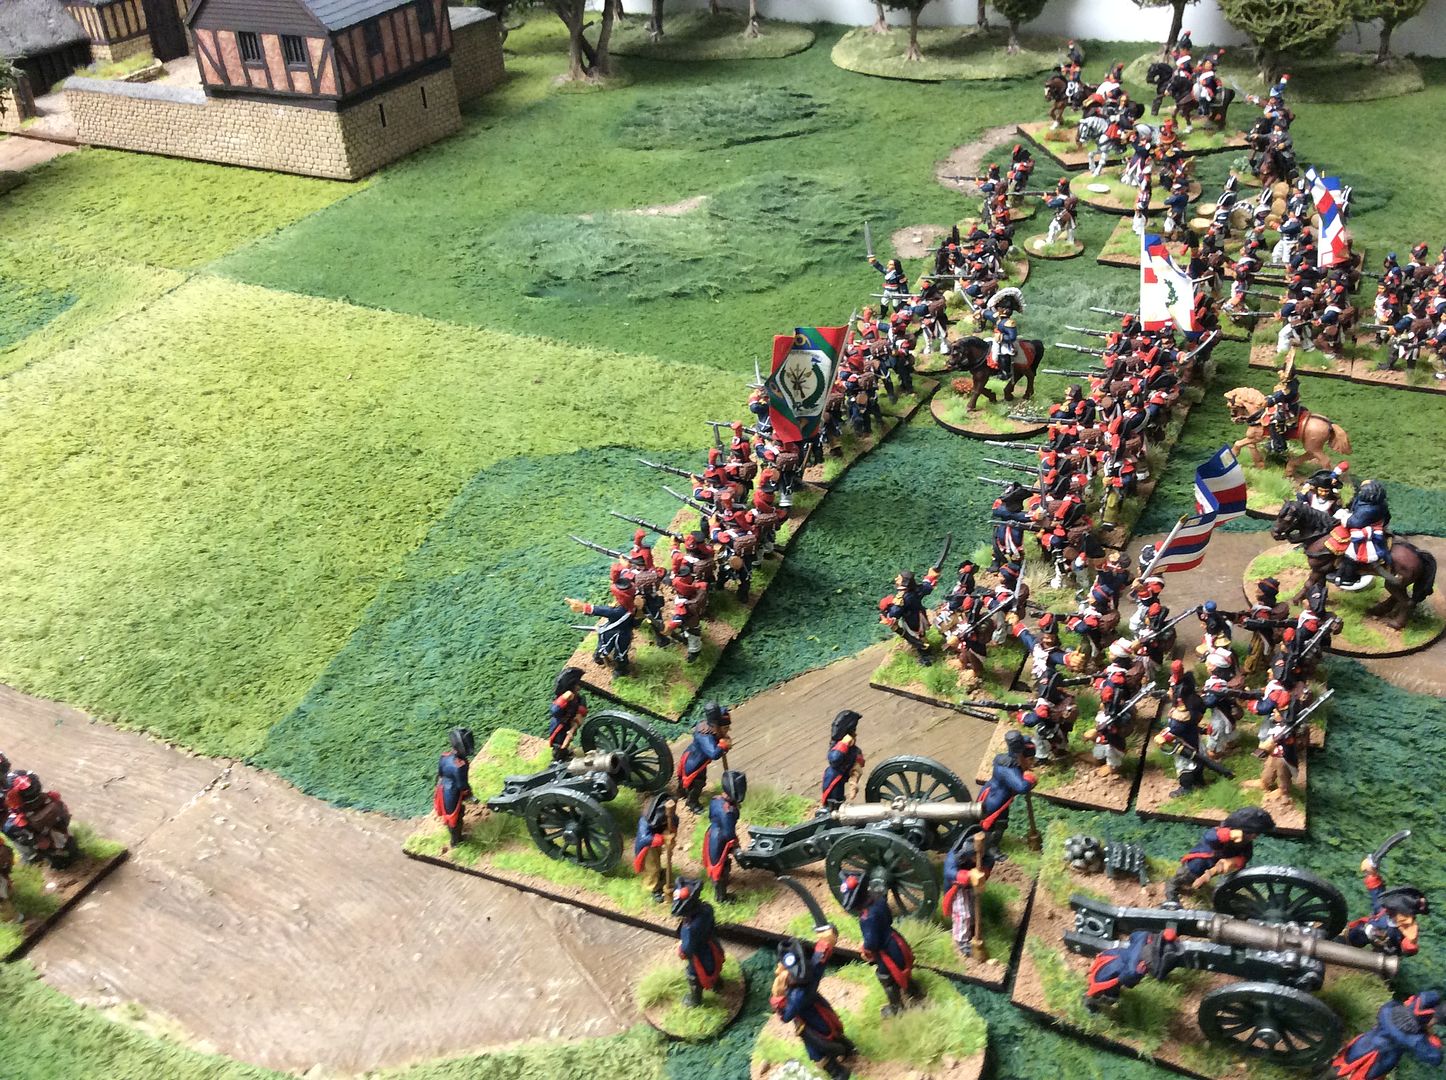
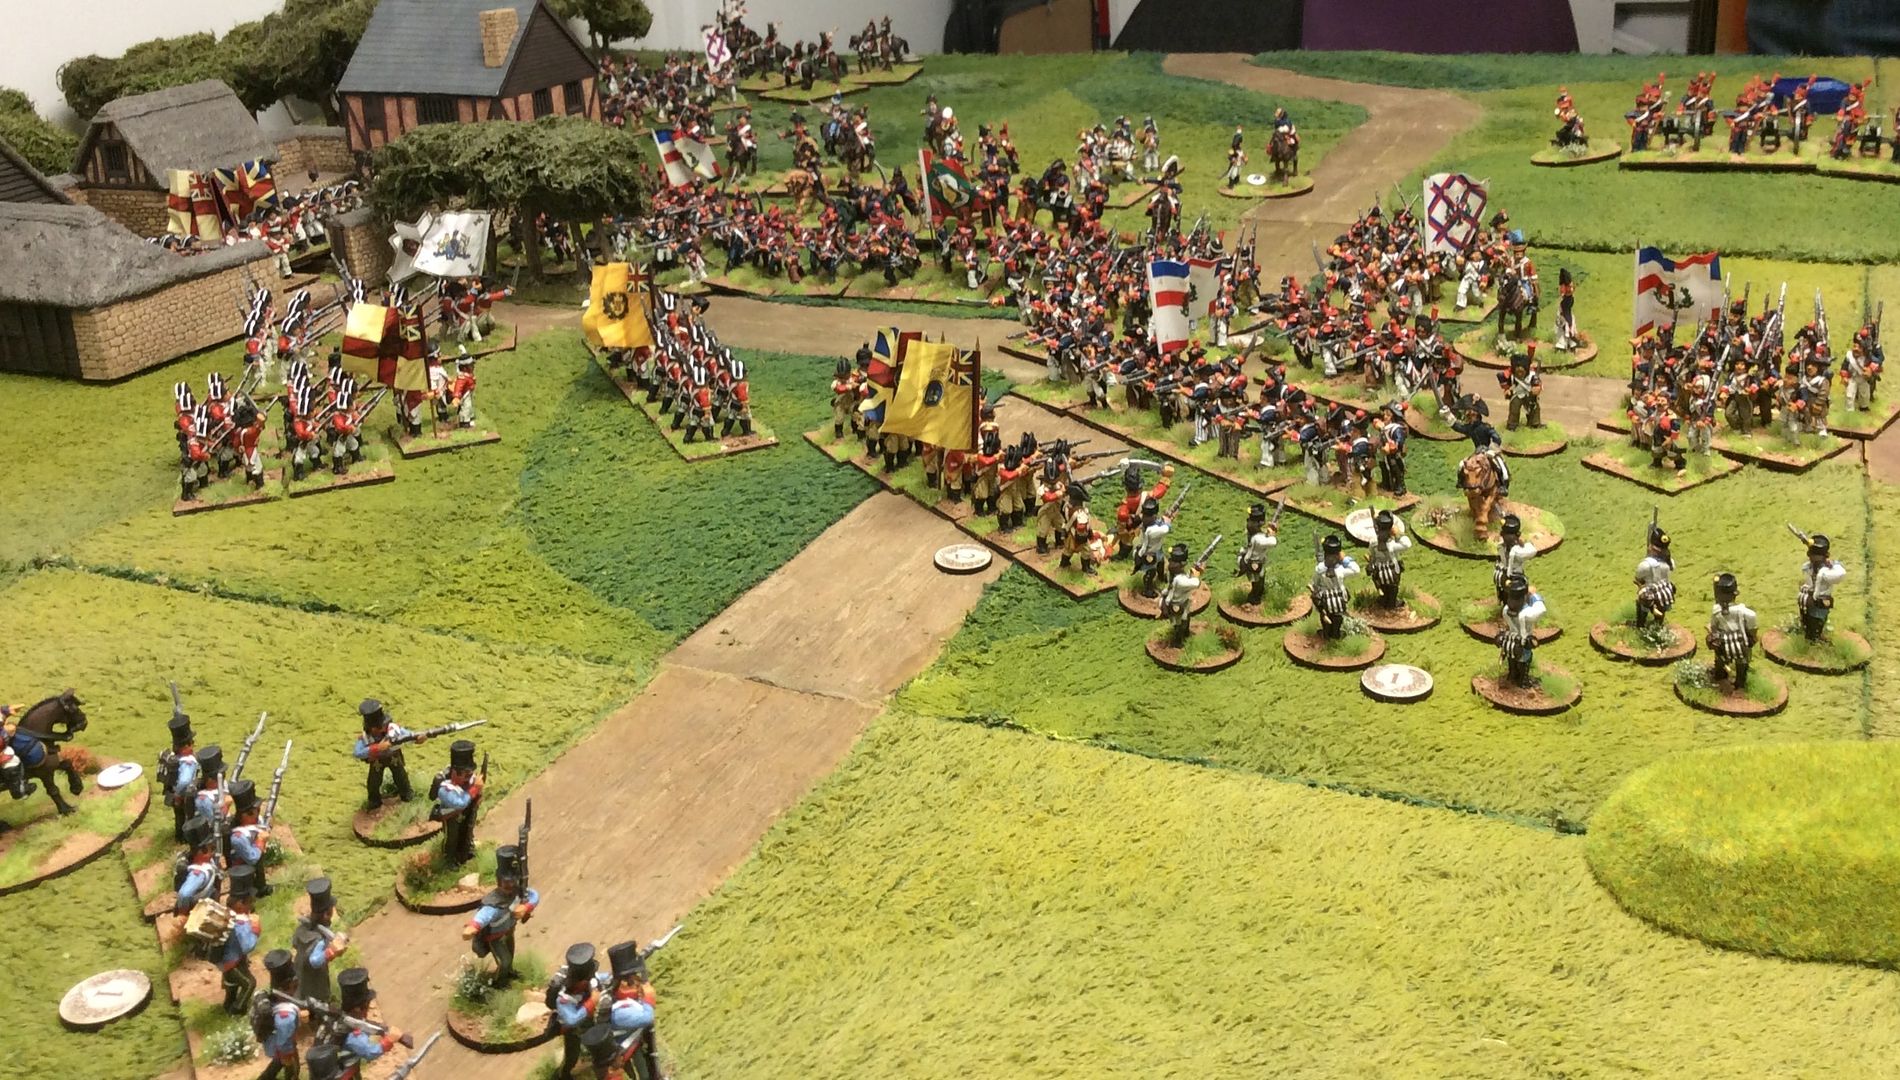
The farm falls to the 33rd Foot supported by a regiment of Hanoverians, while the Lowenstein Chasseurs and Rohan's Freikorps confront the French Light Infantry!


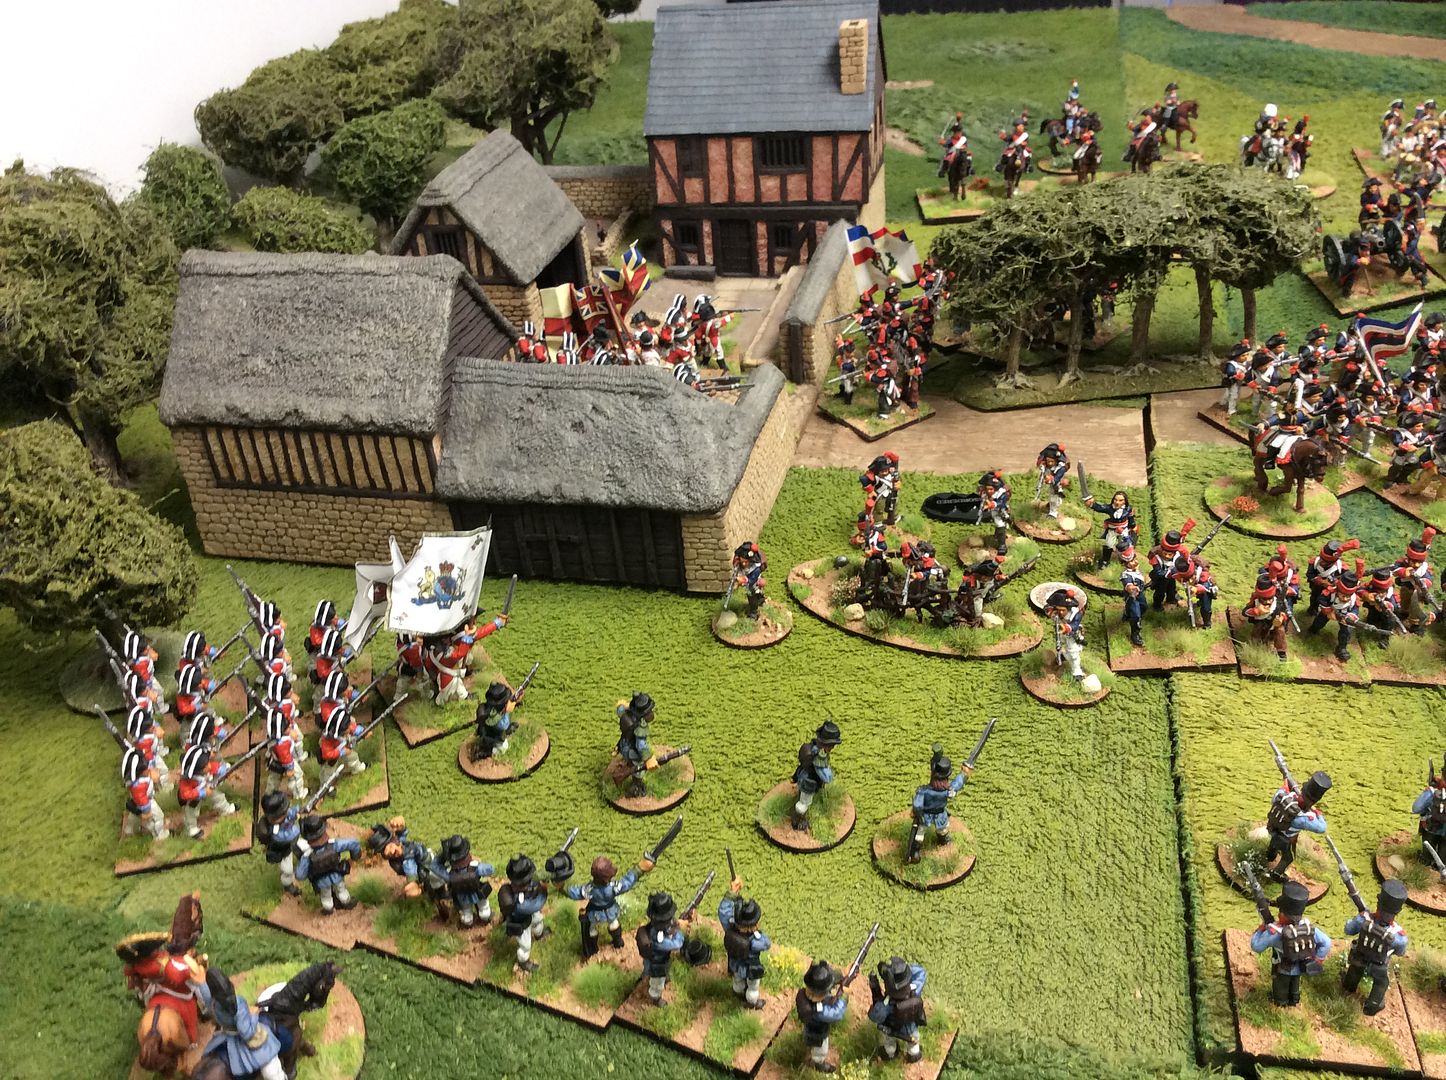
As French pressure builds, the 'Dunwhinngin Fencibles'/42nd Foot ready themselves for glory!


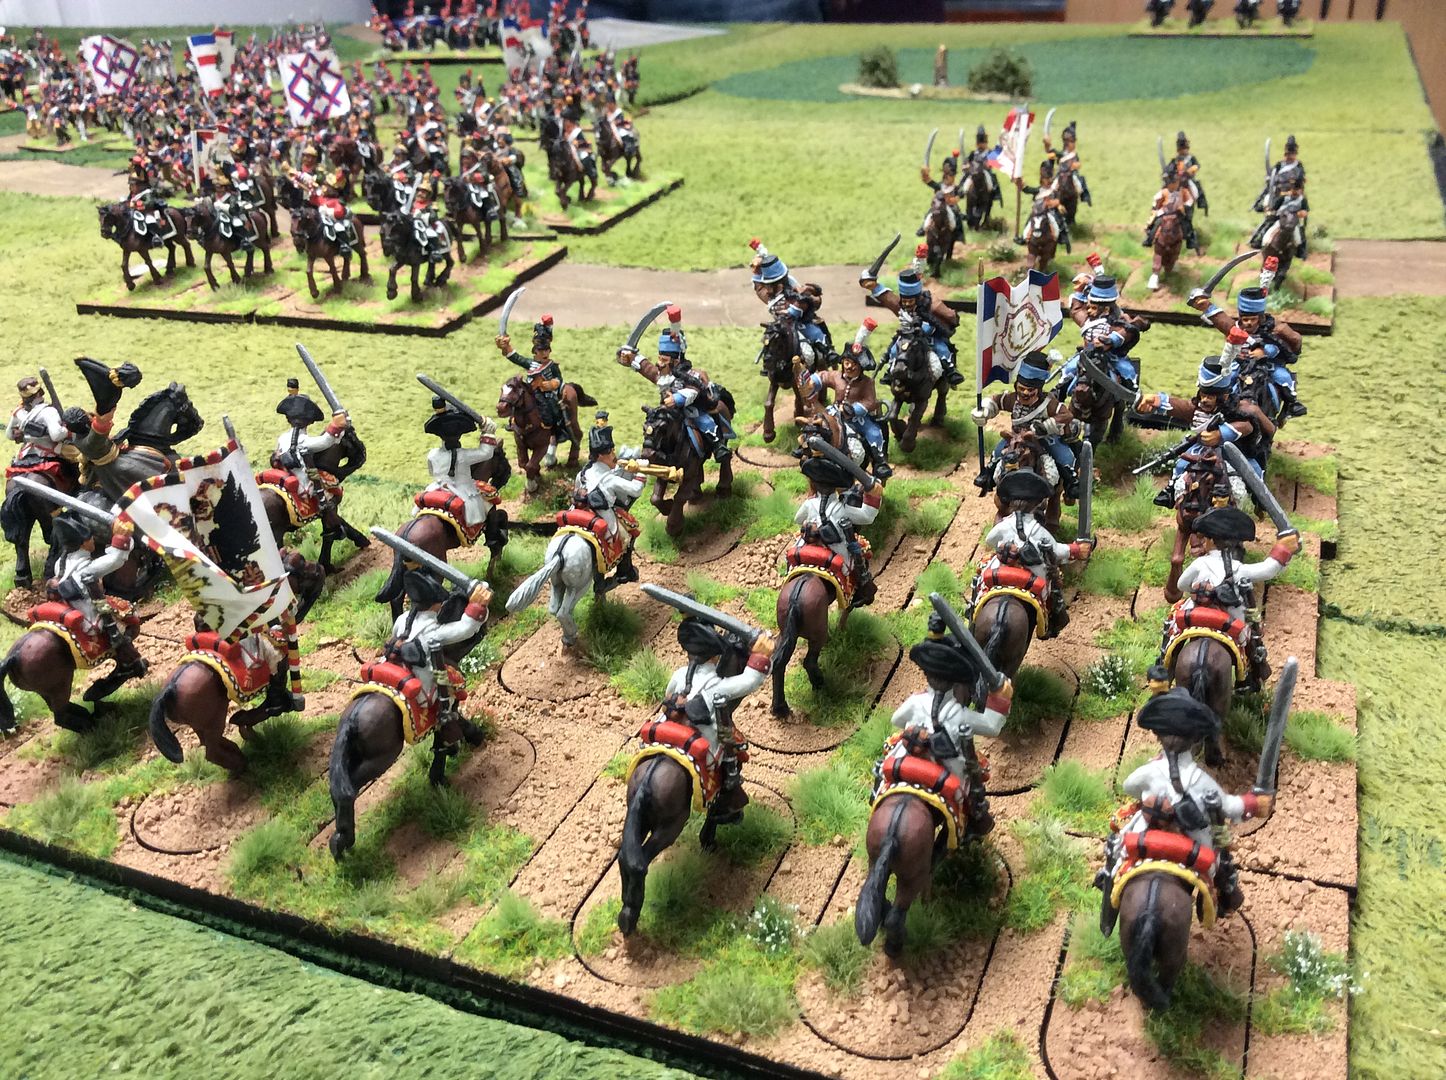
Meanwhile, away on the Allied right the Austrian cuirassier are inexplicably thrashed by the French 2nd Hussars!


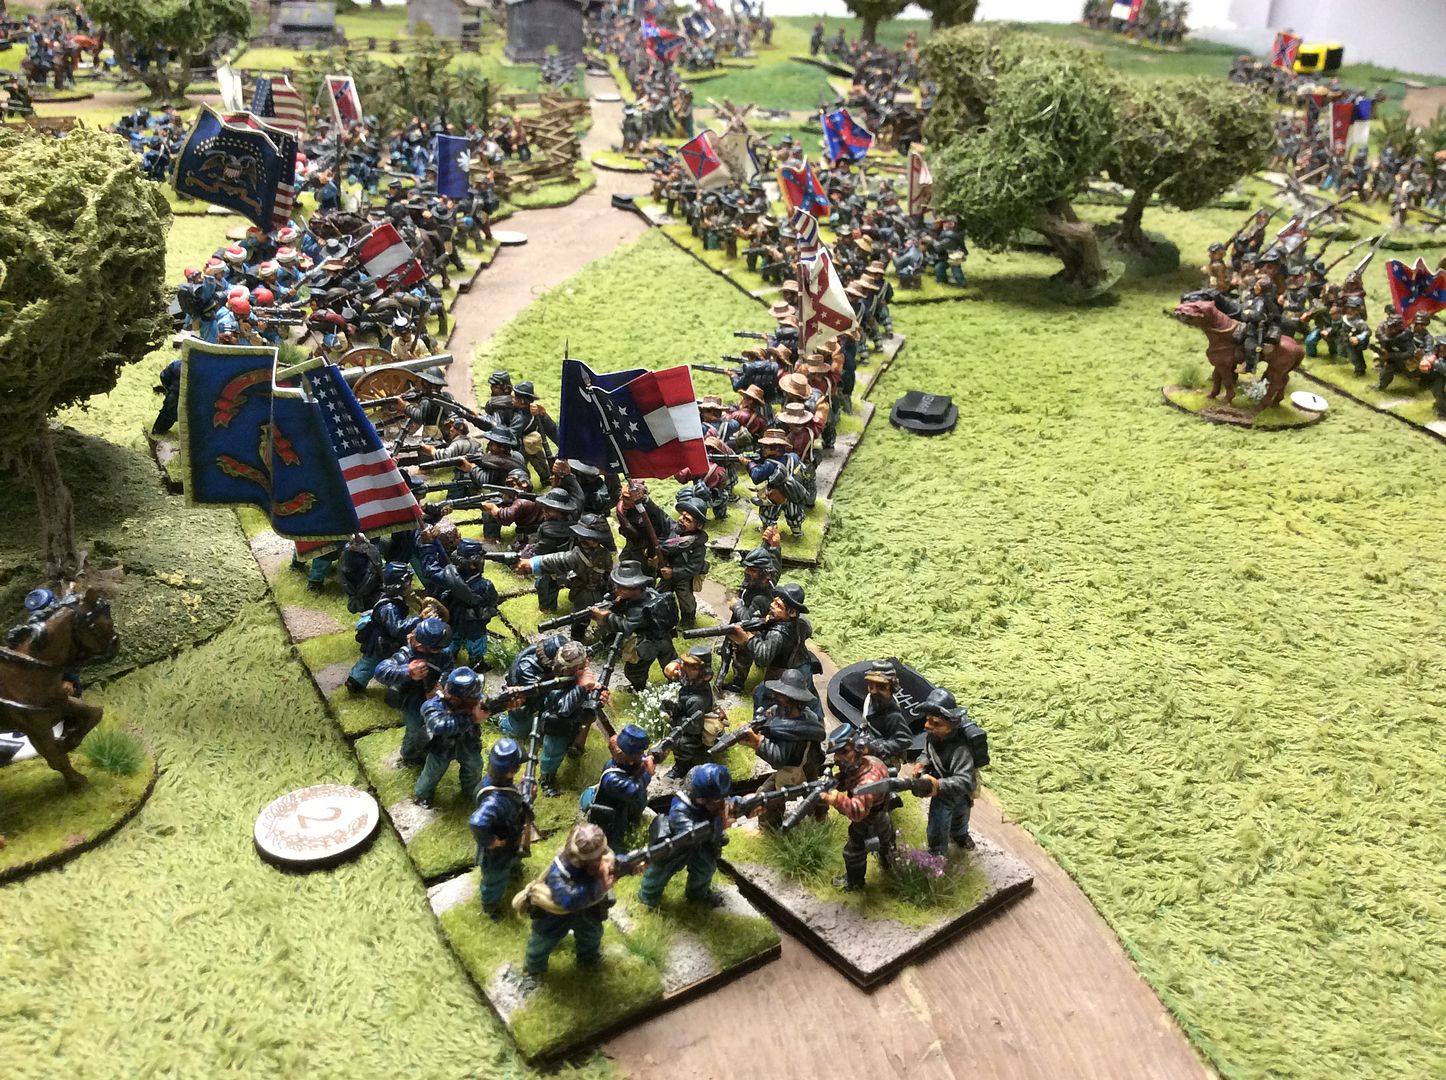
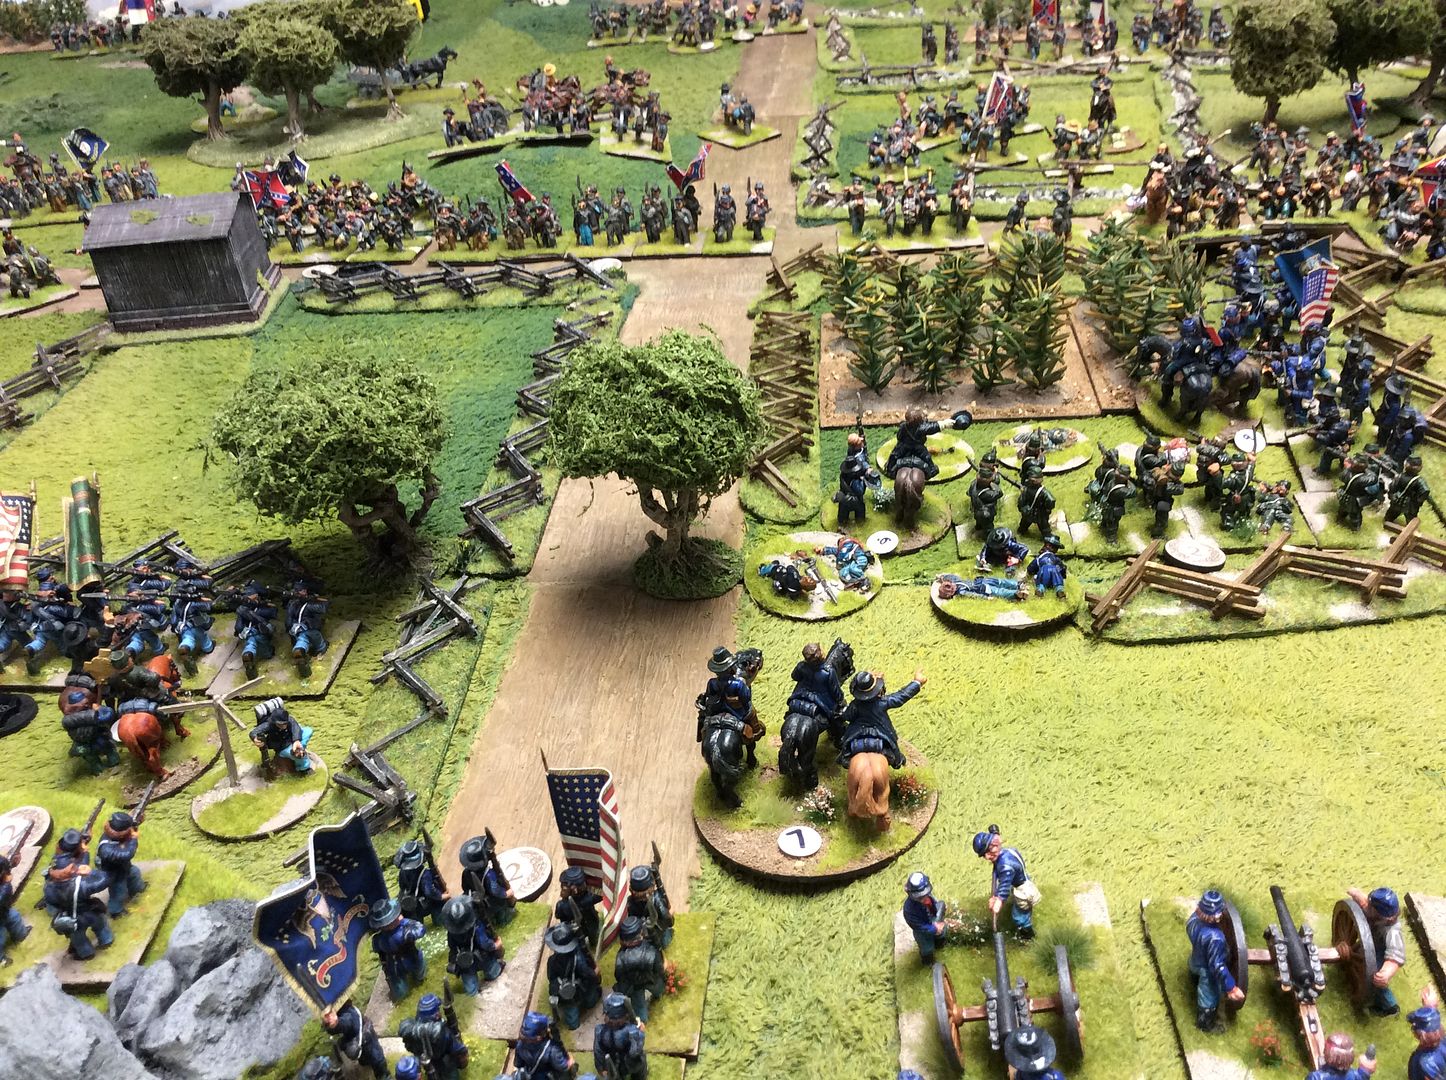
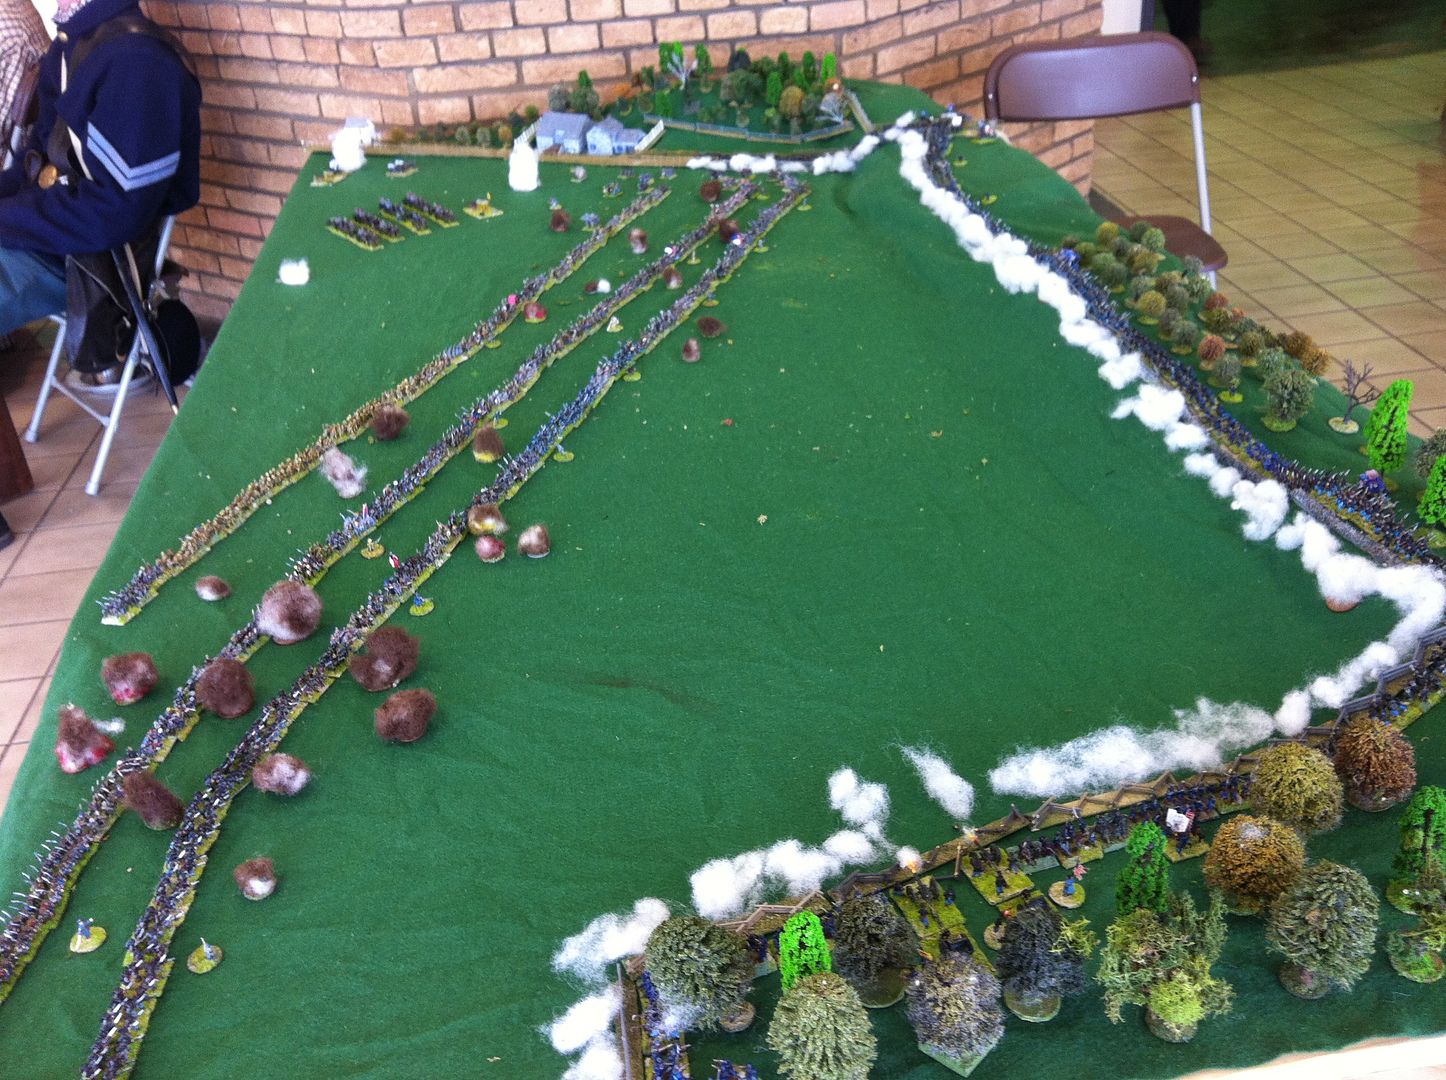
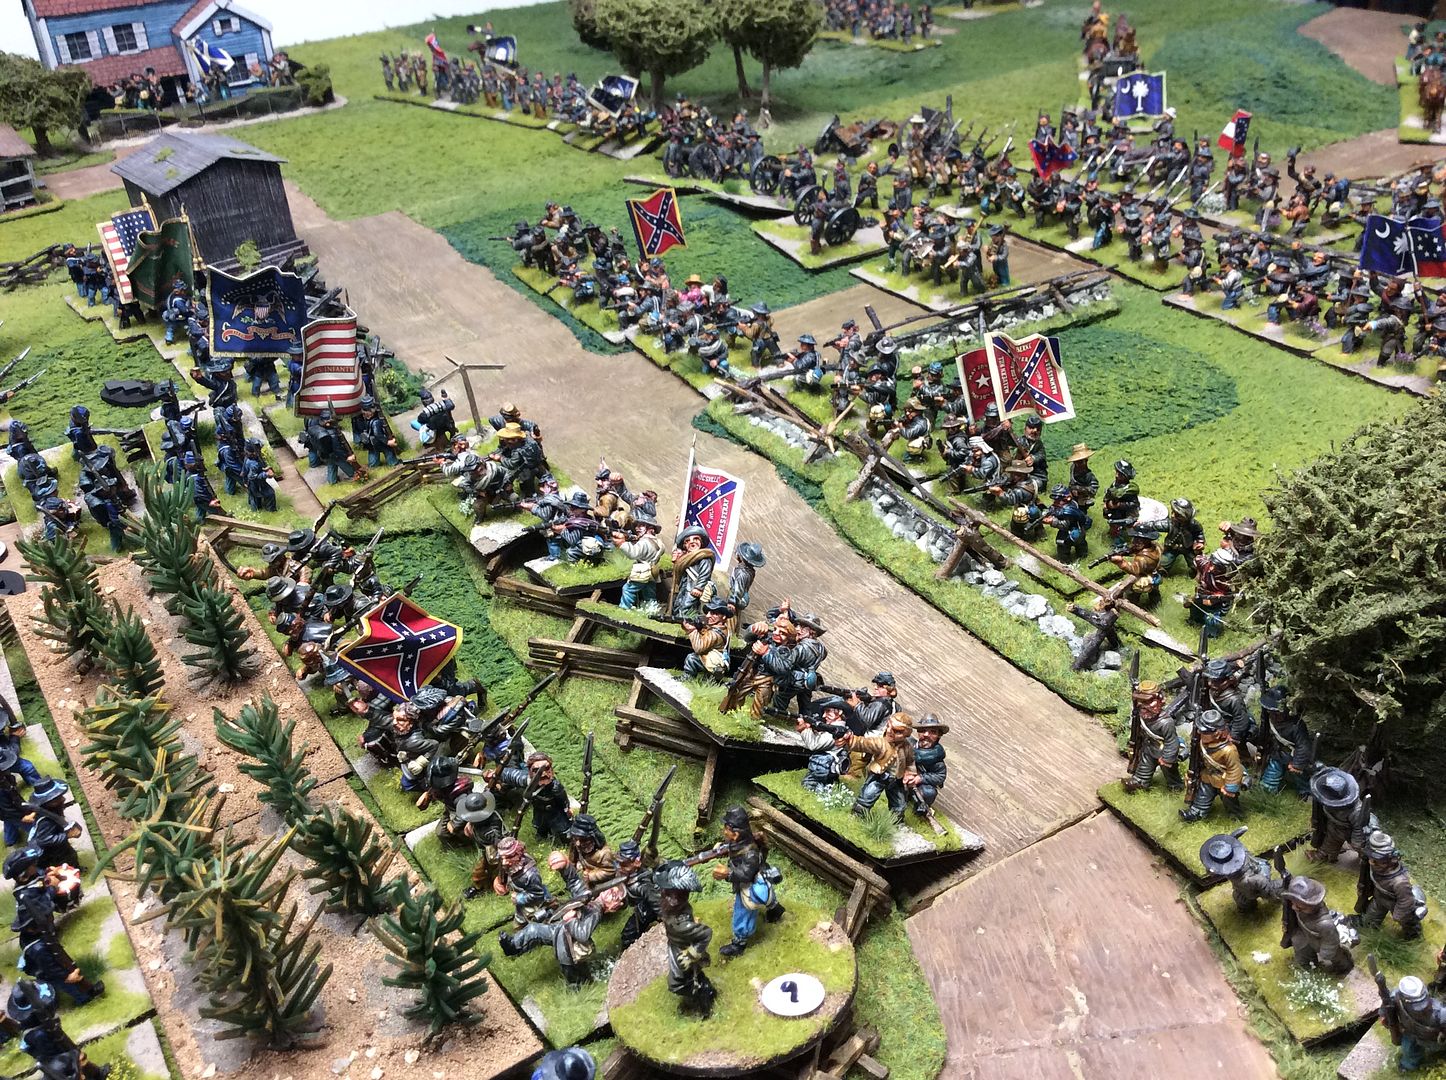
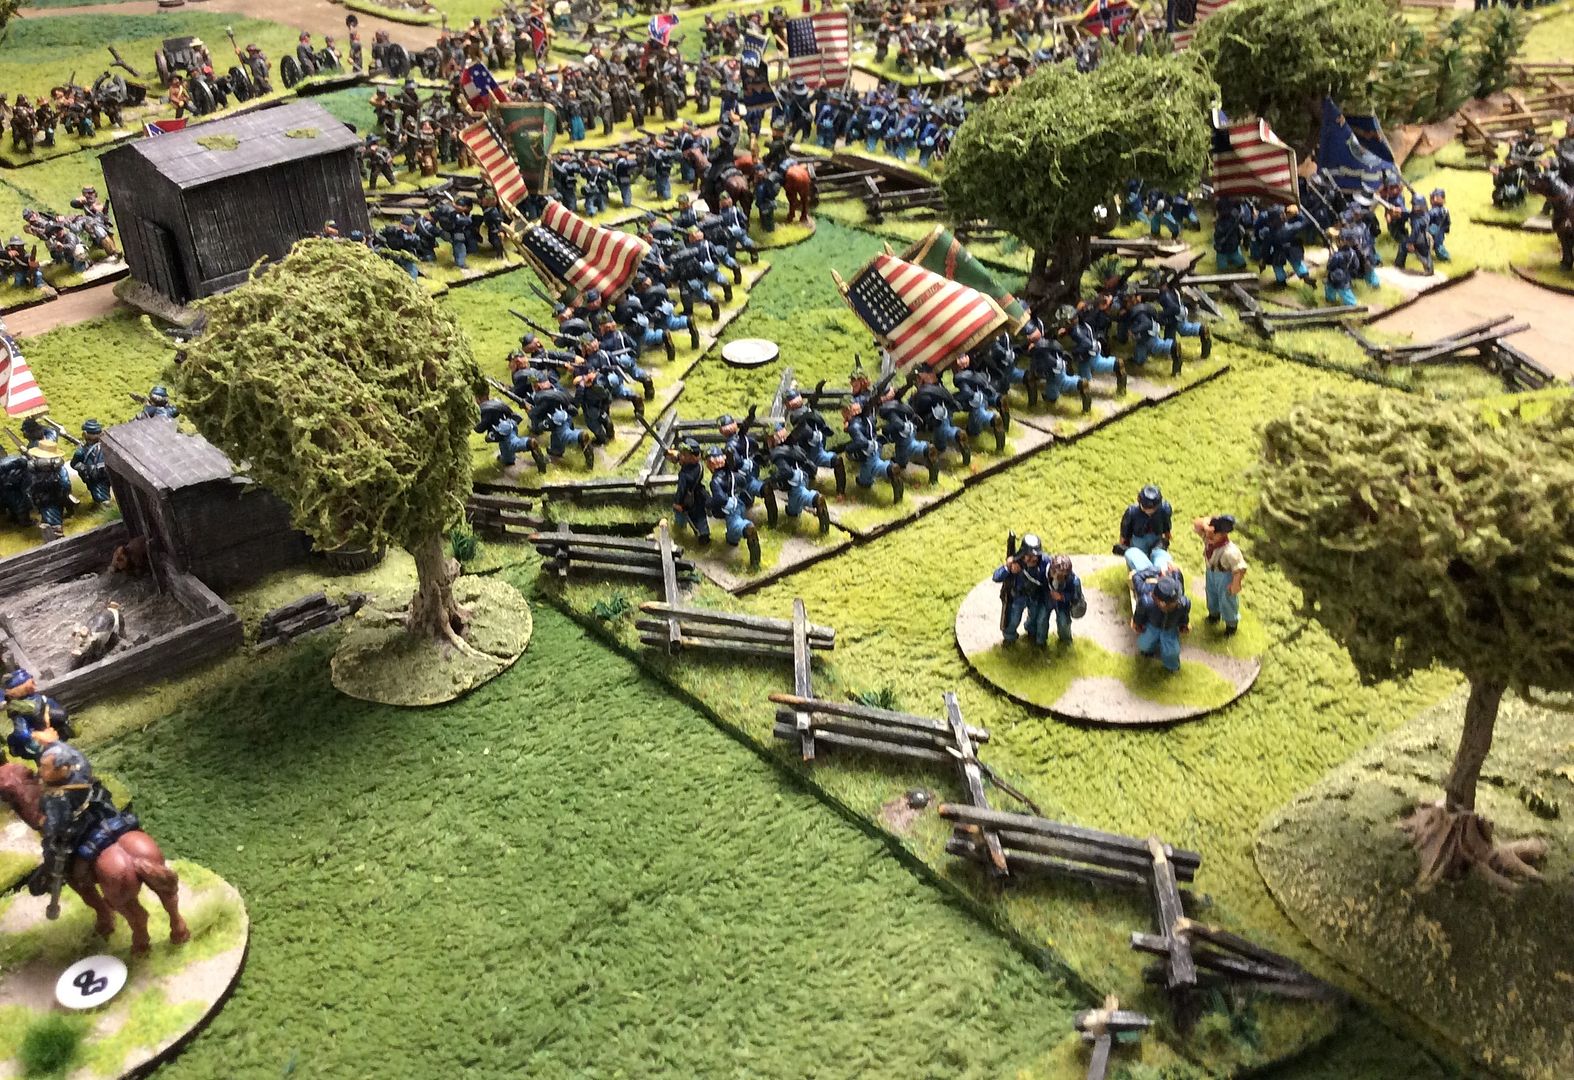
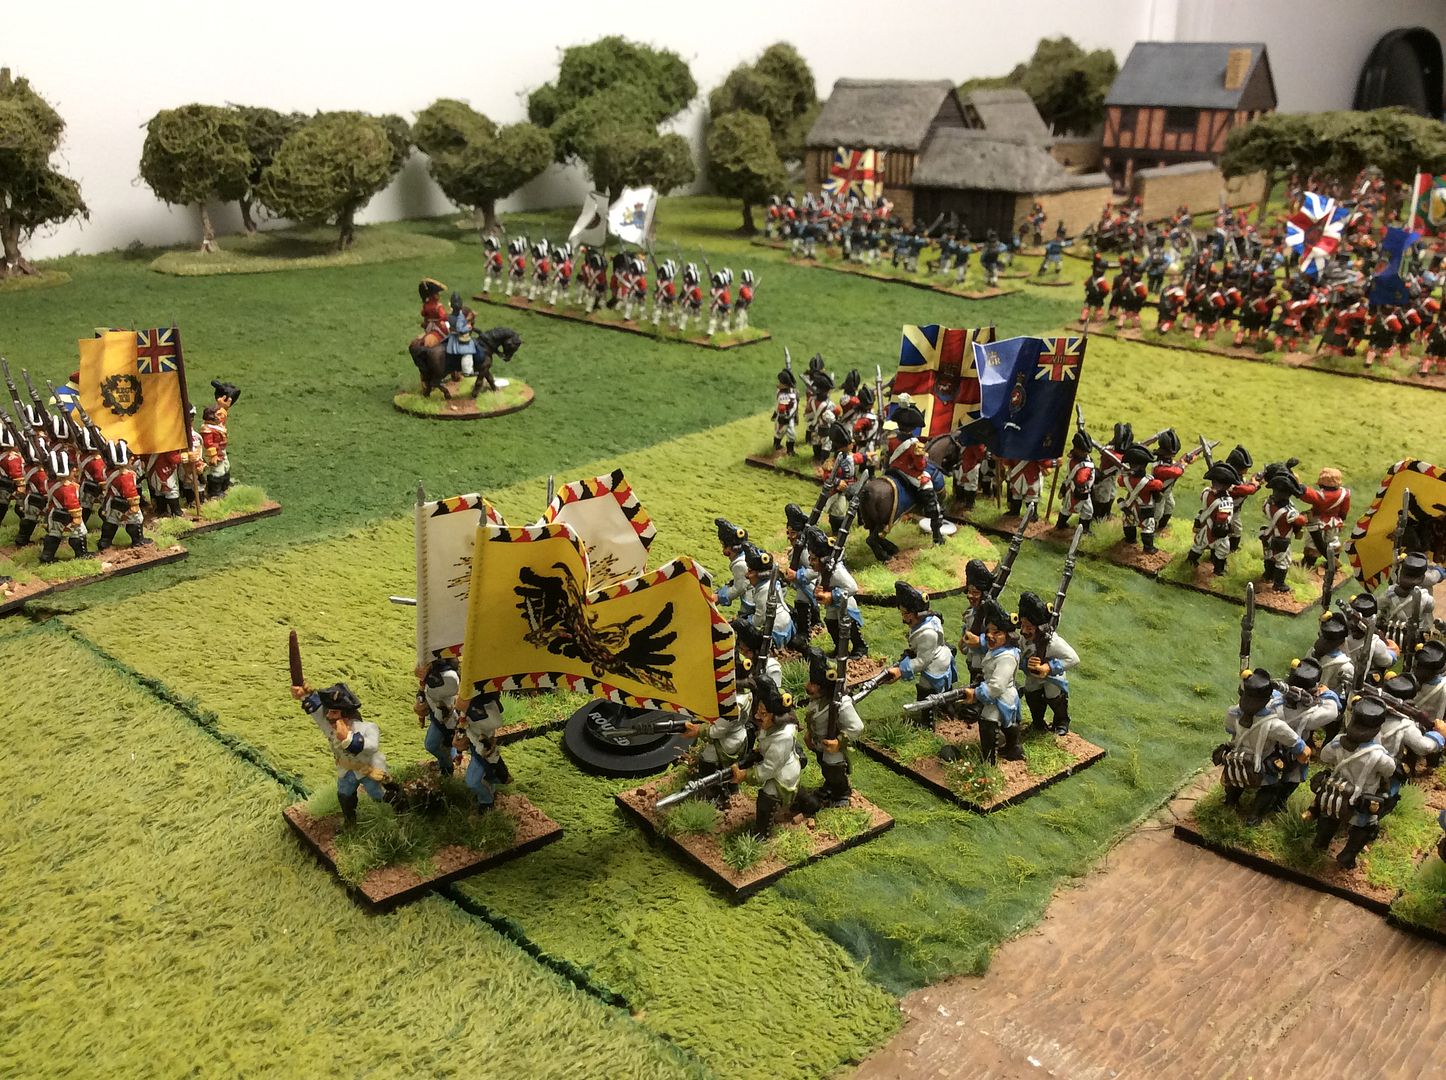
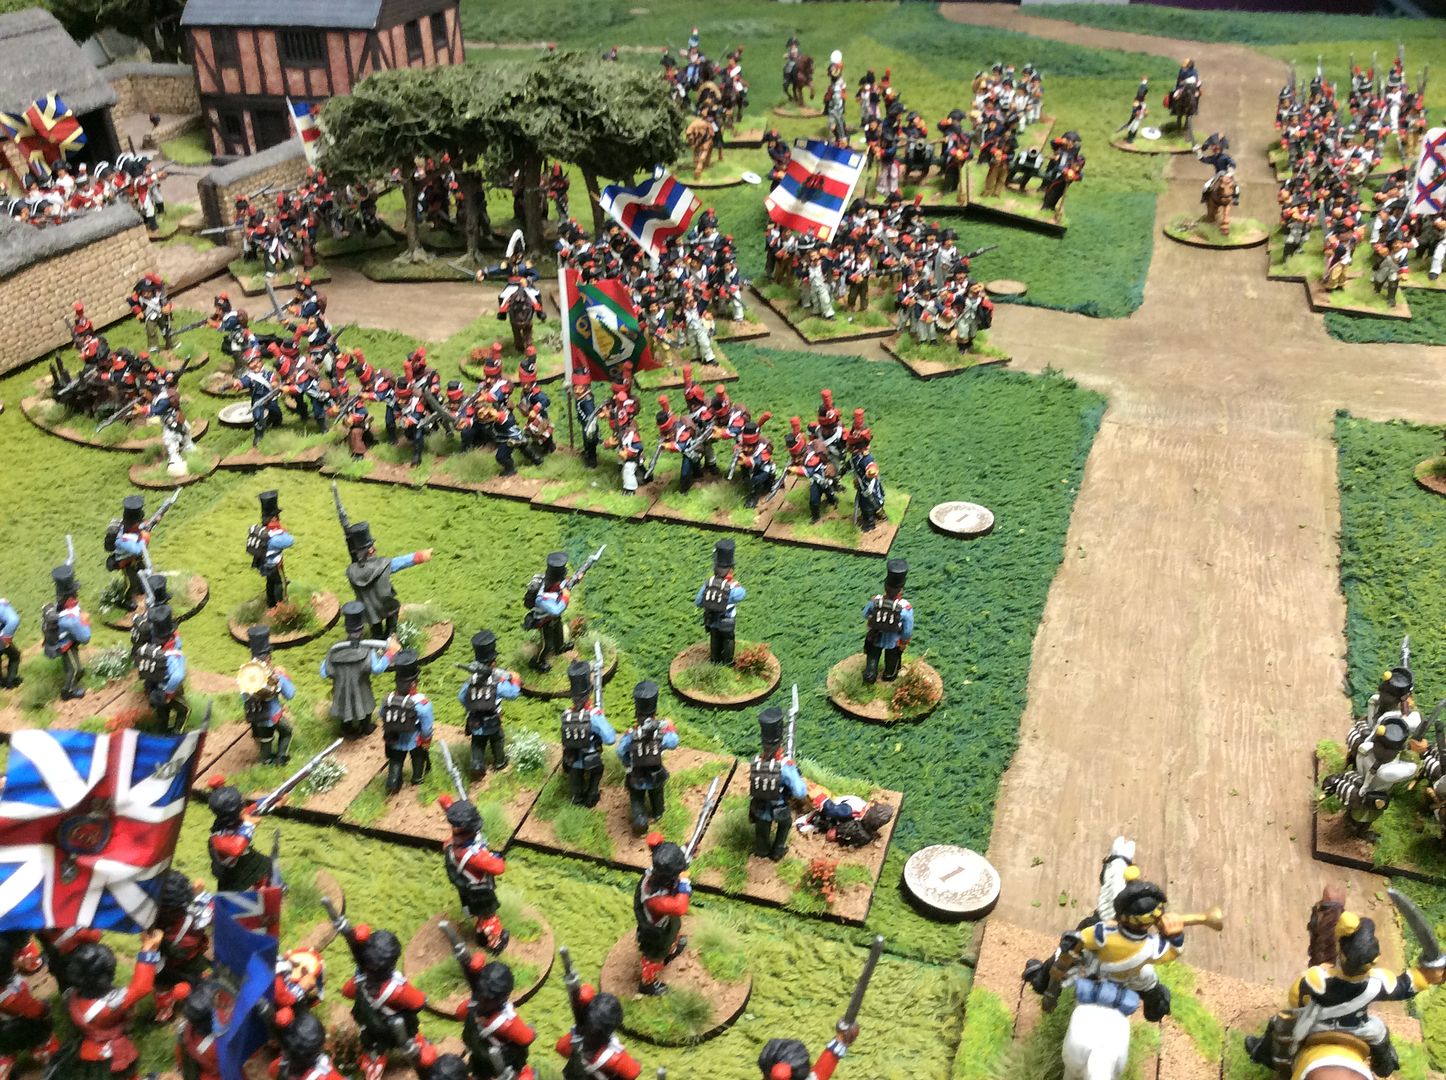
In the Allied centre the Austrian infantry have fled the field and on the right things are going badly for the Allied cavalry! British infantry struggle to fill the gap in the line as French columns surge forward sensing victory!


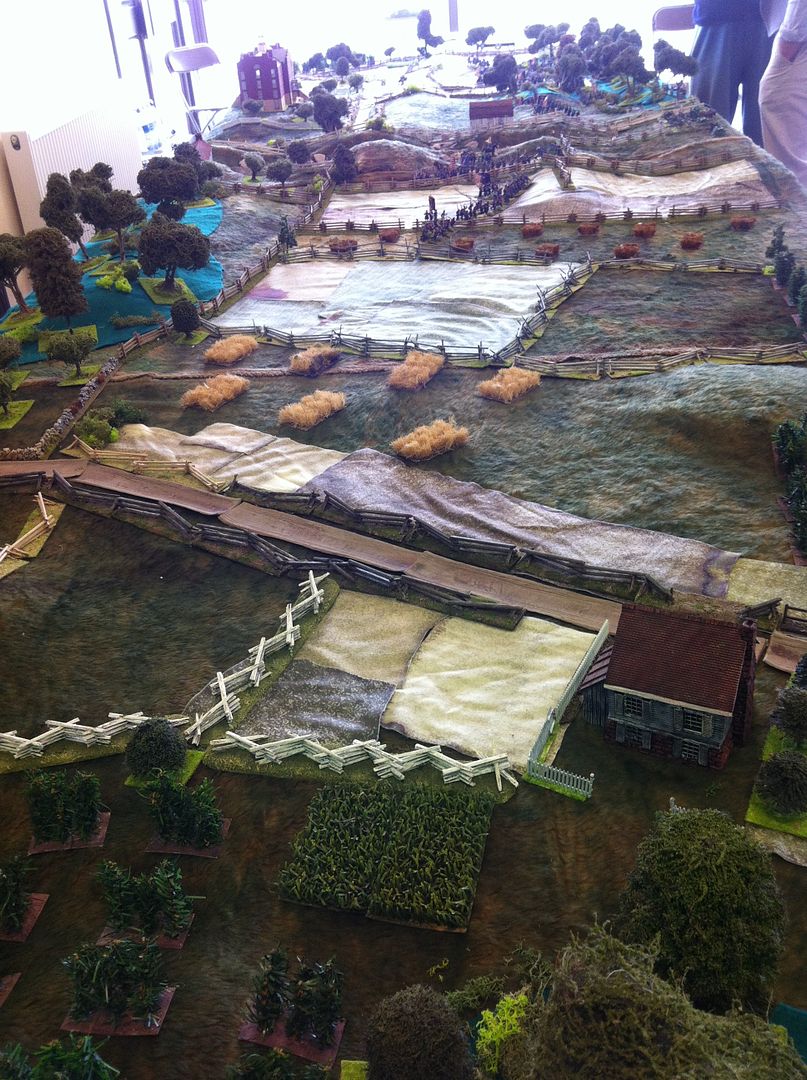
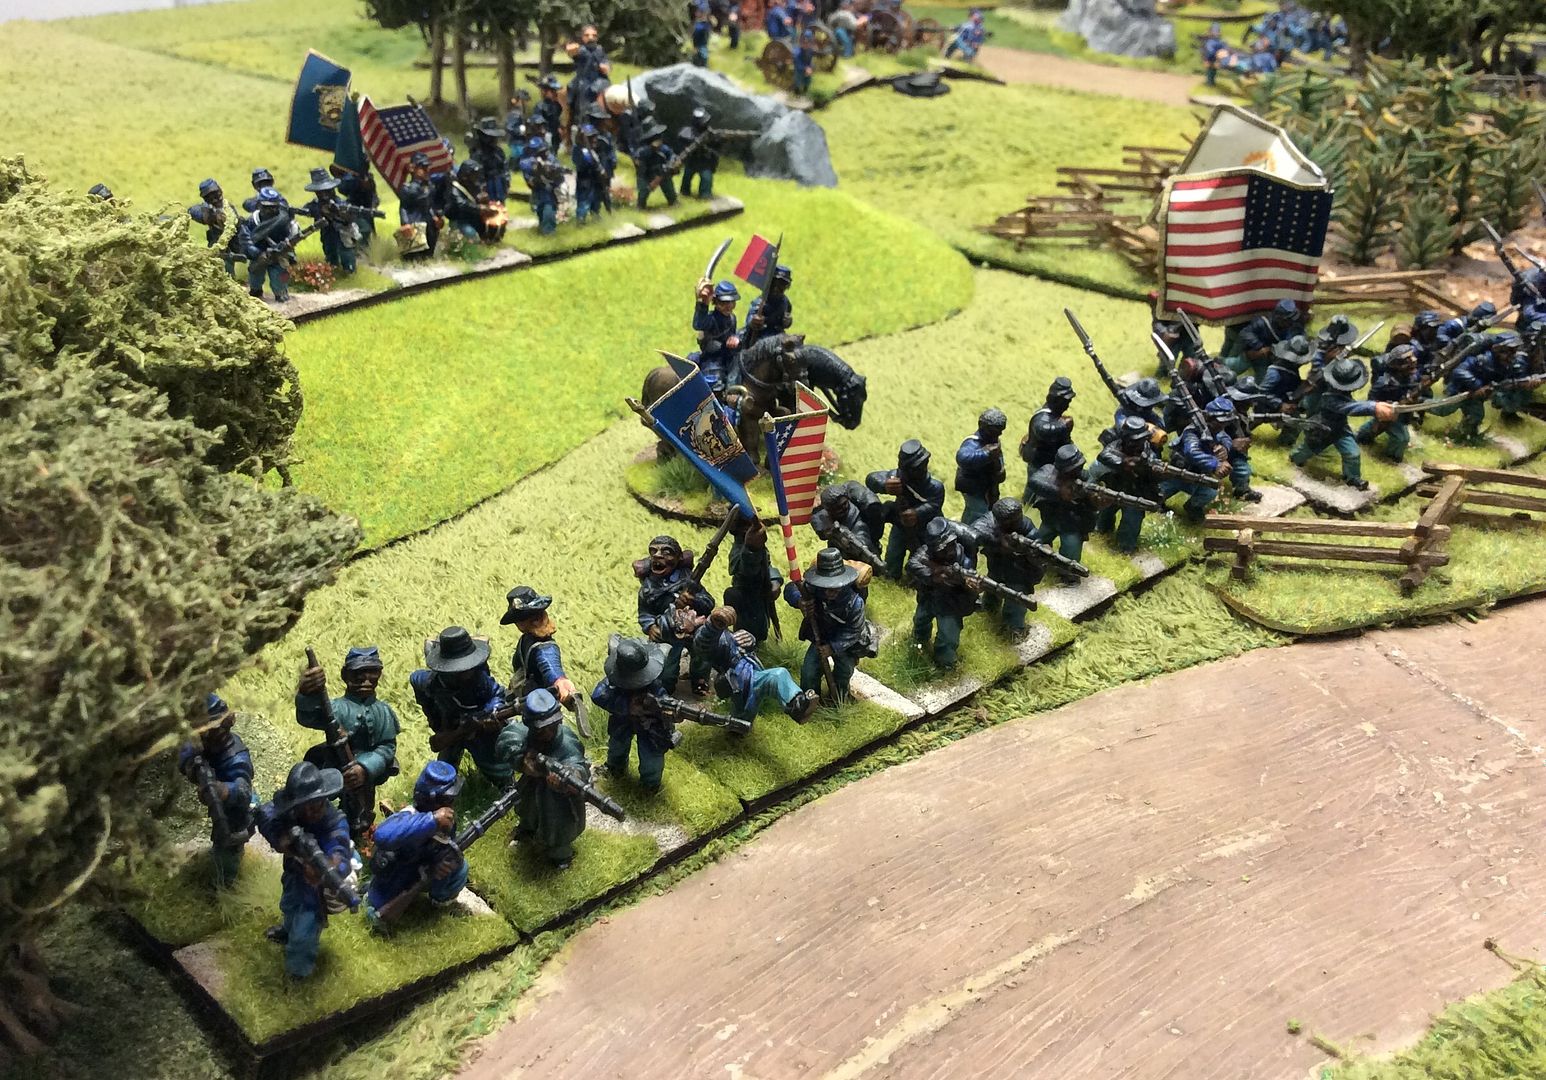
From the French lines you can sense the power of their attack and appreciate the thin red line readying itself to meet the attack!


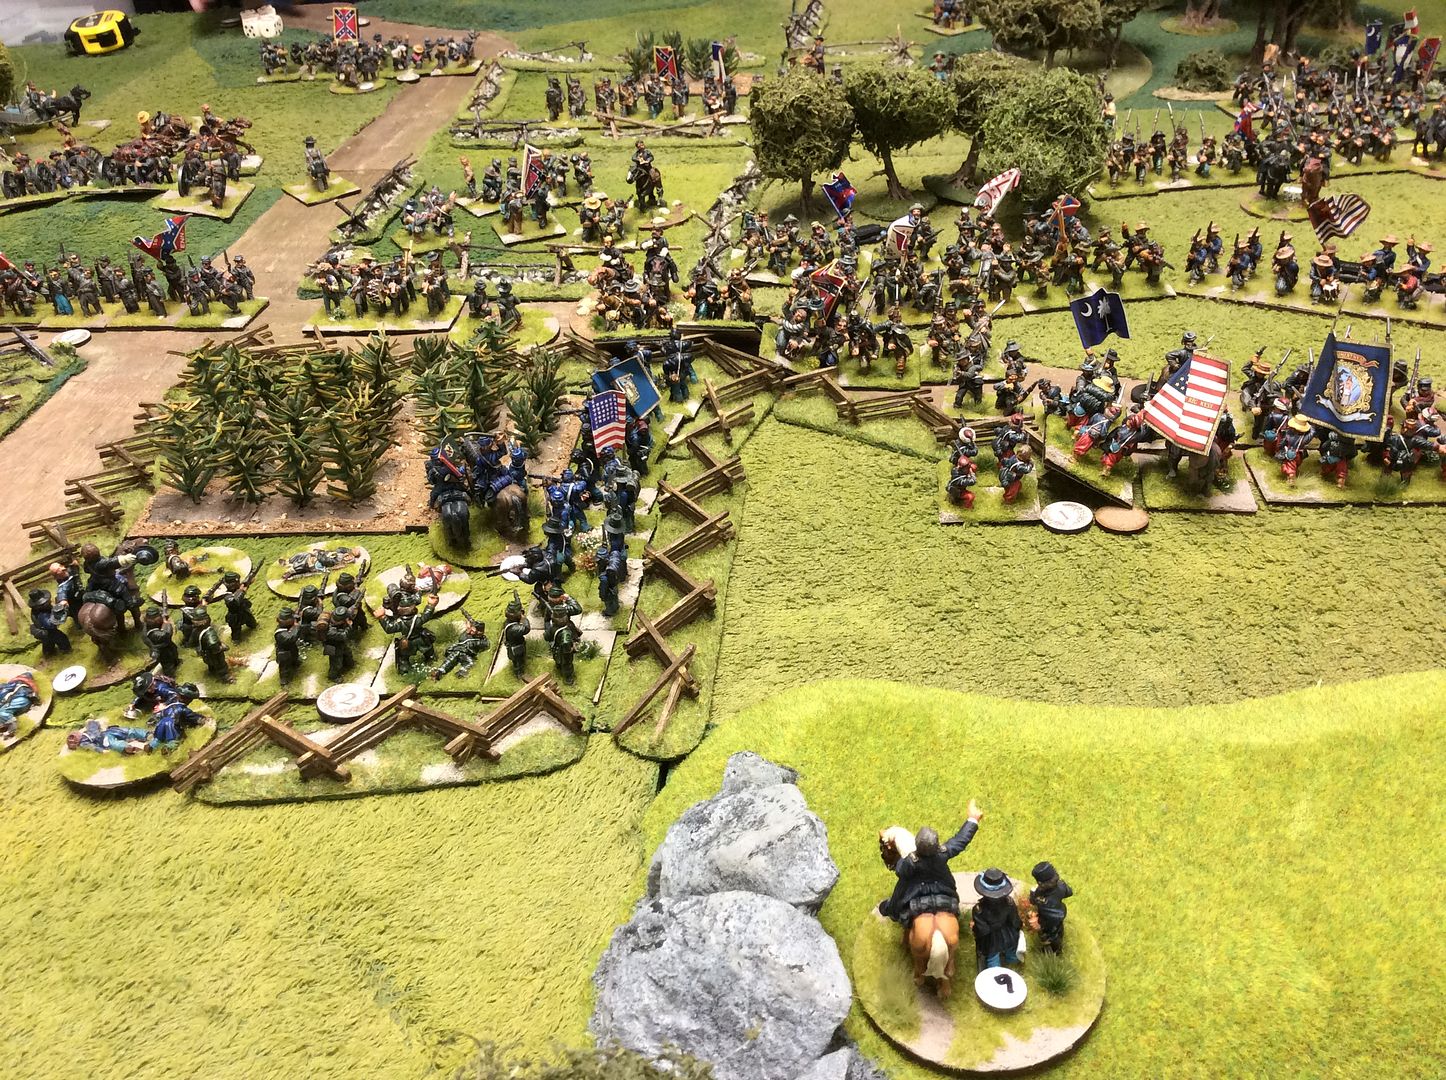
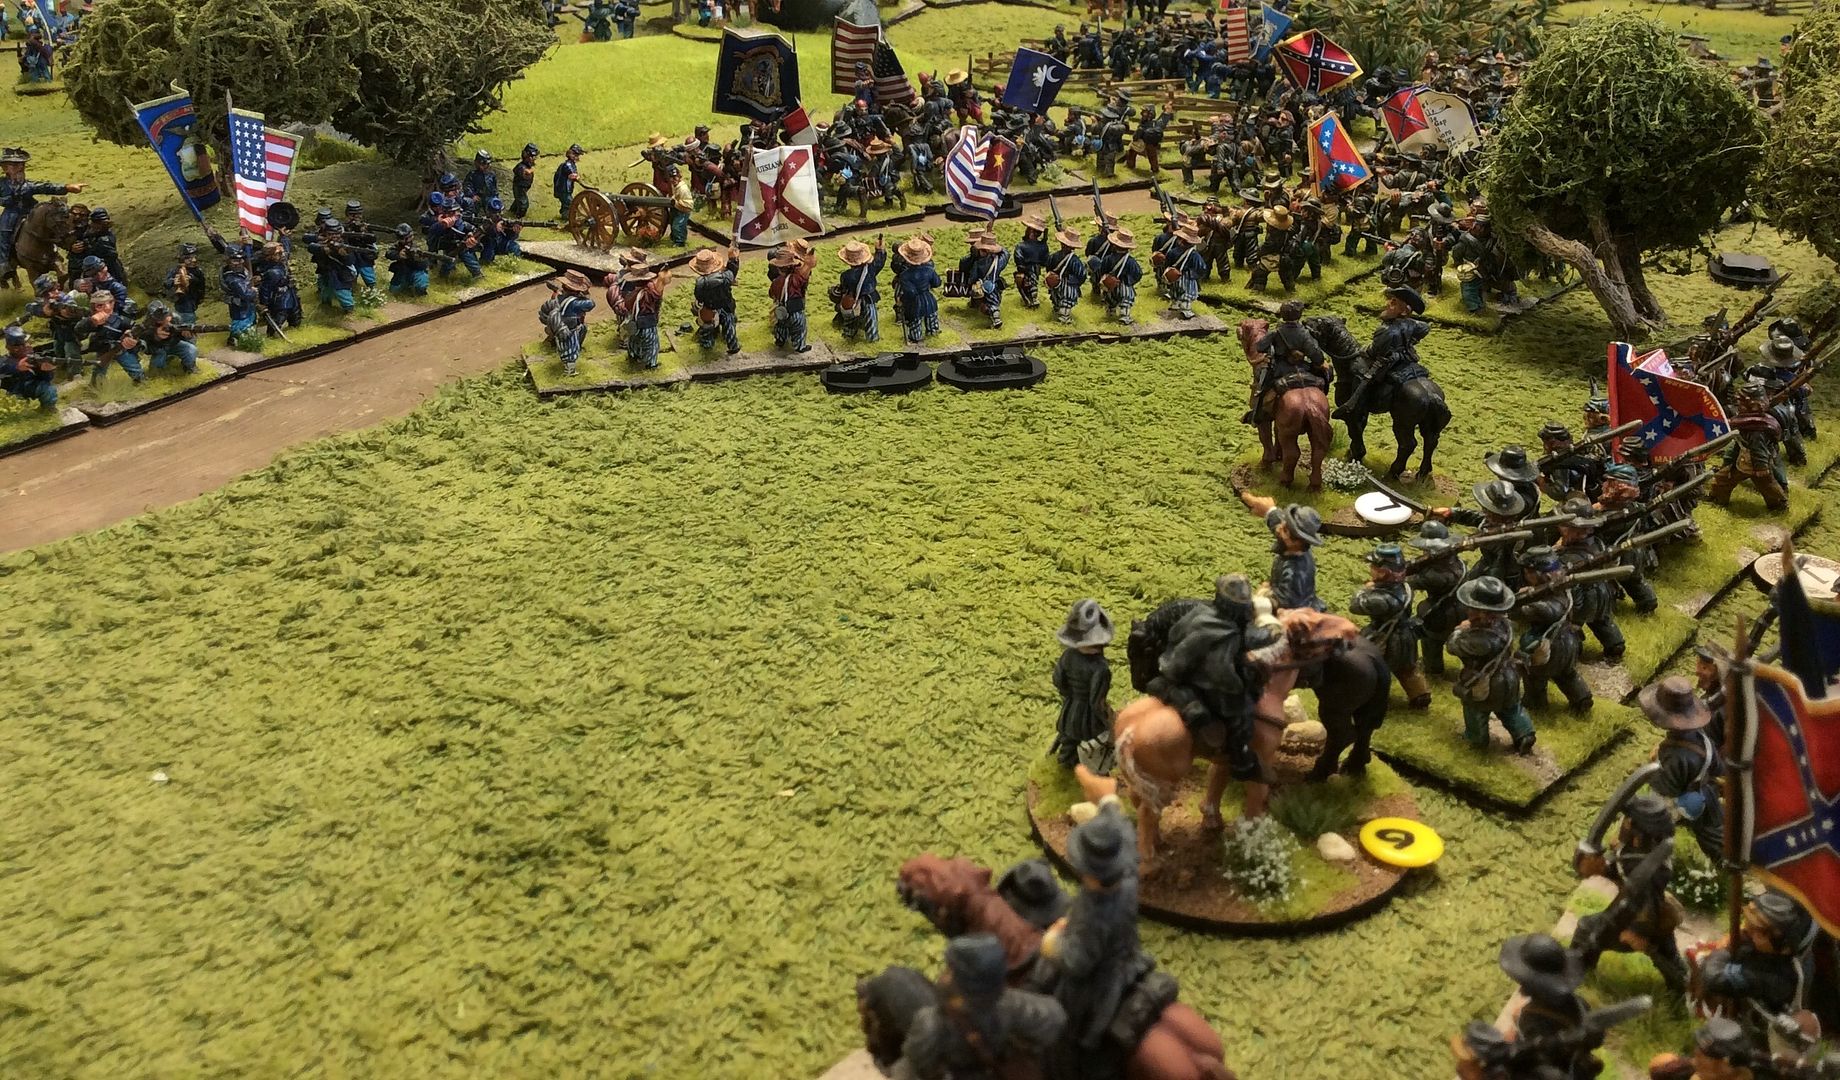
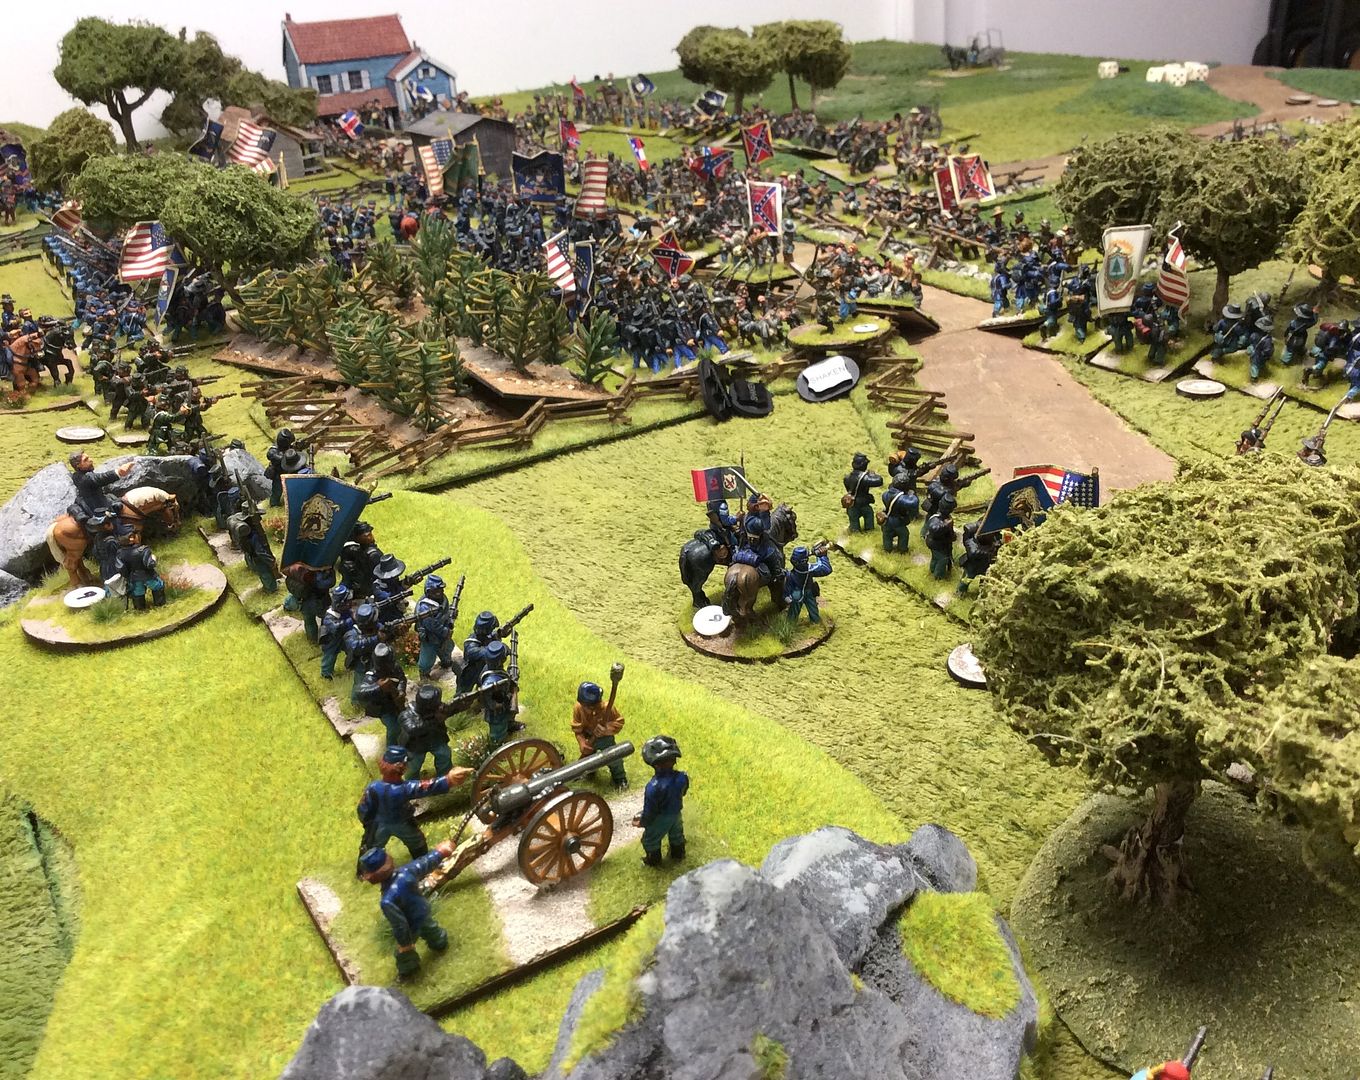
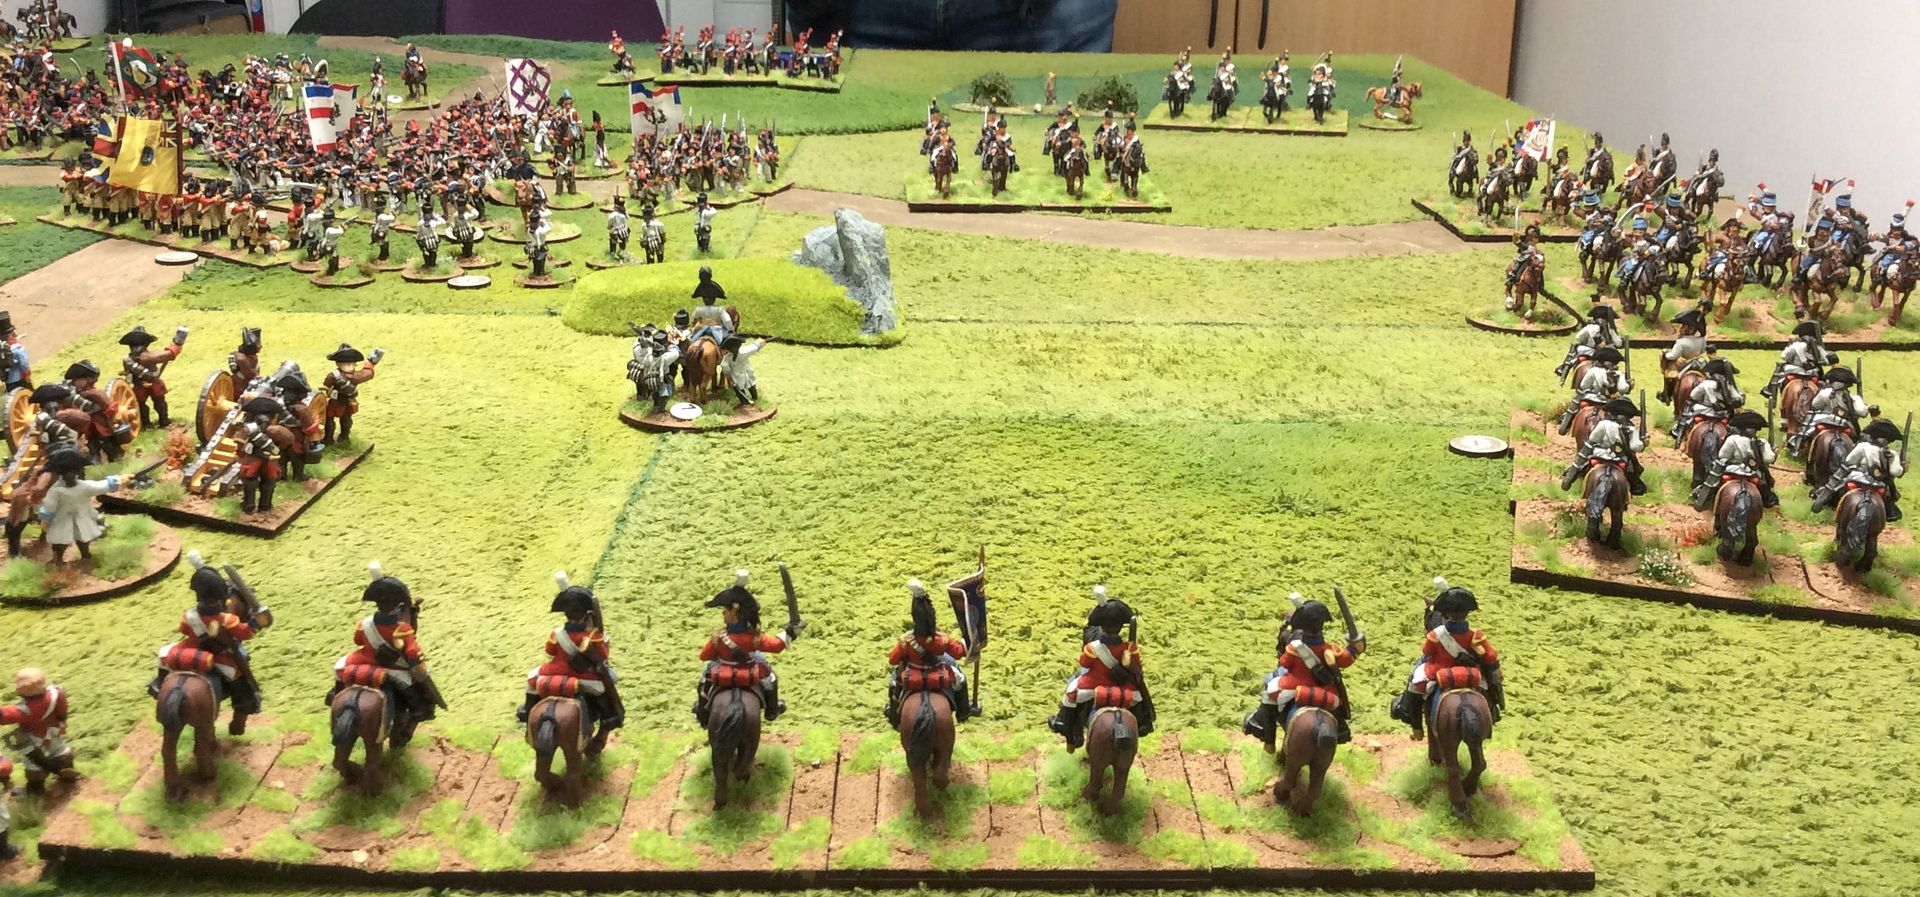
The remnants of the Allied cavalry on their right makes a last ditch attempt to stem the French tide and protect their remaining infantry's flank!


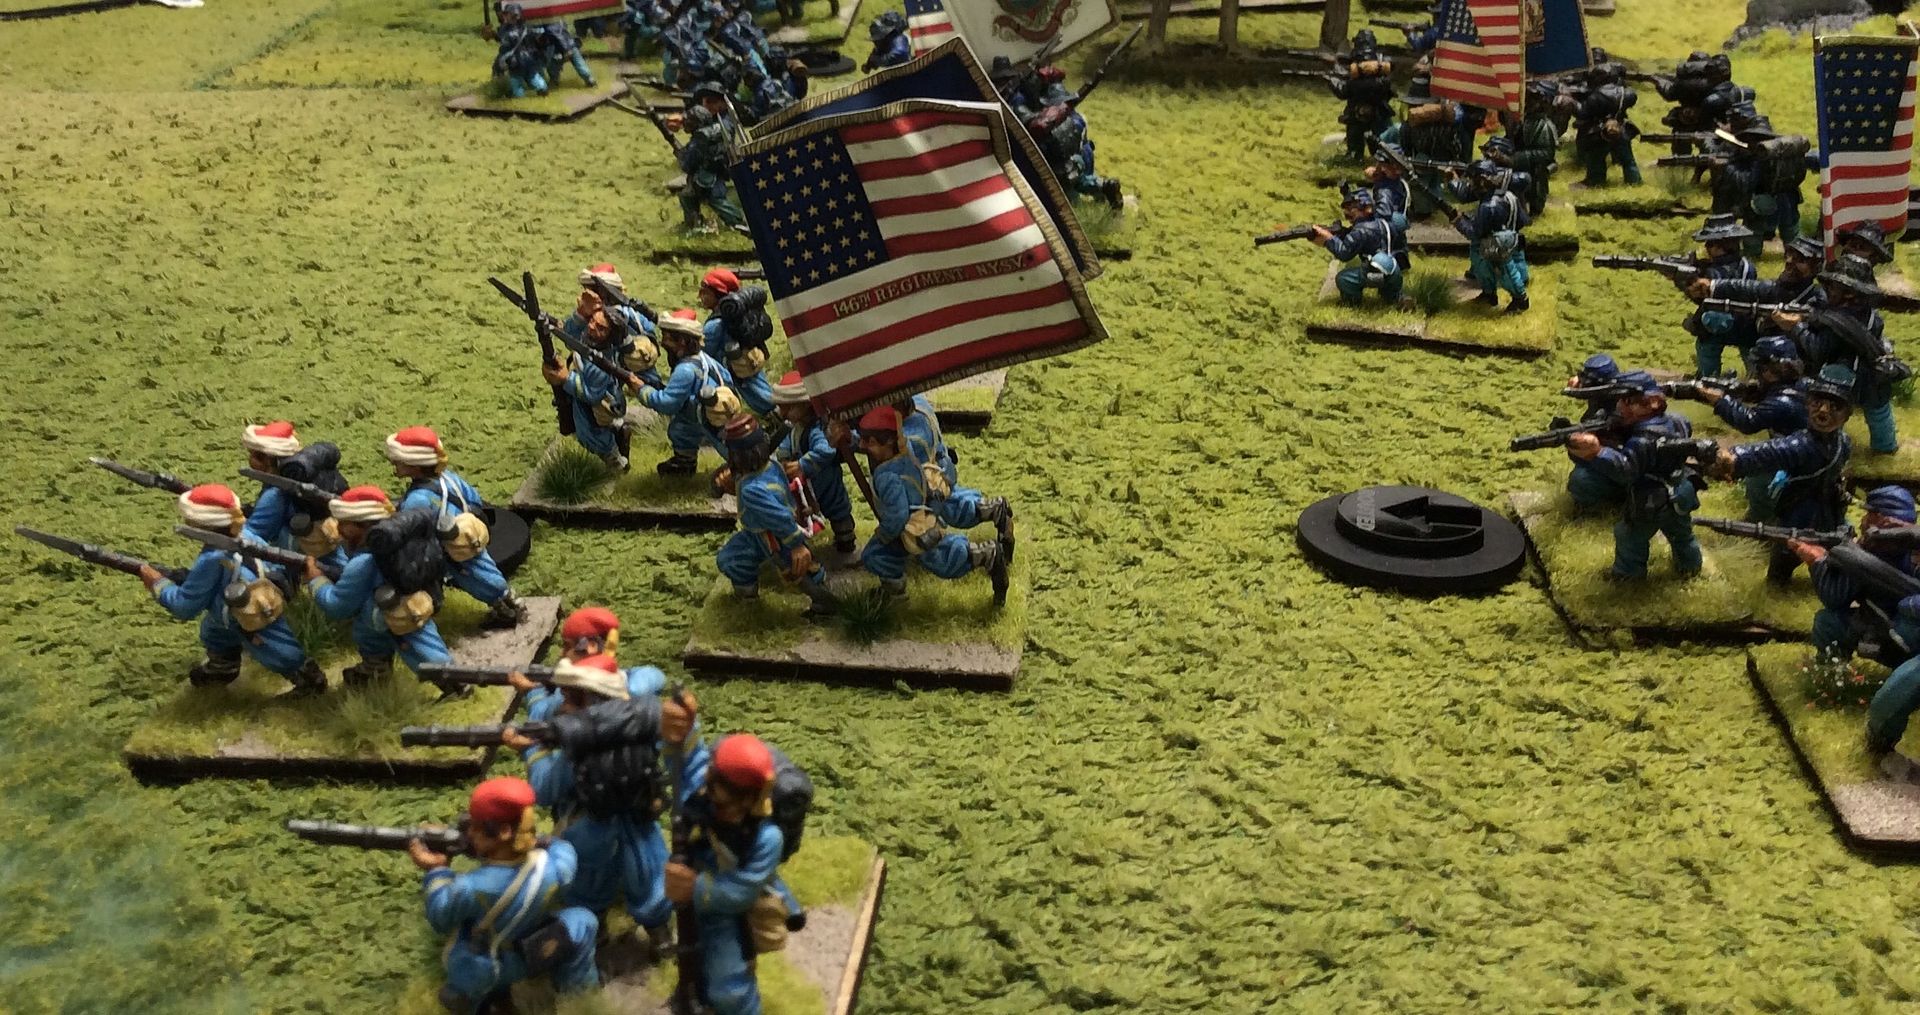
On the Allied left the fighting reaches a crisis point as units exchange fire seeking to break the will of their enemies!


Sadly its the Allied resolve which snaps first as the ninth unit flees the field! Although badly mauled, the French will claim a victory!


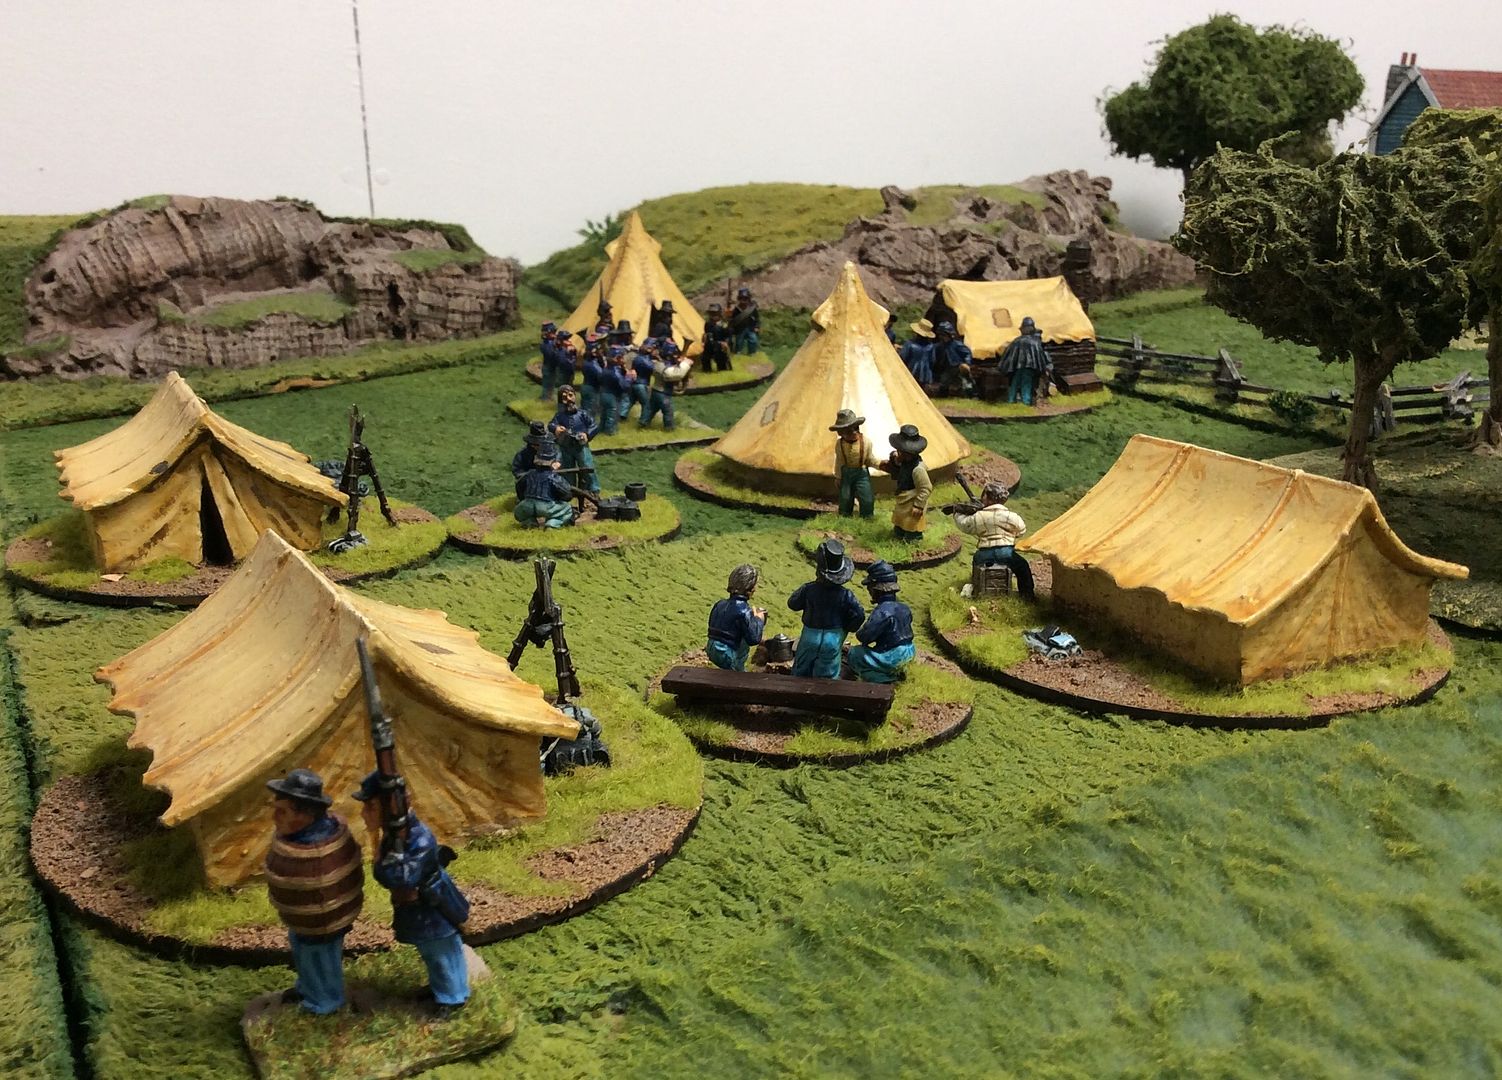
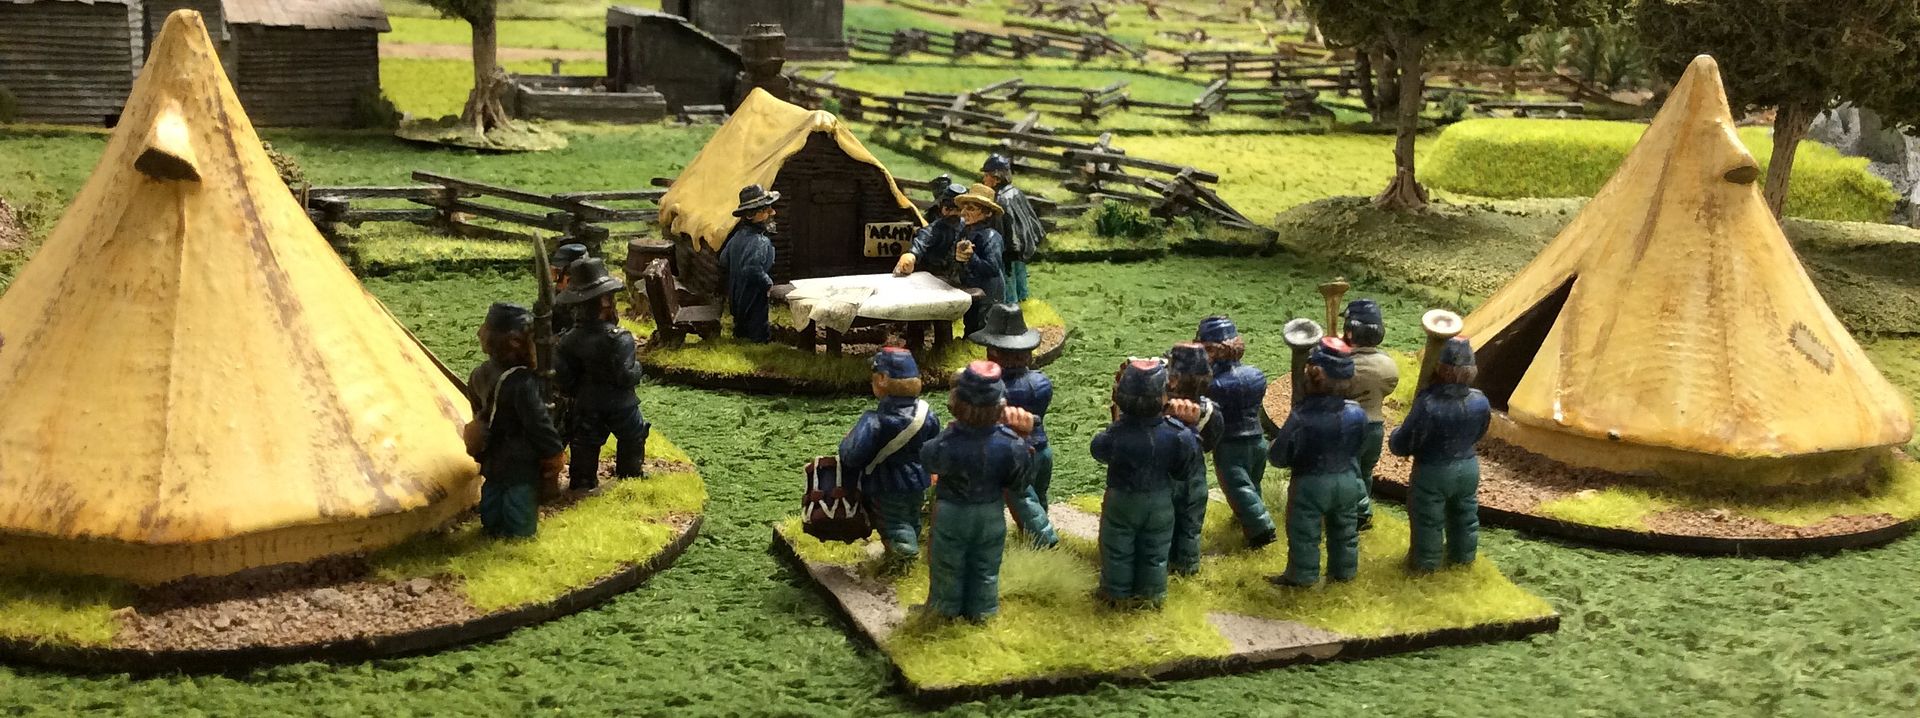
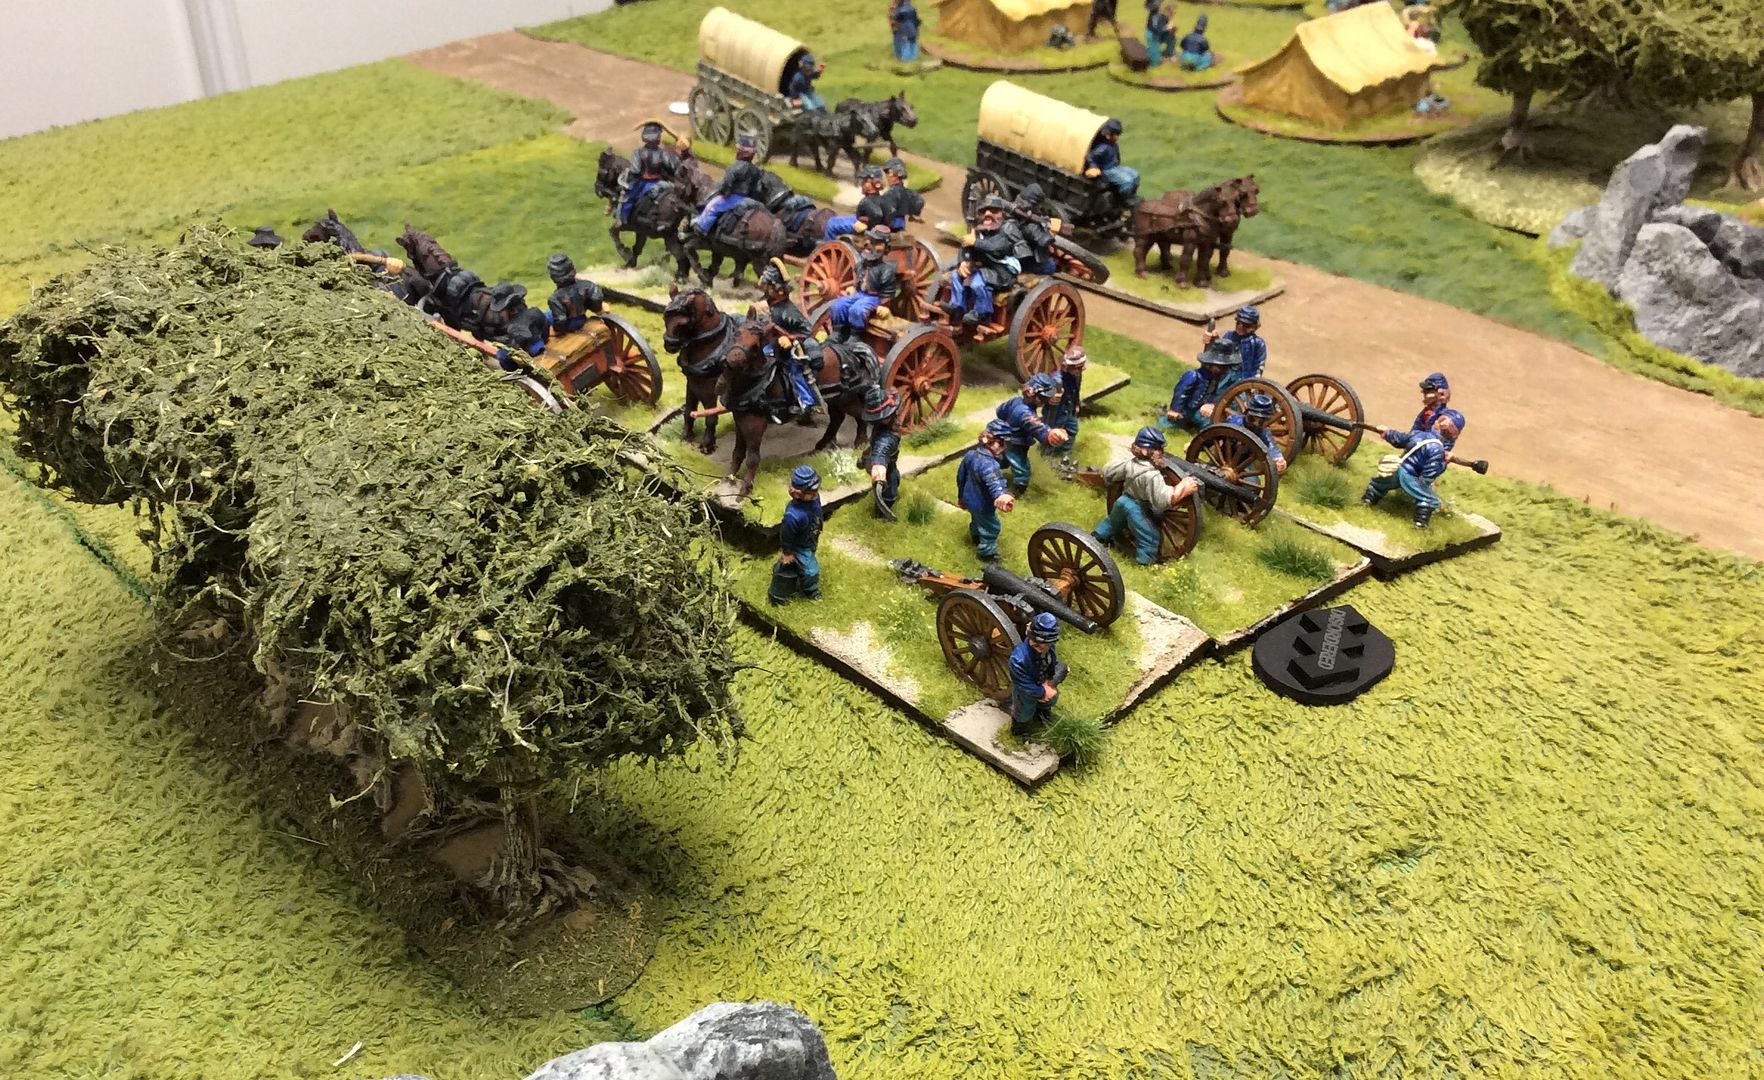
The game was decided in the ninth turn, leaving enough time fortuitously for coffee and chocky biccies! The figures are all from my collection: mostly Trent Miniatures, supported by Front Rank and Foundry. The trees are from the Last Valley and the farm is a foam casting I got from eBob and which Phil kindly painted for me! The French flags are from the Vexicology site while the British and Hanoverian are from GMB Designs. The Austrian flags are from the Warflag site. I have a few things on the painting desk for this project: some Austrian general officers gathered around a map table; some vignette style French skirmish bases; a small Austrian fife and drum corps and the extra base of Austrian Dragoon to bring the regiment up to strength. I hope to finish these this month as there are no more games scheduled before the last few days of October due to my friends' work and holiday plans. That will leave me once in 'Winter Quarters' to tackle my two Hungarian infantry regiments and the Homsesch Mounted Rifles for the Allied cause. I'll let you know how things go...

Friday, 9 October 2015

A Bloody Affair at White's Farmstead

As I hope some will recall, Jon and I started a large Blackpowder ACW game last week, with a view to playing over two, or more, sessions to help me learn the rules! In the first session we played 12 Turns and when I wandered into GHQ occasionally to look over the table in the intervening week it seemed to me that the Union were up against it. A quick review of the table at the end of Turn 12 ~


When Jon turned up this week we got straight down to action. As He had the initiative in the game he at once pressed the Union boys wherever he could in the first turn. My boys are driven from the corn field and on my right one regiment breaks under great pressure. The 5th New York hurry to fill the gap and hold back the Reb tide ~


In Turn 14 of the game the Reb cause was held up by poor Command Rolls, including an unwelcome Blunder! The 144th New York counter attacked the stalled Rebs while the 54th Massachusetts stormed the Rebs held up in the corn field by the restored US Sharpshooters!
Add caption


With the Union right holding up well more Boys from New York rushed forward to hurl the Damned Rebs back, despite their mounting losses!


In Turn 15 the Union Regulars drive the remaining Rebs from the corn field and stabilize the centre. Losses are heavy on the Union right though and finally the last of the US Colored Troops is broken. Fortunately the Rebs are also broken on that flank so all is looking up for the Union cause.


Away on the Union left, the fighting around White's Farmstead has settled into a prolonged fire fight with neither side able to advance due to a storm of 'Disordered' results turn after turn! The Pennsylvania troops, supported by elements of the Irish Brigade trade lead with the enemy with quiet determination.


In the centre the Reb generals simply cannot urge their men forward while the Union boys consolidate their position and the artillery plays havoc with the enemy's morale!


Sadly though, at the moment of triumph, many Union units cannot take it any more and melt away, as do their Reb counterparts. A quick check in Turn 16 shows that both armies are Broken by a combination of Routs and Shaken units. The game has run out of legs in a bloody draw!


The Reb right was broken by sustained volleys from the last of the Union regiments holding their ground.


The Union centre was still strongly held though, even at the end fresh units were marching to the front full of confidence!


While over on the UNion left the boys from Pennsylvania simply could not be dislodged by the Rebs!


The final indignity for the Reb cause was the simple lack of a decent Command roll in the centre, leaving a whole Brigade to trade ineffective rifle fire with their foe for four turns!


The game ended, as I said, after 16 Turns when both armies were reckoned to be Broken due to a combination of Routed and Shaken units. the four turns played this week took 1 1/2 hours to complete as there was much firing, combat and morale resolution to tackle for both of us in our turns. Jon's Rebs were thwarted by a combination of poor Command Rolls and unusually poor shooting dice, while the Union cause was redeemed by some smart bayonet work at times! All in all a great game over two sessions and a fair result we both thought! Next up for us will be a pair of Ancient games using first Hail Caesar and then Neil Thomas' Ancient and Medieveal rules. In the meantime, Phil and I have scheduled a French Revolutionary Wars game next week so pop back to see how that went in due course.

Wednesday, 7 October 2015

The 'Derby Worlds' and the 'Rugby World Cup'

I usually go to Wargames shows with Phil or Jon, as I find I enjoy them more when I have good company, but on this occasion I had to go to Derby Worlds wargames show on my own - Phil was elsewhere and Jon was helping "Roland's Rats" with a 6mm Napoleonic demonstration game at the show. I arrived about 10.50 on the Saturday morning and was really surprised to see a long queue still evident. We usually go on the Sunday when it seems quieter; now I know why we choose Sunday, as the show was humming with folk all day and the traders seemed very busy taking money! As I'd walked along the front of the Exhibition Centre to join the queue I'd noticed the large ACW game in the window: easily identifiable as Gettysburg by the very large Lutheran Seminary prominent on the battlefield. As it turned out it was the only area where the lighting was not 'green' when you took a picture using my iPhone camera, so it forms my only photographic record of the games I saw! But first I decided on some shopping. I even had a list!


The Trent Miniatures I had pre-ordered from Duncan at The Other Partizan and Dan from Wargames Illustrated had kindly brought them along for me. They contained some 'extras' as a surprise, notably a Hungarian standard bearer wearing the early casque helmet and three fine French Elite company figures kneeling in a mix of firing and loading poses. Otherwise they were the three Austrian Dragoons I needed to bring the regiment up to strength; a unit of eight Hompesch Mounted Rifles, as a variant for the British Light Cavalry in my Flanders force; the Hungarian drummers and officers I needed to complete the two units I bought earlier in the year; and finally, some Austrian drummers and fifers, to make a small drum and fife band to inspire the troops into battle! From Foundry I got a pack of Late Roman cavalry to complete my new command base for Pompus Maximus. I got a great discount too, so 'Thanks!' Marcus. From Dave Thomas I got two packs of Perry Miniatures, Generals and ADCs, to make a couple of command vignettes, inspired by ones I'd seen on a fellow enthusiast's Blog! From Warbases some pill bases for the cavalry and a Hen House, which turned out to be a dog kennel when I got home! More of that later! And finally, from Great Escape Games some more Gamers' Tufts!
Turning then to the games I enjoyed a leisurely meander around and the occasional chat with chaps I knew involved with the games' presentation. There was a fine Waterloo themed game in 28mm which I admired, especially the buildings ~ made by Nick Buxby I believe and now cast up by Caliver Books I think.


Then, back into the light to explore the Gettysburg game I'd mentioned that I'd admired on the way in. In fact not one game, but two! A 10mm{?} game/display depicting Pickett's Charge to judge by the lines of advancing Rebs, as well as the 28mm monster table!


The Lutheran Seminary dominated the table top battlefield ~


A general view lastly to try to show the scale of the whole enterprise ~


Sadly that's all the game pictures that were even marginally presentable! The rest were so 'green' they made me feel nauseous just to look at, so I deleted them rather than inflict them on the unwary visitor! I often find now that lighting at wargames shows leaves much to be desired ~ Salute, Wargamer and Partizans of old spring readily to mind!
I almost forgot: wandering the Flea Market in the afternoon I came across this ~


And only £5.00! A bargain as it contains not only all the scenarios for the game but also the additional rules for 'Mass Combat' which I can use in our Blandings/Zeelowe 1940/F&IW games instead of my 'house rules'. I just need to light on Issue Number 2 now! All in all a great day out! I met some good friends, saw some good games and spent some money on new stuff for the hobby! Pretty much perfect!
Fast forward from Saturday to Tuesday and you find Jon and I at the King Power Stadium in Leicester for the Rugby World Cup. I'd mentioned to Jon that I'd seen World Cup soccer and Test Match cricket, but never World Cup rugby. He got two tickets for the Canada v Romania and so we braved the monsoon between Wolverhampton and Leicester to arrive in good time for the match, and even park close to the stadium!


As you'll see, we arrived in the sun! The monsoon was just all the way there! It was all very well organised, with volunteers to steer you on your way, and we were soon inside the stadium and finding our seats. But first, the obligatory photo of Jon with 'the cup' ~


As we are 'Englishmen' through and through we decided we would support Canada, although that didn't run to learning the words to the national anthem!


We had a great time at the match, there was some good play by both sides at times, and the Romanians finally came back from 0-15 down to win with a breathtaking penalty kick with less than two minutes to go 17-15! A couple of shots to finish: the anthems before kick off and action from a line out! The Canadian number 2 I christened Gimli, as he was dwarfed by the other forwards and sported a magnificent beard!


As I said, a good game and a great experience I can mark off from my bucket list! Thanks Jon! I'd certainly go again if I had the chance! Now, back to wargaming and part two of our mega ACW game tomorrow!

Thursday, 1 October 2015

"All Quiet Along The Potomac Tonight"?

I am trying to 'learn' the Blackpowder rules once and for all! Given my age and the number of different games and rule sets we play it seems like a sensible move to me. We shall see, as they say... Jon and I are fighting a series of battles using the rules with different period focus to help me along the way! Mostly we play 12 move games on the table here in GHQ but we recently decided to try a much larger game played over two or more sessions. The period we chose is the ACW, my main interest as most of you know I'm sure. This allows far more figures than we usually deploy for a one off game, giving more of my collection of mostly Dixon Miniatures an airing, so as to speak. The Union camp as morning breaks ~


The band serenades senior officers as they await orders ~


The Union's right is held by a Brigade of U.S.Colored troops ~


The initial Rebel attack is developing, slowly, on the Union's left around White's Farmstead ~


Colored Troops deploy into a firing line awaiting the inevitable Rebel assault ~


Union artillery rushes into action to support the line ~


Their view of the impending assault is far from encouraging!


The opening action in the centre sees the U.S.Sharpshooters under attack in the cornfield ~


The action is building on the Union left by now, with troops from Pennsylvania and the Irish Brigade holding the line ~


U.S.Bykleigh urges his boys into the fight ~


Boys from New York hurry to shore up the Union's left flank ~


Fighting intensifies in the cornfield as Regulars move to restore the line ~


All along the line now the Rebs are pressing the boys hard ~


The Colored troops are in danger of being flanked by the Reb progress in the cornfield ~


Away on the Union left the fighting around White's Farm has degenerated into a sporadic firefight ~


Colored Troops drive back the Rebs threatening their position with a bayonet charge ~


Although weight on numbers must surely begin to tell ~


In the centre, fighting is at close quarters and begins to weaken the Union's hold ~


Rebel artillery is moving up to support the attacks on the Union's left ~


Casualties are beginning to mount in the Union's centre and on the left ~


A panoramic view of the Rebel attacks developing all along the Union line ~


Despite the weight of numbers moving against them the boys in blue are holding firm ~


Even on the weakened Union left the boys are enjoying some success against the Rebs ~


Even so, the butcher's bill will be heavy I fear before those damned Rebs are driven back!


After 12 turns we had to call a halt. The situation has stabilized for the Union, with reserves bolstering weaker points in the line and a second line forming to guard against any breakthrough along the front. For the Rebs, weight of numbers is pressing on the Union right and some progress is being seen in the centre. Around White's Farm the fighting has settled into a bitter exchange of fire with neither side showing signs of giving way. We hope to continue the action next week, but first there is Derby Worlds this weekend and then Canada v Romania in the Rugby World Cup to consider.