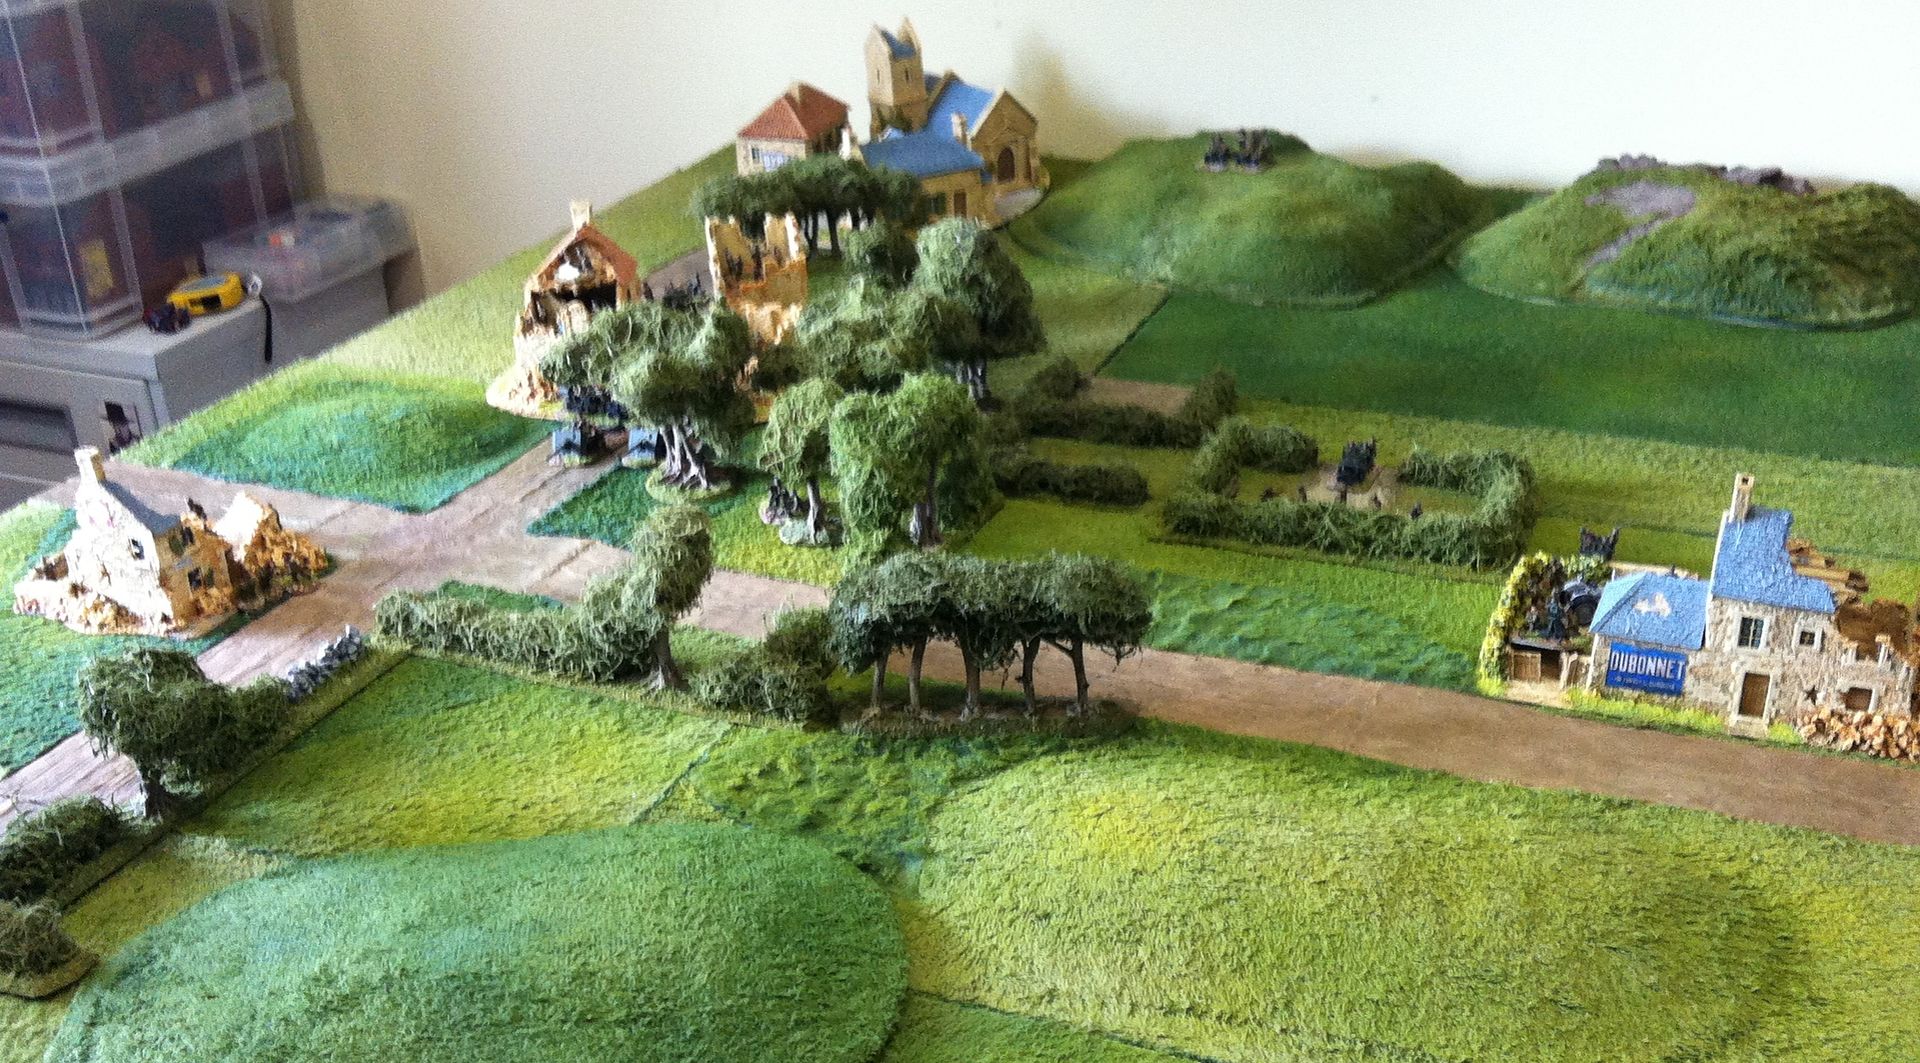
There can be no draw in the scenario of this game lasting 10 turns. Whoever holds the majority of the three objectives at the end of turn 10 wins. The British must defend all three objectives at the start of the game, but are then free to abandon any one to respond to the German attacks if they wish. I defended the most isolated objective lightly, reasoning that my outnumbered force must concentrate its' resources to stand any chance, especially as I lacked any armour support ~
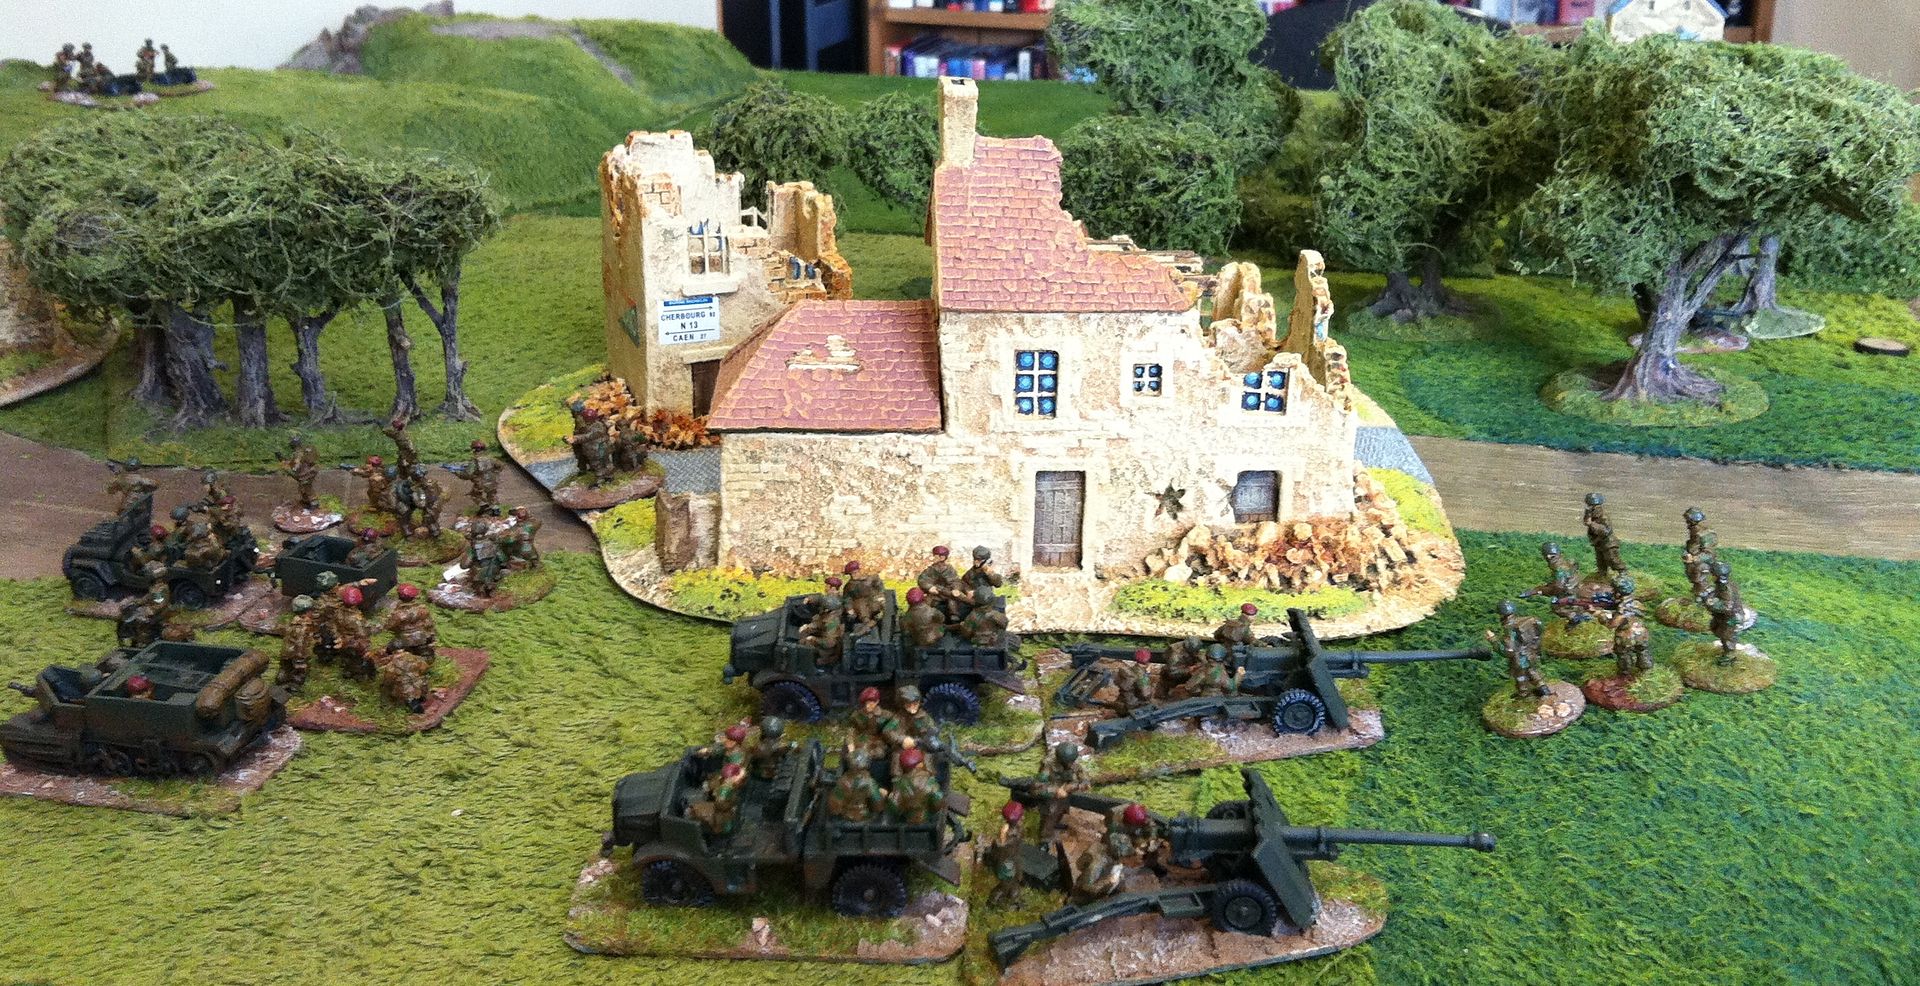
The most forward of the objectives I defended more heavily, but my main force was concentrated in the third and largest objective, a small hamlet just east of the town housing Brigade HQ ~
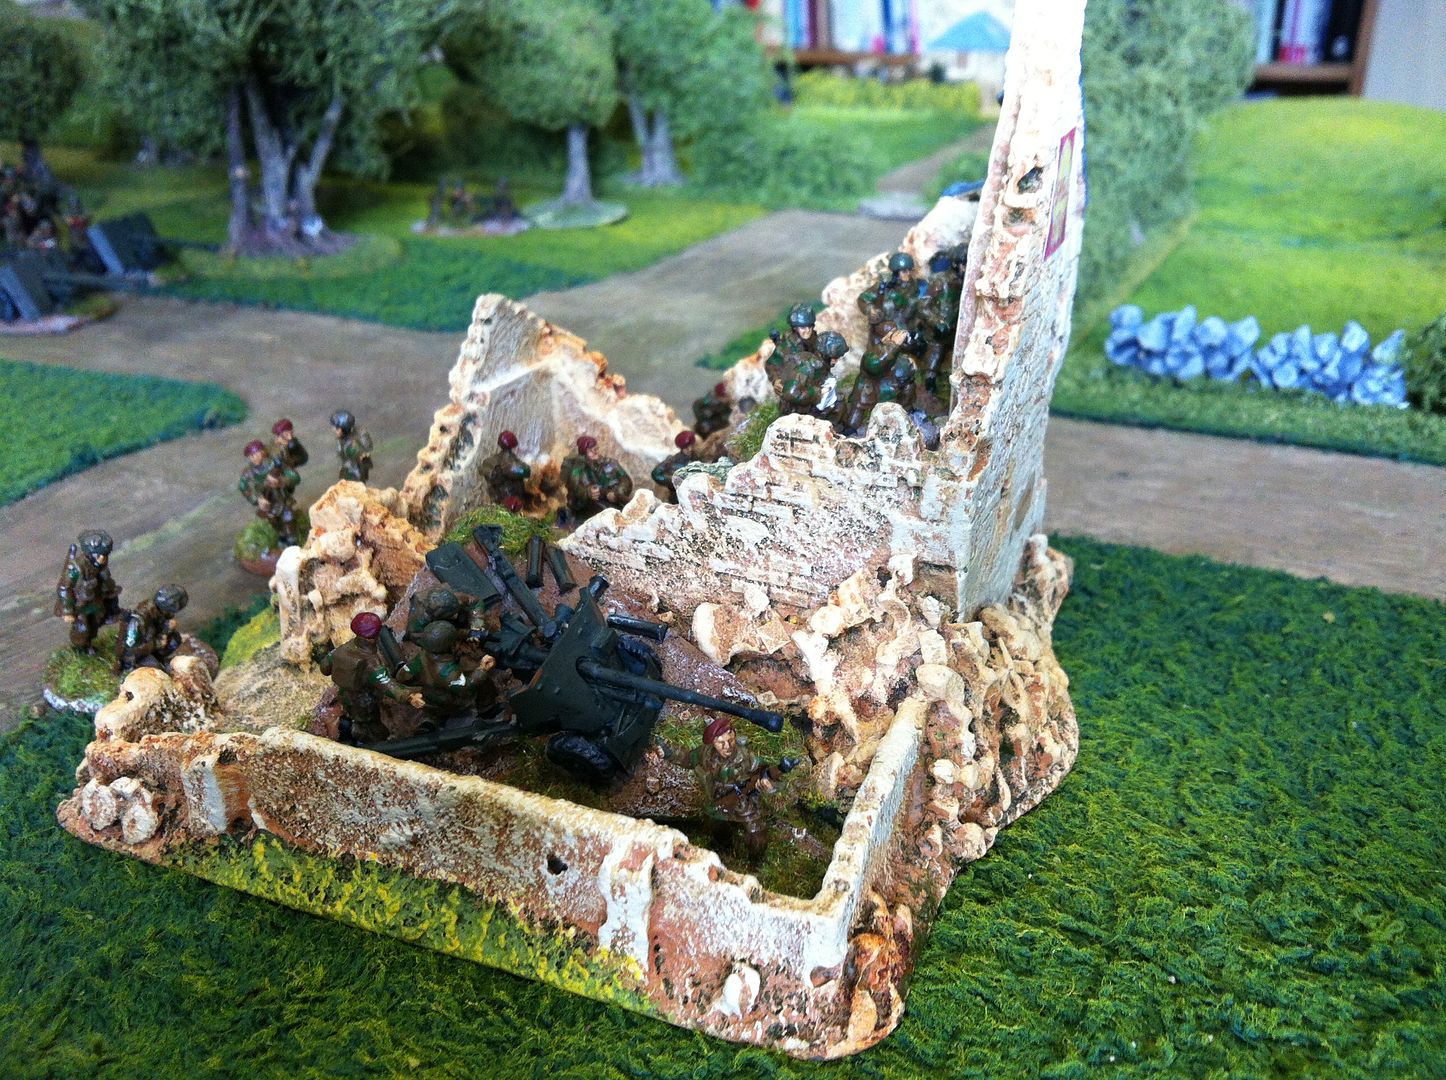
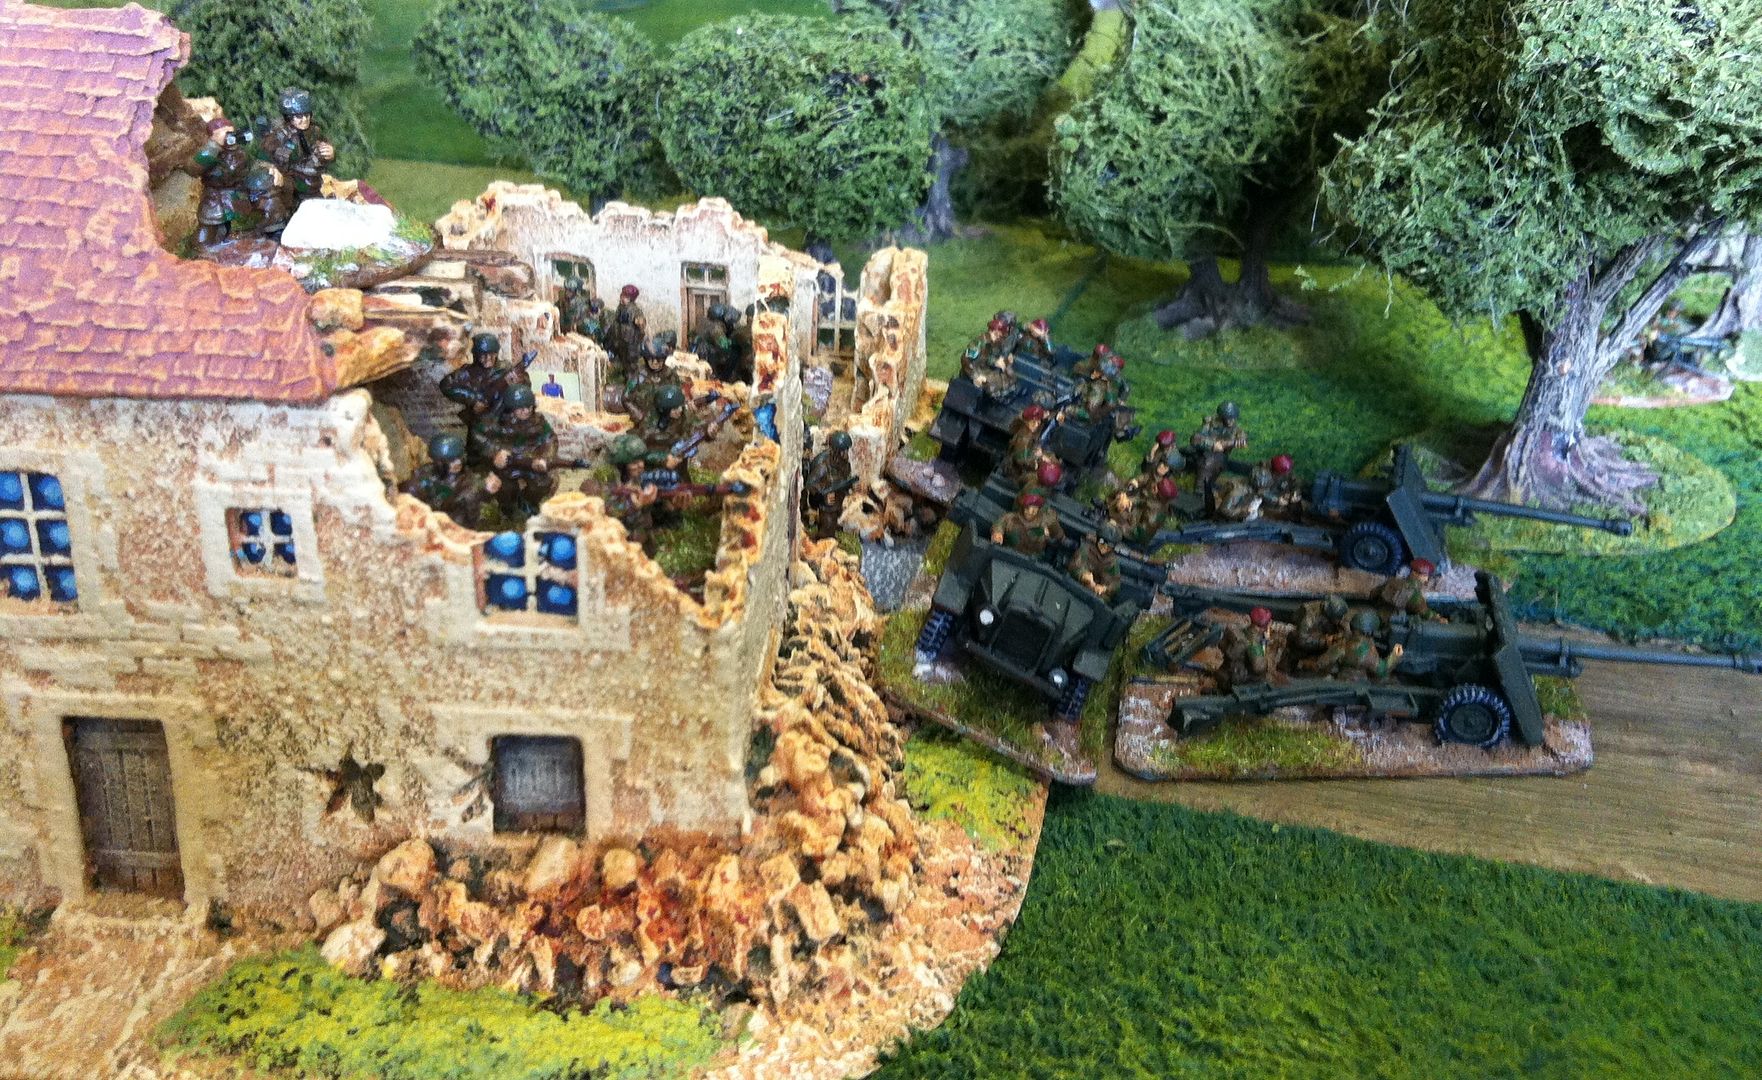
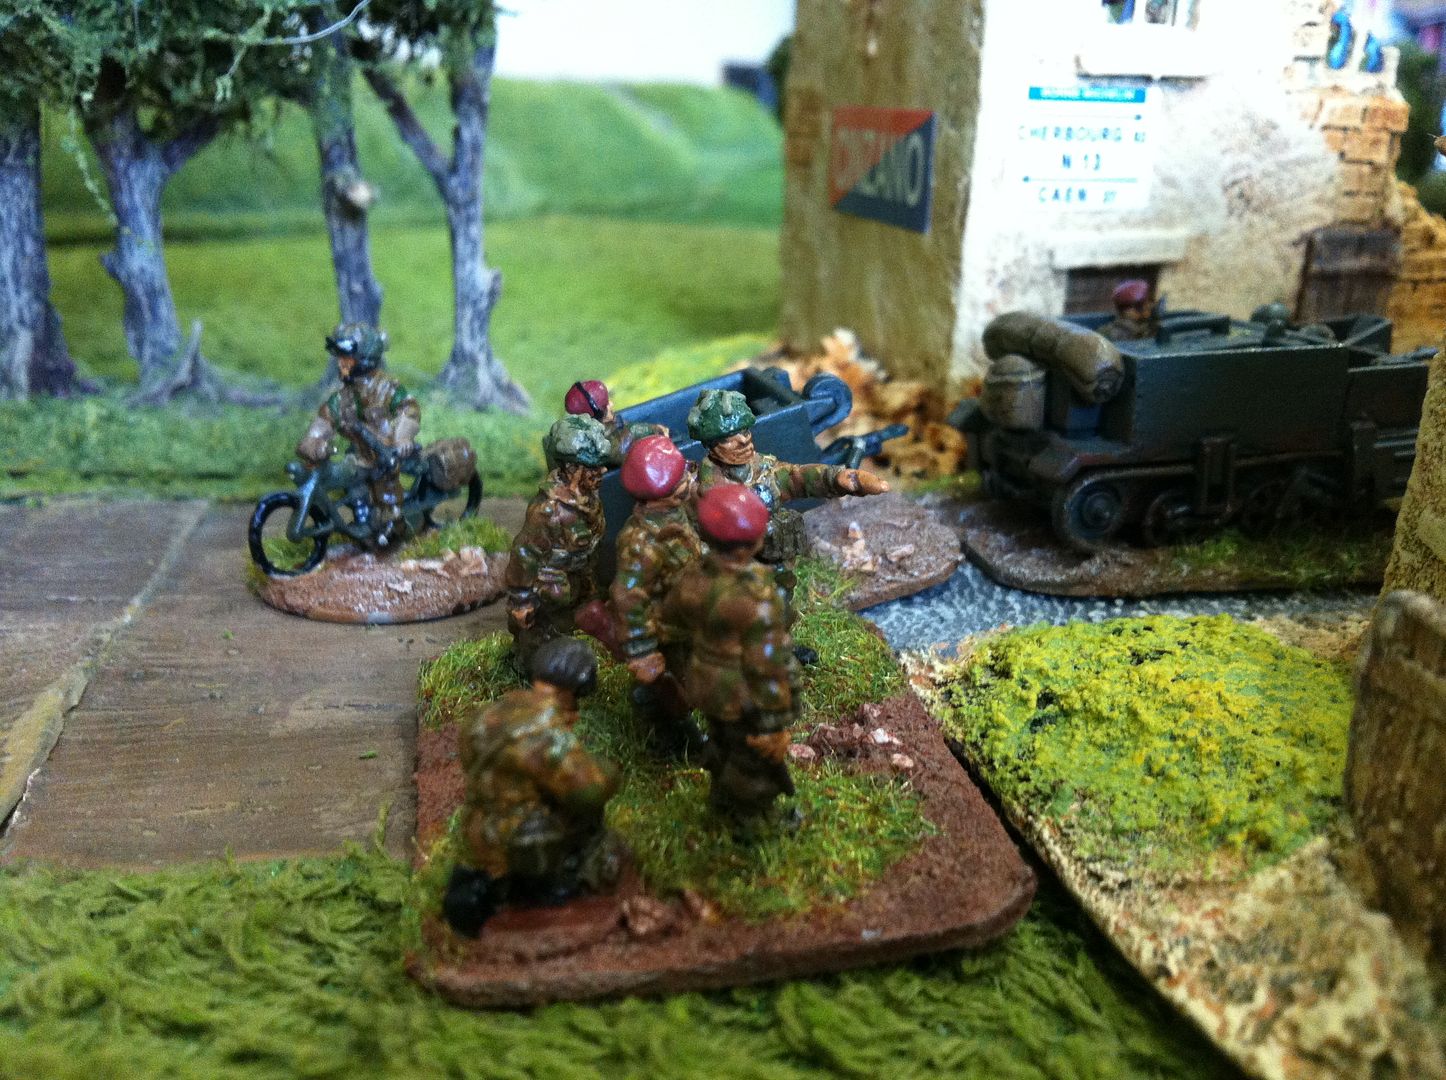
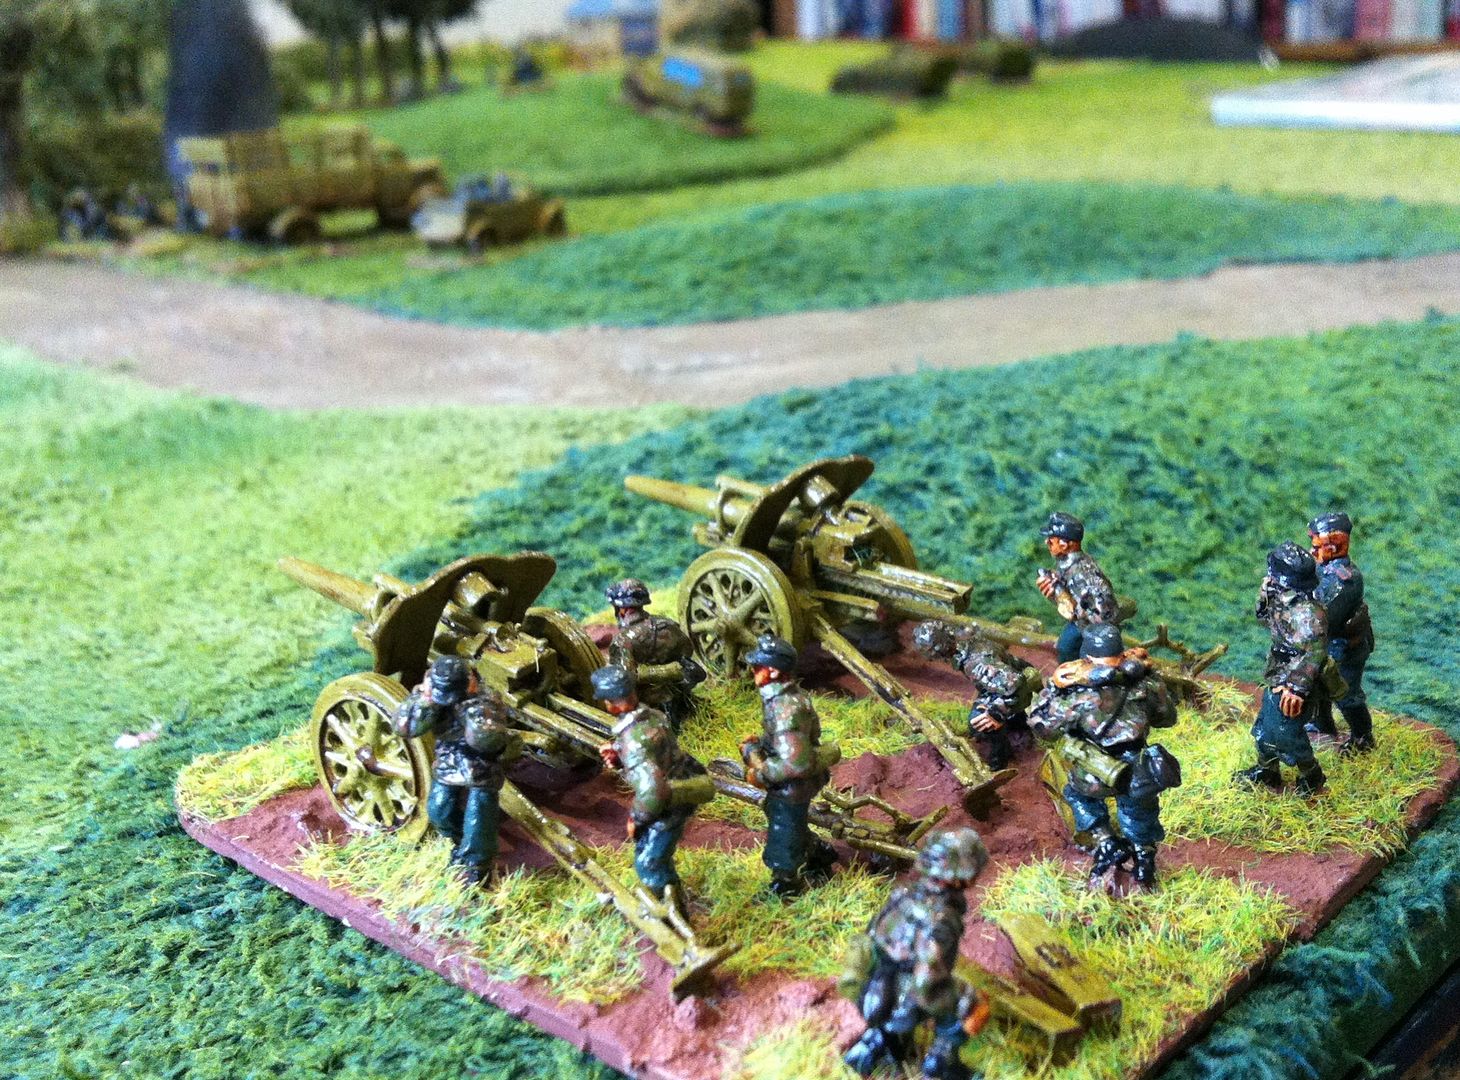
The German force enjoys local superiority in both men and in armour support. Although not all his armour is immediately available, having been disrupted by Allied air strikes, the Stug III's, with infantry support, were soon attacking the most forward objective. The British 6lb anti tank gun enjoyed an early success, knocking out one Stug, while the artillery support, guided in by the efficient FOO, struck the infantry gun just as it deployed to fire on the defenders ~
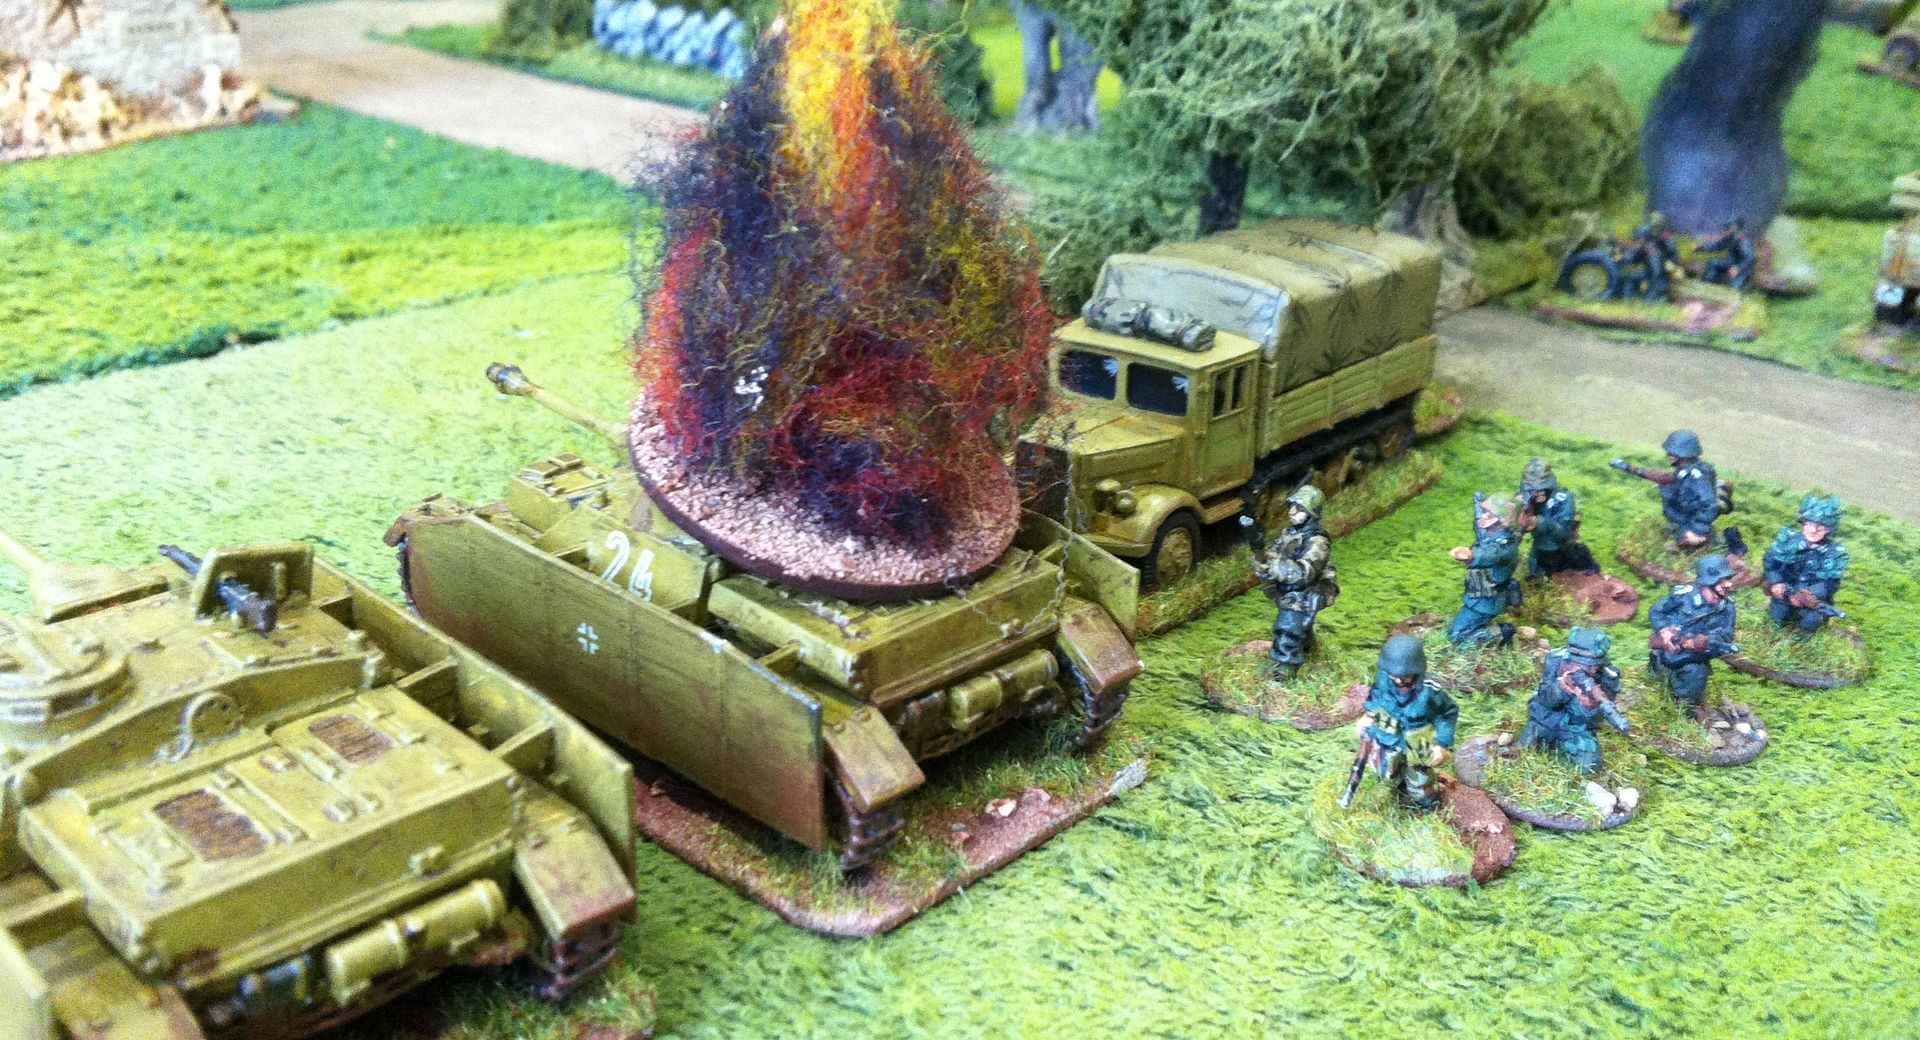
The Germans countered with fire from their own battery of 105mm howitzers and soon the British position was getting a might uncomfortable ~
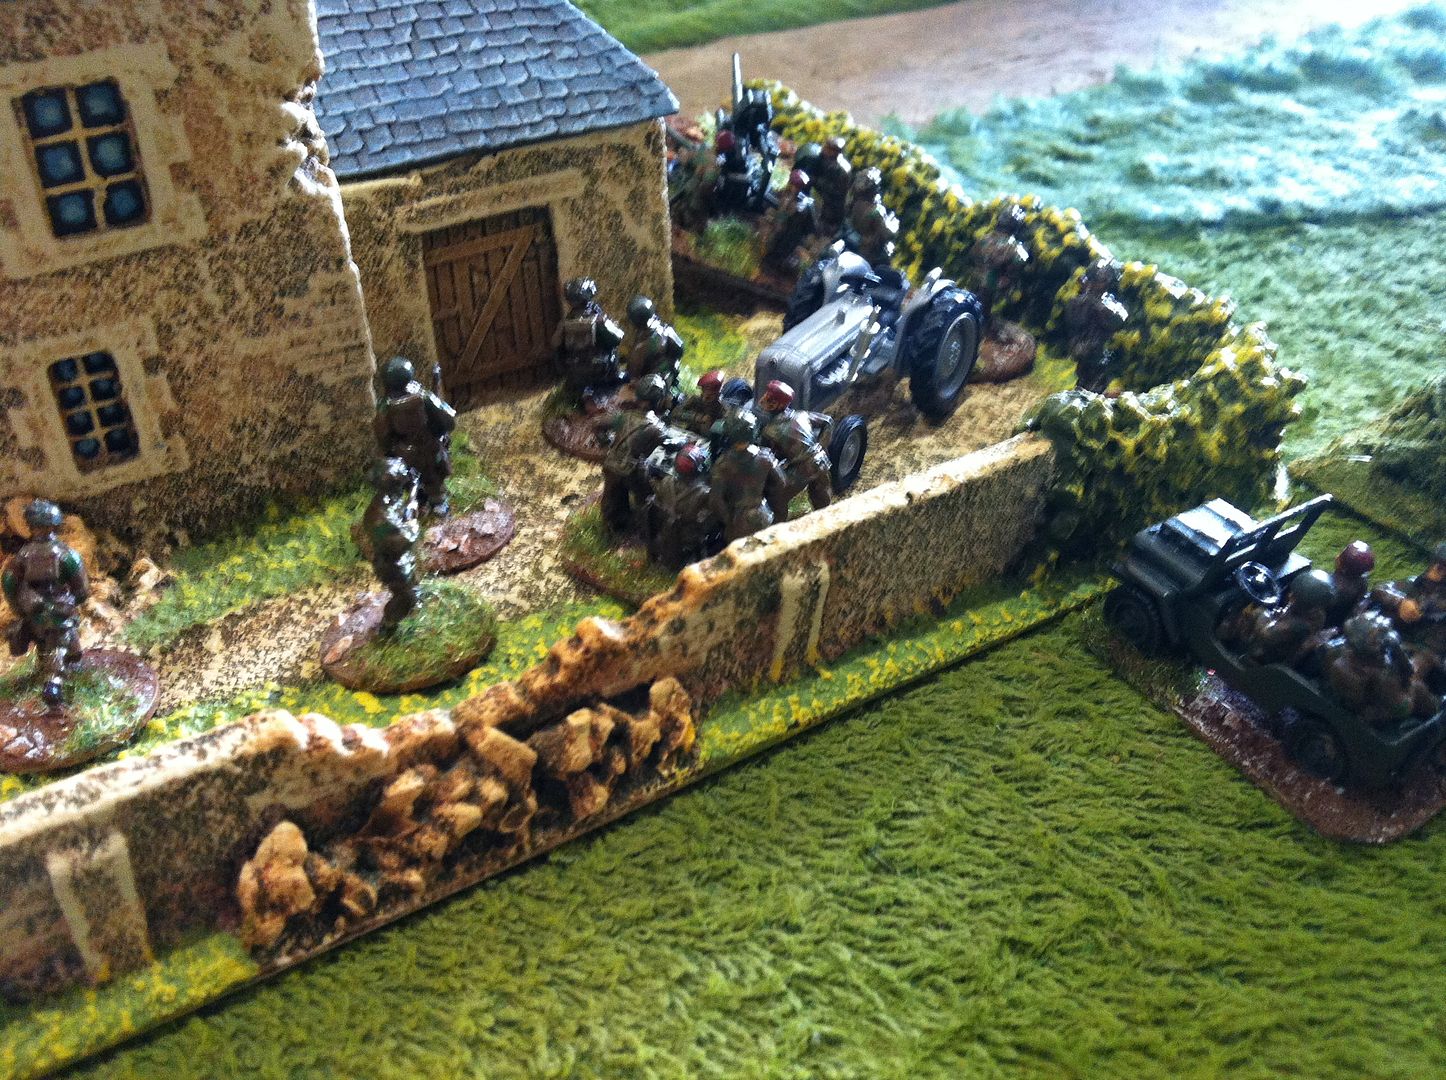
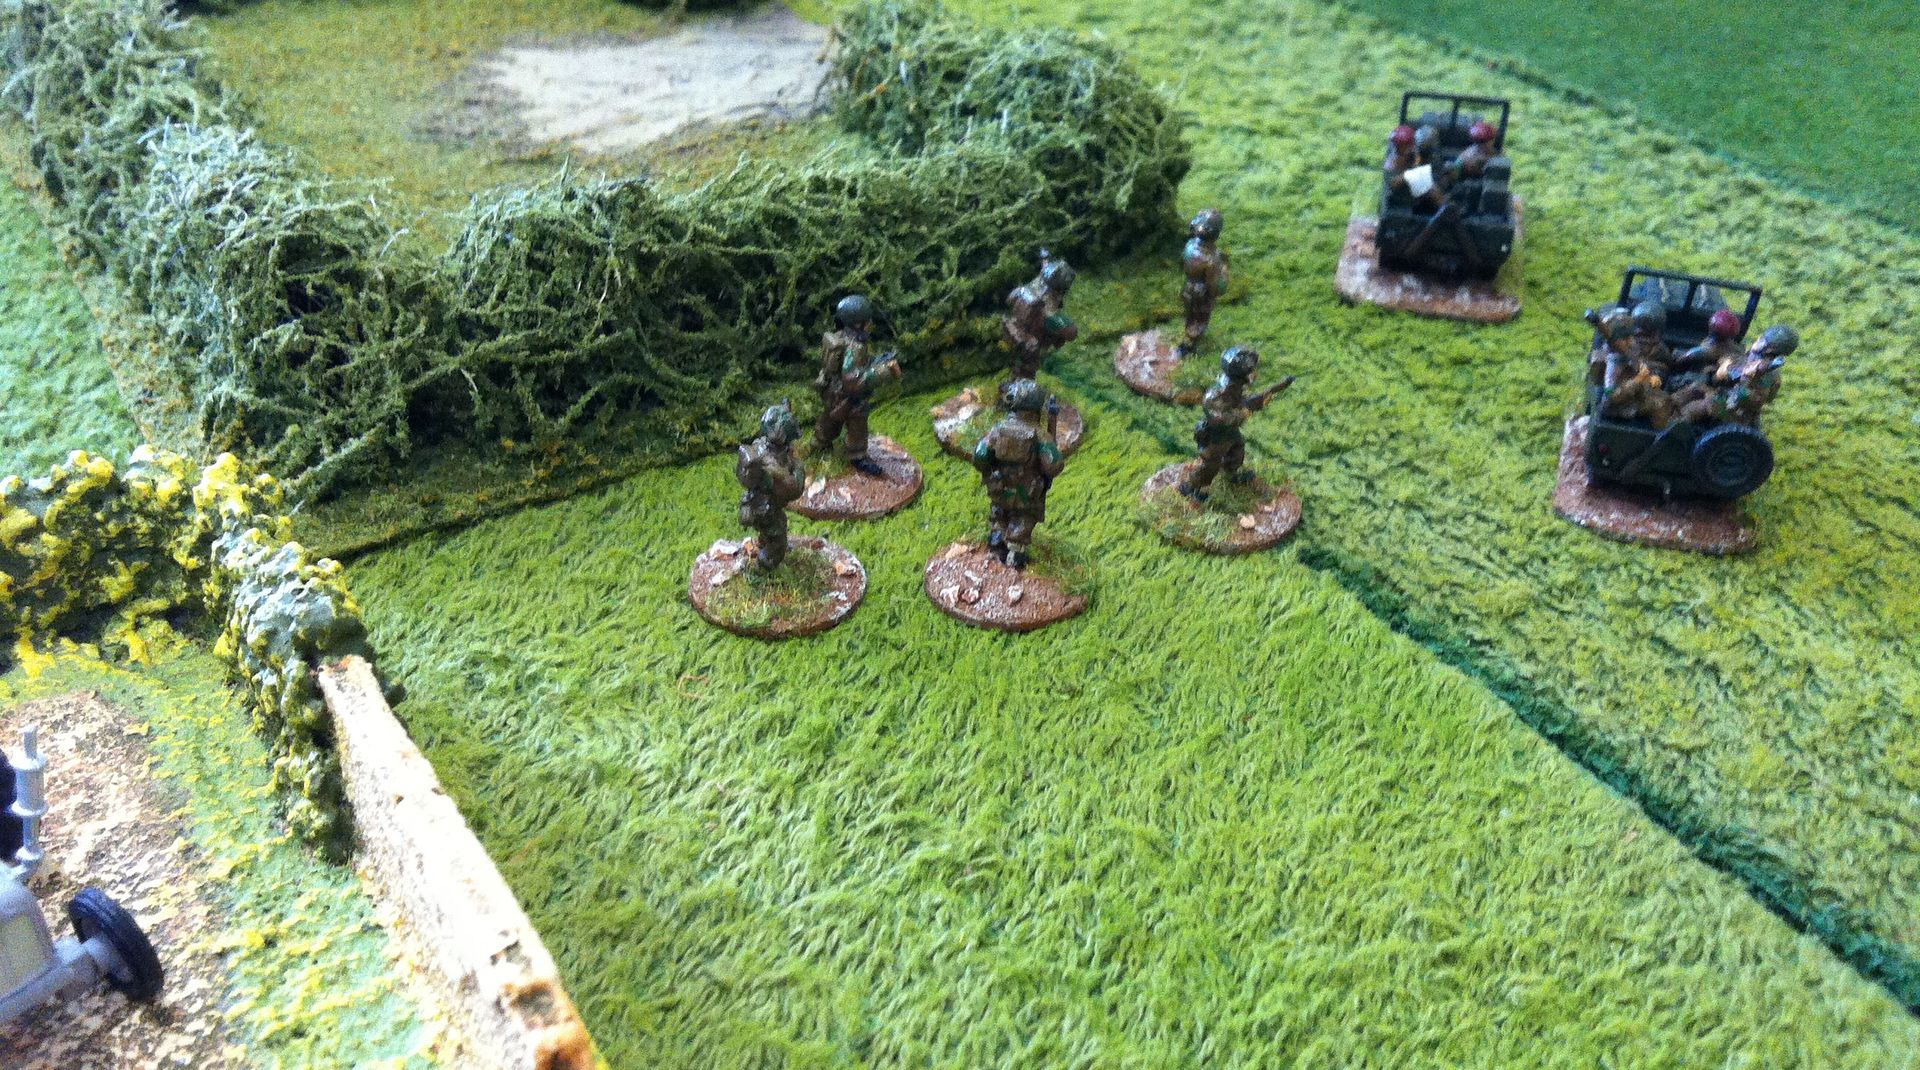
Meanwhile, over on the British left flank, a cautious German assault was unfolding against the most lightly defended position ~
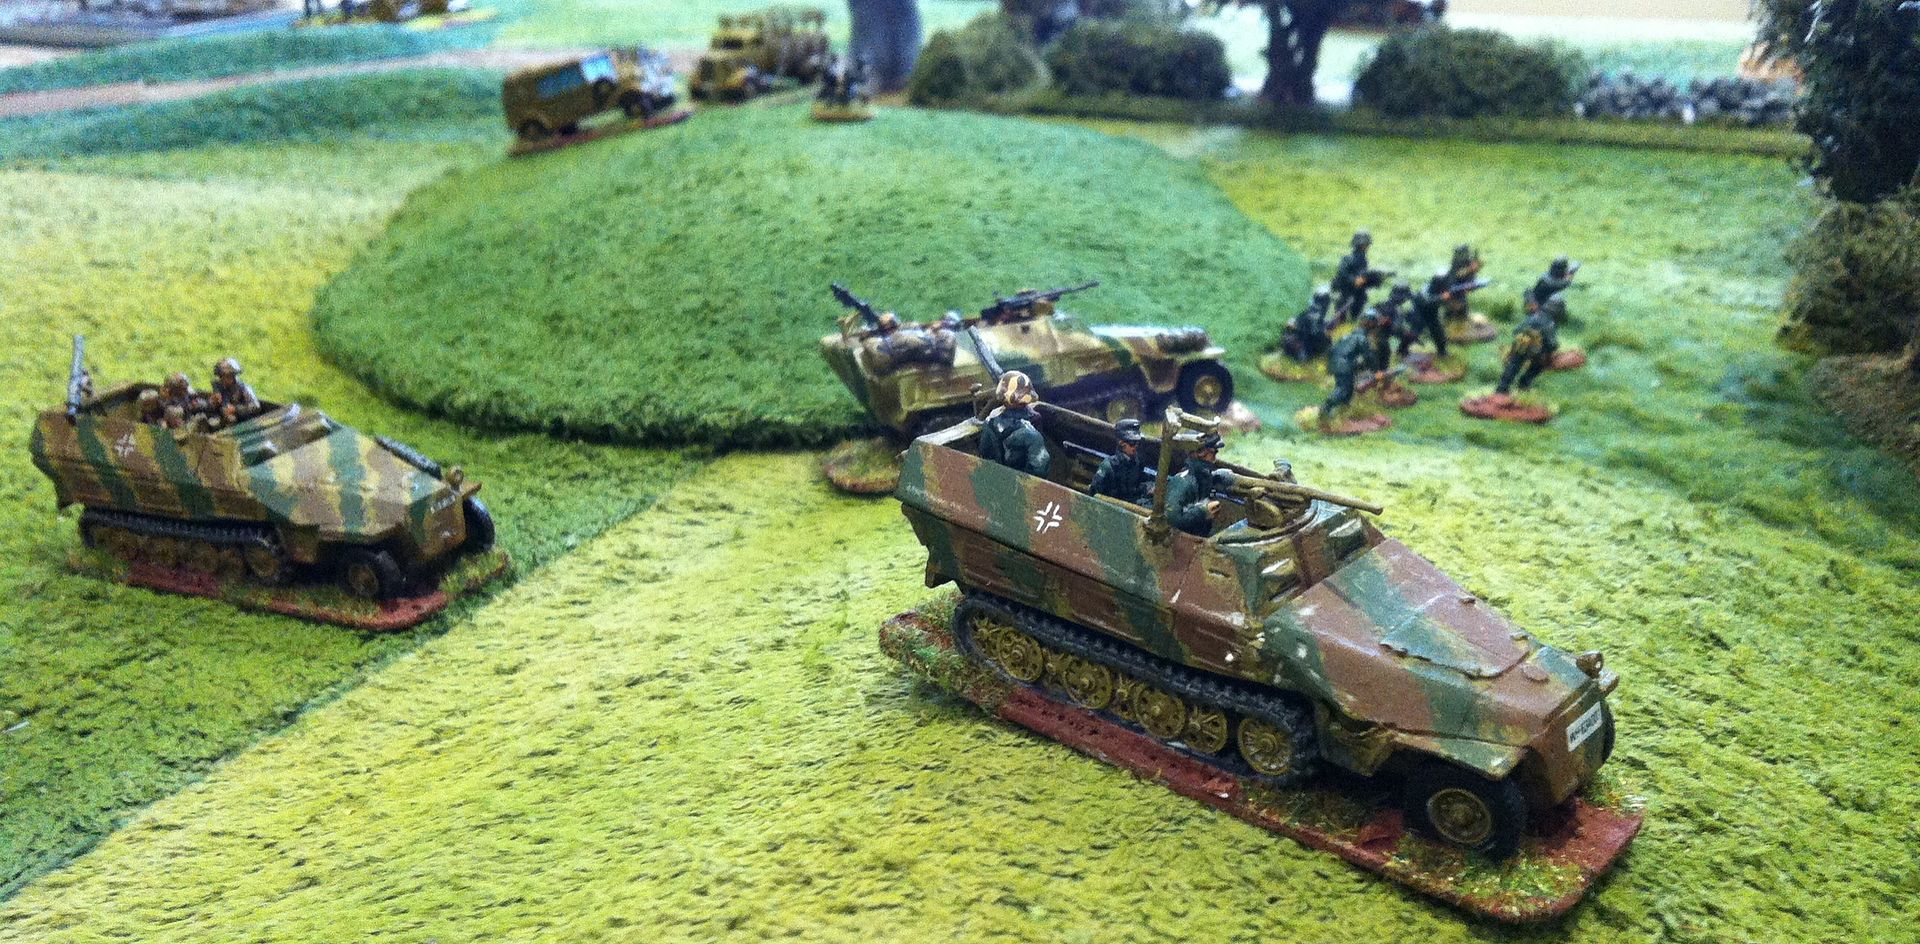
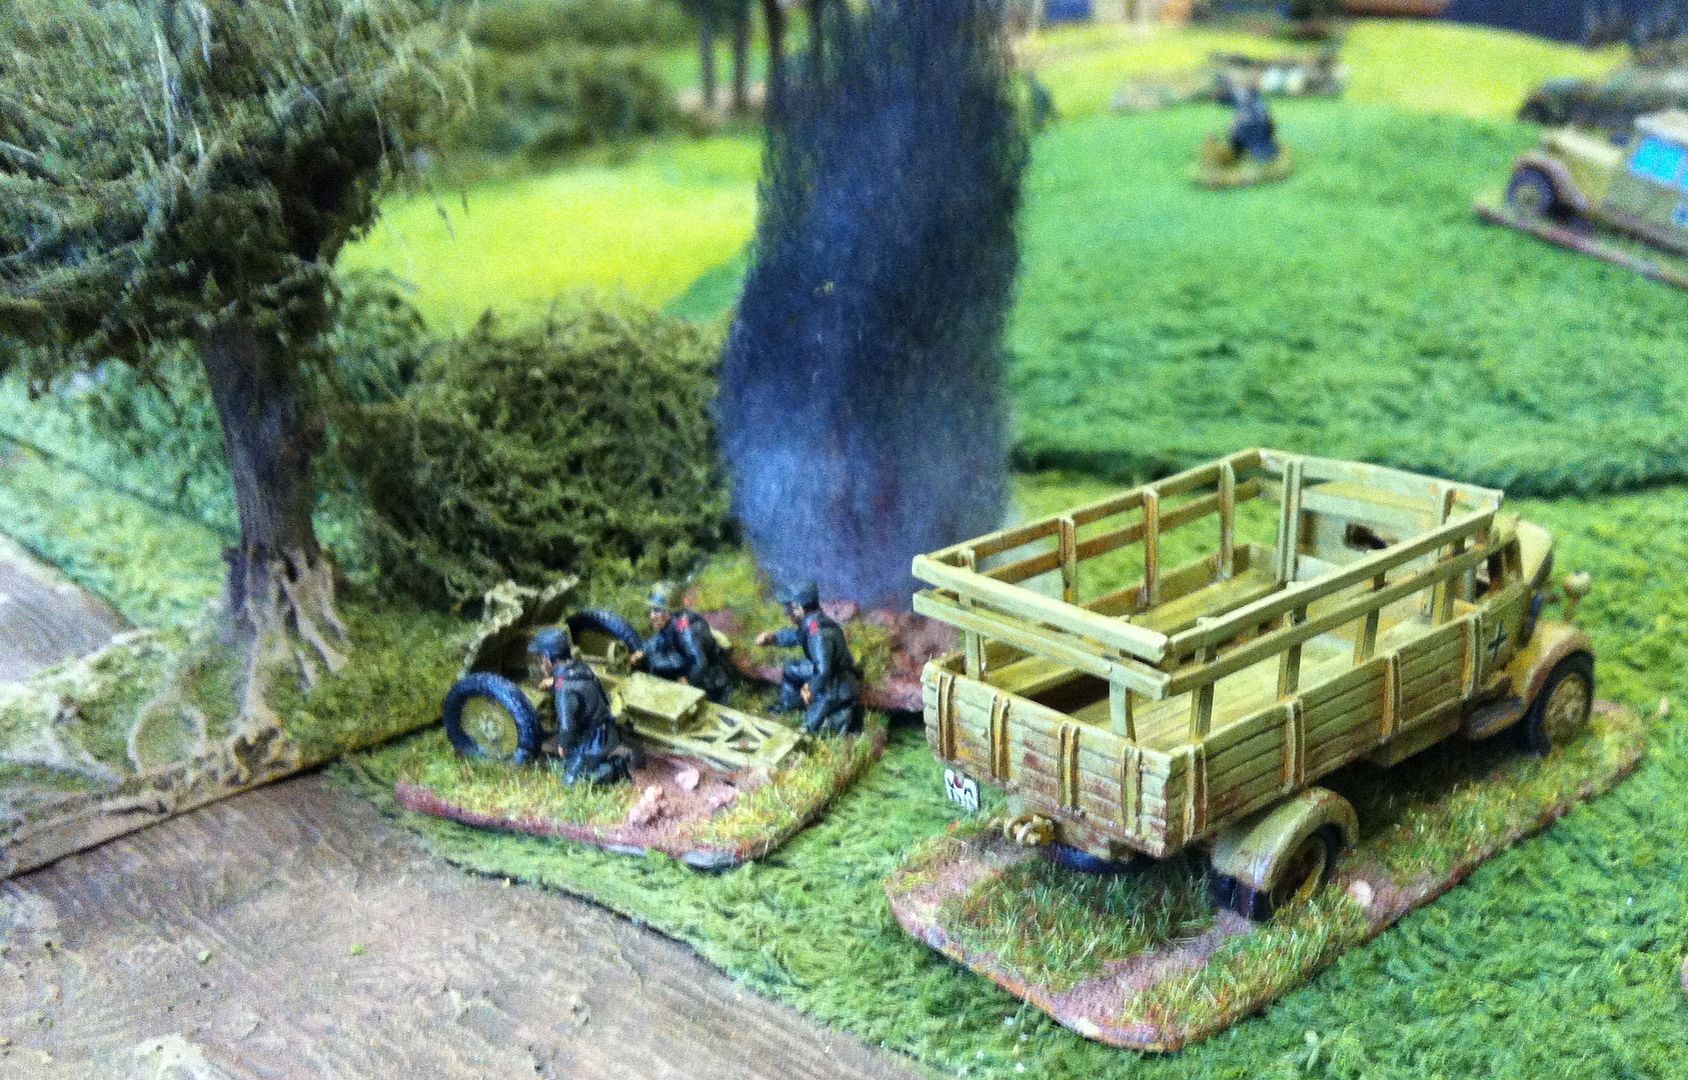
The HQ vehicle, in advance of the Company's support and transport elements, was engaged by the defenders' 20mm Oerlikon gun and knocked out, although the crew were unharmed ~

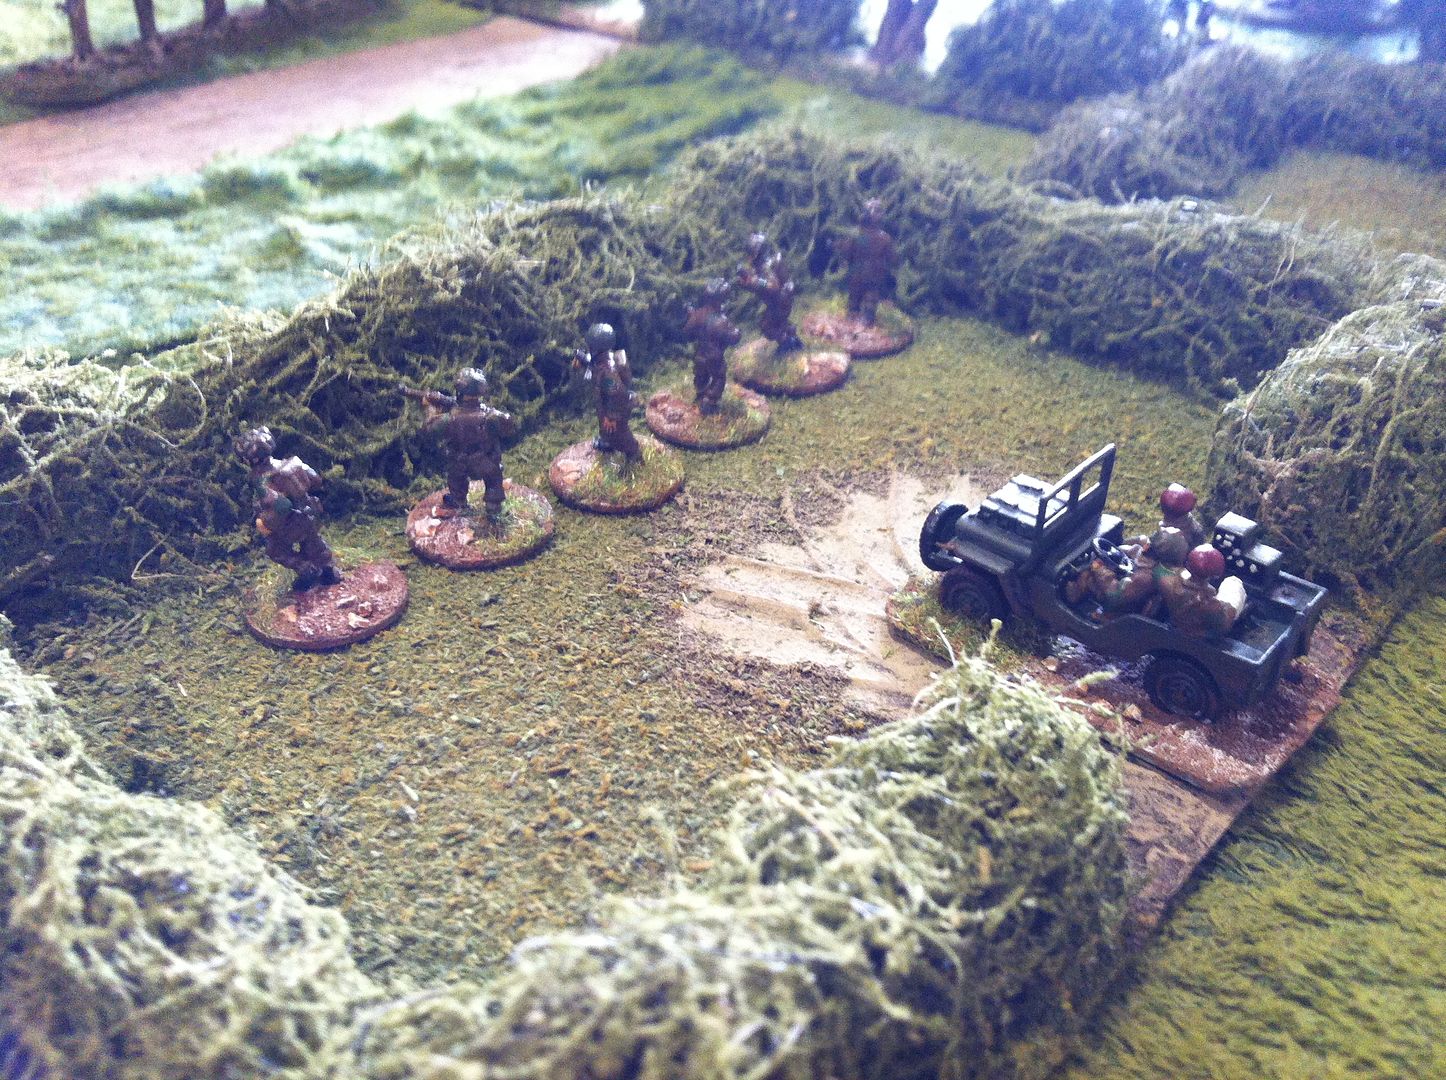
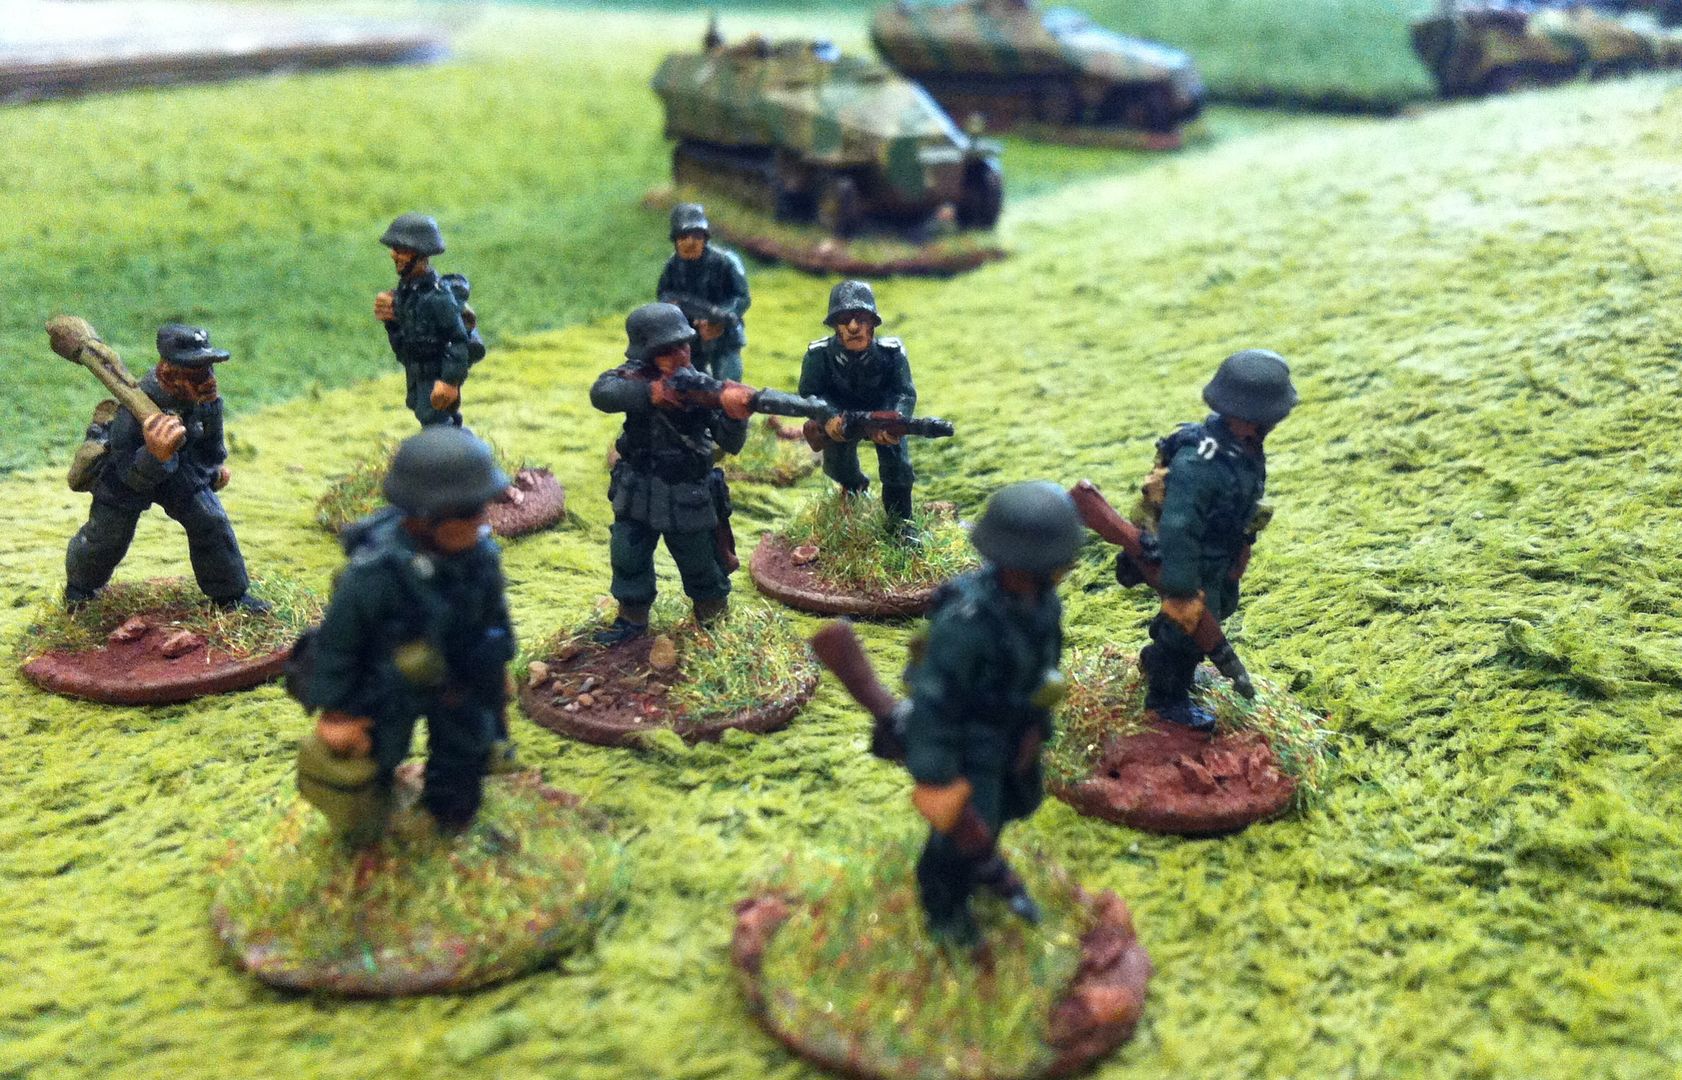
While supporting infantry has debussed and were moving forward briskly to outflank the British position ~
Up until then, British casualties had been light, while German attacks had suffered serious attrition and even been halted on the British left flank. That all changed in one decisive turn. Firstly,directing artillery and heavy mortar fire on the forward British position, the Germans destroyed the defenders. In the subsequent Morale Check the British found themselves pinned. On the German right the defenders of the most isolated British position also found themselves under heavy attack and the building was also devoid of men at the turns' end. In the following turn the Germans moved forward on a wide front, as the British being pinned were unable to rush reinforcements into the vacant objectives ~

In the following turn the British, having had a more successful Morale Check were able to move men toward the threatened objective on their right flank ~

Sadly though for the British cause, the next turn produced further losses and a further Morale Check. The resultant score of -3 settled the game: the British must surrender or rout ~
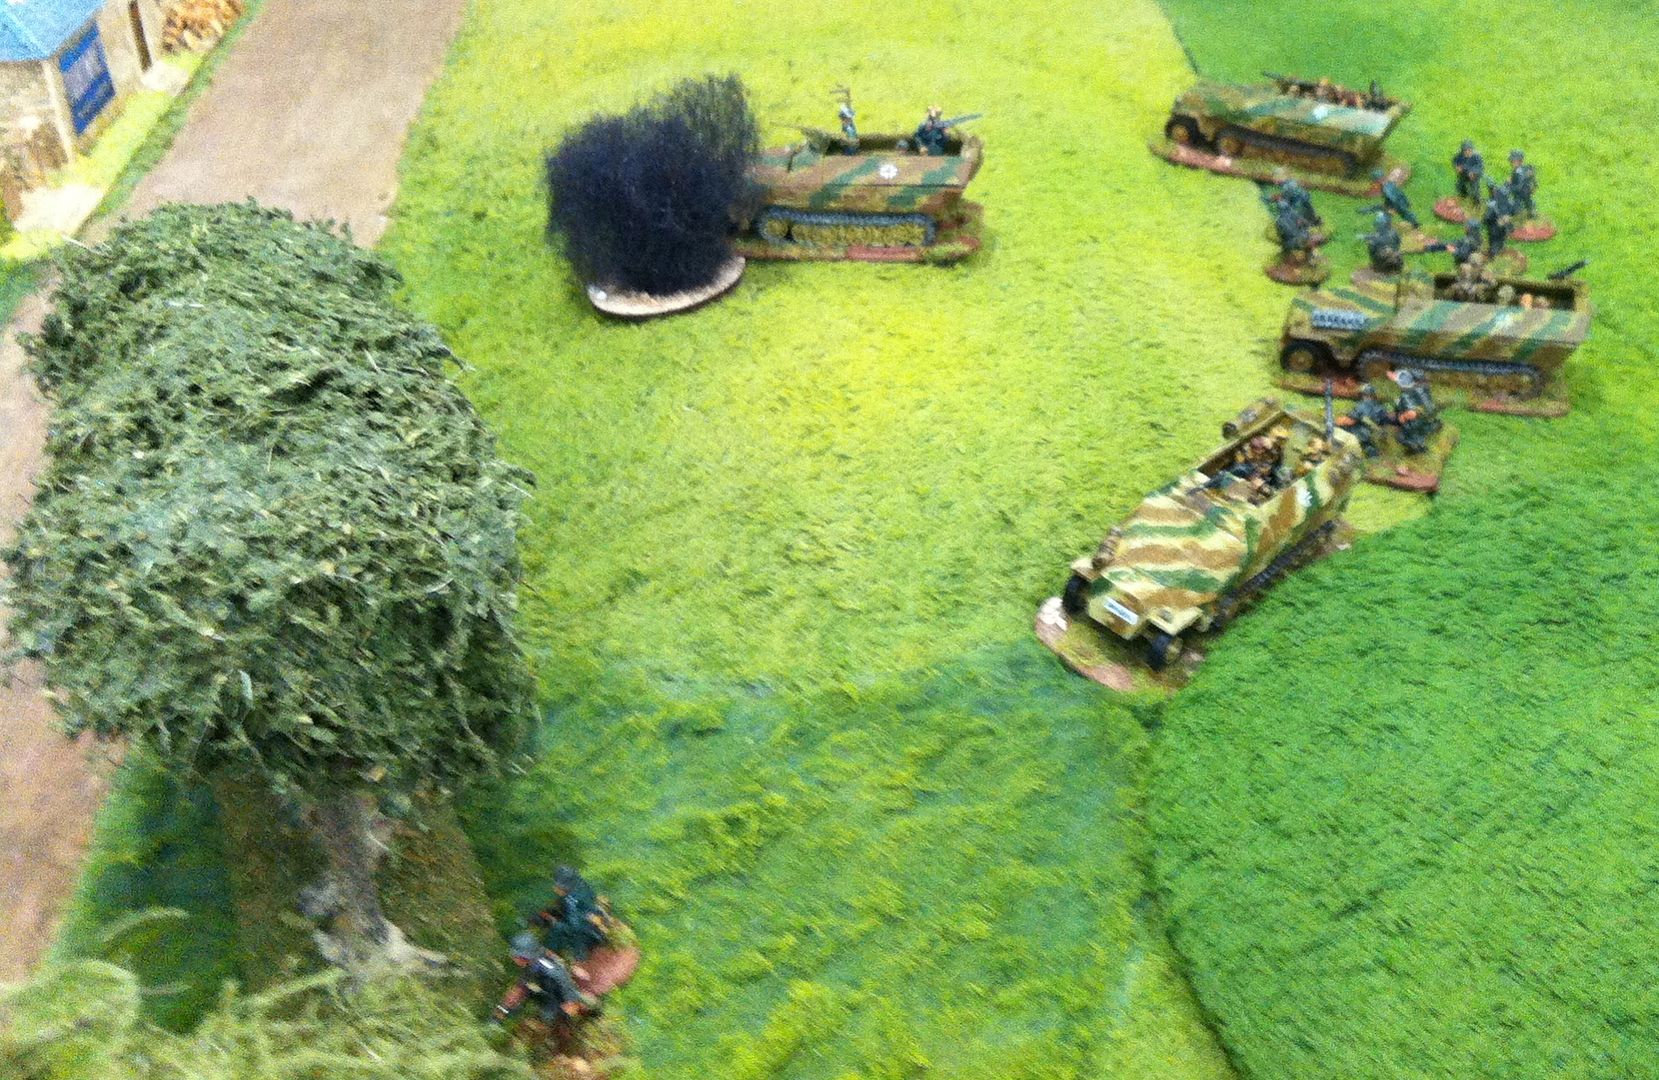
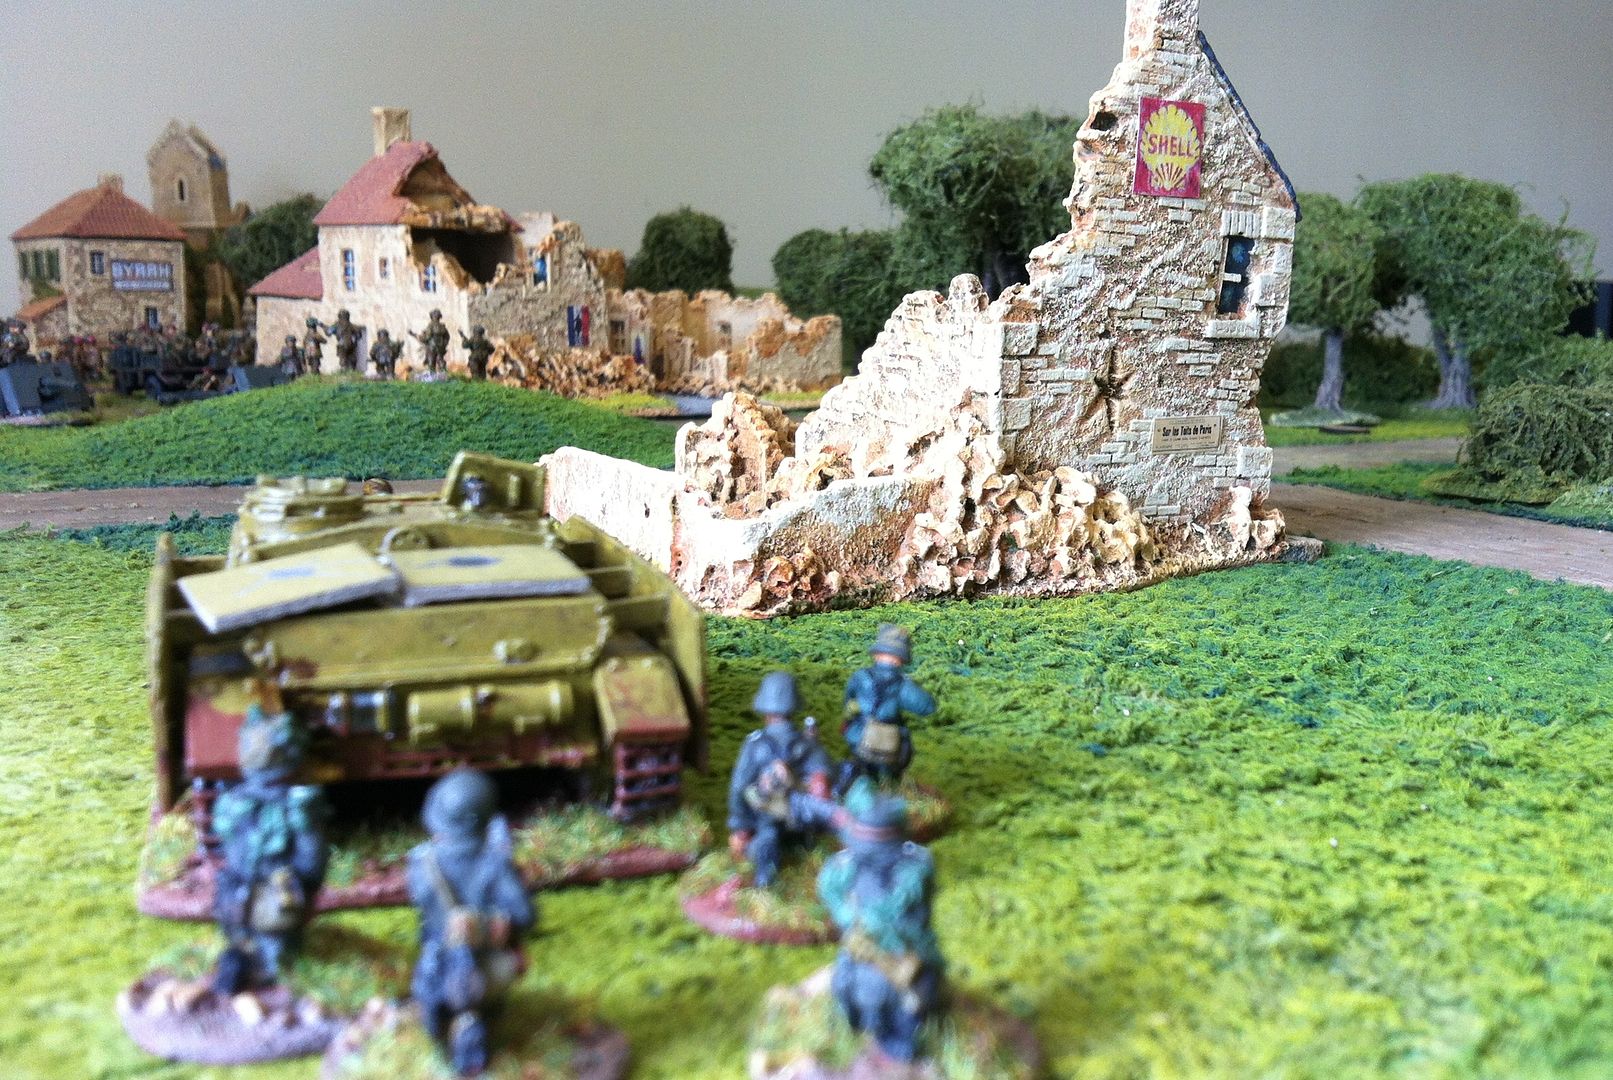
The German armour reinforcements, having only just arrived in the action, did not even need to fire a shot in anger ~

As the objectives were being quietly occupied by their infantry and the surviving but very battle damaged Stug ~
The game ended in Turn 7 out of the planned 10, largely due to the one turn of spectacular German fire power! The vehicles, figures, terrain and buildings are all from my collection here in GHQ. The figures are 20mm SHQ, FAA, Foundry and AB Miniatures; while the vehicles are a mixture of Skytrex, Raventhorpe, and SHQ. The buildings are all prepaints from Colin's old Sentry range once sold by Rapid Fire! themselves. Trees, fields and the like are from The Last Valley of course.
Pics turned out nice, a grand game and an unexpected victory given my dire performance before lunch, c'est la guerre.
ReplyDeleteThe dice gods did indeed return to you in a sudden rush, mores the pity...
Delete