
The Rebellious Americans, commanded by old 'Independence or Death' Bykleigh, are drawn up in a defensive position anchored on a redoubt for their artillery. The right flank is protected by Continental Dragoons and Philadelphia Horse, their left by dismounted Continental Dragoons and a wood. The forward position is occupied by various Militias and Riflemen. The Continental and State infantry occupy the center. I won the dice roll for initiative in Turn 1 and attempted to move my Militia forward to occupy the low rise to their front and to line the cornfield. Needless to say I failed my Command rolls! This let the British move their Indian allies into the wood in front of my Militia and their Light Companies onto my flank. The Hessians advanced to take the low rise I had wanted to occupy. The British firing rendered two of my three forward units Disorganised!
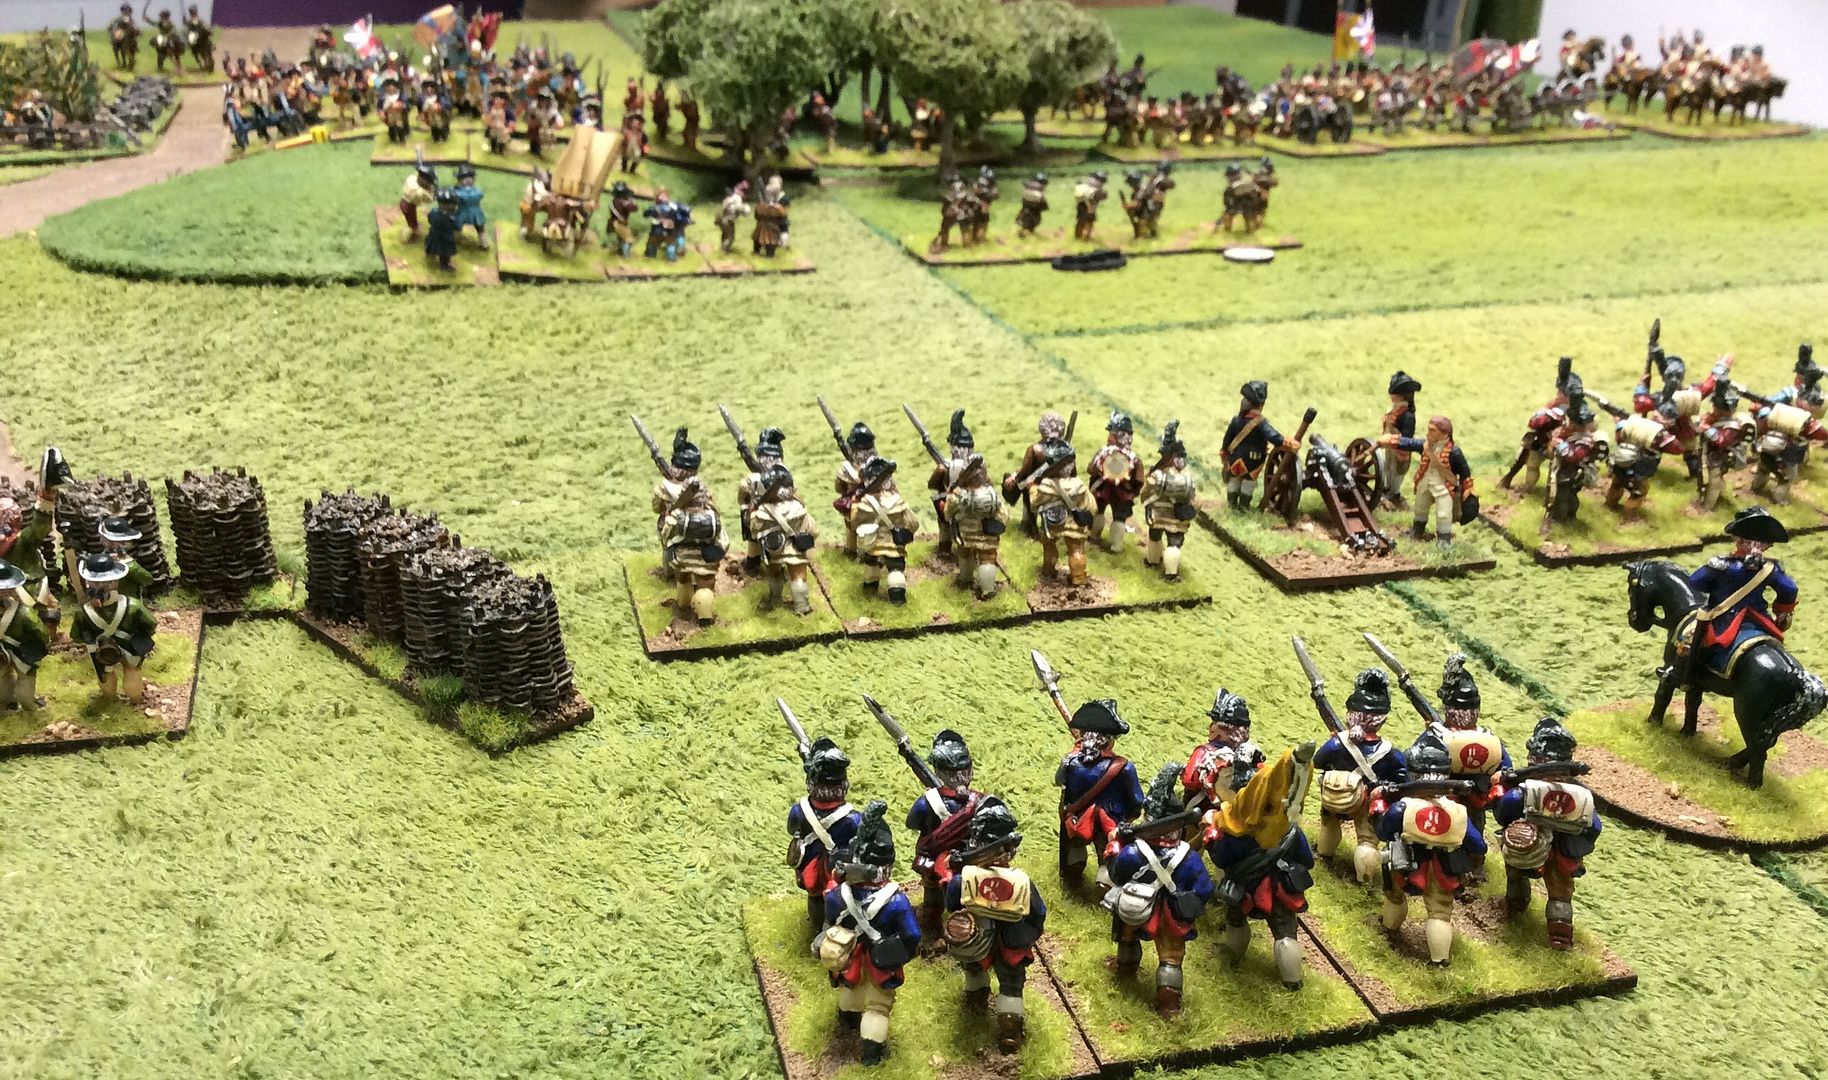
In Turn 3 the British left advanced, its flank protected from my cavalry by the Light Dragoons. Despite losses and confusion, the Militias in the front line were holding their ground and buying time for the Americans to reorganise their position. While on the British right nothing would move, preferring to skulk in the cover of fences and cornfields!
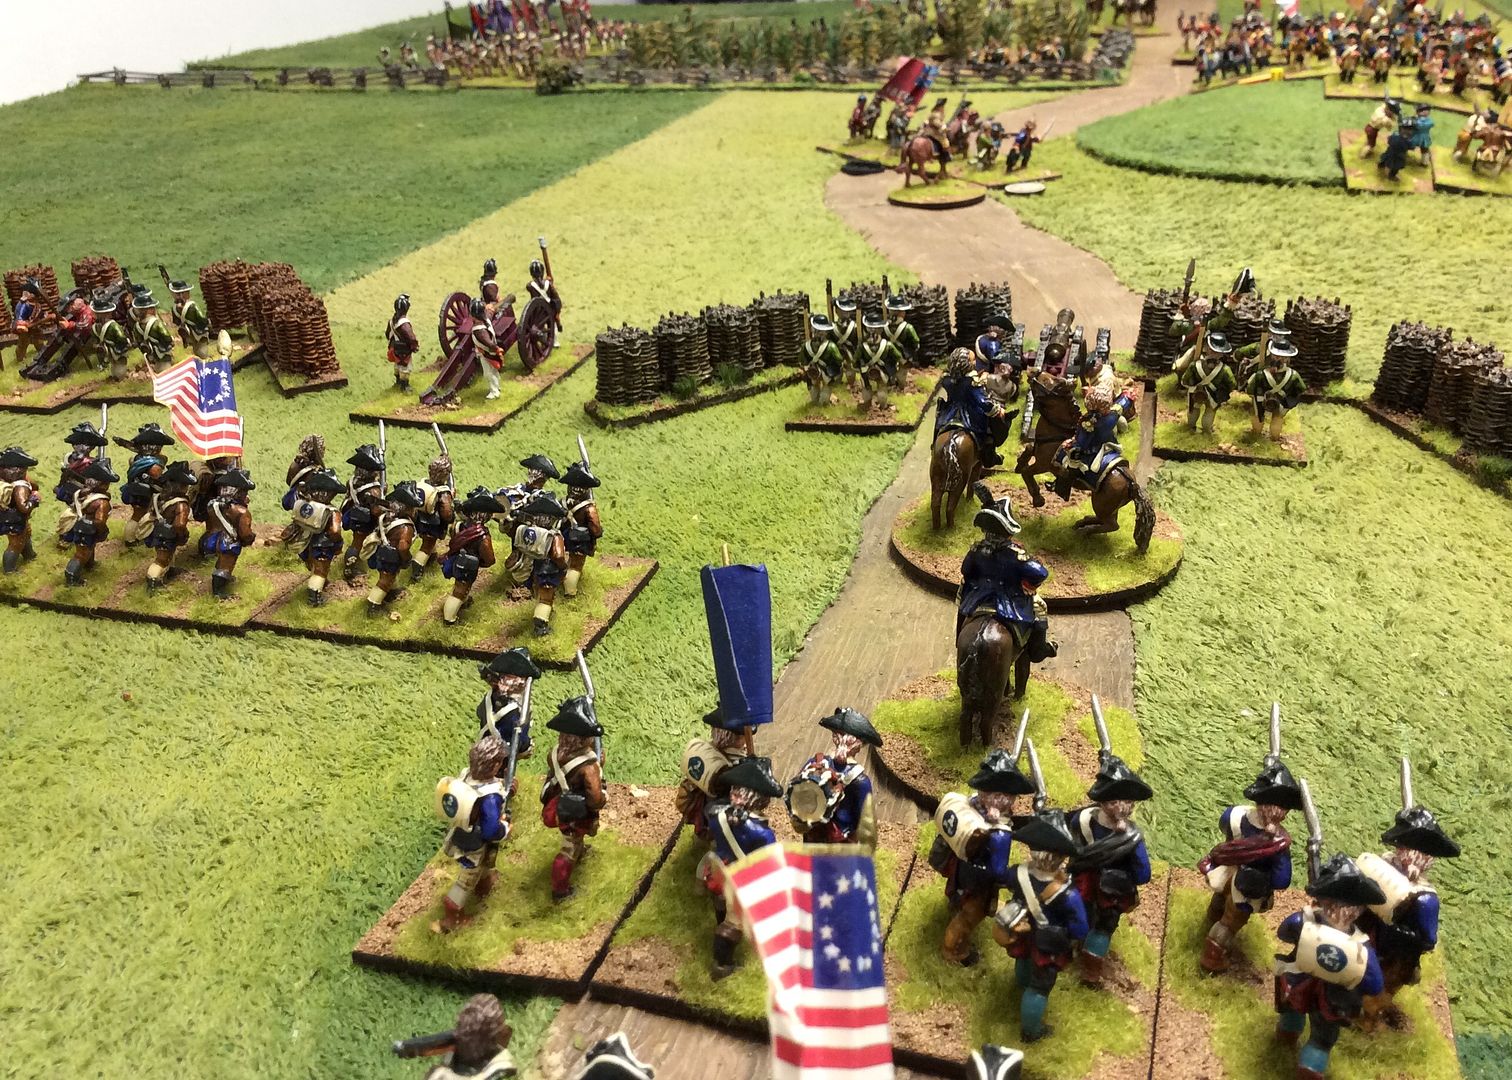
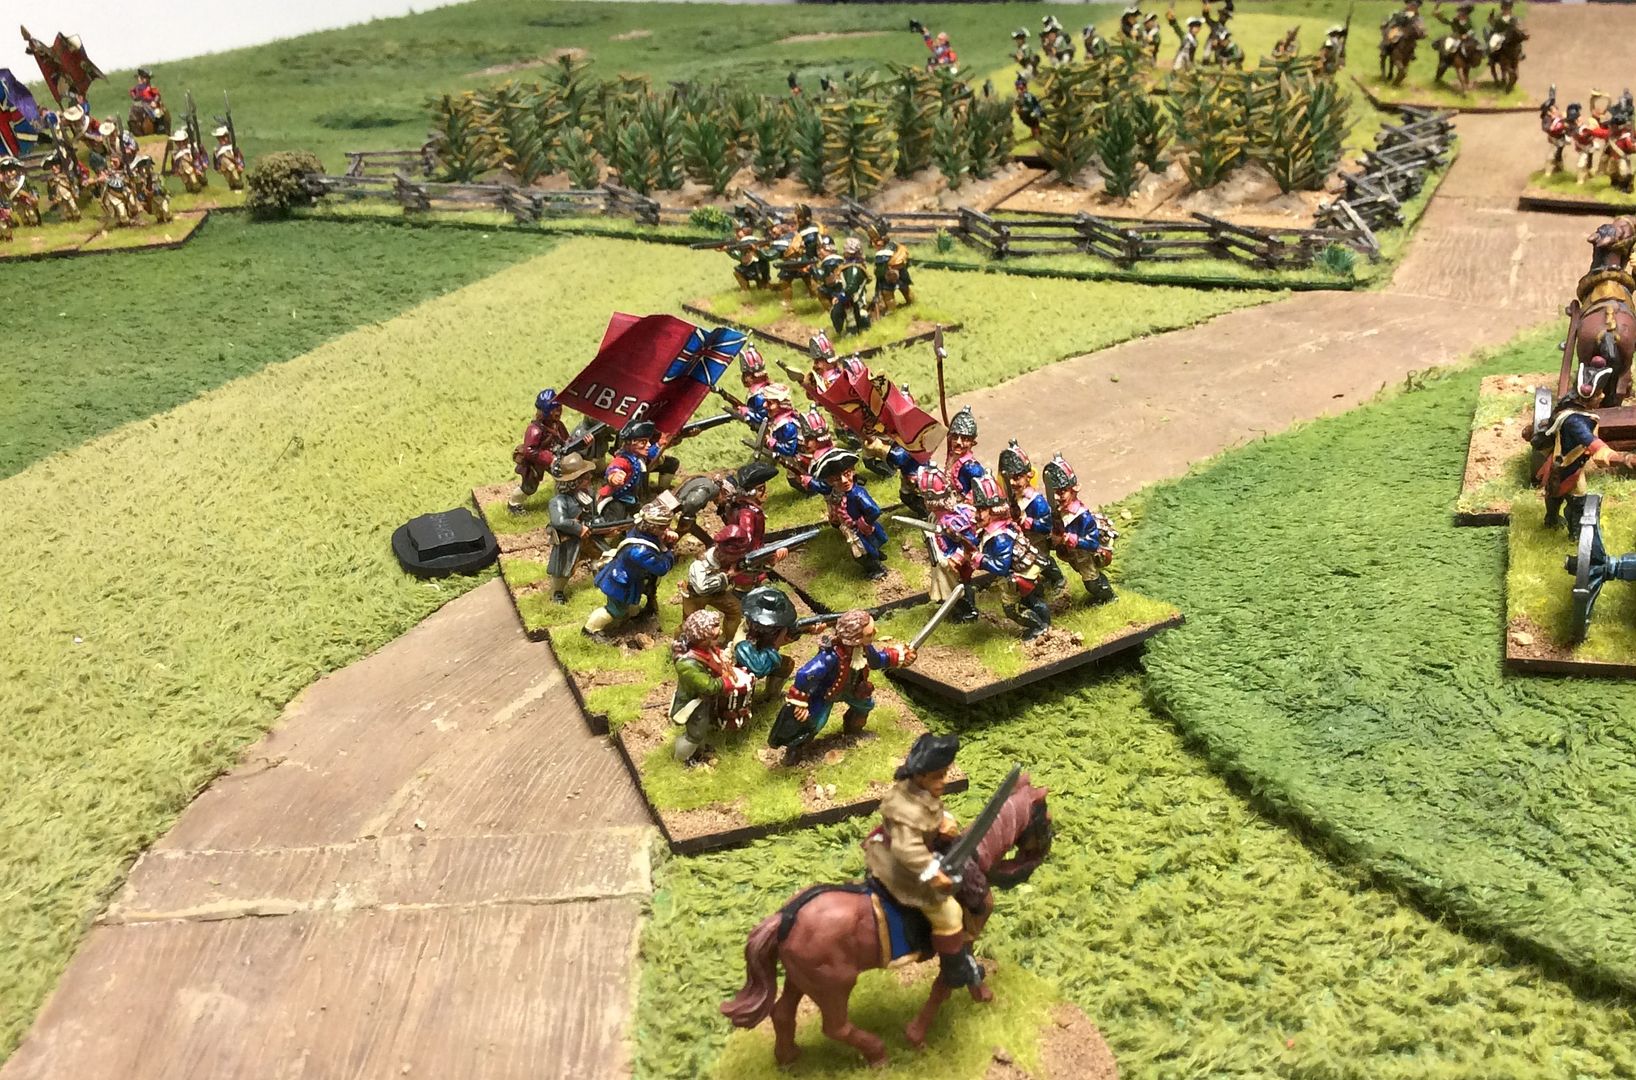
In the center, the Indians took advantage of the wood's cover to rush the Disorganised Militia unit while the Grenadiers drove off the Riflemen on their flank! The third Militia unit on the left of the forward line inclined towards the Hessians holding the hill and halted the Dragoons in the front line in Disorder.
While the Militia were holding the front line under increasing pressure the Hessian Fusiliers deployed to give the cold steel to their foe and break their resistance!
In the meantime the cavalry on the flank had finally come to blows after some initial caution on the part of both commanders. At first the Continental Dragoons, although Shaken, held their ground against the British Light Dragoons. All the while the infantry was closing steadily on the American lines where the boys waited to receive the first volley and teat their metal against King George's regulars!

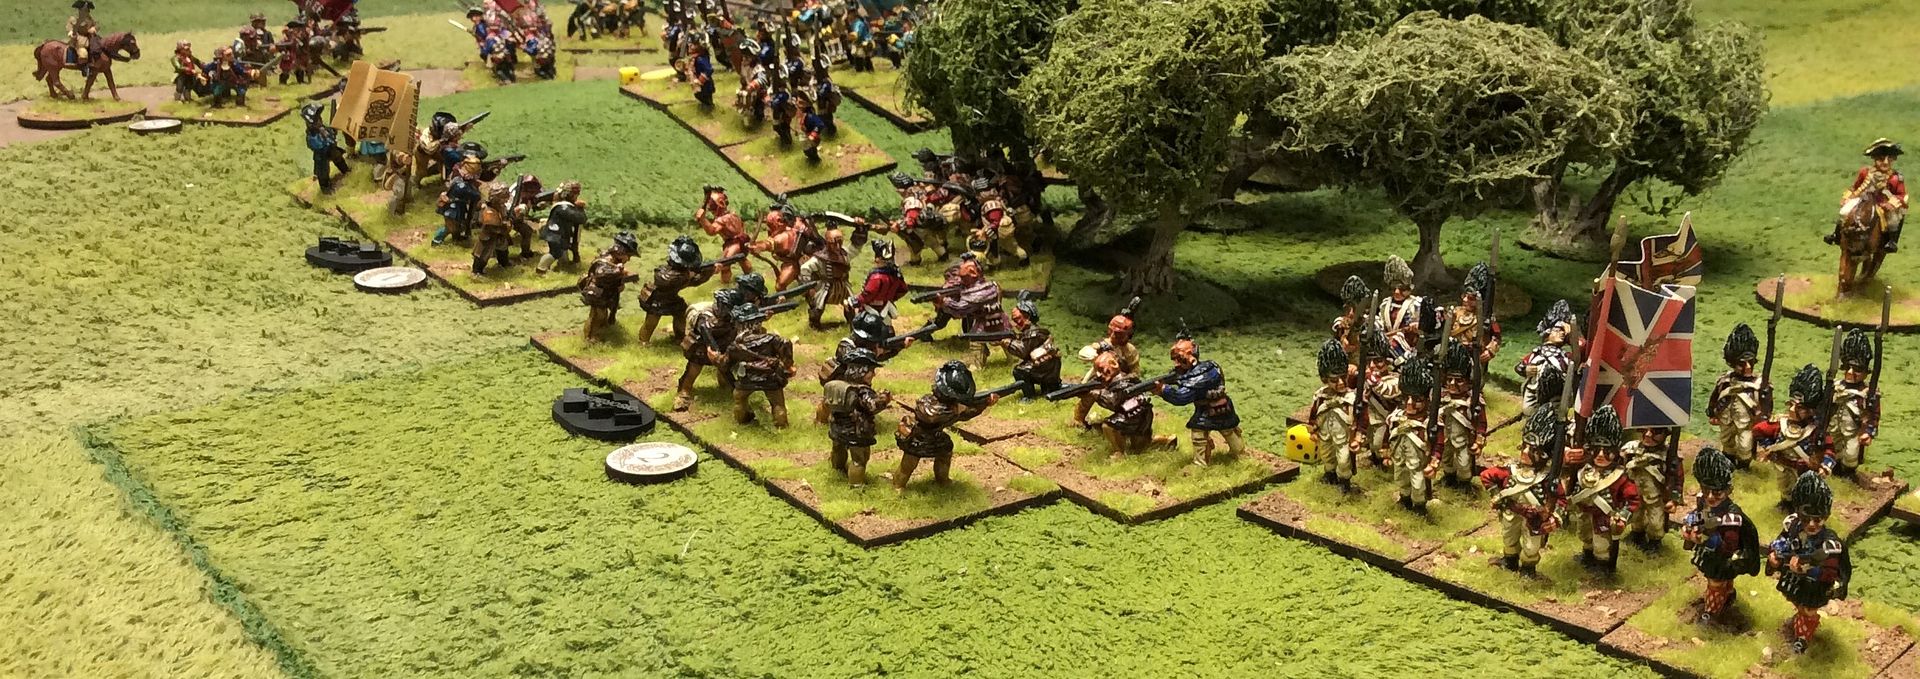
The Hessian Fusiliers charge home against the Militia and in short time send them running to the rear! Behind the melee you can see the British right, composing mostly Loyalist units stiffened by the 42nd Foot, finally leaving the cover of the cornfield and fences to advance on the American left ~
The victorious British Light Dragoons have seen off their American foe and are rallying behind the American lines. Things are beginning to look ominous for old 'Independence or Death'!

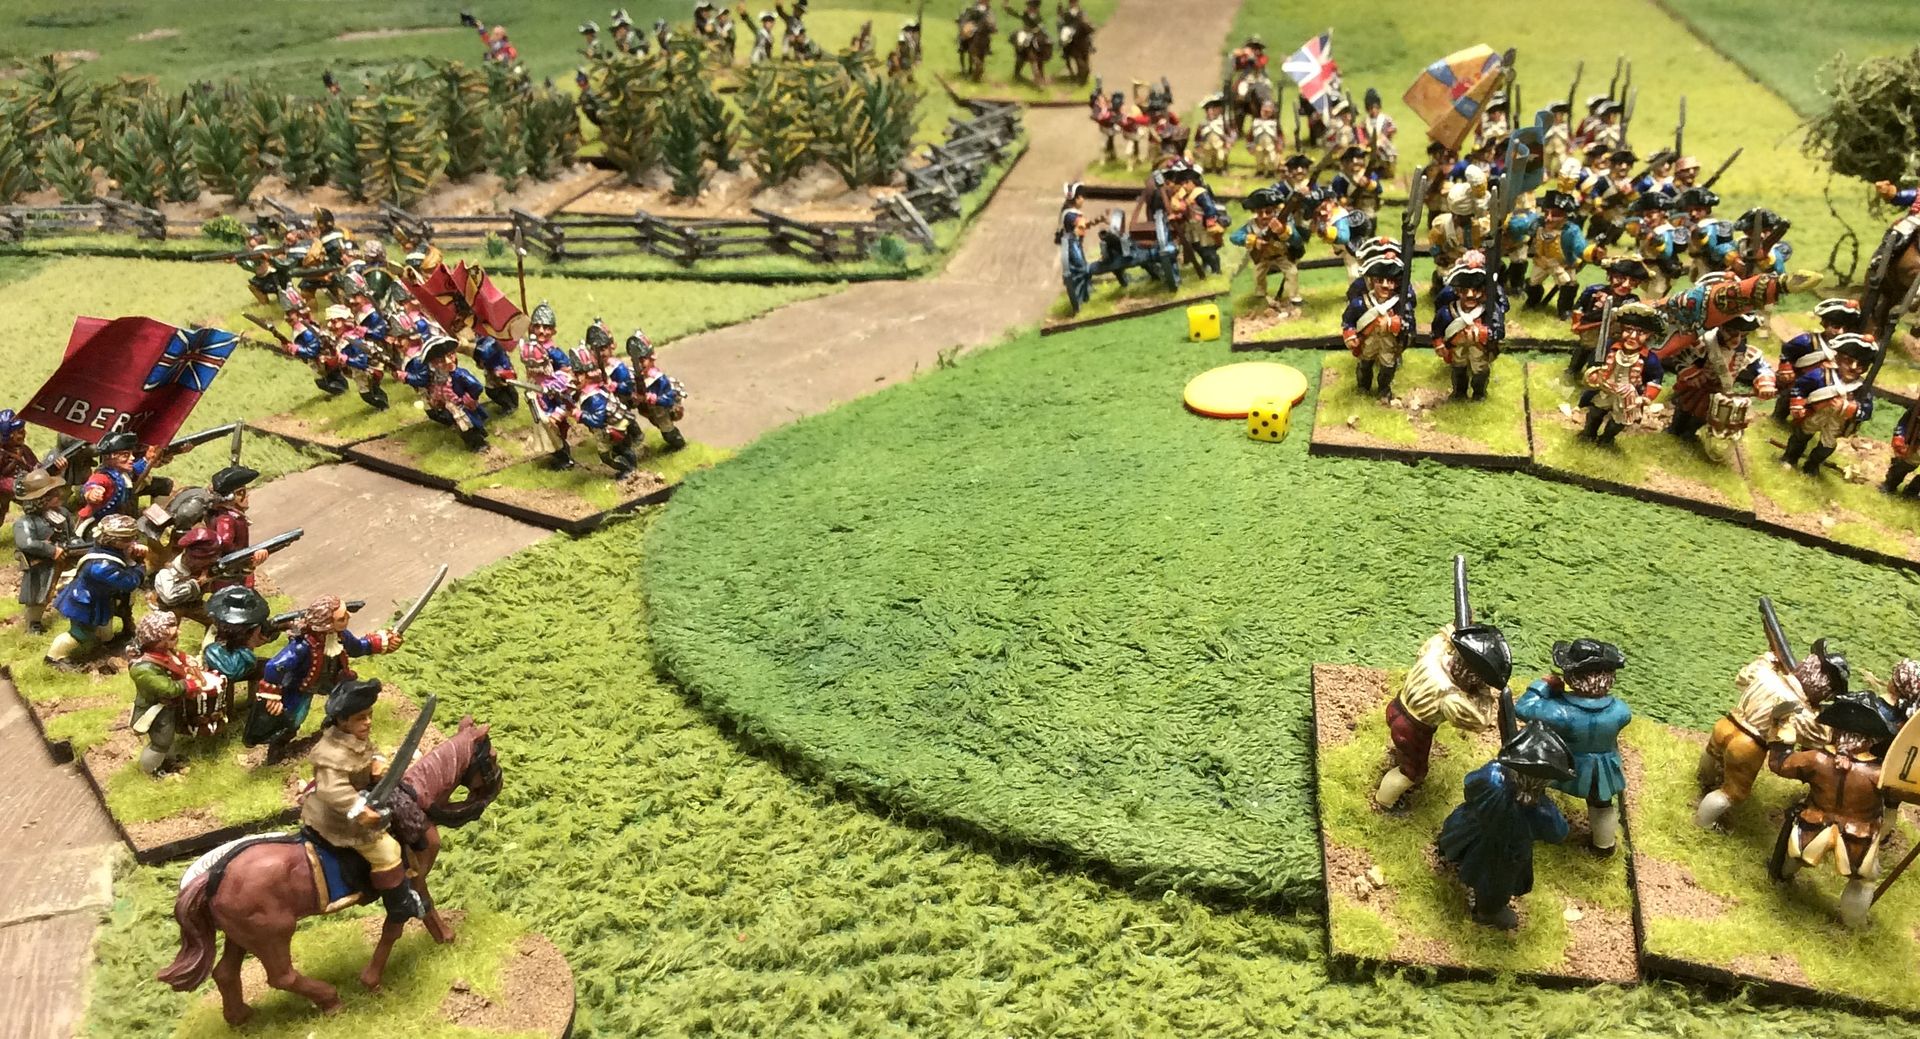
Just moments before the American front line finally crumbles the Continental troops move to attempt to hold the line as the Hessians surge towards them ~
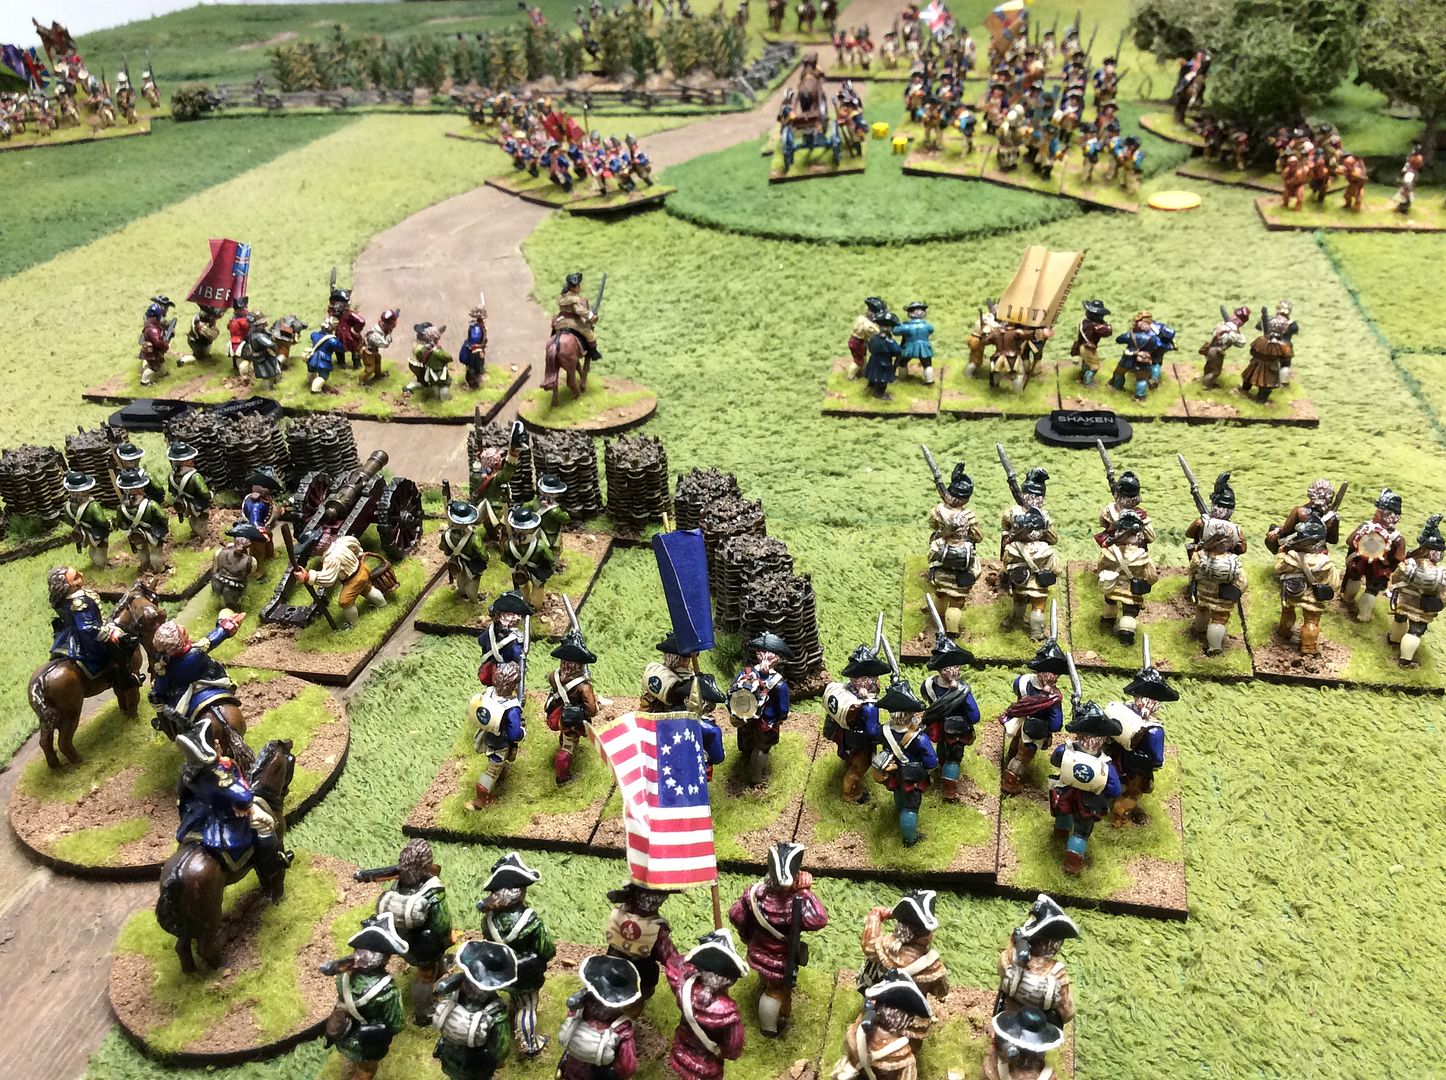
It all ended for the American cause in Turn 6 when the fourth of their six Brigades is Broken, leaving them no choice but to quit the field. The Continental and State infantry had been held in reserve too long and were punished in a series of fire fights and then hand to hand combat.

All in all a decent game we thought, although with hindsight my Militia might have retired in Turn 2 when threatened by numerous enemy units. My cavalry performed really badly, failing crucial saving throws and then Morale checks! I made very poor use of my Continental troops in the final analysis and could have moved them forward on my center right much sooner. As I said, hindsight! Later in the week Jon and I hope to refight the scenario but in the ACW this time. As Matt will be here for the long weekend, to visit the Alumwell show, I hope we might get a game in too. Meanwhile, back to see if the hand and eye will let me finish the four C18th outriders for my British artillery limbers.
A grand game it as too, and the dice gods looked favourably on my plans for once.
ReplyDeleteGlad you enjoyed the game, Phil!
DeleteLooking good. How you manage 2 games a week amazes me!
ReplyDeleteThought it a bit bare myself, but if you liked it then it must pass muster! Off to get tomorrow's game ready now!
DeleteNice looking game Mr.B & nice to see Phil manage a win ;-)
ReplyDeleteNice? A bloody miracle I think :-)
DeleteWell, a matter of opinion really there!
DeleteYet another brilliant looking game David!
ReplyDeleteChristopher
Thanks Christopher, glad you liked the game. Figure painting style seems very dated now though.
Delete