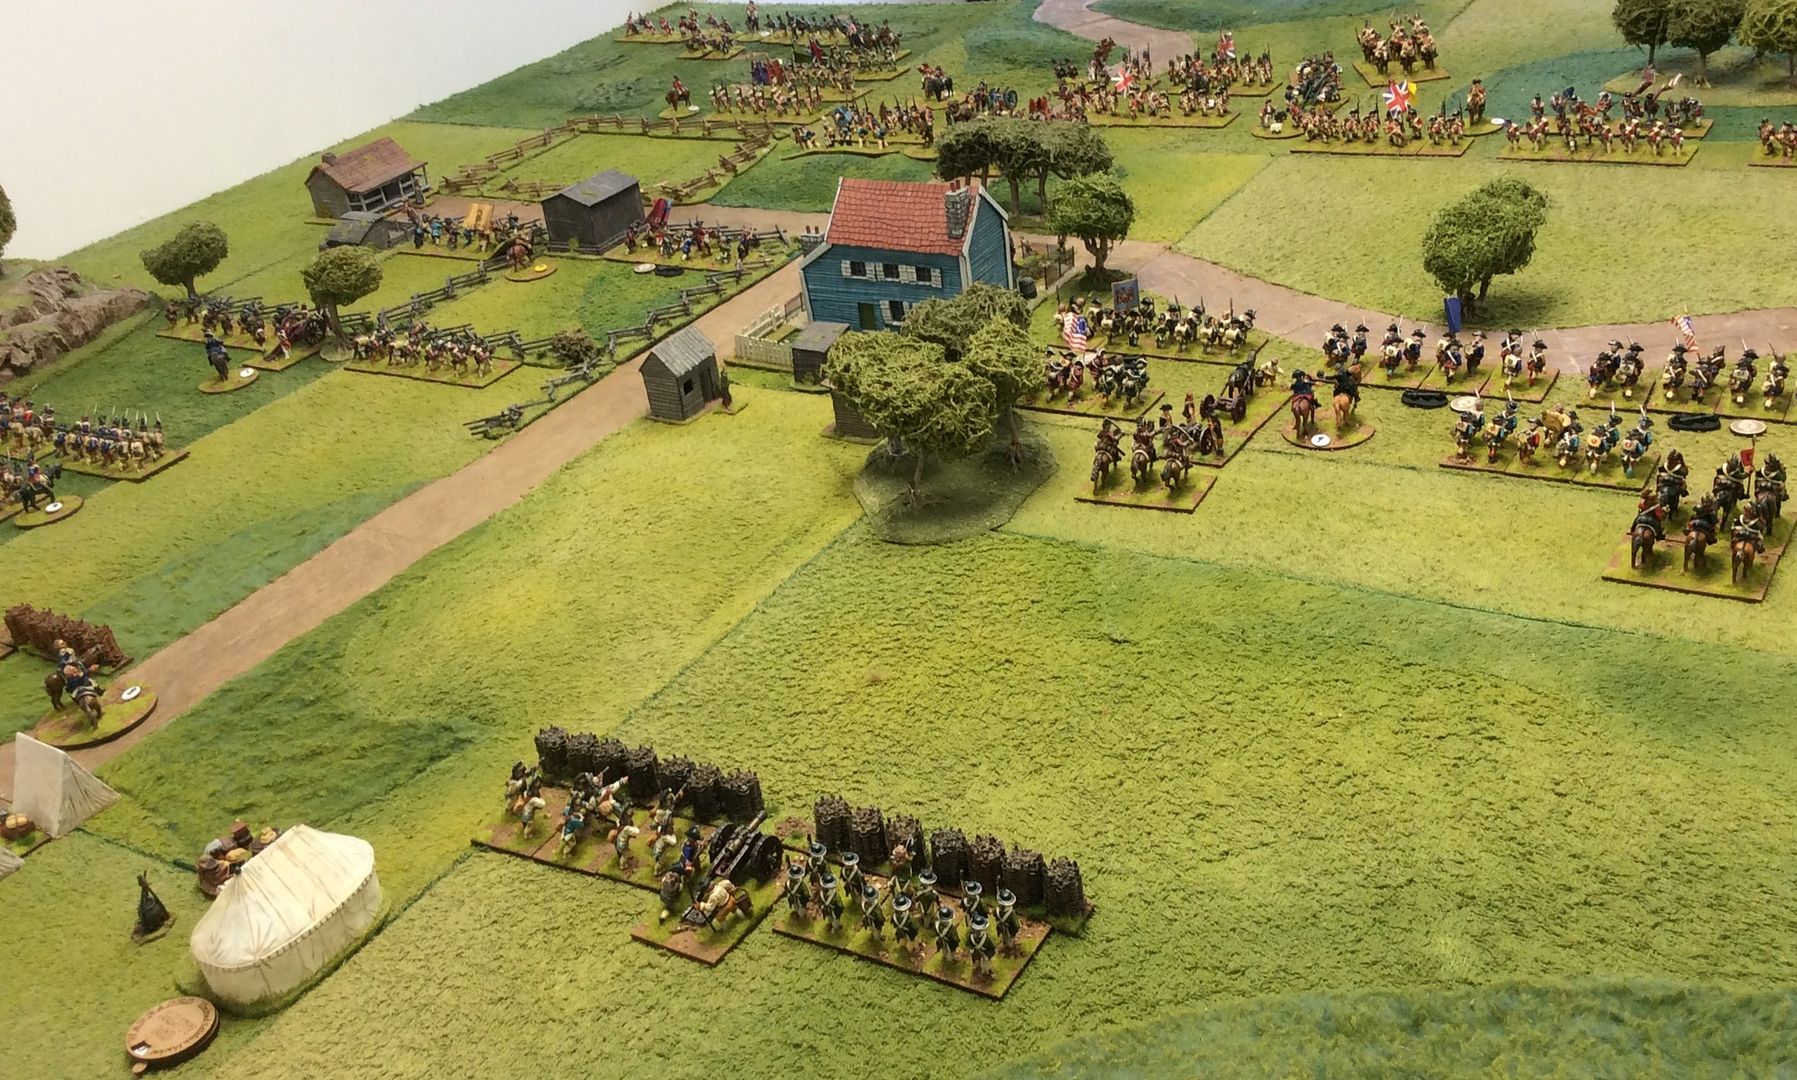
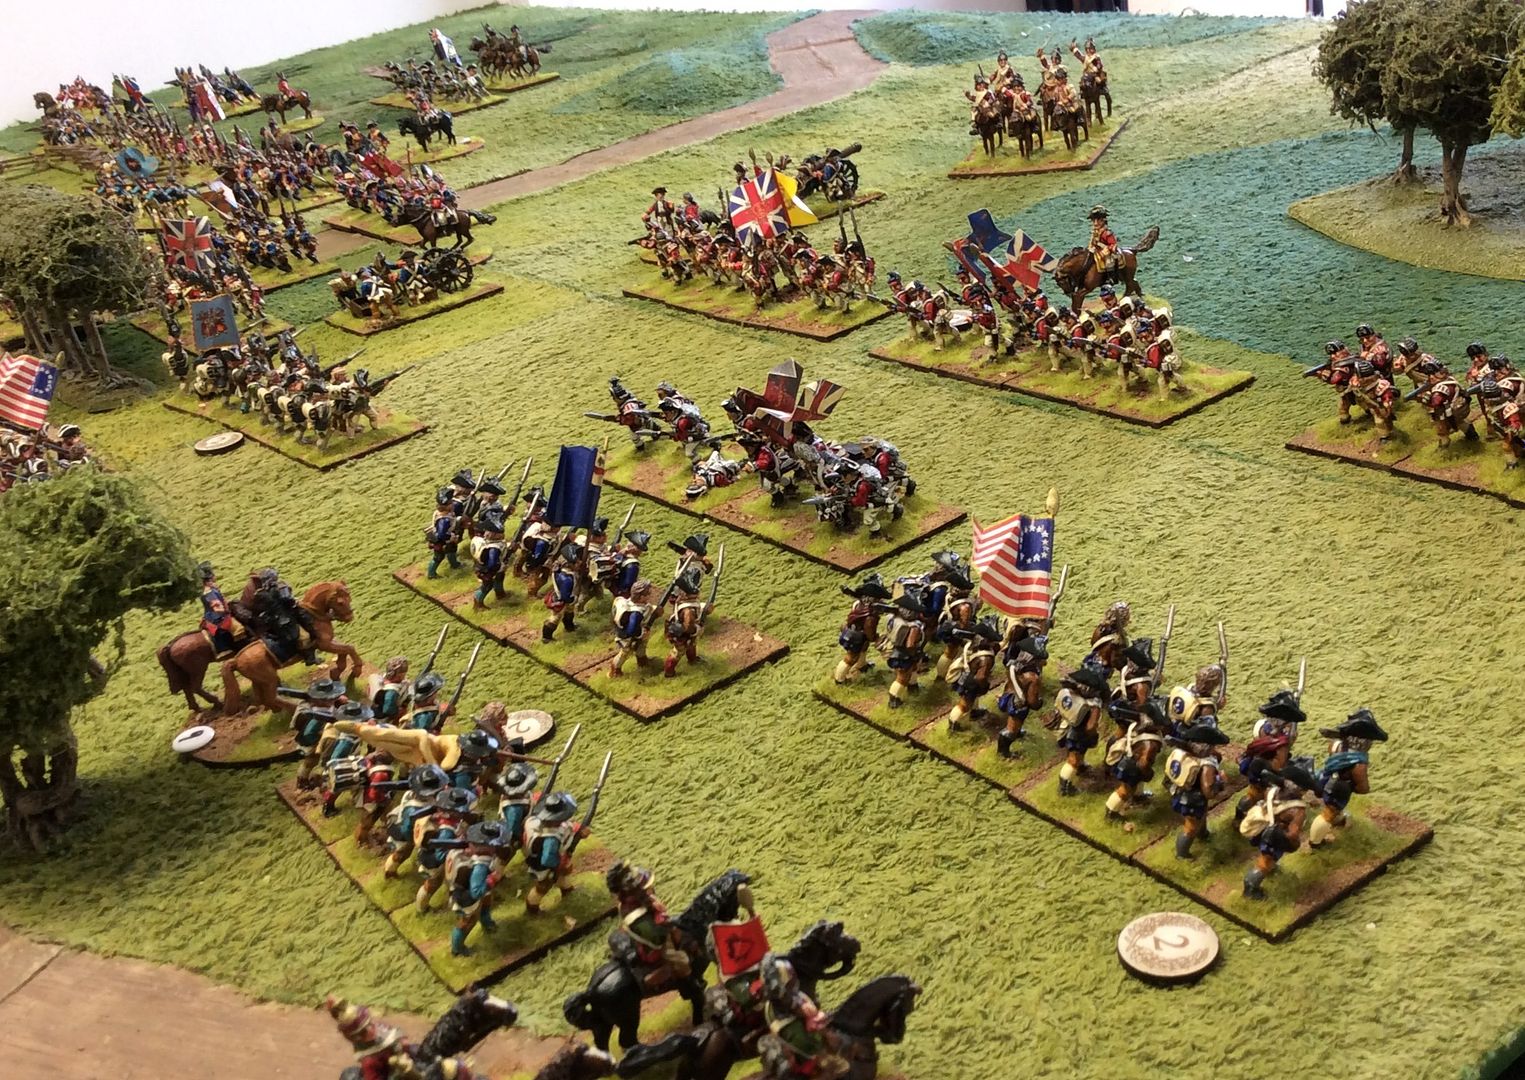
The American right is held by a strong brigade of Continentals and State troops. As you can see they suffered badly from British musket fire in the first turn of the game!
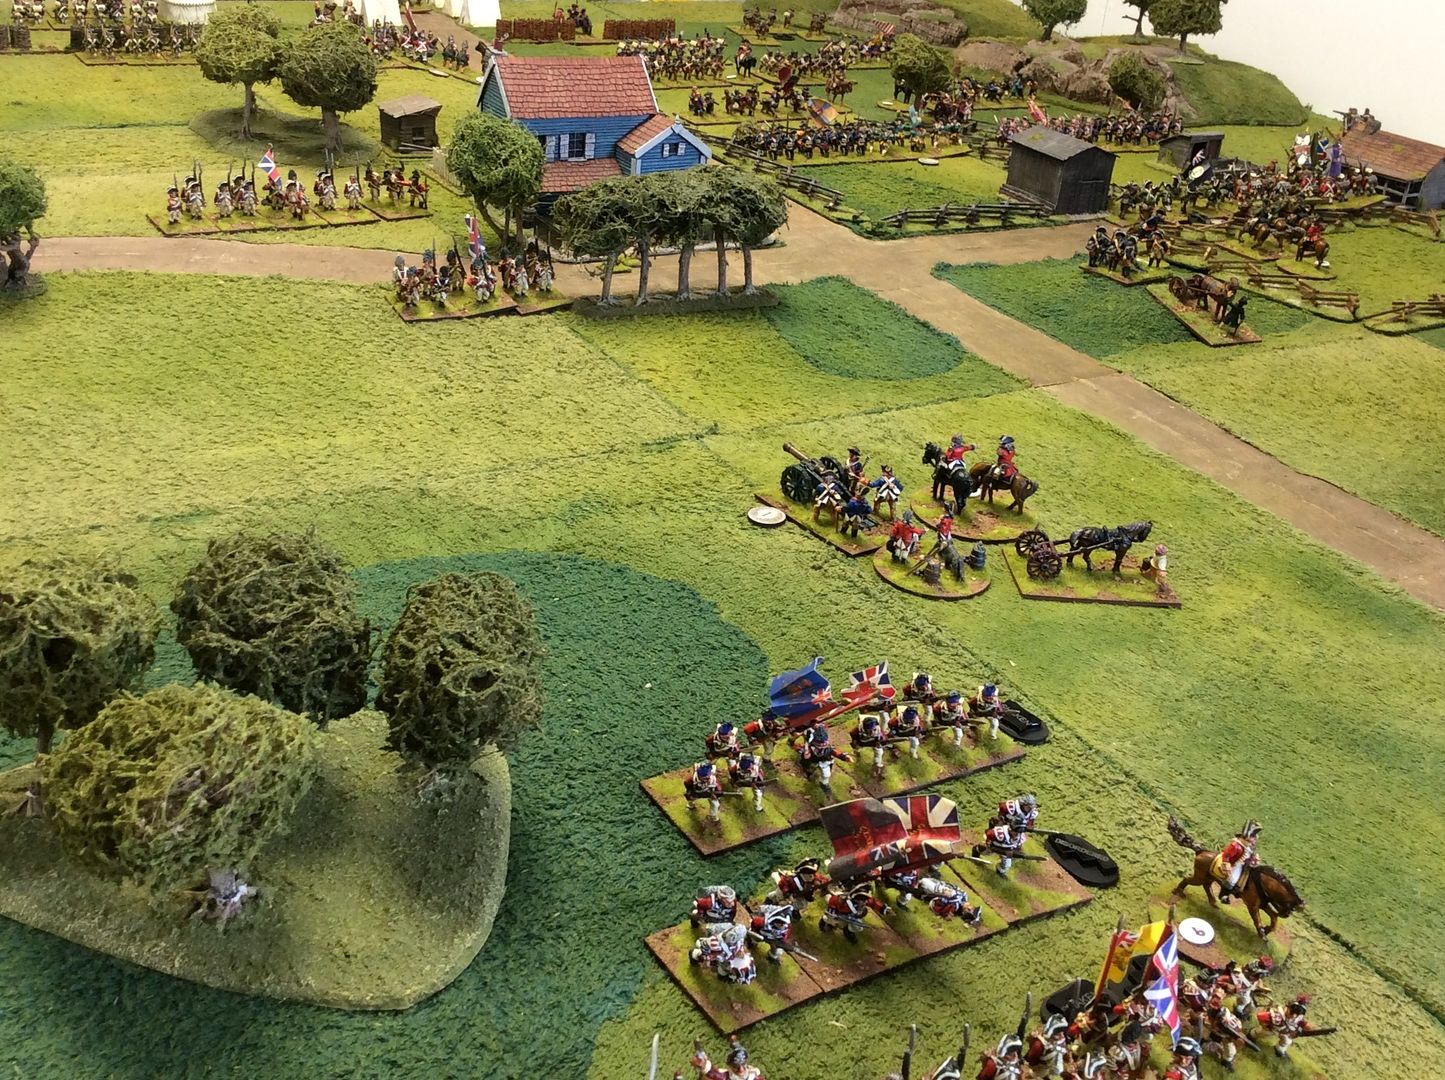
The American left had an advanced line held by the Militia and a support line of State troops. The Militia also were to suffer under enemy fire but held their ground and traded shots with the Hessians with more tenacity than might be expected.

The British lines sweep forward into the attack. Or at least some of them did. The Hessians were markedly reluctant, so much so that we came to the conclusion they had not been paid for months!
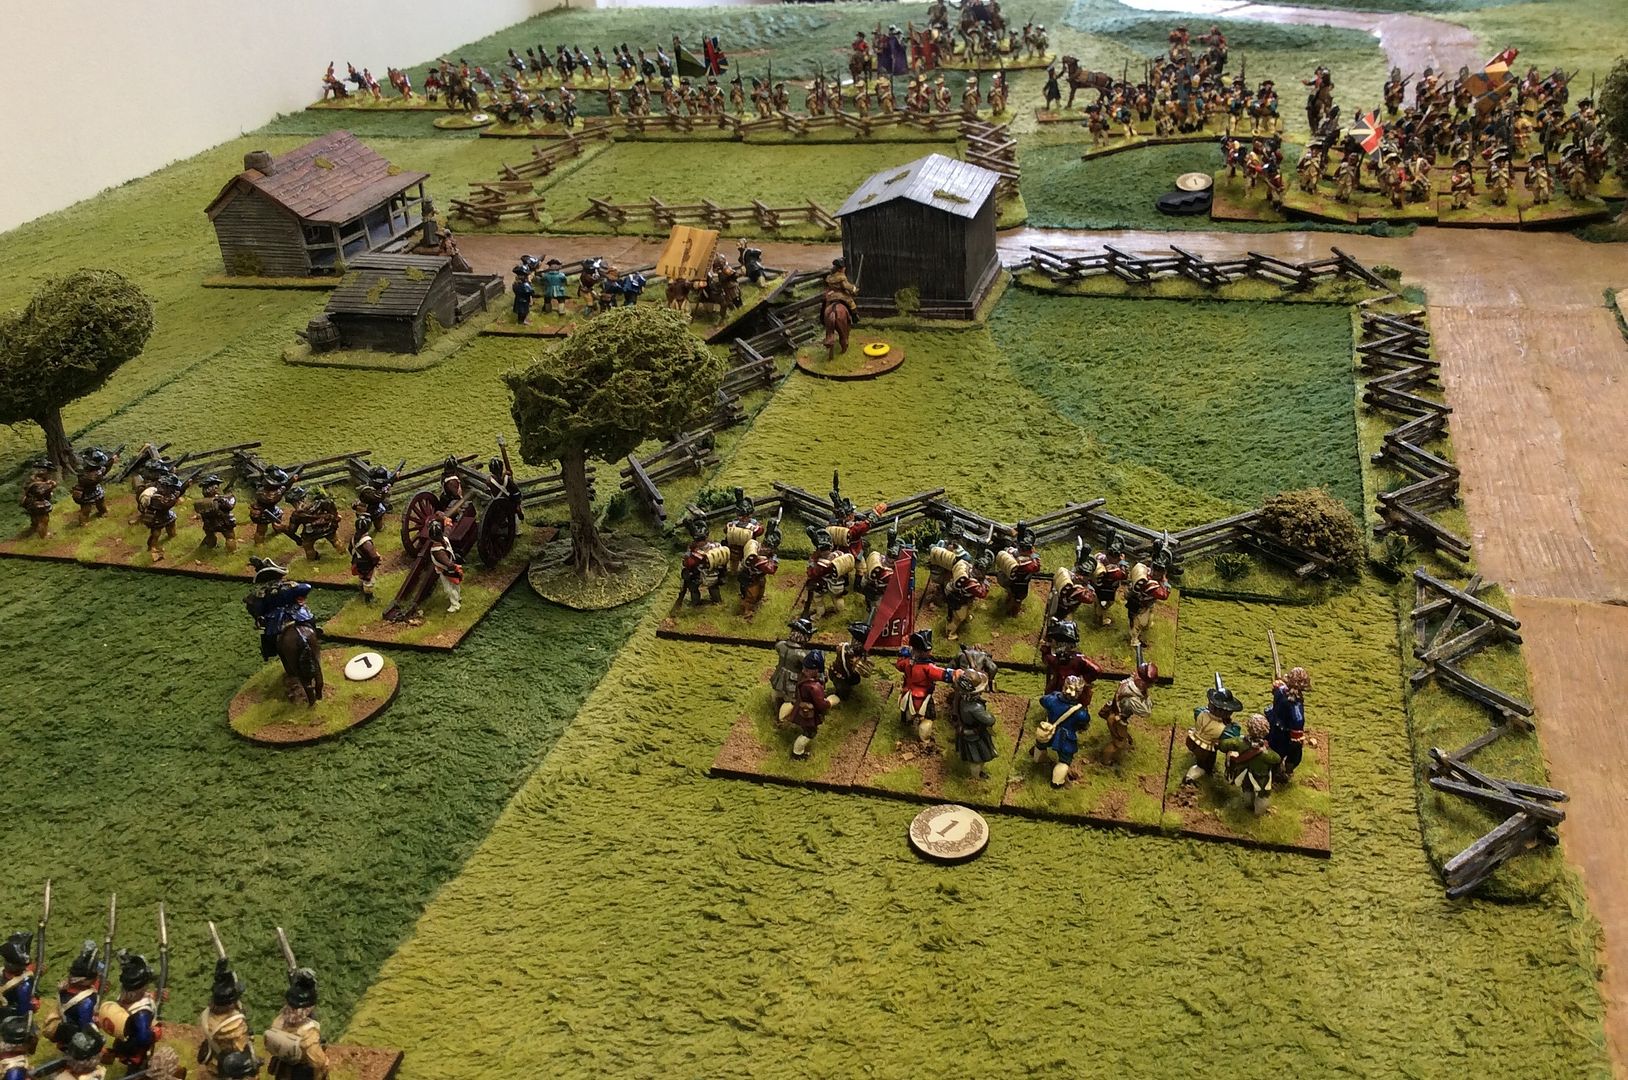
One aspect of Blackpowder which seems to divide opinion is the Command structure. We diced before the game to establish the ratings of each commander and marked the number on a small coloured piece. We both personally like the uncertainty of events which results from each command throw, but others seem less keen I've noticed. In the picture below you can see the results of one British turn, where the two far commanders have both failed an order test resulting in a piecemeal advance of the force.
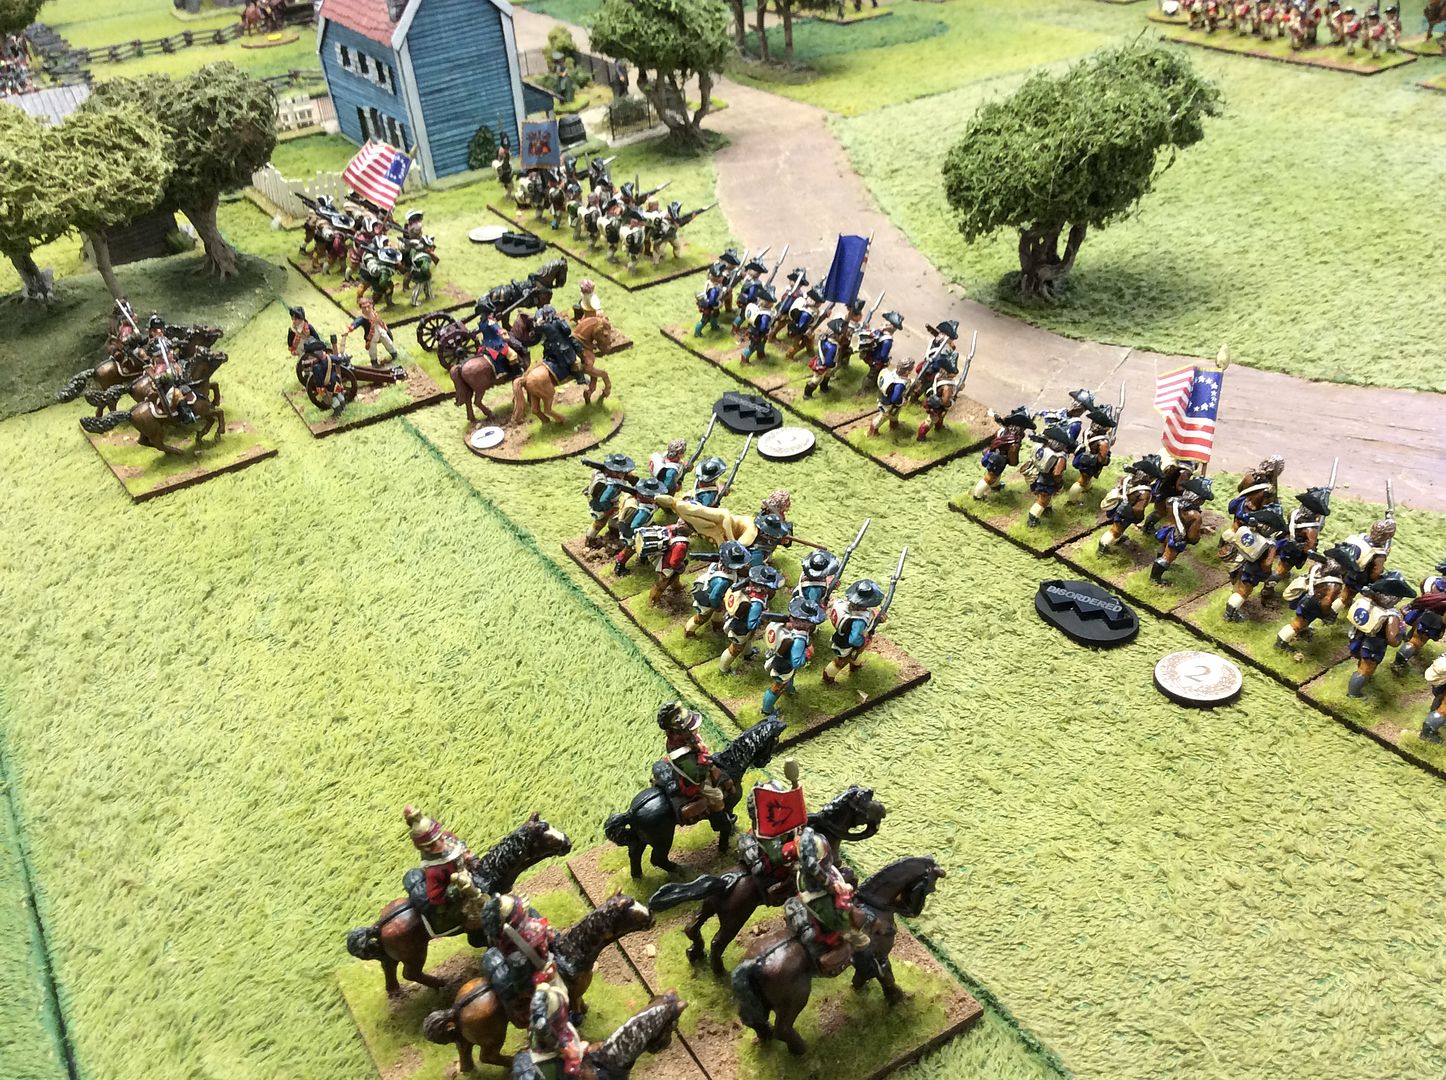
The American right flank, disordered by musketry in the early stages, went onto the attack when the opportunity arose. The resulting fire fights and melees were to be bloody but brief, but more of that later.
One Militia regiment was able to fire and retire as the threat grew, but its sister unit was pinned by a Disorder marker and had to stand the trial of a prolonged firefight, which it did more due to Jon's dice throws than anything else!
Back on the American right the British Brigade opposing it is suddenly broken and flees the field. The Americans loose one Regiment to a rout, but the way seems open to swing left and roll up the British line, especially as the Hessian advance has once more stalled!
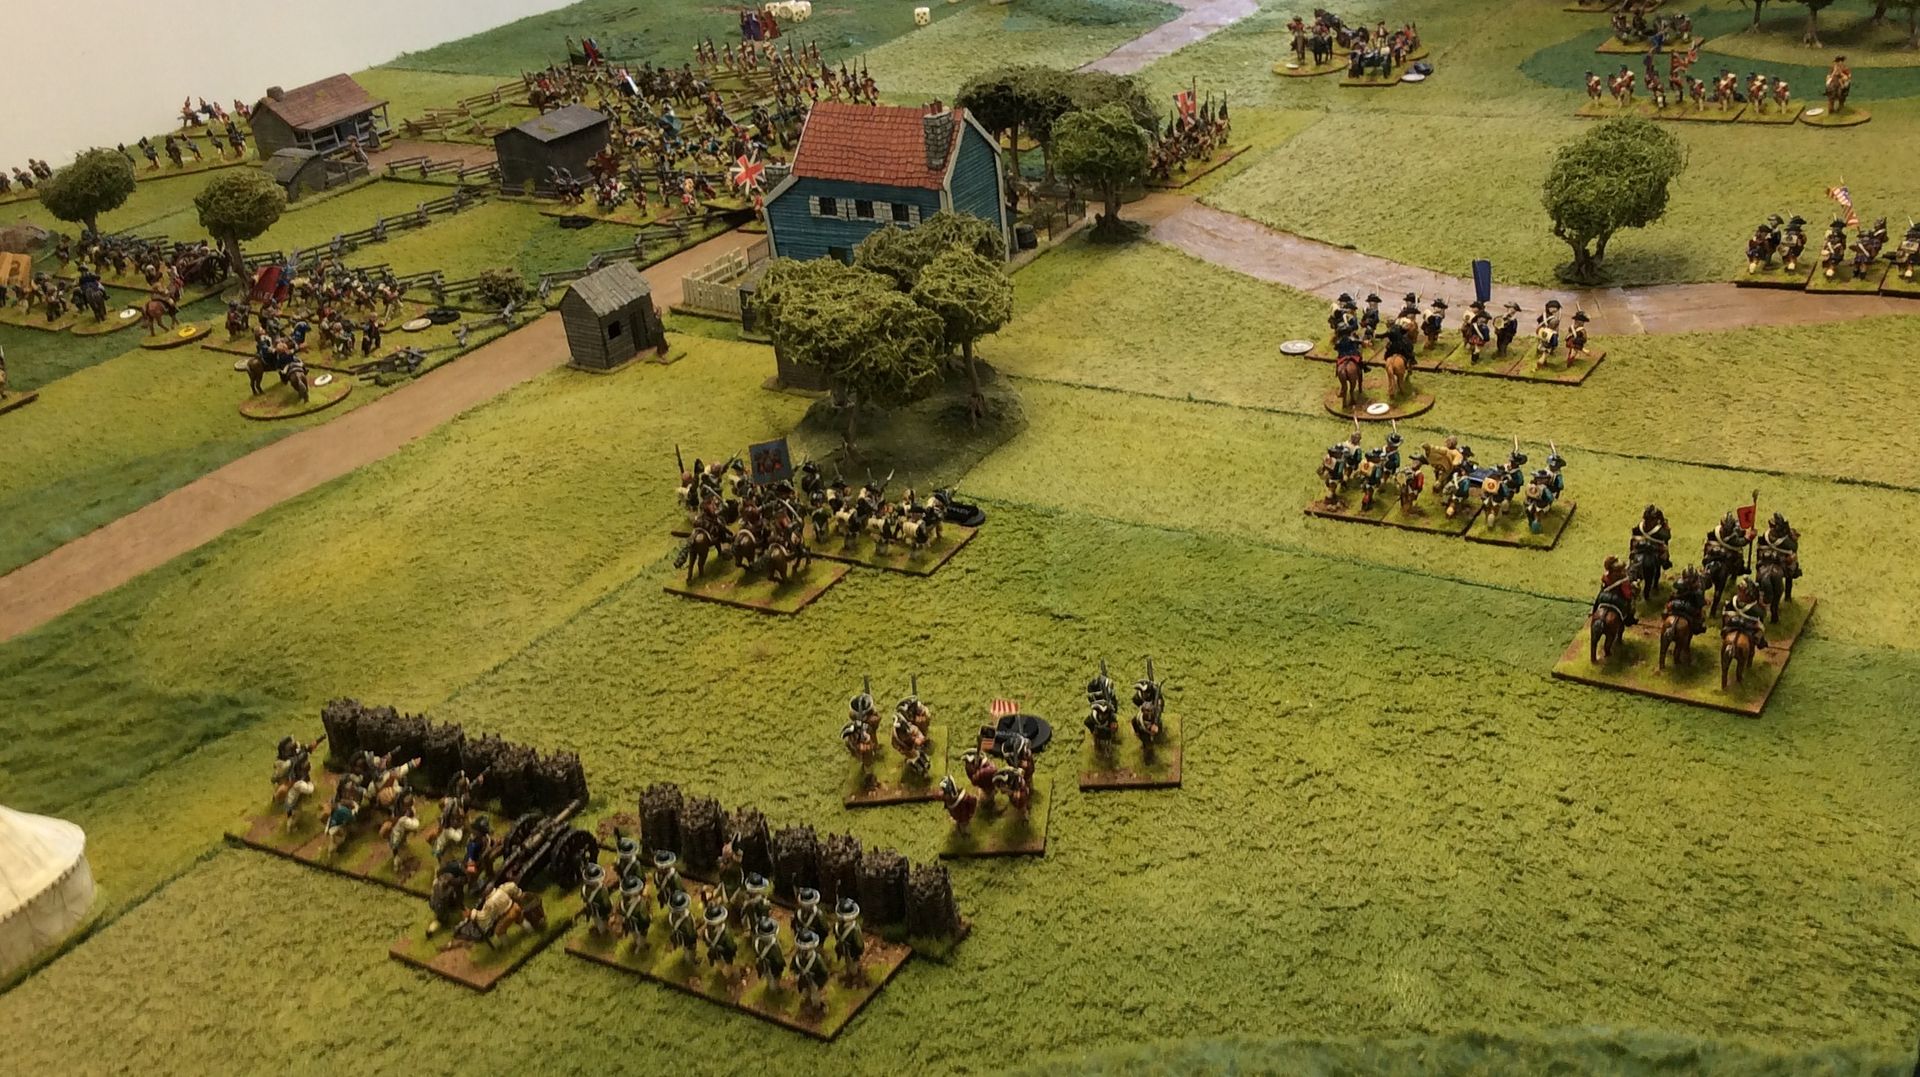
Things are never simple though in wargames as in life. British artillery hammers the Americans and they too break, even as the British before them flee the field in confusion.

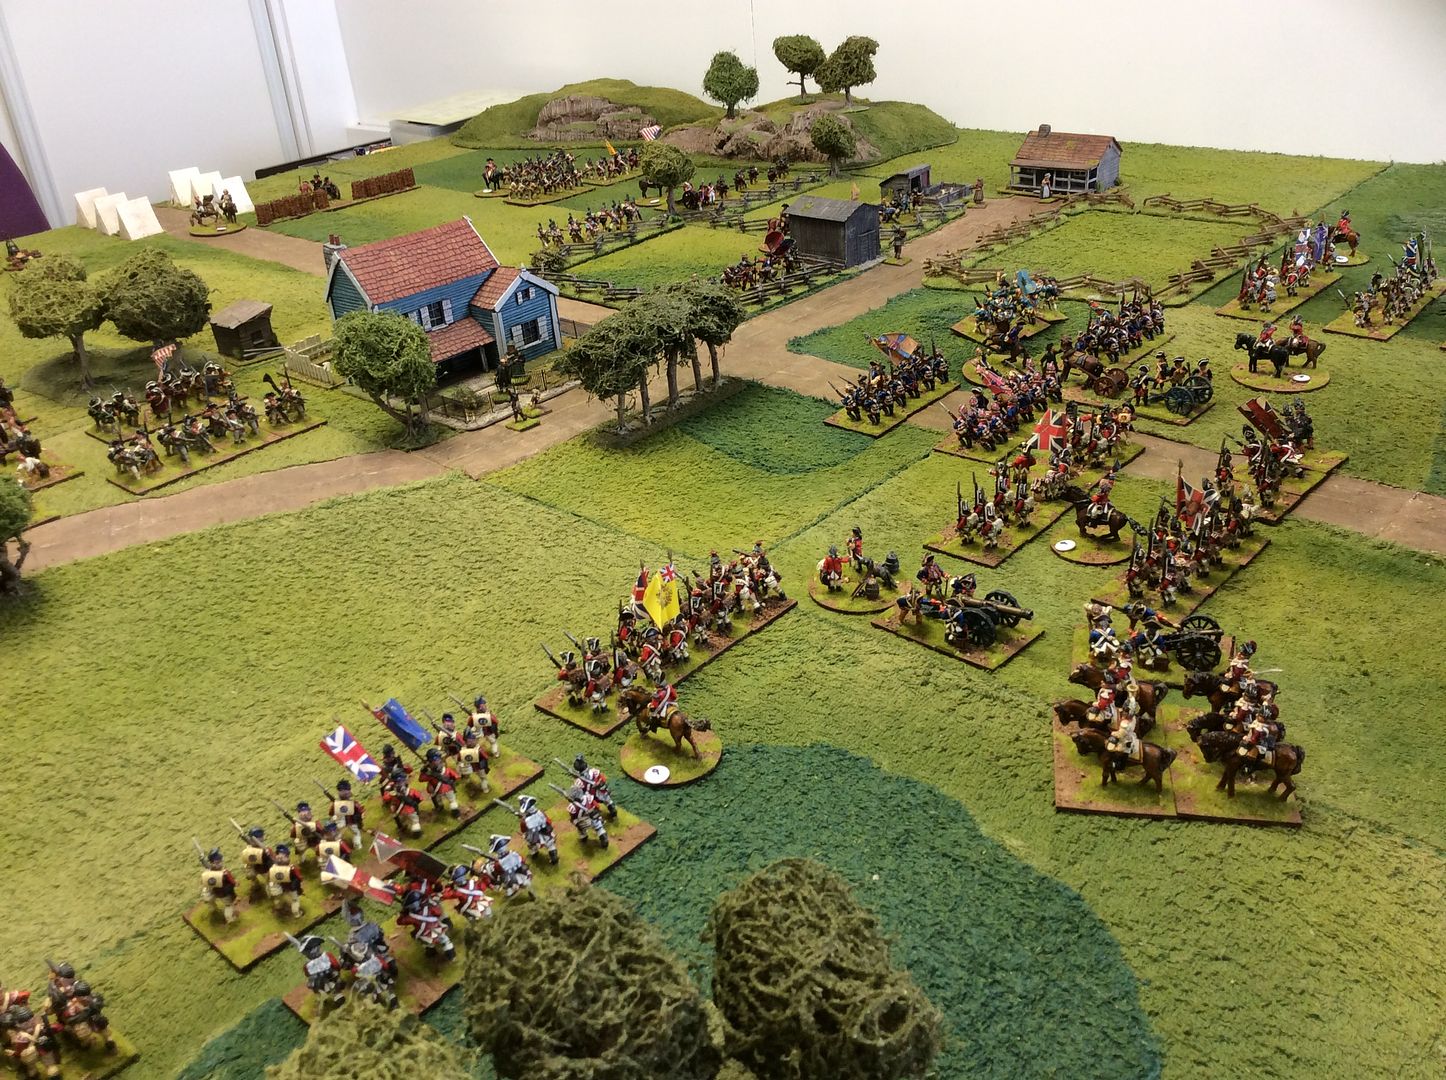
As his right flank streams away to the rear, Old 'Independence or Death' must shore up his lines and so leads the reserves of Marines, Dragoons and artillery forward to engage the Guards now occupying the Bykleigh residence.

The British attack on the American left finally makes some headway. The Militia are spent and fall back behind the second line as the mass of enemy close on the position.

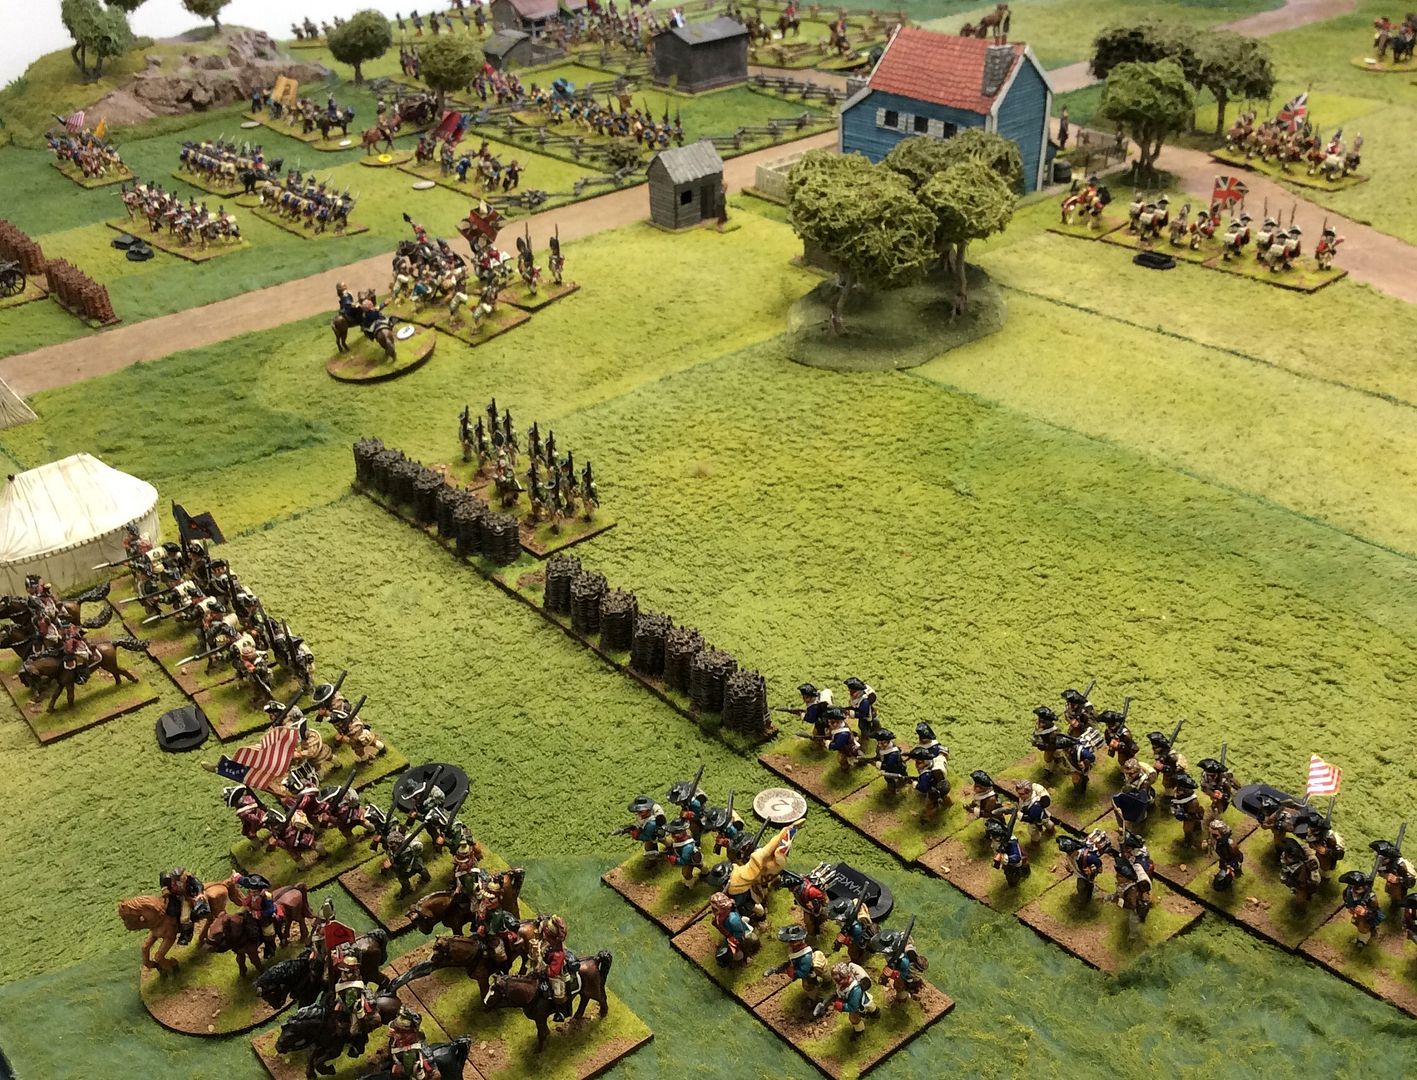
The American reserves are pounding the Guards occupying the house and inflicting heavy losses, it seems that the sons of liberty may carry the day!

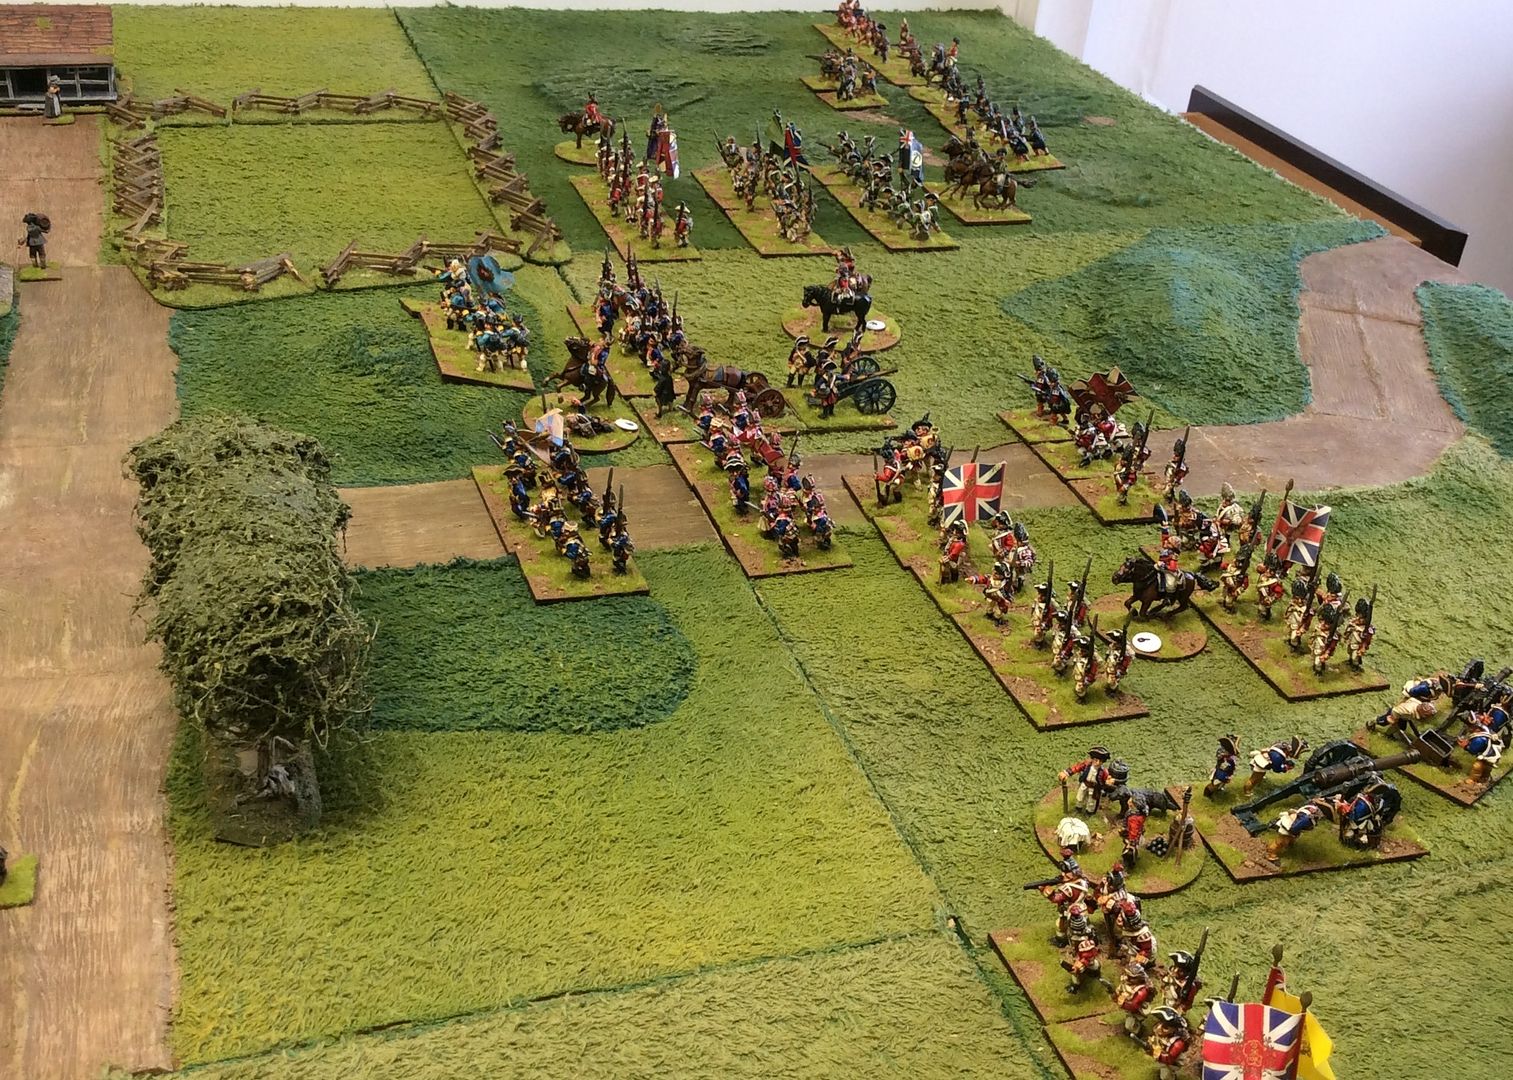
Suddenly the Grenadier composite units supporting the wavering Foot Guards charge the American line. One American unit breaks in confusion and the second is Shaken but fights on. In the next turn both are Broken and stream away to the rear. Both armies have two broken Brigades at this stage, one more for either side will see the army itself broken and defeat inevitable!
In fact in Turn 7 the American second line on the left is broken by a combination of musket and artillery fire and so Old 'Independence or Death' sees his army quit the field. It is no consolation that he has badly mauled the enemy all across his front as all around he sees his boys in full flight from the enemy. No doubt there will be awkward questions in the Congress...
As ever, Blackpowder provided an intriguing game with the advantage swaying first one way and then the other. As the American commander I had two opportunities to win the game, but in the end my luck ran out! Jon suffered many incidents of poor or failed command rolls and as a result his attacks became disjointed, a disadvantage further hampered by unusually poor dice in firing phases! The key disadvantage for my boys came in melees, where I consistently lost and frequently failed the saving rolls. The ending of the game was sudden, though not unexpected as it turned out. Had I survived Turn 7 then Jon's British may well have broken in Turn 8, but that's life as I said earlier on!
Very nice game indeed David! Well you came close so next time you just pull it off. You have me looking at my AWI collection and realizing it's been awhile since I had mine on the table.
ReplyDeleteChristopher
Thanks for that, Christopher. Next time, maybe....
DeleteSplendid looking array as always, perhaps you will do better on Monday.
ReplyDeleteYou must have the gift of foresight! Turn your talent to our Lotto entry next please!
Delete