The recent spell of hot weather had really not been conducive to spending time laying out complex games here in GHQ, so our most recent offering from last week is a run out for some of my 1066 & All That collection. The game sees Phillipe de Rawnslie's Anglo-Normans travelling to seize lands in the Emerald Isle. Needless to say, the local Hiberno-Norse ruler, Harald Dubhghaill, is far from pleased...
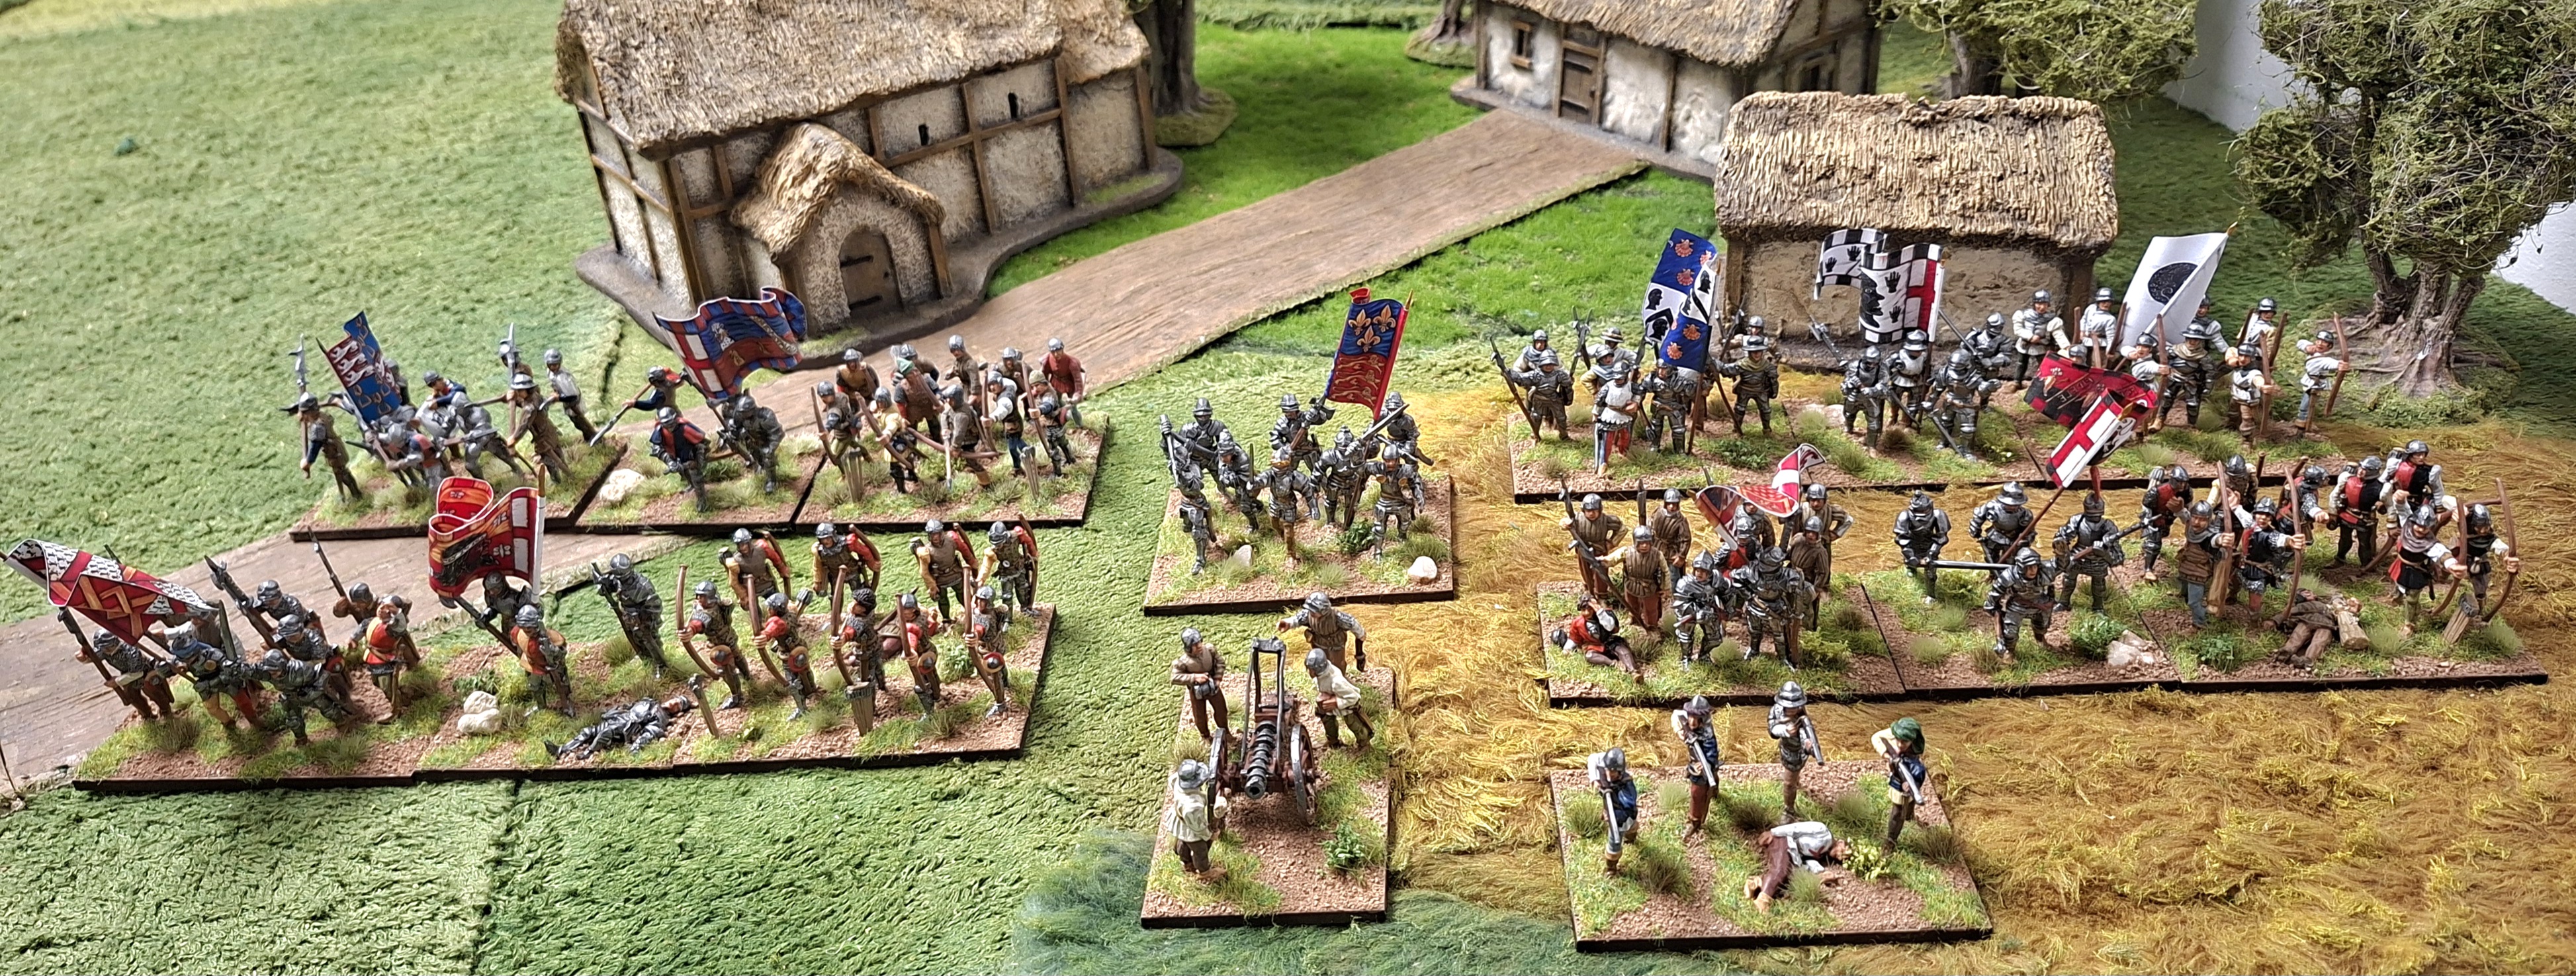
A view of the battlefield from behind the Great Hall of Harald Dubhghaill: Hiberno-Norse in the centre, Irish levy on either flank ~ Welsh/Saxons pretending of course!
Norman mounted knights waste no time getting stuck in to the local peasants!
As do the Anglo-Norman infantry!
Waves of Norman knights sweep forward across the battlefield, their thundering hooves shaking the resolve of Harald Dubhghaill's host!
As can clearly be seen in this shot of the oh, so typical combat dice...
...resulting in mounting losses for the home side despite the encouraging presence of the minor nobility!
Time for Harald Dubhghaill to lead his Household forward in support of the local sword fodder, some of whom have had enough for one day...
...finding an urgent need to beat a hasty retreat, perhaps farming is not so dull after all?
Not that there's much chance of imminent agricultural diversion, nor of a decent crop this summer, as both sides clash on the rich farmland!
De Rawnslie is having his own problems though, with his centre apparently disorganised or at least lacking in resolve to close up on the enemy!
Not that his opponent has manages his affairs much more successfully, with his lightly armed skirmishers already forced to flee!
What combat there is on his left of centre sees his knights forced to meet the threat from two directions. Neither side here gives ground though losses are steadily mounting!
Irish peasants levy fight bravely against heavy Norman knights, though the outcome seems obvious to onlookers!
Perhaps no-one told the knights though...
Despite the unexpected success, the unexpected turn of events only serves to delay the inevitable as more Norman knights crash into the victors!
Some of whom, despite the heroic presence of minor nobility, have clearly more important things to attend to in the rear!
With the Anglo-Normans in the ascendancy across the battlefield Harald Dubhghaill's forces are finally shattered, peasants levy being no match for Norman knights in the final analysis!
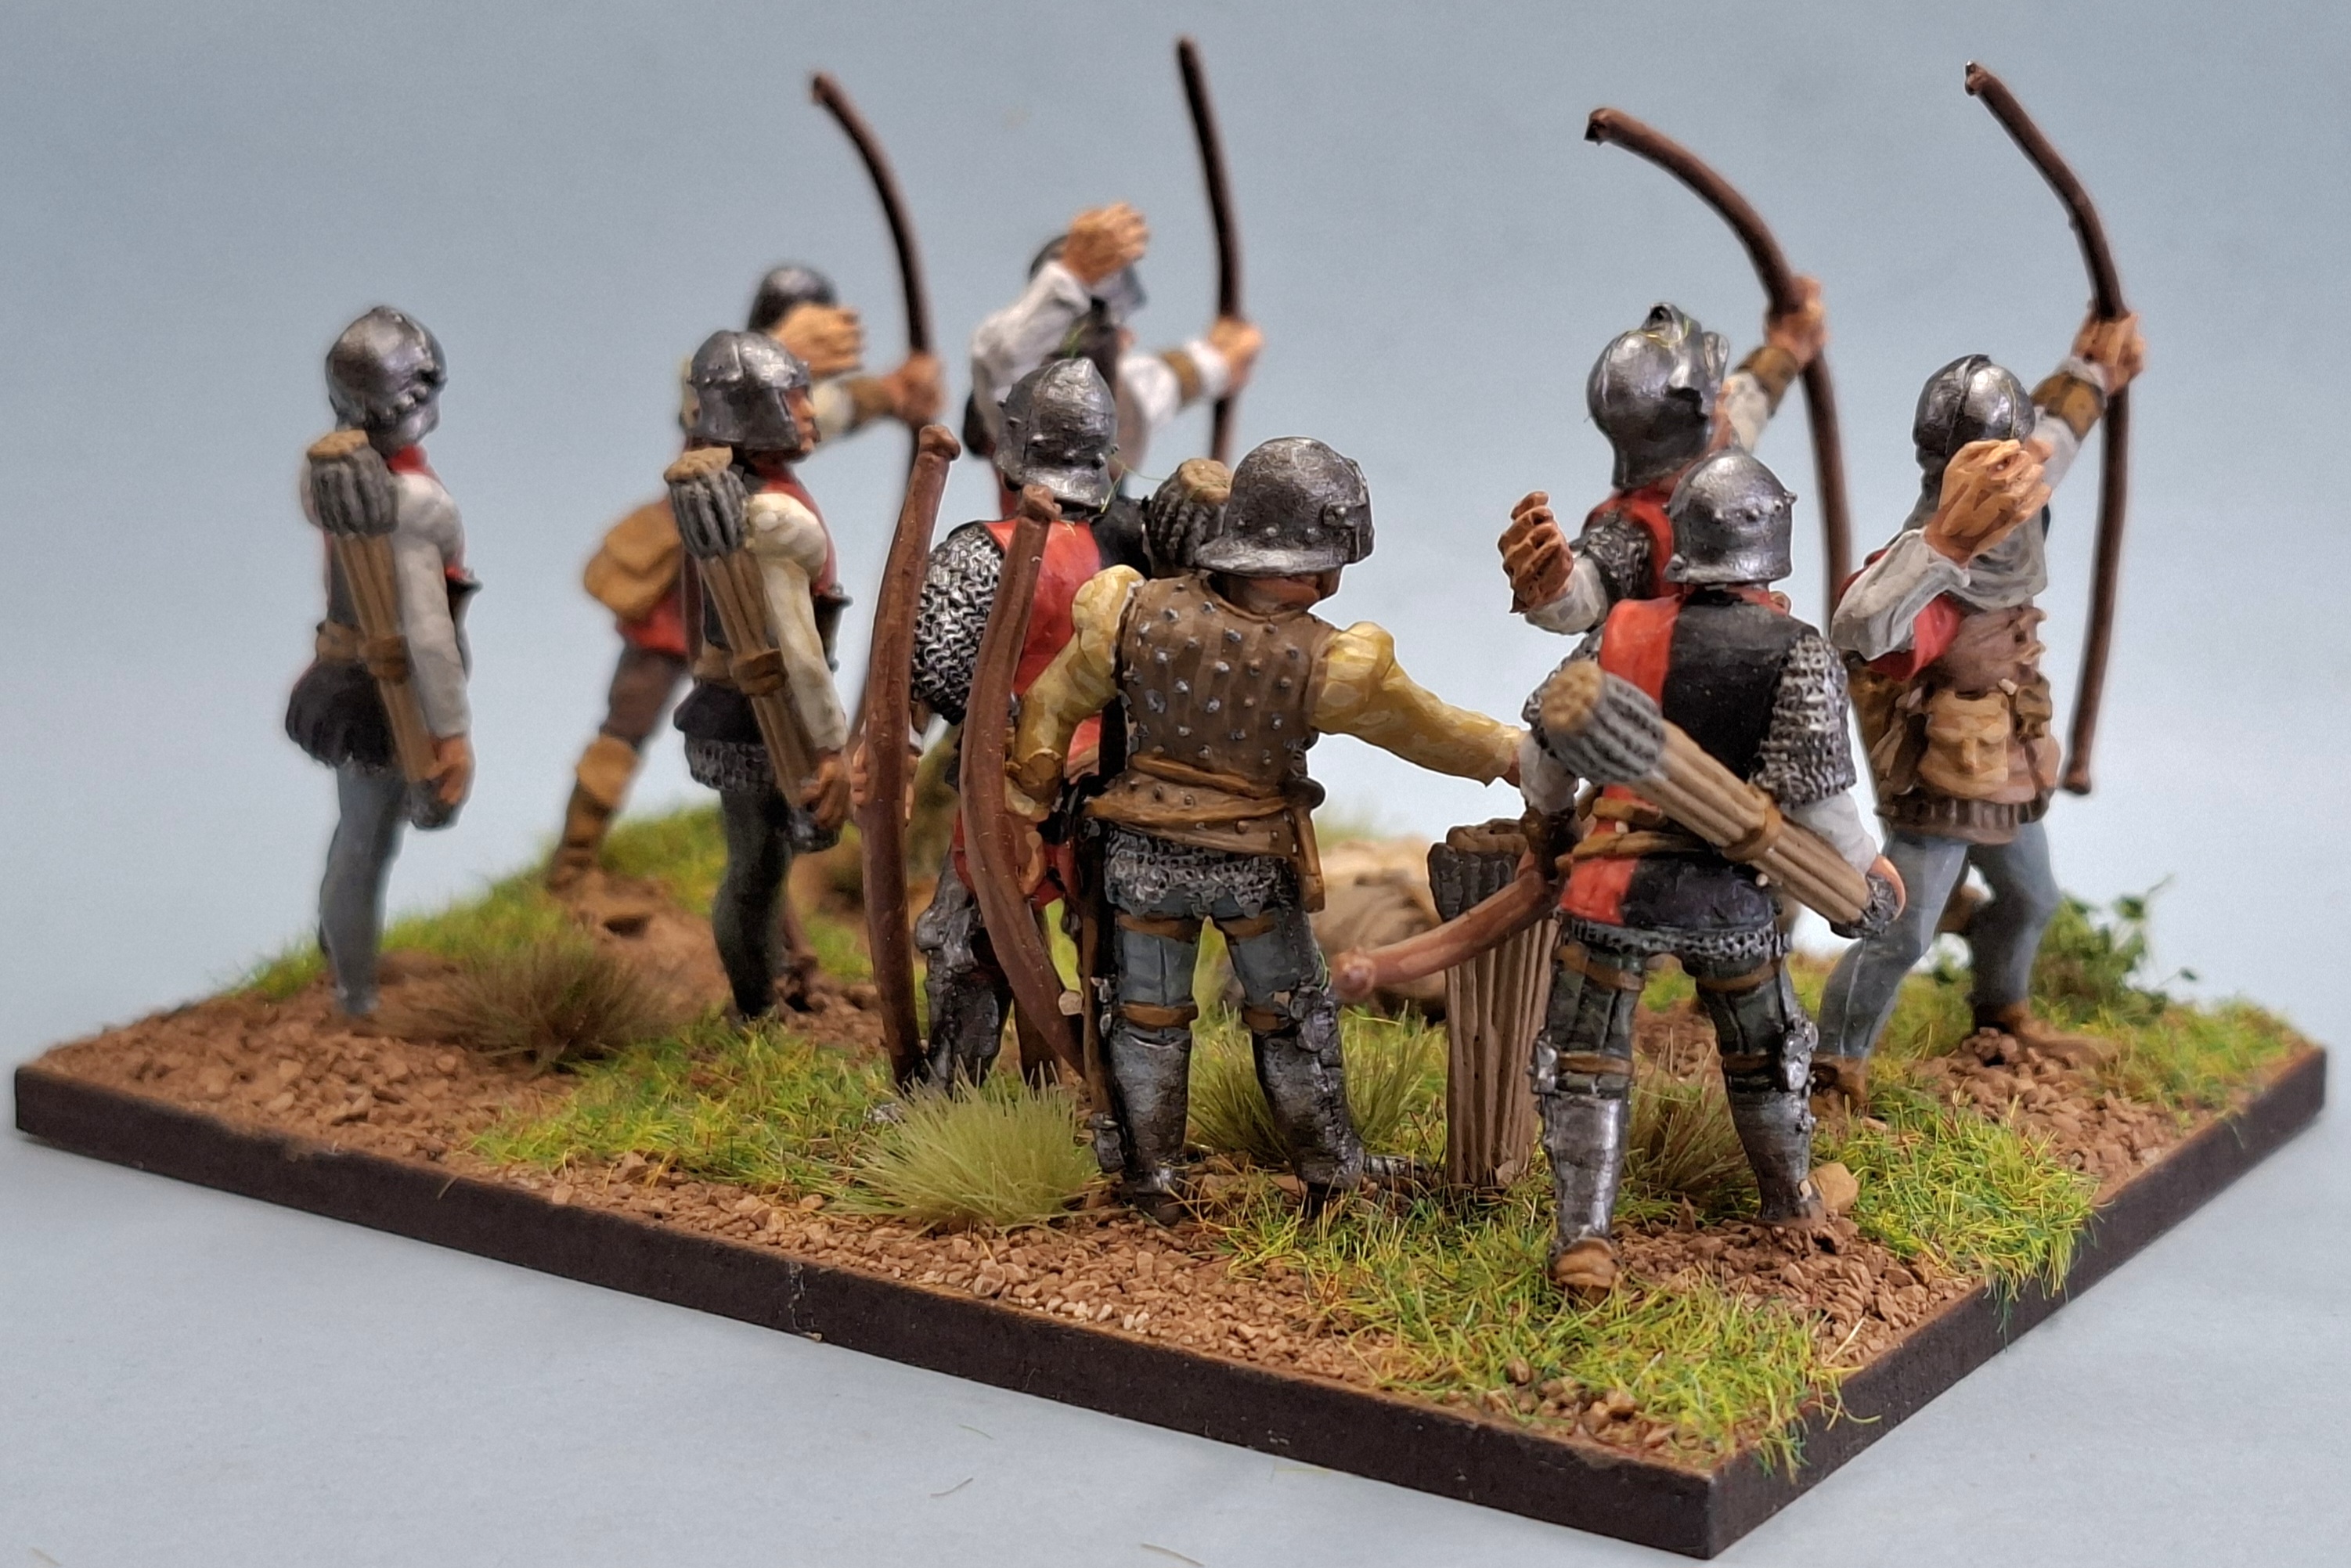
The Hiberno-Norse army broke in Turn 9 as losses reached crisis point. Despite some successes on the left and dour defence on the right their centre never really got to grips with the heavy Norman knights! A grand game though played out in the best of spirits! No game here though this week, Phil being AWOL in Inis Mon! More time then for painting my Wars of the Roses figures!