A lighthearted game set against the world of P G Wodehouse's Blandings Castle stories and our alternative WWII background centred on a successful Operation Sealion, fought out here in GHQ recently by Phil, as the brave Brits, and Jon and I, as the vile Hun! We used
Bolt Action rules with some minor in house modifications, as you'll realise when you follow the story through.
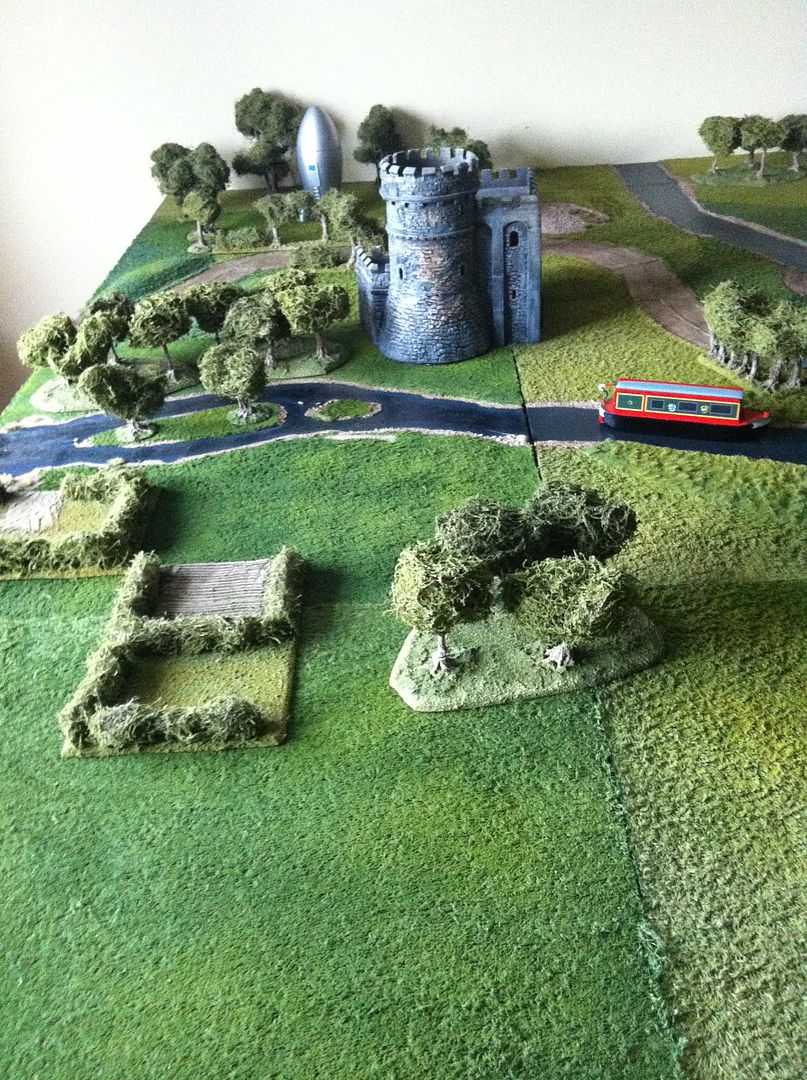
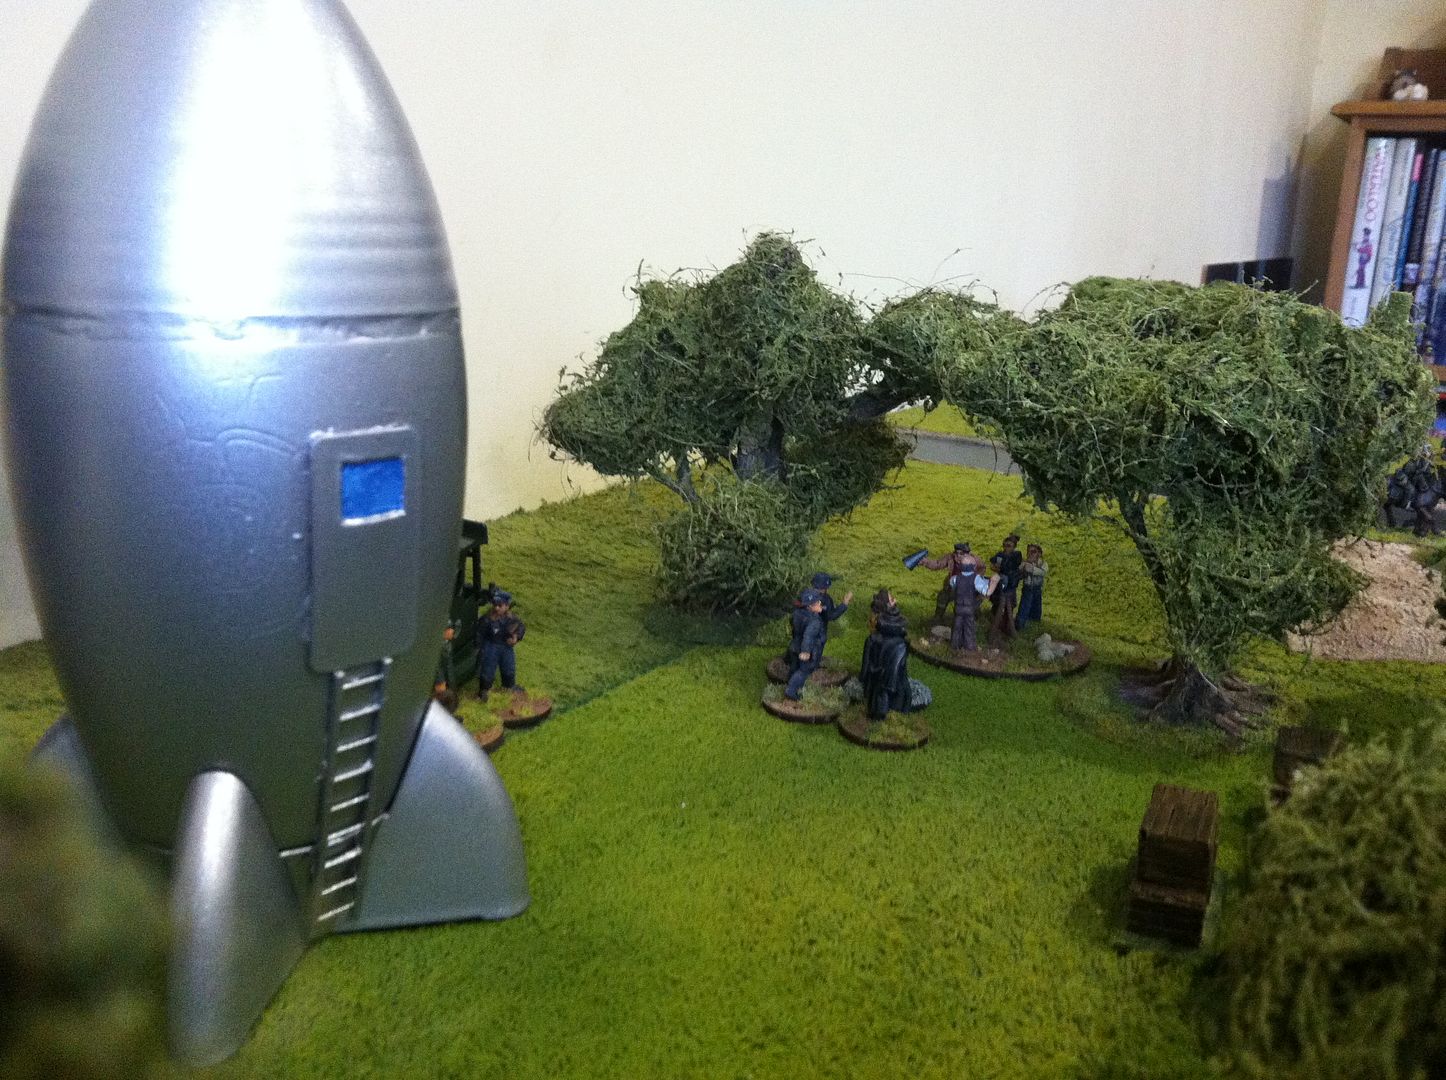
By the early morning light all seems peaceful around Blandings Castle, former home to the now interned Lord Emsworth, who pines for his one true love, The Empress of Blandings, his prize fat pig...
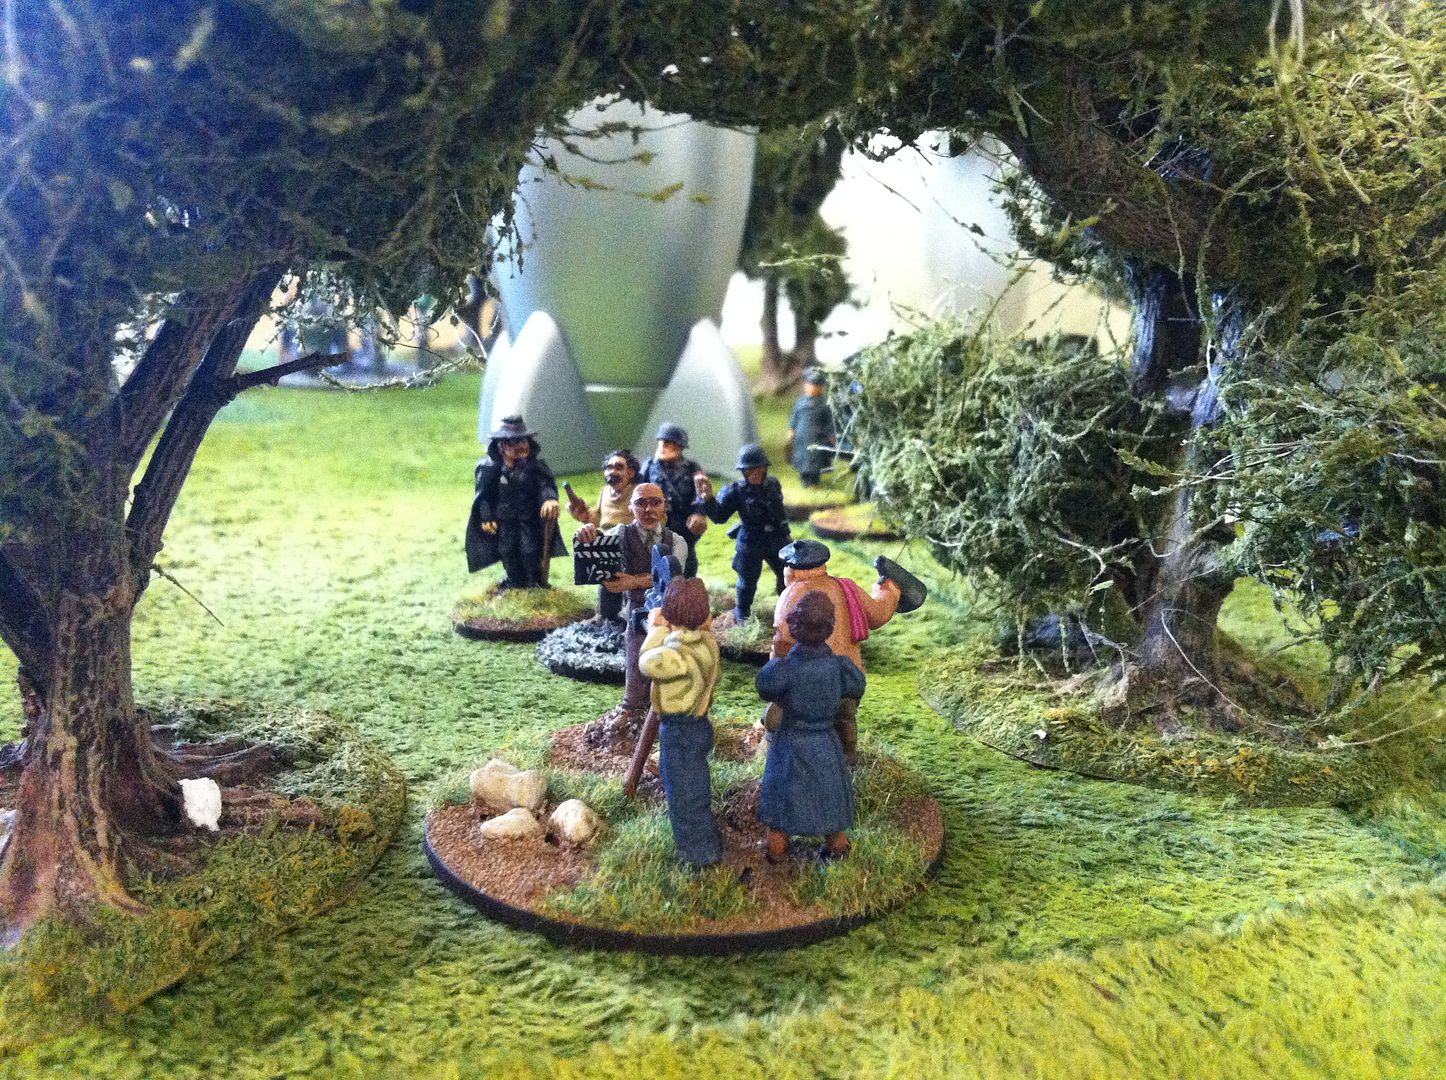
Top Reich Scientists are on hand to oversee the final preparations...
All is to be recorded for the eager viewer by a camera crew.
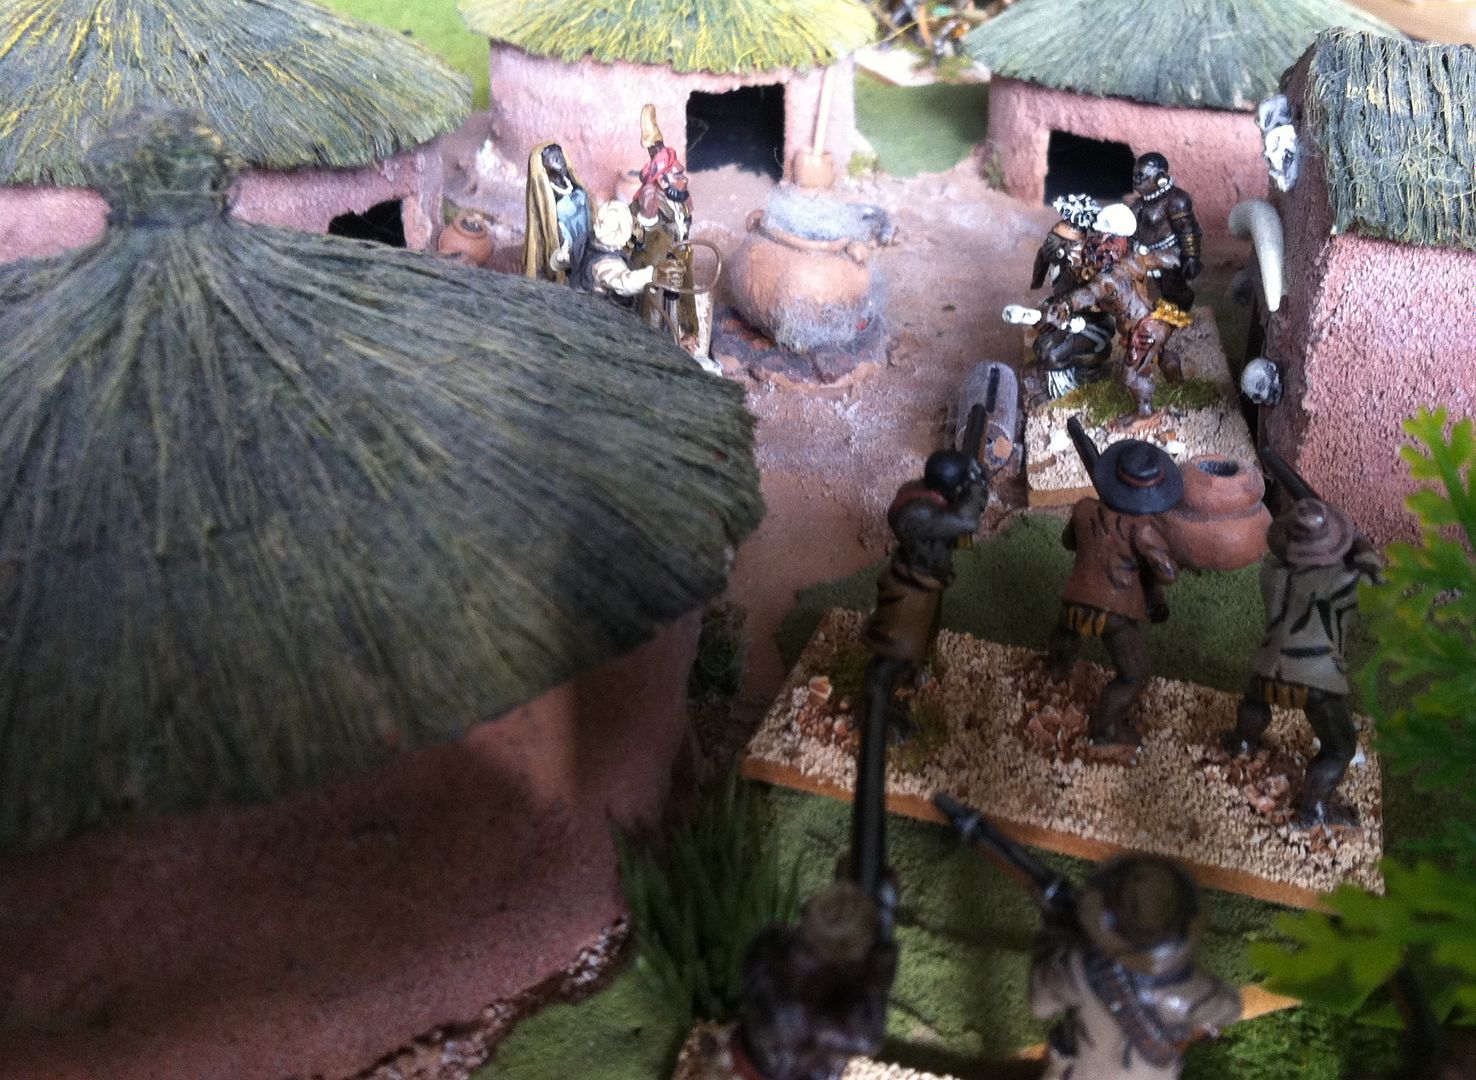
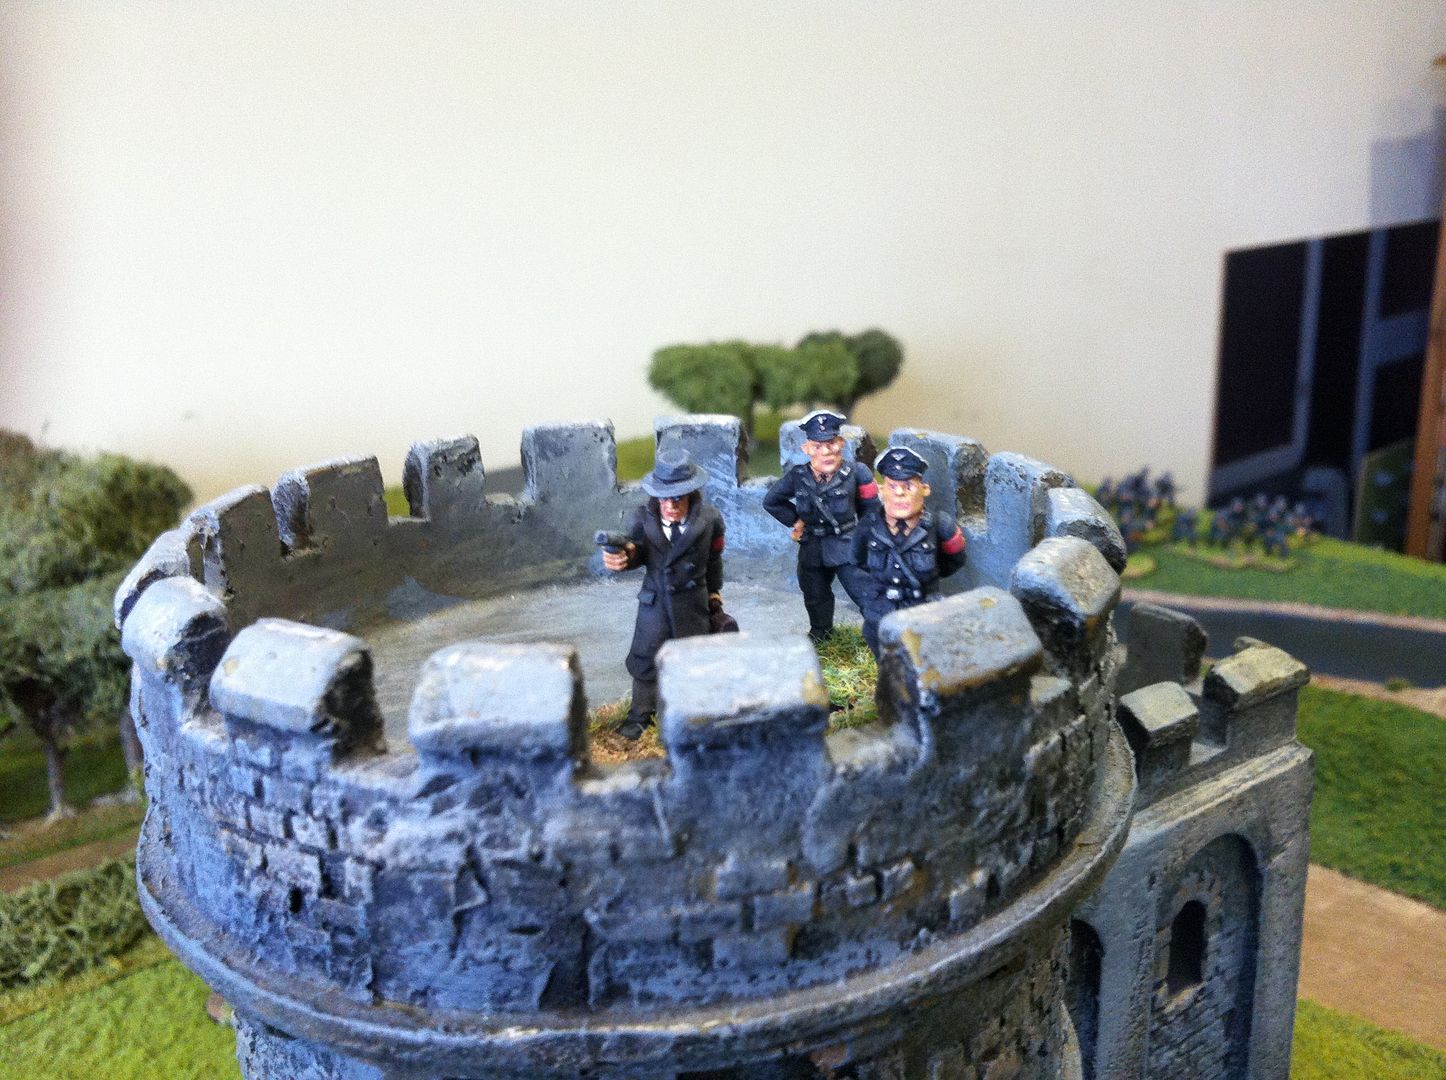
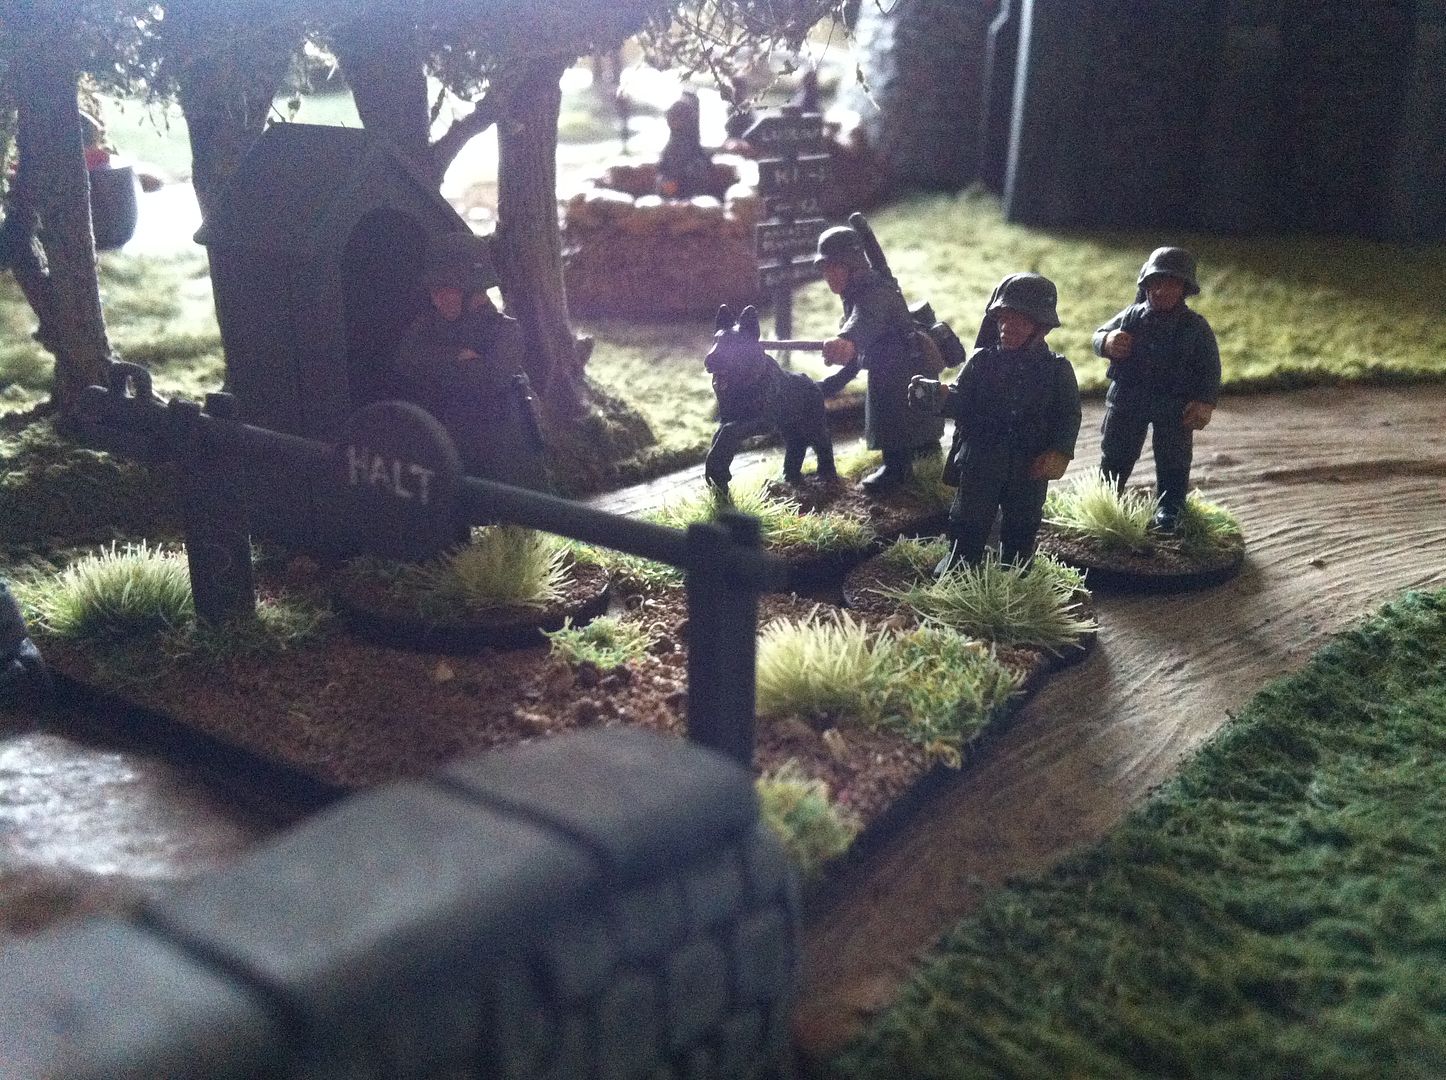
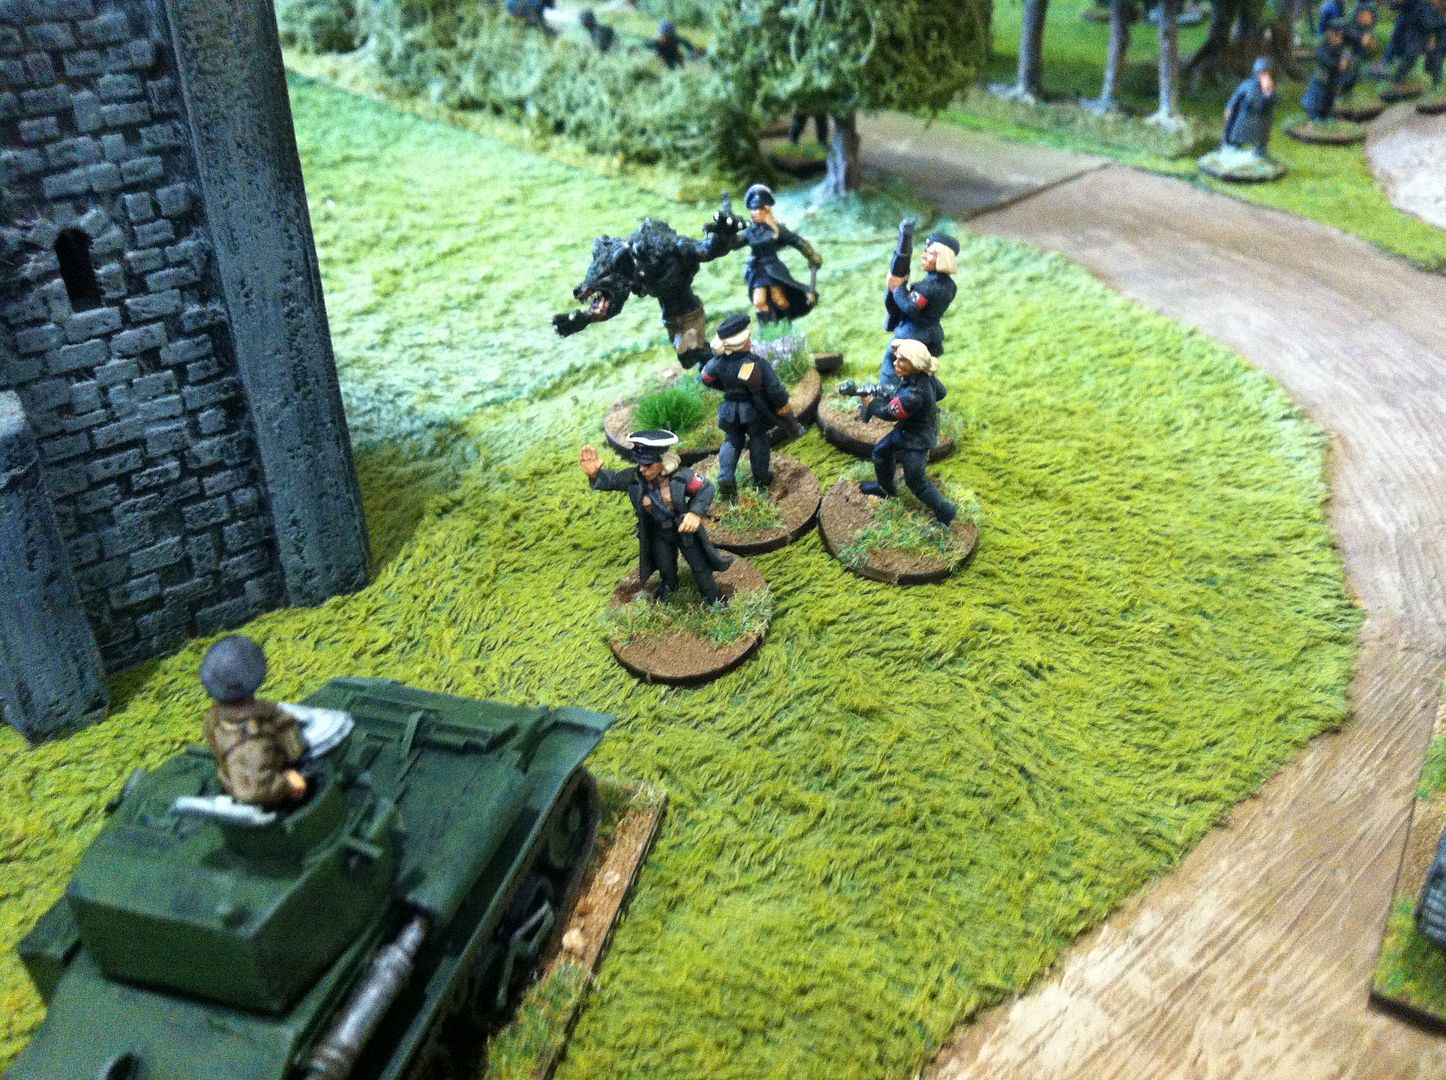
While security within the grounds of the castle is in the hands of Herr Bykel of the Gestapo...
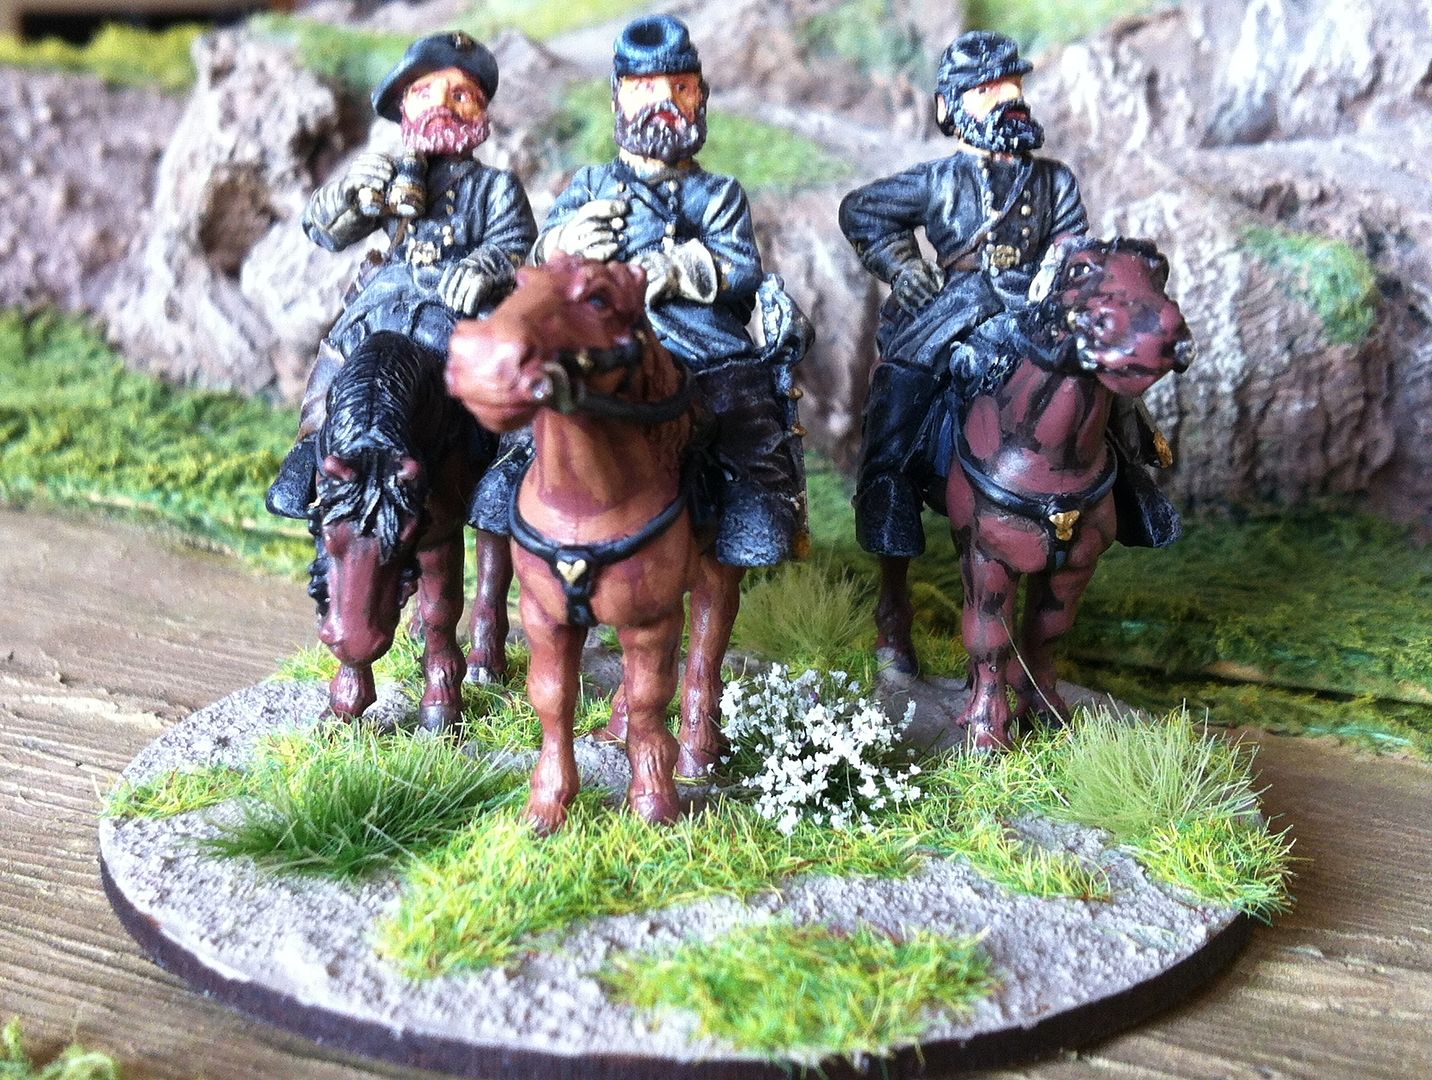
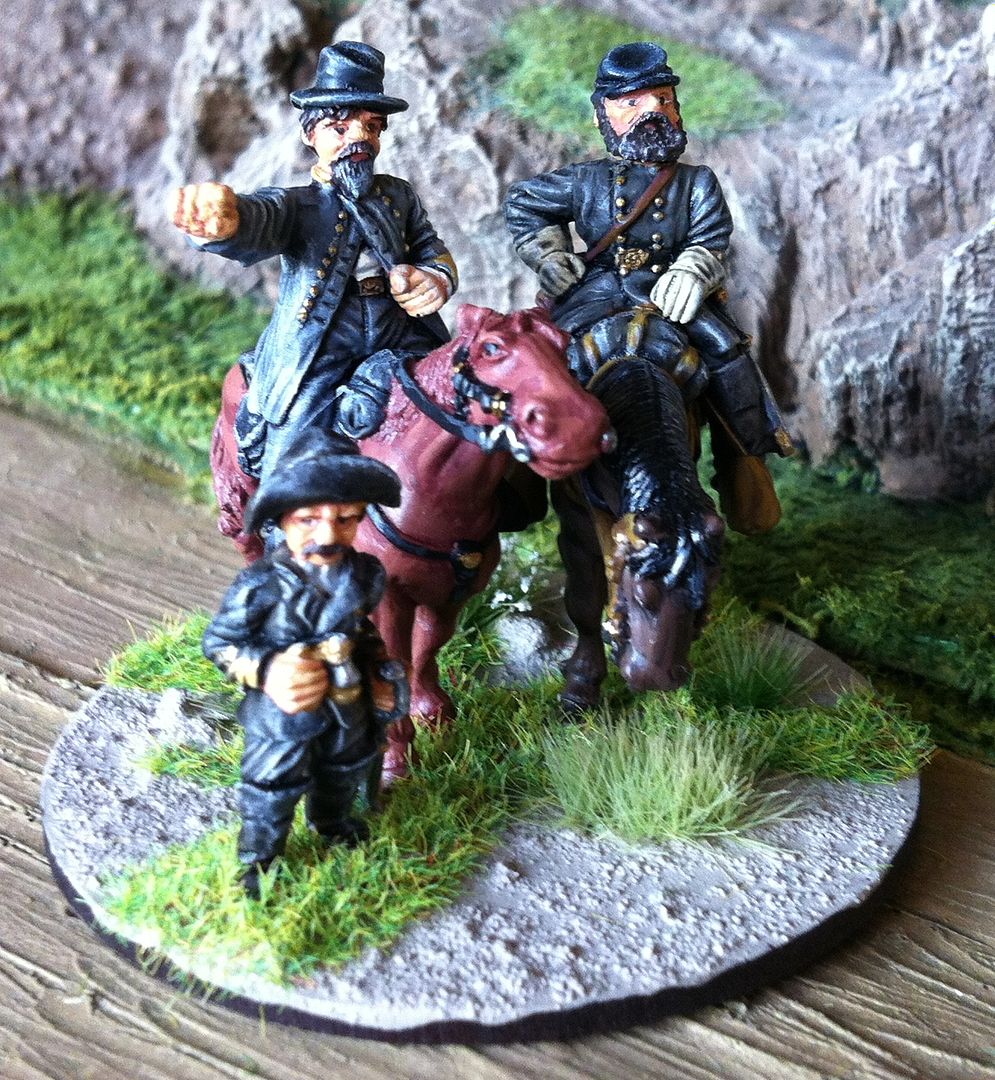
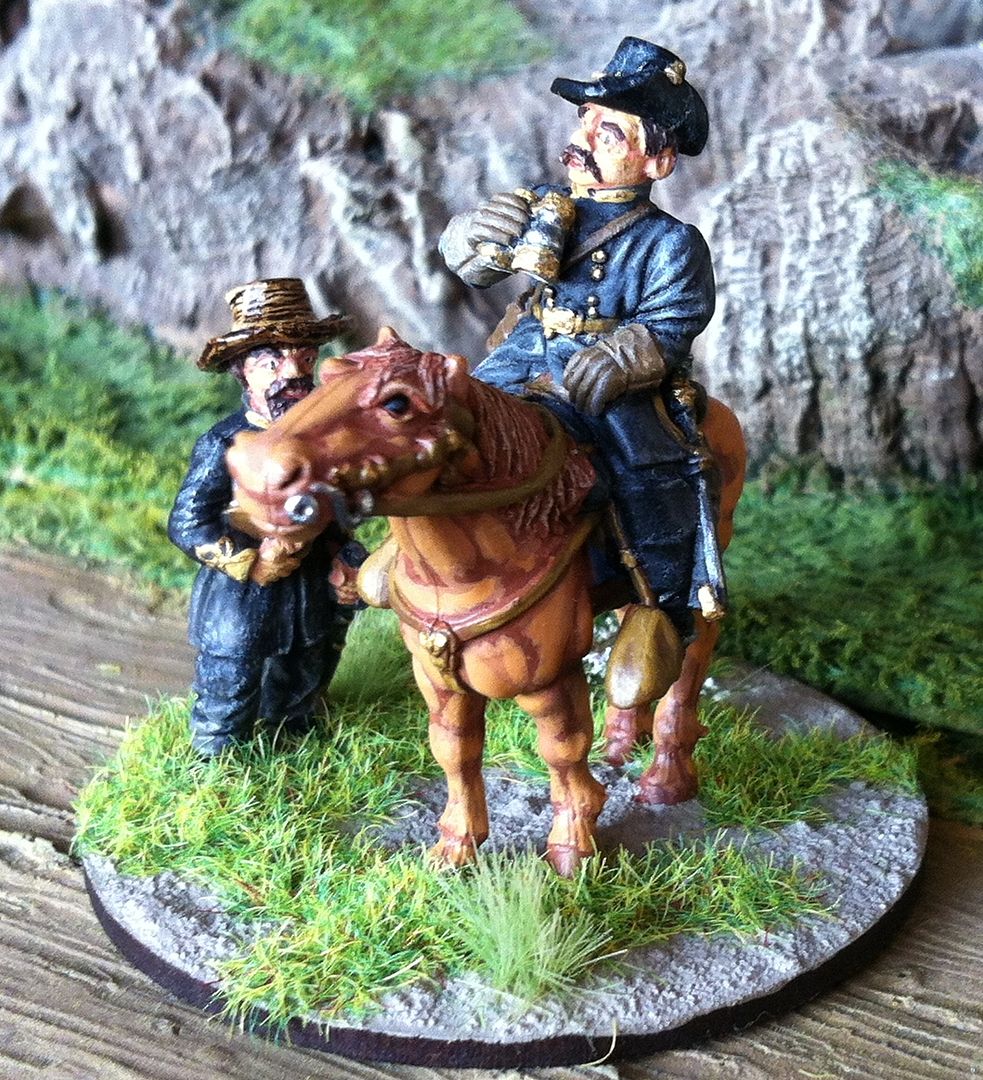
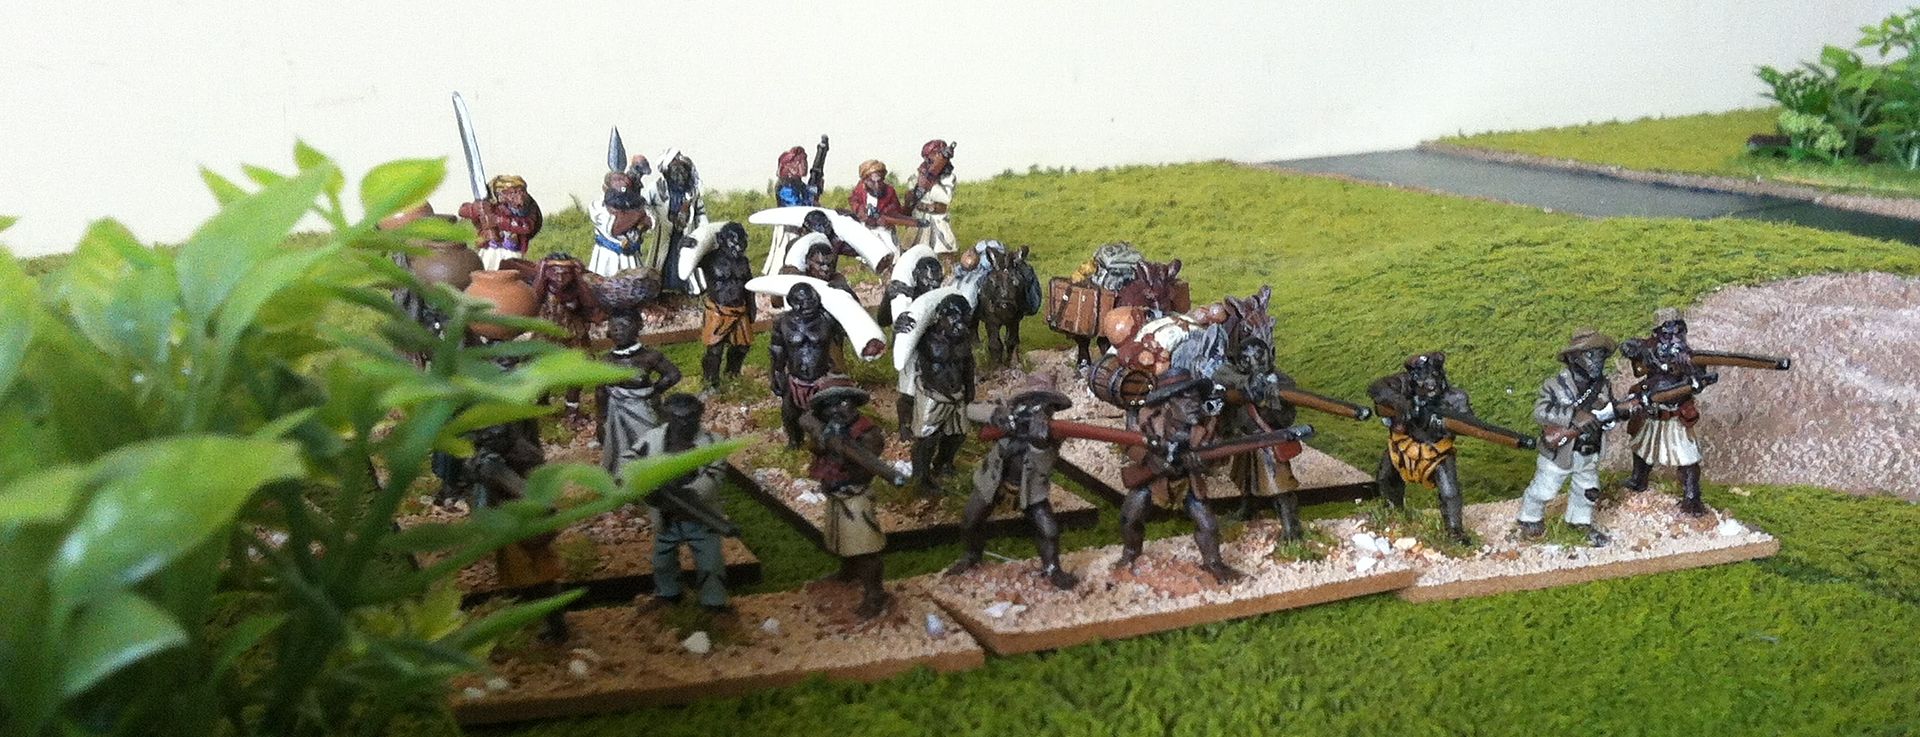
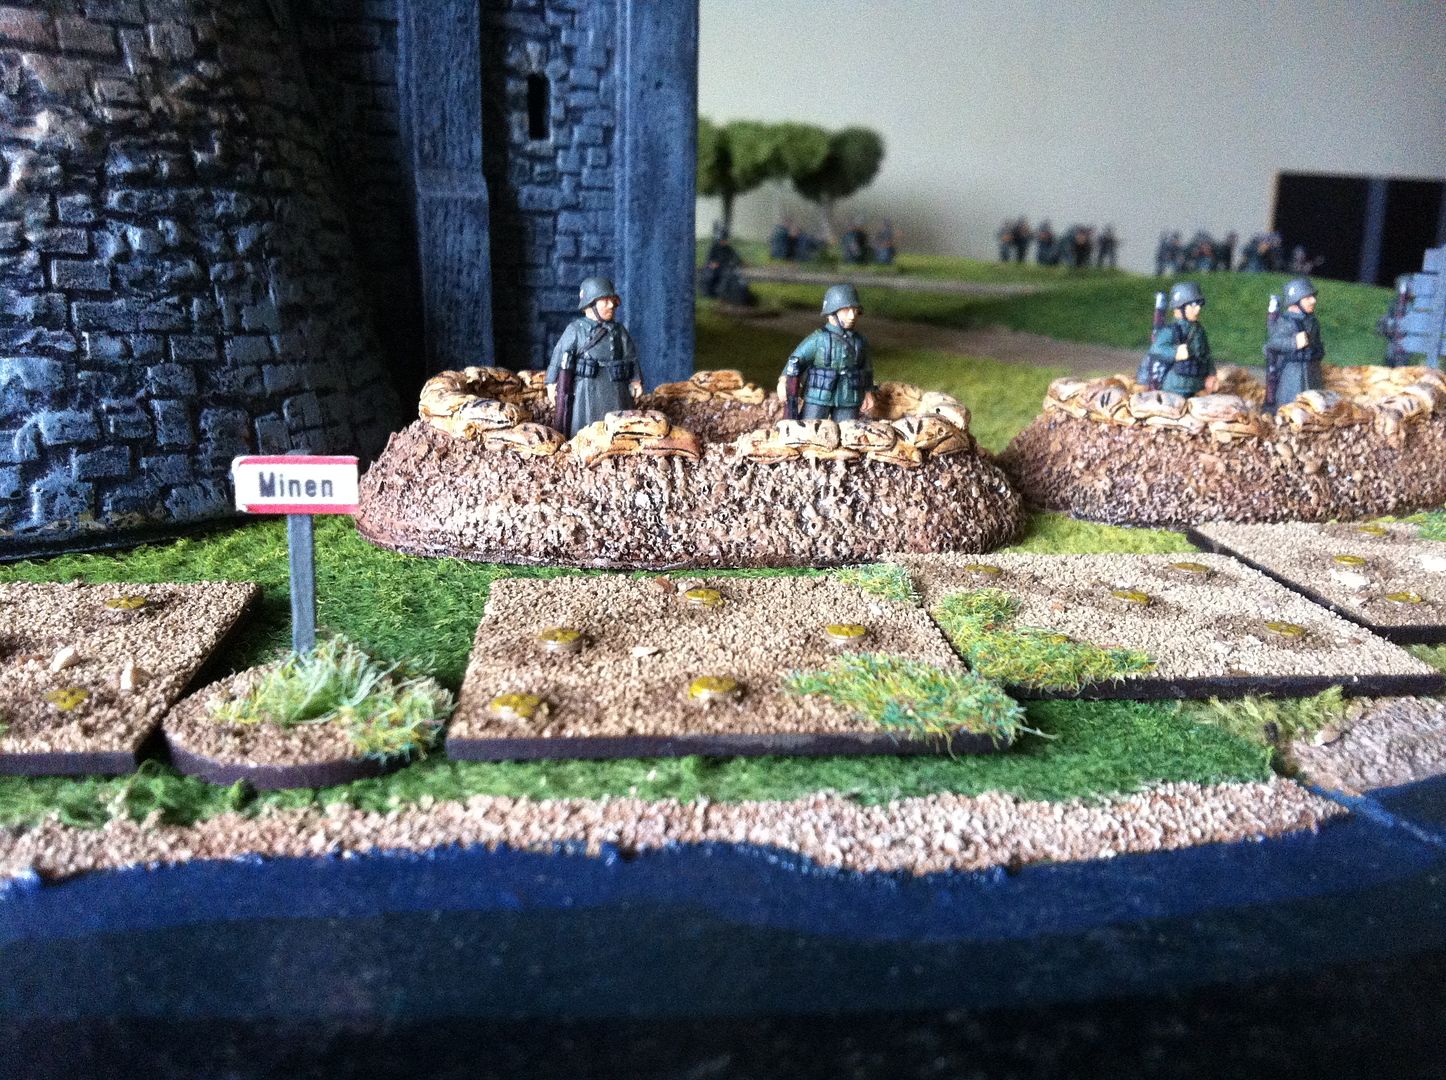
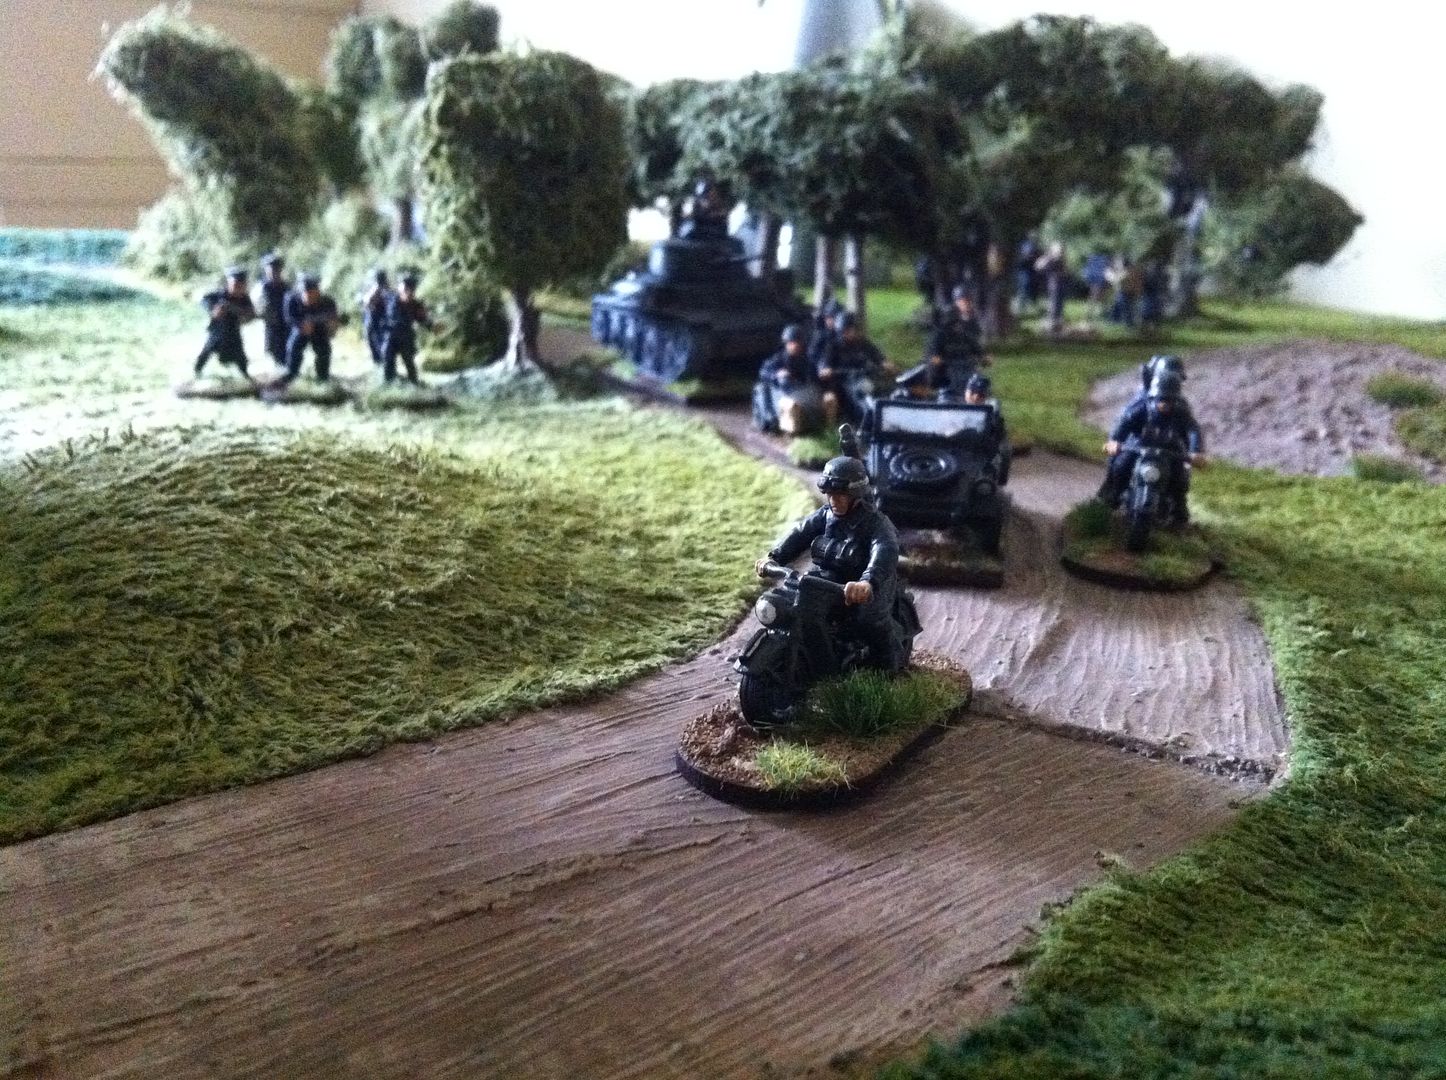
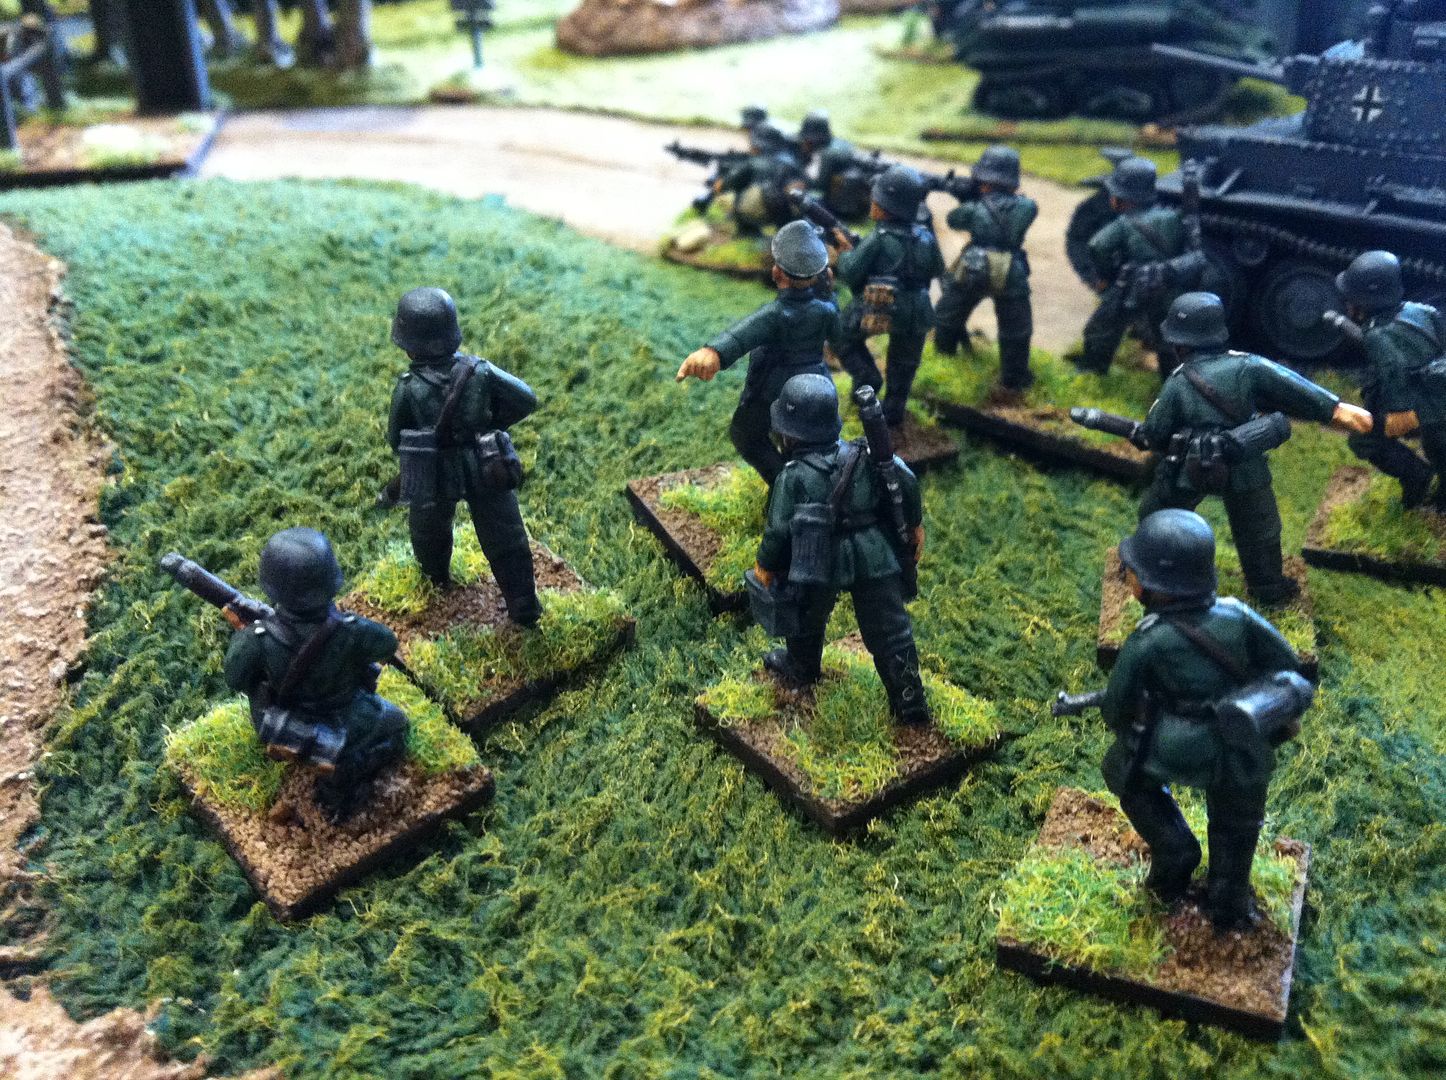
Beyond the immediate environs of the castle the German Army has also deployed in strength, warned in advance about a possible Counterattack at Blandings...
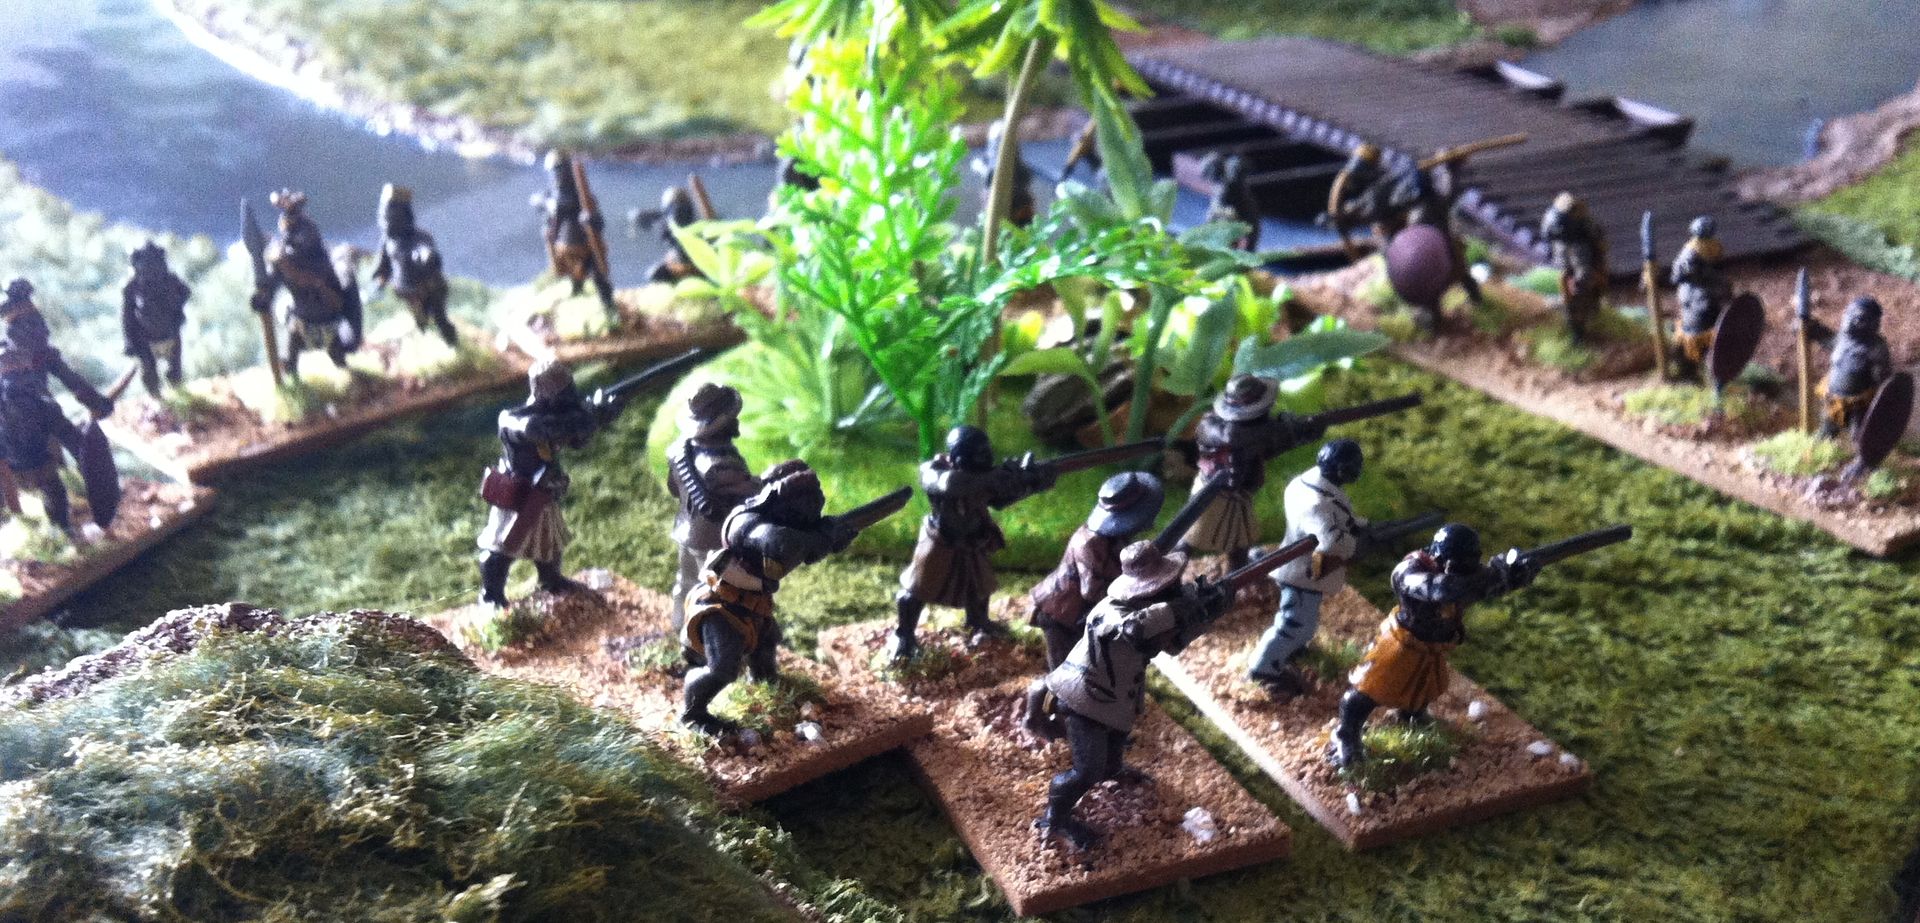
At the nearby bridge over the River Severn guards are especially alert as the early morning light may easily play tricks on the unwary...
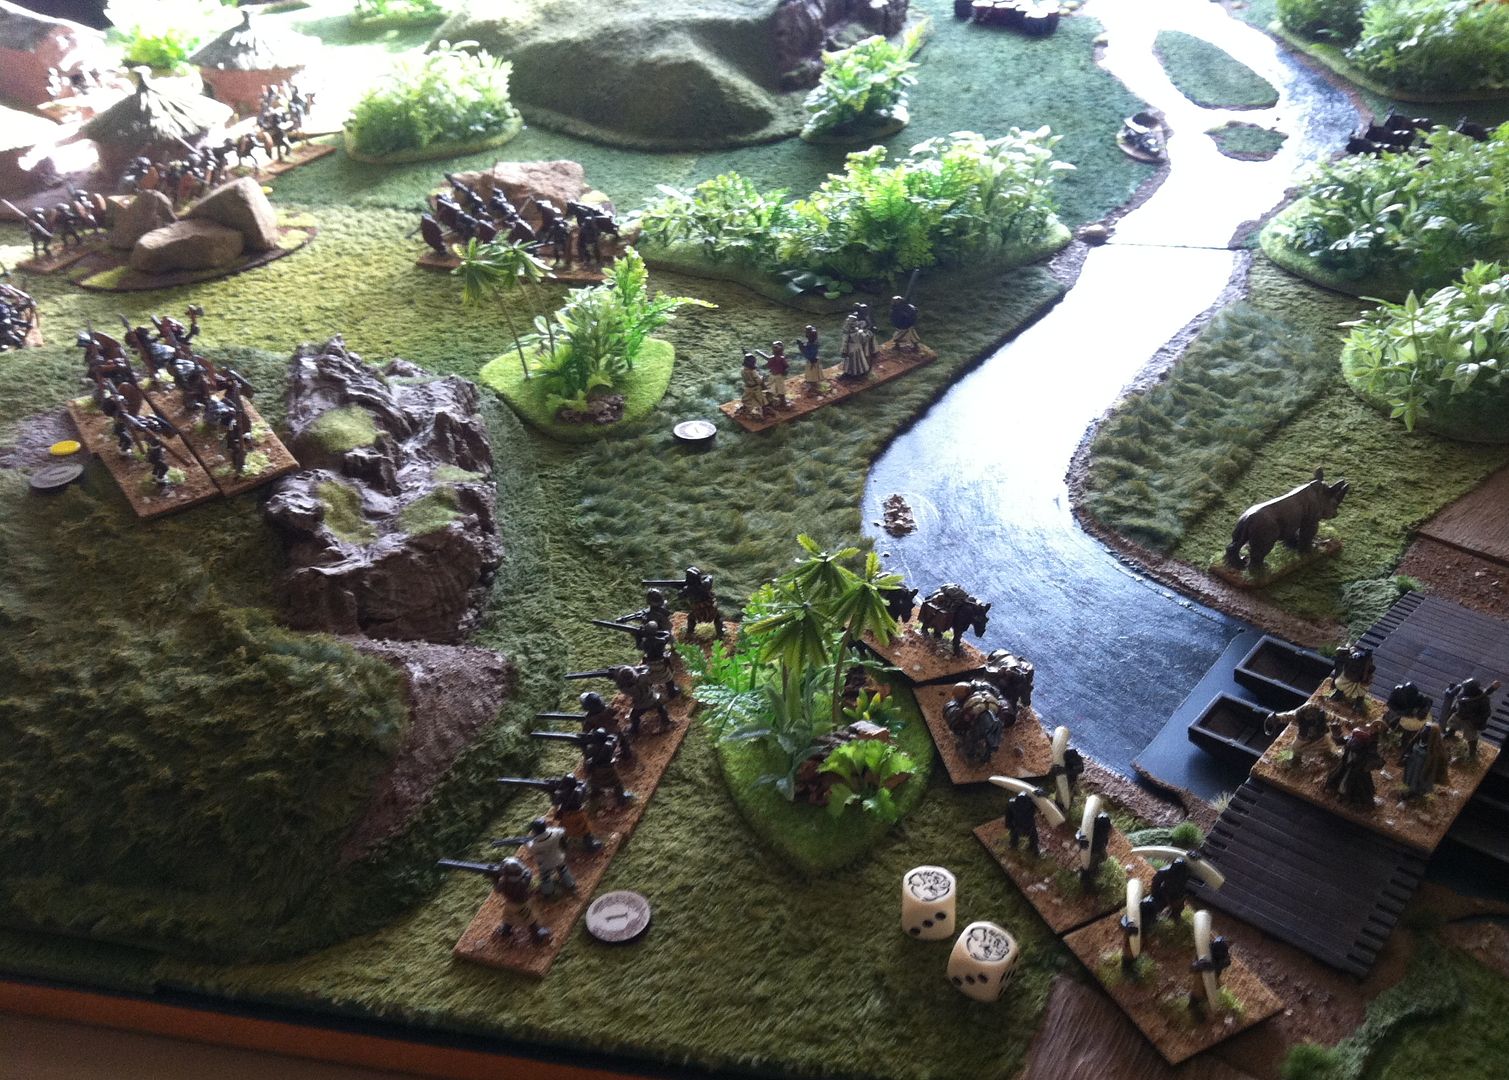
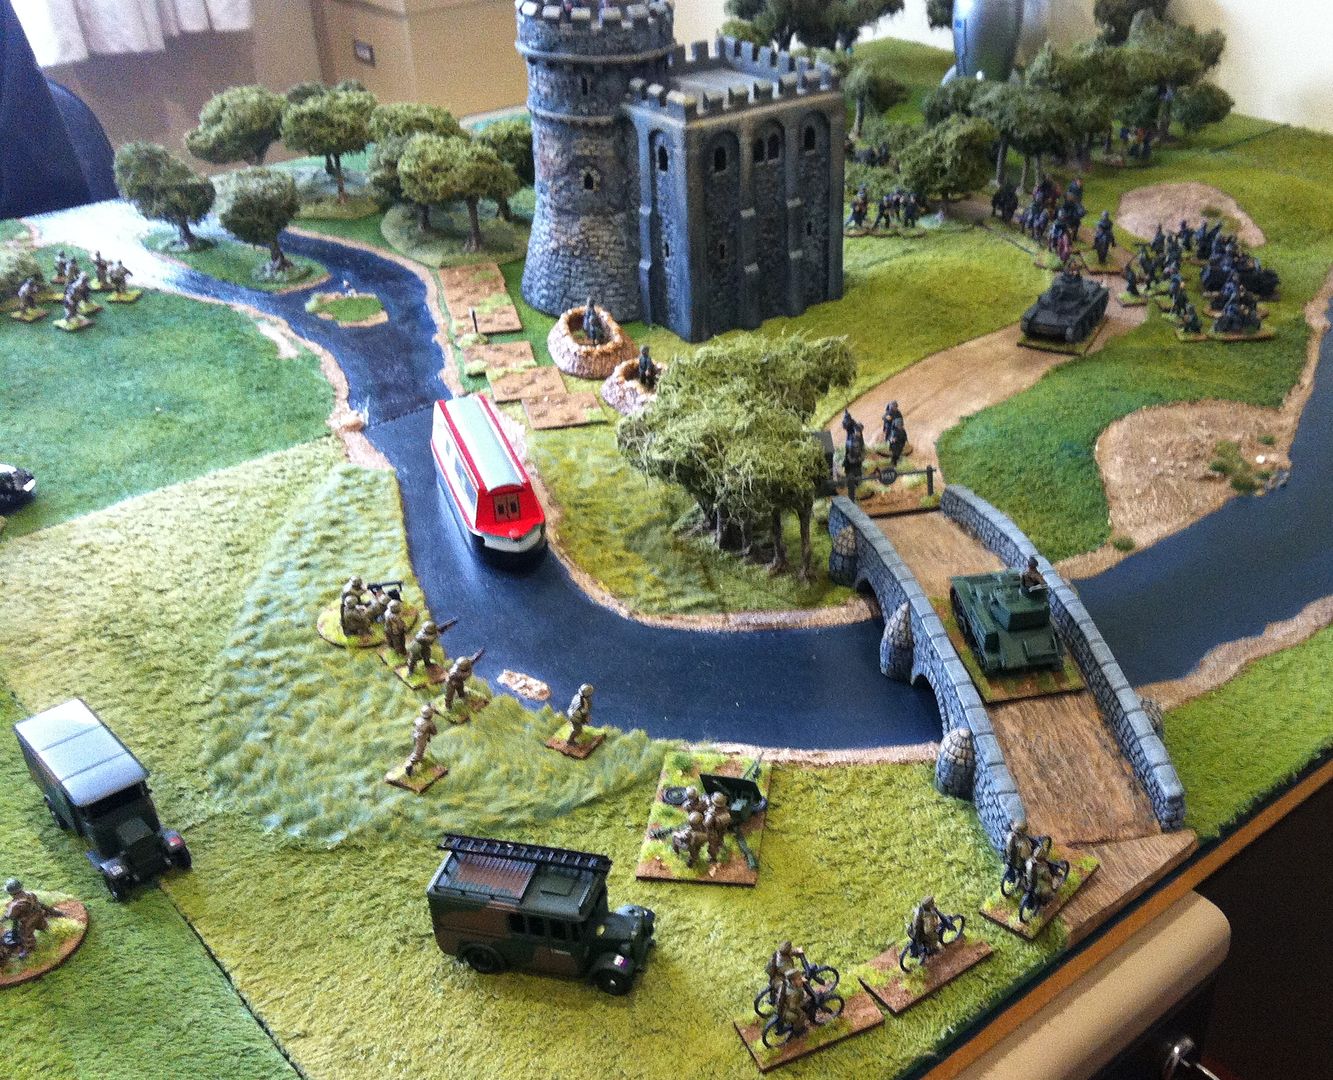
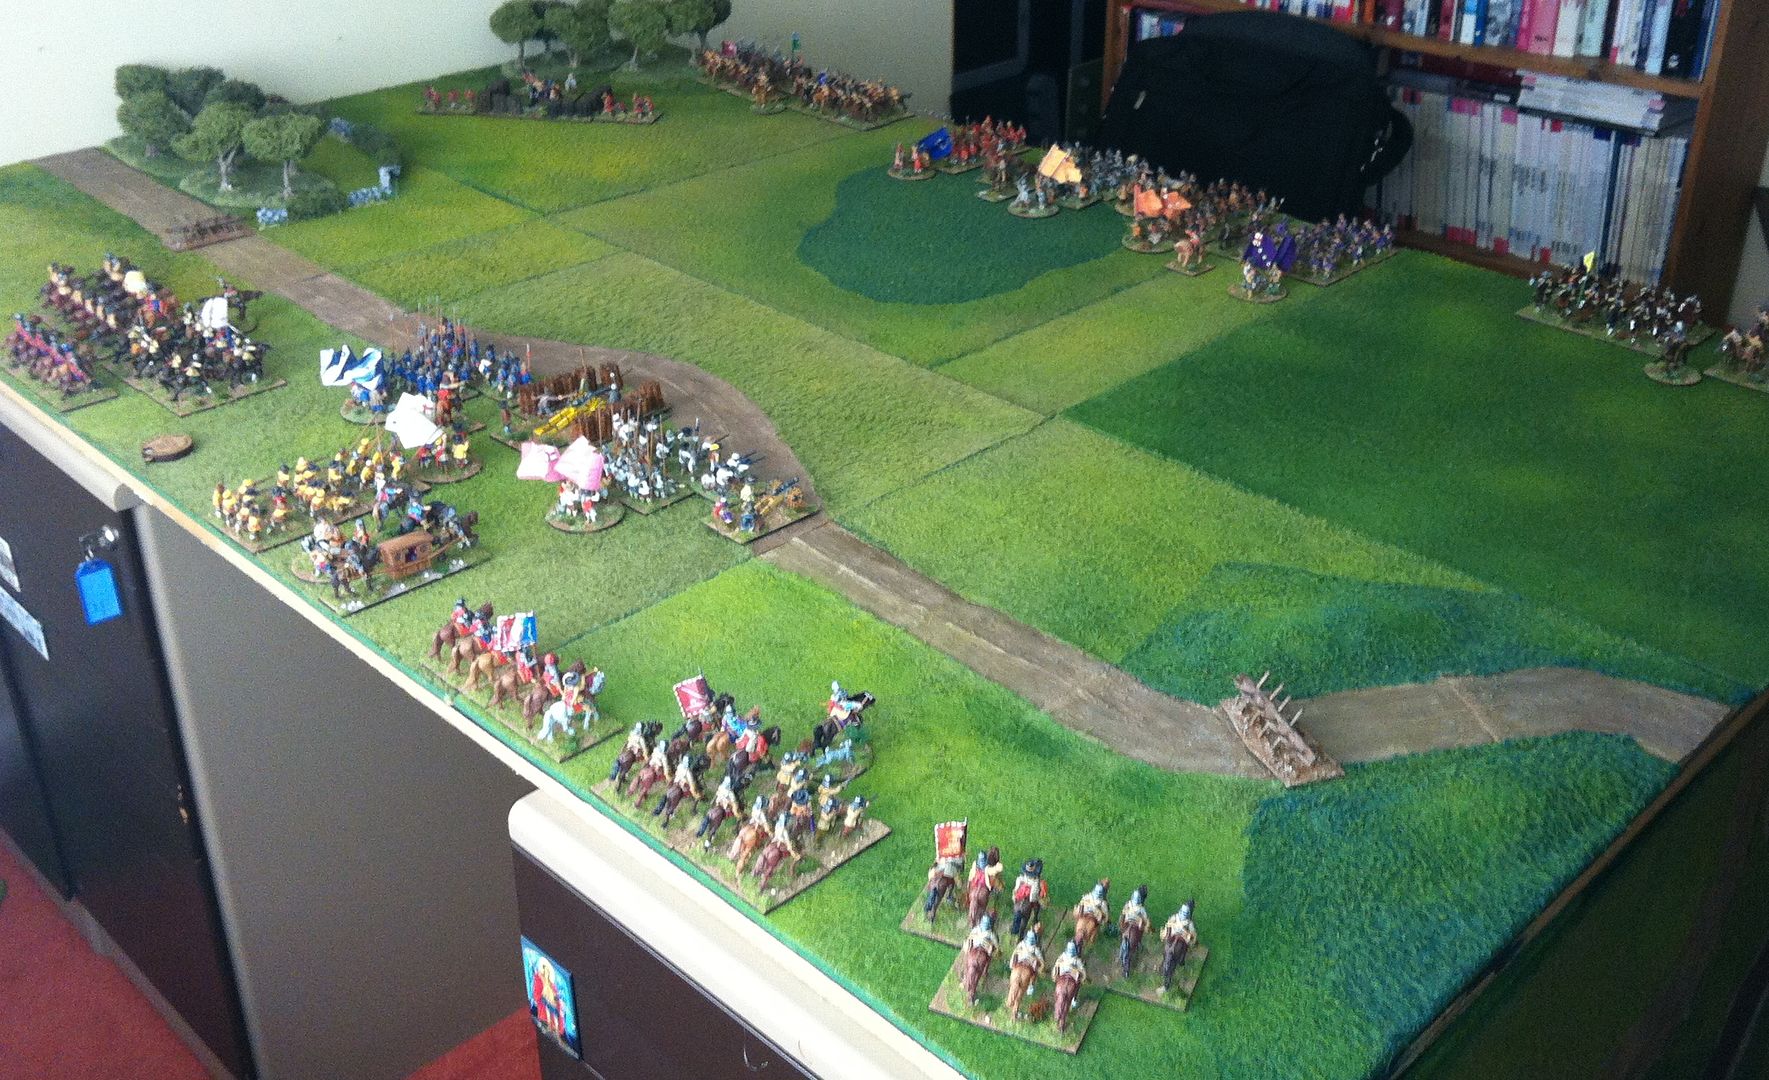
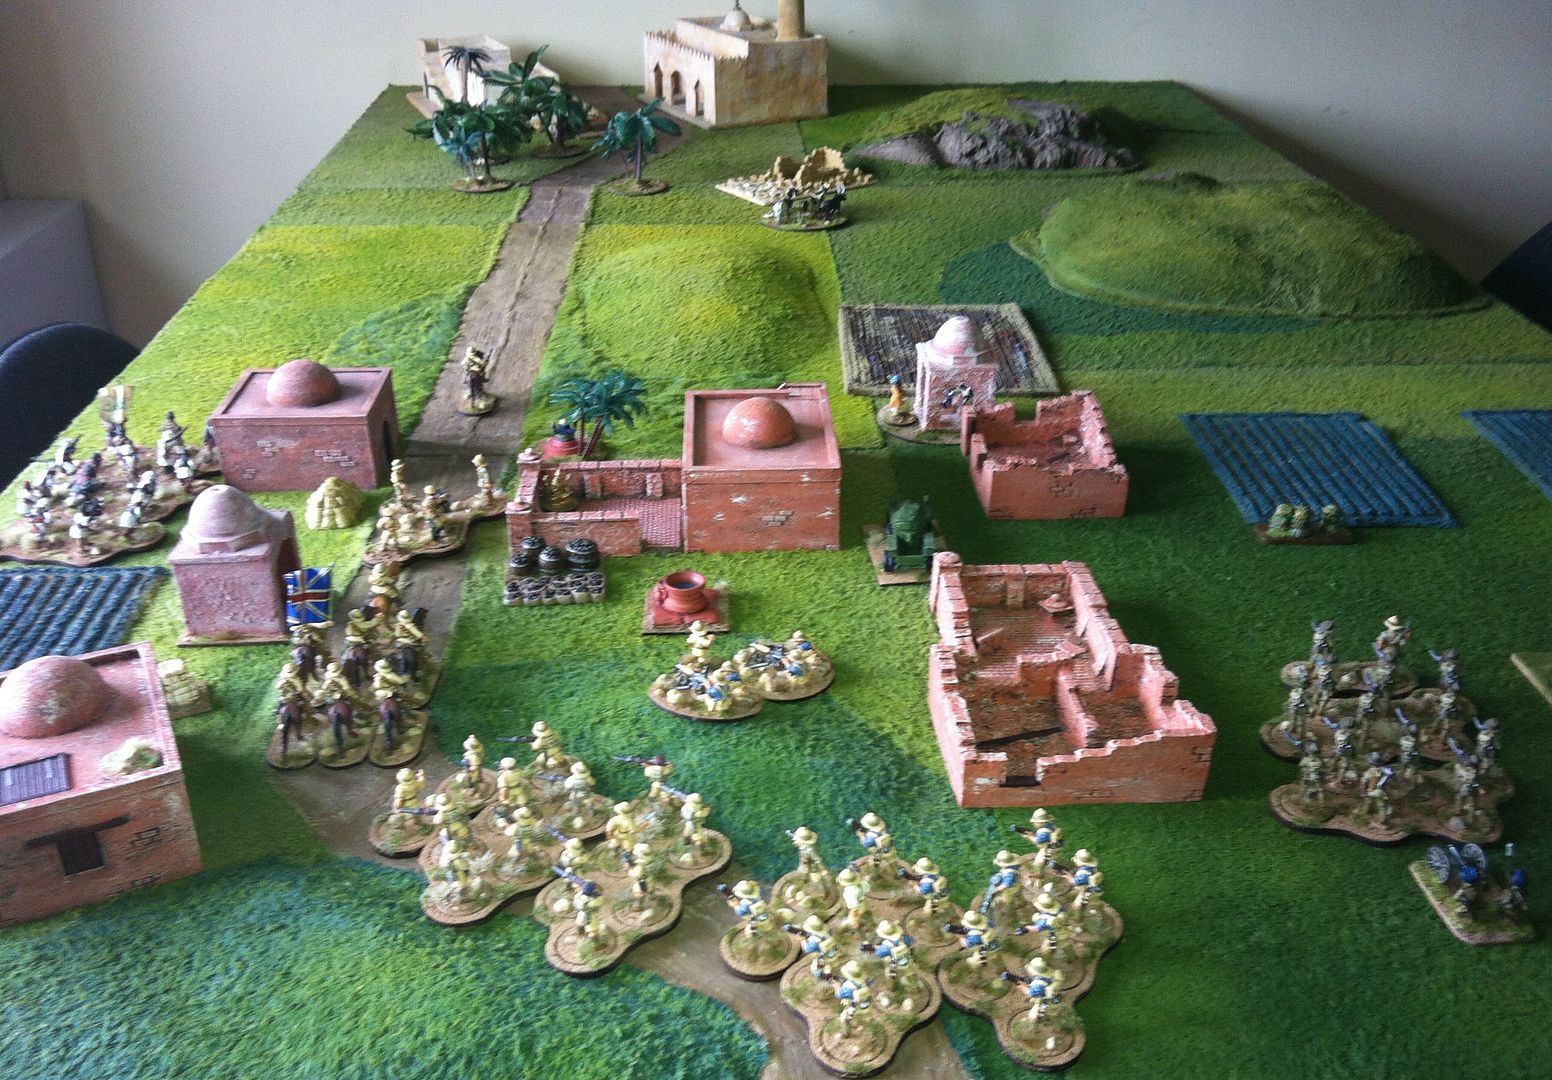
The game lasts ten turns and the sole British objective is to prevent the launch of The Empress into space at the end of turn 10. There are three crossing points across the river, by the bridge and by two fording points on the left of the table. The British enter the table from the short side nearest the camera in the first picture, the Germans, apart from the sentries, from the road opposite their long side of the table, the left as you look at that picture.
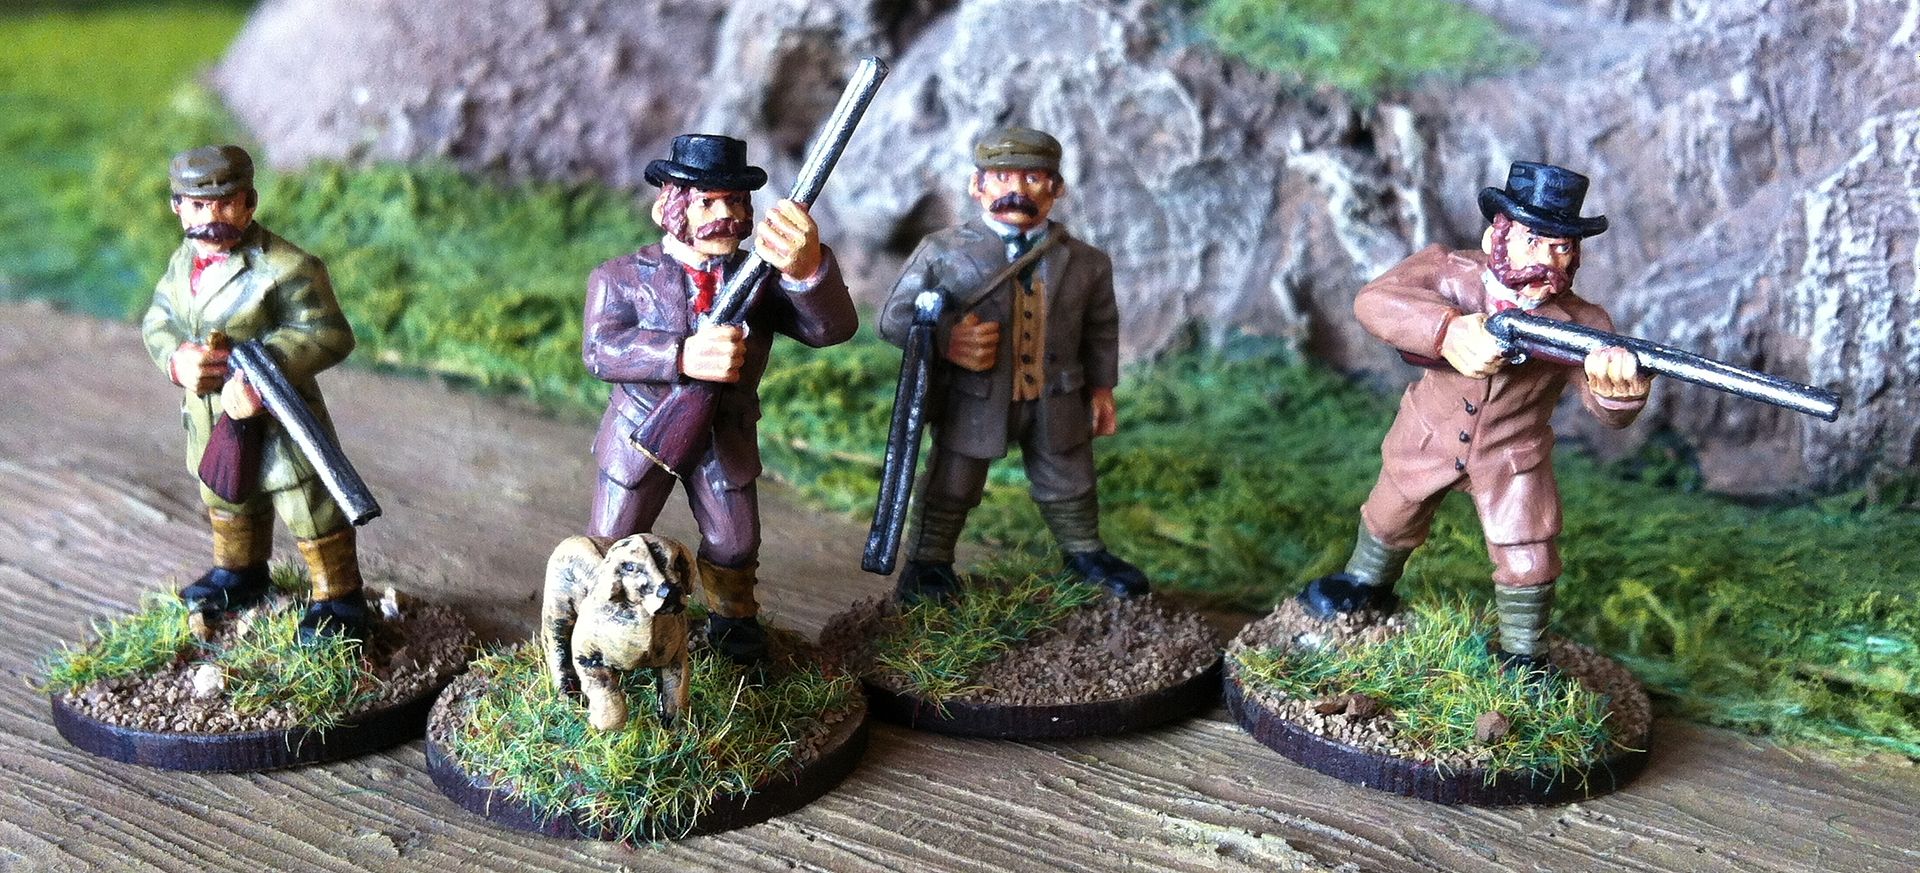
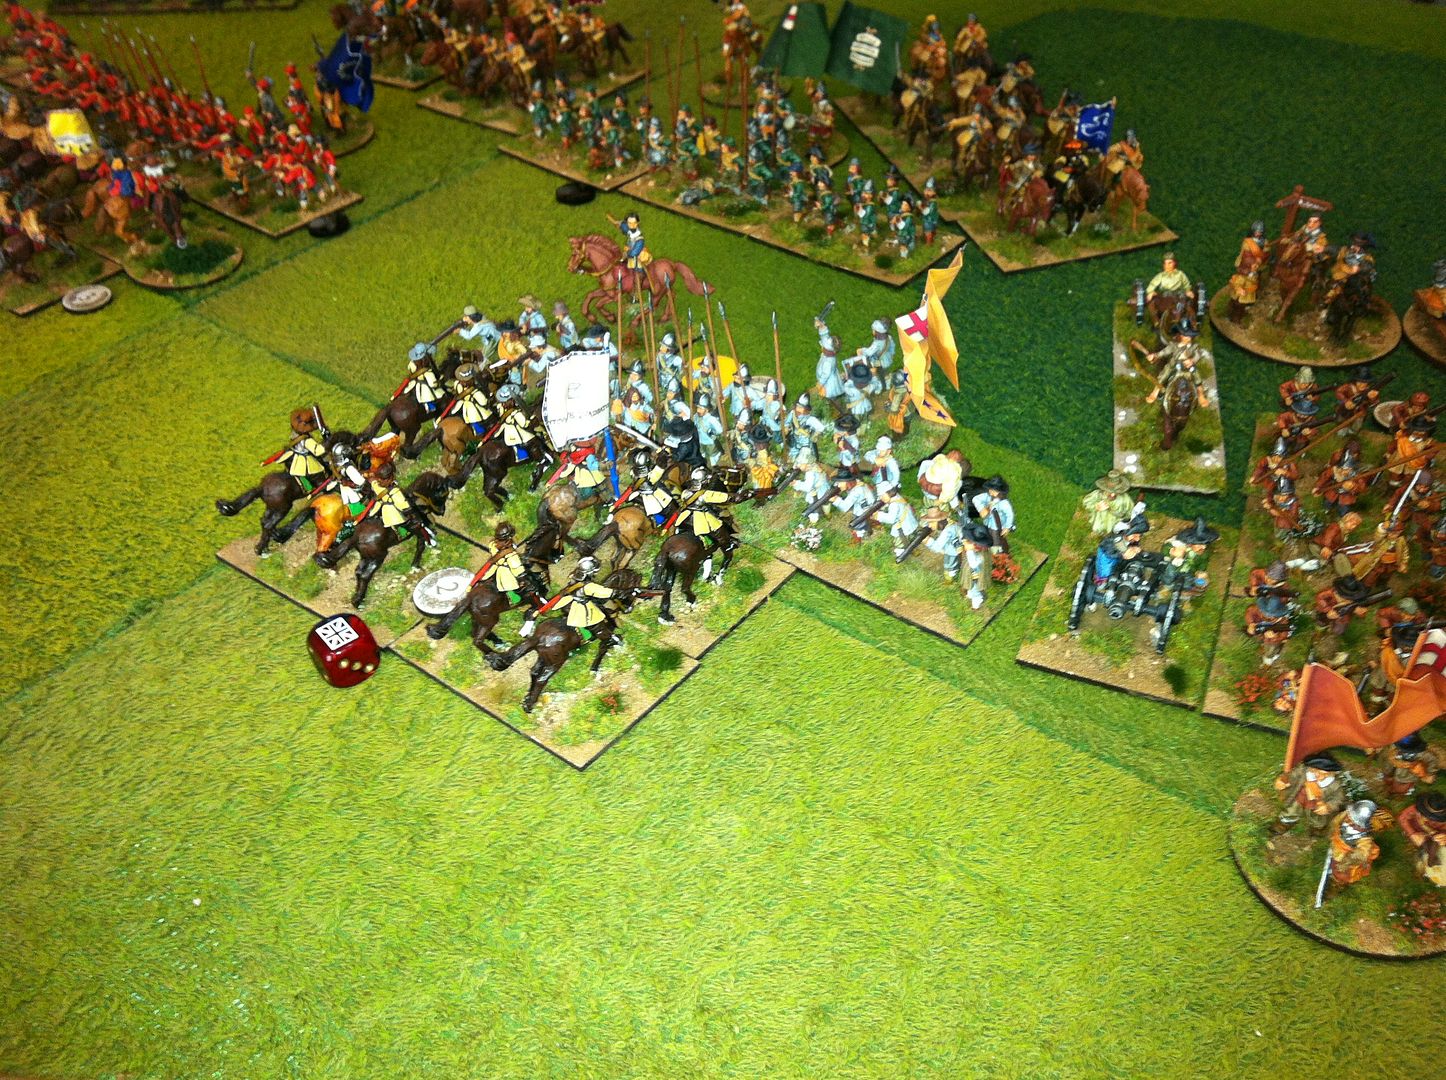
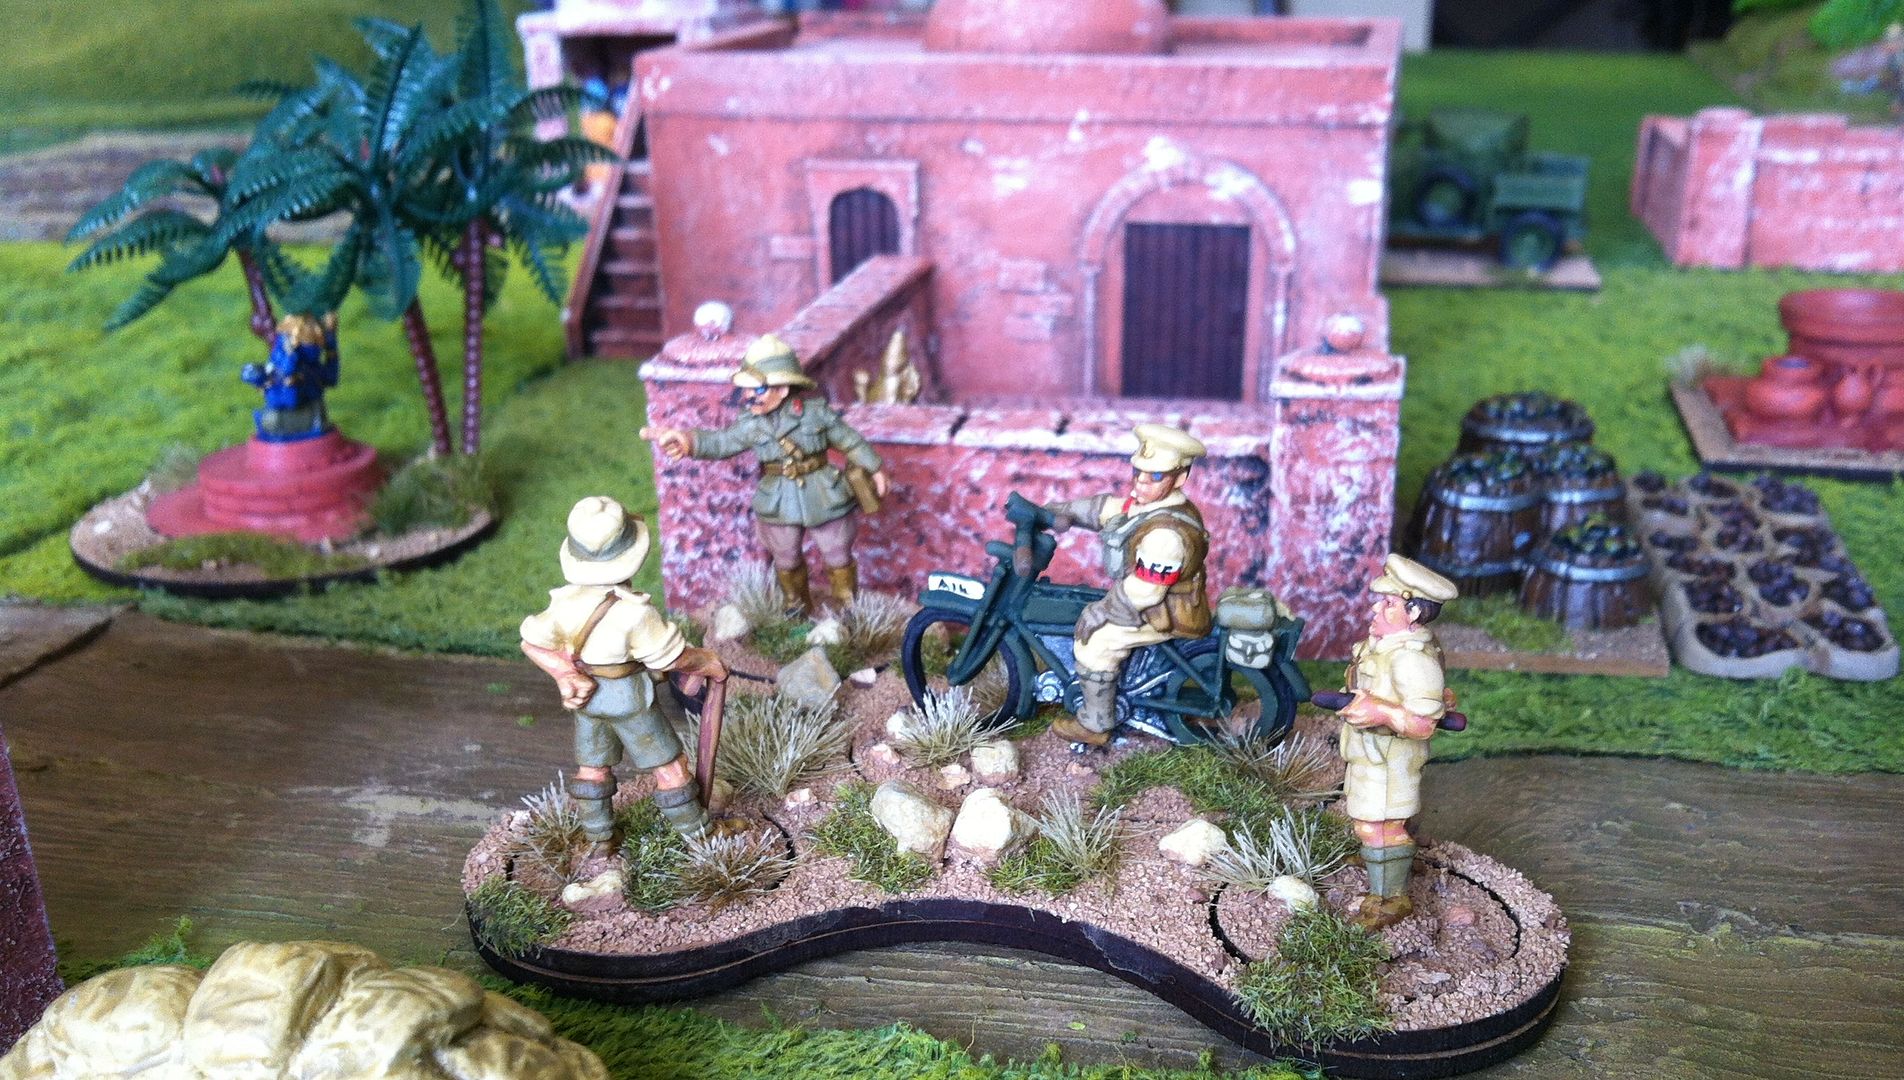
Phil divided his approach up into three arms: a rapid advance on the Bridge by lorried Regular infantry, and bicycle troops from the LDV, supporting a Vickers Light Tank...
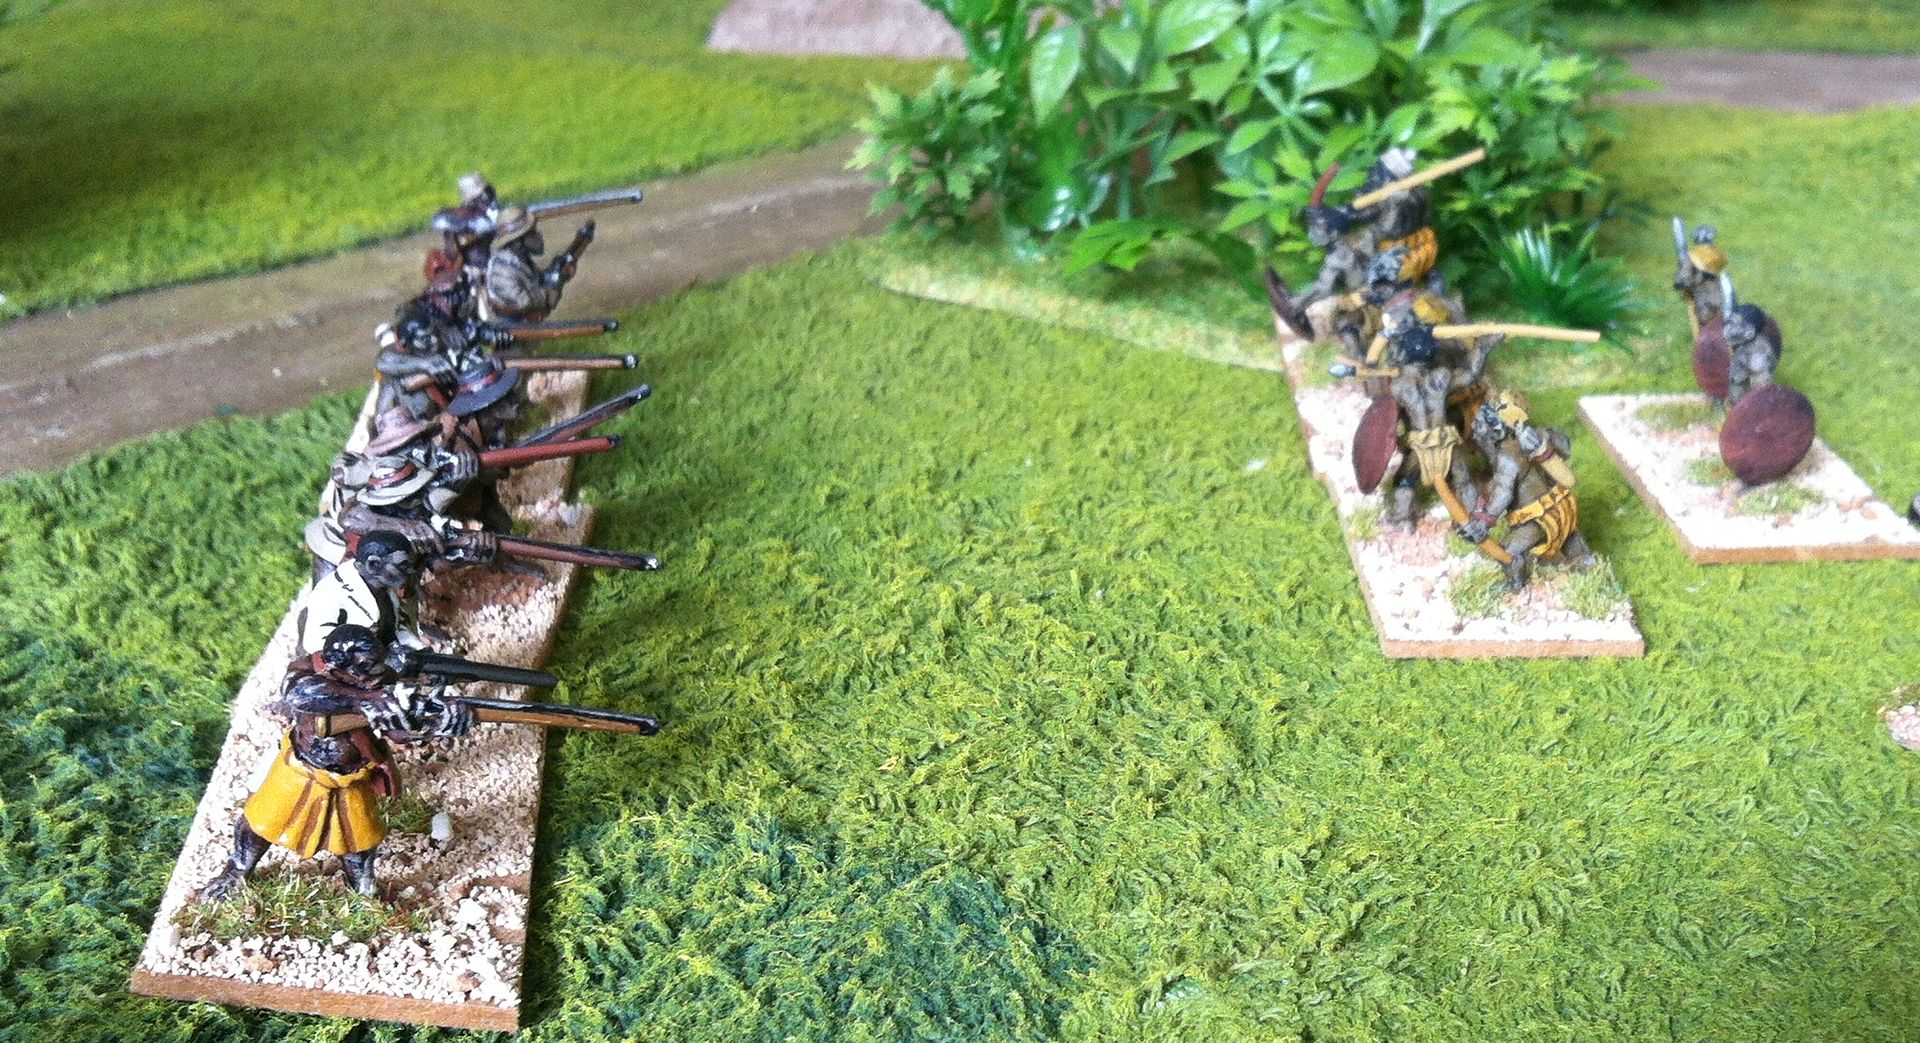
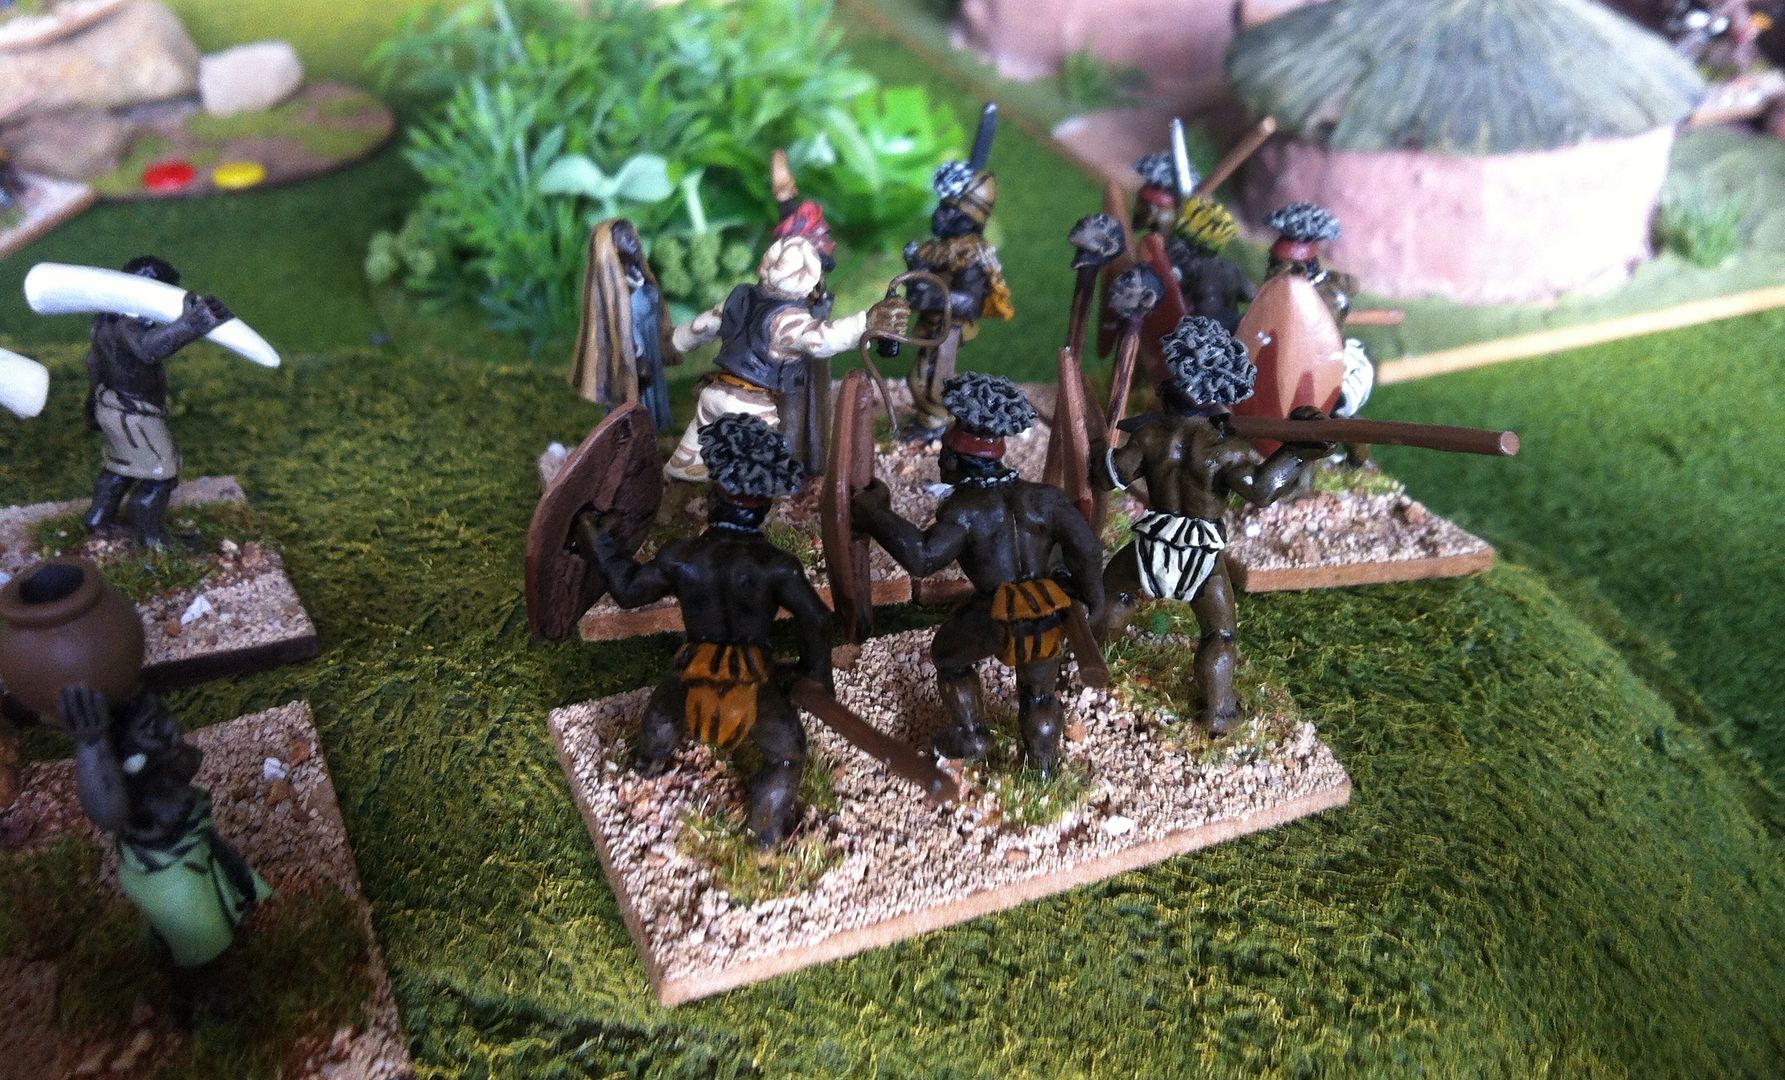
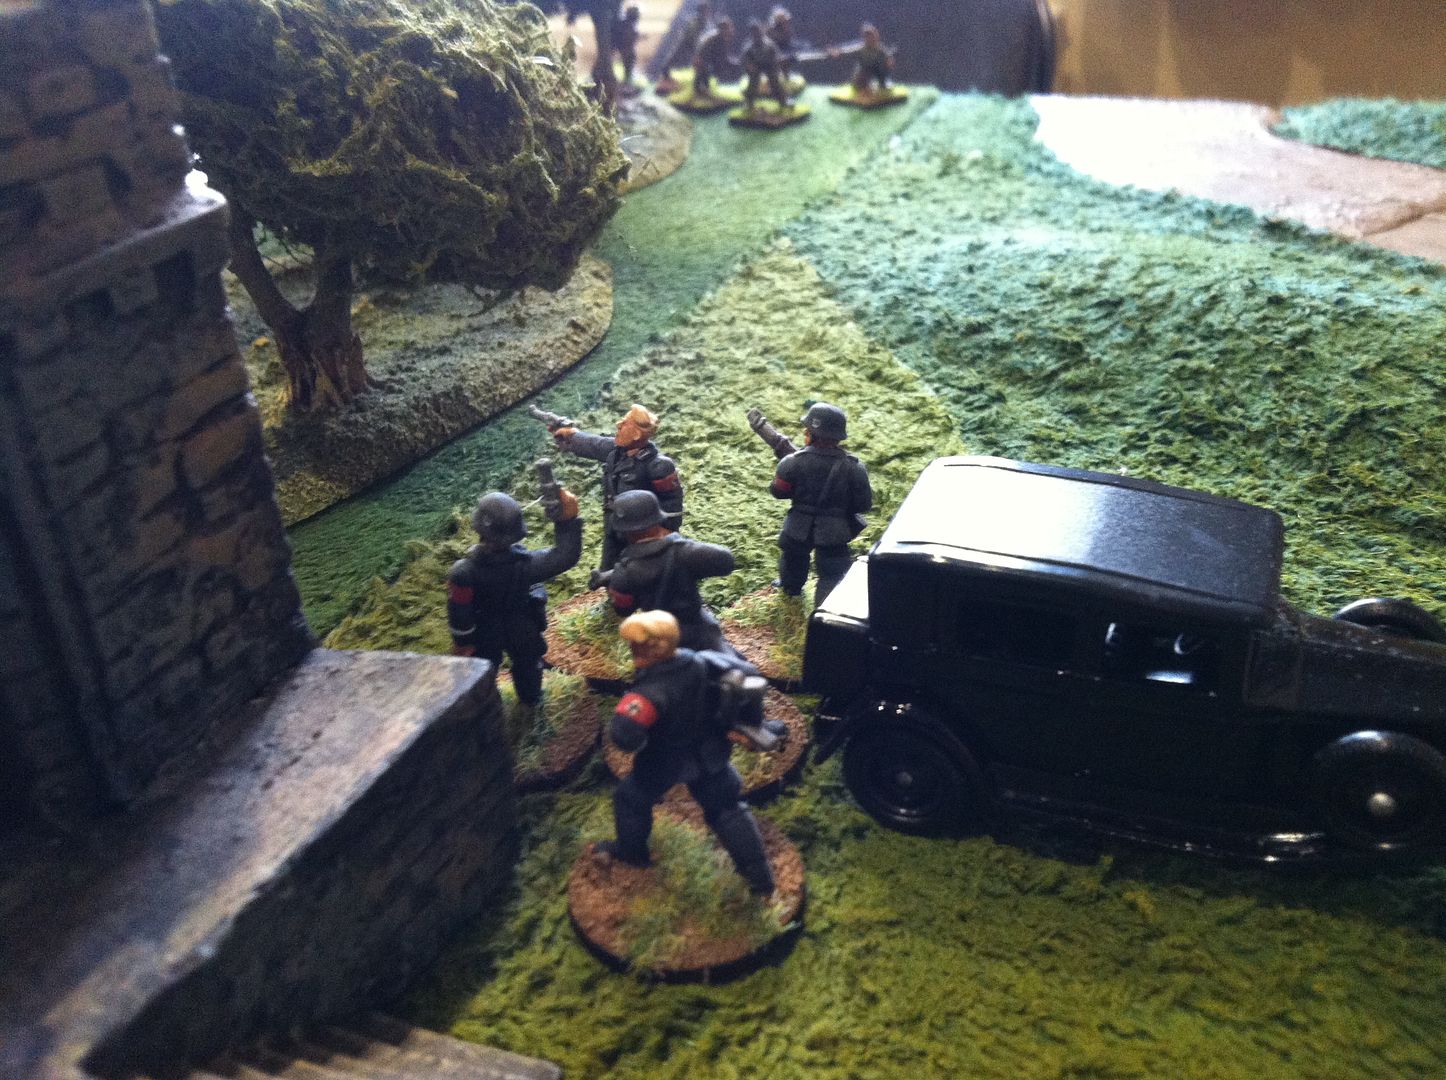
While on his left more LDV troops tried to cross the river by the two fords, where they soon found themselves opposed by Gestapo troopers...
And by troops from the German army...
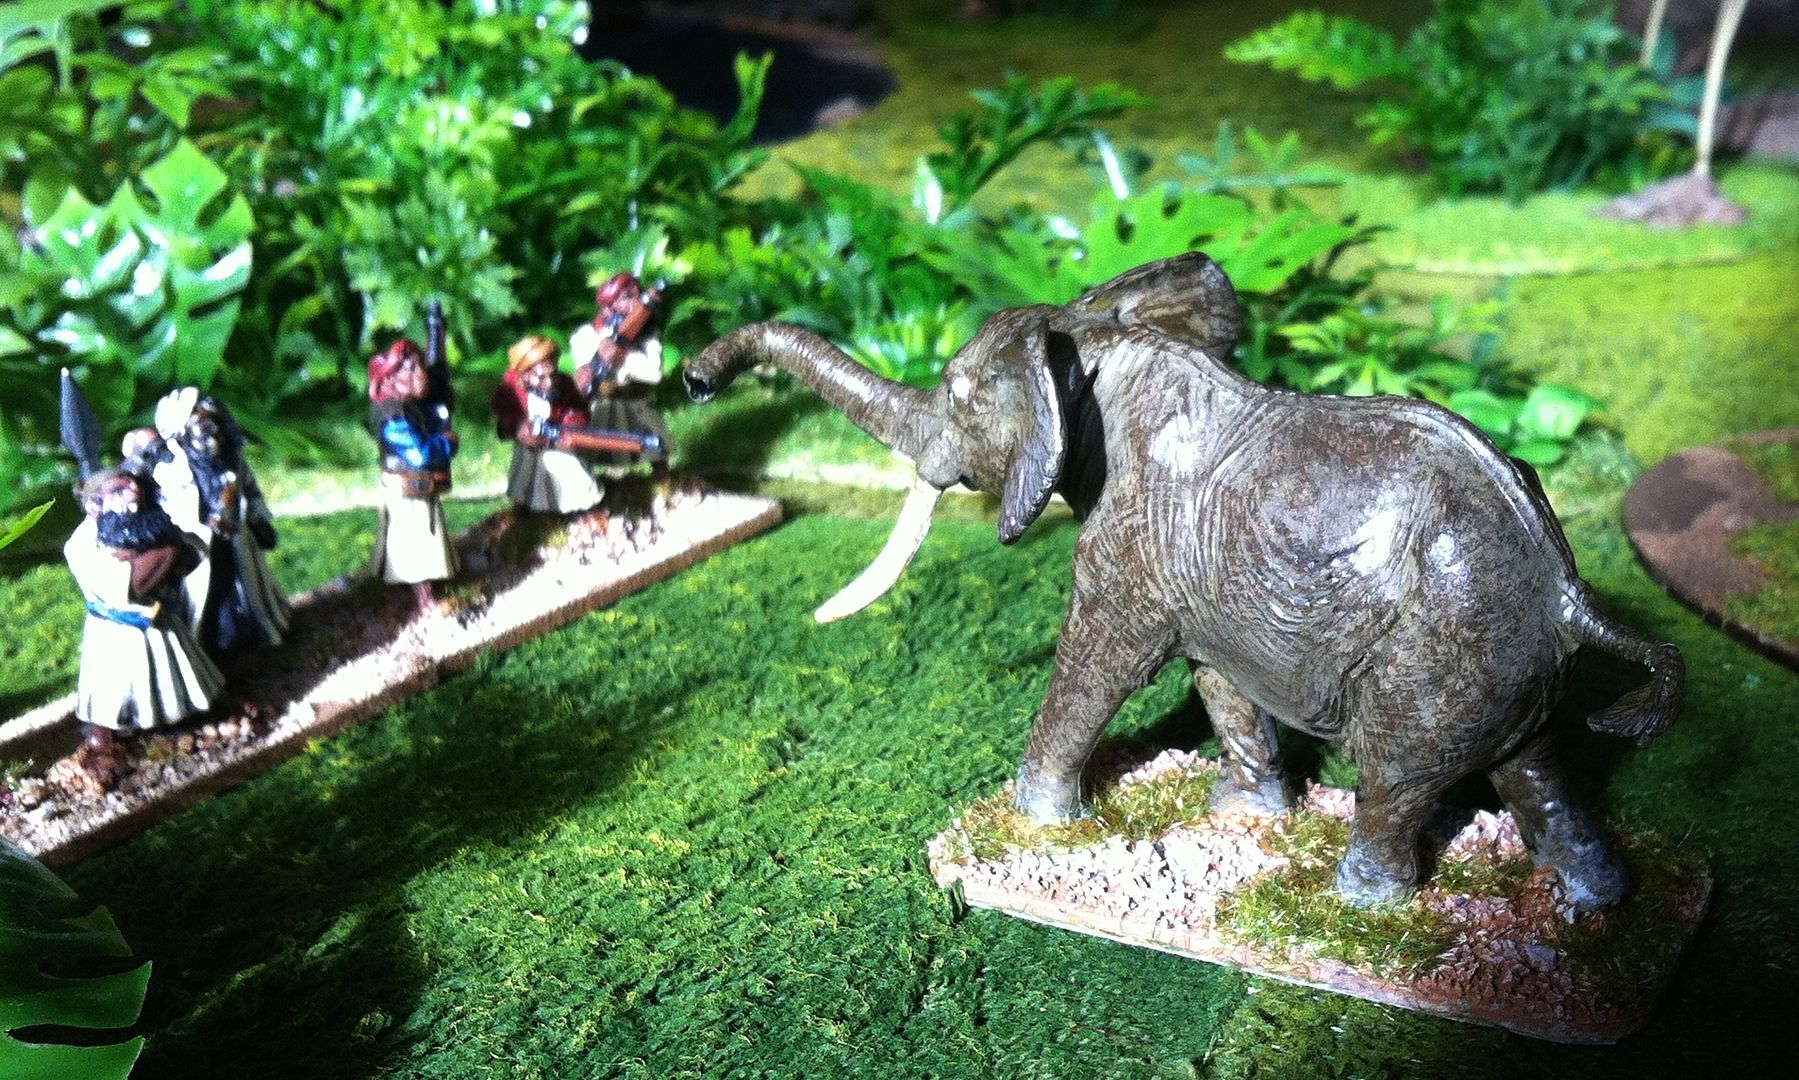
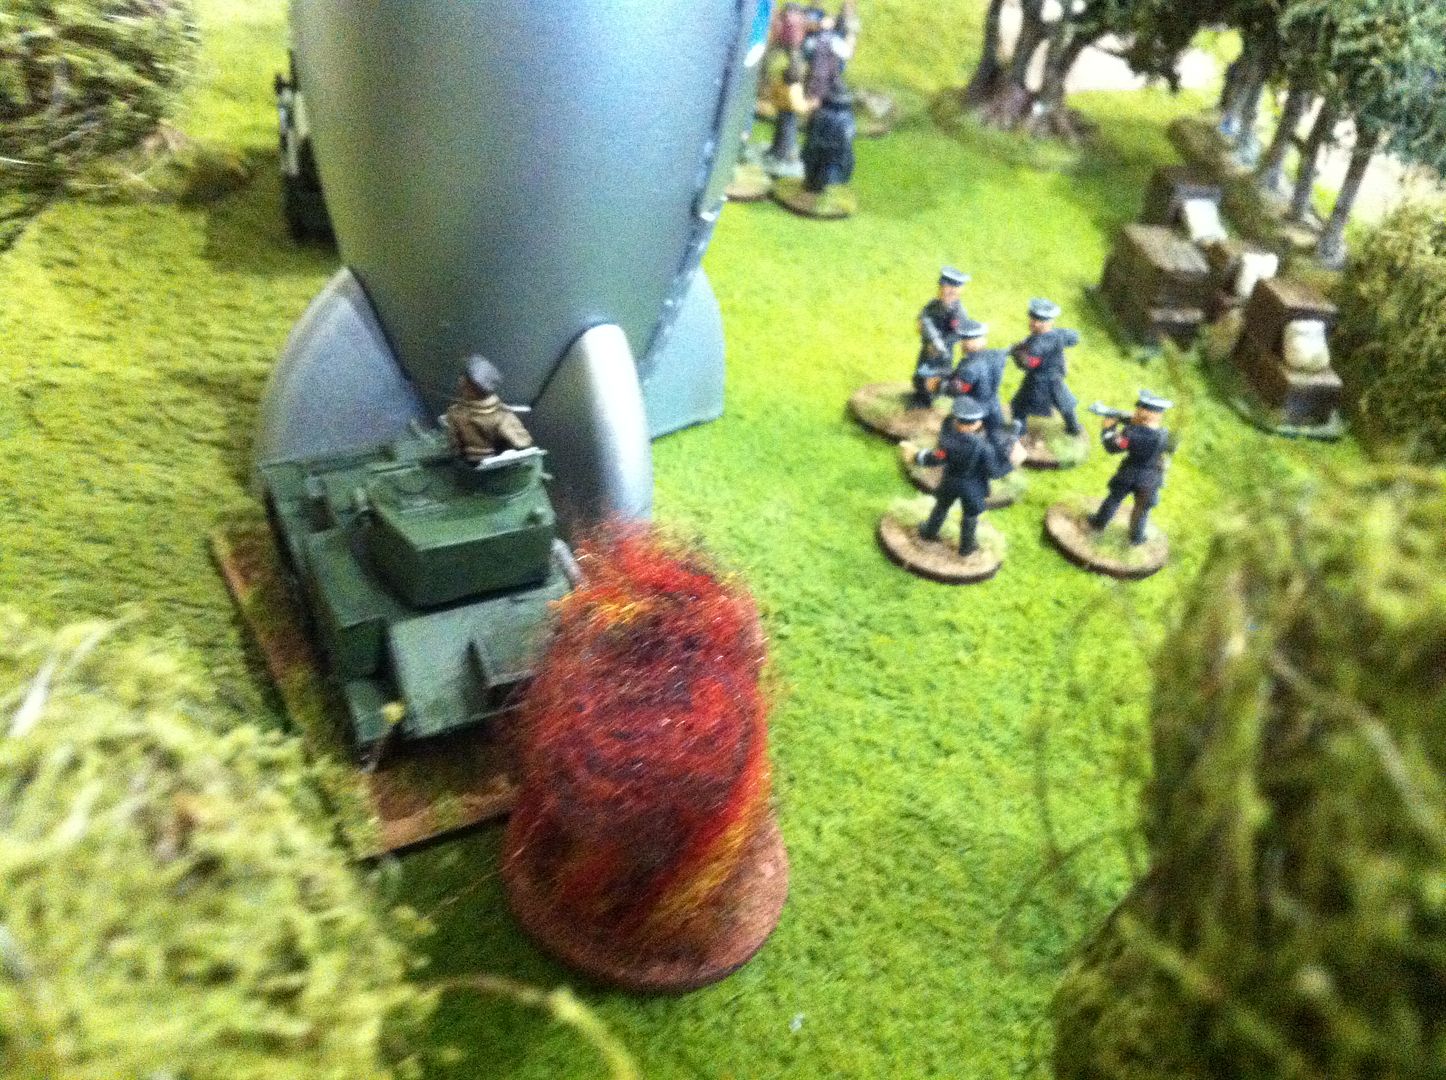
The British enjoyed some successes on both wings of the attack, although their centre was pinned by machine gun and morar fire for most of the game. On the British right, tricked by the poor light, they ran straight into one of the more bizarre products of Reich Science, a Were Hund...
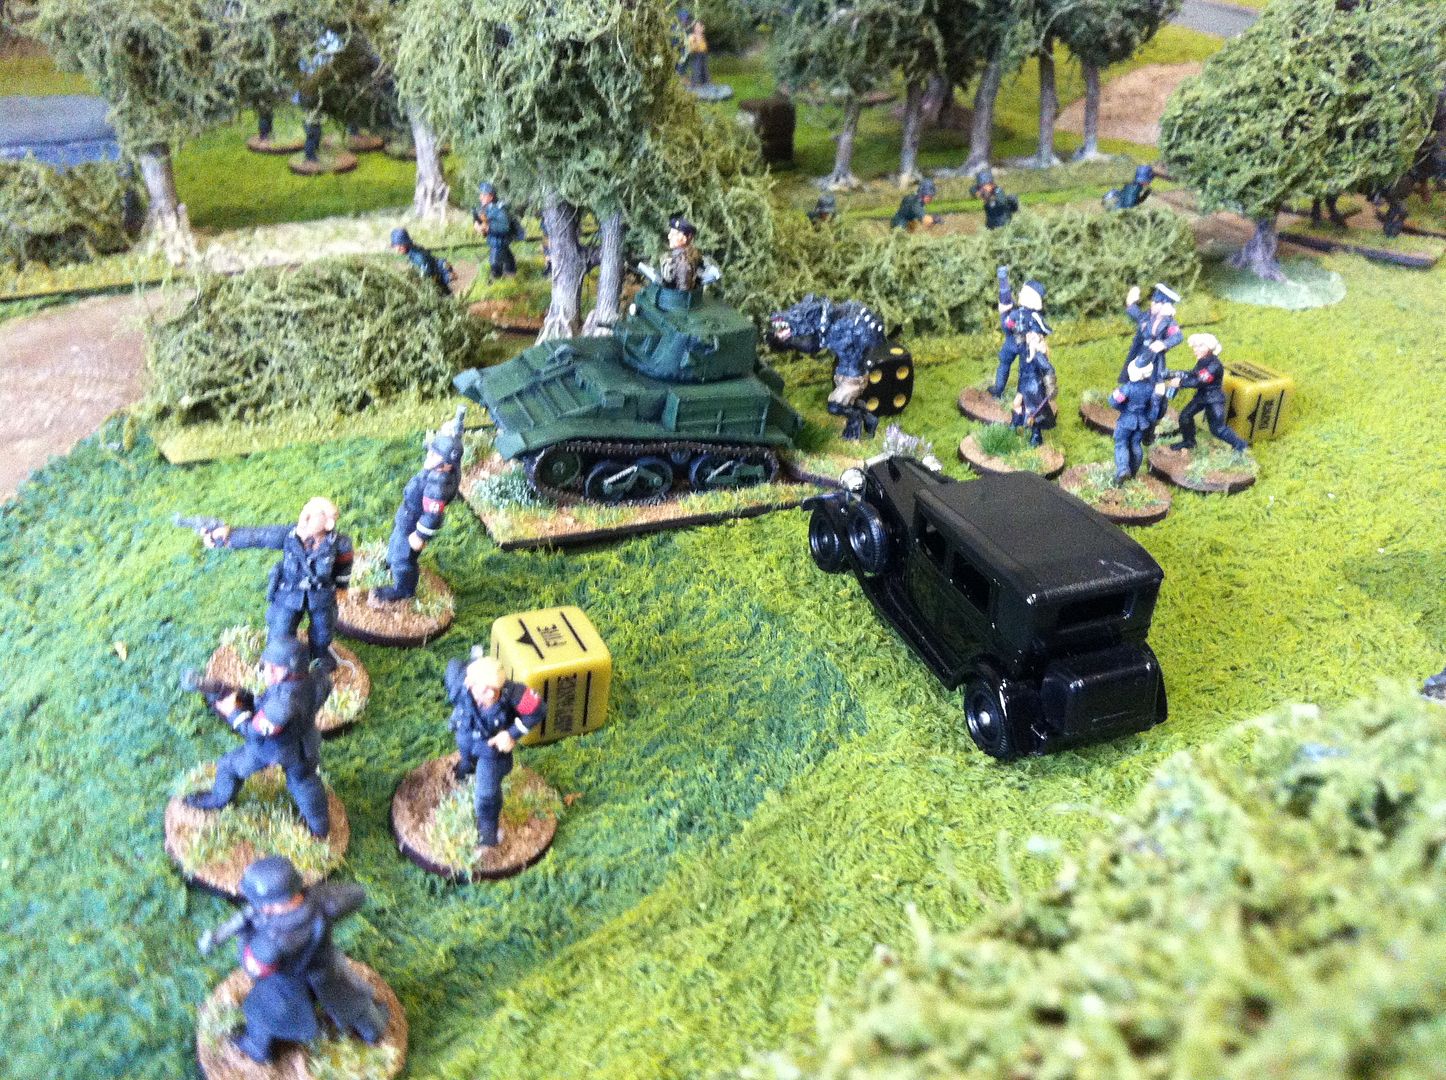
Attacking the Light Tank, the Were Hund failed its Order Test and scored a FUBAR, fleeing away from the tank and leaving the way open for the tank to drive on the rocket site...
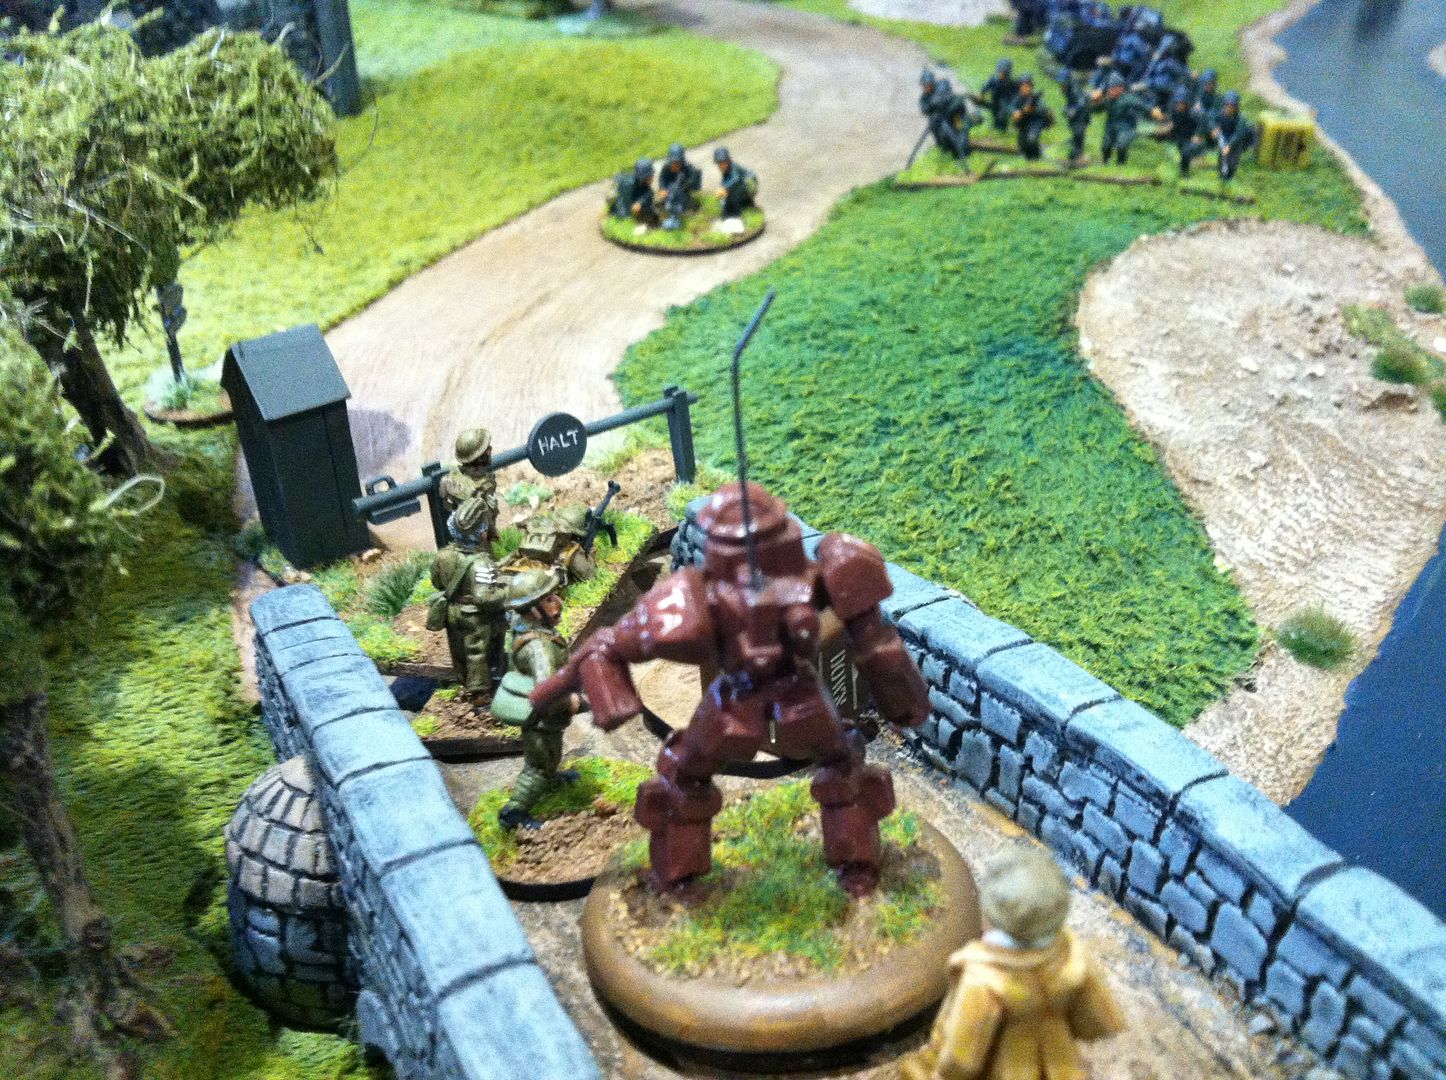
While the attack was supported at the bridge now by Professor Moore's latest mechanical marvel, Tommy Adkins 01...
The tank has run into the rocket and the V3 is destroyed, right in the end of Turn 10 too . Its back to the drawing board in Pigamunda I fear...
We had great fun during the game, which you can only attribute to like minded folk getting together to enjoy their hobby and friendship free of the constraints of those sad types who can't face up to the reality that we play games with toy soldiers and enjoy it...