David Bickley's Wargames Blog

The occasional ramblings of an average gamer, journeyman painter, indifferent modeller, games designer, sometime writer for Wargames Illustrated and host of games in GHQ.


Saturday, 30 November 2013

A Slight Diversion


As I said over on my Rhanzlistan Blog, I just could n't face painting the second Indian Infantry unit so soon after completing the last one ~ same figure, same pose, same equipment, different head, you know how it is. Delving into the 'Ready to Paint' drawer I plucked a unit of Dixon ACW Rebel infantry and a Brigade Command Stand to occupy my spare moments in the second half of the month. I've decided to paint up Georgian units for Semme's Brigade, McLaw's Division of Longstreet's First Corps.
{Now there appears to be an issue between Blogger and Photobucket (and possibly AOL) because the pictures edited in Photobucket and uploaded into Blogger somehow revert to the original unedited versions in the Post. Not only that but the layout is all over the place too! No doubt some nerd with nothing better to do has cocked it up, again...}
Anyway, here are the remaining pictures. I hope they will illustrate why I prefer the Dixon Miniatures to other manufacturers, giving a vignette feel to the bases with the wide variety of poses and faces on offer ~


I would have expected to have painted more than this single unit and command base, but I got sidetracked into painting some of my Victorian buildings from Oshiro Models for my Great Detective Pulp Games. I've managed to paint a terrace of three two storey homes, a warehouse and a chapel ~ St Edith's Mission to Seamen and Fallen Women! More on this project in a future Blog entry.
 

Wednesday, 13 November 2013

J.E.B.Stuart ~ Reb Cavalry Command Base

Not long ago I posted a few pictures of the 'new' command bases I'd added to my Confederate Army. At the time I think I mentioned that I'd got one base left to complete, a Command base for my Reb cavalry. I'd been over to Spirit Games in Burton on Trent, a 'local' stockist of my preferred Dixon Miniatures, and bought the J.E.B. Stuart figure, a generic general, a cavalry standard bearer and three horses. Here's a picture of the finished base ~


The flag is from GMB Designs I should add here, which I've been patronising of late as I've been reflagging my two armies as part of the general upgrading programme ~ MDF bases, tufts, flowers and the like. Its been a bit of a labour of love really, taking up painting time, but I do think it has helped to lift my quite average paint jobs to a higher level. But, you'll be a better judge of that than me...

Monday, 11 November 2013

The Game to end all Games?

Phil and I seem to have settled on Mondays for our weekly games day, and, today being Armistice Day, it seemed appropriate to try out our embryonic rules and armies for the 1914-15 period of the Great War. The action sees a farm held by Phil's small German force which the larger B.E.F.  contingent must capture.


The Gordon Highlanders are tasked with assaulting the farm itself, held by elements of the 9th Lauernberg Jaeger Battalion, supported by the 48th von Stupenagel (95th Brandenburg) Infantry Regiment.


The Gordons are supported on their left by the South Staffordshire Regiment, who will move through the woods to engage the enemy's right flank.


While their right flank is covered by a small Brigade of cavalry and the Royal Scots Fusileers.


The B.E.F. advance gets underway, supported by firing from the Brigade's artillery support,with both the Gordons and the South Staffs loosing men, including their Regimental machine guns.


The German position is looking strong at this point as they take full advantage of the cover along the road.


The Gordons, lead by the skirl o' the pipes, assault the farm but are repulsed with some loss!


The South Staffs make progress through the woods to engage the enemy's right flank.


Meanwhile the 2nd Brandenburg (Graf Haeseler) Ulhans move to support the German left flank.


The Gordons rally and once again rush the farm, this time driving out the defenders decisively!


The B.E.F.'s right flank begins to look as if it will successfully outflank the German's left, endangering their hold on the defensive line.


The Ulhans are driven off the heights they had seized with the advantage of the initiative for two turns.


The German position becomes untenable and Phil orders a withdrawal.


A grand day's gaming and so appropriate we felt for the day. For the purists out there, the game lasted nine turns in about three hours, not bad we felt for a set we are developing and revising on the hoof! The figures are from our joint collections, almost all by Great War Miniatures, though you may spot a Tiger Miniatures mule or two and two Musketeer stretcher bearers! I assembled the farm from bits and pieces made by Hovells and the vegetation is all by The Last Valley. As I said at the beginning, we are working on our own rule set which will allow you to play smallish games like this without the need for vast numbers of figures. A Battalion is represented by 10 bases of two or three figures, an artillery section by a gun and six crew. Cavalry are based singly or in pairs with six figures representing the tactical unit deployed in small games like this - Regiments would need more figures. The Great War Miniatures range needs some additions sadly: dismounted German cavalry skirmishers; cavalry machine guns; German Hussars; and finally, a German Command set for starters. Perhaps the 2014 centenary will see all or some at lest see the light of day!


Thursday, 7 November 2013

The Defence of Le Blancs' Landing

Recently Jon and I played out a F&IW scenario here in GHQ. Jon, as ever, took command of the British force, leaving me to lead the French force to victory, or not... The rules we used were based on Astounding Tales, my rules of choice for this sort of mini game, with some additions to cover the artillery lifted from Black Powder and the use of the activation cards from Muskets & Tomahawks ~ a set I've given up on long since.. The game opens with the French deployed in the settlement and fort located at the Landing, with the British marching onto the table at the opposite end. Their objective is to capture the French arsenal and carry off the arms and ammunition it contains for a Resounding Triumph, or burn it for a mere Victory. Any other result is a French Resounding Triumph! The view from the Landing ~ the french vessel supplies some last ditch artillery fire to cover the Arsenal ~


The British force march onto the table. I co-opted some Foundry SYW Grenadiers, artillery and command to supplement the Redoubt figures ~


The Rangers arrive over the mountains to effect a surprise river crossing ~


Only to find that a group of cunningly deployed French Coureurs du Bois have seen them ~


Meanwhile the settlers of Le Blancs' Landing spot a group of enemy Light Troops trying to infiltrate the settlement ~


Alerted by the sound of musketry from the settlement, Colonel Le Gloire leads out his regulars from the fort ~


Soon the two sides regulars are joined in a bitter firefight, while irregulars and civilians snipe away at the edge of battle ~


At last the French allied Indians arrive on the table ~


Aiming to bring some much needed support to the defenders of the settlement and the Arsenal ~


Meanwhile the British forces press the French defenders hard ~


While the Indians land in support of their French allies ~


The British begin to drive the French regulars back towards the fort ~
Suddenly the French regulars' morale becomes shaken and they fall back quickly on their blockhouse fort ~
Under the cover of all the fighting the British have managed to get a unit of Rangers right around the French flank ~
Meanwhile the main British force advances on the few remaining settlers in Le Blancs' Landing ~
The Rangers who have flanked the settlement make a forceful move on the Arsenal and for the French its all gone wrong suddenly ~
With a roar the Arsenal is set fire and the British claim the victory in turn 11 ~
We had a thoroughly spiffing time fighting out this scenario in about two and a half hours. For those of a certain frame of mind a quick run down on the figures and terrain: figures from Redoubt and Foundry; vegetation from The Last Valley; the Block House/Fortlet I bought years ago on a Bring & Buy ready painted for £14, the other buildings I scratch built eons ago; the dock is from Ainsty and the ship from the old Flagship range I think. I'd be interested in some feedback if anyone else tries out this scenario for themselves.


Monday, 4 November 2013

Apes, Walkers, Robots, Mad Doctors et al...

...its WEIRD WORLD WAR II meets Bolt Action! Some pictures from a recent game over at Phil's Olaf's HQ, utilising his small, but beautifully realised, Weird World War II collection and the Bolt Action ruleset from Warlord, with a 'few' modifications along the way...


A view from the American sector. A Walker and robots advance under the watchful eye of a Mechanic, while a sniper covers their path.


From the German Lines: An Ape with mindless trooper mutants advances, shadowed by the Officer in command.


Major Paddock consolidates his position as some odd flaming chaps hove into view.


Walker and robots clump into action, supported by Rocket Troopers who have occupied the building on their flank. German activity can be seen in the yard of the building in the left background. In the distance one red hot chap is already down!


The action is joined in the lane as the US Walker, supported by the robot troopers, tackles the mindless mutants.


As the melee ebbed and flowed, the Ape joins the attack and the officer attempts to take out the Mechanic.


The Ape is down and out! The Walker sees off the mindless mutants! The tide of battle is turning in favour of the righteous!


The end is nigh! Phil's German remnants are forced to fall back and the US force consolidates its hold over the ruined village at the centre of the game. A wonderful day's entertainment, using wonderful figures and terrain in a well thought out scenario with clever rule adaptions and additions! Of course, winning always helps colour one's views...
The figures are all from the AE WWII range I believe, the ruins from Foreground. Phil scratch built the intact building, eons ago it seems now.

Thursday, 31 October 2013

The Long and Winding Road...

Phil, Jon and I got together recently at the Midlands Wargames Centre, hosted by 
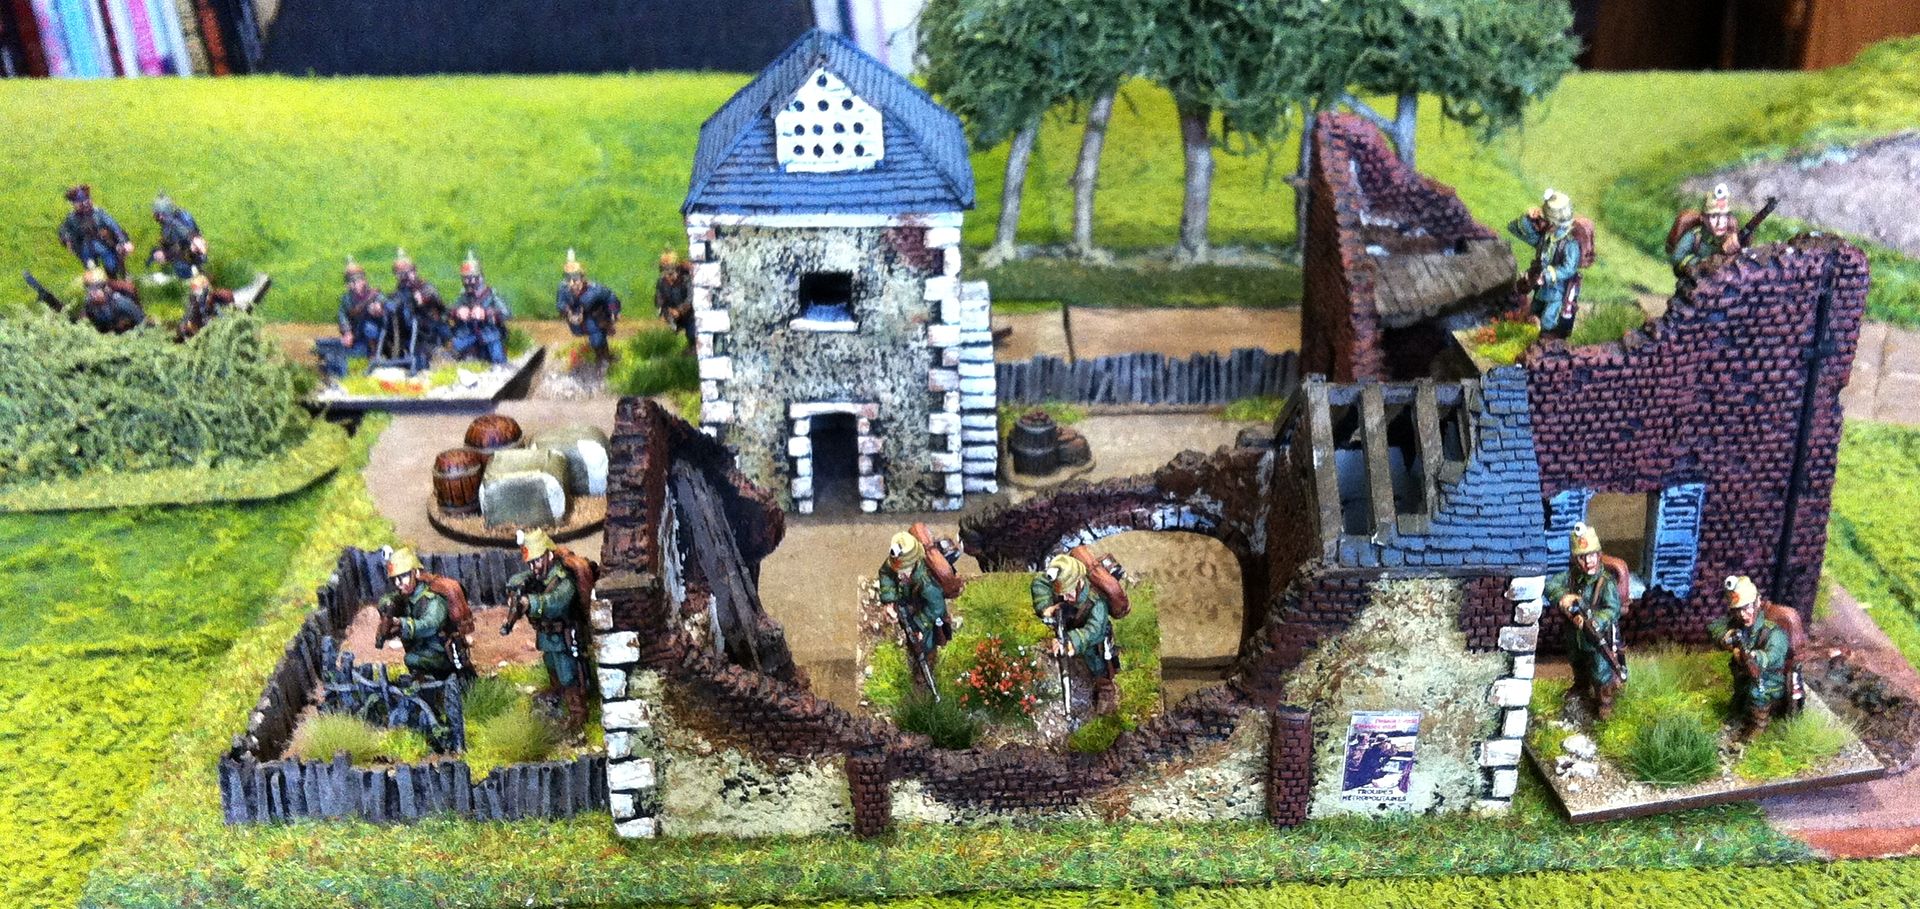
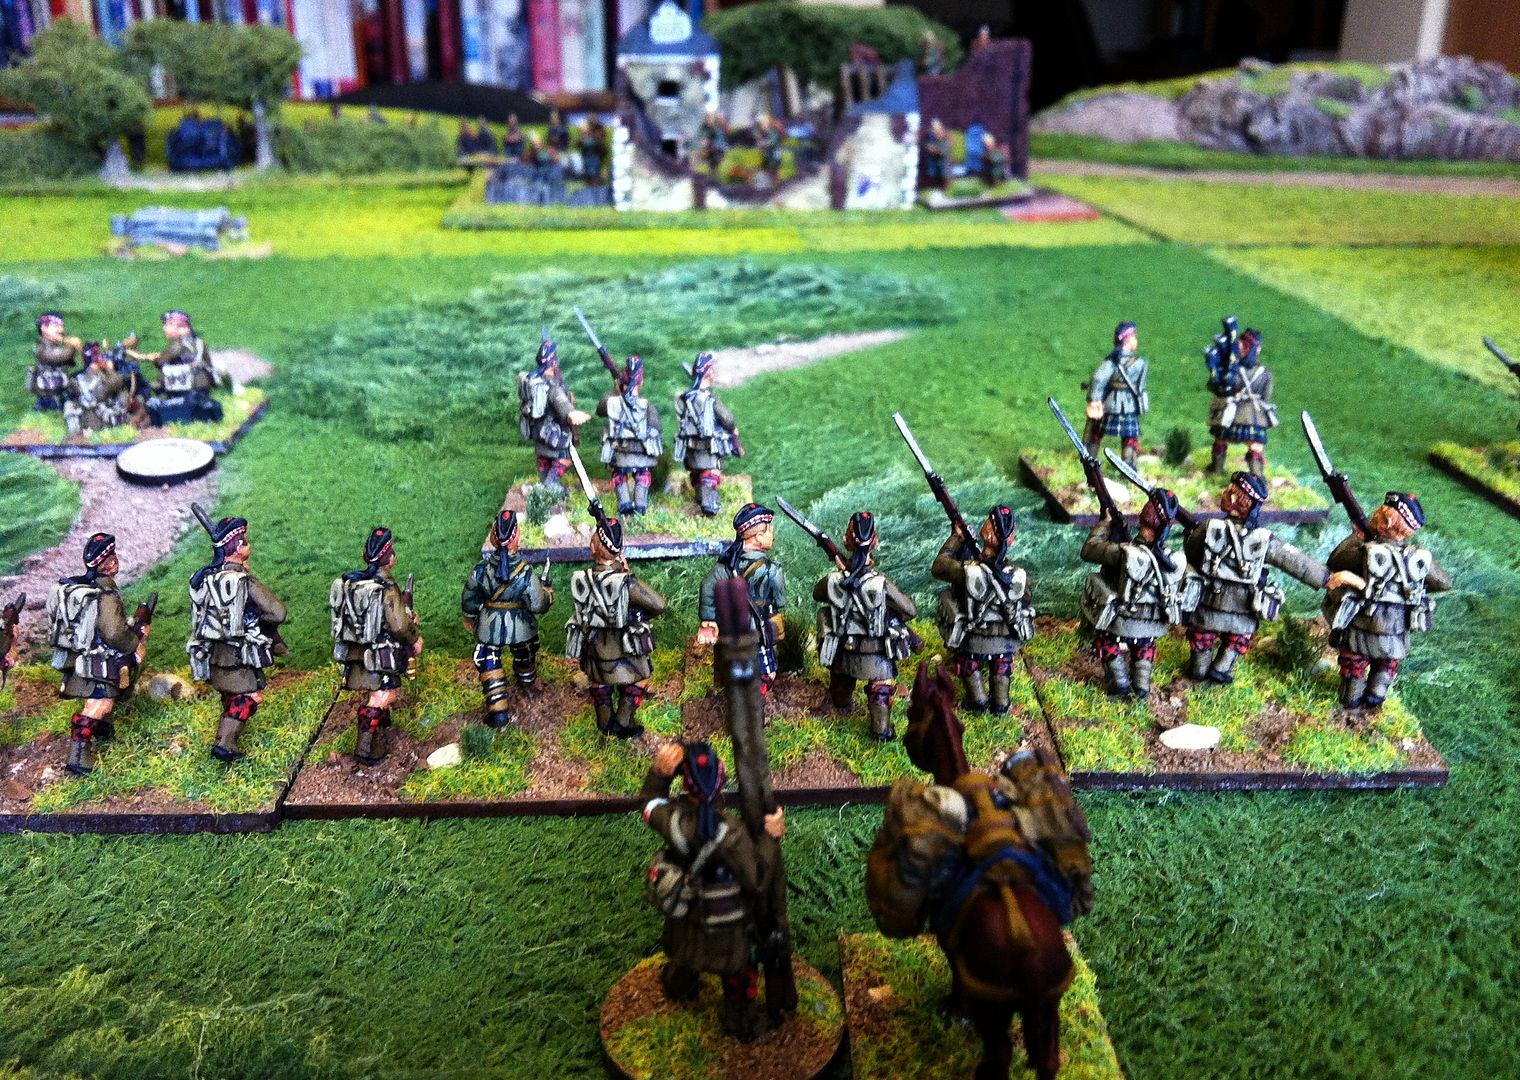
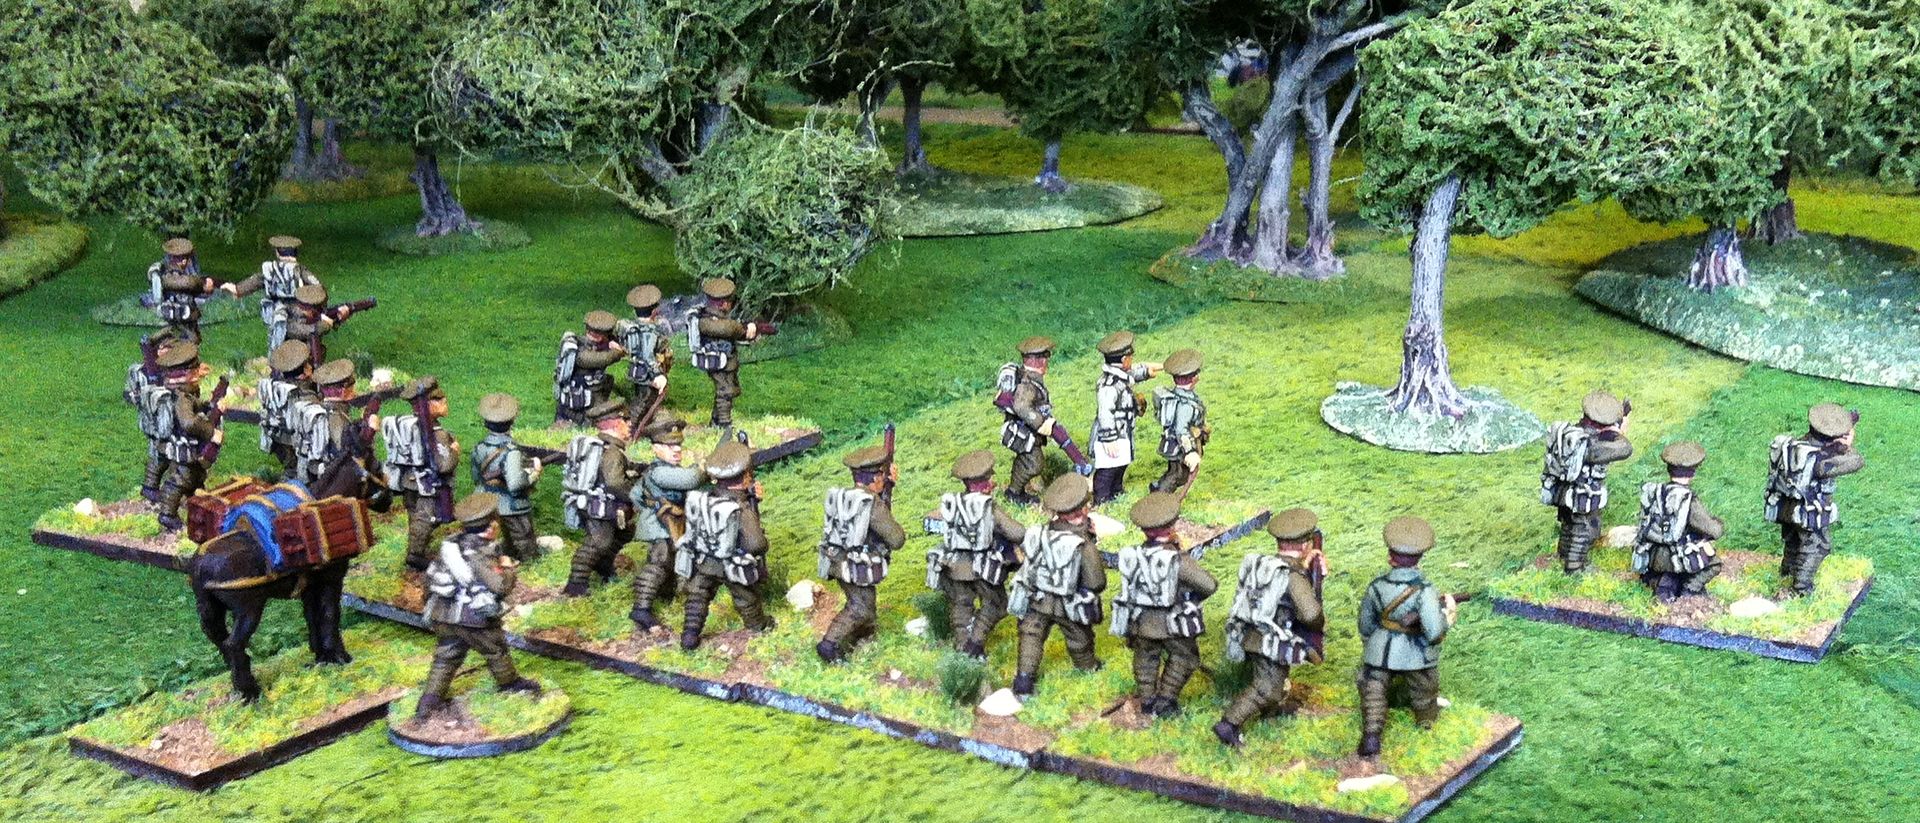
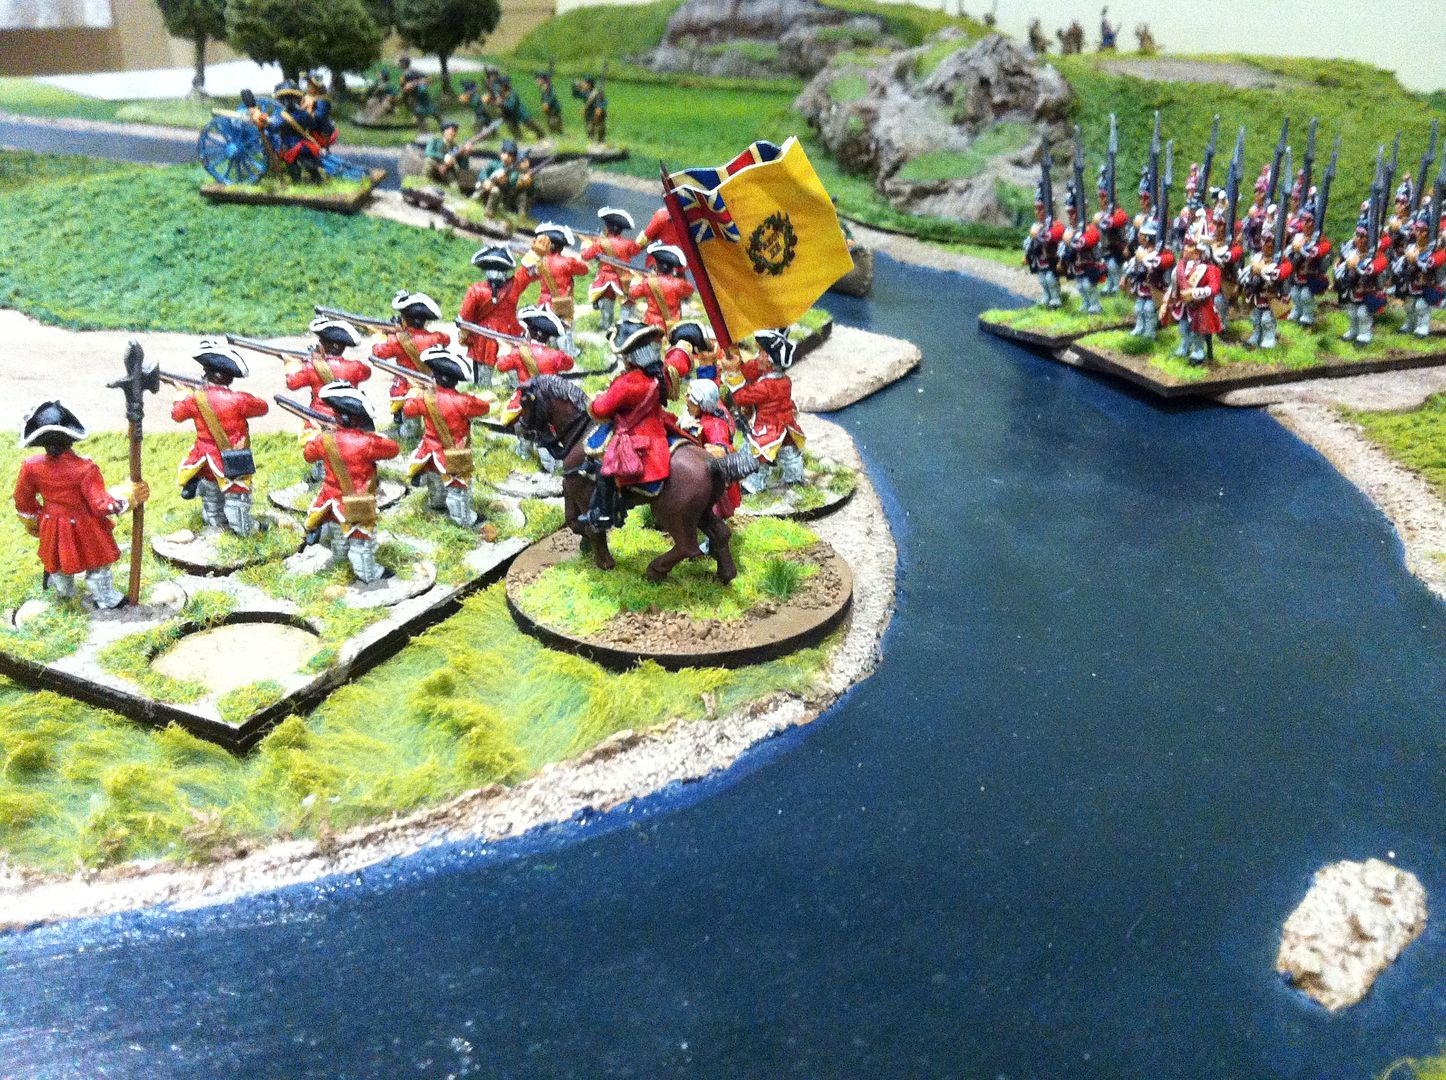
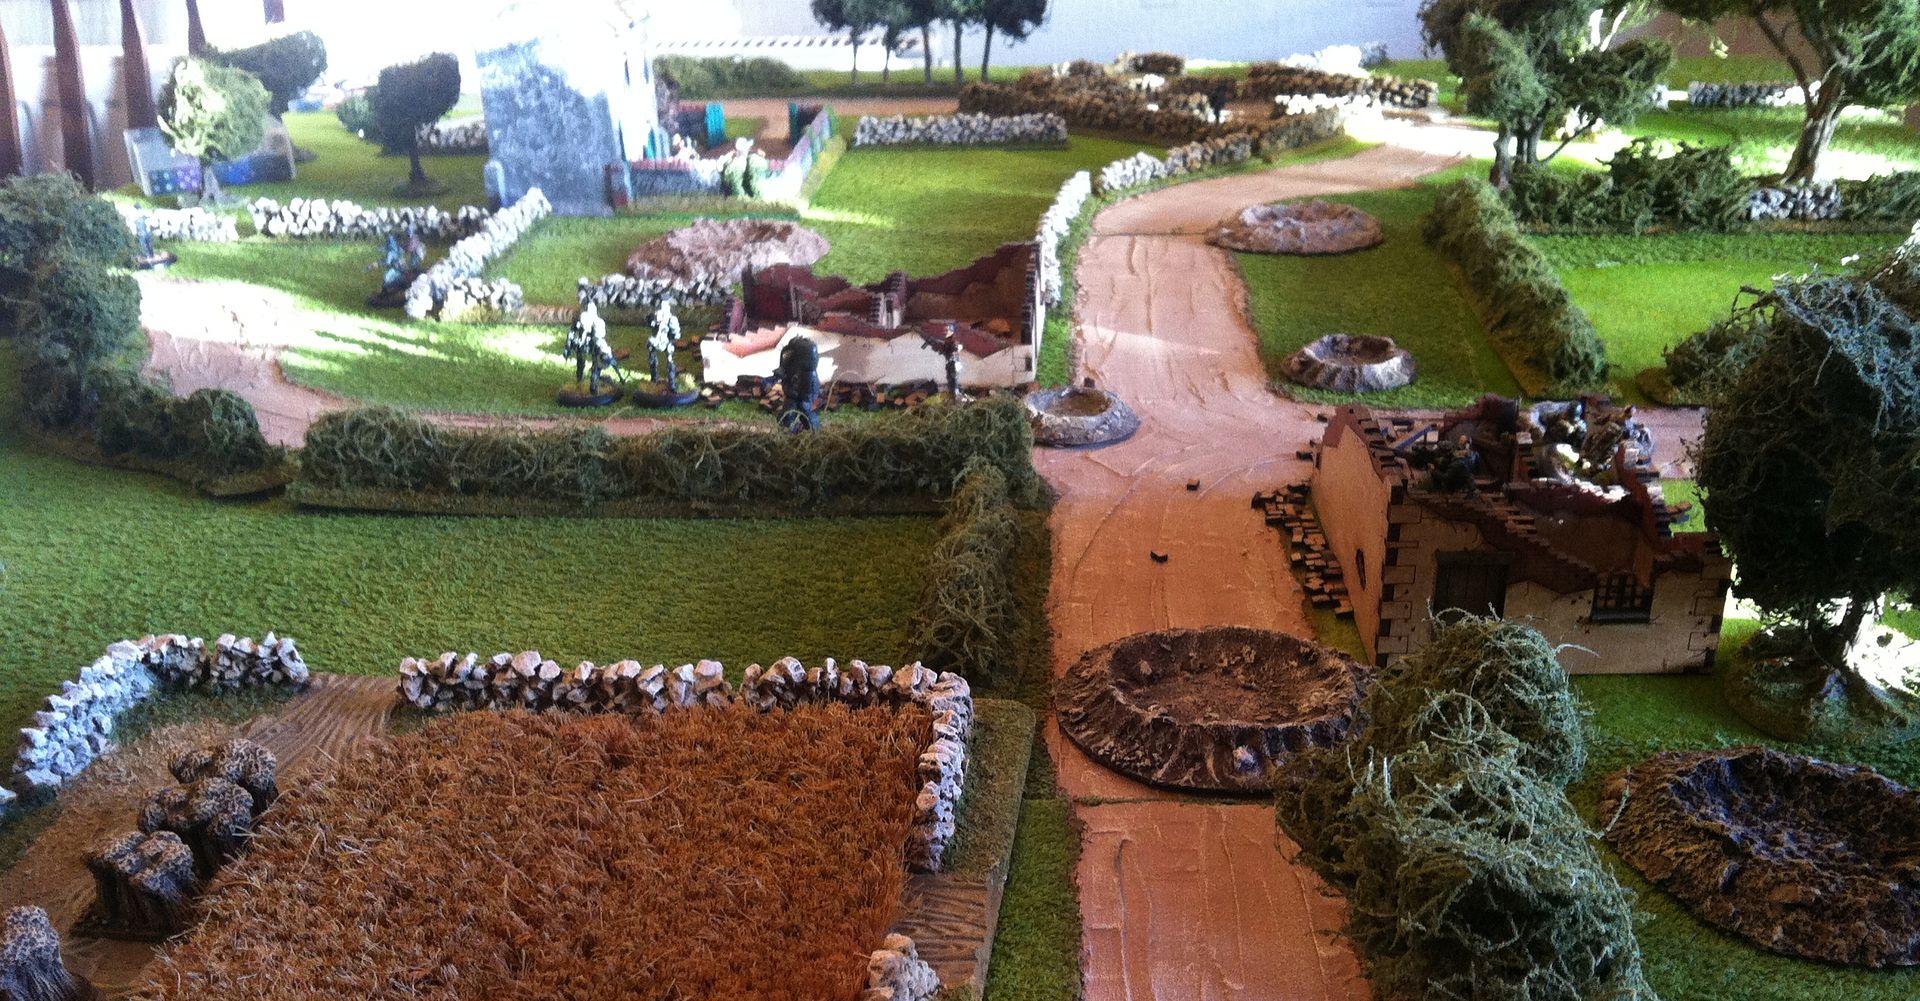
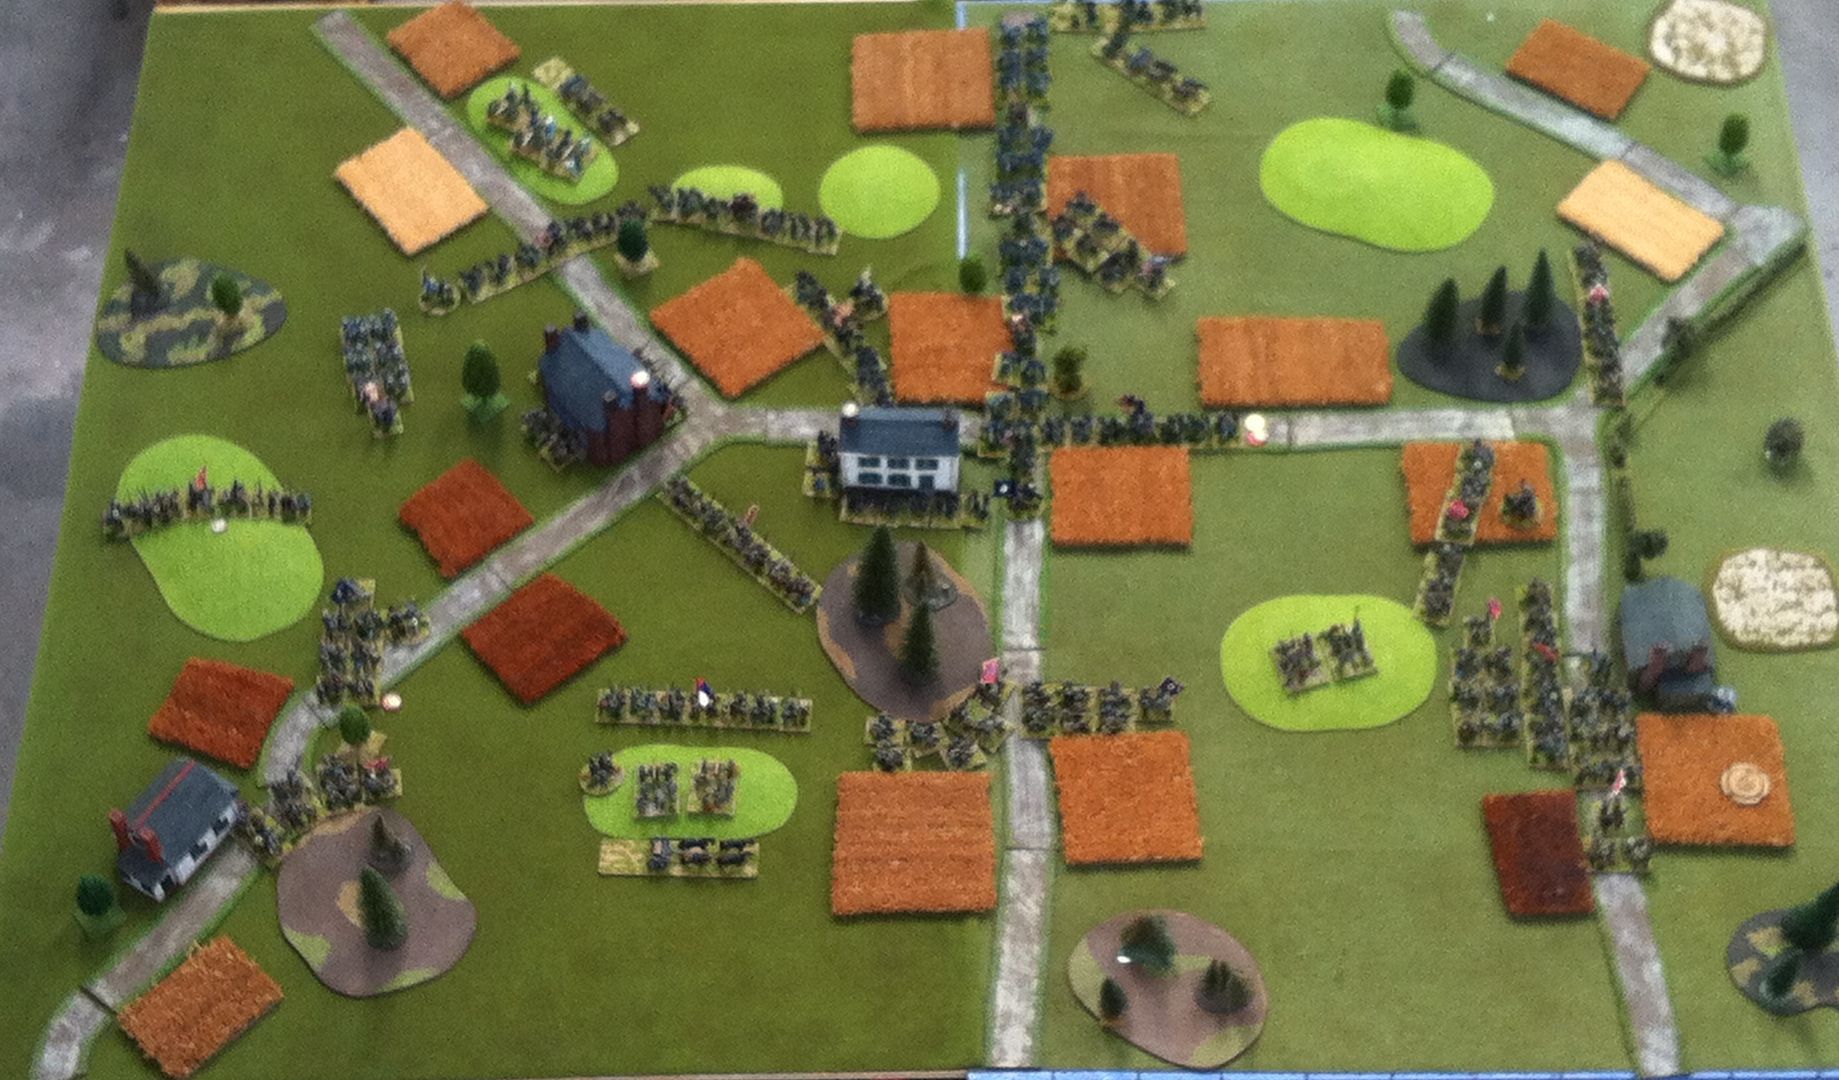
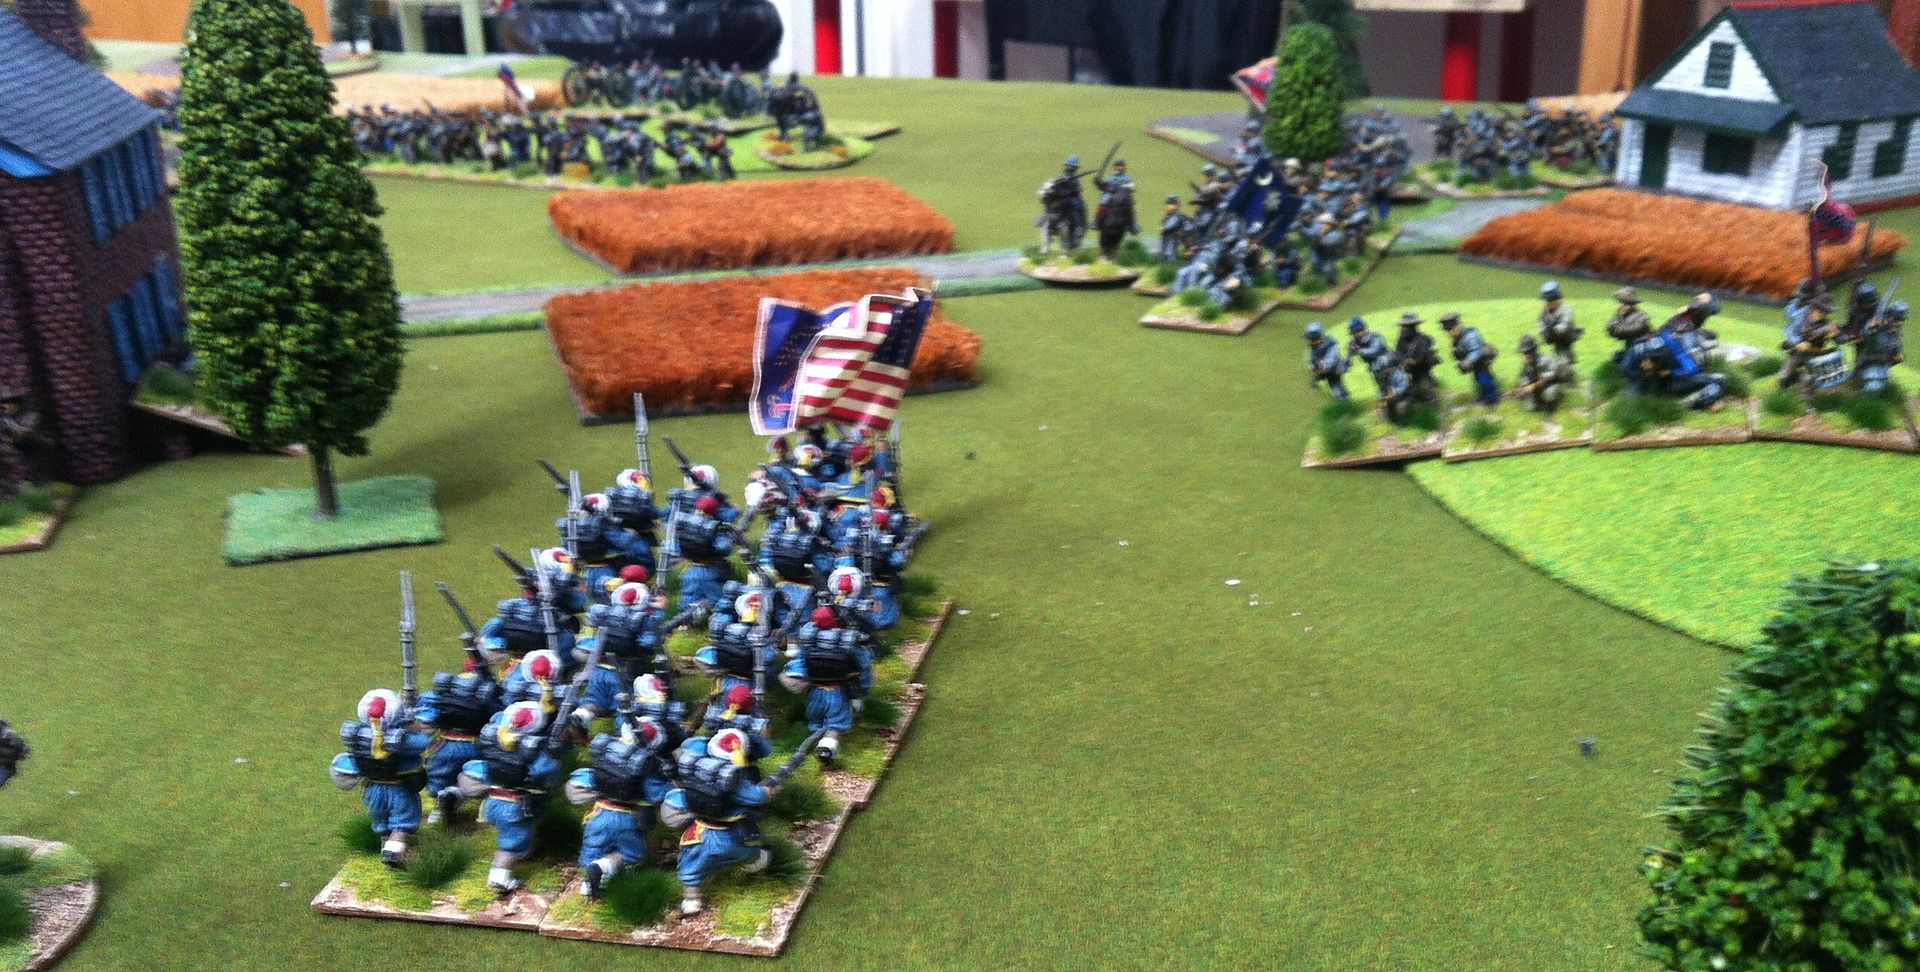
Stafford Games, to fight out a larger ACW game than we could stage here in GHQ. While the better weather has been with us we've managed five or so games there and enjoyed the benefits and challenges of the larger tables provided. For this game Jon provided the figures, buildings, low hills and roads, with the other bits from the Centre's own stock. In this view, taken from the first floor mezzanine area, the Union forces are advancing from the top of the photo.


Jon and Phil were the Confederate commanders, each with two Brigades, while I took the whole Union command of three larger Brigades. I also enjoyed a superiority in artillery numbers. Jon had predetermined dice rolls for where and at what strength forces entered the table, having to be given orders as they wanted to move on table. I had the initiative for six turns, but sadly the order dice did not let me exploit this as well as I might.


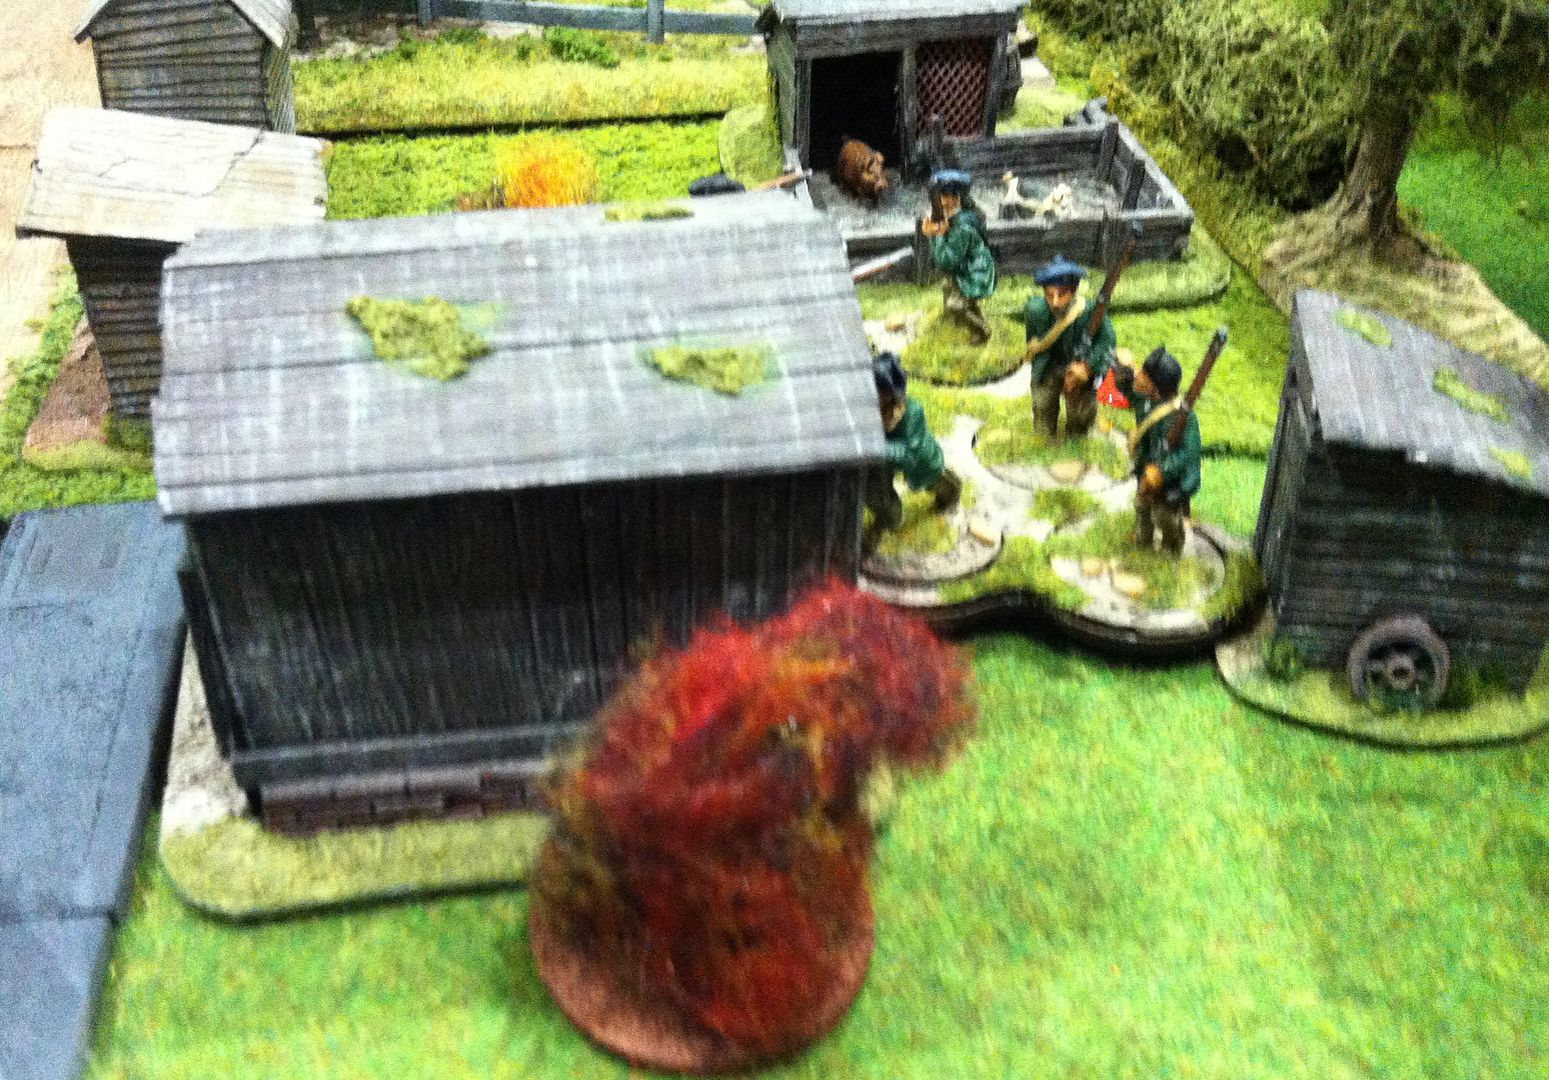
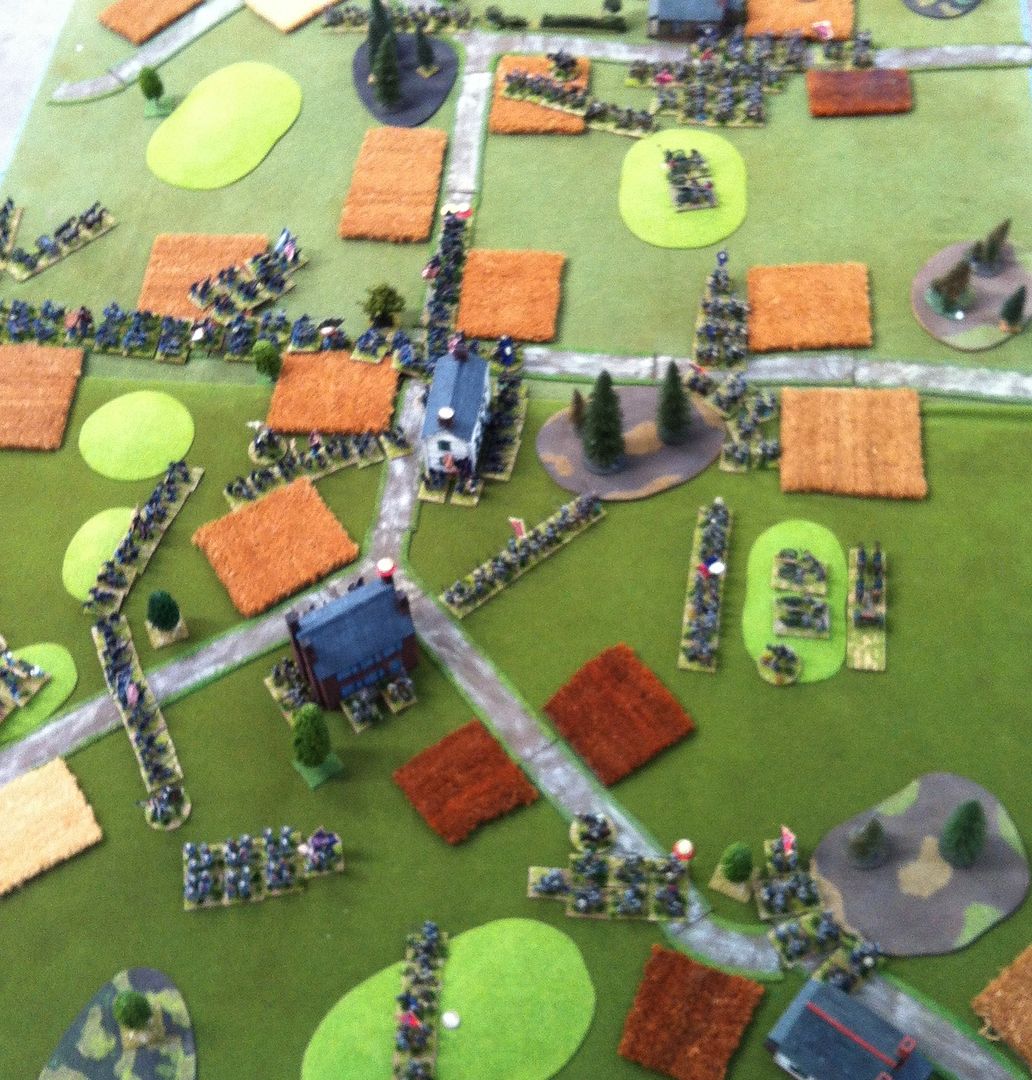
My first Brigade entered the table on the Union right centre, looking to seize the houses in the settlement, which we'll call Stafford, Va for convenience! Unfortunately, Phil's Rebs also entered in turn one opposite my boys. In turns two and three I failed to achieve many orders, Jon achieved none, but Phil went marching on as they say! That left the Rebs in possession of one building, my boys the other and a prolonged firefight was to follow. In the meantime, Jon's repeated failure to achieve any orders kept his boys marching down the road to nowhere. I was able to station one regiment on my centre left to watch him passing, concentrating my first two brigades on the fighting for Stafford, Va.


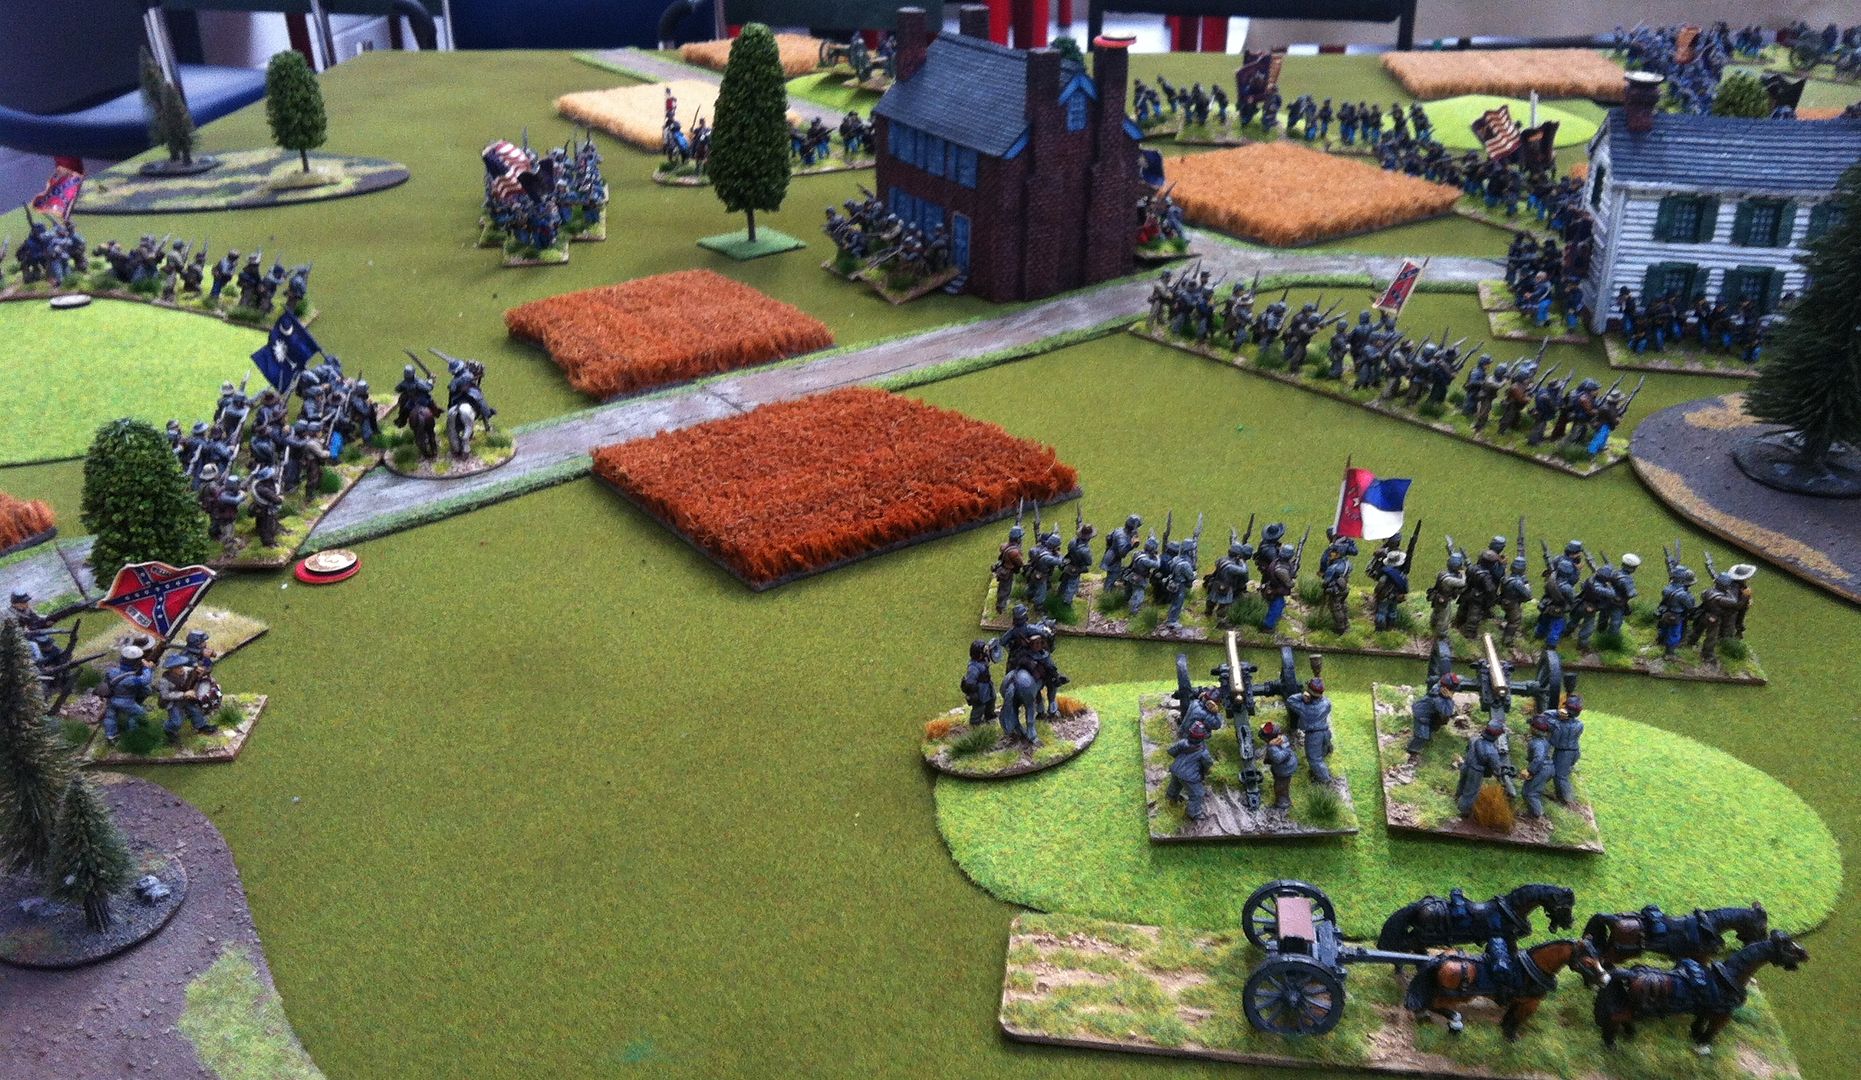
Sensing a good opportunity to strike the Rebel centre and defeat the two forces in detail I ordered my Irish Brigade forward! Sadly the dice only allowed one move, not the three I'd hoped for, and a rather serious log jam was developing in the Union lines! Phil took advantage with some awesome dice to close the gap in his turn, leaving my grand plan in tatters!


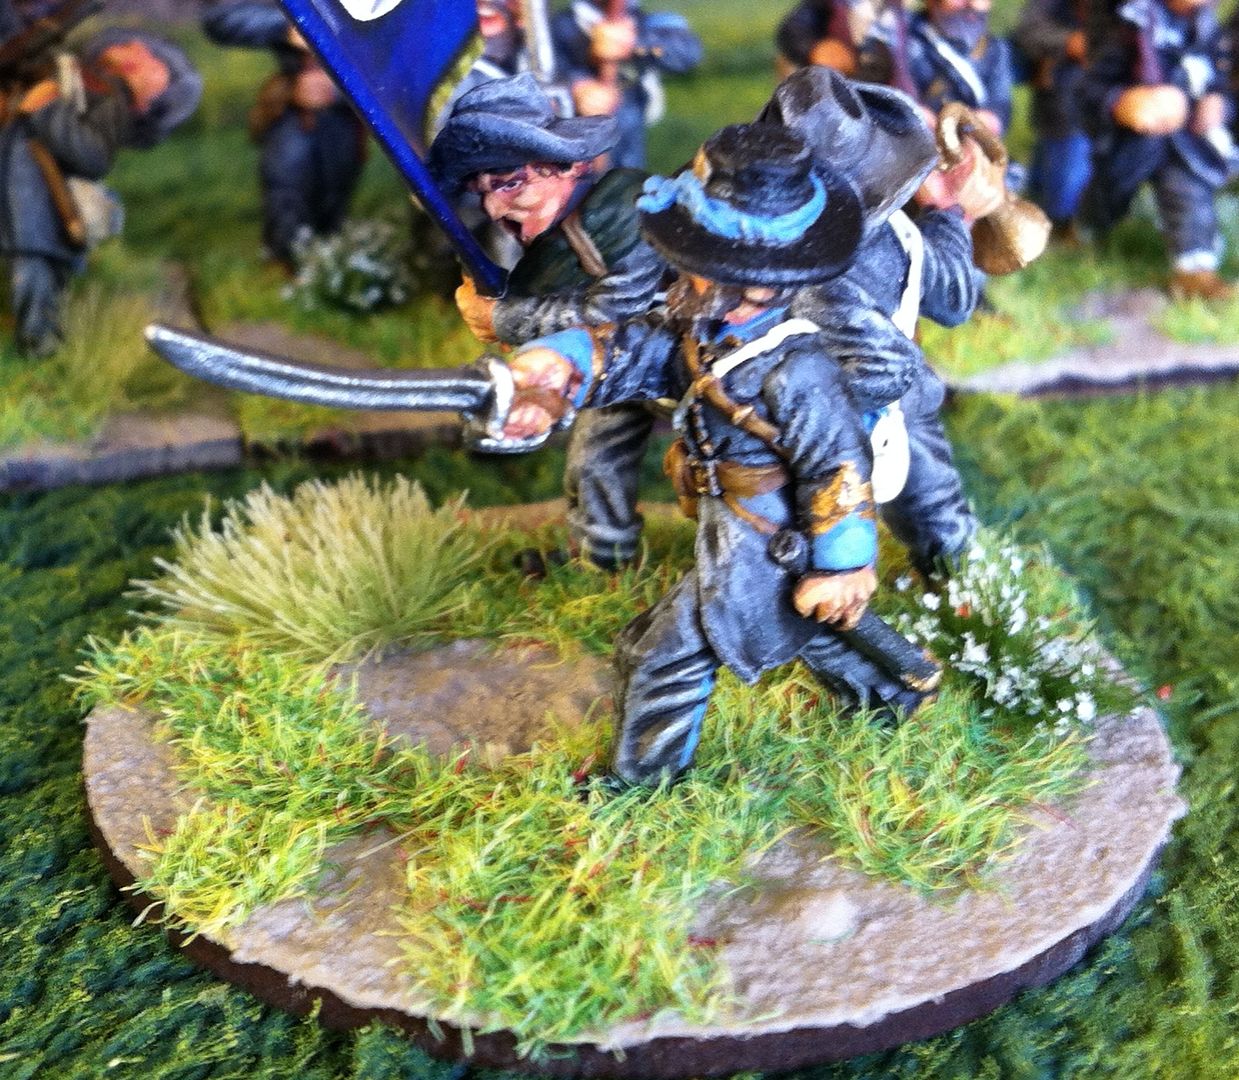
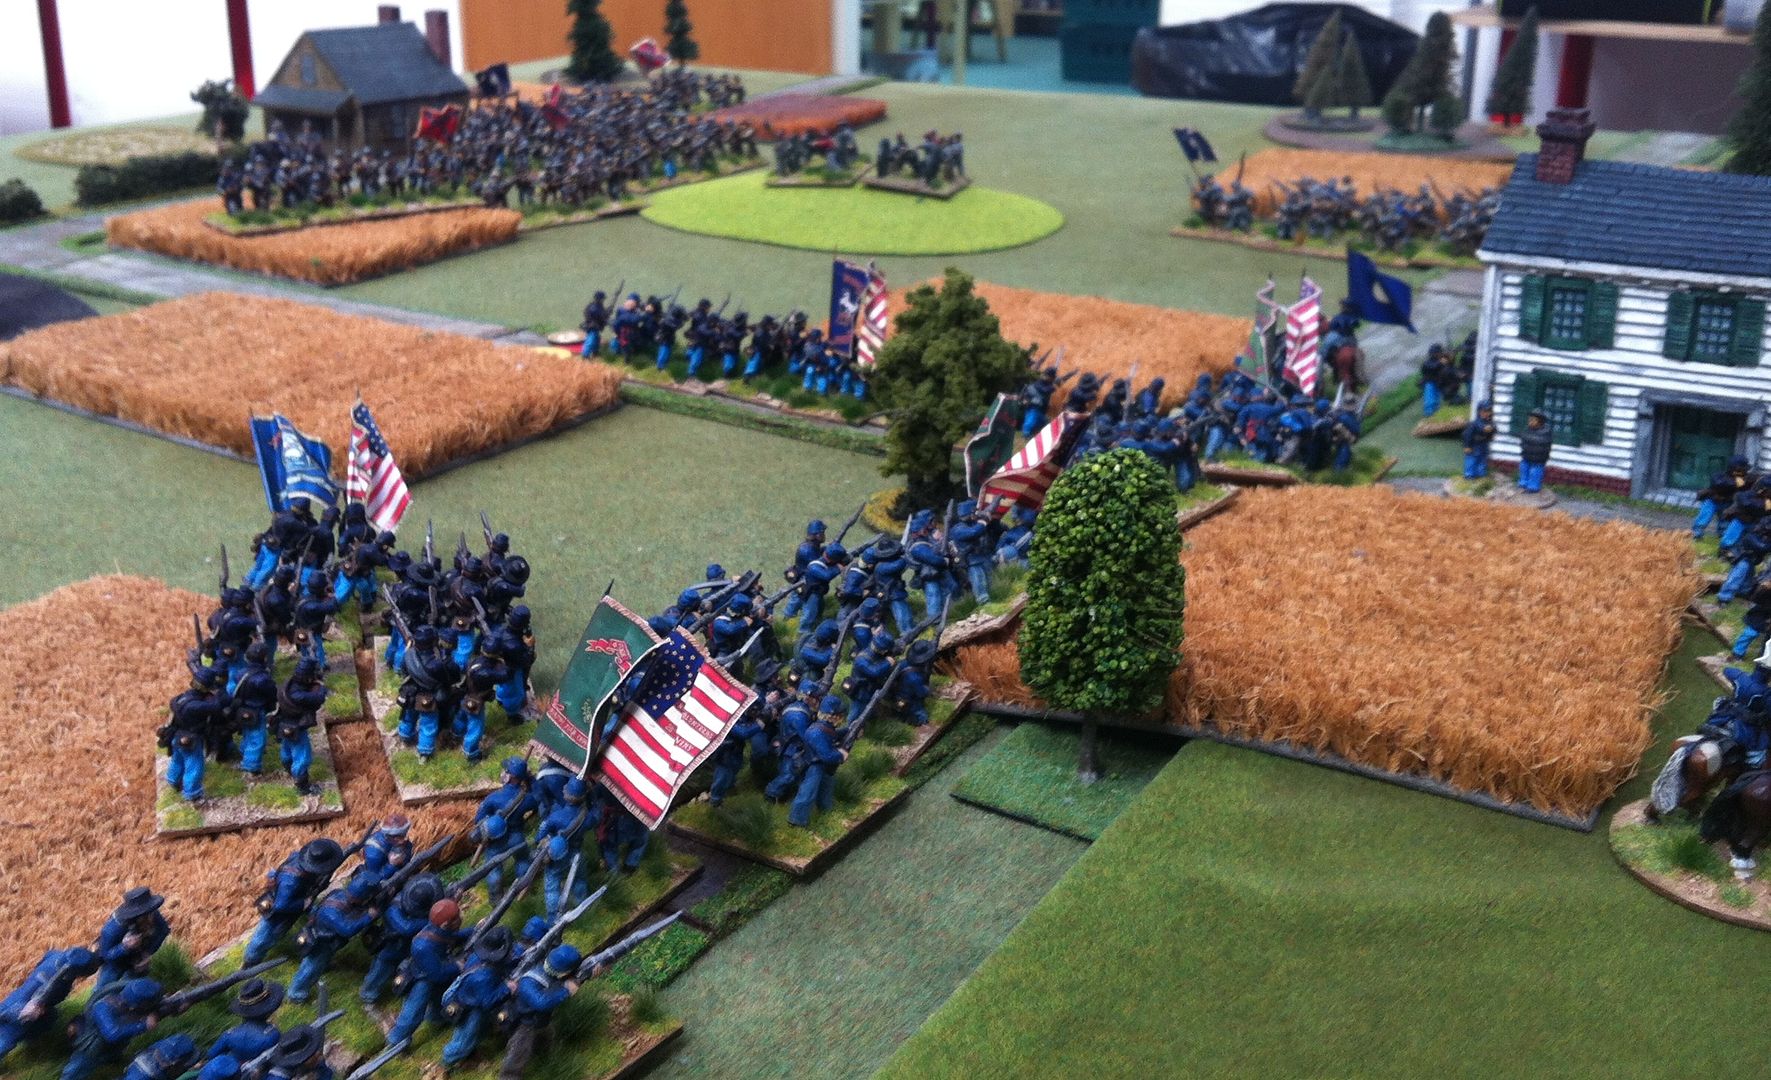
Phil's Rebs holding parts of the town were proving very hard to dislodge, you had to see his saving throws turn after turn to believe them really! I continued to push on his left flank, hoping to turn his line, but repeatedly lost second rounds of combat when all looked so promising.


Finally, my boys could take no more and as the Zoauvres made a valiant effort to stem the tide, other units quit the field after spectacular morale failures!!! At the same time, Jon's boys finally got into action and I found myself having to commit my meagre reserves to stem the attack.


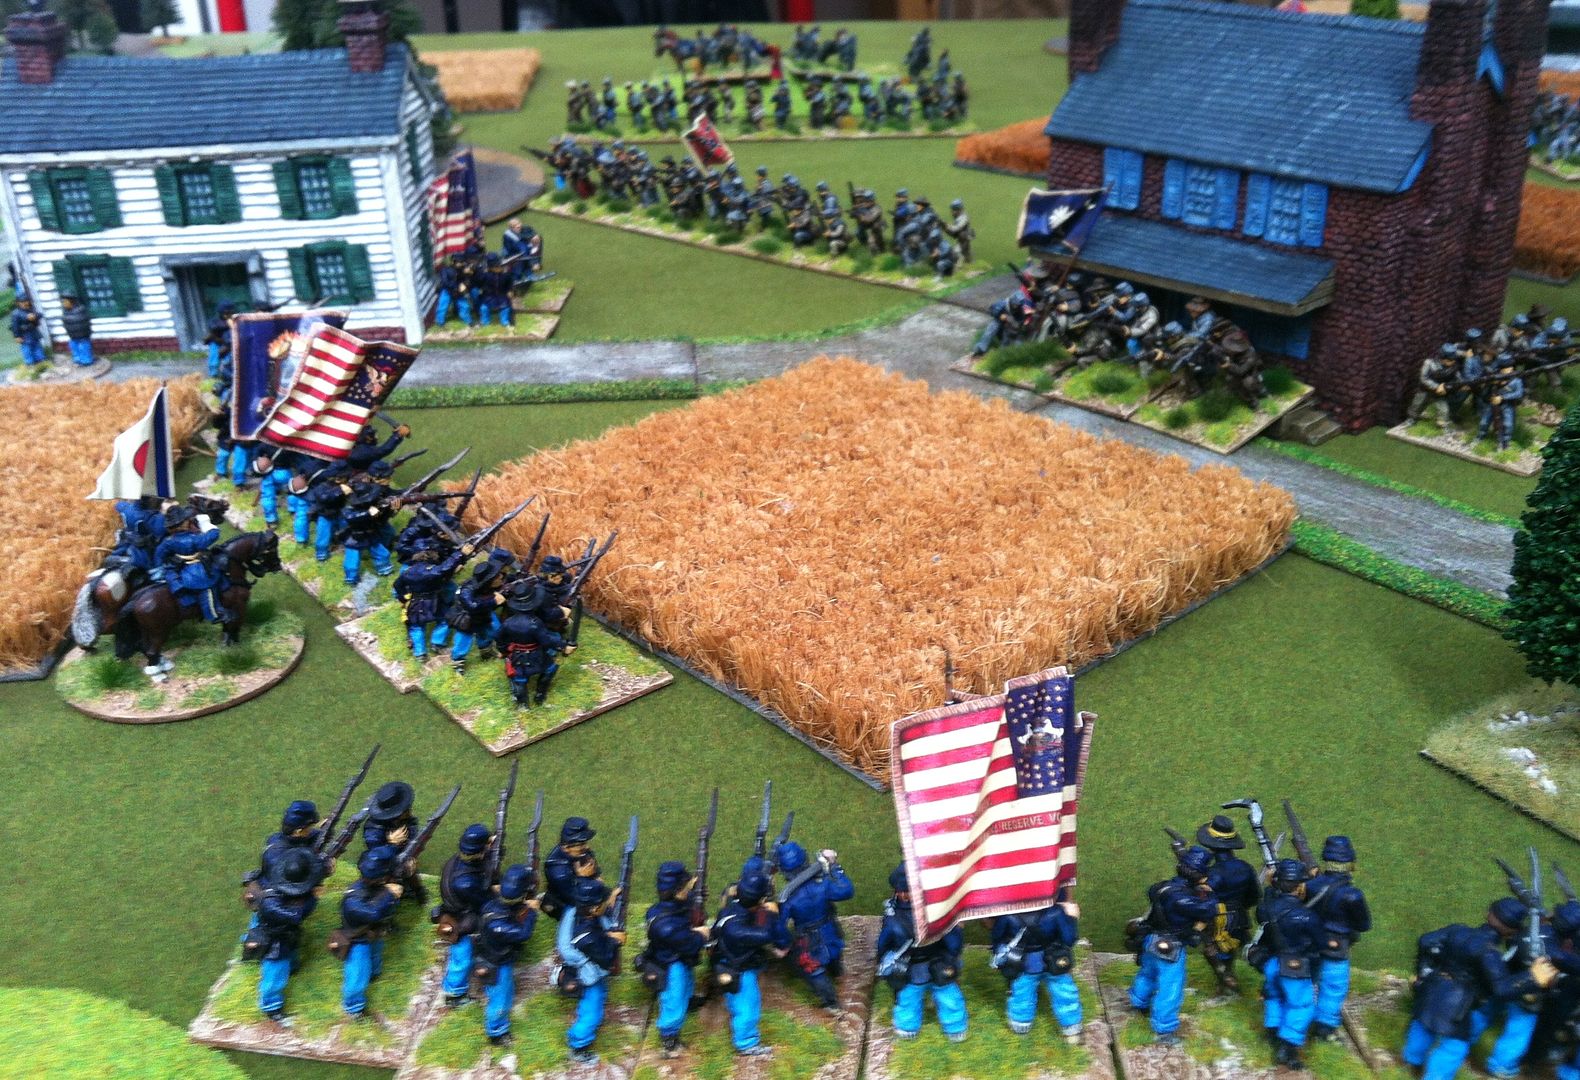
Although both sides on my right flank ended with broken brigades, the decisive action finally came on the Union's left and centre. Unable to make progress in the town and seriously flanked on my left, I took up defensive positions and prepared to weather the hail of lead thrown against my gallant lads! Sadly, once more, Jon's and Phil's dice throwing put mine to shame. Whittled away little by little, loosing a regiment here and there, my Army's morale finally broke and Useless S Bykleigh and his boys quit the field in turn 16.
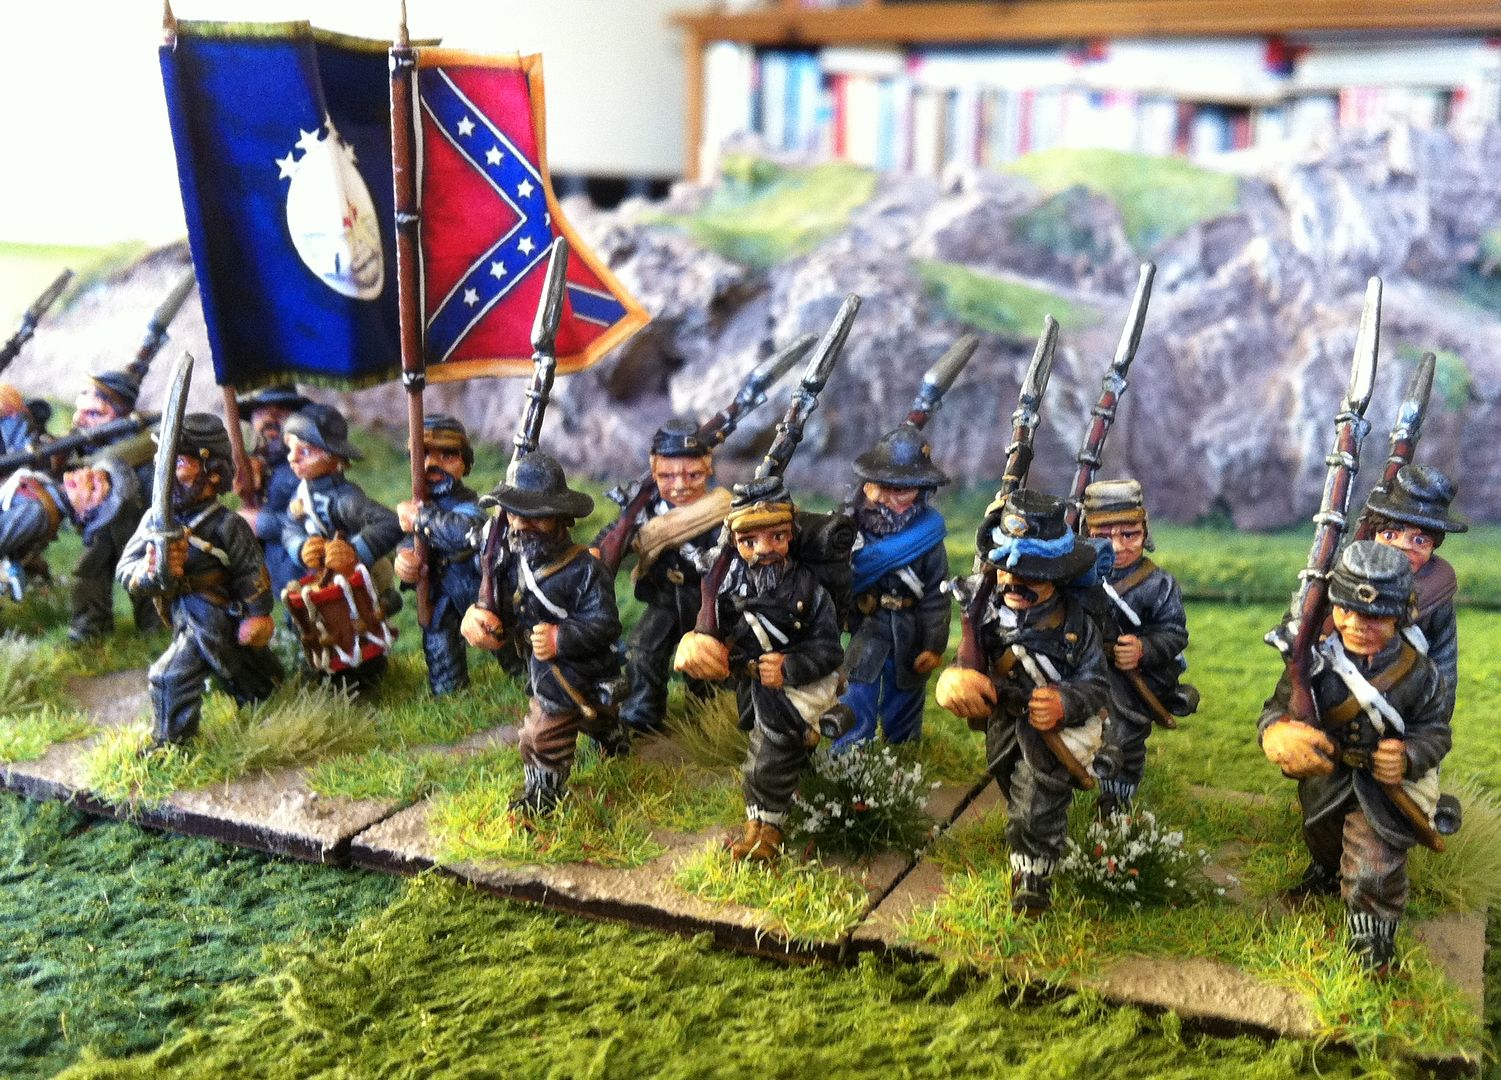
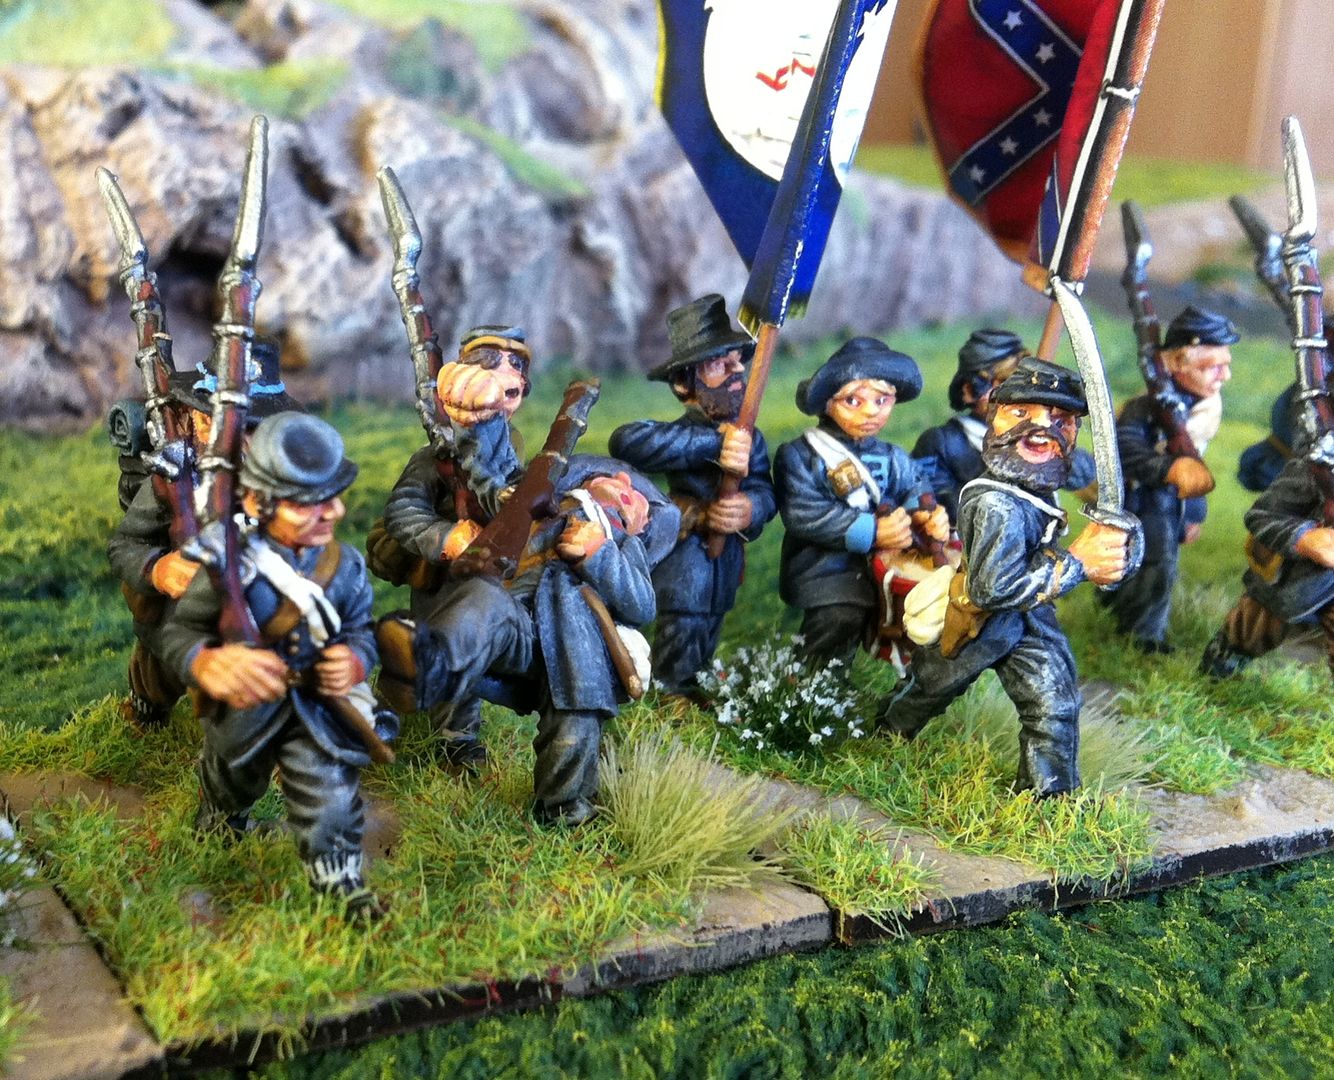
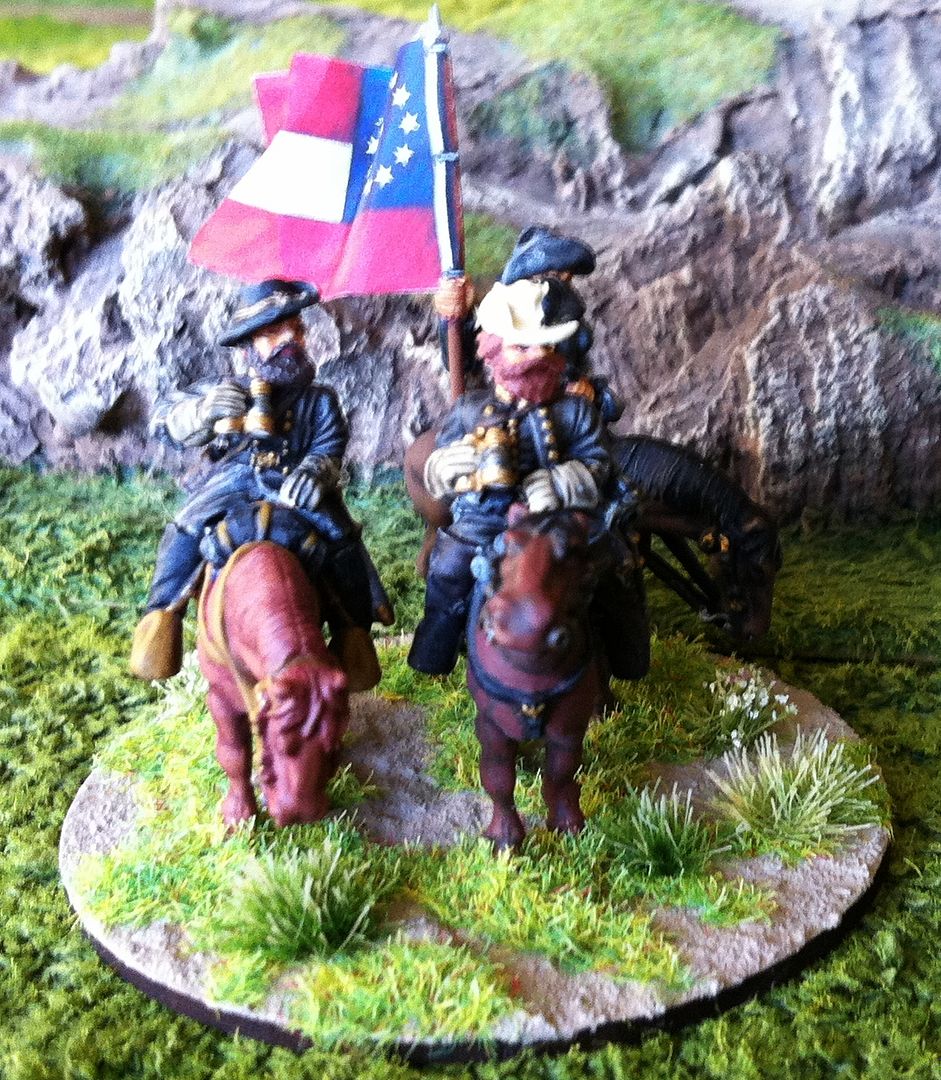
As you'll probably guess, we were using Black Powder rules. The figures are all from Jon's extensive and beautifully finished ACW armies. They are mostly Renegade and Redoubt I believe, with most at seven bases of four figures for strength. The buildings are Hovells of course and the low hills from S&S I think. Our game lasted three hours in all and was wonderfully enthralling, even though I lost in the end. Outnumbered as I was I thought I put up a really good fight, only let down by those pesky dice again...

Monday, 28 October 2013

The Bridge at Pa Doh Ki

Phil and I got together this afternoon for a Bolt Action WWII game set during the Burma Campaign. Phil elected to take on the Chindit force of Lt 'Mad Phil' Robinson while I was left as Lt Onomoro, defender of the Bridge at Pa Doh Ki. The first picture gives a general idea of the table layout for the game here in GHQ. The Chindit force must blow the bridge and exit the table for a win.
The Japanese defenders begin the game with only two dice in the bag, representing two forward deployments of snipers with Ambush orders as their first dice call. I deployed one on the central hill and one on a low hill covering the track approach to the bridge.
 

The second sniper on the low hill was sadly taken out after one shot in a close combat! But the other sniper? Well, you'll see I'm sure later on...
One Chindit unit reached the bridge, but found itself pinned down by some unexpected Japanese armour{?}, while a second unit had flanked the hill and was rushing to its support.
While another Chindit unit had forded the river and was approaching the bridge from the other bank. All seemed to be going well for the Chindits, but...
In the headlong rush for the bridge, the heavy weapons teams were left far behind, meaning that when Onomoro unleashed his infantry, machine gun and light artillery support the Chindit attack first halted, then melted away under heavy fire and after loosing the melee brought on by a mad headlong charge born of desperation. Not even the antitank rifle could swing things the Chindits' way...
The Heroes of the Day! The second sniper team who held the central hill for the entire nine moves of the game, seeing off the Chindit light mortar team tasked with clearing them off the hill, and even supporting the bridge defenders late in the game by taking out two attackers from the rear!
A grand game and a splendid afternoon in GHQ all round. The figures are mostly from Warlord Games in my collection. The bridge was canibalised many moons ago from an old Airfix railway kit, while the jungle pieces were mostly made from aquarium plants with the odd palm tree {by K & M?} added for effect. Phil, of course, made all the base terrain tiles utilizing his teddy bear fur and towelling technique. If you fancy some for your games table you can get in touch with Phil through his occasional blog ~