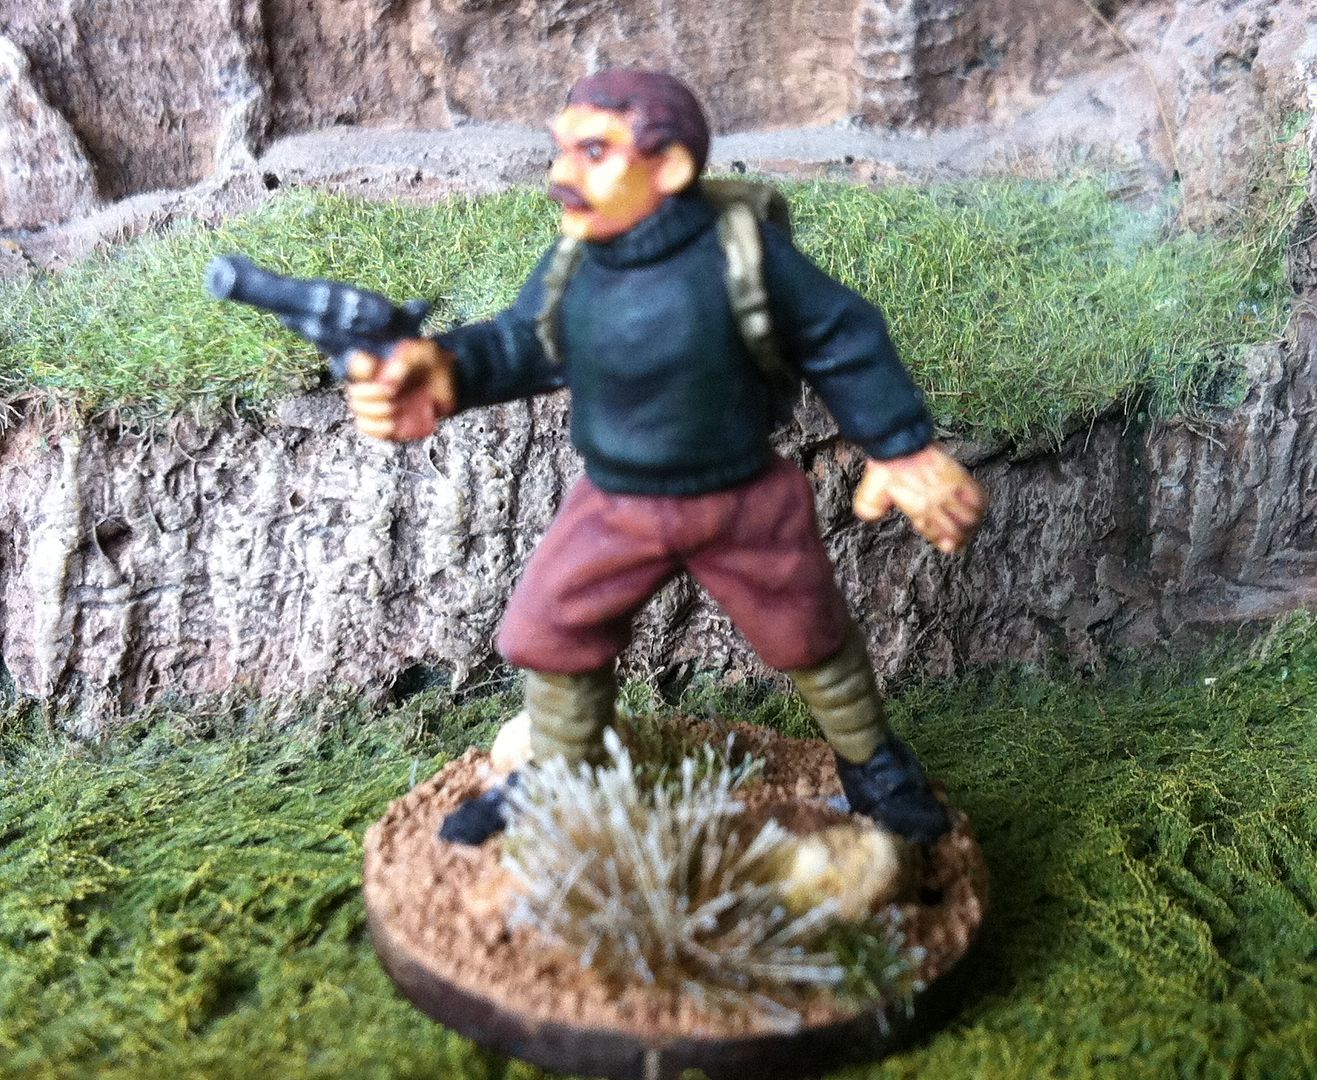
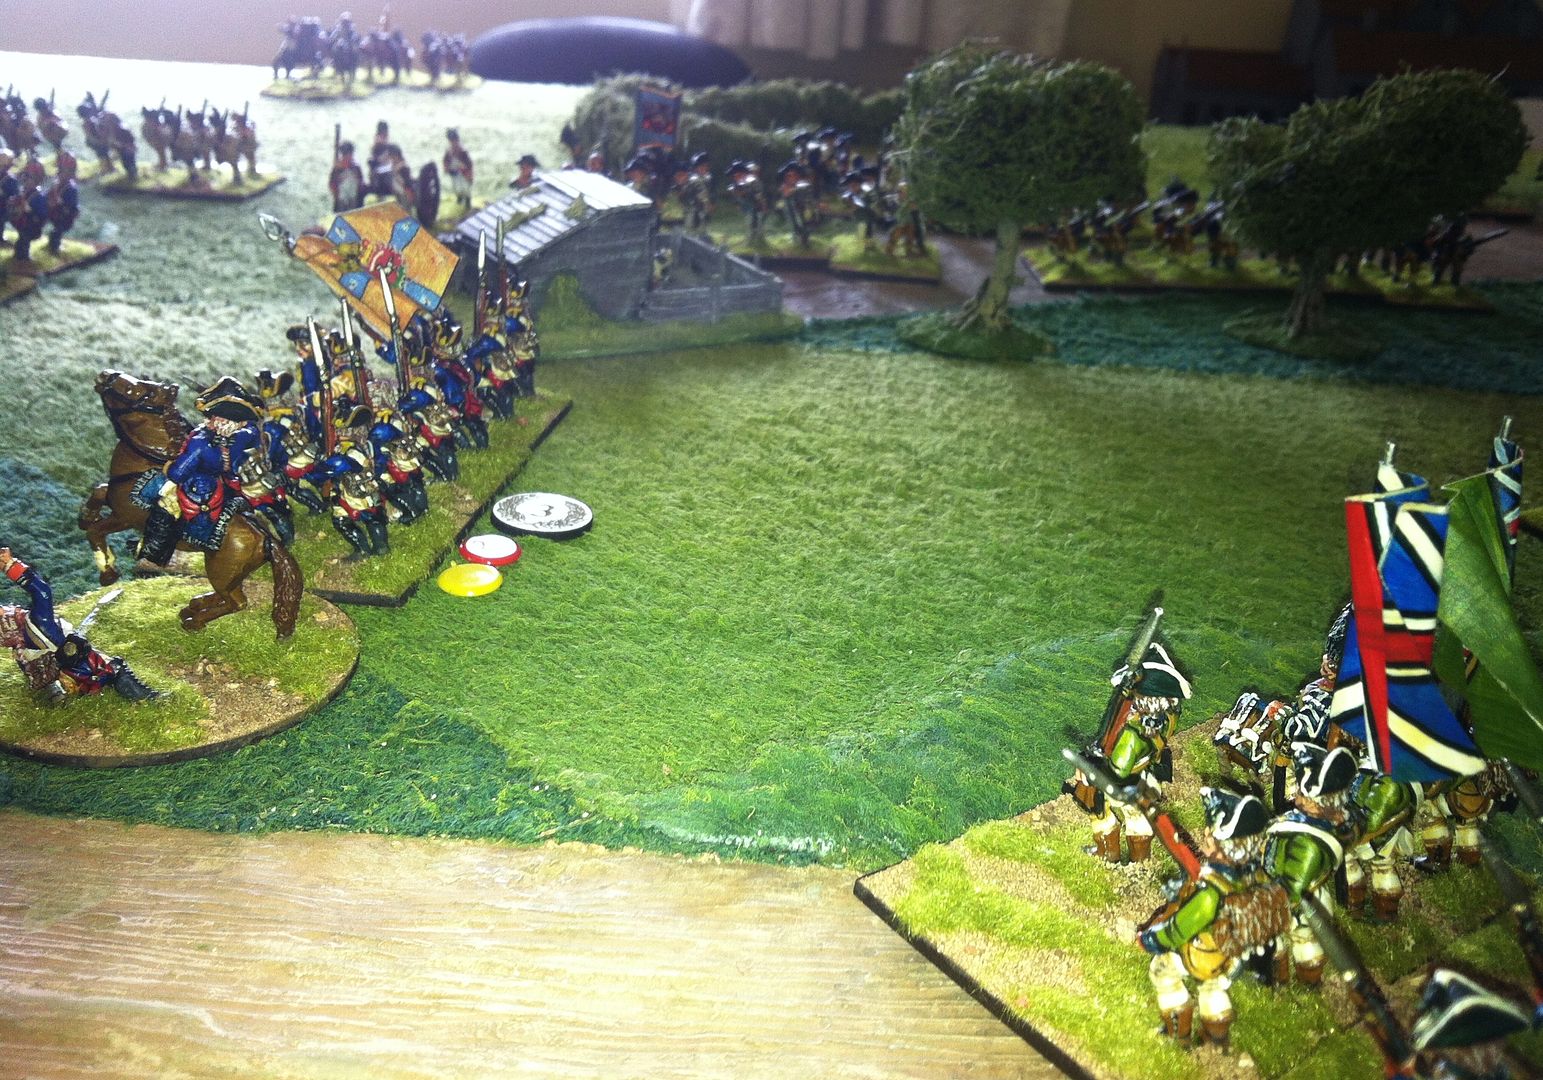
As its 4th July it seemed appropriate to put up a photo report of a recent AWI game here in GHQ. Jon commanded the forces in rebellion against the Crown, while I commanded the forces loyal to King George! The rules used were the excellent and flexible
Black Powder, the figures and terrain from my own collection. The figures are mainly
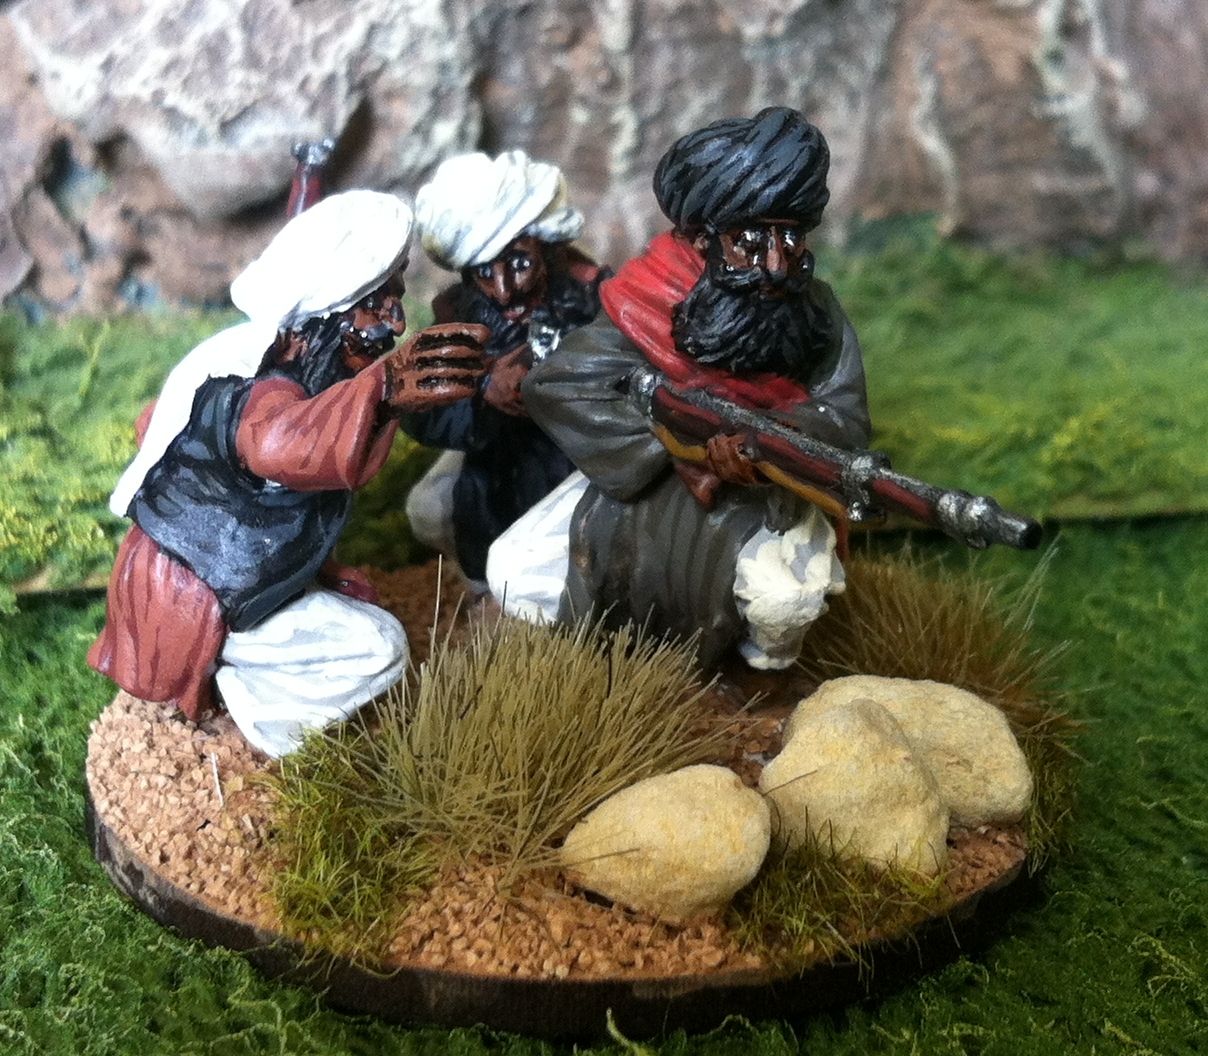
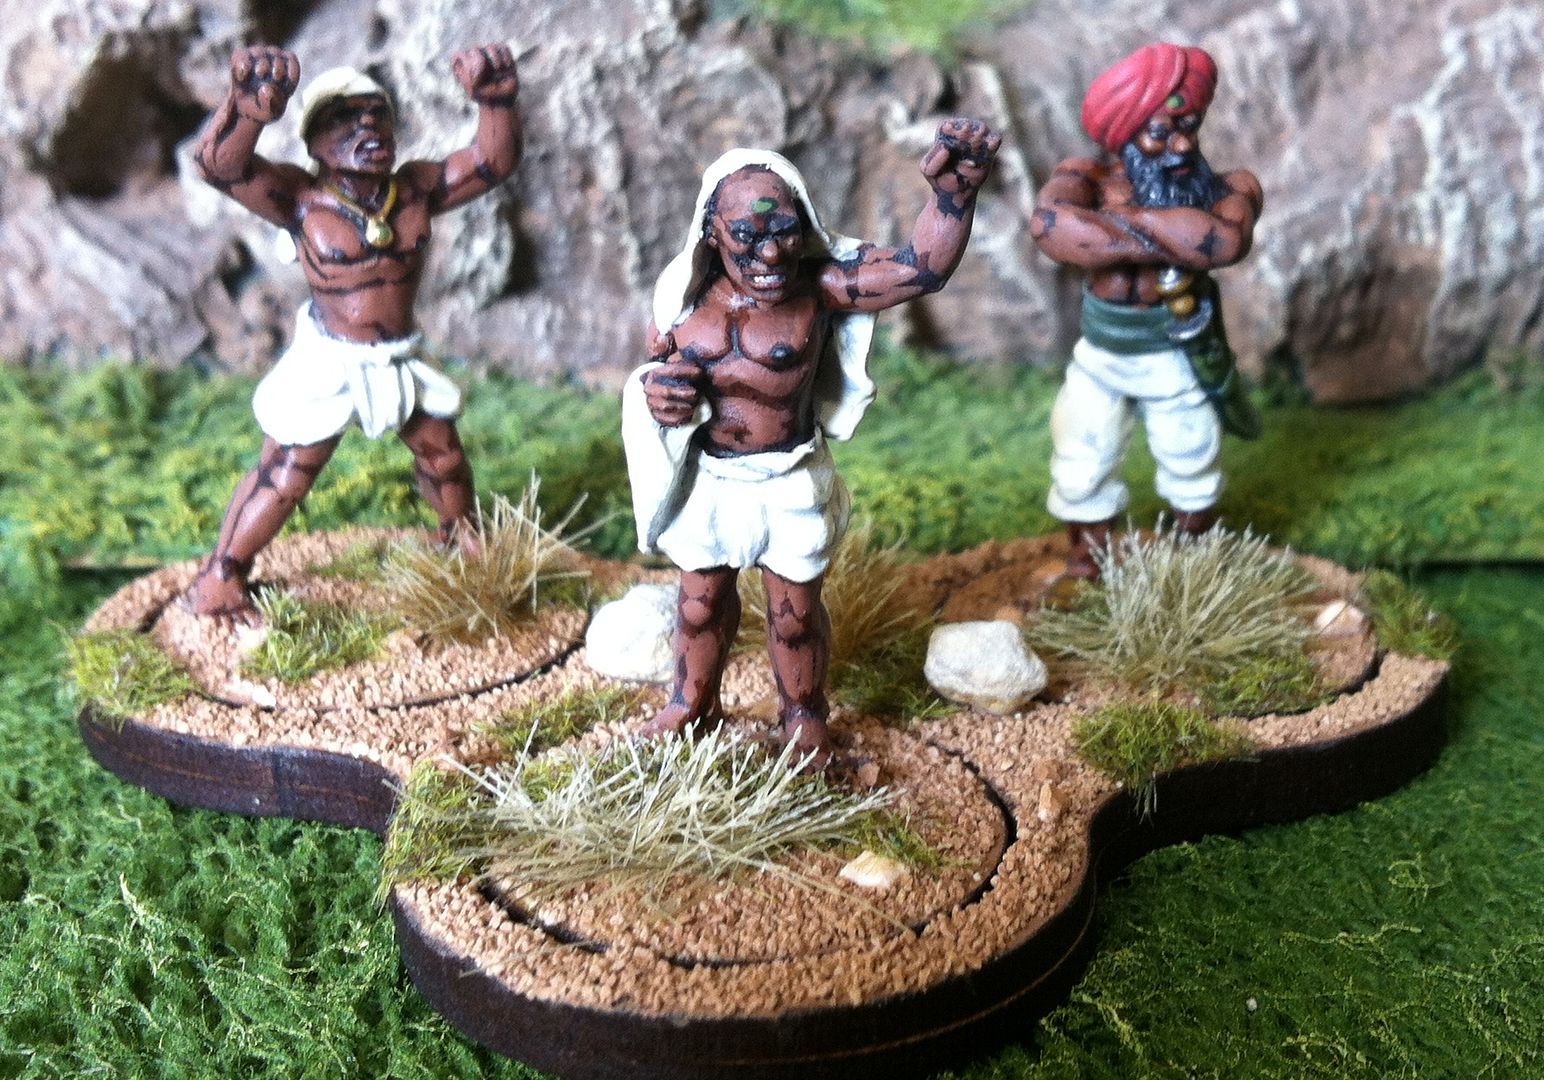
Front Rank, supplemented by a few
Perry Miniatures and some
Dixon Miniatures. The buildings are all scratch built by myself and Phil, while the trees, hedges and fields are from
The Last Valley.
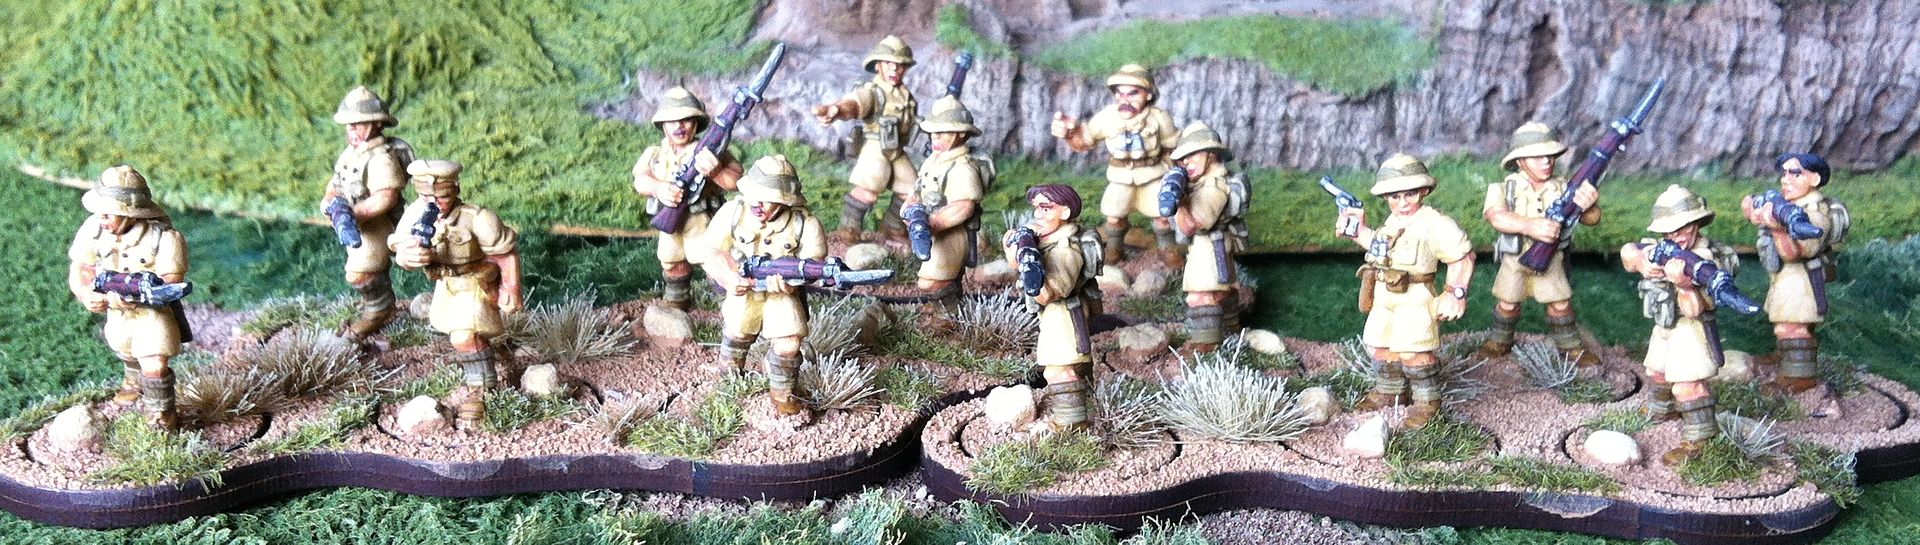
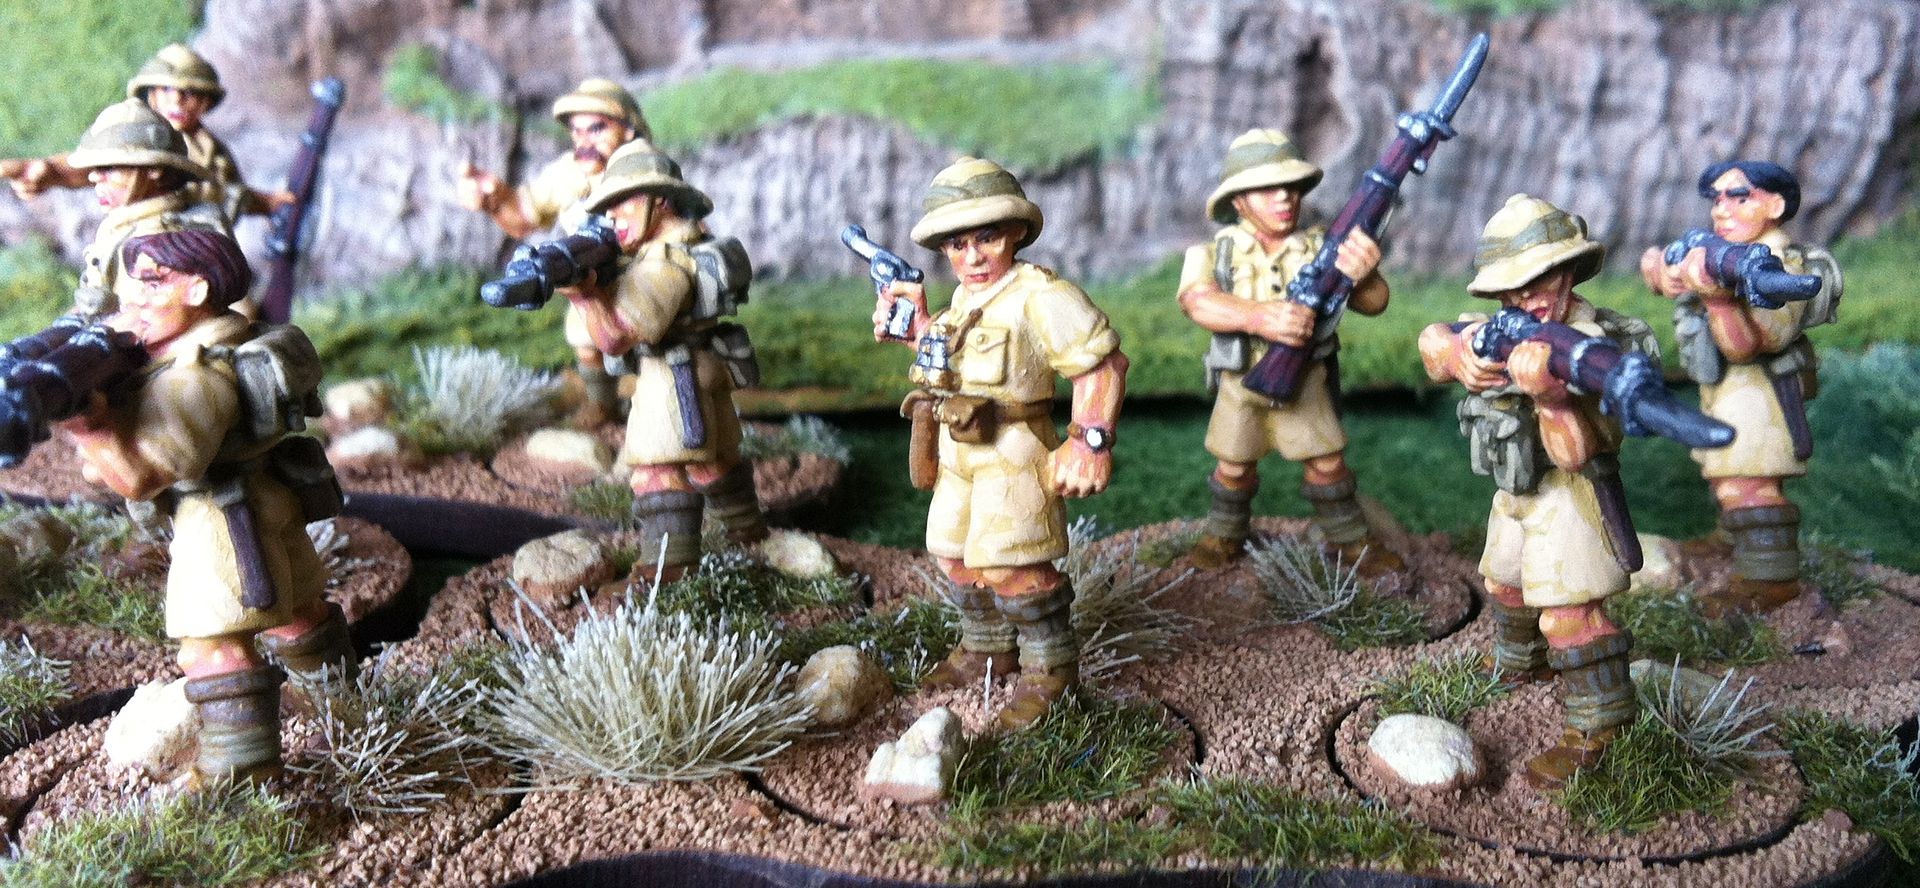
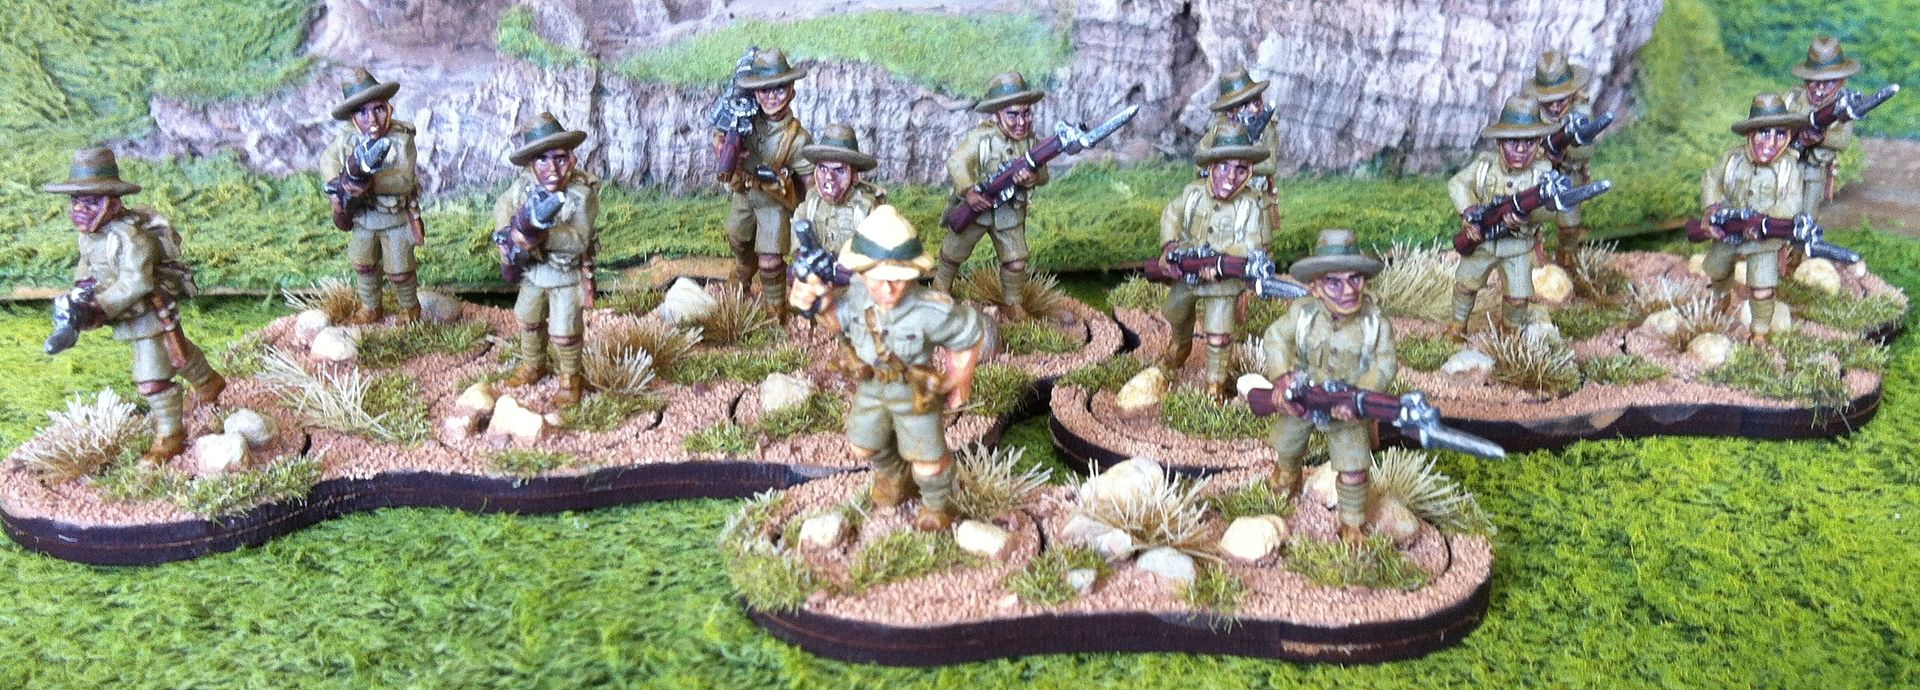
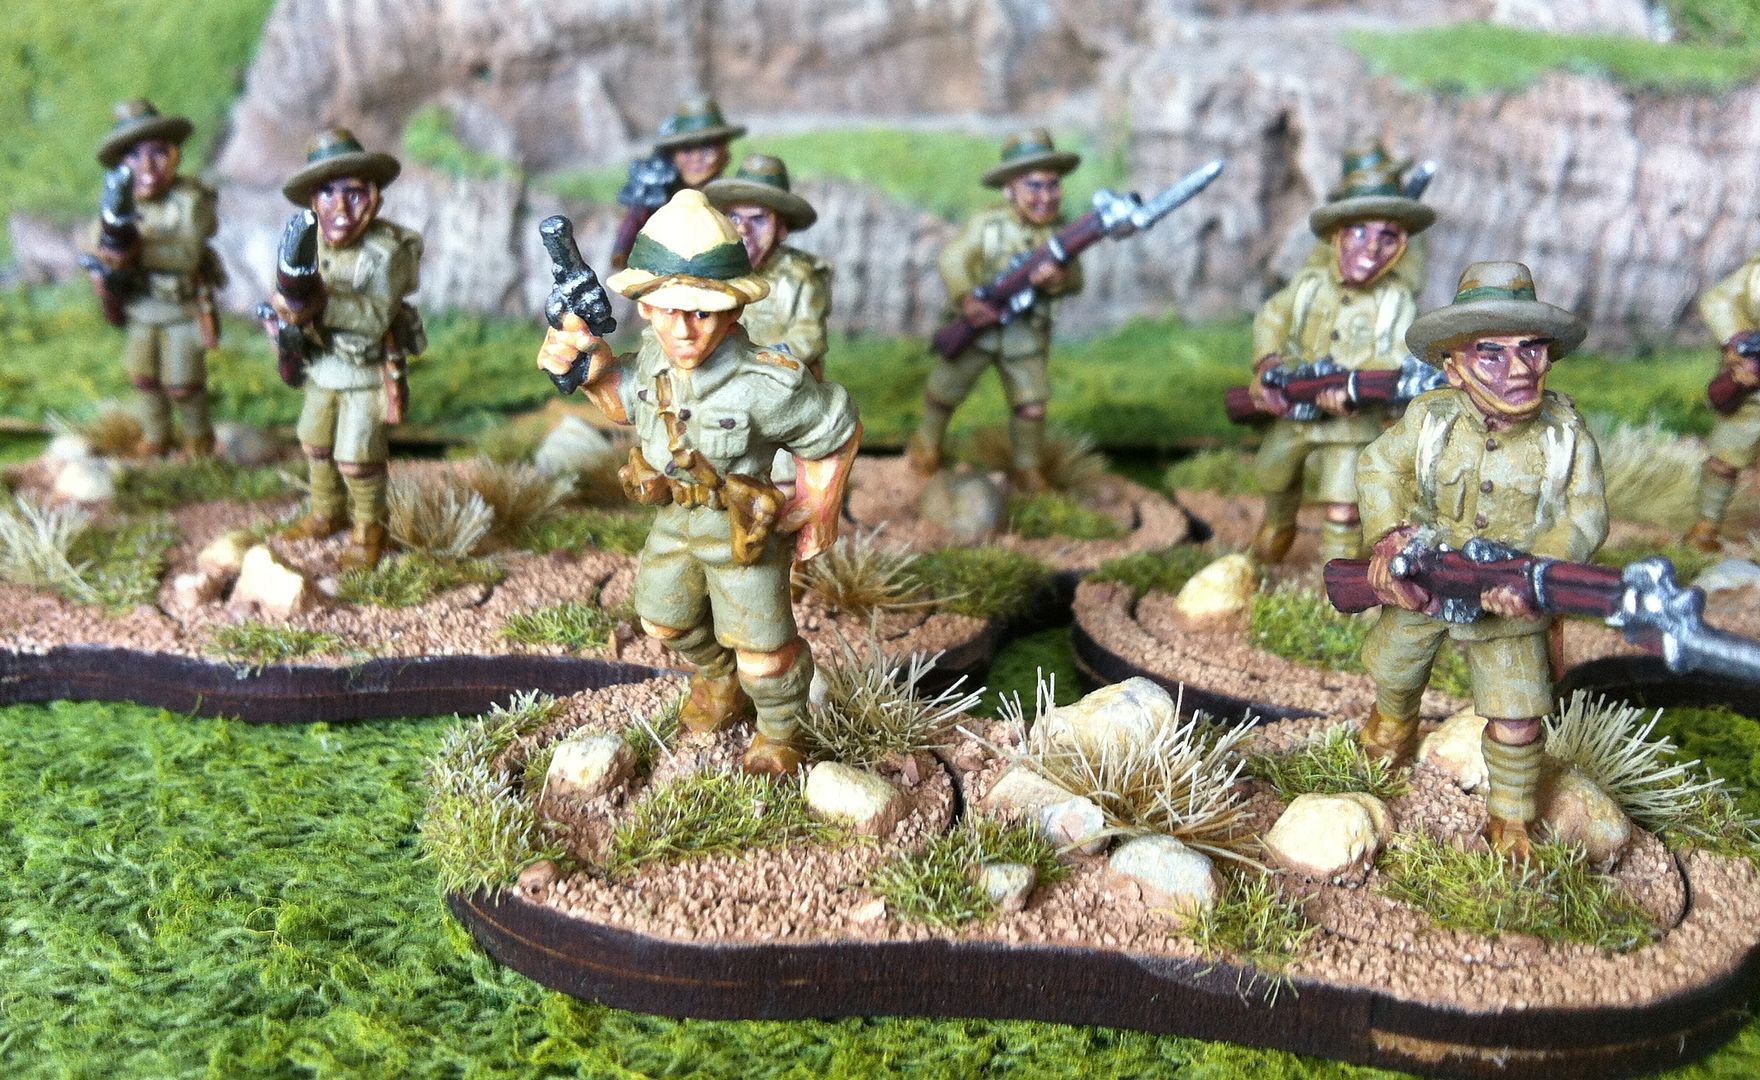
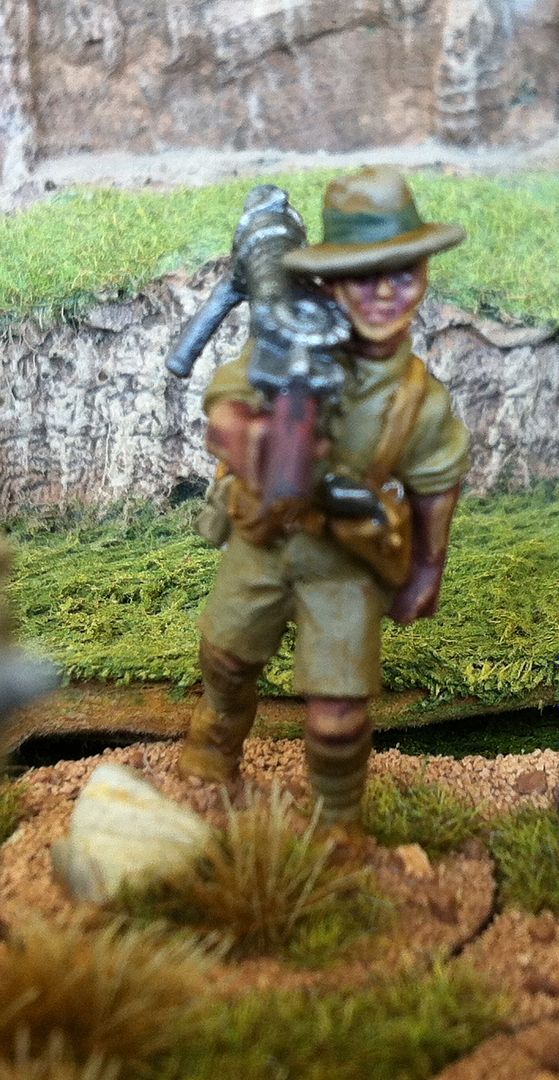
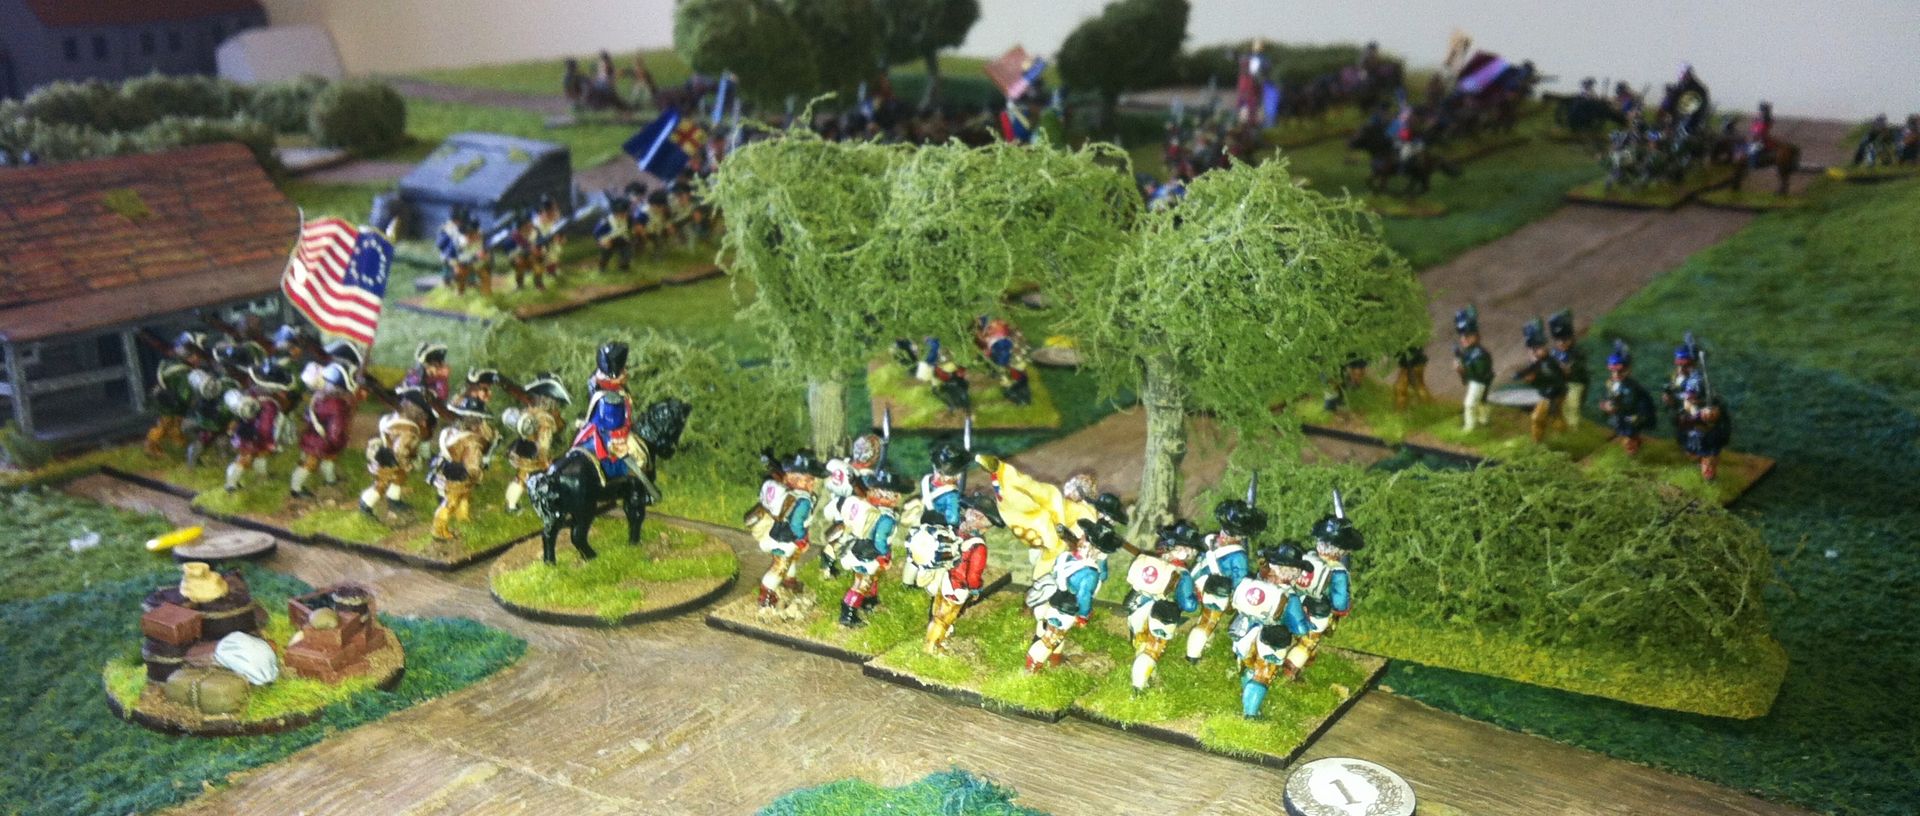
The British forces consisted mainly of Hessians and Loyalists, supported by one battery of guns from the Royal Artillery. The Hessians began the game encamped around a small cluster of buildings, while the Loyalists were not due to enter the table until after turn four. The American forces were handicapped at the outset of the game by particularly inept commanders, rated at 7 and 6, who would be replaced by Congress after turn seven with more savy leaders. While failing to issue orders in turn two, Jon
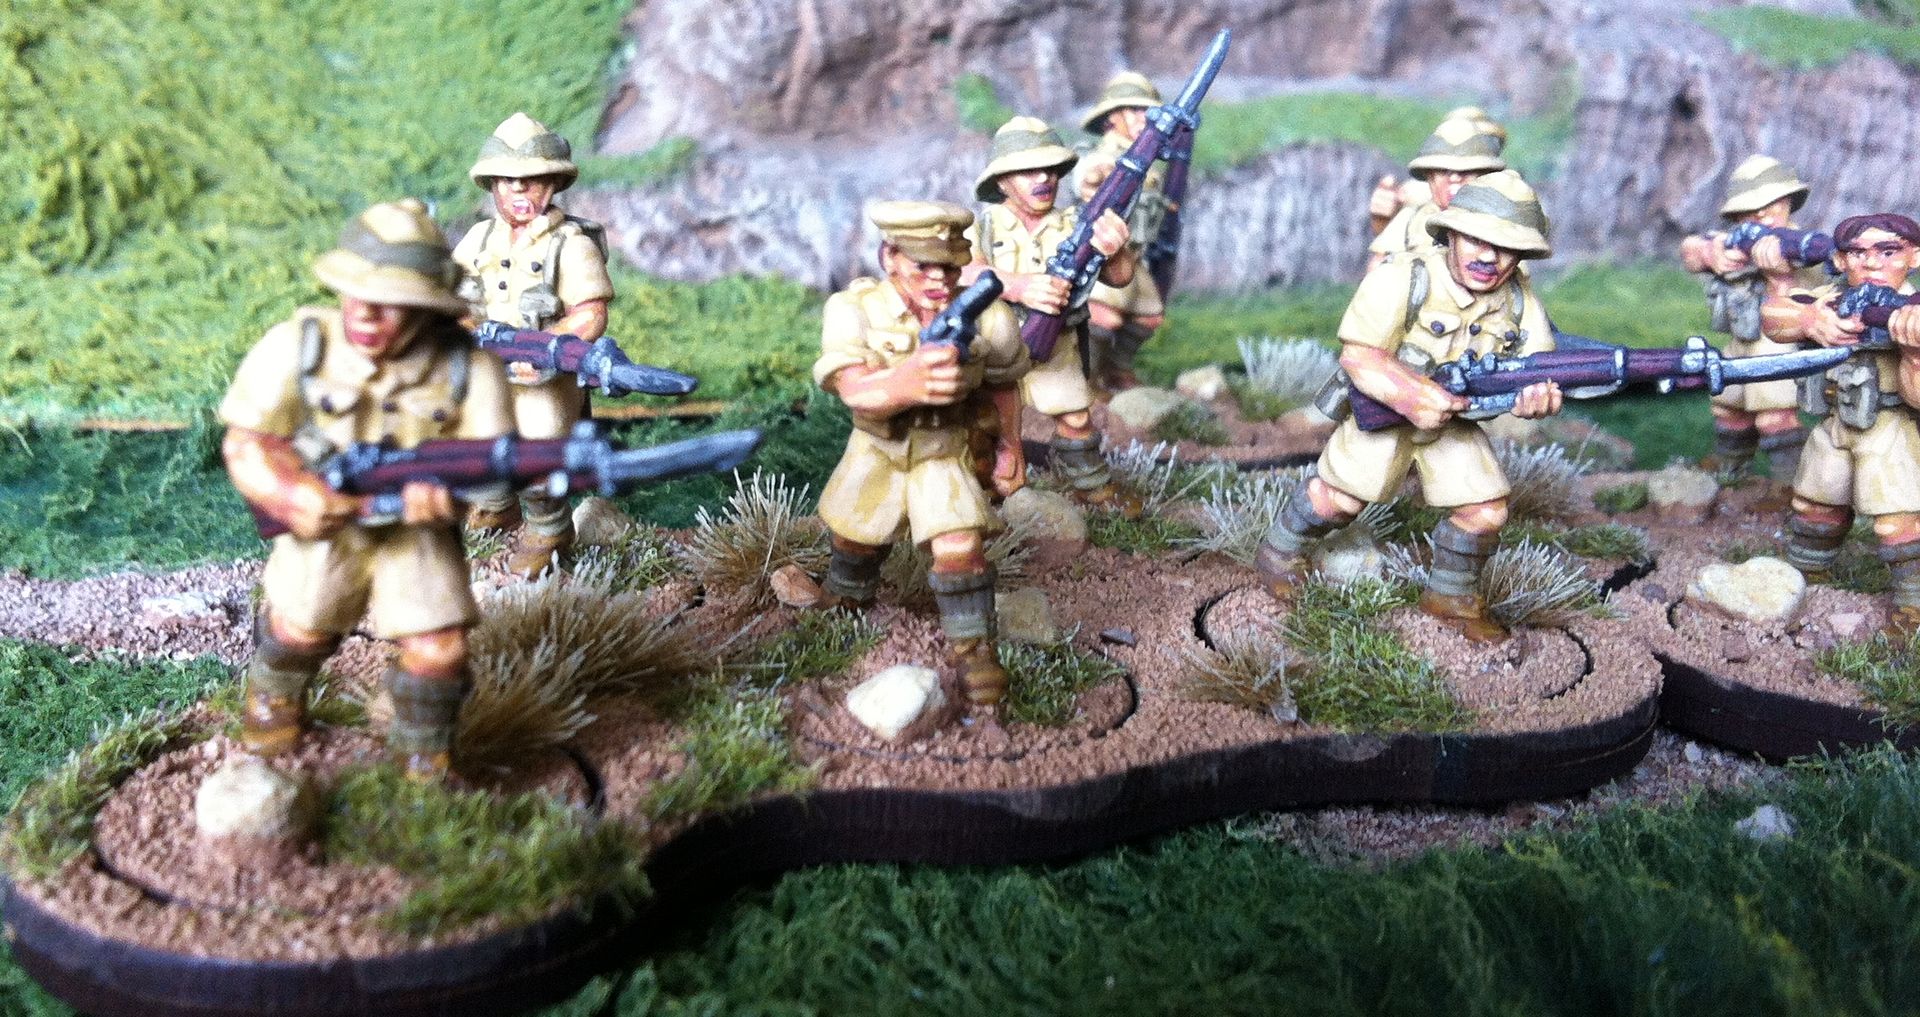
twice blundered on Brigade Orders, resulting in three bounds of advance from each brigade! The Hessians were woken by the sound of marching feet right on their doorstep.
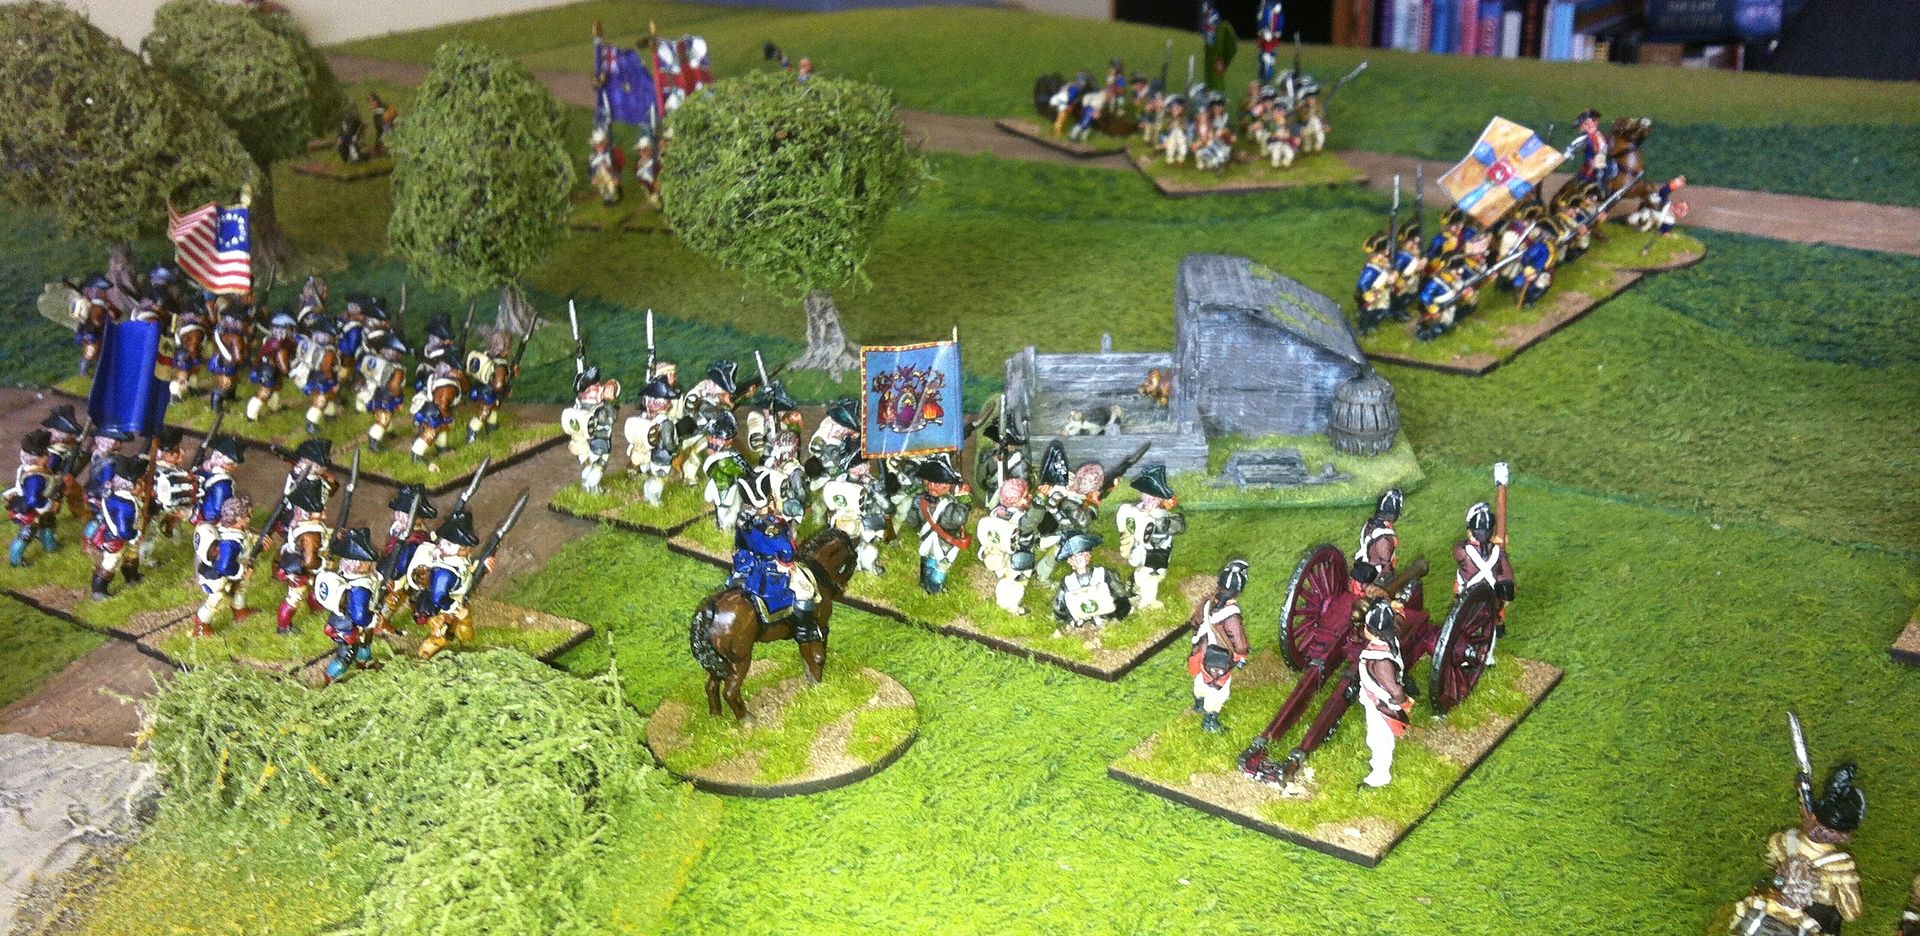
Fierce fighting developed around the various buildings, with the Hessians eventually being ejected from the larger of the houses, the Moore House, but holding on doggedly to other smaller buildings.
The Rebels drove forward at every opportunity, while the Hessians and Loyalists struggled to beat off repeated attacks. While several units were halted or repulsed, the weight of numbers finally began to tell.
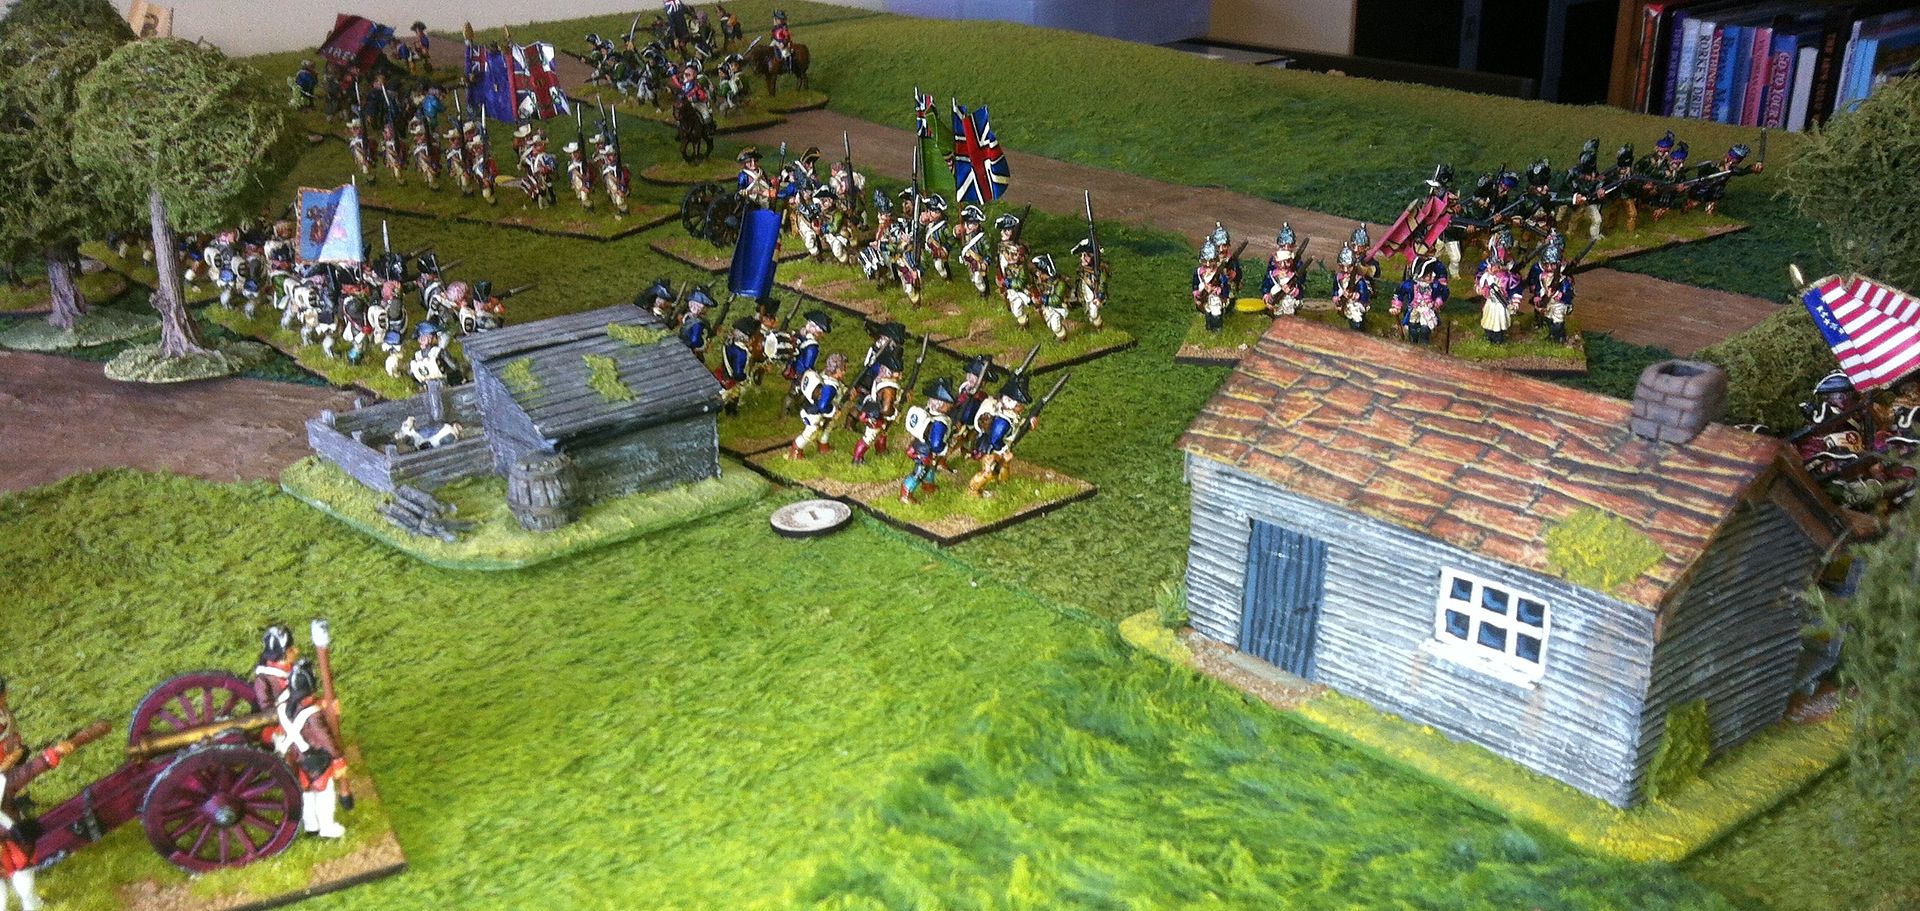
While by now both Loyalist Brigades were on the table they found themselves attacked in the flank as they struggled to deploy, further constrained by the remaining Hessian units being driven back onto their brigades.
Finally ejected from their hold on the last remaining buildings, the Hessian brigade's morale broke and they melted away from the fight. The remaining Loyalist commanders could probably see that it was all up with the battle now...
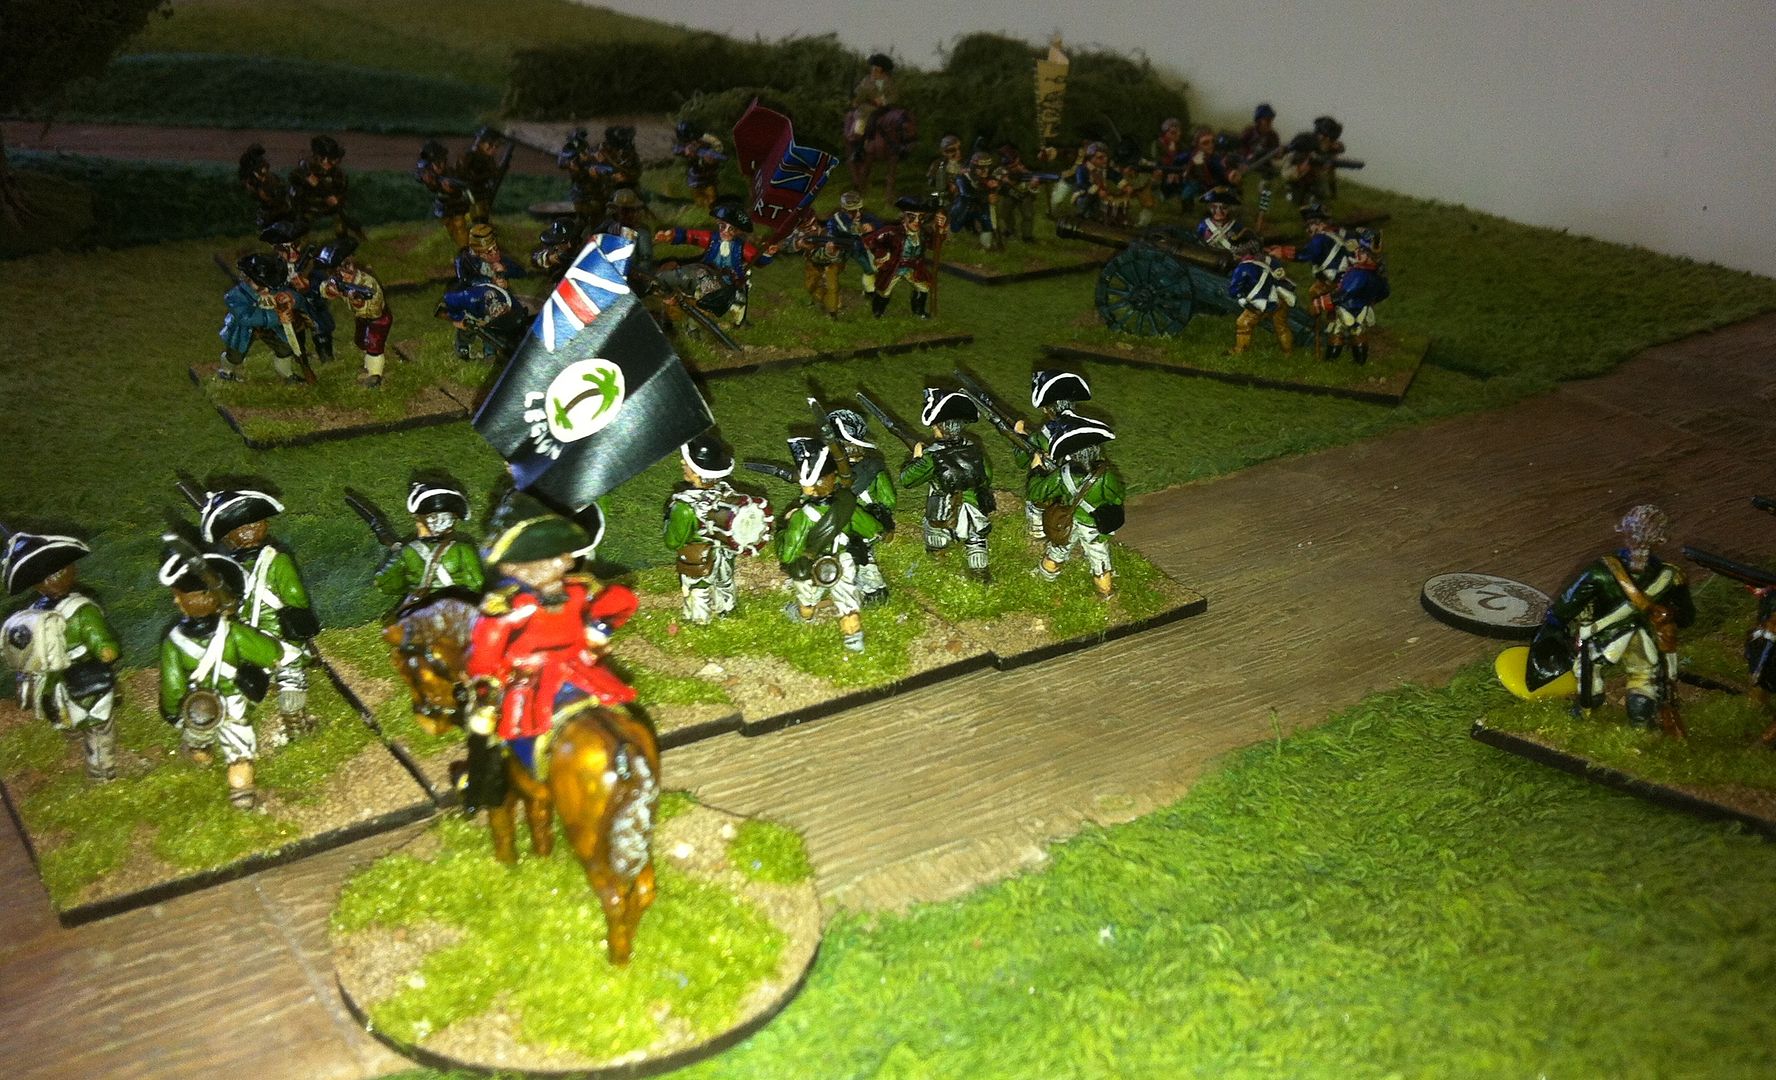
Despite retaining good order and discipline, the Loyalists can see that they will be overwhelmed, with both Flanks threatened and in danger of being turned. General Archibald Bykleigh reluctantly orders a withdrawal for the army, leaving the field to the Rebels...
All in all a great game. Played out over twelve turns with a clear result. Although the British Loyalists were beaten, they were not destroyed: they will regroup and fight another day I'm sure!