I've been working on a number of projects of late, usually in the early morning when its been cooler, a slightly unusual pattern due to the unexpectedly hot weather. These have included some Foundry WWII German sentries for our 1940 games, some Empress Miniatures Jazz Age Tribesmen, and some Foundry War Elephants for the Rajah of Rhawnli's Bodyguard unit for our Indian Mutiny games.
Firstly the Rajah's Elephant Guard. Phil painted the elephants and the mahouts, leaving me to paint the warrior crew. I got these ages ago from one of the now sadly defunct £5.00 baskets at an Open Day. I would not have bought them at the full price, but these were too good to miss.
Here the elephants get their first taste of action in a recent game staged on my table here in GHQ.
I came a gallant second in turn 12 when the Rajah's Elephant guard finally broke and the army of the HEIC swarmed over the bridge of boats...
The Empress Jazz Age Tribesmen are for my Rhawnzlistan Field Force games. They are lovely figures, mostly with separate heads, meaning you can vary and characterise your force; something I value after wading through my first Copplestone unit of largely cloned figures. On the down side, they are complicated to paint compared to the Foundry tribesmen.
I have five more figures on my desk to finish off, although I may buy a couple of more packs in the Autumn to swell the ranks, along with the rather nice mounted ones they have brought out recently. Funds are a bit tight here in GHQ at the present, largely due to preordering a large number of Trent Miniatures Revolutionary Wars figures for my 2014 project!
David Bickley's Wargames Blog
The occasional ramblings of an average gamer, journeyman painter, indifferent modeller, games designer, sometime writer for Wargames Illustrated and host of games in GHQ.
Thursday, 25 July 2013
Wednesday, 17 July 2013
Tales from the Sub Continent
"God, Carruthers, is there no end to the heat, the blasted flies, those damned Bhurpas?"
Well, no, not really. Instead, just a brief update on my very limited progress with my Back of Beyond project, the Rhawnzlistan Field Force, which I previewed in an earlier blog post while they were all in their pristine white undercoat stage. Despite the hot weather meaning that GHQ is often too warn for painting after about 10.00 a.m. I have something to show for the project.
Firstly, the South Staffords take the field, as they do in most of my armies. They are Copplestone Castings figures which proved easier to paint than I had thought before I applied the first brush full~
A closer view of the command element and the Lewis Gun section ~
A couple of machine guns and a spotter, all Copplestone Castings figures again ~
A Rolls Royce armoured car, probably by HLBS, but I've had it so long I can't really be sure ~
The Diplomatic Corps and a young Prince, the true heir to the throne of Rhawnzlistan. The figures are all from Pulp Miniatures ~
The first of the 'loyal' tribe of Bhurpas. Empress Miniatures Jazz Age figures ~
Finally, the Mad prophet of Rhawnzlistan, Mustaph Leahk. Again, all Pulp Miniatures ~
The movement trays are all from Warbases, whose service and product I heartily recommend to you! The texturing are all hobby products aimed at model railway enthusiasts and bought from Hobbycraft. The tufts are from Mininatur which are stocked by Mutineer amongst others. I'm working on more Bhurpas at the moment, as well as the free Warlord Japanese figure and some Foundry German sentries for 1940 games.
Friday, 5 July 2013
The Ruined Temple of Pa-Doh-Ki
Recently Phil and I took advantage of some free time to play out another Bolt Action WWII game, set in Burma at Phil's request: I think he wanted to blood my minuscule Japanese tankette... People should be careful what they wish for though.
The first picture picks up the action in Turn 3.One of my two large Japanese squads was in good cover, ready to burst forth at the turn of the dice. The tankette is cunningly concealed at this point on a path through the jungle terrain piece. Drawing the dice can be so cruel in Bolt Action games I've observed...
The tankette, supported by one squad, burst out of cover and utterly destroyed the Chindit squad opposing it. Banzai!!!!!!!! Meanwhile, favourable dice had allowed the attack to develop on the left, putting the third Chindit squad in a spot, pinned down in the ruins of the temple...
The Chindit machine gun rattled away throughout the game, but without much notable success we thought...
The second Japanese squad, facing the temple ruins, effectively blocked the Chindit flanking attack, only sustaining one casualty and two pin markers all game, despite the constant machine gun and occasional mortar fire. Was the tankette bloodied? Well, yes; but not in the way Phil had anticipated. Led by Lieutenant Onomoro, the forces of His Imperial Majesty had routed the foreign devils convincingly! Banzai!!! Banzai!!!!! Banzai!!!!!
Thursday, 4 July 2013
Losing America ~ Again!
As its 4th July it seemed appropriate to put up a photo report of a recent AWI game here in GHQ. Jon commanded the forces in rebellion against the Crown, while I commanded the forces loyal to King George! The rules used were the excellent and flexible Black Powder, the figures and terrain from my own collection. The figures are mainly Front Rank, supplemented by a few Perry Miniatures and some Dixon Miniatures. The buildings are all scratch built by myself and Phil, while the trees, hedges and fields are from The Last Valley.
The British forces consisted mainly of Hessians and Loyalists, supported by one battery of guns from the Royal Artillery. The Hessians began the game encamped around a small cluster of buildings, while the Loyalists were not due to enter the table until after turn four. The American forces were handicapped at the outset of the game by particularly inept commanders, rated at 7 and 6, who would be replaced by Congress after turn seven with more savy leaders. While failing to issue orders in turn two, Jon twice blundered on Brigade Orders, resulting in three bounds of advance from each brigade! The Hessians were woken by the sound of marching feet right on their doorstep.
Fierce fighting developed around the various buildings, with the Hessians eventually being ejected from the larger of the houses, the Moore House, but holding on doggedly to other smaller buildings.
The Rebels drove forward at every opportunity, while the Hessians and Loyalists struggled to beat off repeated attacks. While several units were halted or repulsed, the weight of numbers finally began to tell.
While by now both Loyalist Brigades were on the table they found themselves attacked in the flank as they struggled to deploy, further constrained by the remaining Hessian units being driven back onto their brigades.
Finally ejected from their hold on the last remaining buildings, the Hessian brigade's morale broke and they melted away from the fight. The remaining Loyalist commanders could probably see that it was all up with the battle now...
Despite retaining good order and discipline, the Loyalists can see that they will be overwhelmed, with both Flanks threatened and in danger of being turned. General Archibald Bykleigh reluctantly orders a withdrawal for the army, leaving the field to the Rebels...
All in all a great game. Played out over twelve turns with a clear result. Although the British Loyalists were beaten, they were not destroyed: they will regroup and fight another day I'm sure!
Saturday, 29 June 2013
"If men make war in slavish obedience to rules, they will fail."
A quote from one of my favourite characters of the American Civil War, Ulysses S Grant, which seems very apt to me in respect of the approach a number of folk in our hobby take to a game. You know the type, I'm sure: slavish adherence to the rules as written, allied with a total lack of imagination, seeming inability to think for themselves and an apparent lack of any historical knowledge beyond perusing the captions to an illustration in the odd Osprey. A harsh judgement you may think, but I've encountered a few of these in my time I have to say. On the other hand, I am blessed with the friendship and company of a small group of like minded chums, for whom the rules ~ even ones I may have written ~ are merely a starting point for discussion. A healthy scepticism in approaching any rule set will, even after much labour, always produce a better experience than merely following the text blindly I believe. Moral of the tale? Rules, like laws, are for the guidance of the wise and the obedience of fools.
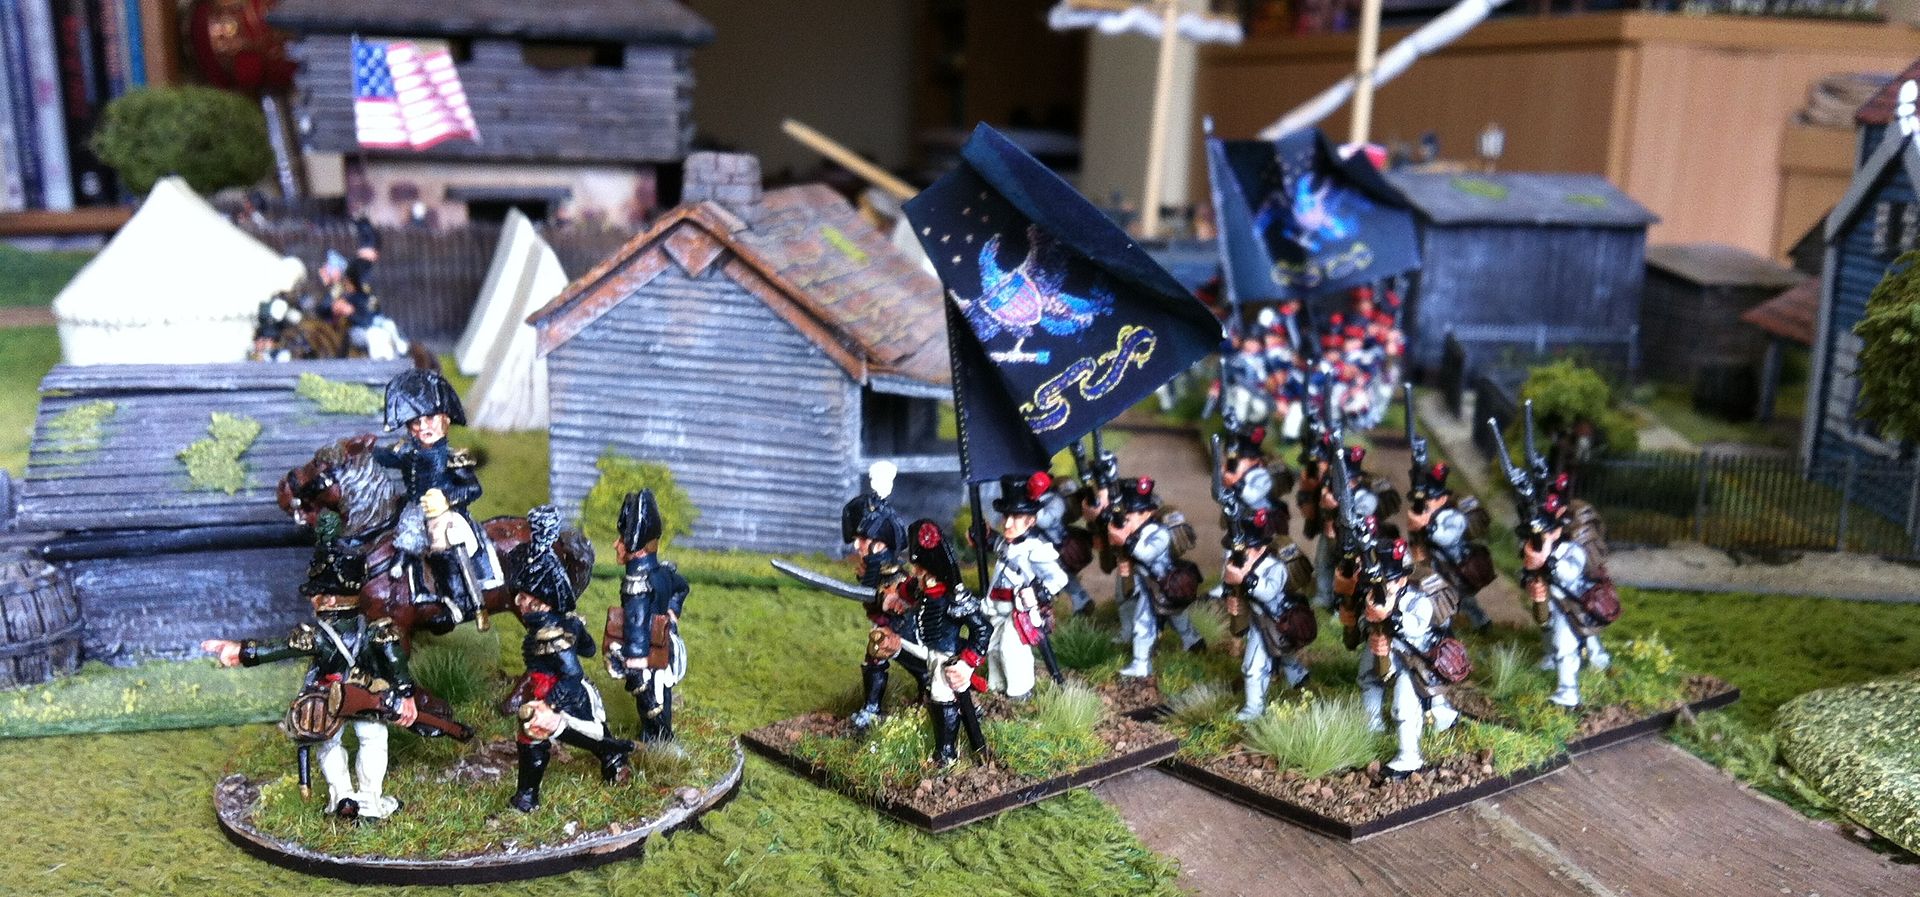
 U S Grant hisself |
Of course, you can deduce from this that I'm not into competitive wargaming ~ the wargames equivalent of synchronised swimming in my opinion! I keep a record of my games each month, purely for fun and to know how our games went, much like I keep a tally of figures painted, places or events I've been to and stuff I've bought, and sold, for the hobby. All just for fun really, but I do look back over it from time to time, to see what I've been up to when the old memory lets me down.
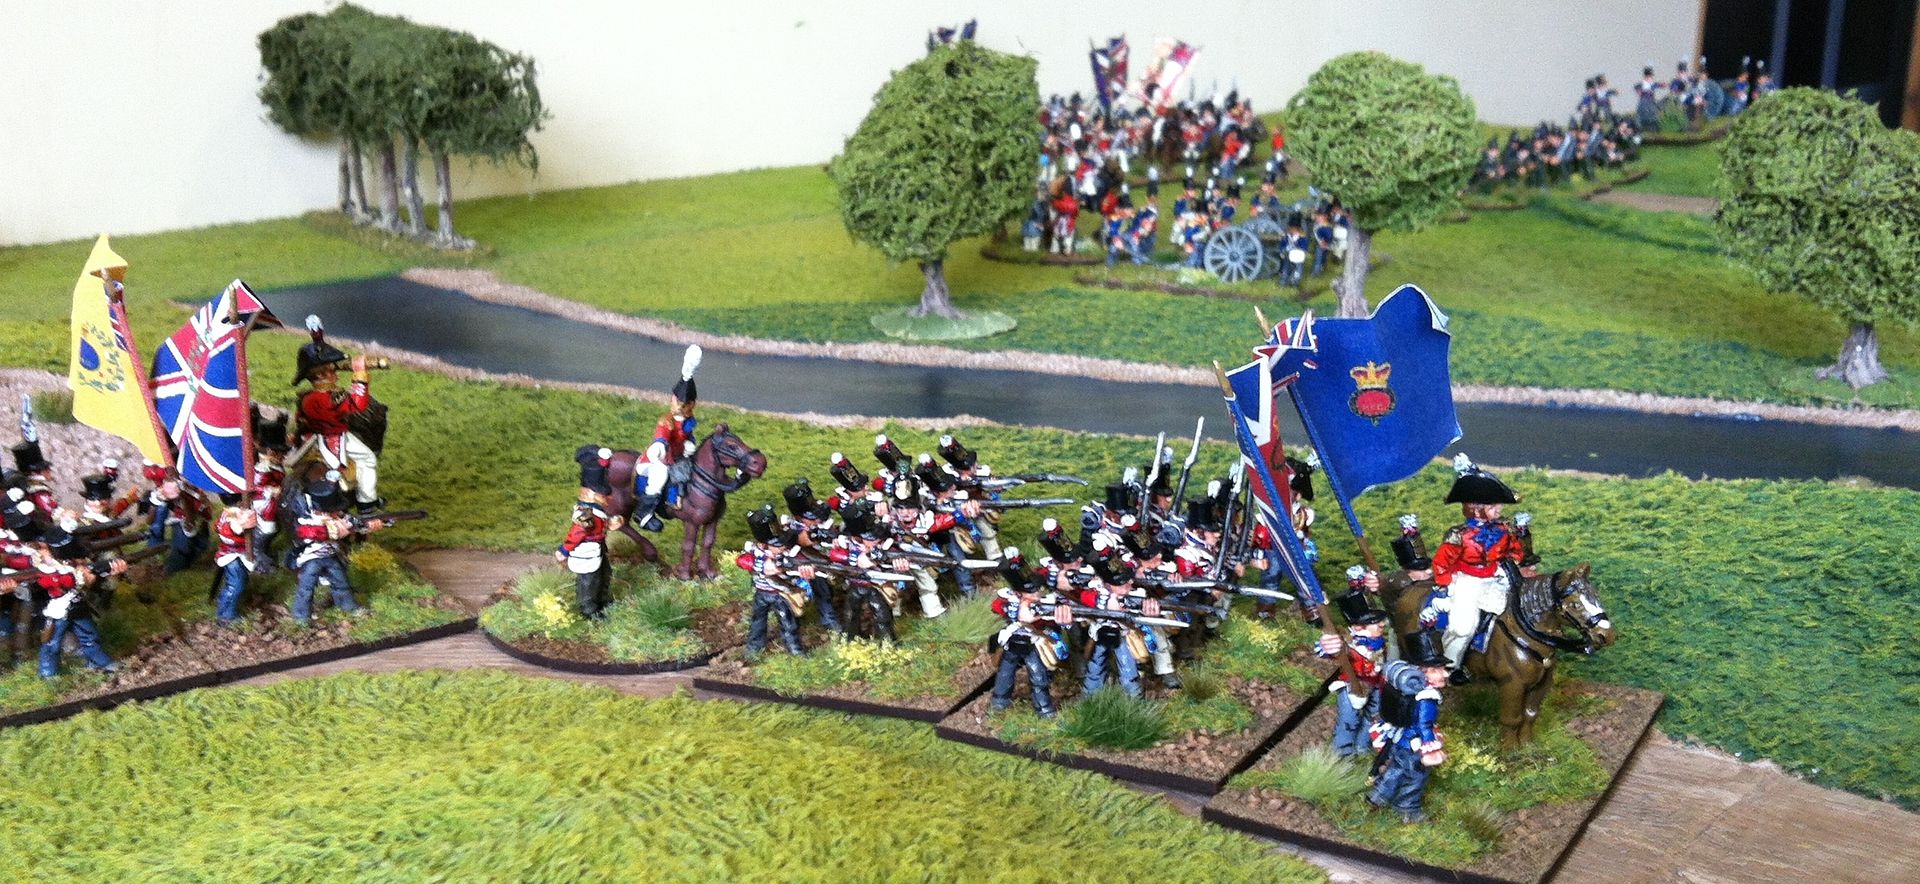
Making notes on the hoof? |
I had such a moment recently when my non gaming brother in law mentioned something he'd read on my Blog, so I've delved back into the record just to see...
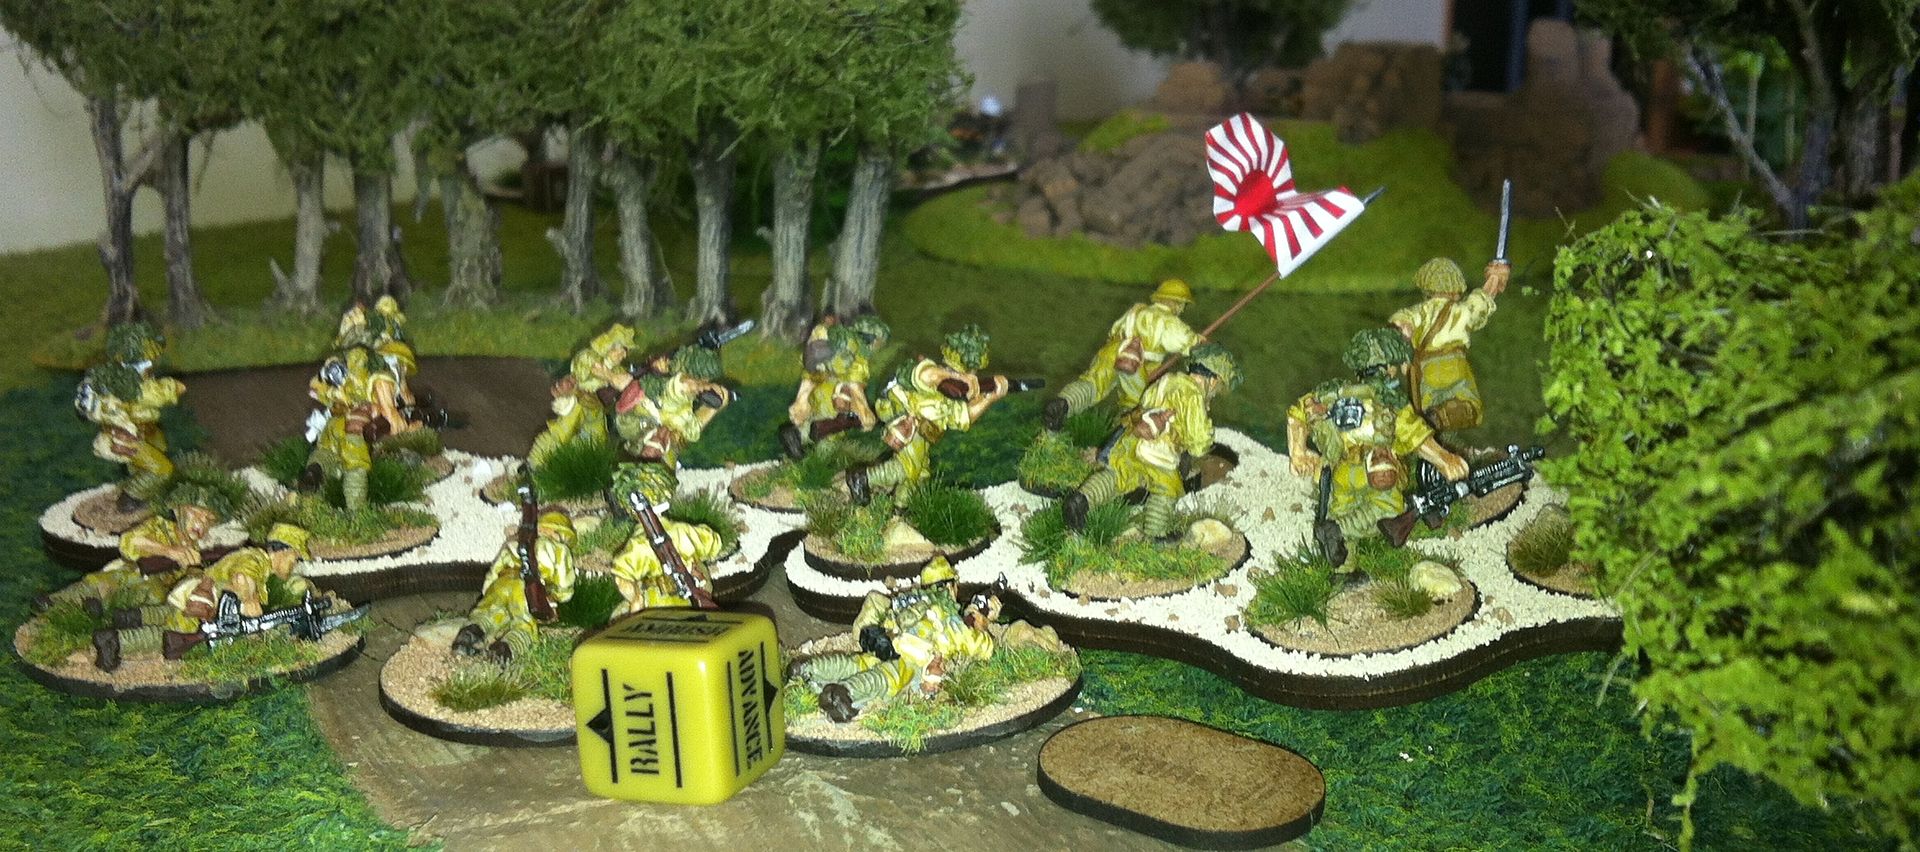
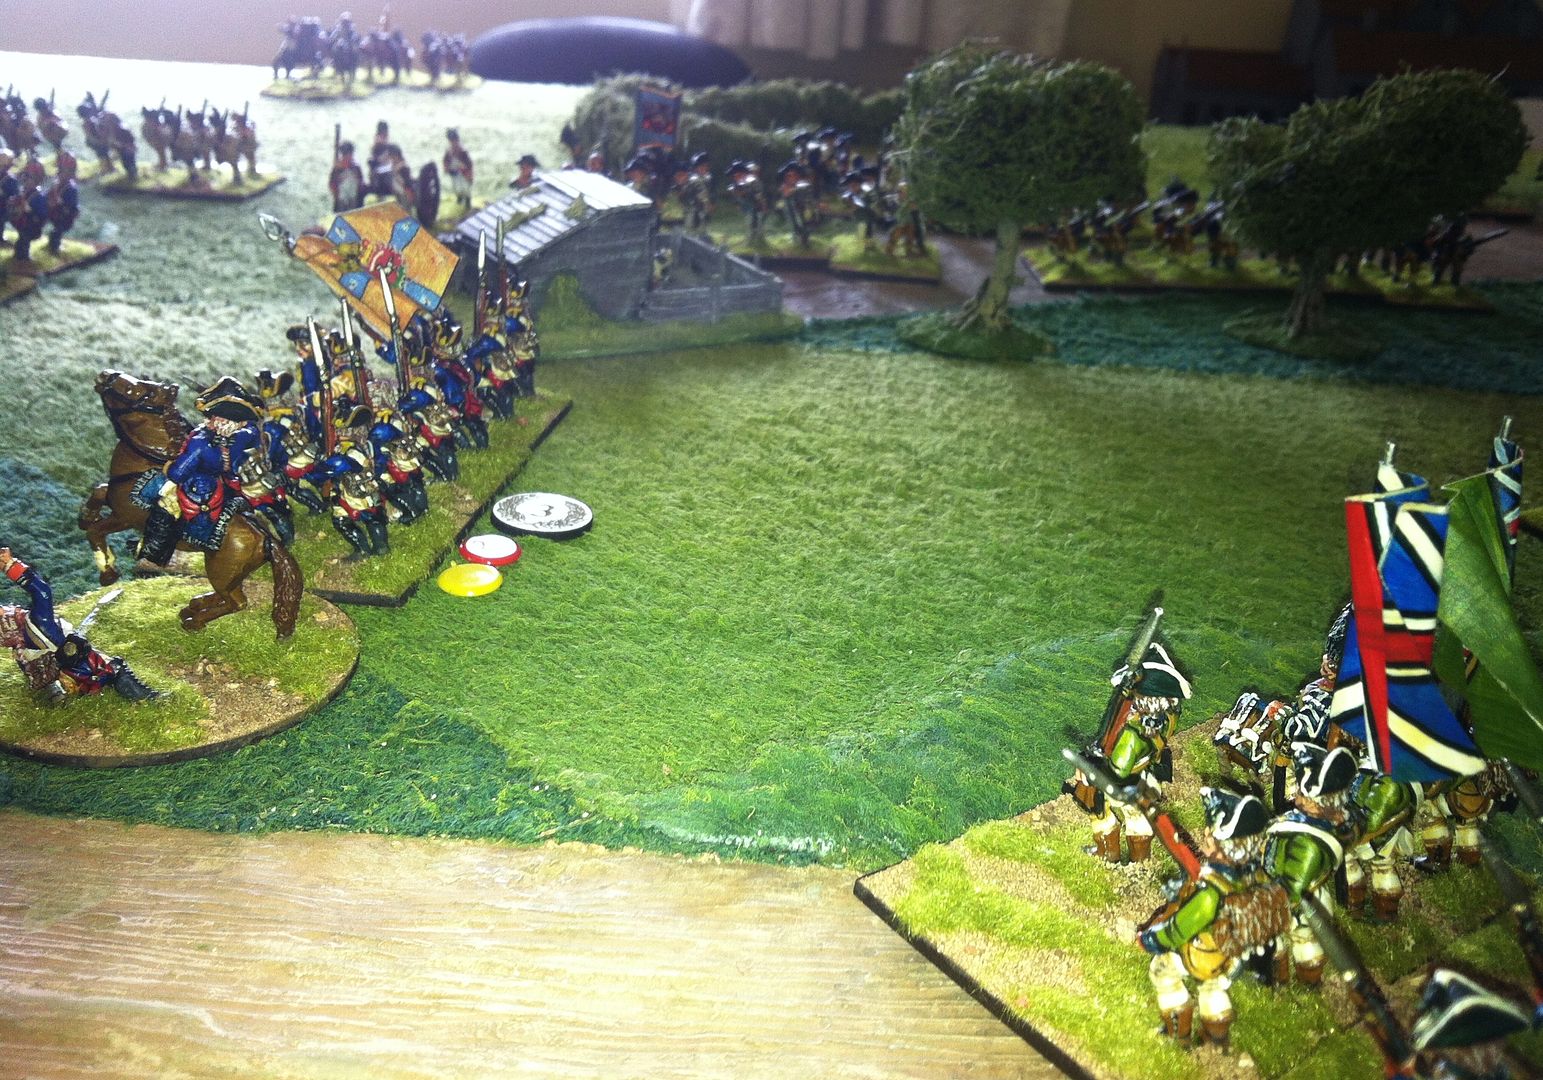
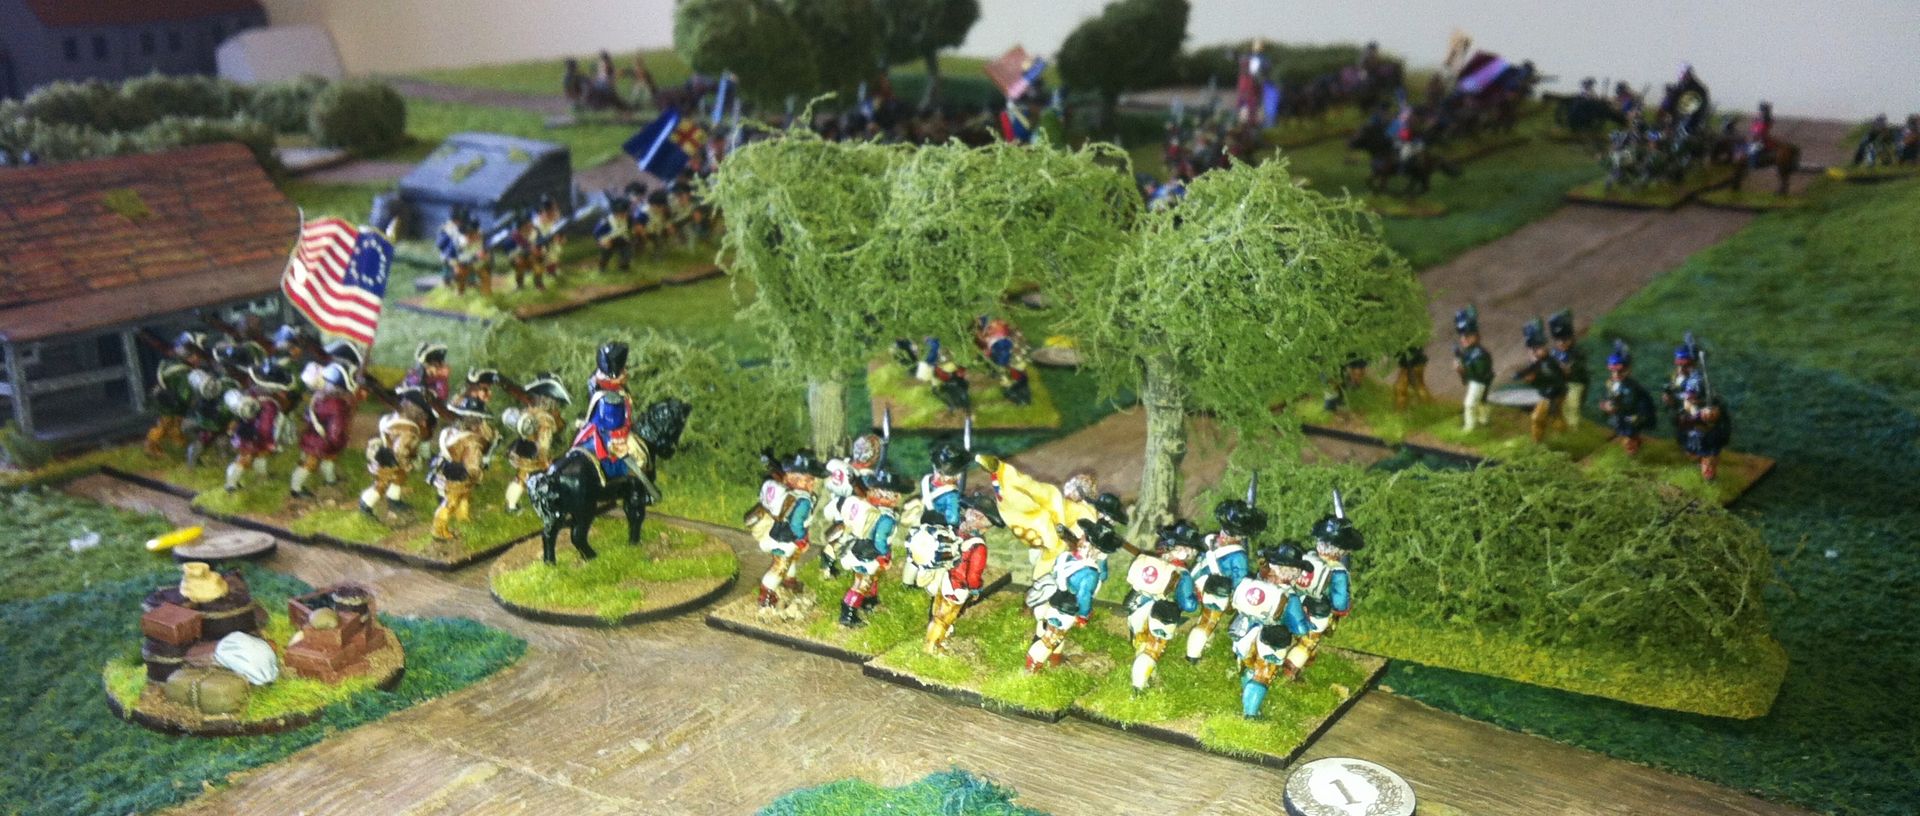
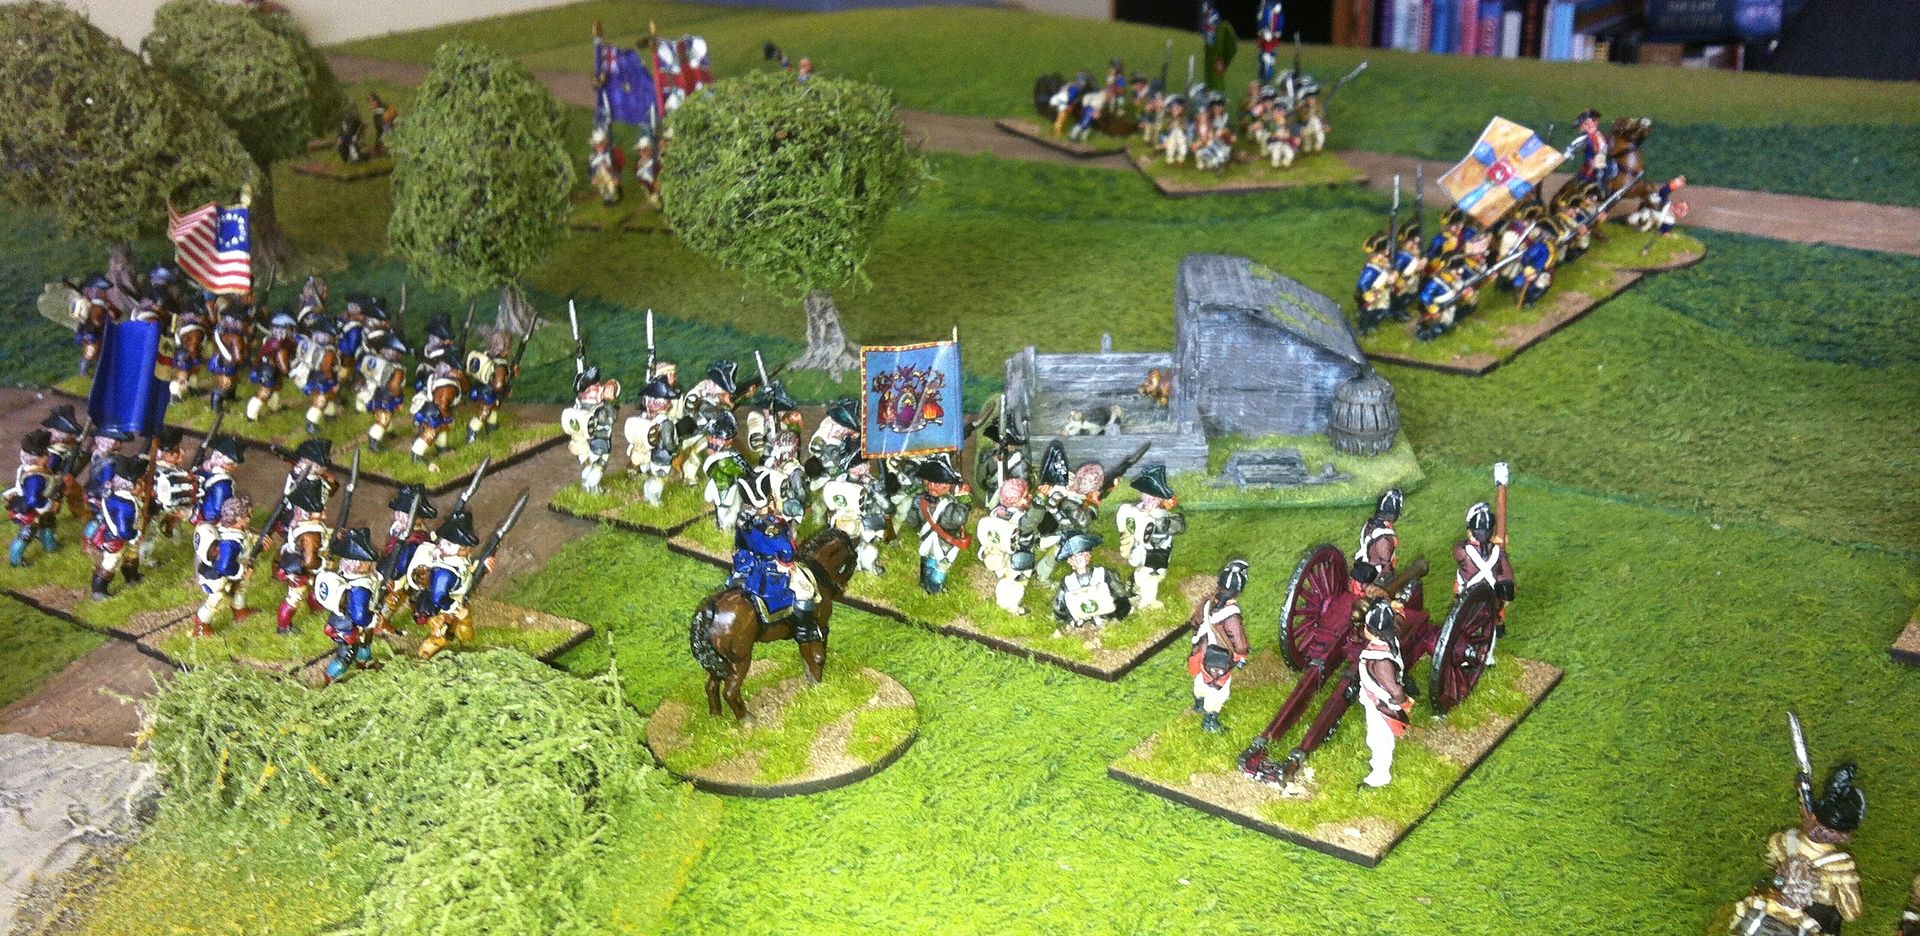
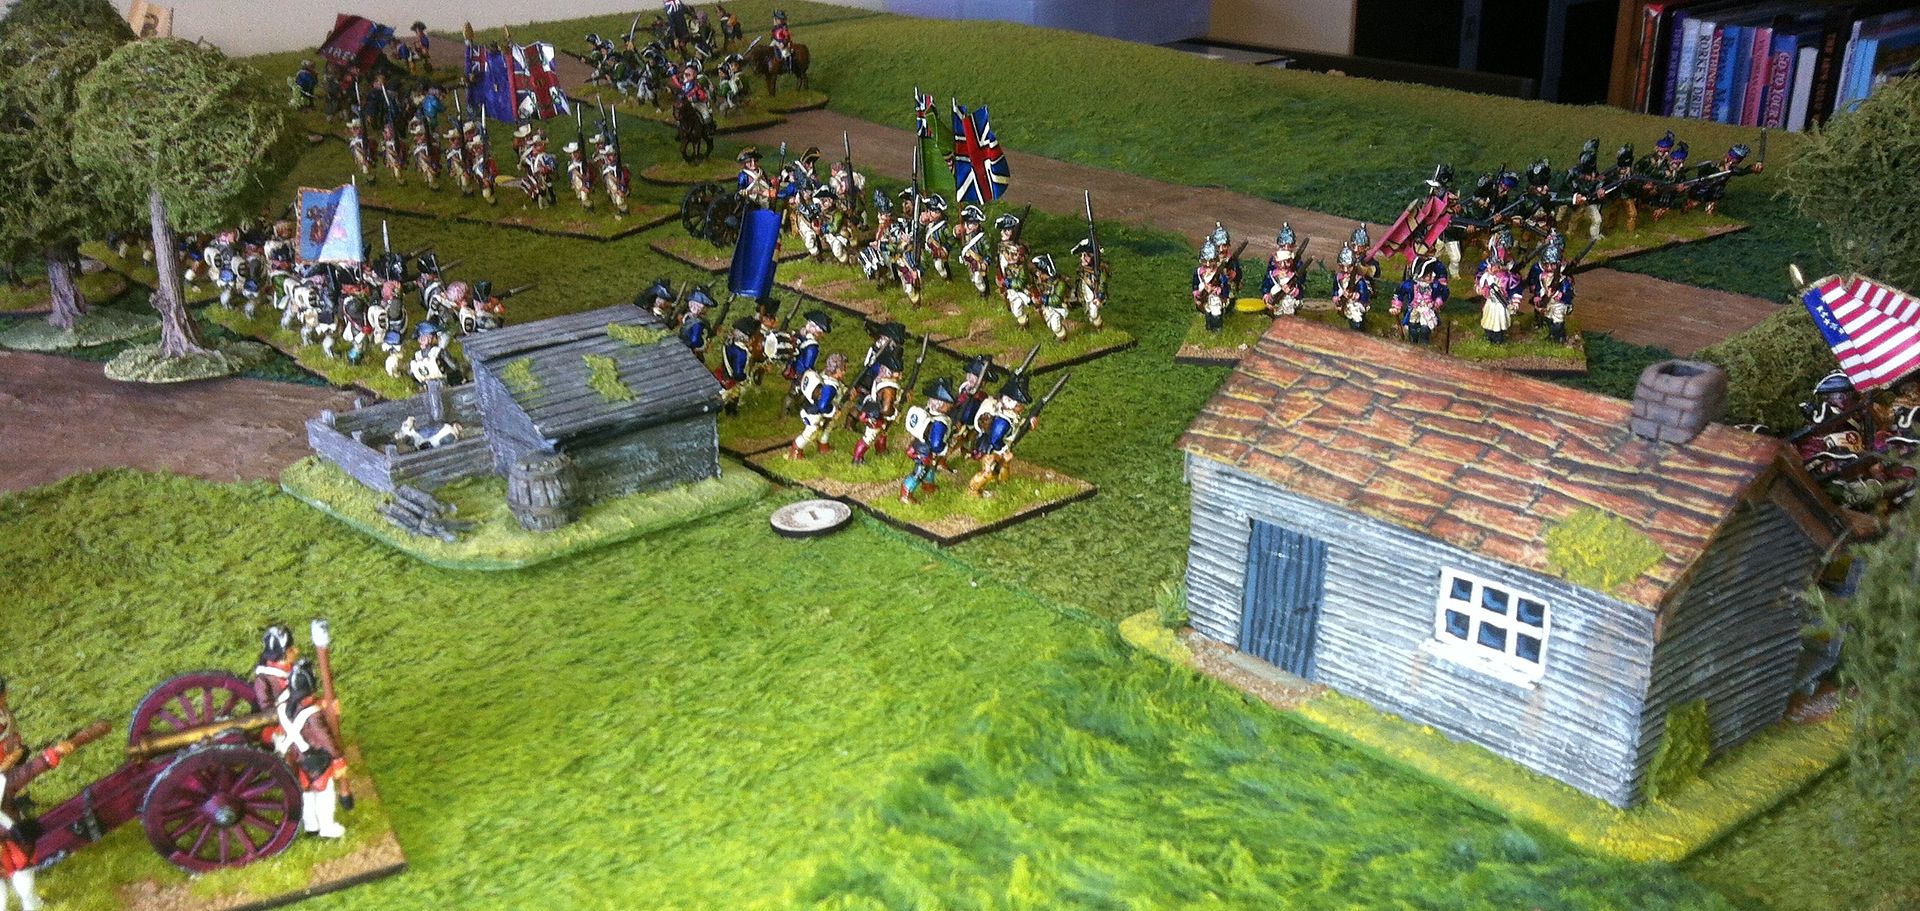
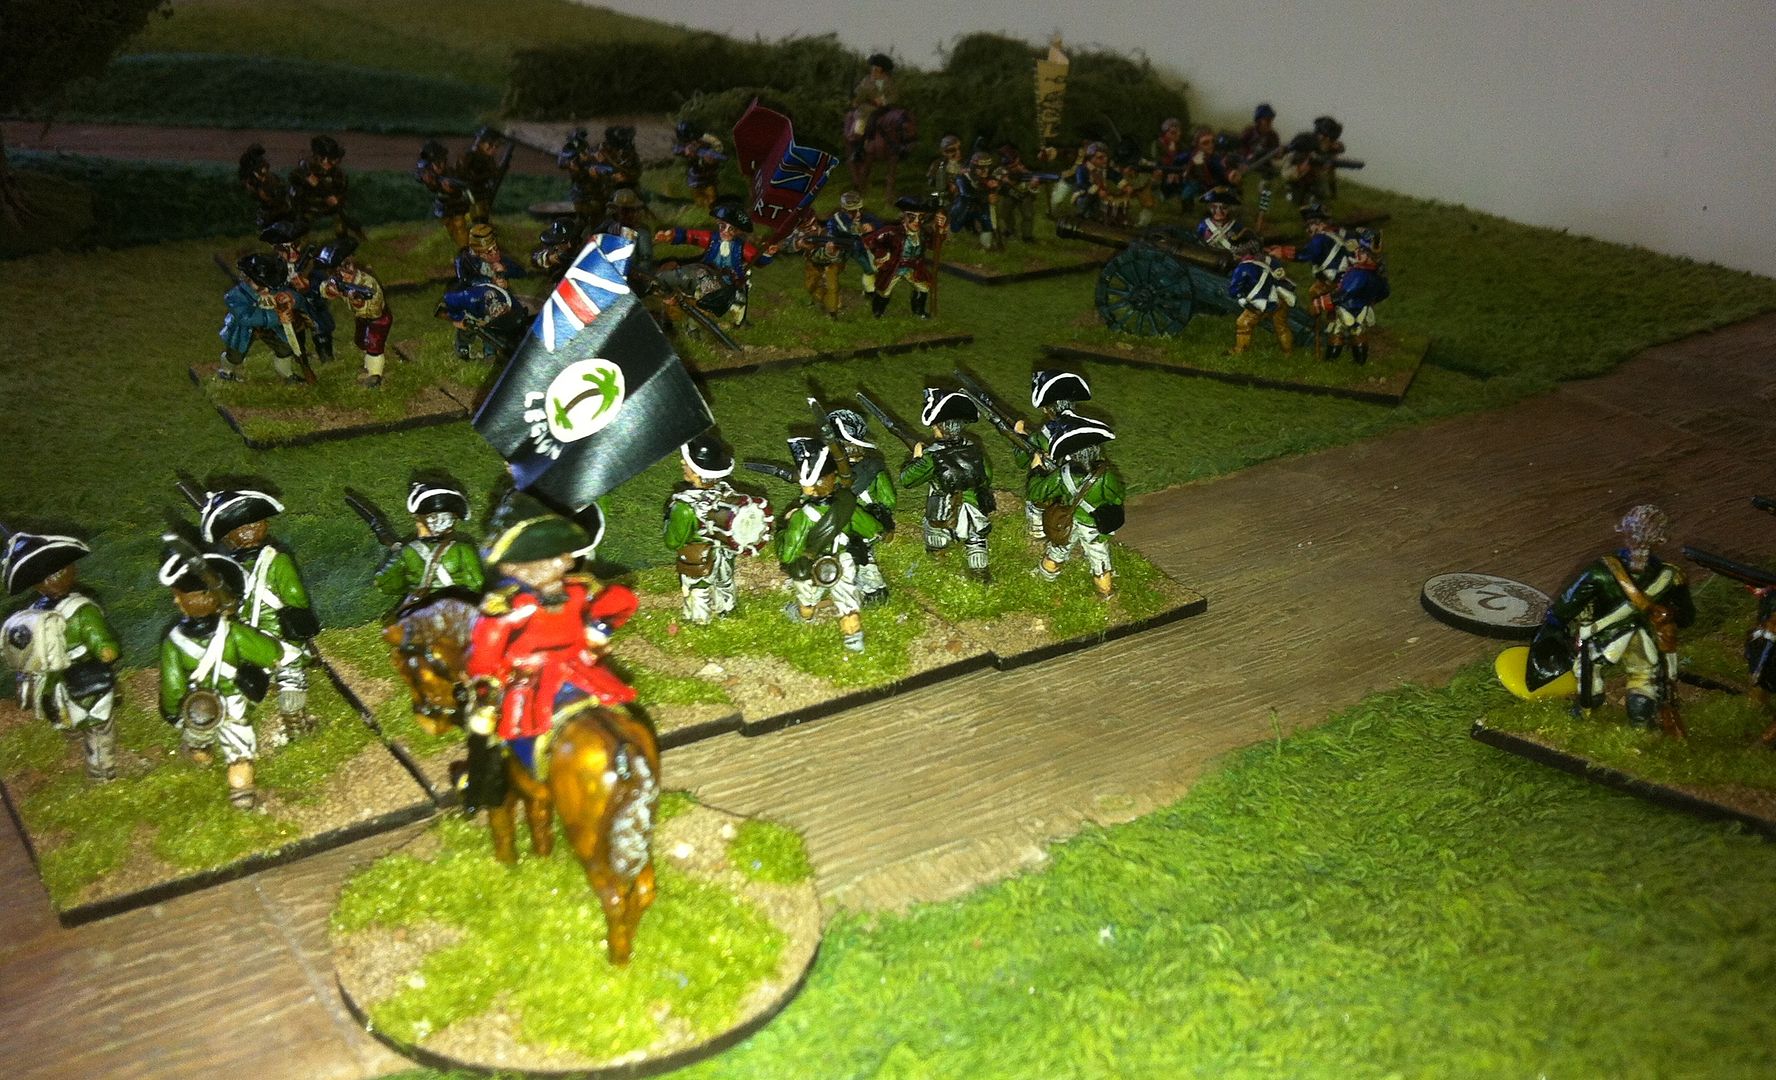
Taking the first six months of 2013 as my field of enquiry I find that I played 33 games in all, of which I won only 9; drawing a further 6, and sadly losing 18 in all! Clearly as a gamer I'm more of a Wigan than a Manchester United! I played the most games in May, 9 in all, but I find at least I won one game each month! Perhaps I'm not beyond hope after all? But, the main thing is, I know that I enjoyed each and every game, and I put that far above winning as a desired outcome in my hobby.
![]() |
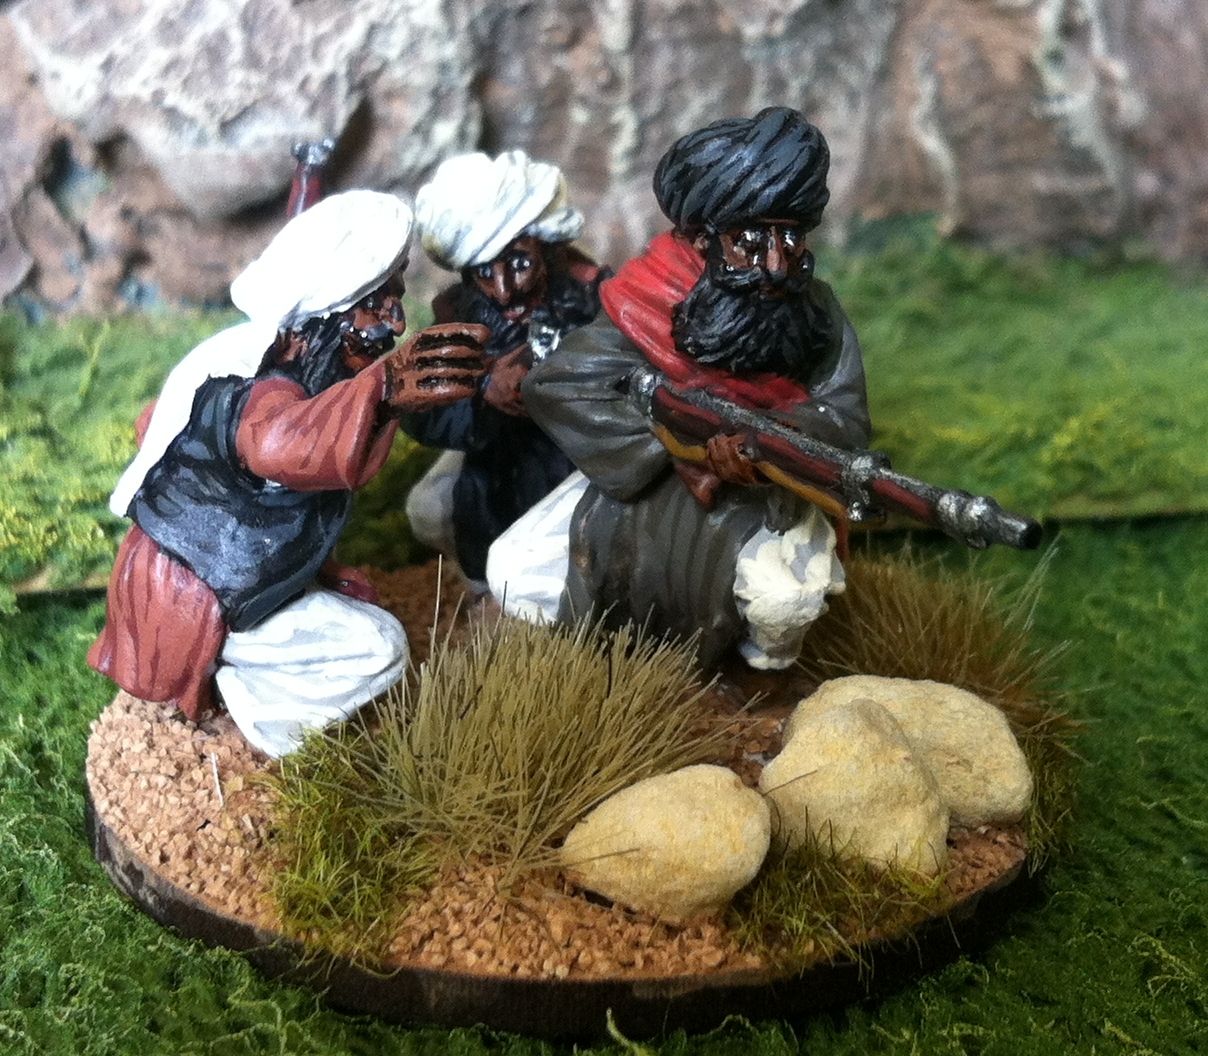
Probably my 'best' effort at painting |
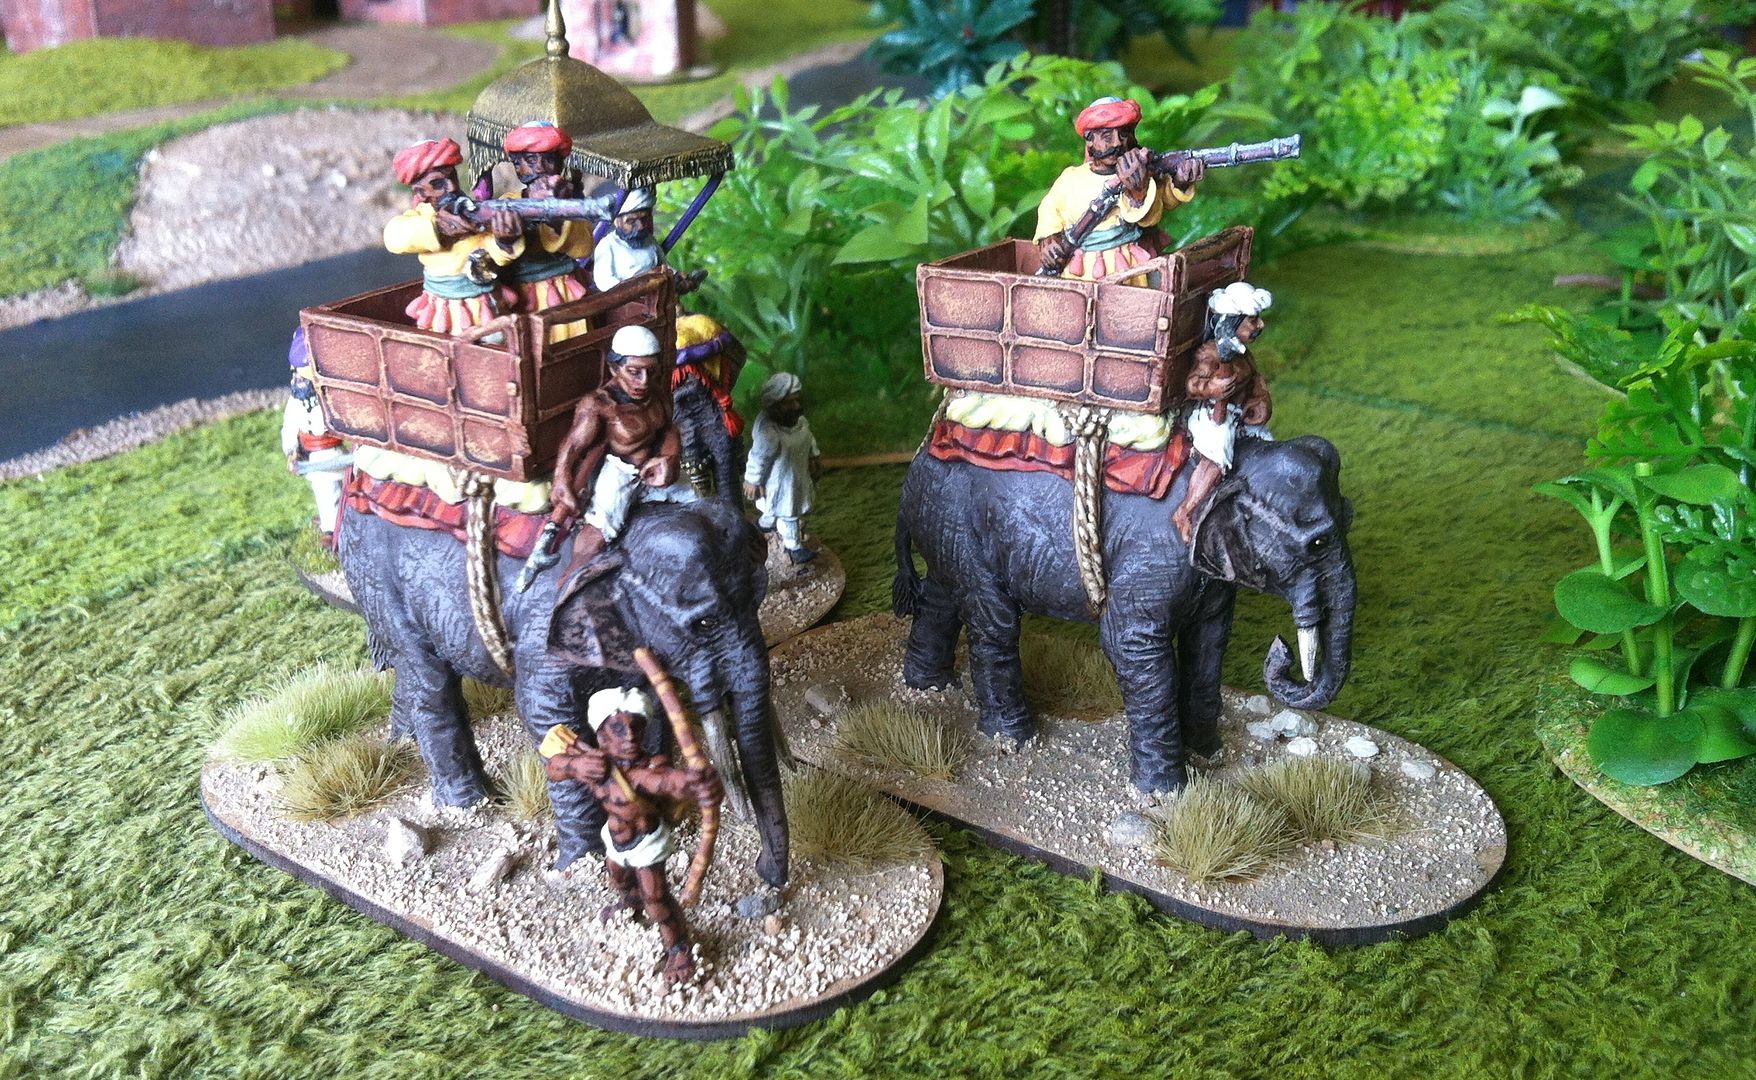
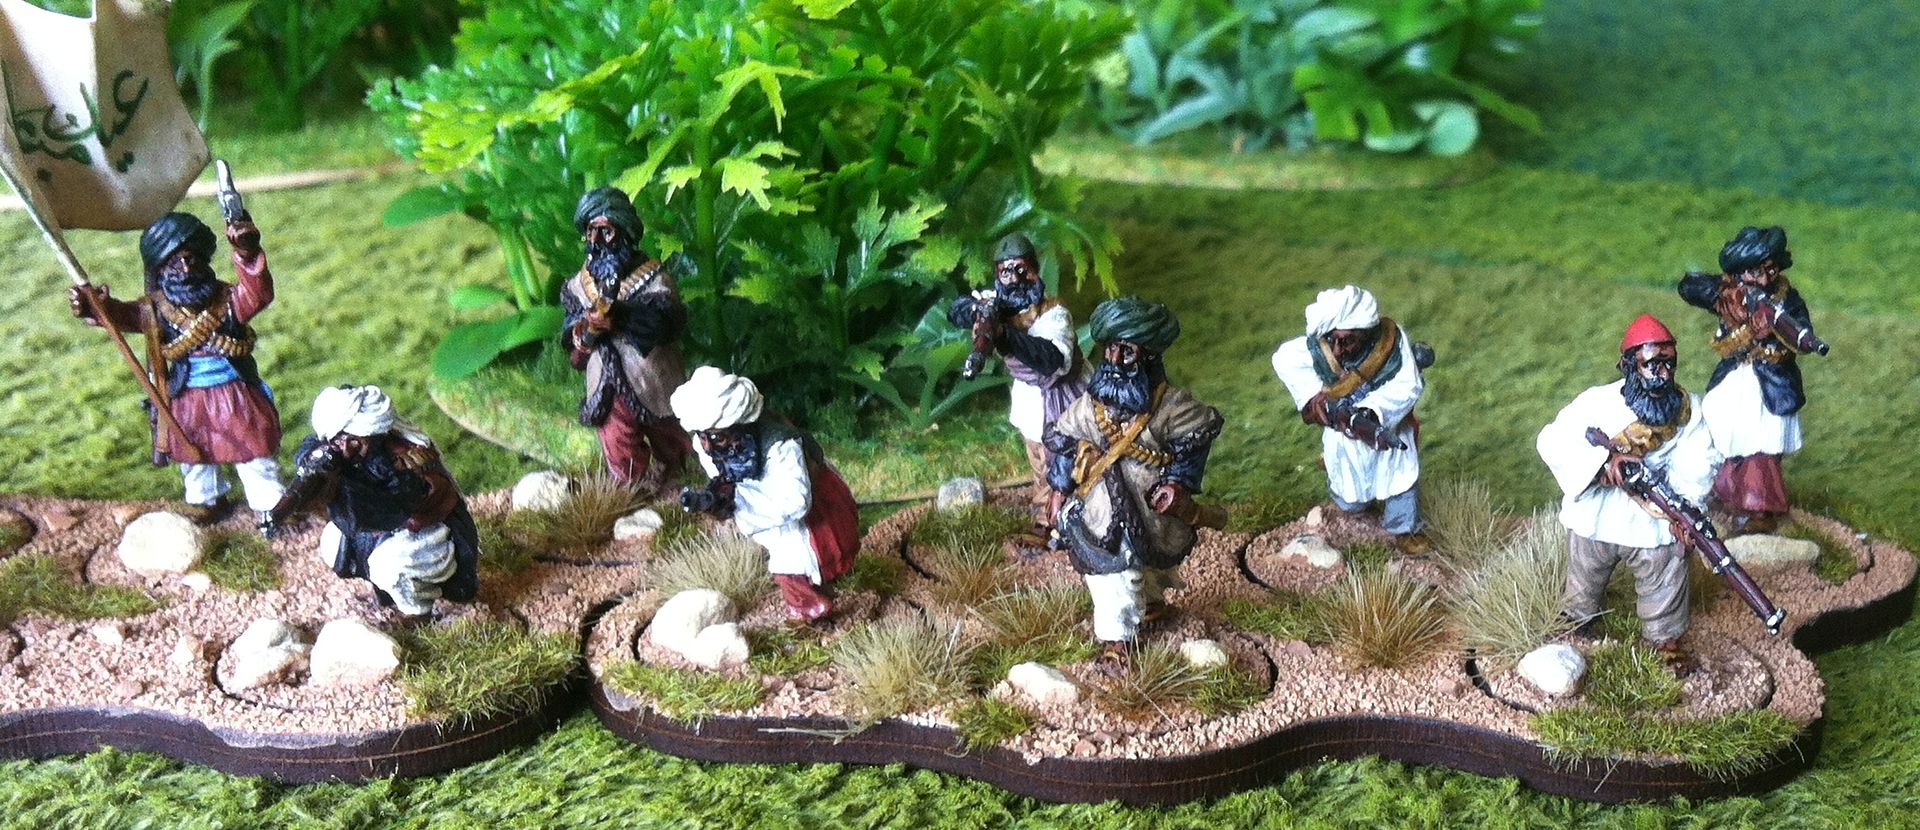
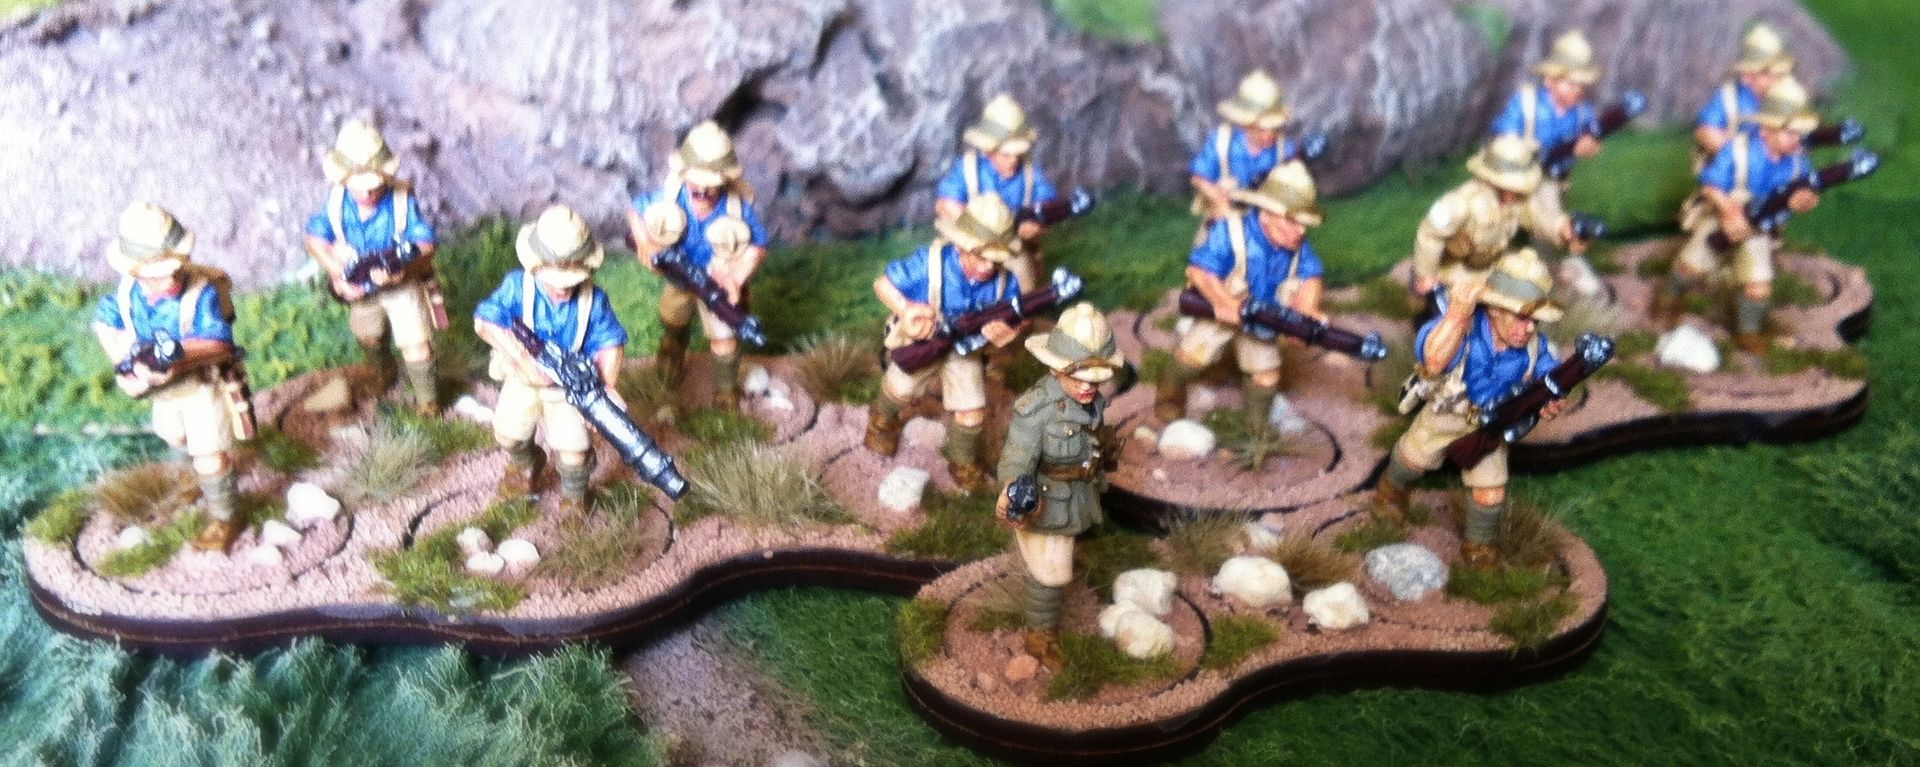
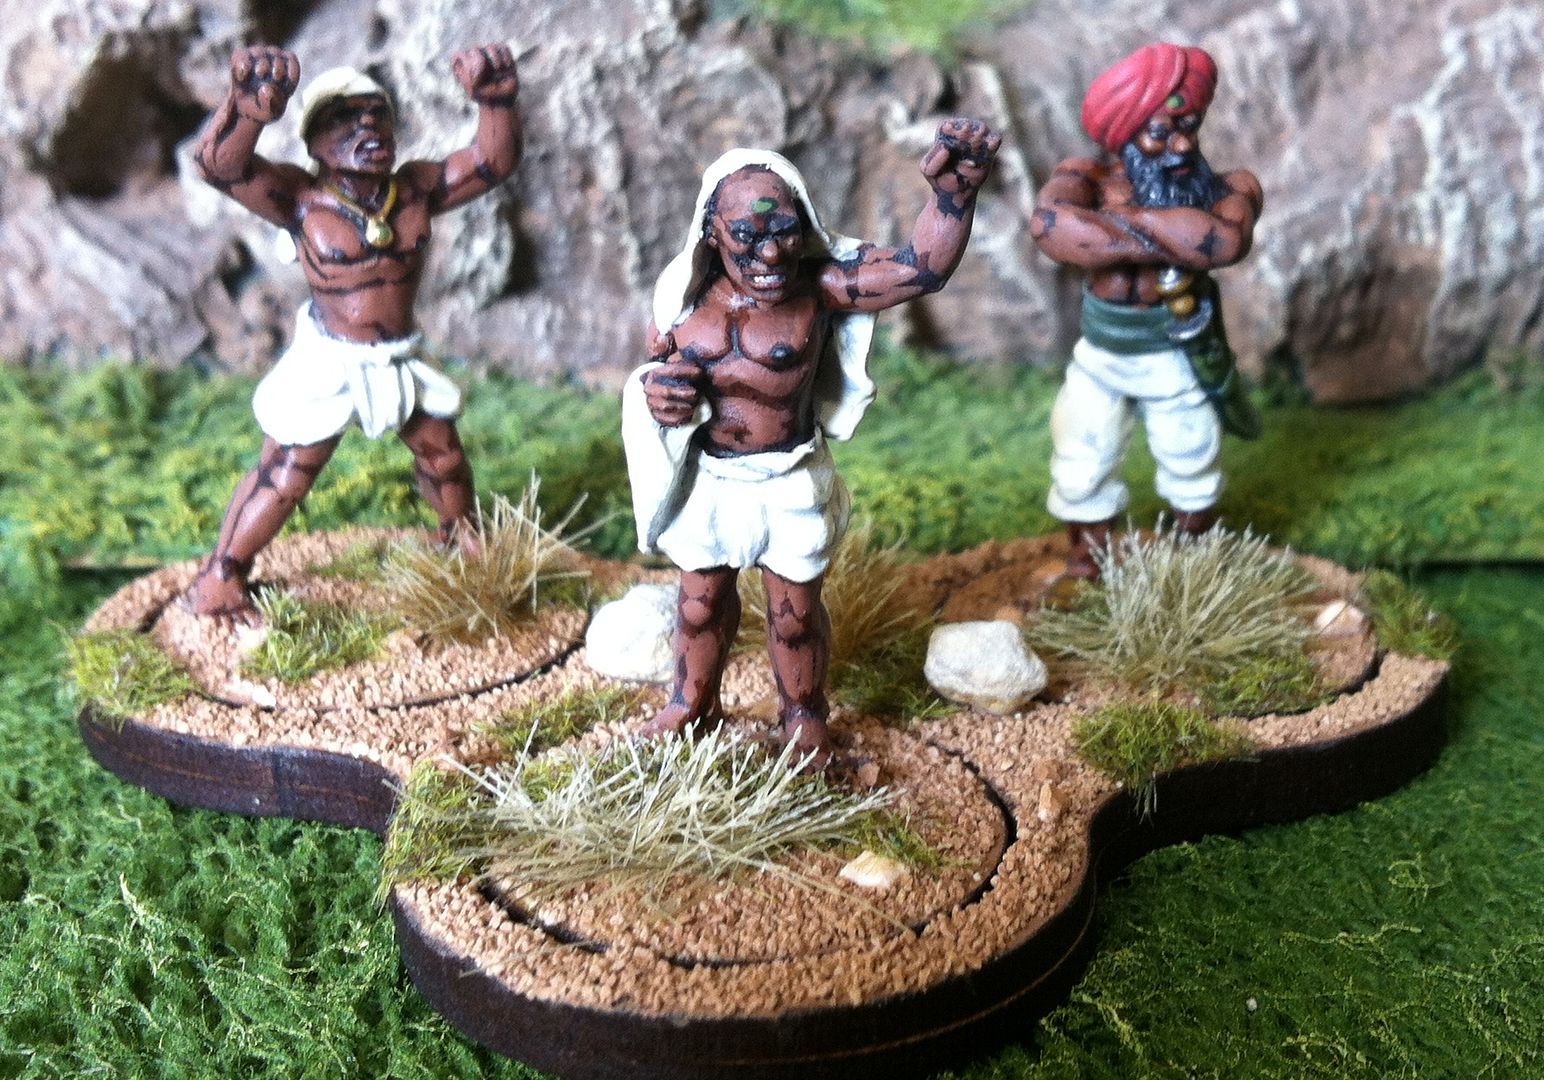
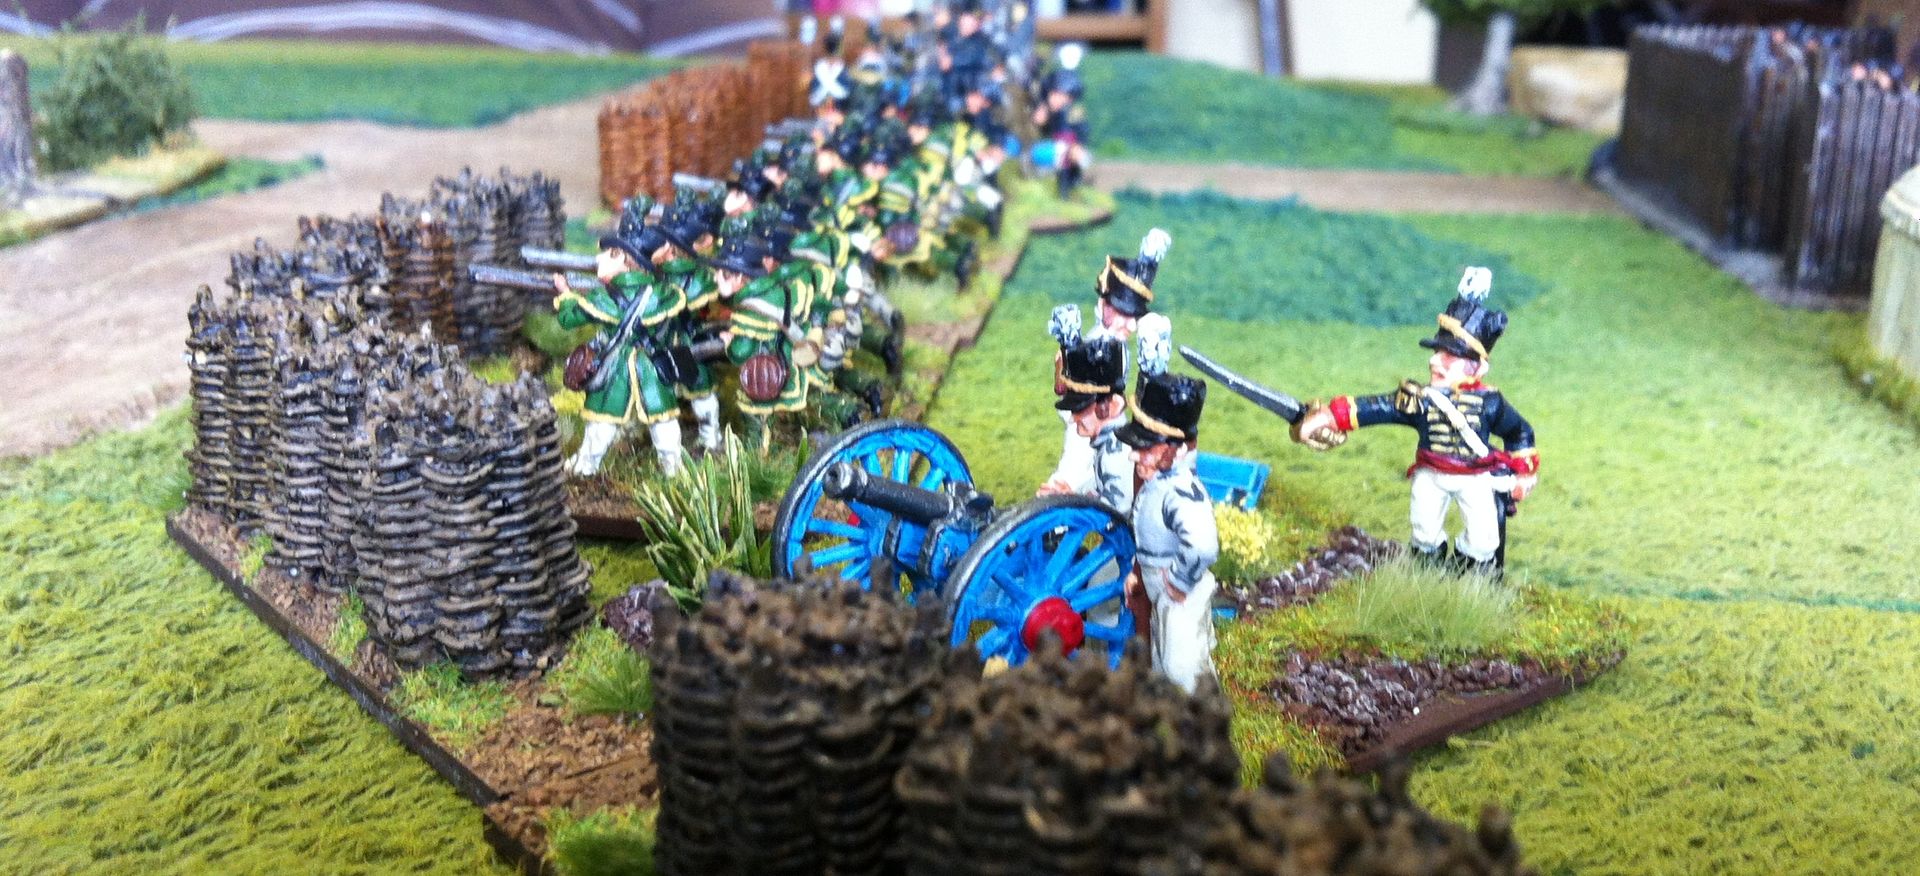
Turning to painting: I find I've painted 279 28mm figures this year so far, in a whole eclectic mix of periods, reflecting the way I've diversified my interests in the eleven years since I retired. I know that I feel that my painting muse is weaker than it was, but the figures don't seem to back this up, so I must have a stern word with myself I think.
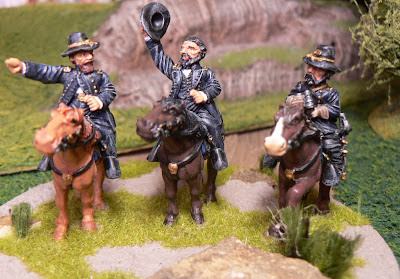
Did you say left here Phil? |
In the area of visits this year I have been to a number of shows: Vapnartak, WMMS, Salute, Triples and Partizan. I've also been over to the Foundry shop in Nottingham twice, which came as a surprise as I only recalled going earlier this month! Perhaps the visit I enjoyed the most though was to Battlefront/WI HQ to stage the refight of Devil's Den from the iconic Battle of Gettysburg, which I was subsequently to write up for the WI Salute special. A timely boost it proved for my Bull Run to Gettysburg rules too, as I gather Foundry have sold out of them now!
Now, none of us knows what tomorrow may bring, but I do hope that the second half of the year, and many more years to come, will bring my small group of chums and myself great enjoyment, boundless pleasure, and good company ~ an even the odd win for myself perhaps! But, whatever aspect of wargaming floats your boat, I hope no less for you than I do for myself! That our wonderful hobby will reward us with good times, good games and good dice!
Thursday, 20 June 2013
The Battle of Paddock's Point ~ a War of 1812 Black Powder game
A game Jon and I played in the fairly recent past, set in the War of 1812-15 between the young USA and the forces in the British Canadas. The game used Black Powder as its rules, with some small modifications to the firing and hand-to-hand capabilities of the many Irregulars, Volunteers and Militia units. Jon took on the command of the American forces, while I commanded the British/Canadian force. Both sides started with some units off table, marching slowly towards the developing action, which we set in the area of one of the Great Lakes, at the fictitious Paddock's Point, the site of a small harbour and outpost, defended by a blockhouse and earthworks.
The table at the outset of the game, with the USS Brecher in the foreground ~
A general view down the table towards the developing British/Canadian attack ~
The earthworks surrounding Paddock's Point were defended by Volunteer units, supported by guns of the regular US Artillery~
Who were in turn supported by units of State raised infantry from Maryland and Pennsylvania~
The British/Canadian attack developed on two fronts: Regulars and artillery, screened by the Glengarry Light Infantry assaulted the works directly~
While a brigade of Fencibles forced a crossing at the bridge attempting to flank the American position~
Fierce fighting saw the British /Canadian forces drive the Americans from the woks, only to be thrown back themselves later~
The prompt arrival of Scott's brigade of Regulars threatened to turn the tide of battle for a while~
But the British/Canadian forces were not to be denied~
Soon what remained of the Volunteers were driven back to the harbour itself and the fort put to the flame~
Even the valiant, hard fighting Scott's brigade of Regulars was broken as the American army melted away from the field~
In all the game lasted ten turns and the action swirled back and forth, both sides scenting victory and defeat in quick succession. Jon's saving throws were quite remarkable at times, but British pluck and tenacity told in the end, allied of course by some poor morale results at crucial moments which saw American units quit the field. All in all a grand game! Next up here in GHQ, an AWI game on 4 July!
Tuesday, 18 June 2013
The Game's Afoot...
I've been collecting and painting various figures and vehicles, for what seems like an age, for a planned 'Pulp' style series of Sherlock Holmes themed games. The figures have come mainly from Foundry's ranges, where their newer Victorian range are currently £5.00 a pack if you can visit the shop, and Ironclad Miniatures. The latter do a nice range of 'unusual' steam powered vehicles, but I've also sourced some horse drawn ready painted plastic coaches from a local Antiques Market, at £5.00 each a steal at the time, and used Dixon Miniatures stagecoach horse for the carriage teams..
What has been holding the project back, apart from funds obviously, has been my indecision when it came to the choice of buildings. Ideally I wanted something to have a 'life' through to 1940 for our Blandings/Operation Sealion games too. I had almost decided to buy some of Sarissa's MDF buildings, but was held back by the price really. In the end I decided on the buildings from Oshira Models, having seen them often in games featured on the LAF threads and finally in the 'flesh' at Salute.
I had thought that they too were MDF constructions, but when I collected my first from James at this year's Salute I was surprised by the weight of the box. They are in fact made from a laser cut acrylic, which appears to be clear but has been very lightly sprayed grey. The parts all seemed to dry fit really easily and the level of detail is quite exquisite, so when my second purchase arrived in yesterday's post I decided to assemble one to see what they would look like. Well, you know how it is folks: one became two; two became three and so on...
As I hope you can see from this photo, I plan to use the buildings in conjunction with my existing harbour and cemetery boards, which feature in my 1920's Pulp Games. Oshiro's buildings are modular, with additional floors and two types of roof structure being available in addition to the two floors that are standard in the terraced houses. There are also additional frontages to allow houses to become shops and a pub.
Besides houses and shops there are already small and large factory buildings ~ the small one is in the left foreground of the first picture, while in the left distance of the same picture, you can just see the same building with an ecclesiastical twist, a different facade turns it into a mission or chapel.
The enlarged photo of the small factory shows that the method of assembly is very similar to that of the more familiar MDF buildings, such as those I assembled for my Old West project from Battleflag, though using superglue as a bond rather than PVA. The roof of each building comes with a sheet of thin card precut slates, like the shingles you'll see on the western buildings in earlier posts. That will be my next phase of assembly before each building can be airbrushed in the dark red colour I've chosen as the base colour. The latter will have to wait until July when I come back from my holiday, as will the decision about the extra buildings I might buy to complete the board layout. I'd quite like a railway viaduct, such as featured in Overlord's 1970's games, also seen on LAF, but I'm not sure about that yet. More as and when on this project. In the meantime I guess it will be some roofing...
Subscribe to:
Posts (Atom)