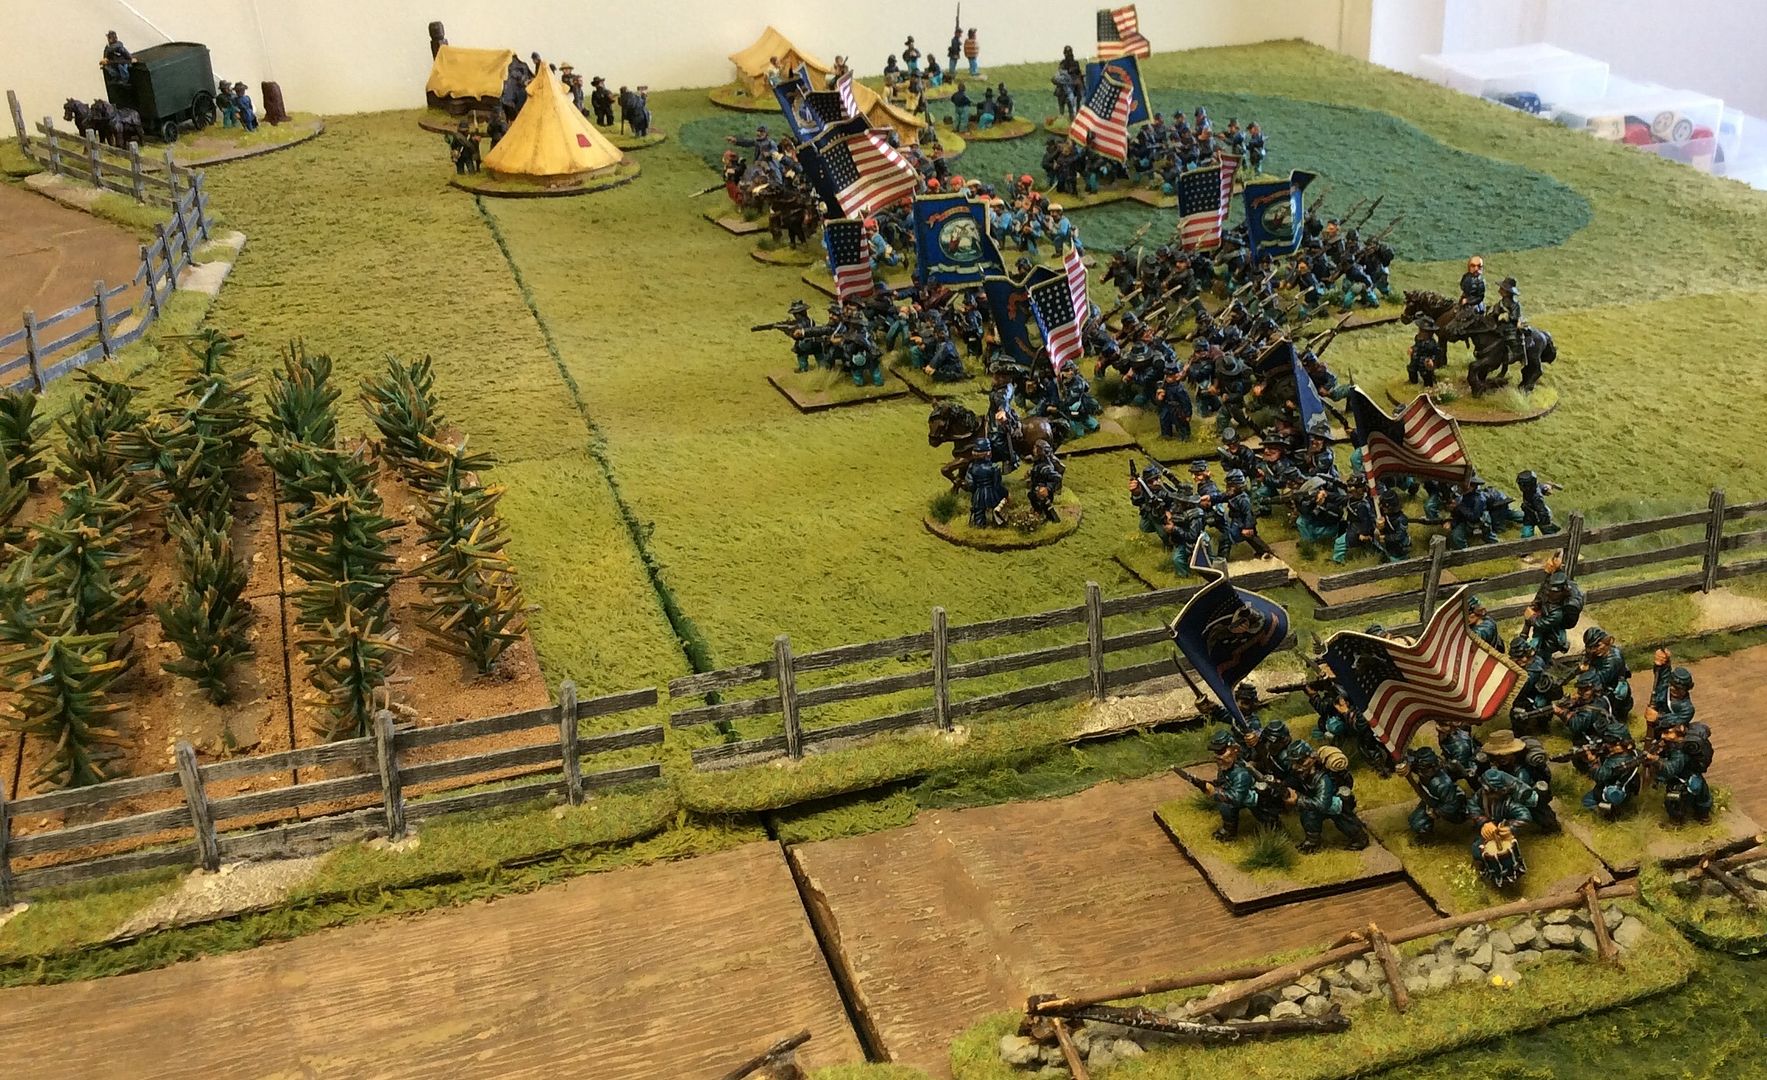
The Union right and centre advances towards the cross roads intent on denying them to the Rebs!
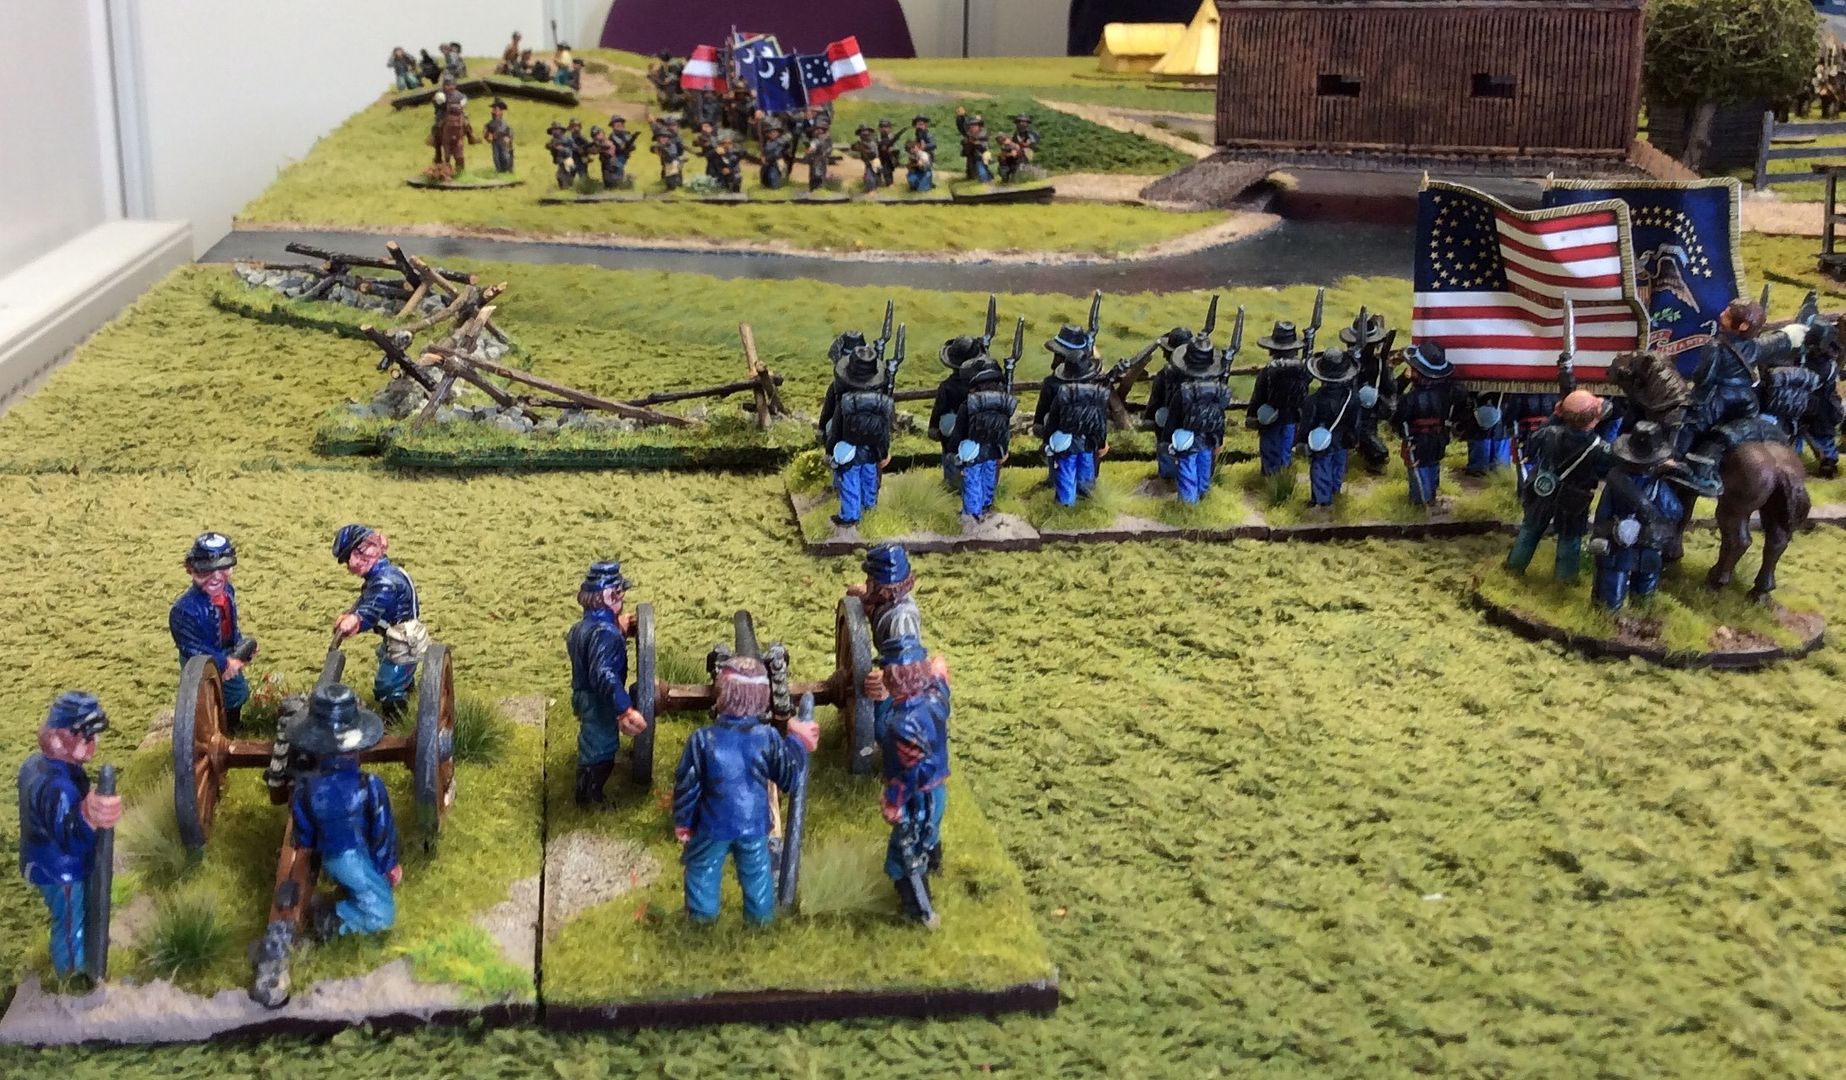
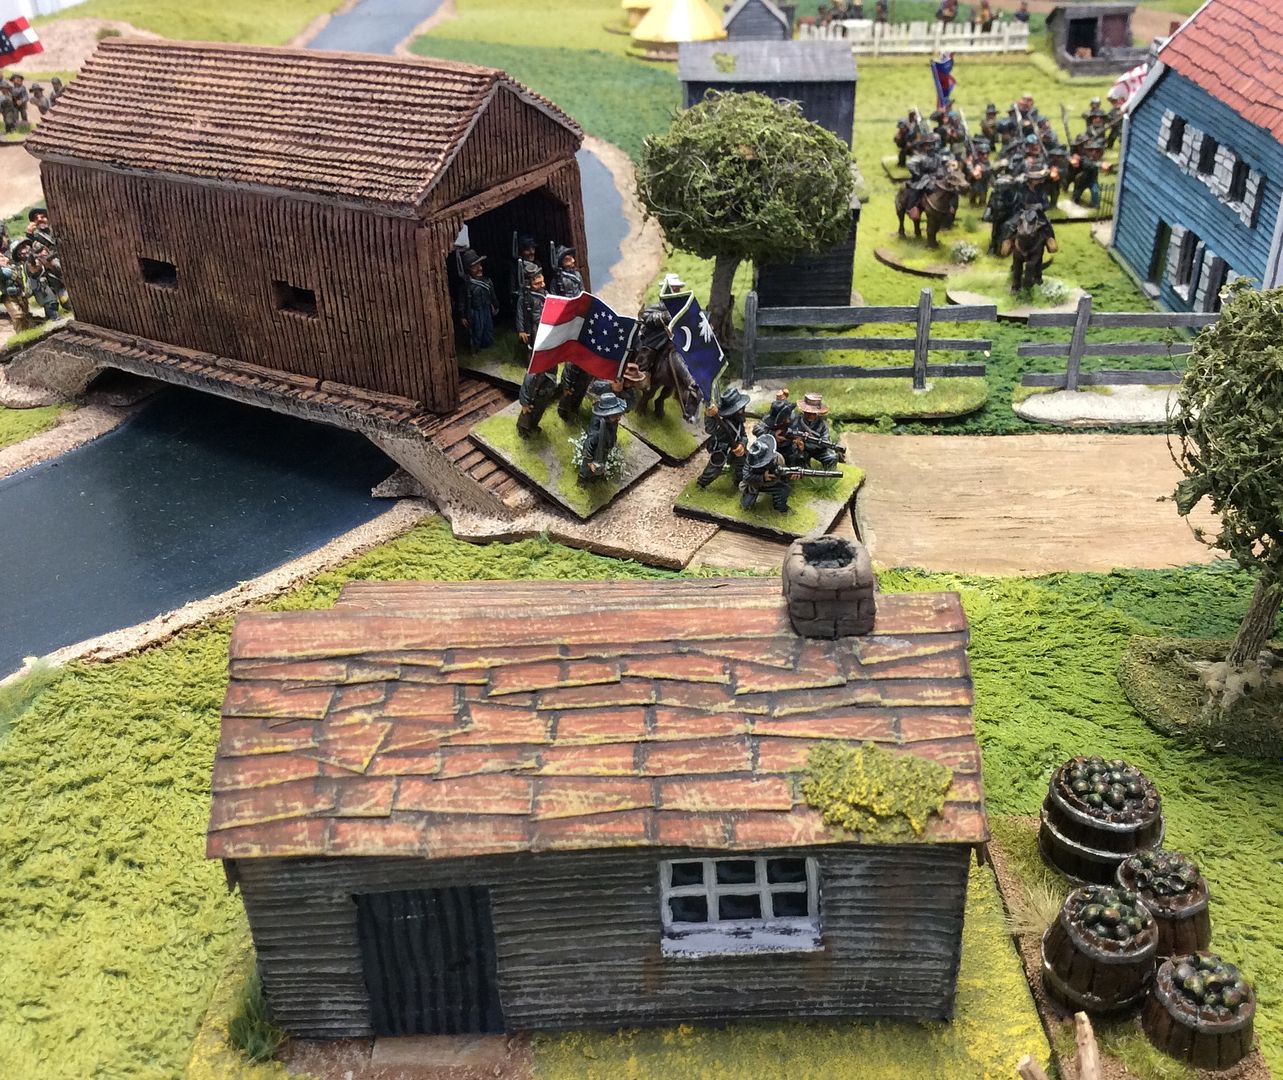
The Regulars on the Union left are hoping to deny the Rebs the chance to cross the river by the covered bridge ~
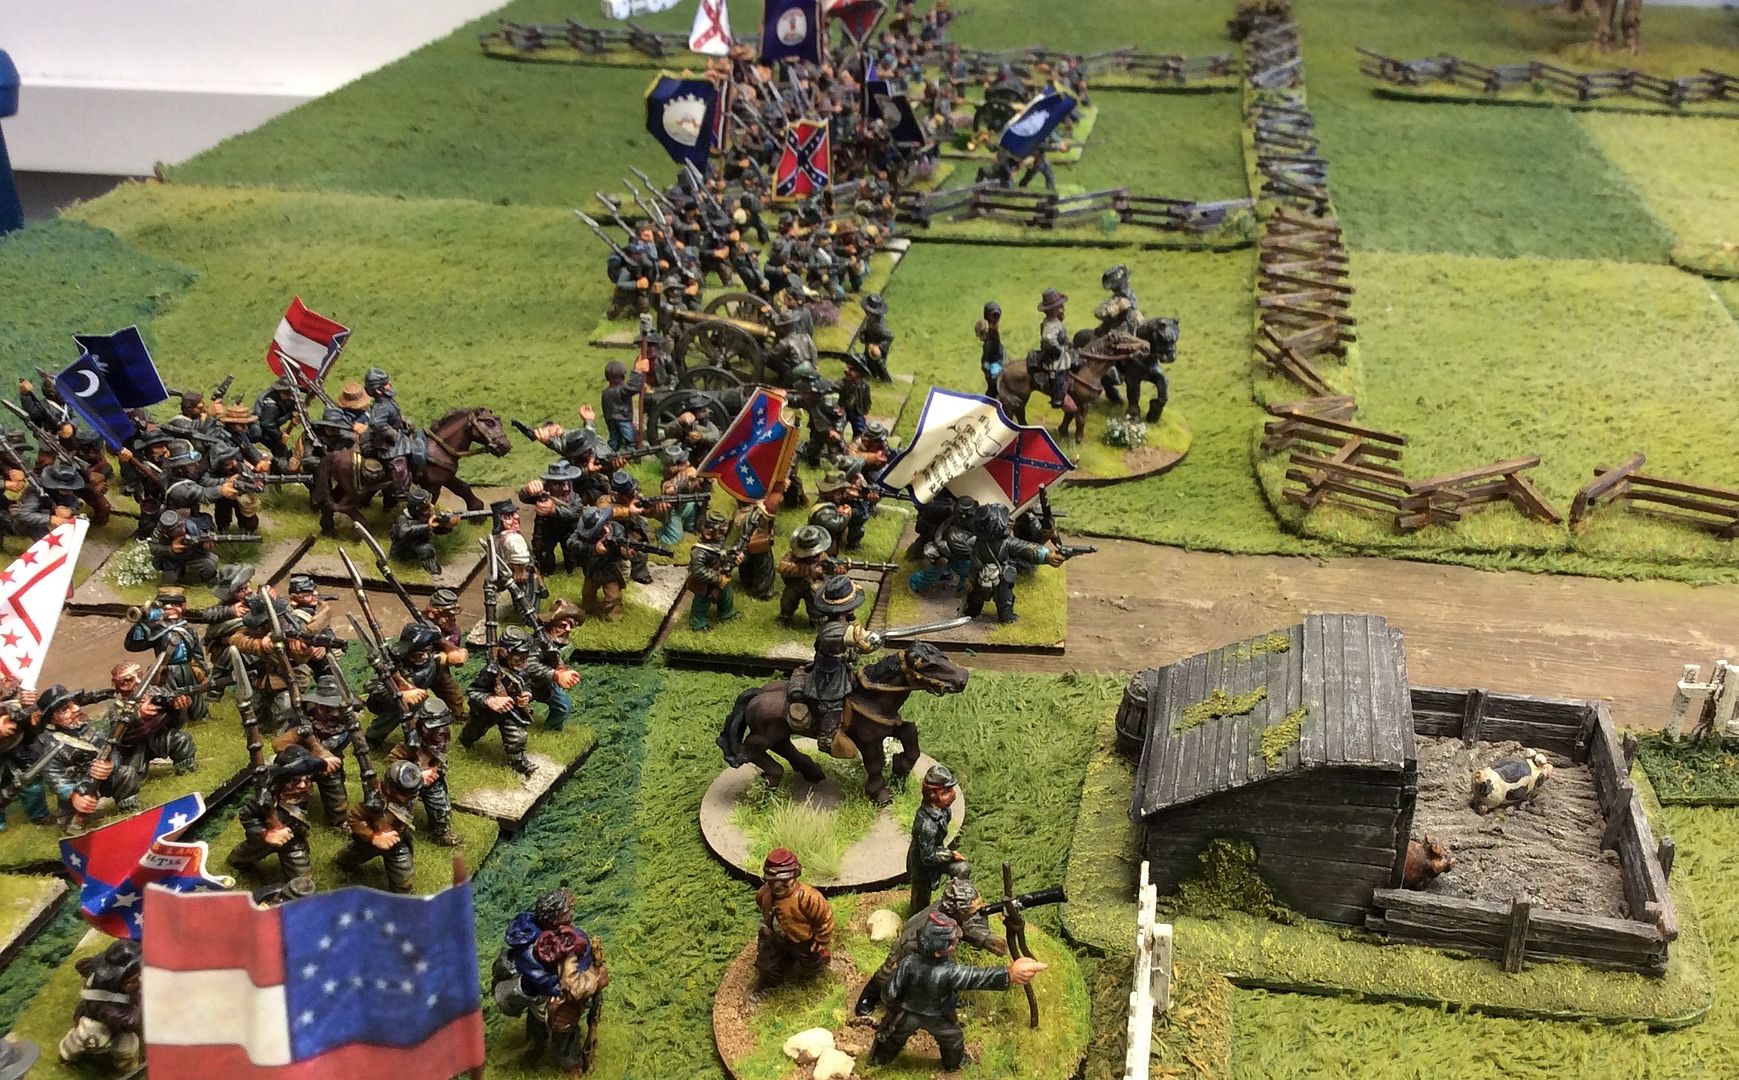
The Rebs order a general advance to seize the cross roads ~
The 'Boys' step off lively ~
The cornfield proves a bit of an obstacle to the Union advance ~

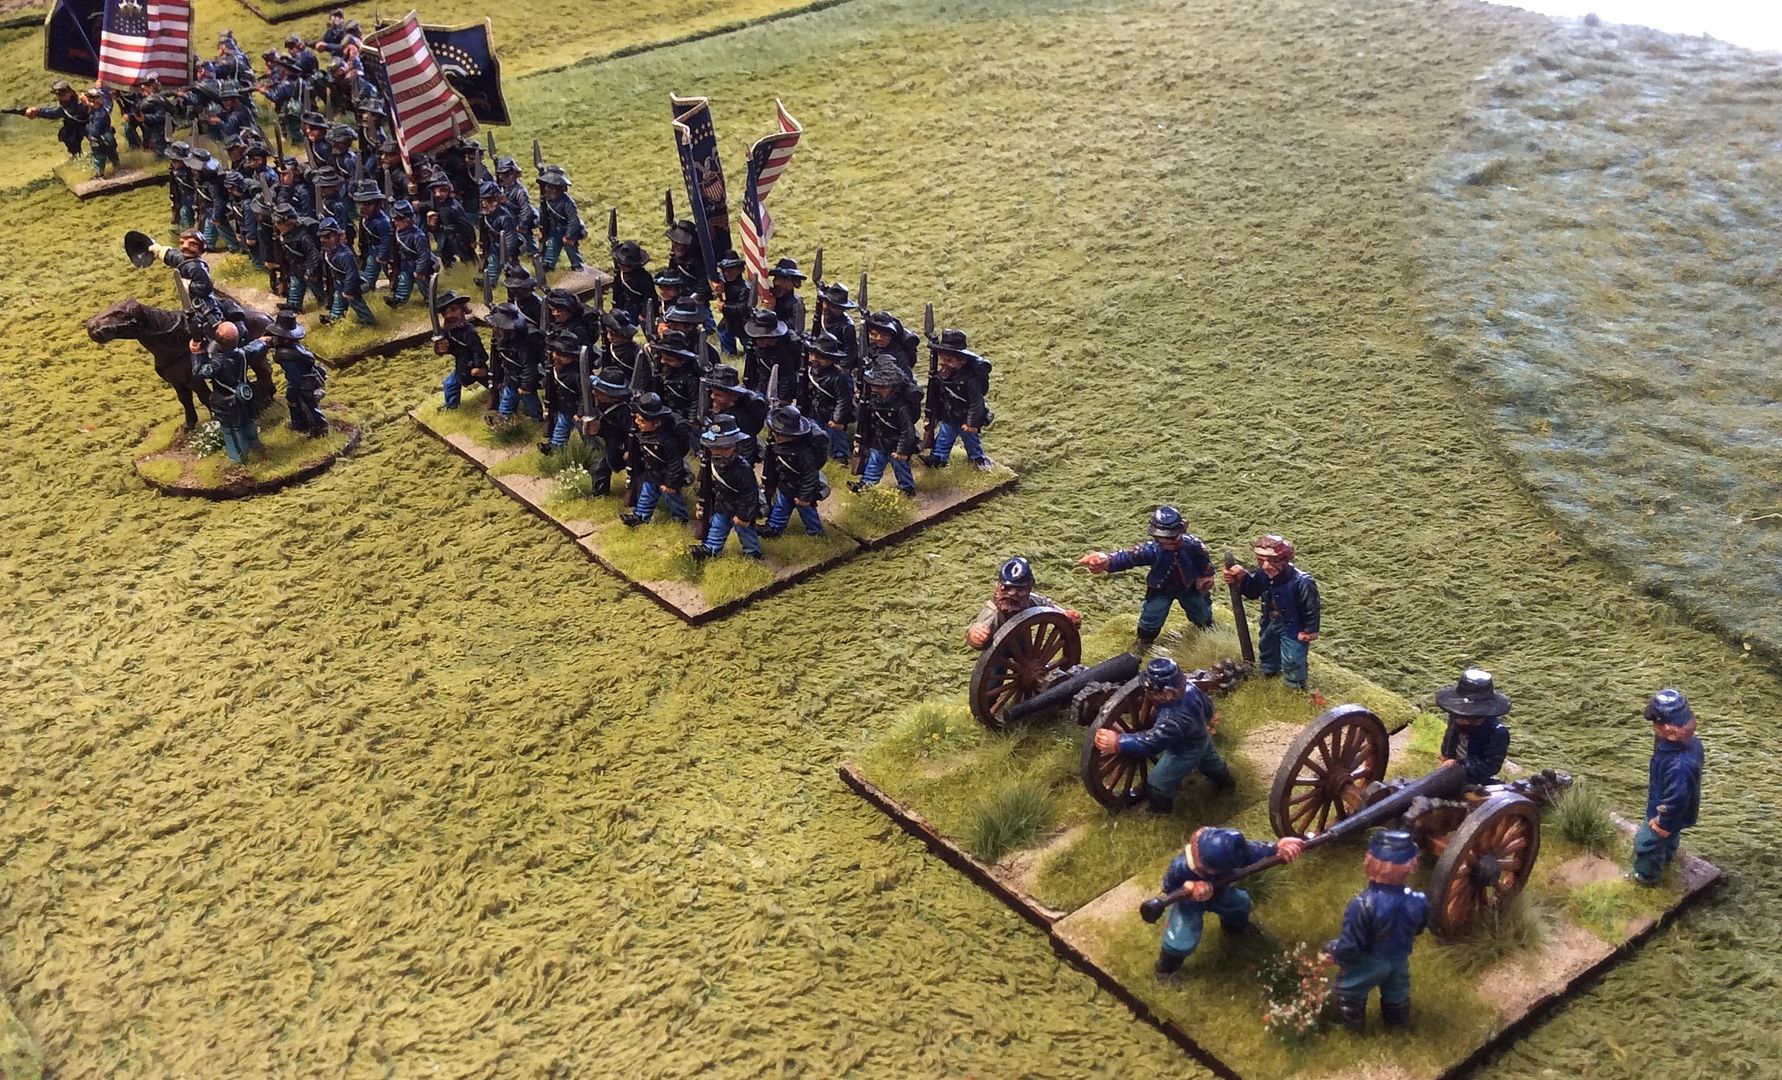
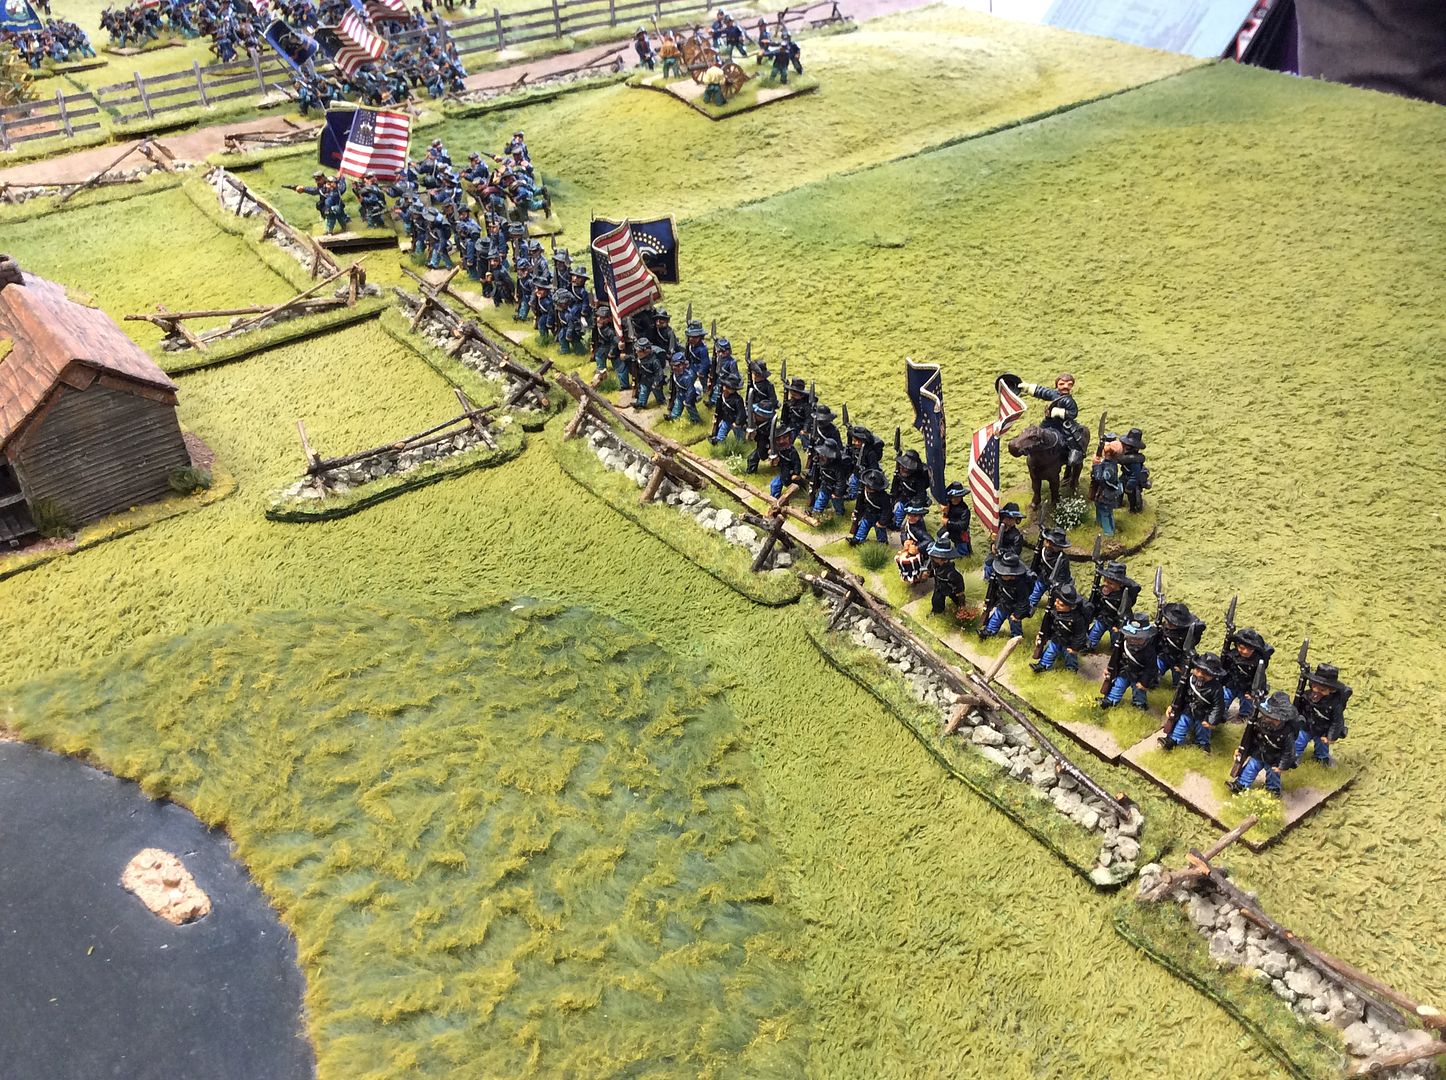
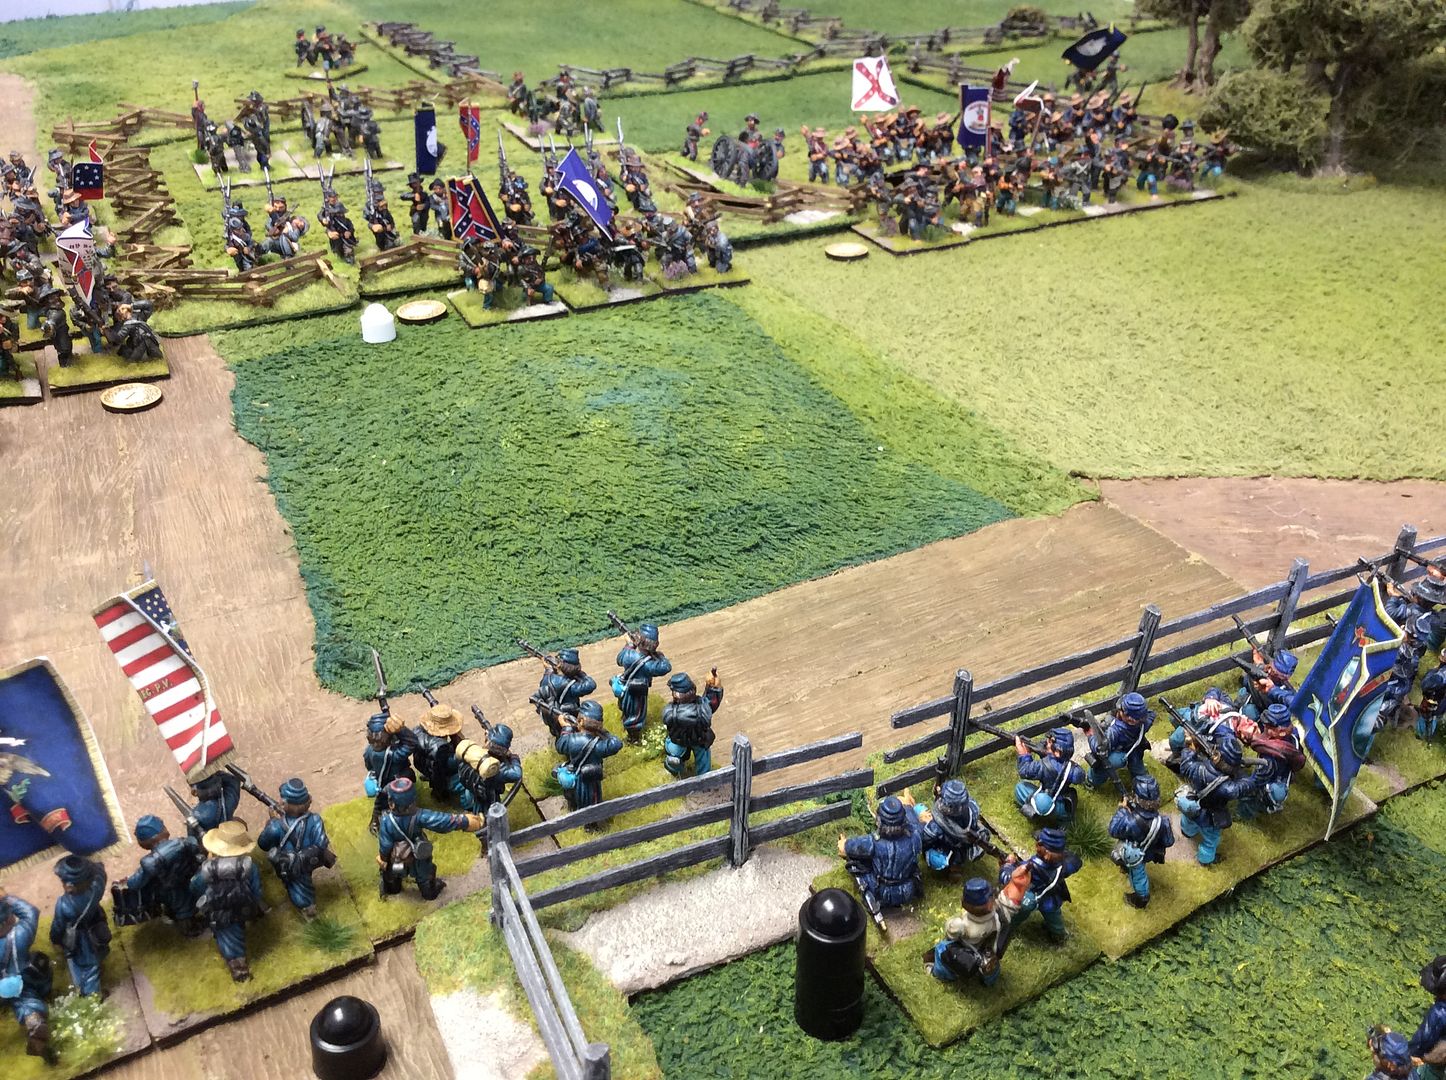
A formidable sight as two regiments of US Regulars halt at the fence line ~
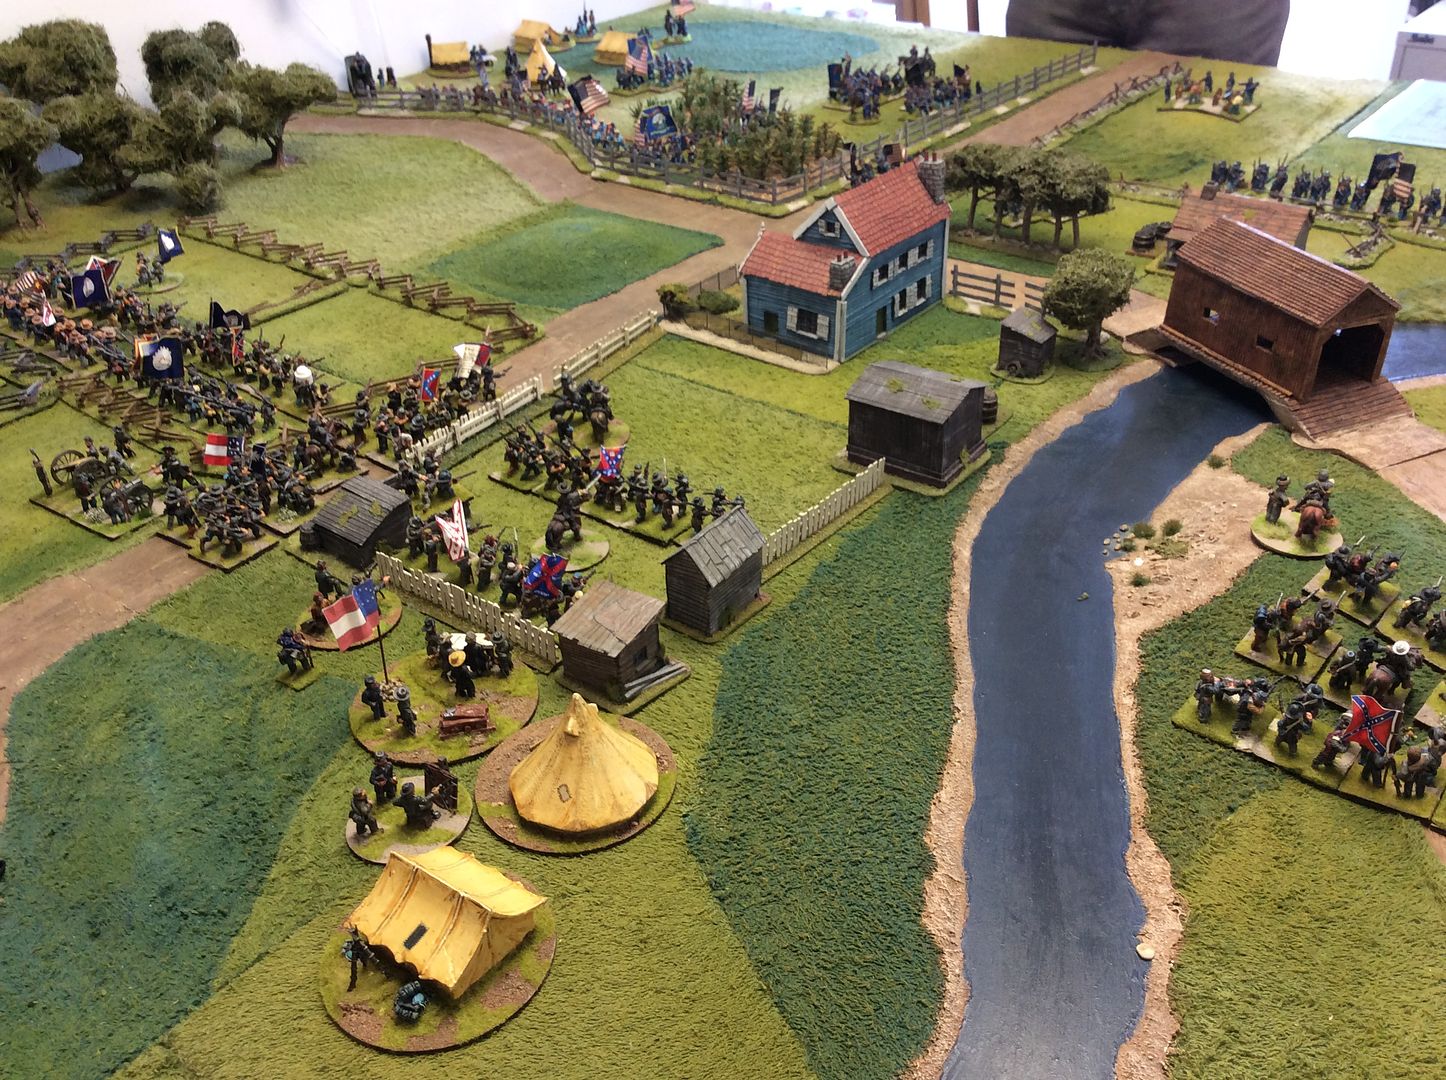
The Rebs are stepping forward boldly on the left and in the centre, while their right flank's Brigade moves on the bridge ~
The regulars, supported by the New York Light Artillery, engage the leading Reb elements ~
While the Brigade's lead regiment takes losses and retires, the remainder of the Brigade crosses the river successfully ~
The Union right and centre steadies itself for the Reb onslaught ~
The view from the Rebs' lines is daunting to say the least ~
Time for the cold steel I think !

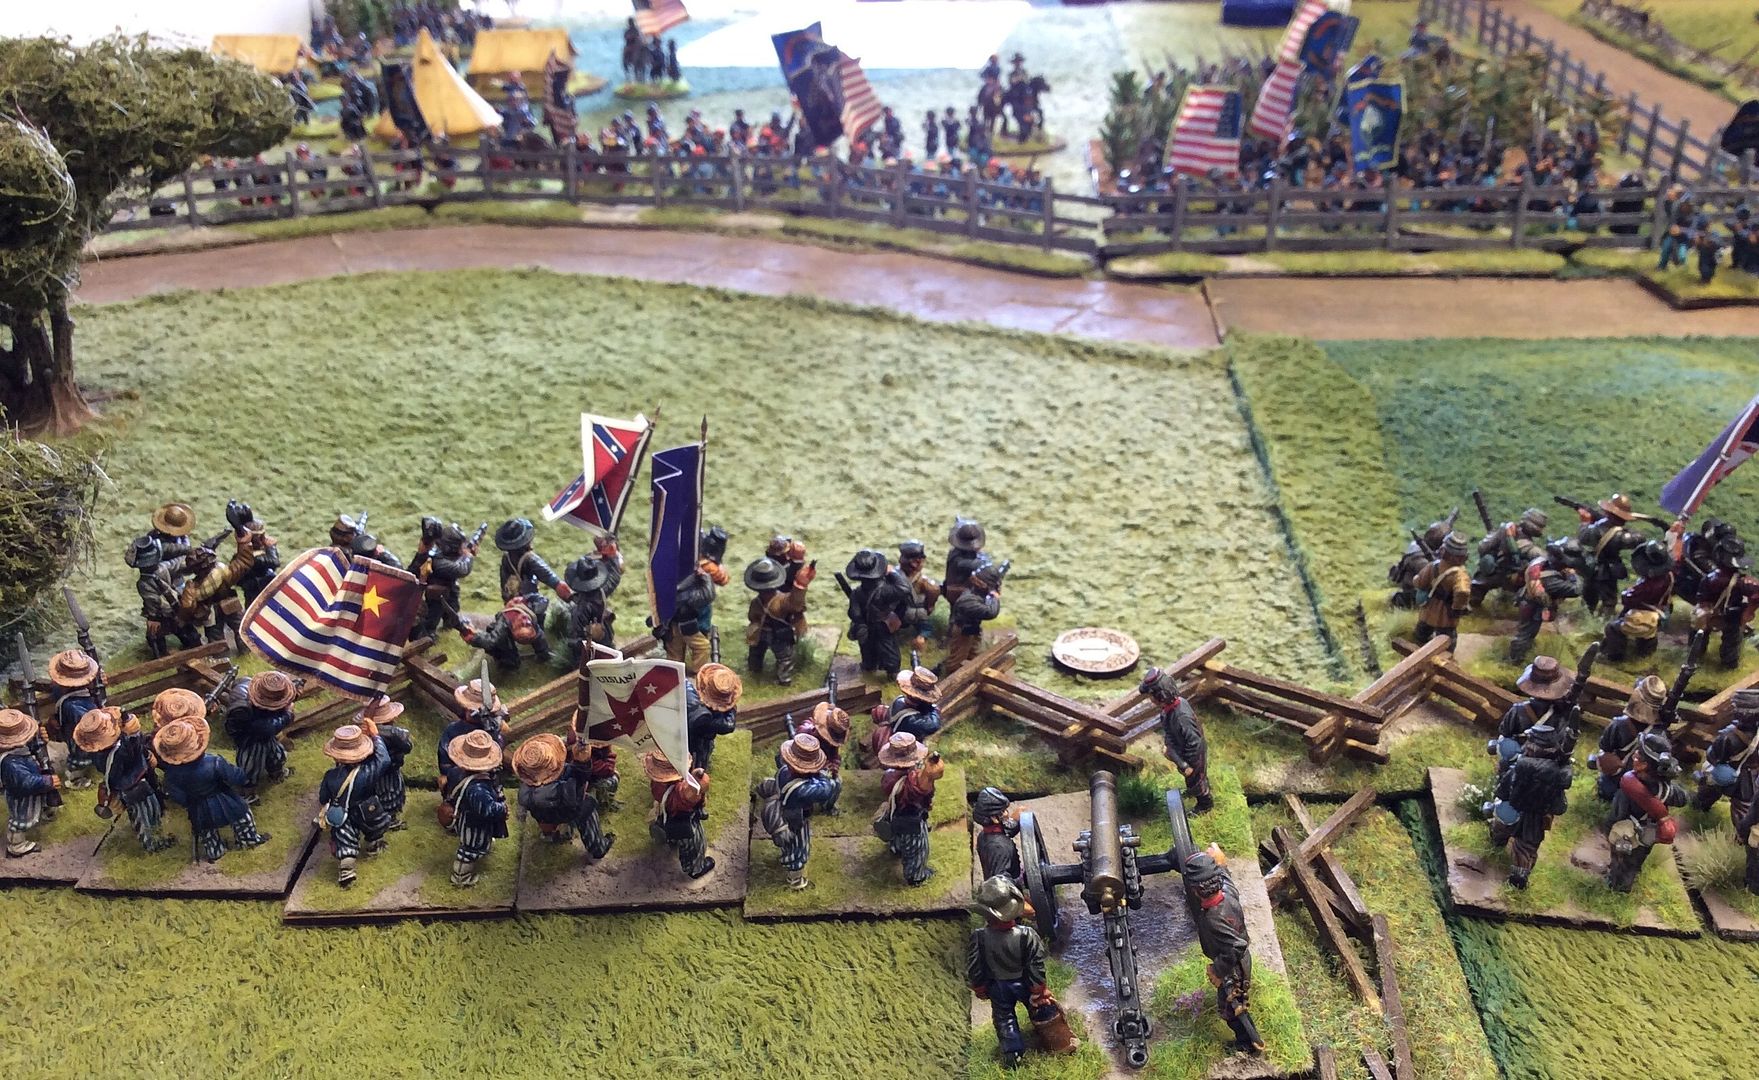
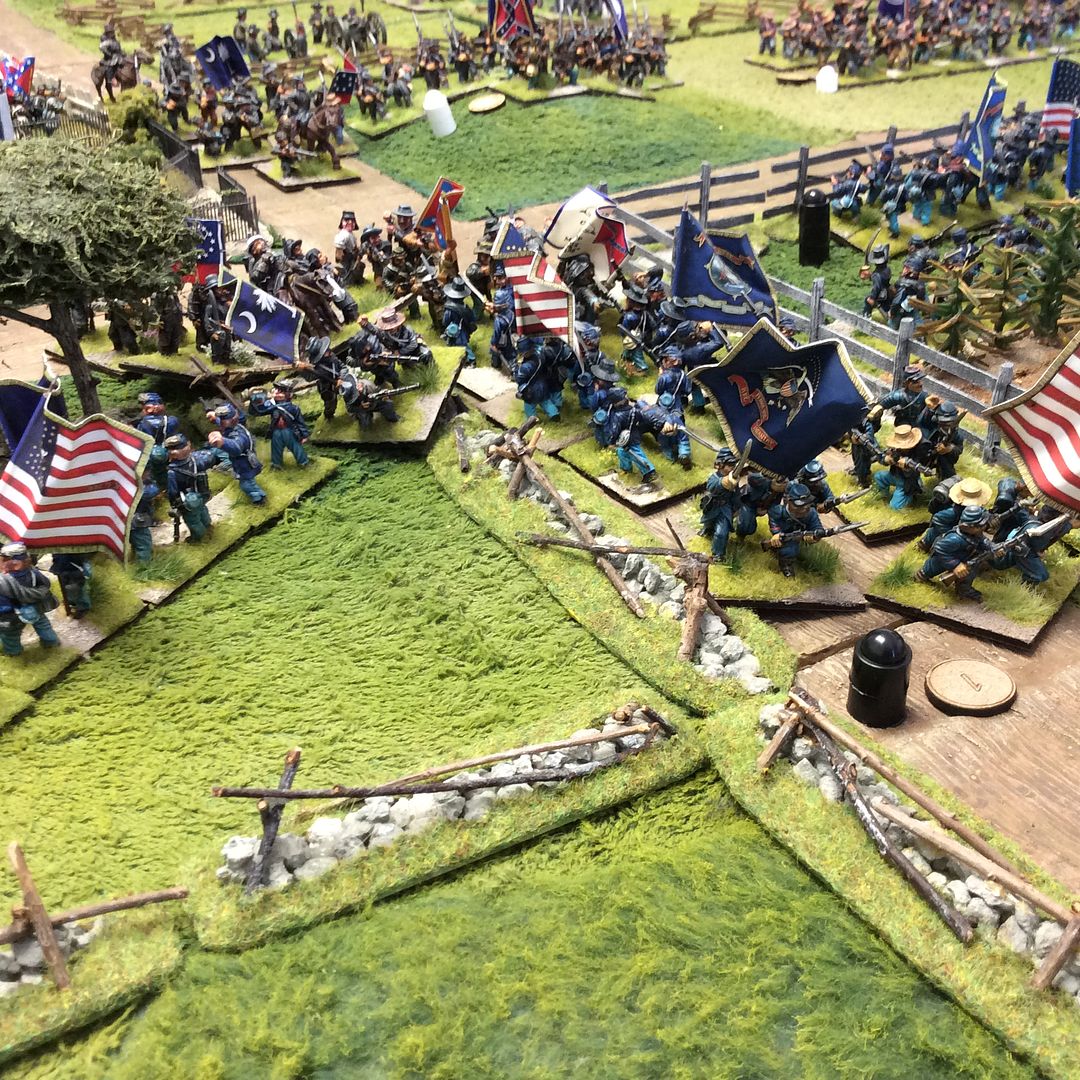
As the main Reb attack goes in the flanking Brigade thunders into the Union's centre ~
The fighting is desperate and a Union Regiment breaks under the strain of combat ~
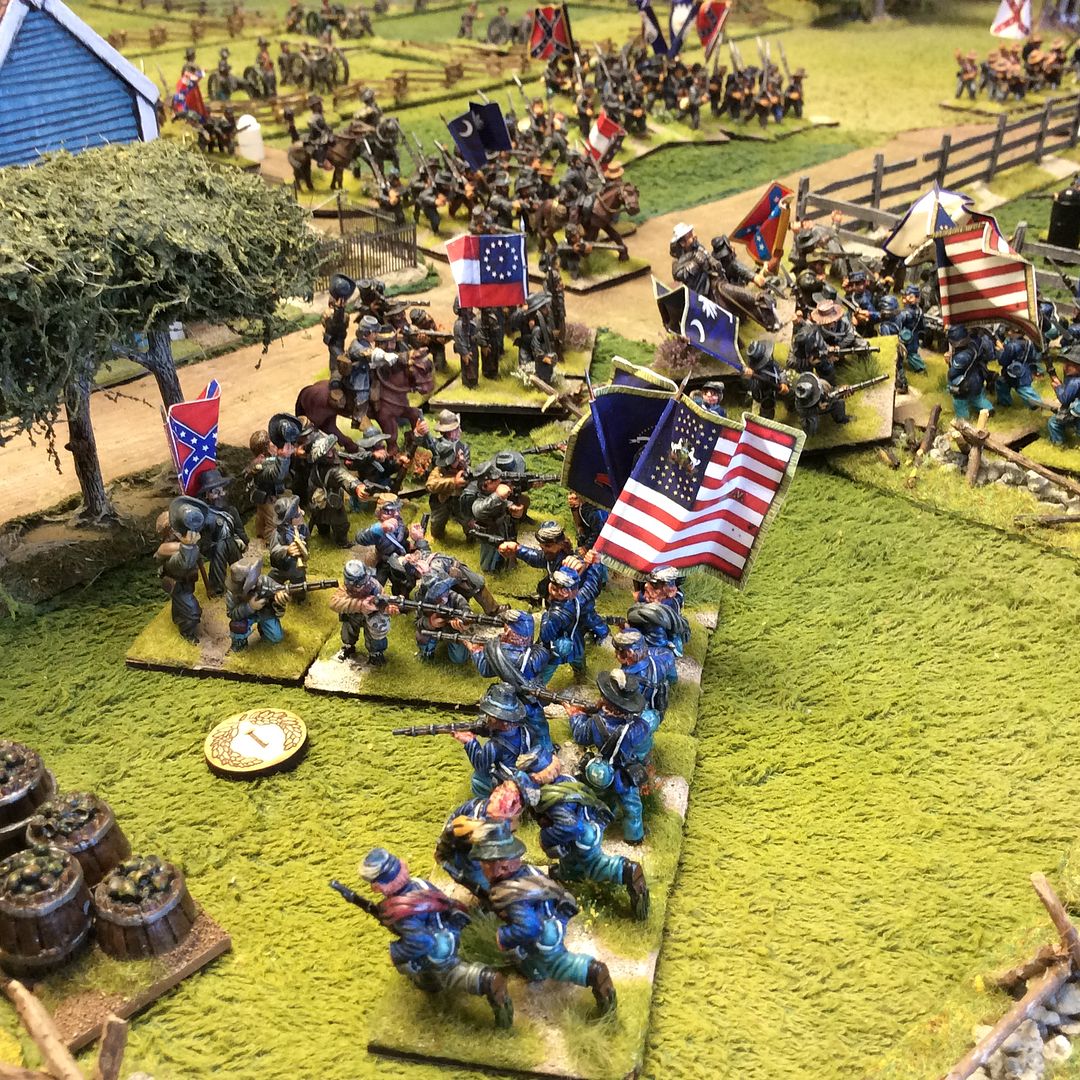
More Rebs pour into the gap and a second Union Regiment flees the field ~
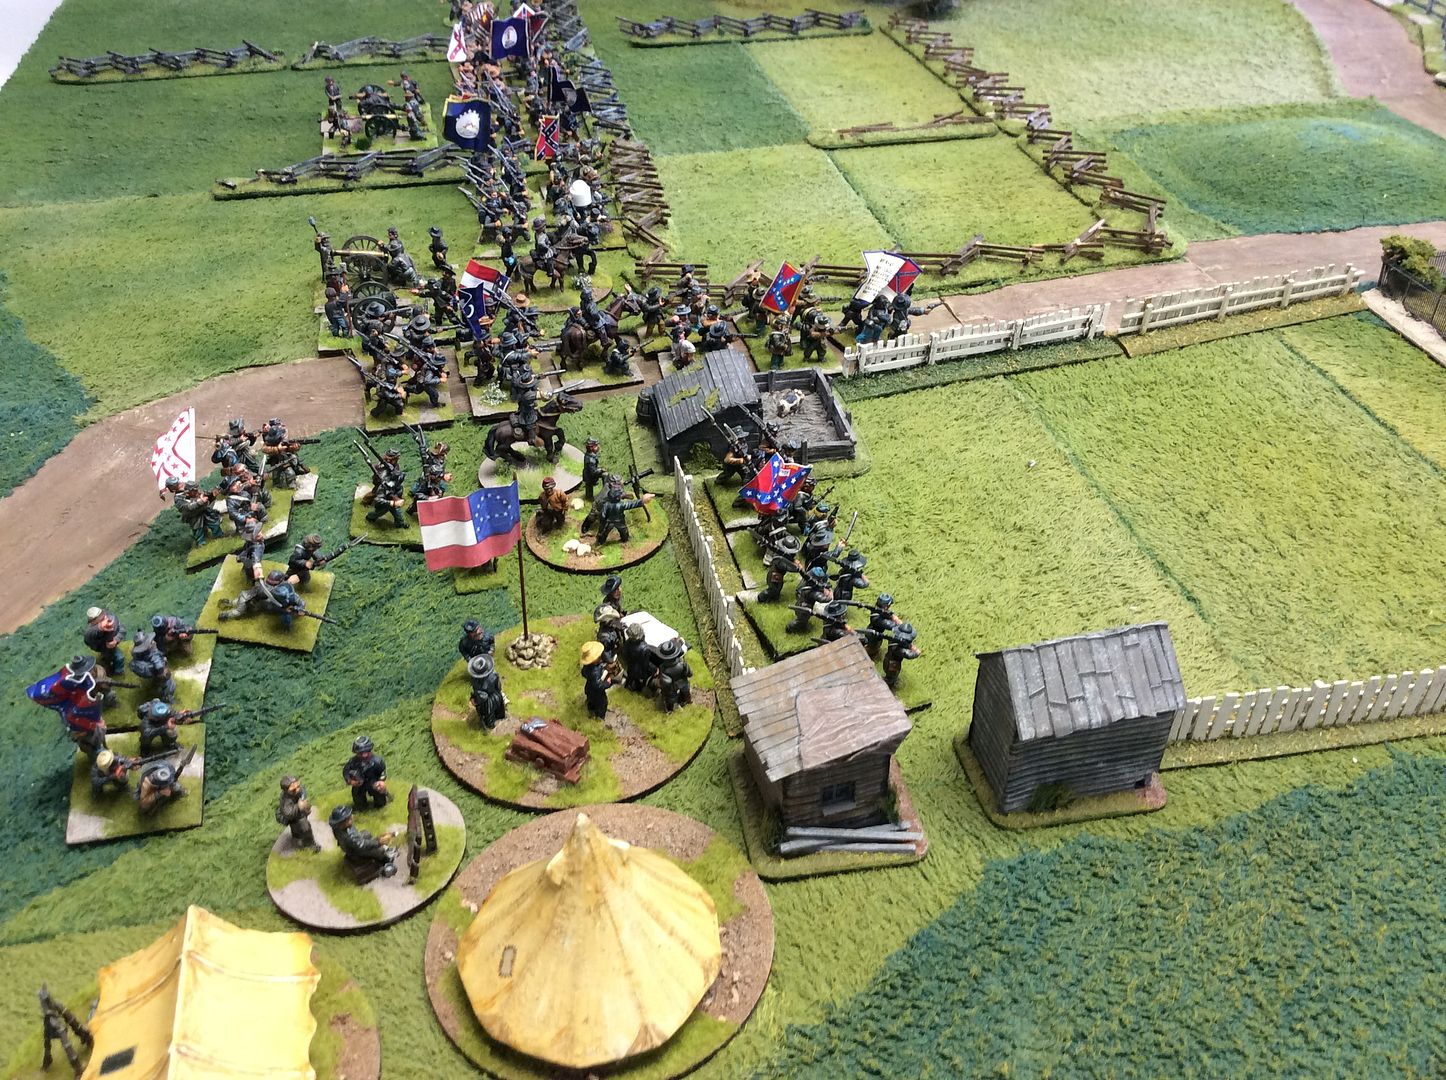
An overview of the action shows the Rebs pushing through the Union's centre. Why did those Regulars not intervene?
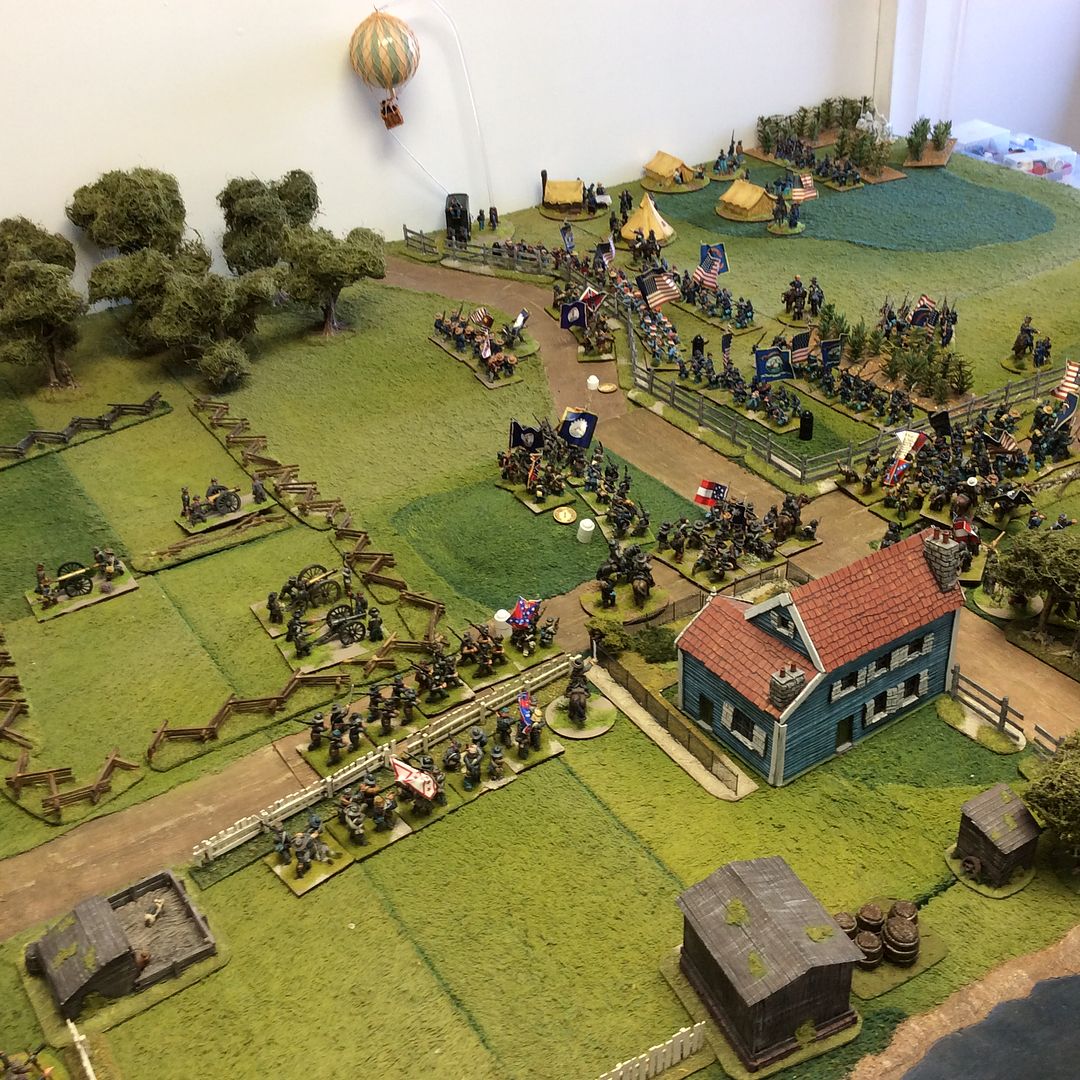
The Union's centre is broken and the right flanks is retiring. The Rebs are victorious!
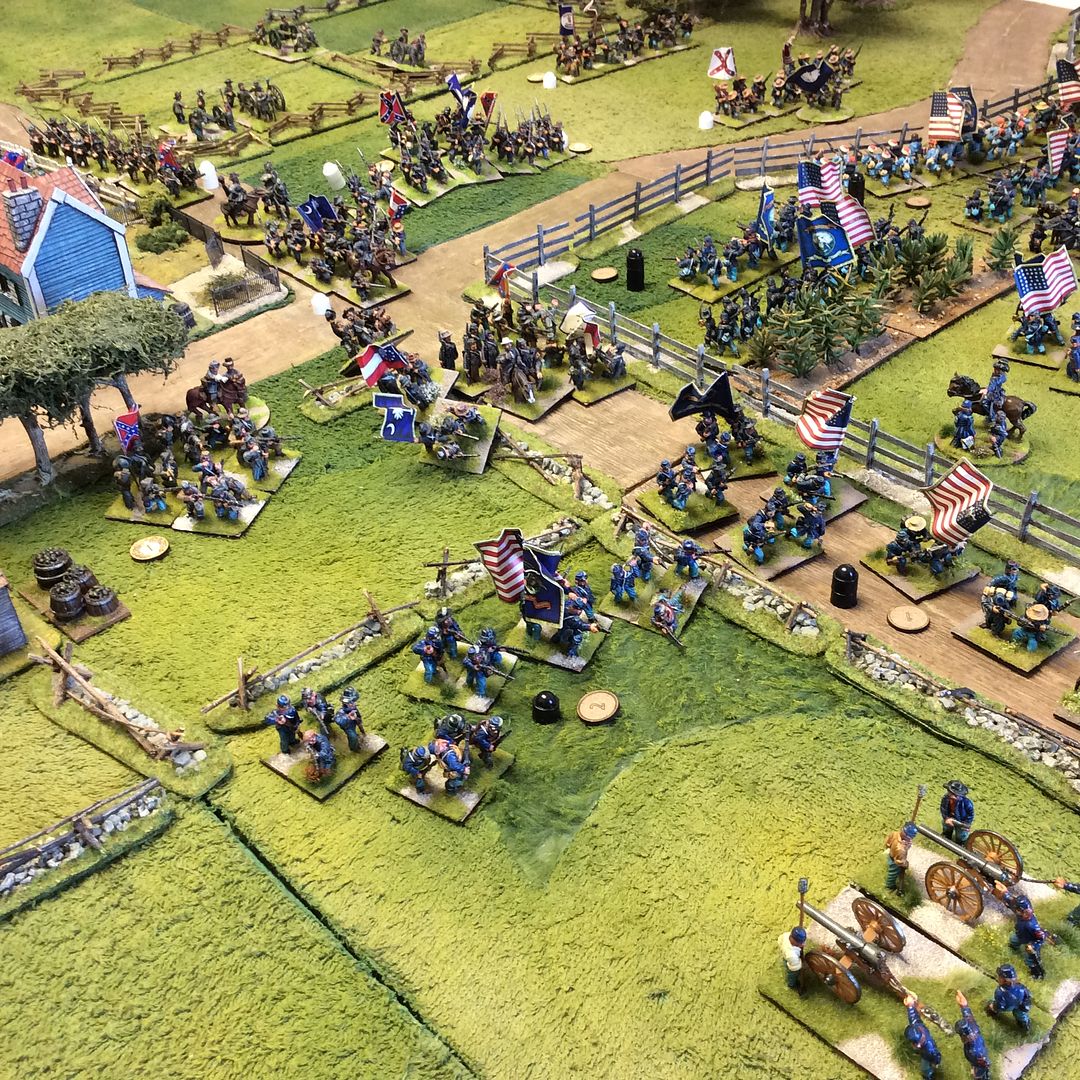
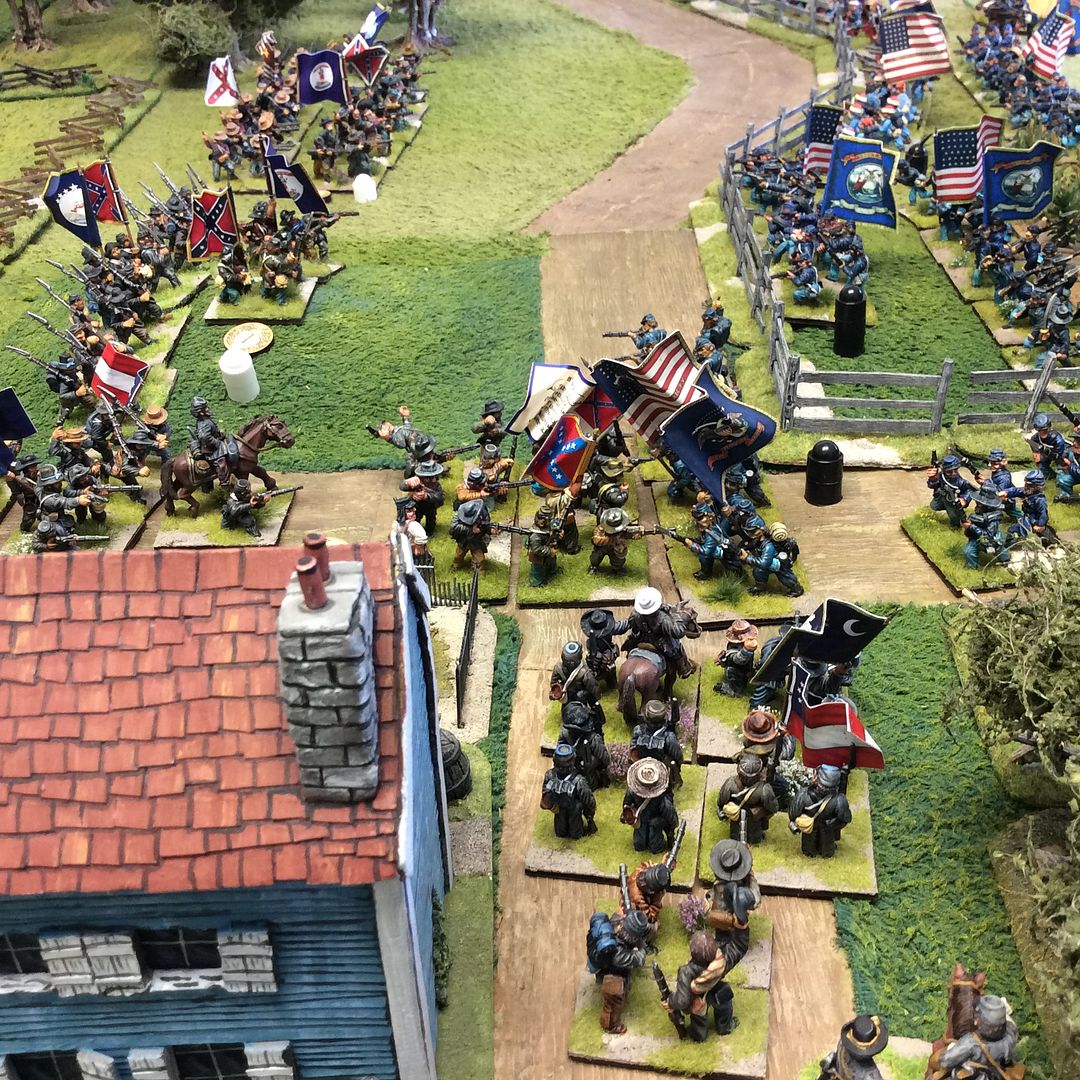
An experimental overhead shot of the deciding attack. Worth using the technique in future reports do you think?

The game played out over thirteen turns in a little over four hours playing time. Both Phil and John claimed to have enjoyed the game, though Phil feels he is still to come to terms with the larger table size. I enjoyed umpiring the game and refreshing my knowledge of the rules as we went along. Jon has said that he will come over next Thursday so I have left the game set up in the opening positions and he and I will play it out again then. It will be interesting to see how it develops a second time around!
Superb...liked that overhead shot..
ReplyDeleteThanks, Steve! That's one vote 'for' then.
DeleteGreat pics, I think overhead shots will give a better view of how the battles progress.
ReplyDeleteThanks, Phil! Two votes 'for' now.
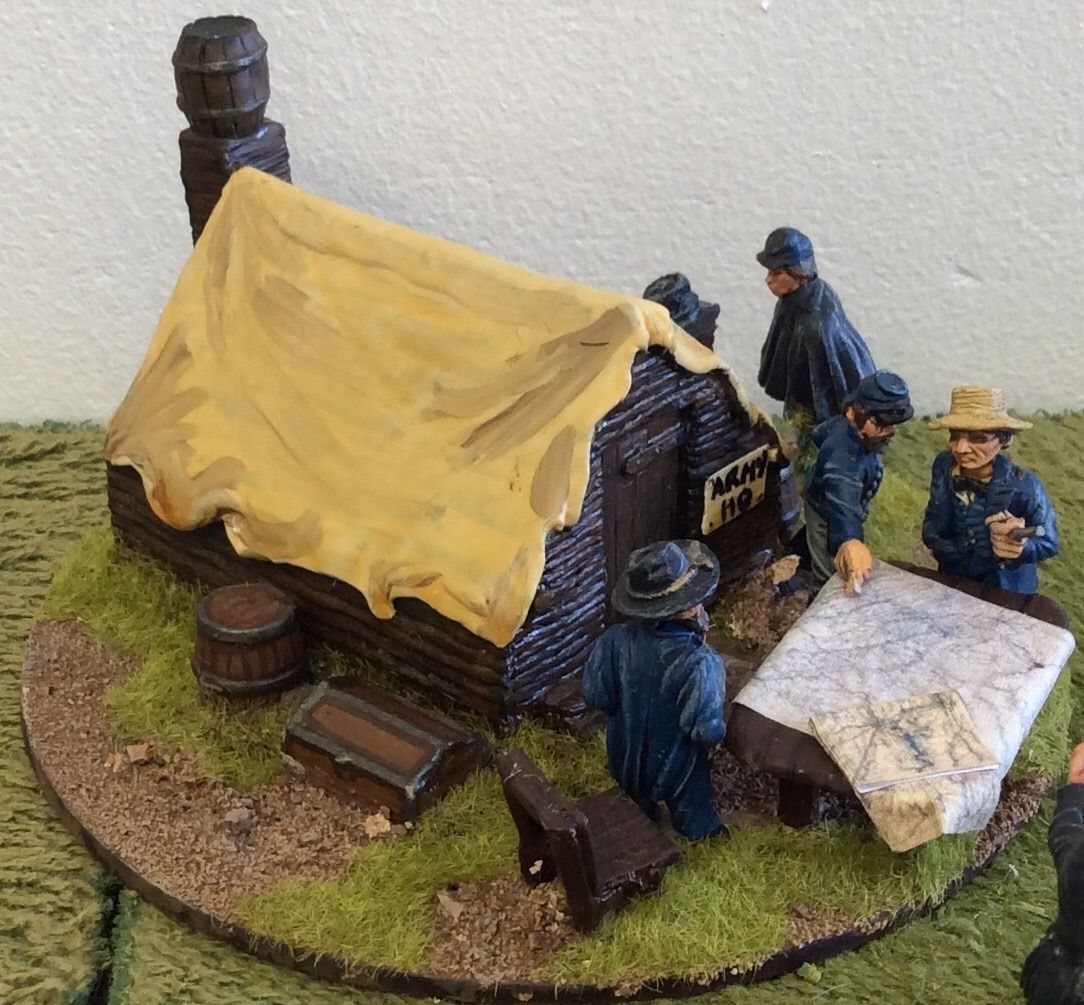
DeleteExcellent report with splendid photos, the vignette on the first one is amazing!
ReplyDeleteThanks for that, Phil. The maps in the vignette you liked are downloaded & resized from the web by the way. The tent is from Redoubt I think.
DeleteExcellent looking game David and I really enjoy that covered bridge! I need one!
ReplyDeleteChristopher
Thanks, Christopher, glad you enjoyed it! I should've said that the covered bridge is from Ian Weekley's old Battleground hard foam range.
Delete